11 Inviting Bead Board Backsplash Kitchen Ideas That Add Texture and Personality
Bead board backsplashes are having a moment, and for good reason. They bring warmth, texture, and a touch of cottage charm to any kitchen without requiring a major renovation. Whether you're a seasoned DIYer or just looking for a weekend project, bead board is forgiving to work with and instantly transforms the feel of your space.
What makes bead board so appealing is its versatility. You can paint it any color, install it vertically or horizontally, and pair it with different countertops and hardware to create a look that's uniquely yours.
Plus, it's budget-friendly and easy to clean with a simple wipe-down. In this listicle, we'll walk through 11 inviting bead board backsplash ideas that range from classic to contemporary.
1. Classic White Bead Board with Dark Grout
White bead board brings instant cottage charm to any kitchen, but pairing it with dark grout takes the look from sweet to seriously stylish. The deep lines between each board create a crisp grid that makes the wall feel intentional and grounded. It’s the kind of detail that reads as both classic and current, and it works especially well when you want a backsplash that feels finished without being fussy.
Why It Works
The dark grout defines every vertical line, so the texture pops even from across the room. That contrast keeps the white from feeling flat or too sterile, which is a common risk with all-white kitchens. It also hides dirt better than light grout, making it a practical choice for the area behind a stove or sink.
Best For
This backsplash shines in farmhouse, cottage, or transitional kitchens where you want warmth without going full rustic. It’s also a great match for kitchens with butcher block countertops and open shelving, because it ties the cozy and crisp elements together.
Styling Tip
Keep the countertops warm—butcher block or a honed soapstone works beautifully. Add open shelving in a similar wood tone, and use hardware in black or aged brass to echo the dark grout lines. A simple white apron sink and a few ceramic canisters complete the look without competing.
2. Horizontal Bead Board for a Modern Twist
Turning bead board on its side changes everything. Horizontal lines draw the eye across the wall, making a narrow kitchen feel noticeably wider. Soft gray or pale blue keeps the look fresh and current, while quartz countertops and matte black fixtures add a sleek, modern contrast.
It's a simple switch that delivers a big visual payoff.
Why It Works
Horizontal installation creates a sense of spaciousness by visually expanding the room. The clean lines feel contemporary without being cold, and the subtle texture of bead board adds warmth. Pairing it with modern materials like quartz and matte black keeps the overall look intentional and polished.
Best For
Small or galley kitchens where every inch counts. Also great for anyone who wants a modern farmhouse feel without going full rustic. The horizontal lines work especially well in kitchens with lower ceilings, as they can make the space feel taller, too.
Styling Tip
- Paint the bead board the same color as the upper cabinets for a seamless, custom look. Or go a shade darker for contrast. Stick with matte or eggshell finish to keep the texture visible.
- Add open shelving in a light wood tone to break up the horizontal lines and add warmth.
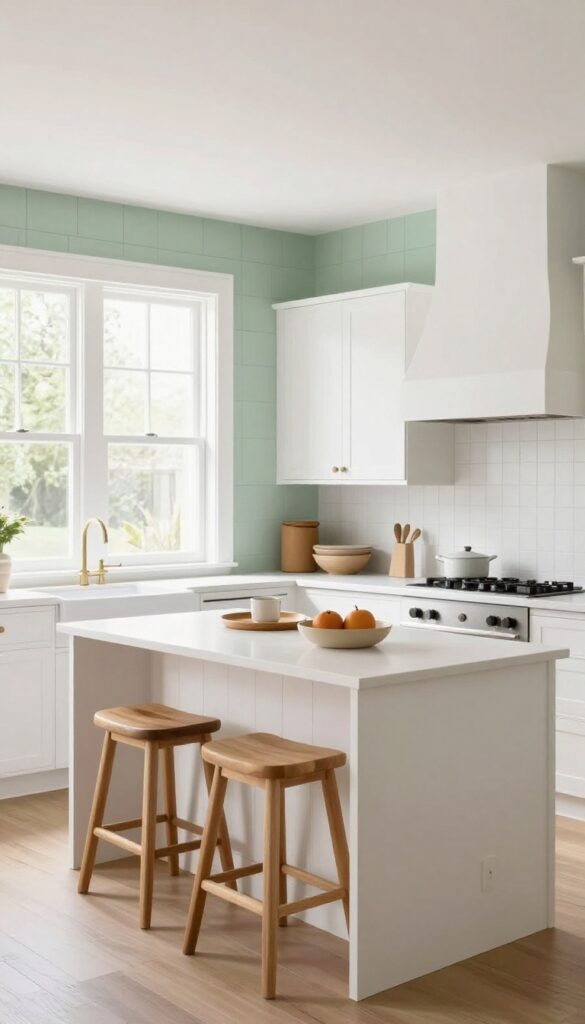
3. Painted Bead Board in Sage Green
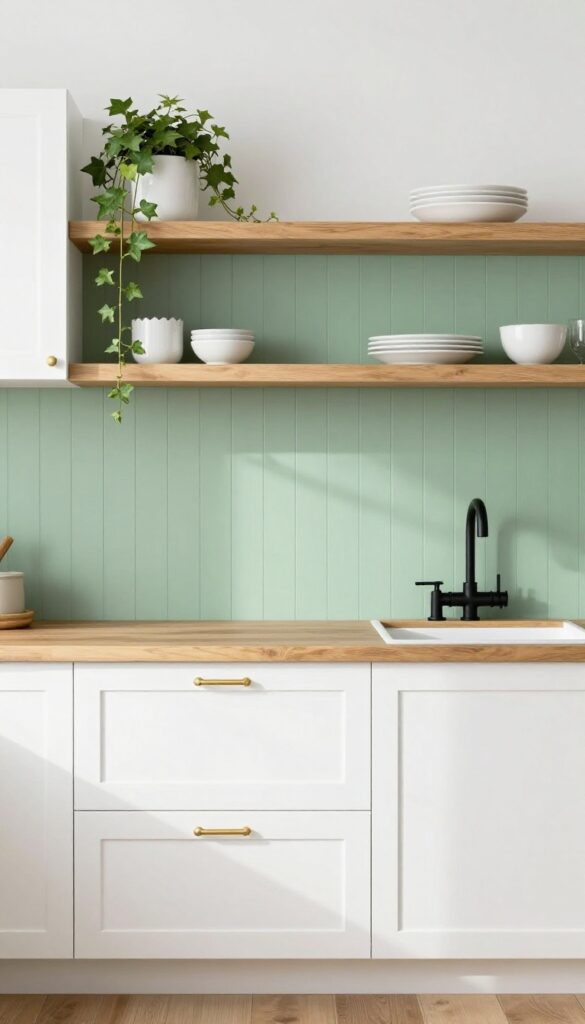
Sage green is having a moment, and for good reason. It’s soft enough to feel neutral but has enough pigment to make a statement. When you paint your bead board backsplash in this earthy hue, the texture of the vertical grooves catches the light differently throughout the day, adding depth without clutter.
The result is a kitchen that feels grounded, calm, and just a little bit unexpected.
Why It Works
Sage green sits comfortably between cool and warm tones, so it plays nicely with both white cabinets and natural wood accents. The bead board texture adds visual interest without competing with countertops or open shelving. Plus, painted bead board is forgiving—scratches and stains can be touched up with a small brush, making it a practical choice for busy kitchens.
Best For
This idea shines in kitchens that get good natural light, as the sage can read a bit gray in shade and greener in sun. It’s especially lovely in cottage-style homes, farmhouse kitchens, or any space where you want to introduce color without going bold. If you have warm wood floors or butcher block counters, sage green will make them look even richer.
Styling Tip
Pair sage green bead board with unlacquered brass hardware and a matte black faucet for a modern vintage feel. Keep upper shelves or cabinets light—white or natural wood—to let the backsplash be the star. A few open shelves with white dishes and trailing ivy complete the look without overdoing it.
4. Bead Board with a Shiplap Accent Wall
Layering textures is one of the easiest ways to make a kitchen feel custom without a full renovation. Pairing bead board on the backsplash with a shiplap accent wall creates a rich, dimensional look that still feels approachable. Keeping both finishes white keeps things airy and cohesive, while a painted shiplap wall in a soft blue or sage green adds a subtle pop of color that anchors the space.
It’s a weekend-friendly project that instantly upgrades an open-concept kitchen.
Why It Works
The combination of bead board and shiplap adds visual depth without overwhelming the room. The vertical lines of bead board contrast nicely with the horizontal lines of shiplap, creating a balanced, rhythmic texture that feels intentional and polished.
Best For
This idea shines in open-concept kitchens where the accent wall connects to the living or dining area. It’s also great for kitchens with an island or peninsula that can serve as a visual anchor between the two textures.
Styling Tip
To keep the look cohesive, use the same shade of white for both the bead board and shiplap if you want a monochromatic feel. For contrast, paint the shiplap a muted color like navy, charcoal, or olive, and tie it in with accessories like bar stools or open shelving.
5. Two-Tone Bead Board Backsplash
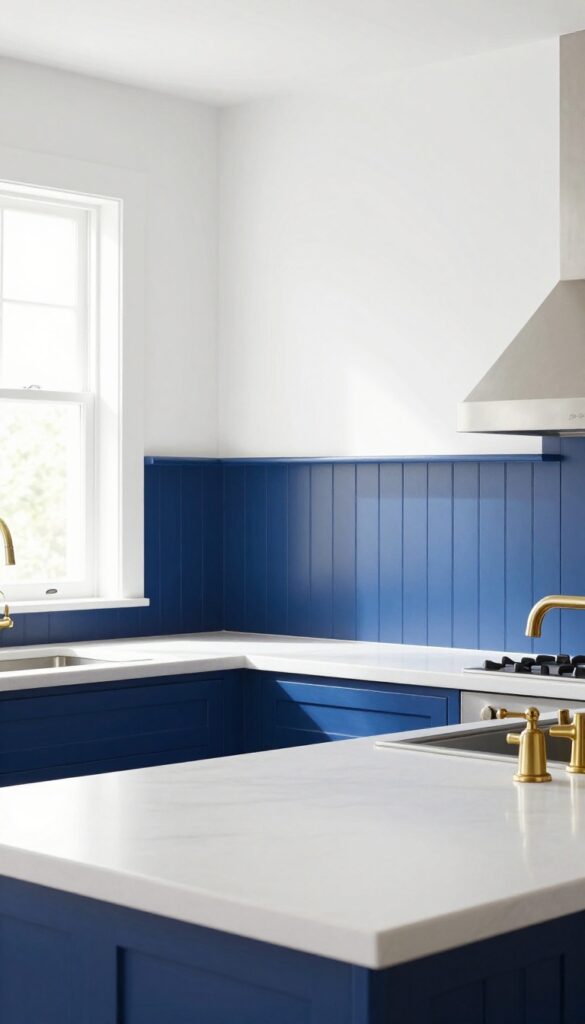
Breaking a bead board backsplash into two distinct color zones creates a custom, furniture-like feel that instantly upgrades a kitchen. The contrast draws the eye upward, making the ceiling feel taller while adding a subtle architectural detail. It’s a weekend-friendly project that delivers high impact without requiring a full renovation.
Why It Works
The two-tone approach mimics traditional wainscoting, which naturally adds depth and visual structure. Lighter colors on top reflect light and keep the space airy, while a darker lower band grounds the room and hides splashes and smudges better than a single light shade.
Best For
This treatment shines in kitchens with standard or low ceilings, where the vertical color break tricks the eye into seeing more height. It also works beautifully in galley kitchens or breakfast nooks that could use a dose of personality without overwhelming the space.
Styling Tip
For a crisp, nautical feel, pair navy blue below with bright white above. Keep the countertop neutral—white quartz or butcher block—and add brass or chrome hardware for a polished finish that ties the two tones together.
6. Bead Board with a Chalkboard Insert
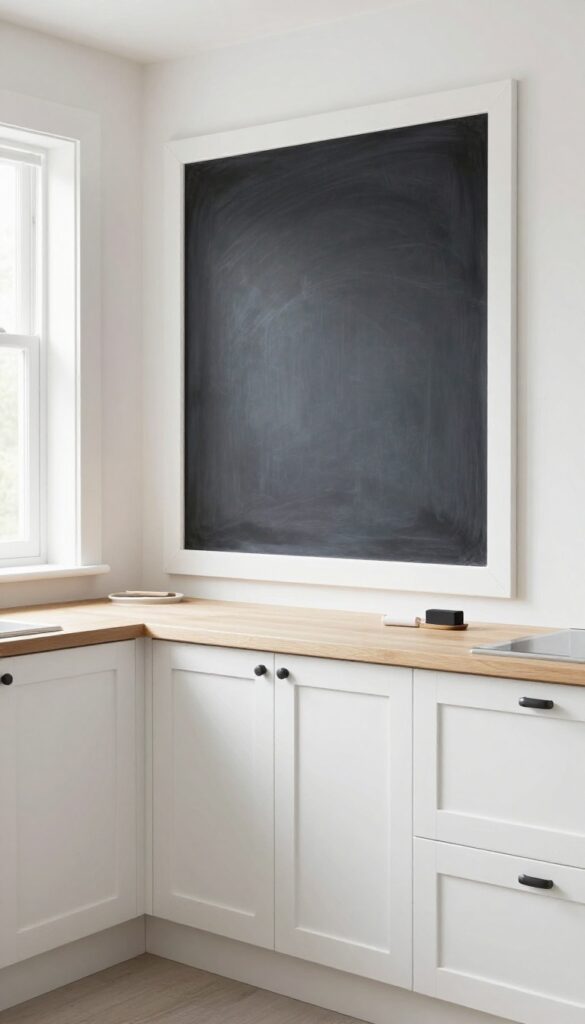
Swapping out a section of bead board for a chalkboard panel adds instant personality and a practical twist to your kitchen. The dark, matte surface breaks up the vertical lines of the bead board, creating a natural focal point that feels both playful and purposeful. It's the kind of detail that makes a weekend project feel like a custom upgrade, especially when you frame it with leftover bead board for a seamless look.
Why It Works
The contrast between the textured bead board and the smooth chalkboard keeps the eye moving, while the chalkboard itself serves as a daily tool for notes, menus, or reminders. It's a functional element that doesn't scream "novelty" because the bead board frames it like a built-in feature.
Best For
This idea shines in busy family kitchens or breakfast nooks where a message center saves counter space. It's also great for renters who can install a removable chalkboard panel within the bead board without permanent changes.
Styling Tip
Keep the chalkboard tidy with a small tray for chalk and an eraser mounted nearby. Use white or pastel chalk for a softer look, and consider a magnetic chalkboard panel if you want to clip notes or photos.
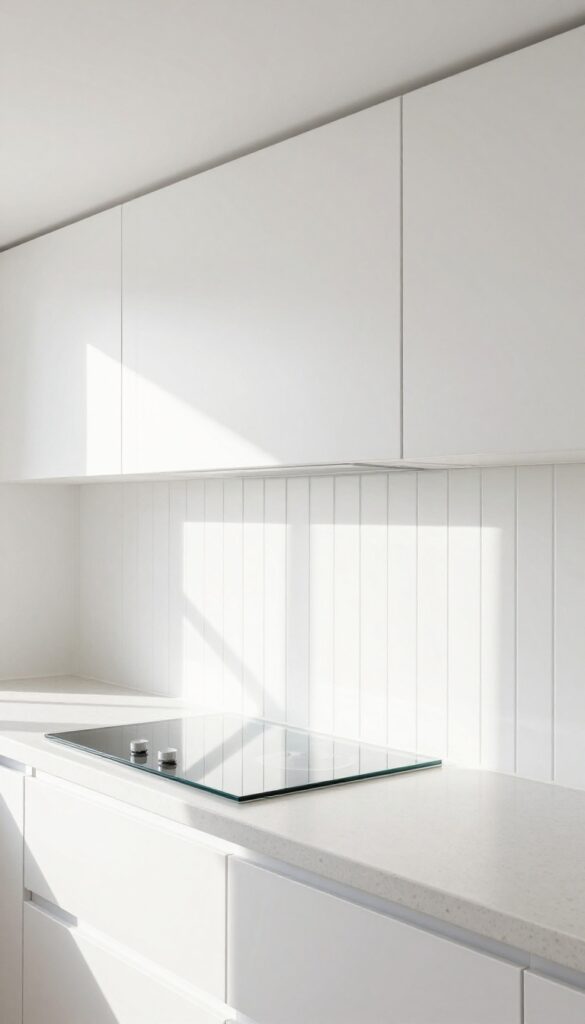
7. High-Gloss Bead Board for a Sleek Finish
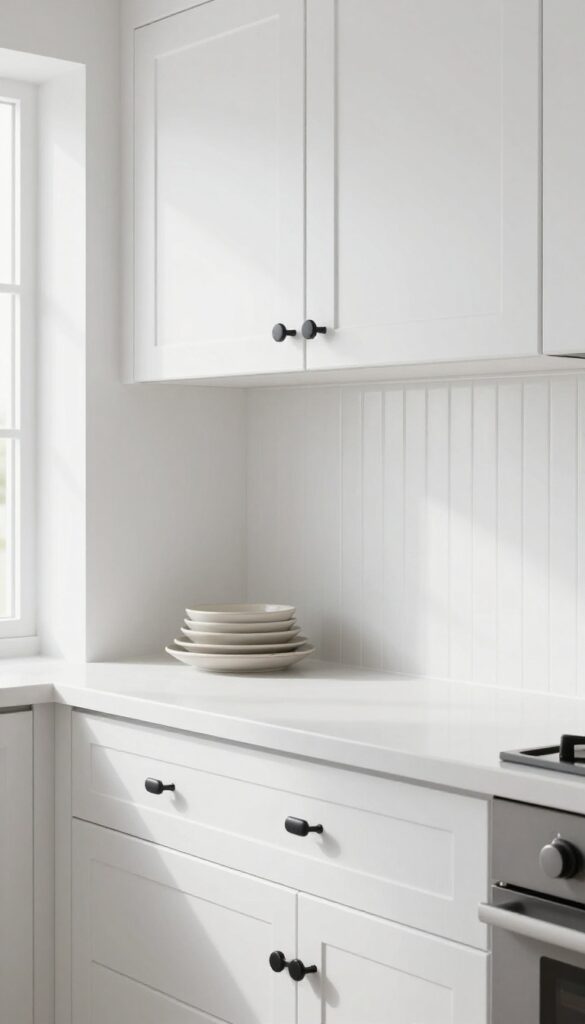
If you love the texture of bead board but want something a bit more polished, high-gloss paint is your answer. A coat of glossy enamel transforms the grooved surface into a reflective, almost lacquered finish that feels both modern and clean. It’s a clever way to get the best of both worlds: the visual interest of vertical lines plus a smooth, wipeable surface that stands up to splatters and steam.
For a weekend project, you can simply paint over existing bead board—no need to tear anything out.
Why It Works
High-gloss paint creates a hard, non-porous finish that resists moisture and grease, making it ideal for kitchen backsplashes. The reflective quality also helps bounce light around the room, making a small kitchen feel larger and brighter. Plus, it’s incredibly easy to clean—just a quick wipe with a damp cloth keeps it looking fresh.
Best For
This finish works beautifully in busy family kitchens where durability matters, as well as in galley kitchens or spaces with limited natural light that could use a brightness boost. It’s also a great choice for rental kitchens because you can update the look without a full renovation.
Styling Tip
Pair a high-gloss white bead board with matte black hardware and open shelving for a crisp, contemporary feel. If you’re feeling adventurous, try a bold glossy color like deep navy or coral—just keep surrounding elements neutral so the backsplash stays the star.
8. Bead Board with Open Shelving Above
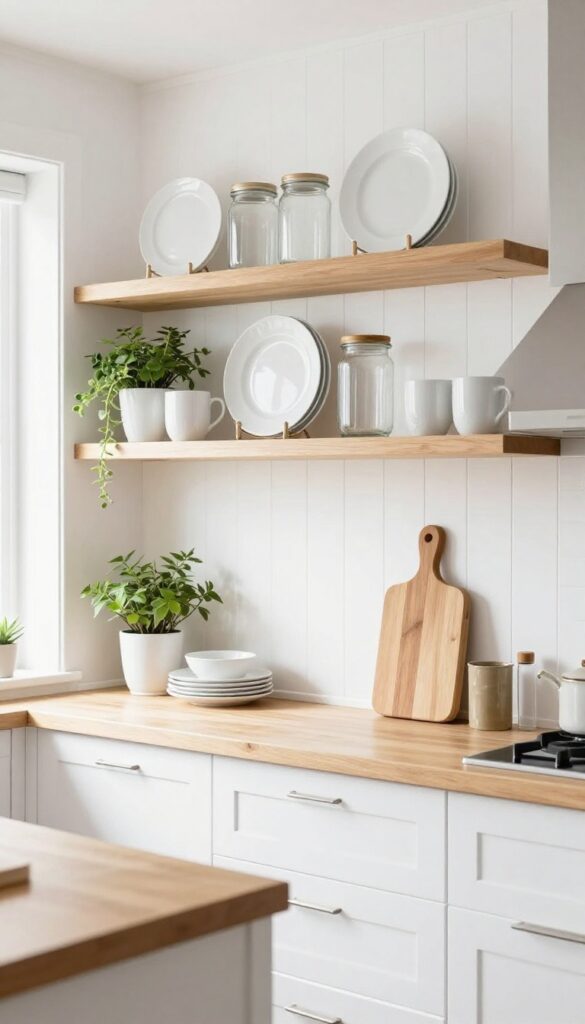
Partway up the wall, bead board adds texture without overwhelming the space. Above it, open shelves keep everyday dishes and favorite mugs within easy reach. The contrast between crisp white bead board and natural wood shelves feels both fresh and grounded, perfect for a kitchen that’s meant to be used and enjoyed.
Why It Works
This setup breaks up the visual weight of full-wall bead board, making the kitchen feel taller and more open. The shelves add practical storage without closing off the room, and the two-tone treatment gives you a custom look without a full renovation.
Best For
Ideal for kitchens with standard ceiling height where you want texture but not a dark or busy feel. Also great for renters or weekend DIYers, since you only install bead board on the lower half and can adjust shelf placement easily.
Styling Tip
Keep shelves clutter-free by grouping similar items—white dinner plates on one shelf, clear glass jars on another. Add a small trailing plant or a wooden cutting board for warmth. Stick to a neutral palette so the bead board remains the star.
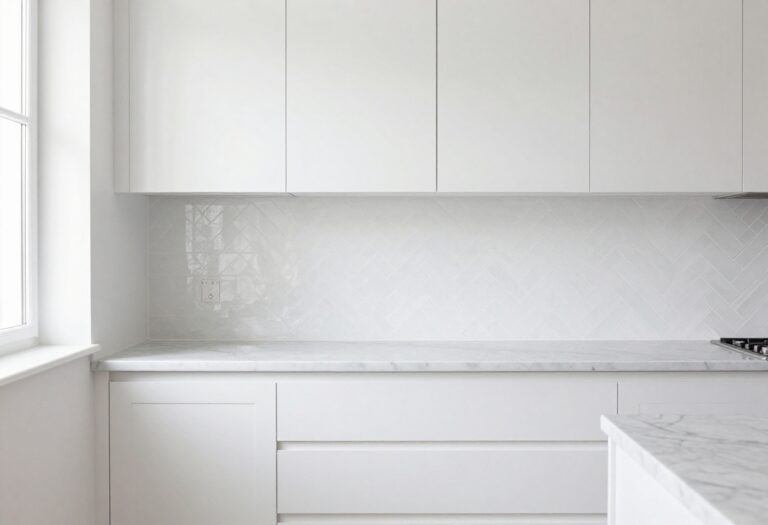
9. Bead Board in a Herringbone Pattern
Who says bead board has to run in straight lines? Cutting those familiar panels into smaller pieces and arranging them in a herringbone pattern instantly upgrades your kitchen backsplash from classic to custom. Yes, it takes a bit more patience and precision, but the result is a textured focal point that feels both sophisticated and personal.
Soft neutral paint keeps the pattern from overwhelming the room, letting the geometry do the talking.
Why It Works
The herringbone layout adds visual movement and depth without cluttering the space. It’s a clever way to make standard bead board feel unexpected and high-end, yet the materials remain budget-friendly and DIY-possible. The pattern naturally draws the eye, making your kitchen feel more dynamic and thoughtfully designed.
Best For
This idea shines in kitchens with a neutral palette where you want a subtle wow factor. It’s perfect for a weekend project if you’re comfortable with a saw and a level, and it works especially well on a single focal wall or behind a stove. Avoid it if you’re short on time or prefer a more minimalist, uniform look.
Styling Tip
Paint the herringbone bead board in a soft off-white or pale greige to keep the pattern prominent but not loud. Pair with warm wood open shelving and brushed brass hardware for a cozy, collected feel. Let the backsplash be the star—keep countertops simple and clutter-free.
10. Bead Board with a Tile Border
A bead board backsplash feels warm and cottage-like, but adding a slim tile border gives it a polished, custom look. Think of it as a picture frame for your wall—clean lines that protect the edges where splashes happen most. The contrast between the textured bead board and smooth tile creates a subtle visual pop that feels intentional, not accidental.
It's an easy upgrade that makes the whole kitchen look more put-together without a full renovation.
Why It Works
The tile border adds durability exactly where you need it—around the stove and sink—while the bead board keeps the soft, inviting character. This mix lets you enjoy the best of both materials: easy-to-clean tile in high-splash zones and the cozy texture of bead board everywhere else. It also visually defines the backsplash area, making the kitchen feel more finished and deliberate.
Best For
This idea shines in cottage, farmhouse, or transitional kitchens where you want a touch of tradition but with a modern, practical edge. It's also great for weekend DIYers because you can install bead board yourself and hire out just the tile border, keeping costs and effort manageable.
Styling Tip
Choose a tile border in a neutral shade like matte white subway tile or a soft gray mosaic to keep the focus on the bead board. For a bolder look, try a thin strip of penny tile or a contrasting color like navy or sage green. Keep the border width narrow—two to three inches—so it frames without overwhelming.
11. Bead Board Behind a Glass Cooktop
A glass cooktop already brings a sleek, modern feel to your kitchen, but pairing it with bead board behind it? That’s where the magic happens. The vertical grooves of the bead board contrast beautifully with the smooth, reflective surface of the cooktop, creating a layered look that feels both intentional and inviting.
Plus, because the bead board extends right up behind the cooktop, the whole wall reads as one continuous surface—no awkward gaps or mismatched materials.
Why It Works
Bead board is naturally heat-resistant when painted with a high-heat paint and sealed properly, so it holds up well behind a cooktop. The vertical lines also trick the eye into thinking the ceiling is higher, which makes a small kitchen feel more spacious. And since the bead board is installed in one seamless sheet, cleanup is a breeze—just wipe down the painted surface like you would any backsplash.
Best For
This idea shines in galley kitchens or smaller spaces where you want to maximize the sense of height and openness. It’s also a great pick if you’re going for a farmhouse-meets-modern vibe, because the bead board adds warmth without feeling too rustic.
Styling Tip
Choose a semi-gloss or high-gloss paint in a soft white or pale gray to keep the look airy and easy to clean. For extra durability, apply two coats of a quality polyurethane sealant. Pair with open shelving in a matching white to tie the whole wall together.
FAQ
Is bead board backsplash easy to install?
Yes, bead board is one of the most DIY-friendly backsplash options. You can buy pre-primed panels at any home improvement store, cut them to size with a saw, and attach them with adhesive and finishing nails. Most installations can be completed in a weekend.
Can bead board be used behind a stove?
Absolutely, but you need to use a heat-resistant paint and sealant. Bead board is made of wood or MDF, so it's important to protect it from high heat and grease. A high-gloss or semi-gloss finish is easier to clean and more durable.
How do I clean a bead board backsplash?
Simply wipe it down with a damp cloth and mild dish soap. Avoid abrasive cleaners that can scratch the paint. For tough grease spots, a mixture of vinegar and water works well.
The grooves can collect dust, so a soft brush attachment on your vacuum helps.
What paint finish is best for bead board?
Semi-gloss or high-gloss paint is recommended because it's durable, moisture-resistant, and easy to clean. Eggshell or satin finishes can work in low-moisture areas, but glossier finishes hold up better in a kitchen environment.
Can I install bead board over existing tile?
Yes, as long as the tile is clean, flat, and in good condition. You can glue bead board directly over tile using construction adhesive. This saves time on demolition and is a great way to update your kitchen without a full renovation.
Conclusion
Bead board backsplashes offer an affordable, stylish way to add texture and personality to your kitchen. Whether you go for classic white or a bold color, the options are endless and the installation is weekend-friendly. The best part is that you can customize the look to match your style without a major commitment.
We hope these 11 ideas inspire your next kitchen refresh. Remember, small changes can make a big impact, and bead board is one of those materials that feels both practical and charming. Happy decorating!