10 Waterproof Bathroom Flooring Ideas for Peace of Mind
Water sounds relaxing until it hits the floor at the wrong angle. I learned that the hard way after one tiny leak turned my “quick fix” bathroom into a weekend-long repair project. That mess pushed me to rethink flooring from the ground up.
Bathrooms take abuse every single day, yet most people still treat flooring like an afterthought. I want you to skip the stress and pick something that handles splashes, steam, and real life without drama.
Let’s talk waterproof flooring ideas that actually make sense and won’t have you panicking every time someone forgets the shower curtain.
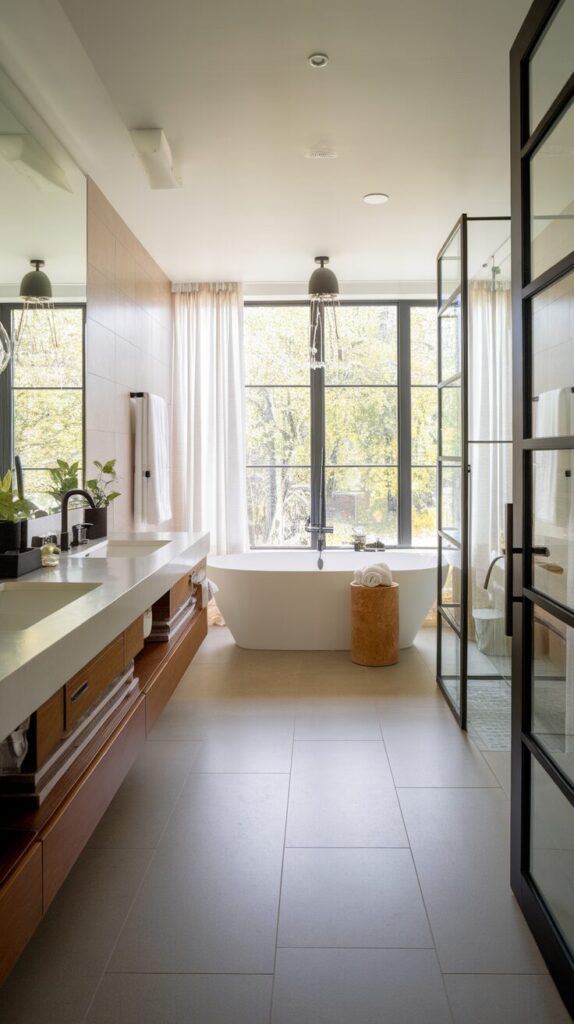
1. Luxury Vinyl Plank That Looks Shockingly Real
Bathrooms collect water like magnets, and regular wood flooring panics the moment moisture shows up. Luxury vinyl plank solves that headache by delivering a wood-look finish that laughs at spills and steam. I avoided vinyl for years because I assumed it looked cheap, then I saw newer planks in person and immediately changed my mind.
The surface stays warm underfoot, the texture feels convincing, and cleanup takes seconds instead of stress. I especially love this option for shared bathrooms where someone always splashes water everywhere and pretends nothing happened.
Why This Works
Luxury vinyl plank uses a waterproof core that blocks moisture from seeping downward. The tight locking system prevents water from sneaking between seams. You get visual warmth without the panic that real wood brings into wet spaces.
How to Do It
- Choose vinyl labeled 100% waterproof, not just water-resistant
- Install a moisture barrier if the subfloor feels questionable
- Click planks tightly and avoid rushing alignment
- Seal edges near tubs and toilets with waterproof caulk
Style & Design Tips
Stick with medium-tone wood shades for the most realistic look. Avoid ultra-glossy finishes because they highlight water spots fast. Wide planks make small bathrooms feel calmer and more modern.
Pro Tip or Budget Hack
Buy leftover boxes from flooring stores for serious discounts. Many people over-order, and those extras still look brand new.
2. Porcelain Tile That Handles Anything
Porcelain tile means business when it comes to water resistance. This material handles puddles, humidity, and heavy foot traffic without flinching. I once dropped a metal shelf corner onto porcelain and the tile stayed perfect while the shelf took the damage.
Porcelain works in almost any bathroom style, from spa-like retreats to bold modern spaces. The durability alone makes it worth considering if you want zero worries long term.
Why This Works
Porcelain absorbs very little water, which keeps moisture from traveling below the surface. The dense material resists cracks, stains, and warping. You gain peace of mind with almost no maintenance stress.
How to Do It
- Pick porcelain rated for floor use
- Use waterproof grout instead of standard grout
- Seal grout lines after installation
- Add non-slip finishes for safety
Style & Design Tips
Large-format tiles reduce grout lines and feel cleaner visually. Matte finishes look modern and hide water spots better. Avoid tiny tiles unless you enjoy scrubbing grout.
Pro Tip or Budget Hack
Choose porcelain that mimics stone or concrete for a luxury look without luxury pricing.
3. Sheet Vinyl for Full Coverage Protection
Sheet vinyl rarely gets credit, yet it quietly solves many bathroom problems. One seamless sheet covers the floor without cracks or joints where water can sneak in. I used this in a rental once and appreciated how forgiving it felt during busy mornings.
Modern sheet vinyl designs look far better than older versions, and installation stays straightforward. This option works great when budget and waterproofing matter more than trends.
Why This Works
Sheet vinyl creates a continuous barrier that blocks water entirely. The lack of seams reduces failure points. Moisture stays on the surface where it belongs.
How to Do It
- Measure carefully to avoid unnecessary seams
- Install over smooth, clean subfloor
- Secure edges with waterproof adhesive
- Seal around fixtures thoroughly
Style & Design Tips
Choose patterns that mimic tile or stone for a higher-end vibe. Avoid high-contrast designs that show dirt quickly. Neutral colors age better over time.
Pro Tip or Budget Hack
Many flooring stores discount end-of-roll vinyl at huge savings. Ask before you commit.
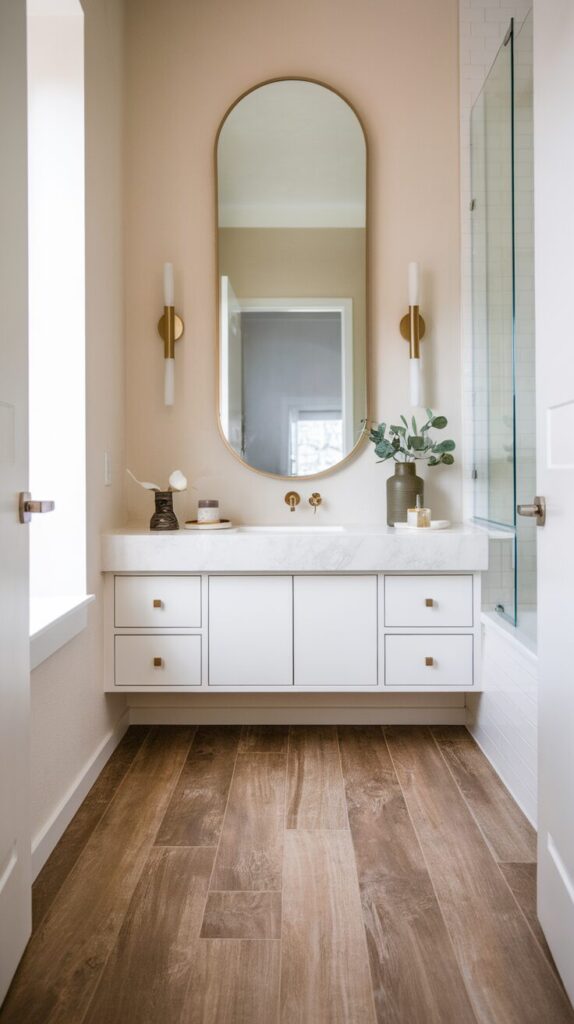
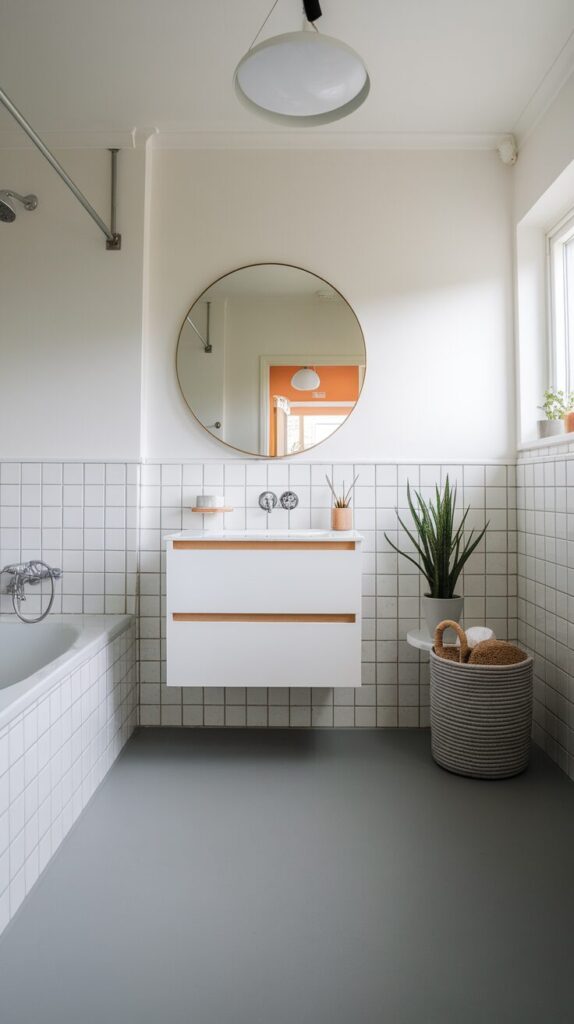
4. Waterproof Laminate That Finally Makes Sense
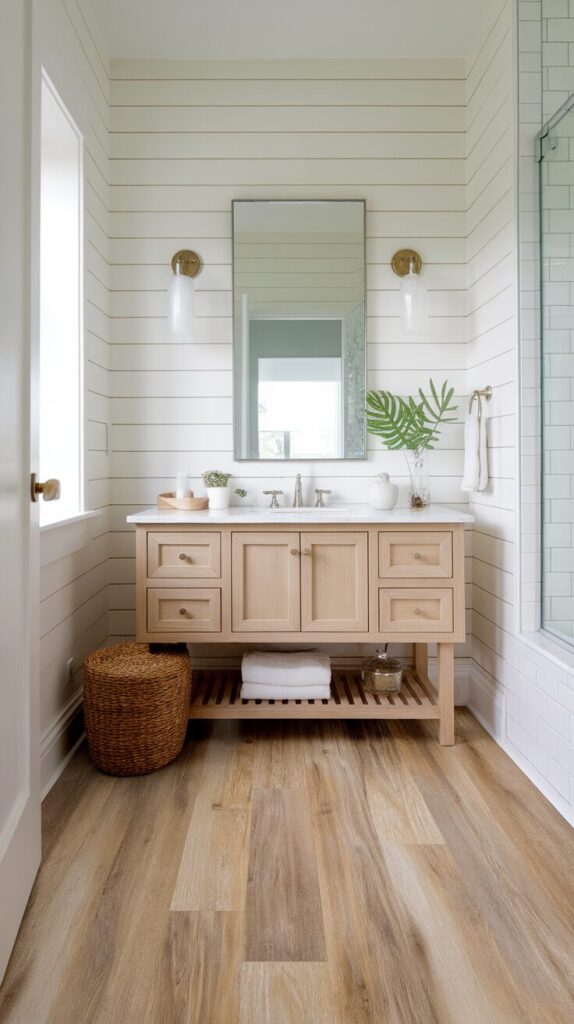
Laminate earned a bad reputation in bathrooms, and honestly, it deserved it for years. New waterproof laminate changes the game by combining sealed cores with moisture-blocking coatings. I stayed skeptical until I tested samples under running water.
The result surprised me, especially for guest bathrooms that need durability without constant splashes. This option gives you the wood look without the maintenance guilt.
Why This Works
Manufacturers seal the core and edges to prevent swelling. Tight joints reduce water infiltration. Proper installation keeps moisture from reaching the subfloor.
How to Do It
- Choose laminate labeled waterproof, not water-resistant
- Install with manufacturer-approved underlayment
- Seal perimeter edges carefully
- Wipe spills quickly for longevity
Style & Design Tips
Stick with lighter wood tones to keep bathrooms feeling open. Avoid high-gloss finishes that show every footprint. Texture adds realism without effort.
Pro Tip or Budget Hack
Use waterproof laminate in powder rooms where moisture exposure stays minimal.
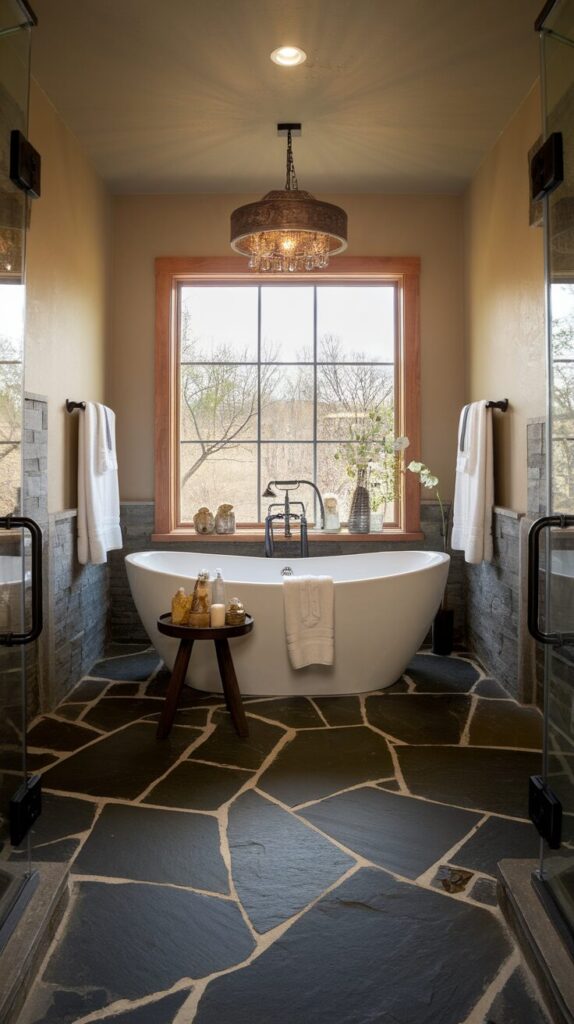
5. Natural Stone with Proper Sealing
Stone floors look stunning but demand respect. Marble, slate, or granite adds instant luxury, yet moisture can ruin the vibe fast without proper sealing. I love stone in bathrooms, but I never skip maintenance conversations.
This option suits homeowners who enjoy upkeep and want visual impact. Stone rewards care with timeless beauty.
Why This Works
Sealed stone repels water and resists stains. Dense varieties like granite handle moisture better than porous options. Proper care extends lifespan dramatically.
How to Do It
- Choose stone suitable for wet areas
- Apply high-quality penetrating sealer
- Reseal according to manufacturer guidelines
- Use non-slip finishes
Style & Design Tips
Slate hides water spots better than polished marble. Neutral stone tones pair well with bold fixtures. Avoid glossy stone on floors for safety.
Pro Tip or Budget Hack
Use stone tiles only in visible areas and pair with affordable waterproof flooring elsewhere.
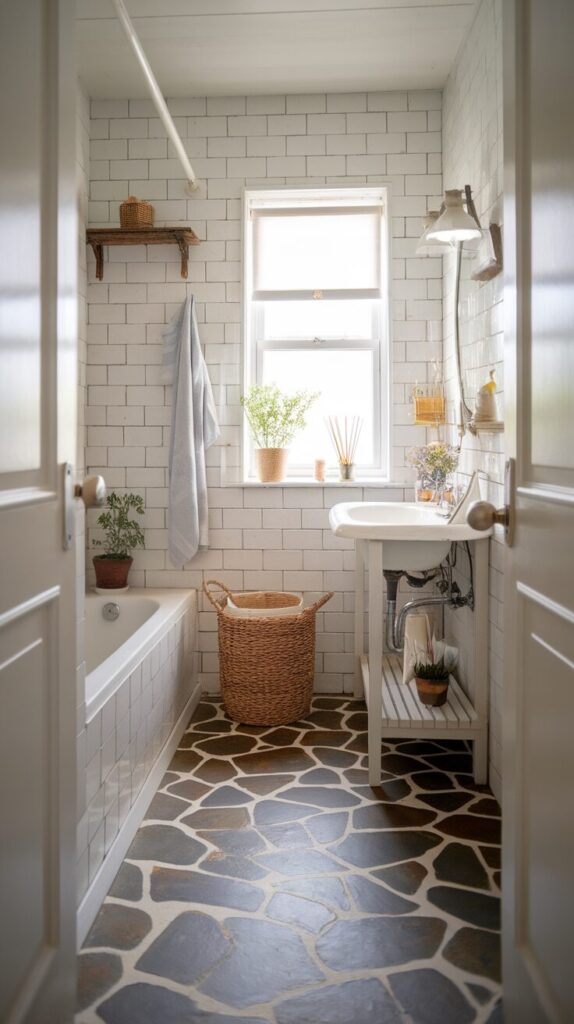
6. Cement Tile with a Protective Finish
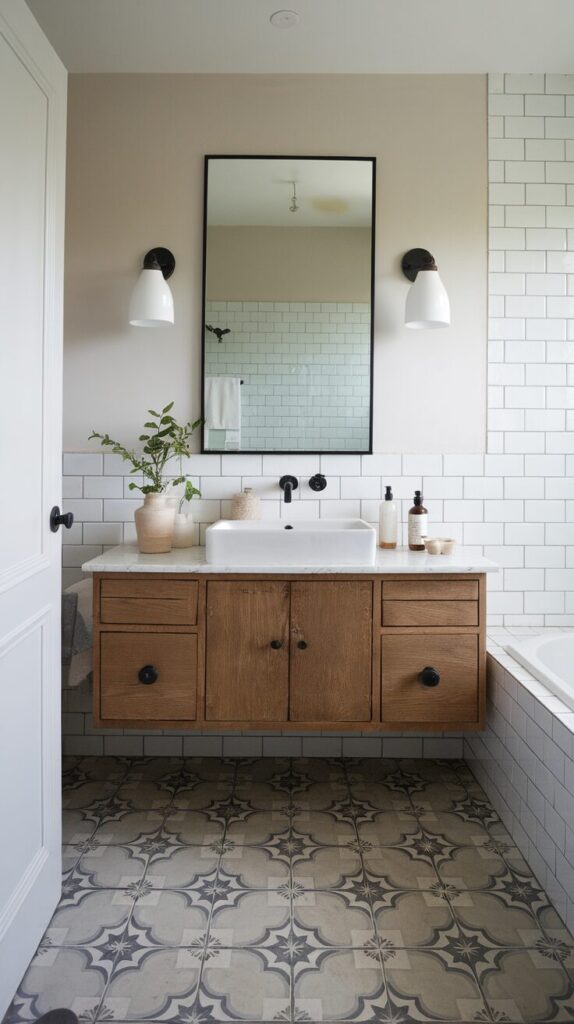
Cement tile brings personality into bathrooms fast. Bold patterns and colors turn the floor into a design feature. I love how cement tile transforms plain spaces into something memorable.
Waterproofing matters here, but proper sealing makes cement tile bathroom-friendly. This option suits creative homeowners who want impact.
Why This Works
Sealants create a moisture barrier over porous cement. Proper maintenance prevents water absorption. The tile handles foot traffic well when sealed.
How to Do It
- Install with experienced tiler
- Apply multiple layers of sealer
- Maintain with gentle cleaners
- Reseal periodically
Style & Design Tips
Limit patterns to floors and keep walls simple. Use matte sealers to avoid slippery surfaces. Balance bold designs with neutral fixtures.
Pro Tip or Budget Hack
Use cement tile as a border or focal zone instead of full coverage.
7. Pebble Tile for Spa Vibes
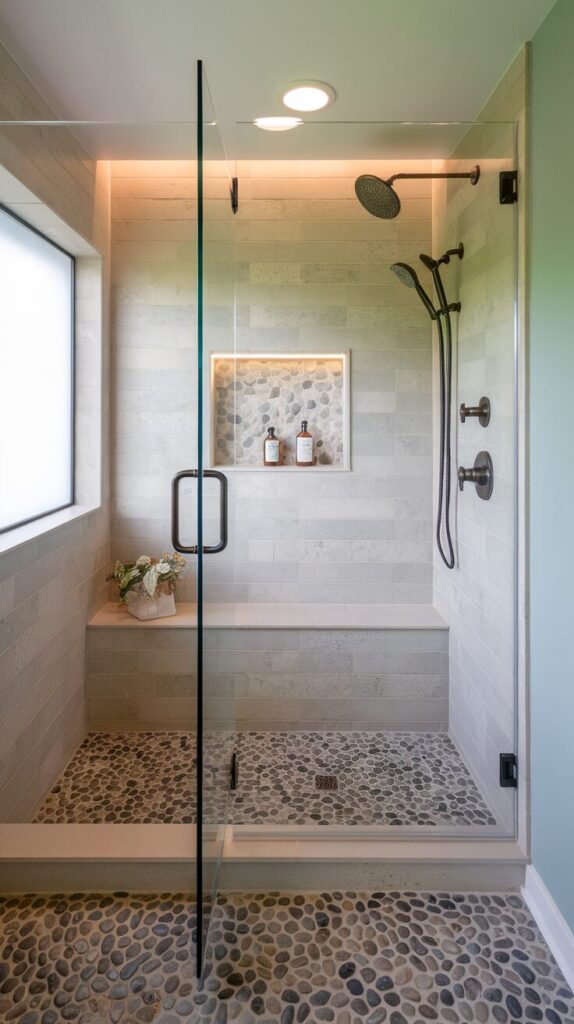
Pebble tile instantly adds texture and spa energy. I love the way it feels underfoot, especially in shower-adjacent areas. Water drains easily between stones.
This flooring suits walk-in showers or wet rooms beautifully. Maintenance requires patience, but the look delivers serious relaxation.
Why This Works
Natural gaps allow water to flow away efficiently. Sealed stones resist moisture damage. The texture reduces slipping risk.
How to Do It
- Install on waterproof membrane
- Use high-quality grout
- Seal thoroughly
- Clean gently
Style & Design Tips
Stick with neutral stones for timeless appeal. Avoid bright pebbles that overpower small rooms. Consistent stone size looks cleaner.
Pro Tip or Budget Hack
Use pebble tile only in shower zones to reduce maintenance load.
8. Rubber Flooring That Feels Unexpectedly Cool
Rubber flooring sounds odd until you experience it. This material resists water completely and feels soft underfoot. I tested it in a gym bathroom and appreciated the comfort instantly.
Modern rubber comes in sleek colors and patterns that suit minimalist spaces. It works well for family bathrooms and kids’ spaces.
Why This Works
Rubber blocks water penetration entirely. The surface resists mold and mildew. Comfort and safety stay high.
How to Do It
- Choose commercial-grade rubber
- Install with waterproof adhesive
- Seal seams carefully
- Clean with mild solutions
Style & Design Tips
Neutral rubber tones look sophisticated. Avoid bright colors unless you want playful energy. Matte finishes reduce glare.
Pro Tip or Budget Hack
Check commercial suppliers for discounted remnants.
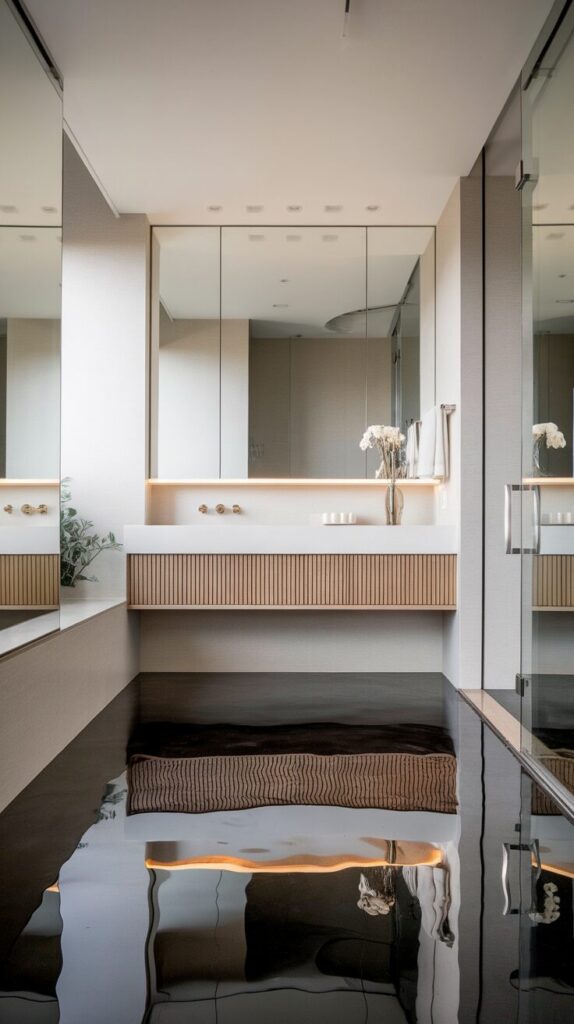
9. Epoxy Flooring for Total Waterproofing
Epoxy floors create a seamless, glossy surface that water cannot penetrate. This option feels bold and modern. I admire epoxy for its durability and zero-nonsense attitude.
It works best in contemporary bathrooms with clean lines. Installation requires precision but rewards effort.
Why This Works
Epoxy forms a continuous waterproof layer. No seams mean no leaks. The surface resists stains and damage.
How to Do It
- Prep subfloor thoroughly
- Apply epoxy evenly
- Allow proper curing time
- Add anti-slip additives
Style & Design Tips
Neutral shades keep epoxy elegant. Avoid overly shiny finishes for safety. Minimalist bathrooms suit epoxy best.
Pro Tip or Budget Hack
DIY kits cost less but demand patience and preparation.
10. Cork Flooring with Waterproof Sealant
Cork surprises many people in bathrooms. Sealed cork handles moisture while feeling warm and comfortable. I appreciate cork in smaller bathrooms where comfort matters.
This eco-friendly option suits relaxed, cozy spaces. Maintenance keeps it looking great.
Why This Works
Sealants protect cork from water intrusion. The material resists mold naturally. Comfort stays unmatched.
How to Do It
- Install floating cork planks
- Seal with waterproof finish
- Reapply sealant as needed
- Clean gently
Style & Design Tips
Natural cork tones feel calm and organic. Avoid dark stains that show wear. Simple décor pairs best.
Pro Tip or Budget Hack
Use cork in half baths where moisture stays minimal.
Waterproof Bathroom Flooring Strategy: Start Smart, Not Sorry
Before you choose any material, you need a clear plan that matches your lifestyle, not just your Pinterest board. I always start with one question: how much water actually hits this floor every day? A busy family bathroom needs a tougher strategy than a quiet powder room.
Break the space into zones and treat them differently if needed. The area near the shower and tub handles the most moisture, so it deserves the most waterproof option. You can often use slightly less heavy-duty flooring in low-splash areas without compromising safety.
Think long term instead of short term trends. Flooring replacement costs time, money, and sanity, so choose materials that match your maintenance habits. If you hate resealing surfaces, skip anything that demands frequent upkeep.
Always evaluate the subfloor before installing anything new. Even the best waterproof flooring fails if you ignore hidden moisture issues underneath. Fix leaks, level the surface, and install proper underlayment before you lay a single plank or tile.
Finally, balance design with function from the start. Waterproof does not have to mean boring, and stylish does not have to mean fragile. When you choose materials that handle moisture confidently, you protect both your home and your peace of mind.
Common Mistakes to Avoid
Many homeowners confuse water-resistant with waterproof, and that misunderstanding causes expensive damage. Water-resistant materials handle small spills, but they often swell or warp under constant humidity. Always double-check product specifications before you commit.
People also rush installation and skip sealing steps. Even premium materials fail when you ignore grout sealing, edge caulking, or proper adhesive use. Take your time because shortcuts cost more later.
Another mistake involves ignoring slip resistance. A glossy floor may look stunning, but it turns risky when water hits the surface. Choose finishes that balance style with safety, especially in homes with kids or older adults.
Homeowners often overlook ventilation. Poor airflow traps humidity and slowly weakens flooring materials. Install proper exhaust fans and actually use them after showers.
Lastly, many people choose flooring based only on price. Cheap materials sometimes work, but only when they truly fit the environment. Invest wisely where moisture exposure stays high.
Installation & Maintenance Essentials
Professional installation often delivers better long-term performance, especially for tile, epoxy, or stone. Skilled installers understand slope, sealing, and moisture barriers. If you go the DIY route, follow manufacturer guidelines exactly.
Routine maintenance protects your investment. Wipe standing water quickly, clean with non-abrasive products, and avoid harsh chemicals that break down sealants. Small habits prevent big problems.
Inspect grout lines, seams, and edges every few months. Reapply sealant when needed instead of waiting for visible damage. Consistent upkeep extends the life of almost any waterproof flooring.
Pay attention to early warning signs. Soft spots, discoloration, or musty smells usually signal moisture issues beneath the surface. Address problems immediately before they spread.
Budget Planning & Long-Term Value
Set a realistic budget that includes materials, underlayment, sealants, and labor. Many homeowners underestimate installation costs and overspend on the surface material. Plan the full project before you purchase anything.
Consider long-term durability instead of upfront savings. A slightly higher initial cost often reduces repair expenses later. Waterproof flooring protects subfloors, cabinetry, and surrounding finishes from damage.
Factor in resale value as well. Buyers appreciate bathrooms that feel solid, clean, and well-maintained. Durable flooring adds subtle confidence during home inspections.
Avoid changing flooring just because trends shift. Neutral, timeless designs usually age better than bold experiments. Choose materials that still look good five or ten years from now.
Frequently Asked Questions
Is waterproof flooring really necessary in every bathroom?
Yes, especially in full bathrooms with showers or tubs. Moisture exposure happens daily, and waterproof flooring reduces the risk of hidden damage.
What is the most durable waterproof bathroom flooring option?
Porcelain tile and epoxy flooring typically offer the highest durability. Both resist water completely and handle heavy traffic well.
Can I install waterproof flooring over existing tile?
Sometimes, but only if the existing surface sits level and stable. Uneven or damaged tile requires removal first.
How often should I reseal stone or cement tile floors?
Most sealants last one to three years depending on traffic and moisture levels. Follow the manufacturer’s guidelines and inspect regularly.
Does waterproof flooring prevent mold completely?
Waterproof surfaces reduce mold risk, but proper ventilation and cleaning still matter. Good airflow plays a huge role in prevention.
What flooring works best for small bathrooms?
Luxury vinyl plank, porcelain tile, and sheet vinyl work especially well in small spaces. They handle moisture easily and offer flexible design options.
Final Thoughts
Bathroom flooring deserves more respect than it usually gets. Water damage ruins budgets and moods faster than almost anything else in a home. You can avoid that mess with smarter choices and realistic expectations.
Pick one idea that fits your space and lifestyle, then build from there. Trust me, your future self will thank you every time the floor stays dry and drama-free.