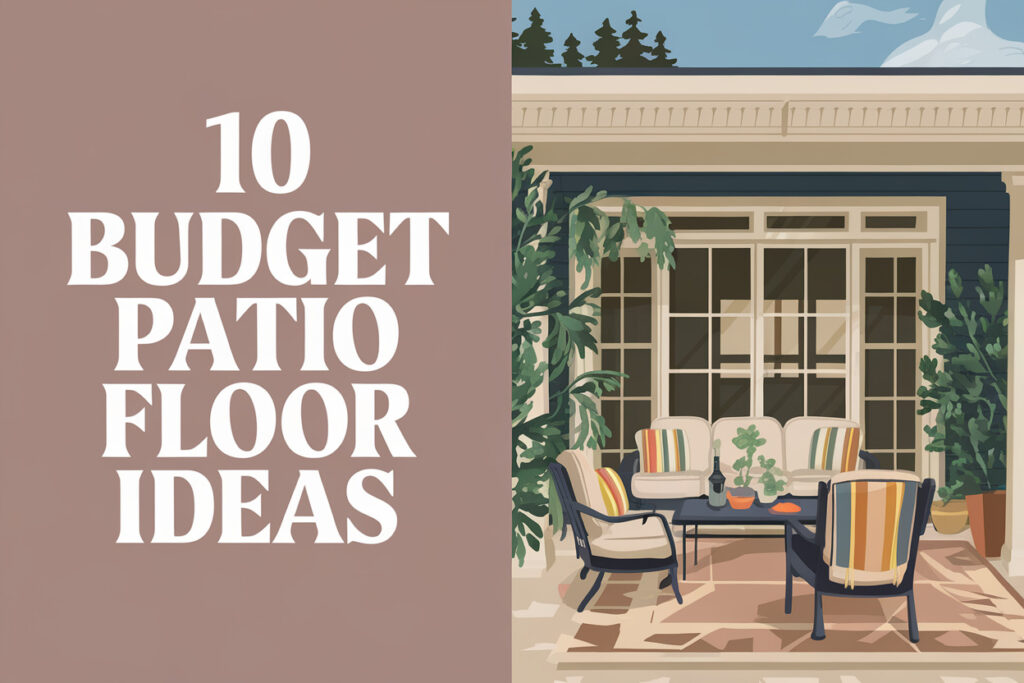
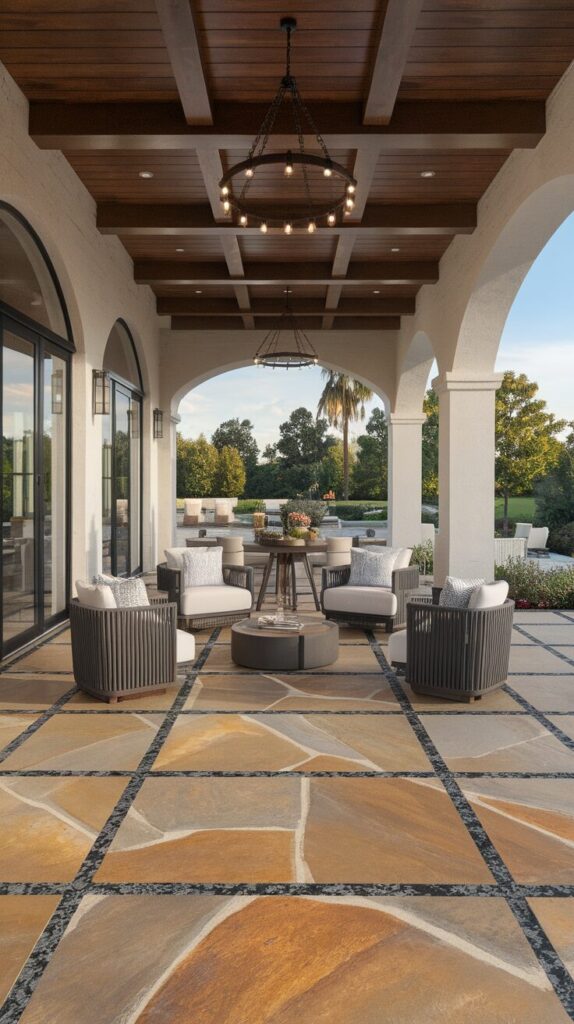
10 Budget Patio Floor Ideas That Look Expensive
Warm sunlight hits your feet before your coffee hits your lips, and that moment decides your mood for the whole day.
A rough, ugly patio floor kills that vibe fast, no matter how cute the furniture looks. I’ve learned the hard way that the floor controls the entire outdoor mood.
I once tried to ignore my patio floor and decorate around it, and FYI, that strategy failed hard. The space always felt unfinished, no matter how many plants I dragged out there.
That frustration pushed me to hunt down patio floor ideas that look luxe without wrecking my wallet.
1. Painted Concrete with a Designer Pattern
I’ll say it straight, plain concrete looks sad and lazy if you leave it alone. A little paint and pattern turn that dull slab into something that looks custom and intentional. This idea works because it transforms what you already have instead of hiding it.
Painted concrete adds personality fast, especially when you choose a pattern that mimics tile or stone. I love how one weekend of work can totally change how a patio feels. The best part involves the cost, because paint beats ripping out concrete every time.
This approach works because the concrete already gives you a solid, flat base. Paint bonds well to properly cleaned concrete, which means the design stays crisp. Patterns trick the eye into seeing detail and texture, which reads as expensive.
To do it right, follow a simple process.
- Clean the concrete thoroughly and let it dry completely.
- Apply a concrete primer so the paint sticks long-term.
- Use painter’s tape or a stencil for clean pattern lines.
- Seal everything with a weather-safe topcoat for durability.


Stick with neutral bases like warm gray, sand, or soft white for a high-end look. Bold patterns shine more when the color palette stays limited. Avoid super bright colors unless you want playful instead of expensive.
Here’s my go-to budget hack from experience. Use porch and floor paint leftovers from indoor projects or clearance colors from hardware stores. I’ve scored premium paint for half price just because the shade went out of season.
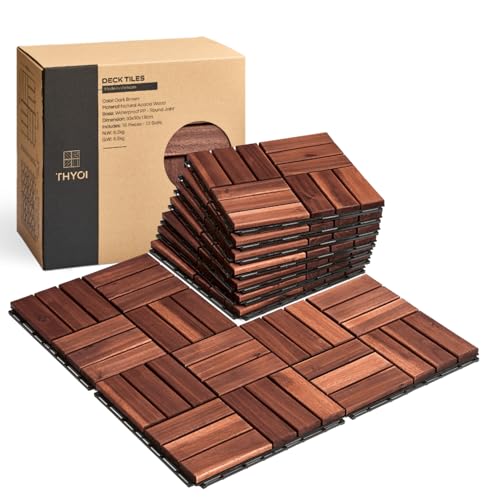
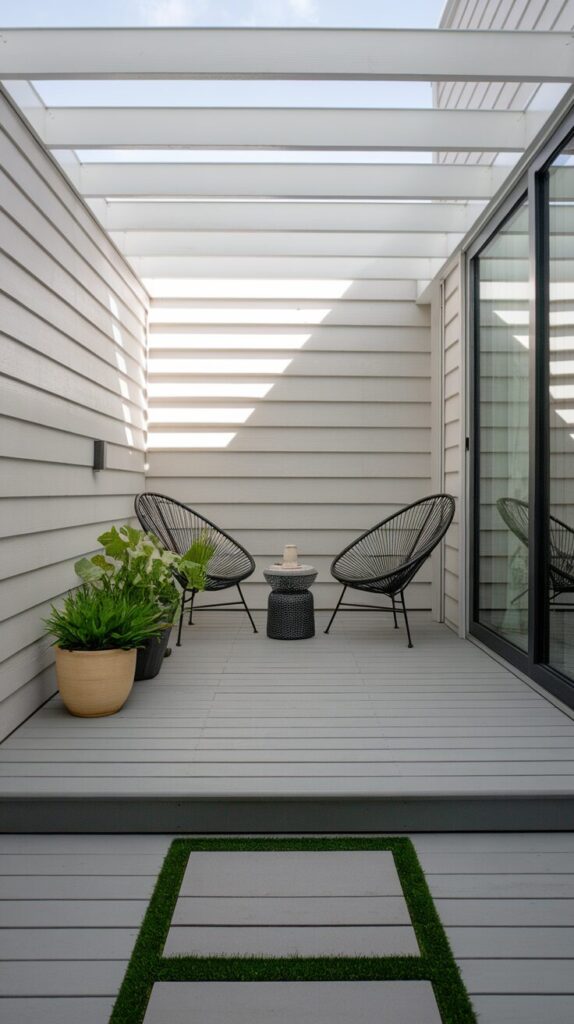
2. Outdoor Peel-and-Stick Deck Tiles
This might sound dramatic, but peel-and-stick deck tiles feel like a small miracle. You get instant gratification with almost zero mess, and the results look shockingly polished. IMO, this ranks as one of the easiest glow-ups you can do.
These tiles snap or stick together over existing surfaces like concrete or old decking. They mimic wood, stone, or composite finishes without the price tag. I love how renters can use them without permanent changes.
The magic here comes from structure and repetition. Uniform tile sizing creates clean lines that scream intention. When the pattern stays consistent, the floor instantly feels designed.
Installation stays beginner-friendly.
- Sweep and wash the surface so dirt doesn’t block adhesion.
- Dry everything fully before placing tiles.
- Start from one corner and work outward.
- Trim edge tiles with a utility knife if needed.

Choose wood-look tiles in warm tones for that upscale deck vibe. Avoid mixing too many finishes because chaos kills elegance. Clean edges and straight alignment matter more than fancy patterns.
My favorite money-saving move involves watching for end-of-season patio sales. Big-box stores slash outdoor flooring prices late summer. I’ve grabbed premium-looking tiles at nearly half cost with a little patience.
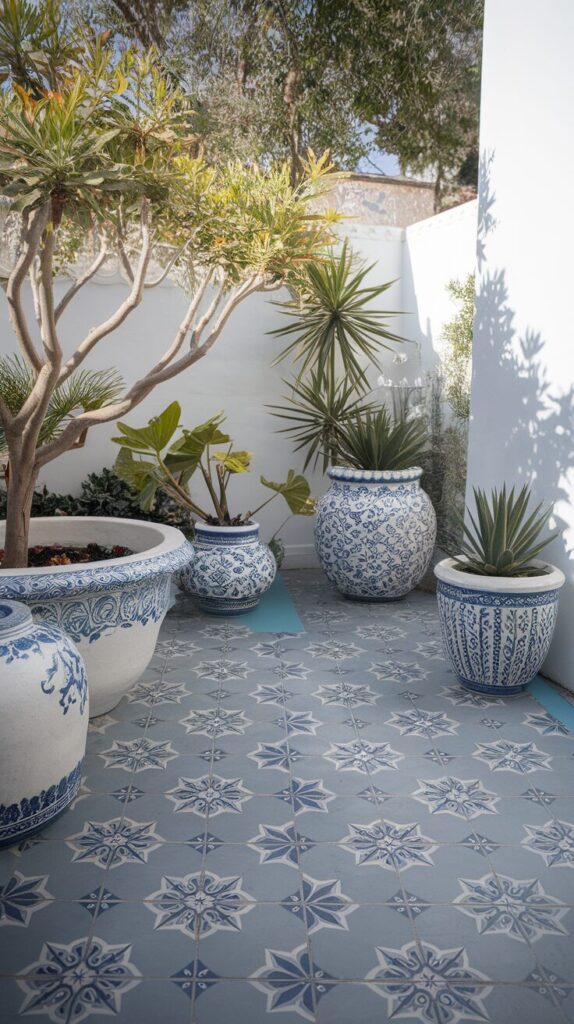
3. Brick Pavers in a Simple Grid Layout
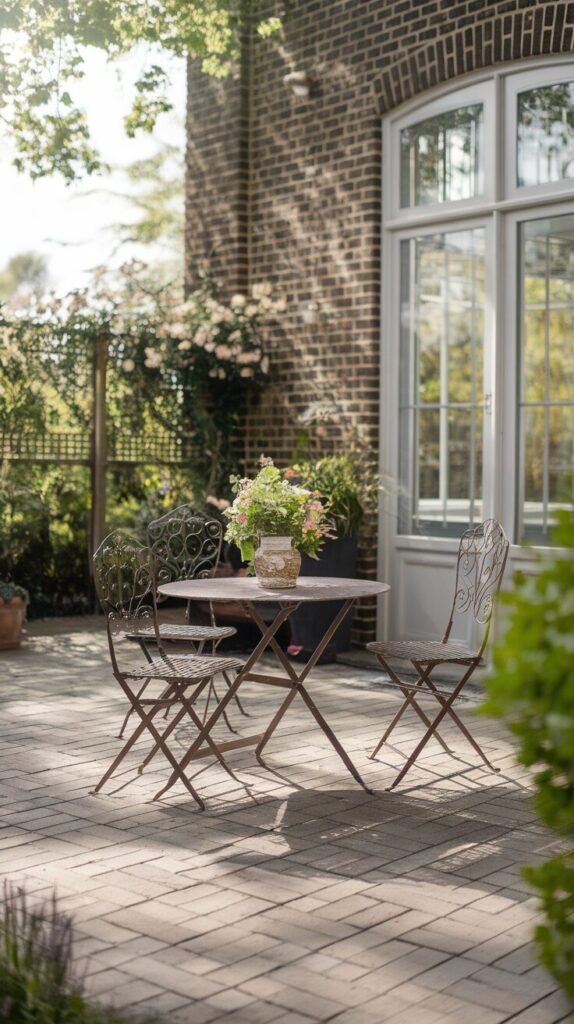
Brick instantly adds charm, and no one needs to know how affordable it can be. A basic grid layout feels classic, clean, and timeless. This option works especially well for traditional or cottage-style homes.
Brick pavers bring weight and texture that cheap materials lack. The grid pattern avoids visual chaos and keeps the look grounded. I love how this setup ages beautifully instead of looking worn.
This works because brick creates natural contrast against greenery and furniture. The straight pattern keeps the eye calm and organized. Your patio feels intentional instead of improvised.
You can tackle this project with patience and prep.
- Level the ground and add a sand base.
- Lay pavers tightly in straight rows.
- Check alignment frequently as you go.
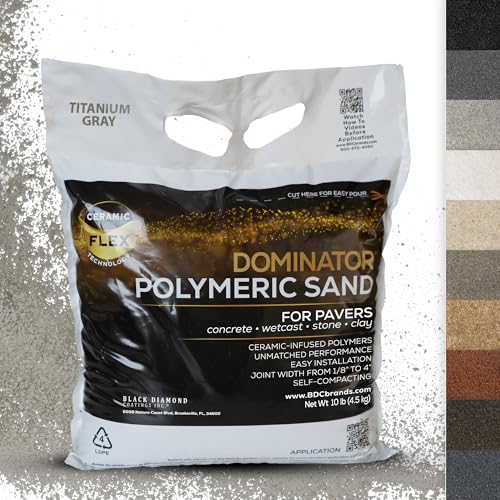
- Fill gaps with polymeric sand for stability.

Stick to classic red, clay, or muted brown tones. Avoid glossy finishes because real brick never shines. Simple patterns almost always look more expensive than complex ones.
Here’s a real-life hack I swear by. Look for reclaimed or leftover pavers from local sellers. People sell extras cheap after finishing their own projects.
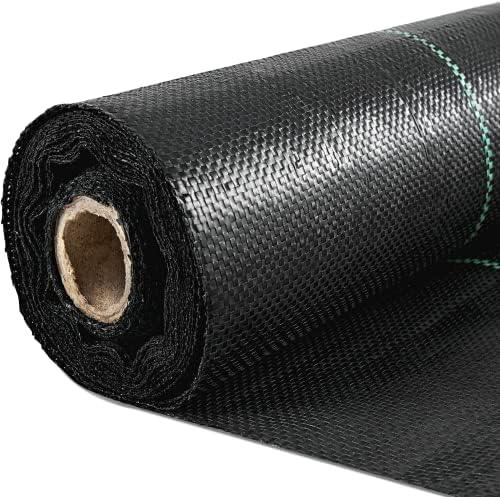
4. Gravel with Stepping Stones for a Modern Look
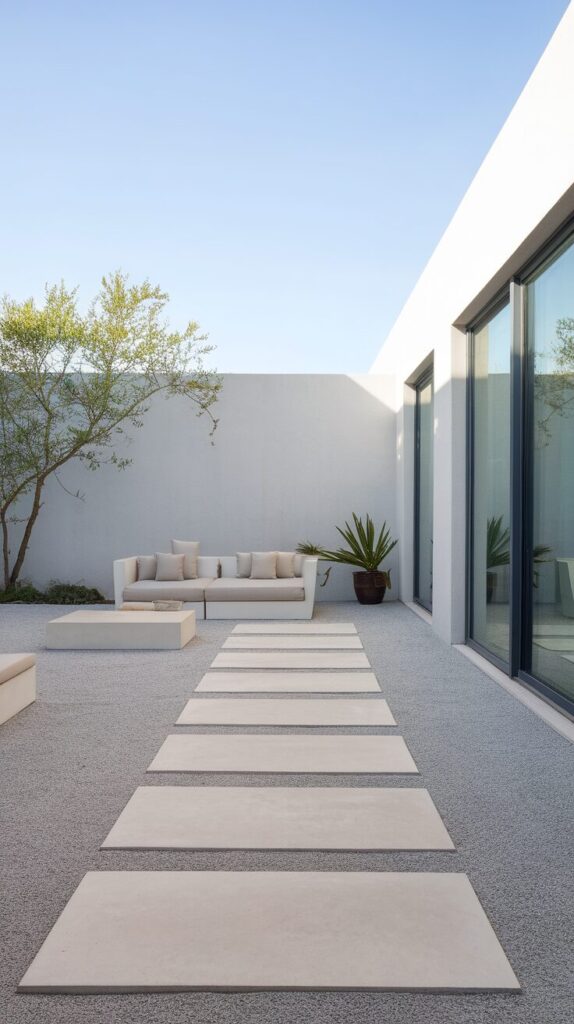
Gravel sounds basic, but the right setup looks intentional and chic. Stepping stones elevate the entire design instantly. This combo works great for relaxed, modern patios.
The contrast between loose gravel and solid stones creates visual interest. It also drains well, which saves you future headaches. I love how this setup feels casual but styled.
Function drives the appeal here. Gravel handles weather easily and stays budget-friendly. Stepping stones guide movement and prevent the area from feeling messy.
The setup stays refreshingly simple.
- Lay landscape fabric to block weeds.
- Spread gravel evenly across the area.
- Place stones with consistent spacing.
- Press stones slightly into the gravel for stability.
Choose light gravel shades for a brighter, cleaner feel. Large rectangular stones feel more modern than small round ones. Avoid uneven spacing because it throws off the whole look.

Here’s my favorite shortcut. Buy gravel in bulk instead of bags if possible. The price difference adds up fast on larger patios.
5. Stenciled Faux Tile on Existing Floors
Real tile costs real money, but stenciled tile looks just as stunning from a distance. This trick works beautifully on concrete or old tile. I love how customizable it feels.
Stencils let you fake intricate designs without skilled labor. You control color, scale, and style completely. Every patio ends up looking unique.
The illusion works because patterns distract the eye from material. Repeated shapes create rhythm and flow. People notice the design before they question the surface.
Execution stays manageable with patience.
- Clean and prep the surface thoroughly.
- Secure the stencil tightly to avoid bleed.
- Use a foam roller for even coverage.
- Seal the design to protect it outdoors.


Muted blues, soft blacks, and earthy neutrals read most expensive. Avoid overly busy designs unless the patio stays large. Balance matters more than boldness.
My budget tip comes from trial and error. Reuse one stencil across multiple areas for consistency. That repetition makes everything feel custom.
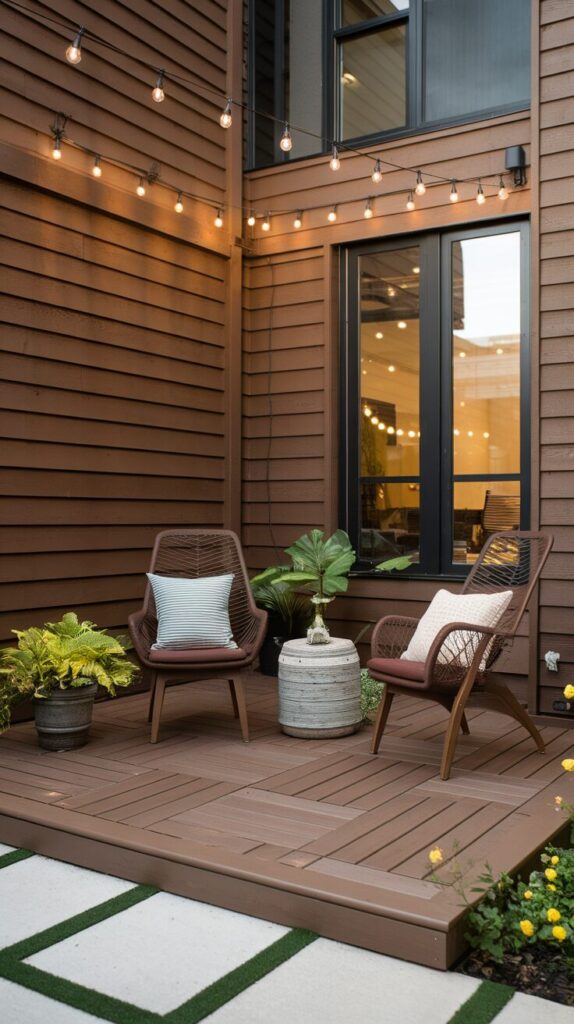
6. Wooden Pallet Flooring for a Cozy Vibe

Wood always warms up a space, and pallets make it affordable. This idea fits casual, boho, or rustic patios perfectly. I’ve used this more than once with great results.
Pallet boards add texture and character instantly. Sanding and sealing elevate them beyond their humble origin. The end result feels intentional, not scrappy.
This works because wood introduces natural warmth. Horizontal lines visually widen small patios. The floor instantly feels inviting.
You can DIY this without fancy tools.
- Break down pallets carefully.
- Sand boards smooth to avoid splinters.
- Arrange boards tightly over a level base.
- Seal with outdoor wood protector.
Stick to consistent stain tones for a polished look. Avoid mixing too many wood shades together. Uniformity sells the expensive illusion.
Here’s the real win. Many businesses give pallets away for free. A little effort turns trash into something gorgeous.
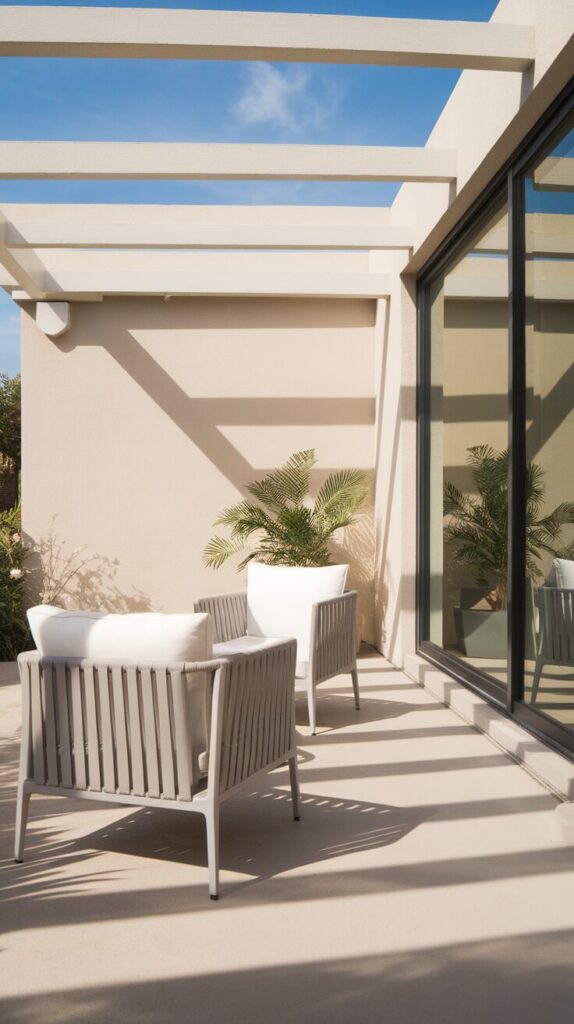
7. Outdoor Area Rugs Layered Over Concrete
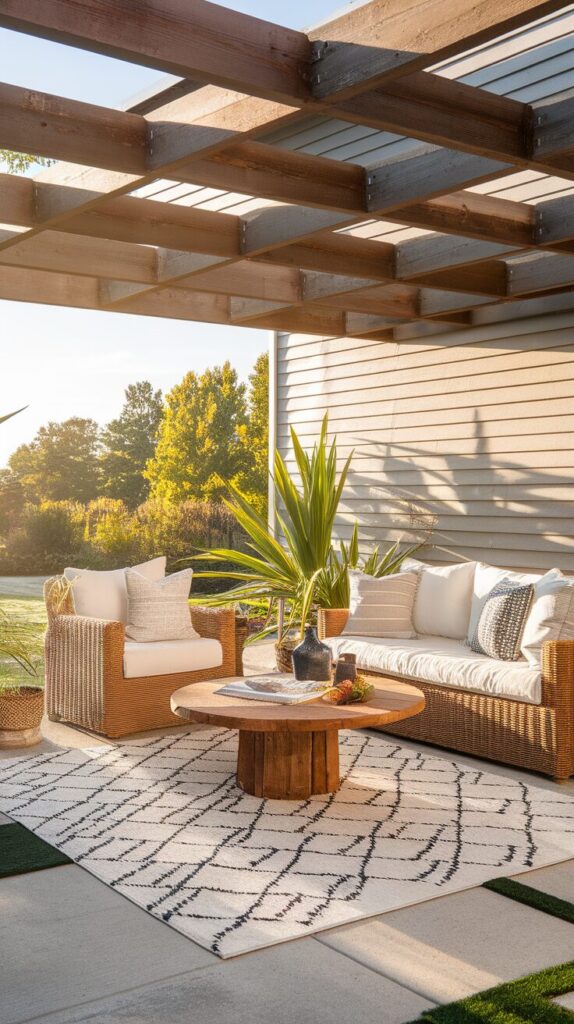
Sometimes the easiest fix works best. A bold outdoor rug hides ugly floors instantly. This option works great for renters or commitment-phobes.
Rugs define space and add softness underfoot. They also introduce color without permanent changes. I love how quickly this transforms the vibe.
This works because rugs create visual boundaries. They trick the eye into seeing a finished floor. Texture adds depth without construction.
Getting started takes minutes.
- Measure your patio carefully.
- Choose weather-resistant materials.
- Secure edges with rug tape if needed.
- Layer with furniture to anchor the look.
Choose patterns with subtle contrast for an upscale feel. Avoid tiny prints that read busy outdoors. Larger patterns photograph beautifully too.
Budget-wise, shop end-of-season sales hard. Outdoor rugs drop fast in price once summer ends.
8. Concrete Pavers in a Herringbone Pattern

Herringbone always looks designer, no exceptions. This pattern instantly elevates basic materials. I love using it when I want visual drama.
The angled layout adds movement and interest. It feels custom even with budget pavers. Guests always assume it cost more than it did.
This works because the pattern creates depth. Diagonal lines guide the eye across the space. Your patio feels dynamic instead of flat.
You’ll need patience, not expertise.
- Prepare a level sand base.
- Lay pavers at a consistent angle.
- Check alignment every few rows.
- Lock everything in with joint sand.
Stick to neutral gray or beige pavers. Busy colors fight the pattern. Let the layout do the talking.
My pro tip saves money. Buy basic rectangular pavers instead of specialty shapes. The pattern carries the luxury.
9. Faux Stone Concrete Overlays
If you want drama, this delivers. Concrete overlays mimic real stone beautifully. They completely transform tired slabs.
These overlays add texture and color variation. The finish looks organic and high-end. I love how durable they feel.
This works because the surface gains dimension. Texture catches light and shadow naturally. The floor stops looking flat.
Installation takes some effort.
- Clean and prep the concrete.
- Apply overlay evenly.
- Stamp or texture before it sets.
- Seal thoroughly for longevity.
Stick to natural stone colors for realism. Avoid overly dark tones that show dust. Subtle variation sells authenticity.
Here’s the hack. DIY overlay kits cost far less than professional installs. Careful prep makes all the difference.
10. Painted Wood Deck Tiles in Neutral Tones
Deck tiles already help, but paint levels them up. Neutral tones make everything feel intentional. This idea works well on small patios.
Paint unifies mismatched materials instantly. Soft colors reflect light and open the space. I love how clean this looks.
This works because consistency matters. One color calms the eye. The space feels curated.
The process stays simple.
- Sand tiles lightly for adhesion.
- Use exterior-grade paint.
- Apply thin, even coats.
- Seal for weather protection.
Stick to warm whites, greige, or soft gray. Avoid high-gloss finishes outdoors. Matte reads more expensive.
My budget trick saves time. Paint tiles before installation. You’ll get cleaner edges and faster results.
The Smart Patio Flooring Strategy (Plan Before You Spend)
Before you buy a single tile or open a paint can, you need a simple plan. A beautiful patio floor starts with measurements, climate awareness, and realistic expectations. I’ve rushed projects before, and I’ve paid for that impatience later.
Start by measuring your patio accurately and calculating material needs with a 10 percent buffer. That extra margin prevents frustrating mid-project supply runs. It also protects your budget from last-minute price hikes.
Next, think about your climate and drainage. Rain, humidity, and direct sun exposure change how materials behave. A cheap material that fails in six months costs more than a durable one installed once.
Finally, align the flooring choice with how you actually use the space. Entertaining guests requires stability and easy cleaning. A quiet reading corner allows softer, more decorative solutions.
Budget Planning & Material Comparison Guide
Every patio project needs a realistic cost breakdown. Materials, tools, prep supplies, and sealants add up quickly. I always create a rough spreadsheet before I commit.
Concrete paint and stencils usually sit at the lowest cost tier. Gravel and stepping stones remain affordable but require more physical prep. Interlocking deck tiles and pavers land in the mid-range category.
Factor in long-term maintenance when comparing options. Some materials need resealing every year, while others last with minimal upkeep. Durability protects your wallet long after installation.
You should also compare installation difficulty honestly. A complex layout increases labor time and tool needs. Simpler patterns often look more expensive because they stay clean and precise.
Durability, Maintenance & Seasonal Care
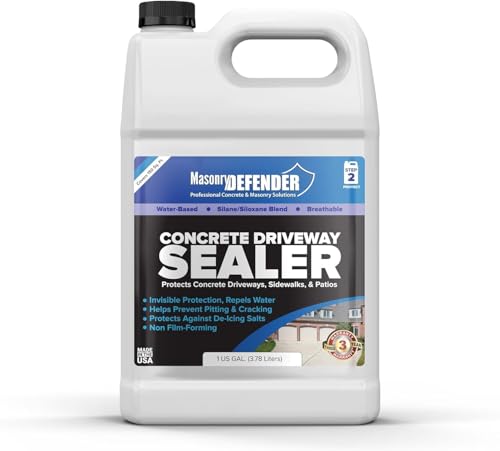
A patio floor must handle weather without constant repairs. Sun exposure fades color, while moisture tests structural strength. I always choose finishes rated specifically for outdoor use.
Sealing protects painted concrete, stenciled floors, and overlays from peeling. Reapply sealant according to manufacturer recommendations, usually every one to two years. That small effort prevents expensive redo projects.
Sweep debris regularly to prevent surface scratching. Dirt acts like sandpaper on painted or sealed finishes. A five-minute cleanup routine extends the lifespan dramatically.
Prepare for seasonal shifts if you live in freeze-prone areas. Avoid trapping moisture beneath tiles or rugs. Good airflow and drainage prevent cracking and mold growth.
Safety & Structural Considerations
A beautiful patio floor must also remain safe. Slippery surfaces create serious hazards, especially after rain. I always check the slip resistance rating before purchasing materials.
Choose textured finishes or add anti-slip additives to paint. Smooth glossy coatings might look sleek but become dangerous when wet. Safety should never compete with style.
Ensure the surface stays level and stable. Uneven bases cause pavers and tiles to shift over time. Proper ground preparation determines long-term success.
Weight capacity matters if you plan to place heavy furniture or grills. Confirm that the chosen flooring supports consistent load pressure. Reinforcement during prep prevents sinking or cracking later.
Common Mistakes to Avoid
Many homeowners skip proper surface preparation. Dirt, moisture, and cracks ruin adhesion and shorten lifespan. Cleaning and leveling always come first.
People often underestimate material quantities. Running out mid-project delays installation and risks mismatched batches. Always calculate carefully and add a small buffer.
Overcomplicating the design creates visual clutter. Too many colors or patterns reduce the high-end effect. Simplicity almost always looks more expensive.
Ignoring drainage leads to pooling water and damage. Every patio floor must allow water to move away naturally. Plan slope and spacing intentionally.
Choosing indoor-rated materials for outdoor use causes early failure. Outdoor spaces demand weather-resistant finishes. Labels matter more than aesthetics.
Frequently Asked Questions
How much should I budget for a patio floor upgrade?
Most budget patio floor projects range from low to moderate cost depending on materials. Paint and gravel cost less than pavers or deck tiles. Always include prep supplies and sealants in your total estimate.
Which patio flooring option lasts the longest?
Concrete pavers and brick typically offer the longest lifespan when installed correctly. Proper base preparation determines durability more than the material itself. Regular maintenance extends performance significantly.
Can I install these patio flooring ideas myself?
Most options in this guide work well for DIY beginners. Painted concrete, rugs, gravel, and deck tiles require minimal specialized tools. Complex overlays or large paver installations demand more patience and physical effort.
How do I prevent patio floors from becoming slippery?
Choose textured materials or add anti-slip additives to paint and sealants. Avoid high-gloss finishes in exposed areas. Regular cleaning also improves traction.
Do I need permits for patio flooring upgrades?
Surface-level flooring updates usually do not require permits. Structural changes or major elevation adjustments may require local approval. Always check your local building guidelines to confirm.
How often should I reseal painted or coated patio floors?
Most sealed surfaces need resealing every one to two years. High-traffic patios may require more frequent maintenance. Inspect the surface annually for fading or wear.
Final Thoughts
You don’t need a massive budget to make a patio feel expensive. Small upgrades create big visual shifts when you choose wisely. One change can completely reset how the space feels.
Start with the idea that fits your lifestyle and patience level. Try one project and live with it before stacking more. I promise, once the floor looks good, everything else falls into place.