How to Clean Grout in 10 Simple Scrubbing Steps Fast
You scrub the tile, but the grout still looks grimy. That discolored line between tiles can make an entire floor or wall look dirty, no matter how much you clean the surface. Grout is porous and traps dirt, soap scum, and mildew deep inside.
But you don't need expensive products or hours of elbow grease to fix it. With the right approach, you can brighten grout in minutes.
These 10 steps are designed to be simple, fast, and effective. Each one tackles a different aspect of grout cleaning, from everyday maintenance to deep stain removal.
1. Start With a Dry Brush to Loosen Surface Dirt
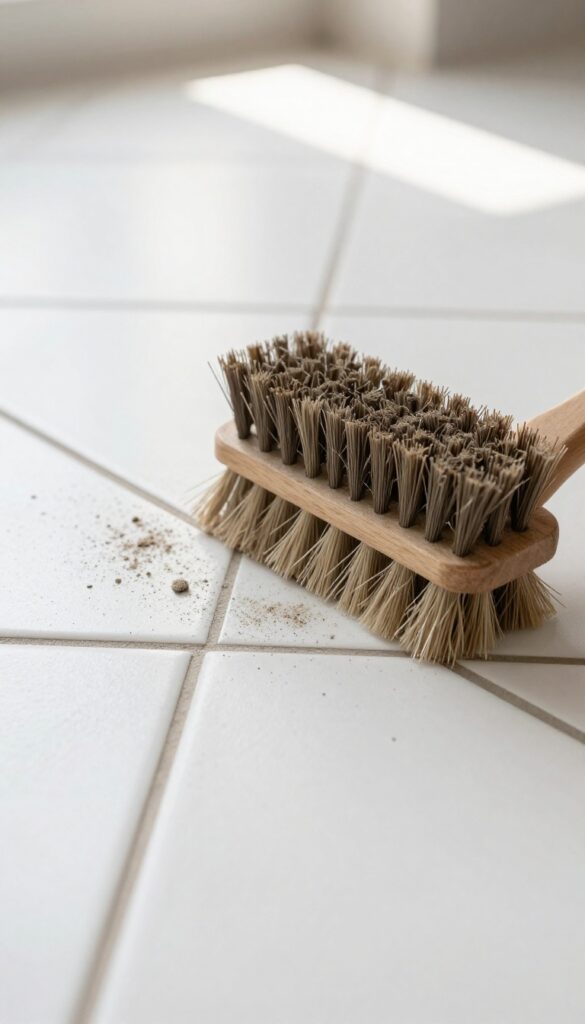
Before you bring out any sprays or scrubbing solutions, grab a stiff-bristled brush and go over the grout lines dry. This simple first step sweeps away loose dust, crumbs, and hair that have settled into the porous surface. If you skip it, all that dry debris will turn into a muddy paste once you add moisture, making the job messier and less effective.
A dry brush is your best friend for getting grout truly clean. It frees up the loose particles that wet cleaning alone can't always dislodge. Use a brush with firm nylon bristles—not wire, which can scratch tile—and work it along each grout line in short, brisk strokes.
Pay extra attention to corners and edges where dirt tends to pile up. This step takes only a minute or two but sets the stage for everything that follows.
Choose The Right Brush
Not all brushes are created equal for grout cleaning. A dedicated grout brush with a narrow head and angled bristles fits perfectly into tight lines. If you don't have one, an old toothbrush works surprisingly well.
Avoid anything with metal bristles—they can scratch the tile surface and damage the grout.
Brush In One Direction
For best results, brush each grout line in a single direction—from one end to the other. This pushes debris out rather than spreading it around. Work systematically across the floor or wall so you don't miss any spots.
A quick vacuum after brushing will pick up the loosened dirt.
2. Wipe Down With a Microfiber Cloth and Warm Water
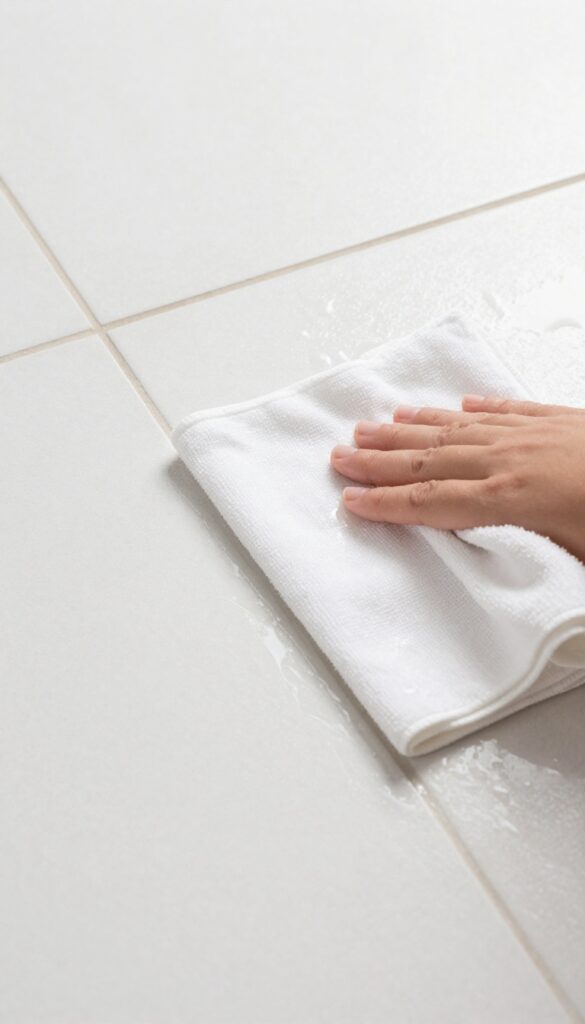
After dry brushing, you’ve loosened a lot of surface dust and grit. Now it’s time to clear that debris so it doesn’t turn into mud when you apply cleaners later. A simple wipe with a damp microfiber cloth and warm water does the job perfectly.
No soap yet—just water. This step preps the grout for deeper cleaning by removing the loose particles that could otherwise block your cleaning solution from penetrating.
Grab a clean microfiber cloth—the kind you use for glass works best because it’s lint-free. Dampen it with warm water (not hot, not cold) and wring it out well. You want it moist, not dripping.
Wipe along the grout lines in a single direction, pressing gently. Rinse the cloth frequently in clean water to avoid redepositing dirt. After the wipe, let the grout air-dry for a few minutes.
It should look slightly darker when wet but not shiny. If you see standing water, you’ve used too much—blot it with a dry corner of the cloth.
Why No Soap Yet?
Soap can leave a residue that seals dirt into the porous grout. By using only water first, you ensure that the grout is truly clean before applying any cleaning agents. This simple step makes the next scrubbing rounds far more effective.
The Right Wiping Technique
Work in small sections—about 2×2 feet at a time. Wipe along the grout lines, not across them, to avoid pushing dirt into the pores. Use a fresh section of the cloth for each pass.
If the cloth gets dirty, flip it or grab a new one. This prevents smearing and ensures you’re actually removing debris.
When To Repeat This Step
If your grout is heavily soiled, you may need to wipe twice. After the first pass, let the grout dry. If you see a thin film of dust, repeat the damp wipe.
Once the cloth comes away clean, you’re ready to move on.
3. Apply a Baking Soda Paste for Gentle Abrasion
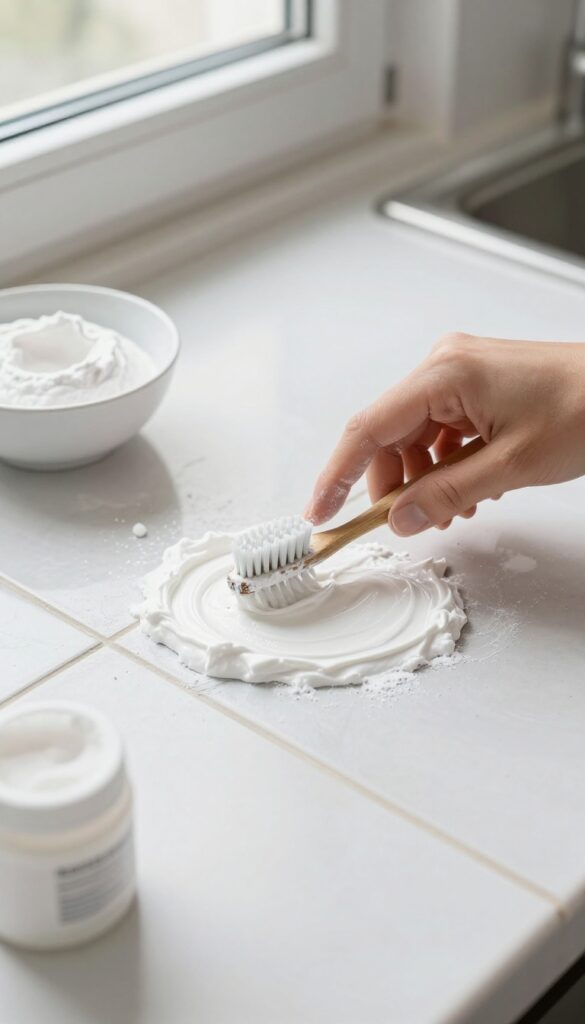
Baking soda is one of those pantry staples that pulls double duty in the kitchen and the cleaning closet. When mixed into a paste, it becomes a mild abrasive that lifts grime without scratching your tile. This method is especially useful for tackling light to moderate staining on grout lines.
To make the paste, combine three parts baking soda with one part water in a small bowl. Stir until it forms a thick, spreadable consistency—think toothpaste, not pancake batter. Use an old toothbrush or a small spatula to apply the paste directly onto the grout lines, pressing it into the grooves.
Let it sit for about five minutes to allow the baking soda to work on the stains. After the wait, scrub gently with a damp brush, then rinse with clean water. You'll notice the grout looks noticeably brighter, and the effort is minimal.
Why Baking Soda Works So Well
Baking soda is mildly alkaline, which helps break down acidic dirt and grease. Its fine crystalline structure provides gentle scrubbing power that won't scratch glazed tile or damage sealed grout. Plus, it's non-toxic and safe to use around kids and pets.
How To Get The Right Paste Consistency
Start with a 3: 1 ratio of baking soda to water, but adjust as needed. If the paste is too runny, add more baking soda. If it's too crumbly, add water a few drops at a time.
The goal is a thick paste that clings to vertical grout lines without dripping.
Tips For Stubborn Stains
For older or set-in stains, let the paste sit for up to 15 minutes. You can also add a splash of white vinegar after applying the paste—the fizzing action helps lift dirt. Just be careful not to use vinegar on unsealed grout, as the acid can weaken it over time.
4. Scrub With a Grout Brush or Old Toothbrush
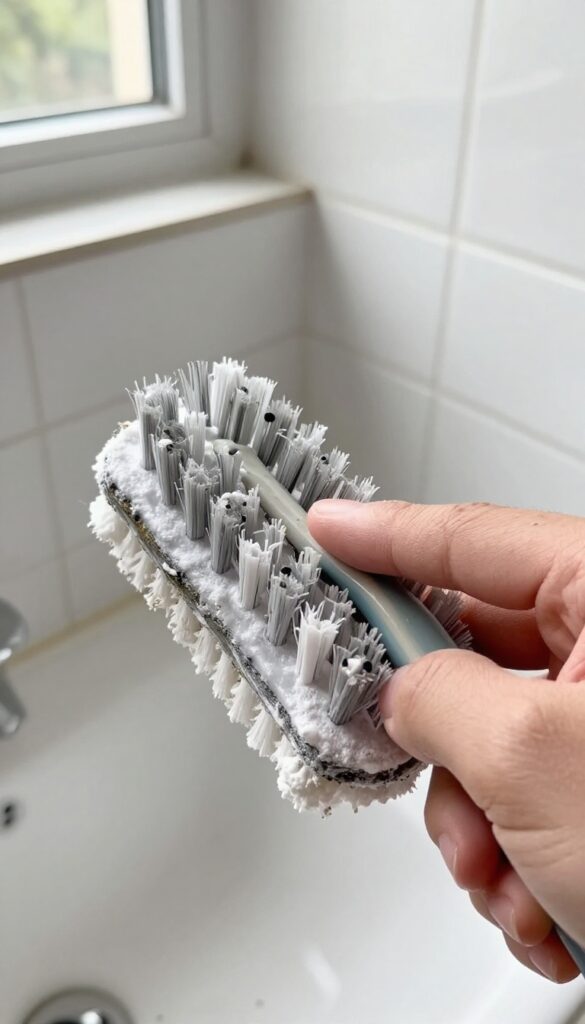
Now that your baking soda paste has had a few minutes to work, it's time to agitate. Scrubbing is where the real magic happens. You don't need a fancy tool—a dedicated grout brush or an old toothbrush works perfectly.
Dip your brush into the paste and start scrubbing in small circular motions. This motion helps dislodge embedded dirt from the porous grout. Focus on one small section at a time, about a square foot, so the paste doesn't dry out before you work it in.
Apply gentle pressure—scrubbing too hard can damage the grout. If the paste gets too dry, spritz a little water or vinegar solution to reactivate it.
Why Small Circles Work Best
Circular motions create friction from multiple angles, which lifts dirt more effectively than back-and-forth scrubbing. It also prevents you from digging into one spot and creating grooves. Think of it like polishing a shoe—small circles distribute the cleaning action evenly.
Choosing The Right Brush
A grout brush has stiffer bristles and a narrow head, making it ideal for tight lines. An old toothbrush works almost as well, especially for corners and edges. Avoid wire brushes—they can scratch tile and erode grout.
For large areas, consider a drill brush attachment to save elbow grease.
Work In Manageable Sections
Tackle one small area at a time, like a 2×2 foot grid. This ensures the paste stays wet and active. If you try to cover too much ground, the paste dries and becomes less effective.
Rinse your brush occasionally to remove loosened gunk, and reapply paste as needed.
5. Rinse Thoroughly With Clean Water
After scrubbing away the grime, it's tempting to call it done. But leftover baking soda paste or cleaning solution can dry into a white haze or attract dirt faster than before. A proper rinse makes sure your grout looks clean, not caked with residue.
You don't need a pressure washer or special tools. Just a damp sponge, a bucket of clean water, and a little patience. Rinsing thoroughly is the step that separates a so-so clean from a truly fresh finish.
Wipe away the baking soda residue with a damp sponge or cloth. Rinse several times to ensure no paste remains, which could attract more dirt later.
Change Your Water Often
Dirty water spreads grime. Fill a bucket with fresh, clean water and dip your sponge or cloth. Wipe the grout lines, then rinse the sponge in the bucket.
As soon as the water looks murky, swap it out for clean water. This prevents you from redepositing dirt onto the grout.
Use A Microfiber Cloth For Final Wipe
After the main rinse, go over the grout with a damp microfiber cloth. Microfiber picks up fine particles that a sponge might leave behind. It also helps dry the surface faster, reducing the chance of water spots or mildew growth.
Check For Residue With A White Cloth
Run a clean, dry white cloth over the grout. If you see any white powder or discoloration on the cloth, you missed a spot. Rinse that area again.
This simple test ensures no invisible film remains to dull your grout's fresh look.
6. Tackle Stubborn Stains With White Vinegar Spray
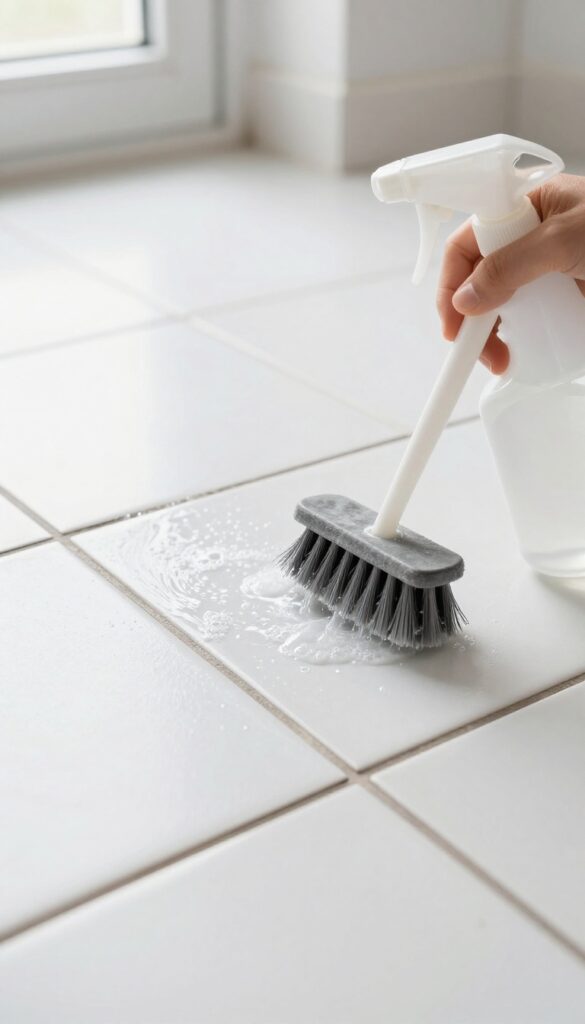
Some stains just won't budge with baking soda alone. That's when white vinegar steps in. It's a natural acid that breaks down mineral deposits, soap scum, and hard water stains without harsh chemicals.
For those dark lines that seem permanent, this simple spray can make a world of difference.
White vinegar is a go-to for tough grout stains because it dissolves the buildup that causes discoloration. When you spray it directly onto the grout, the acid reacts with alkaline deposits, creating a fizzing action that lifts grime. Let it sit for a few minutes to penetrate deep into the porous surface.
Then scrub with a stiff brush to dislodge the loosened dirt. Rinse well with water afterward to remove any vinegar residue.
When To Use Vinegar Instead Of Baking Soda
Baking soda is great for general cleaning, but vinegar is better for mineral-based stains like hard water rings or soap scum. If your grout has white, crusty deposits or looks dull from buildup, vinegar is the right choice. Avoid using vinegar on natural stone tiles like marble or travertine, as the acid can etch the surface.
How To Apply Vinegar For Best Results
Pour undiluted white vinegar into a spray bottle. Mist the grout lines until they are wet but not dripping. Let the vinegar sit for 3 to 5 minutes—you'll see it start to fizz as it works.
Scrub with a stiff-bristled brush using circular motions. For extra stubborn spots, spray again and let it sit longer before scrubbing.
Rinsing And Neutralizing The Vinegar
After scrubbing, rinse the area thoroughly with water. Vinegar is acidic, so leaving it on can eventually damage the grout. Use a damp cloth or sponge to wipe away the residue, then dry with a clean towel.
If you notice a lingering vinegar smell, it will dissipate quickly once the surface is dry.
7. Use a Steam Cleaner for Deep-Set Grime
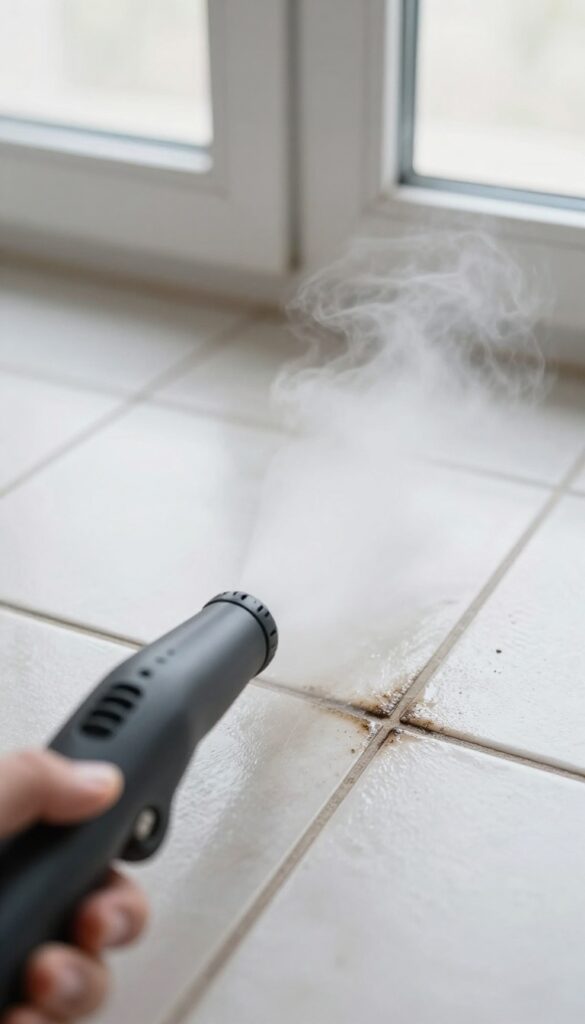
If stains persist after scrubbing with baking soda or vinegar, it's time to bring out the big guns. A handheld steam cleaner blasts hot vapor deep into the porous grout, killing mold and loosening years of buildup without any chemicals. This method is especially effective for stubborn, dark stains that won't lift with manual scrubbing.
Steam cleaning is a game-changer for grout that looks permanently stained. The high temperature and pressure force moisture into the pores, carrying away dirt and killing mildew spores. It's also chemical-free, so it's safe for homes with kids or pets.
Just make sure your grout is in good condition—steam can worsen cracks or loose sections.
Choose The Right Steam Cleaner
Not all steam cleaners are created equal. For grout lines, a handheld model with a small brush attachment works best. Look for one that reaches at least 200°F and has a continuous steam function.
Avoid large floor steam mops—they're too bulky for precise grout work. A dedicated grout steam cleaner or a multi-purpose handheld with a detail brush is ideal.
Prep The Area Before Steaming
Sweep or vacuum the tile floor to remove loose debris. If there's heavy soap scum, give it a quick wipe with a damp cloth. You want the steam to penetrate the grout, not just wet surface grime.
Also, protect nearby surfaces like wood cabinets or baseboards from excess moisture by wiping them down afterward.
Steam Each Grout Line Slowly
Fill the steam cleaner with water and let it heat up. Hold the nozzle at a 45-degree angle and move it slowly along each grout line—about 1 inch per second. The steam will loosen dirt, which you can then wipe away with a microfiber cloth.
For extra stubborn spots, go over them twice. Work in small sections so the steam doesn't cool down before you wipe.
Aftercare And Drying
Once you've steamed all the grout, wipe the entire area with a dry cloth to remove any leftover moisture. Open windows or turn on a fan to speed up drying. Avoid walking on the floor for at least an hour.
If you plan to seal the grout later, wait 24 hours for it to dry completely. Steam cleaning can also reveal loose grout that needs repair.
8. Bleach or Oxygen Bleach for Mildew and Mold
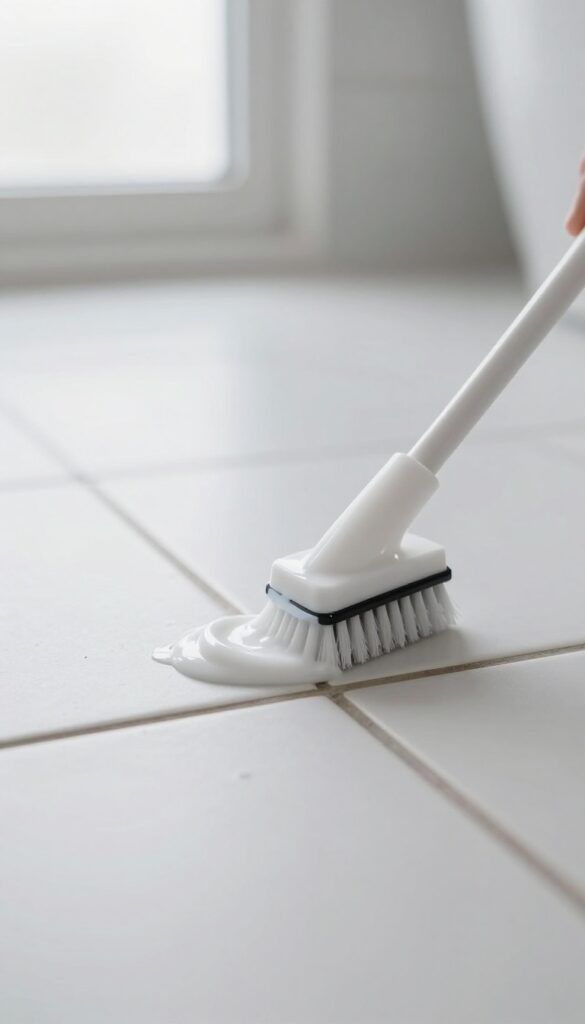
Dark mildew spots in grout lines are stubborn and often require a stronger approach. Bleach is a classic choice, but oxygen bleach is a gentler alternative that works just as well on organic stains. Both options can restore your grout to a bright, clean state without excessive scrubbing.
For dark mildew spots, apply a bleach gel or oxygen bleach paste. Let it sit for 10-15 minutes, then scrub and rinse. Oxygen bleach is safer for colored grout and the environment.
Choosing Between Bleach And Oxygen Bleach
Regular bleach (sodium hypochlorite) is powerful and fast-acting, but it can discolor colored grout and release harsh fumes. Oxygen bleach (sodium percarbonate) breaks down into hydrogen peroxide and soda ash, making it safer for most grout colors and less harmful to plants and pets. For white grout with heavy mildew, bleach is effective; for colored or delicate grout, oxygen bleach is the smarter choice.
How To Apply Bleach Gel Or Oxygen Bleach Paste
For bleach gel, use a product like Clorox Gel or a thick bleach cleaner that won't drip. Squeeze it directly onto the grout lines. For oxygen bleach, mix the powder with a little water to form a thick paste.
Apply with a small brush or spatula, making sure the paste fills the grout lines. Let it sit for 10-15 minutes—don't let it dry out completely. Scrub with a stiff brush, then rinse thoroughly with water.
Safety Tips For Using Bleach-based Cleaners
Always work in a well-ventilated area and wear gloves and eye protection. Keep bleach away from other cleaning products, especially ammonia or vinegar, as toxic fumes can form. Test on a small, hidden area first to ensure the grout color doesn't lighten unexpectedly.
Rinse surfaces well after cleaning to remove any residue.
9. Seal the Grout to Prevent Future Stains
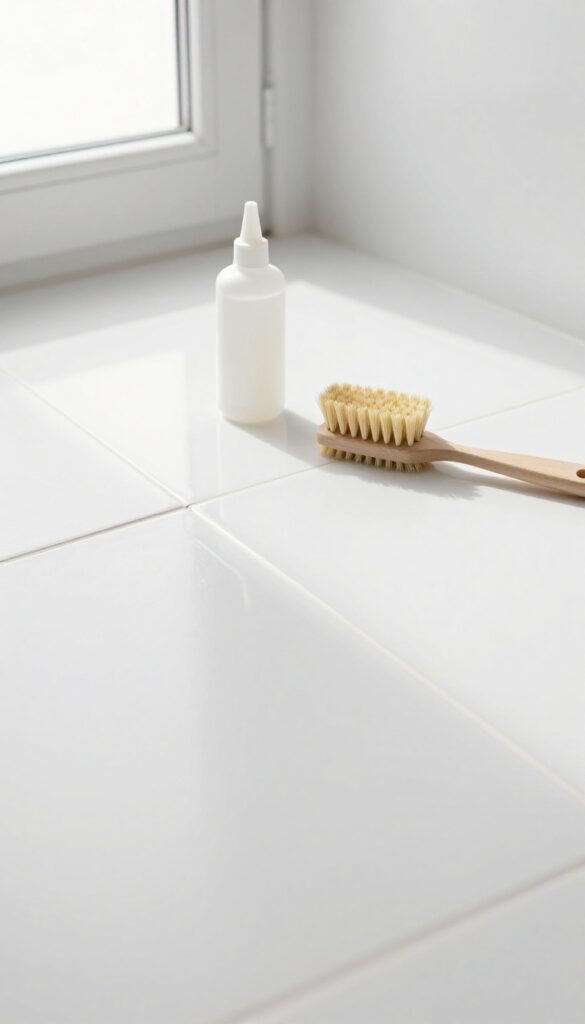
You've put in the work to get your grout looking fresh again, so don't let it get dirty right away. Sealing is the secret step that locks in your results and makes future cleaning a breeze. It's quick, easy, and worth every minute.
Once your grout is completely dry after cleaning, apply a penetrating sealer. This soaks into the porous grout and forms an invisible barrier that repels water, dirt, and stains. It doesn't change the look or texture, just makes it much harder for grime to stick.
Use a small brush or applicator to work the sealer into the grout lines, then wipe away any excess from the tile surface. Let it dry according to the product instructions before walking on it or getting it wet. Reapply every year or as needed to maintain protection.
Choose The Right Sealer
Not all sealers are the same. For most bathroom and kitchen grout, a water-based penetrating sealer is best because it's low odor and easy to clean up. Avoid film-forming sealers that can peel or yellow over time.
Look for one labeled 'penetrating' or 'impregnating' for long-lasting protection.
Apply Evenly And Wipe Excess
Dip a small brush or foam applicator into the sealer and run it along the grout lines. Work in small sections to ensure even coverage. After a few minutes, wipe the tile surface with a clean cloth to remove any sealer that got on the tile.
If it dries on the tile, it can leave a hazy film that's hard to remove.
Let It Cure Completely
Sealer needs time to bond with the grout. Avoid getting the area wet for at least 24 hours (check the product label for exact time). Keep the room ventilated and don't walk on the floor until it's fully cured.
This patience pays off with months of easier cleaning.
10. Maintain With Weekly Quick Wipes and Monthly Deep Scrub
You've put in the work to get your grout looking fresh again, so don't let it get dirty right away. A little regular maintenance goes a long way in keeping grout lines bright and preventing tough stains from forming. The key is to establish a simple routine that takes just minutes each week and a bit more time once a month.
Consistency is the secret to grout that stays clean. By wiping down surfaces weekly and doing a deeper scrub monthly, you stop dirt and soap scum before they settle into the porous grout. This two-tier approach keeps maintenance easy and prevents the need for heavy-duty cleaning later.
Weekly Quick Wipes
After each shower or bath, use a squeegee on tile walls to remove excess water. Then, wipe grout lines with a microfiber cloth or a dry towel. This simple step prevents standing water from seeping into grout and reduces mildew growth.
For floors, a quick mop with plain water or a mild pH-neutral cleaner keeps grout lines from darkening.
Monthly Deep Scrub
Once a month, mix baking soda with a little water to form a paste. Apply it along grout lines with an old toothbrush or a grout brush, scrub gently, then rinse. This light scrub lifts any early buildup before it becomes a stain.
For extra freshness, add a few drops of lemon essential oil to the paste.
What To Avoid
Steer clear of harsh chemicals like bleach or ammonia for regular maintenance—they can degrade grout over time. Also, avoid using too much water when mopping; excess moisture can seep into grout and cause mold. Stick to a damp mop and dry the floor afterward.
FAQ
Can I use bleach on colored grout?
Chlorine bleach can discolor or lighten colored grout. Instead, use oxygen bleach or a baking soda paste, which are safer for tinted grout lines.
How long does grout sealer last?
Most quality sealers last 1 to 3 years depending on foot traffic and moisture exposure. Reapply when water stops beading on the grout surface.
Is it safe to mix baking soda and vinegar for grout cleaning?
It's not recommended because they neutralize each other. Use them separately: baking soda paste first, then vinegar spray for stubborn spots, rinsing between applications.
What's the best brush for cleaning grout?
A stiff-bristled nylon brush with a narrow head works best. Avoid wire brushes as they can scratch tile. An old toothbrush is a great alternative for tight spaces.
Can I use a magic eraser on grout?
Yes, but sparingly. Melamine foam erasers are mildly abrasive and can wear down grout over time. Use them only for spot cleaning and rinse thoroughly afterward.
Conclusion
Cleaning grout doesn't have to be a dreaded chore. With these 10 steps, you can tackle even the grimiest lines in a single afternoon. Start with the simplest methods and work your way up to stronger solutions only if needed.
Regular maintenance is the real secret. A quick wipe after showers and a monthly baking soda scrub will keep your grout looking fresh for years. Your tiles will thank you, and so will your guests.