13 How to Clean Rust Off Metal Without Damaging the Surface
Rust is the enemy of metal, but you don't have to resort to harsh abrasives that leave your surfaces worse for wear. The key is to choose a method that dissolves rust without scratching the underlying metal.
Whether you're restoring a vintage tool or sprucing up outdoor furniture, these techniques will help you get the job done safely. From pantry staples like vinegar and baking soda to specialized rust converters, each approach has its own strengths.
Some are perfect for delicate items, while others tackle heavy corrosion with ease. The trick is matching the method to the metal and the level of rust.
1. White Vinegar Soak
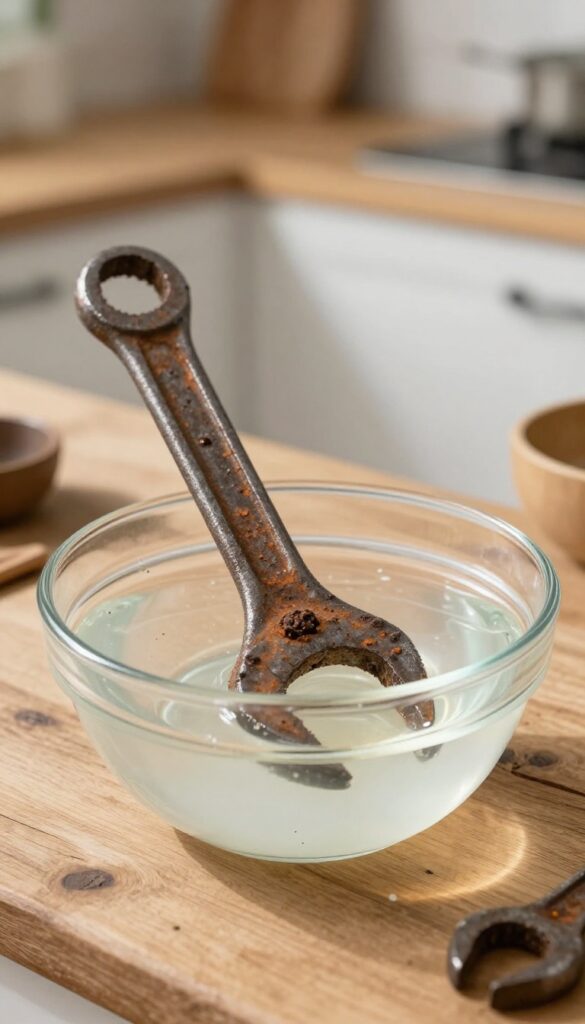
If you're dealing with light to moderate rust, white vinegar is a fantastic starting point. It's cheap, non-toxic, and surprisingly effective. The acetic acid in vinegar breaks down rust without harming the metal underneath, making it a go-to for many DIYers.
The process is simple: submerge the rusted item in white vinegar and let it sit for a few hours. The acid loosens the rust, turning it into a crumbly residue that you can easily scrub away. Afterward, rinse the metal thoroughly with water and dry it completely to prevent new rust from forming.
How Long Should You Soak?
For most items, a soak of 2 to 4 hours works well. If the rust is heavy, you can leave it overnight, but check periodically to avoid over-etching the metal. Delicate items may need a shorter soak.
Best Metals For This Method
Vinegar is safe for steel, iron, and most alloys. Avoid using it on aluminum or copper, as the acid can cause pitting or discoloration. When in doubt, test on a small, hidden area first.
Scrubbing And Aftercare
After soaking, use a soft-bristled brush or a non-abrasive pad to gently remove the loosened rust. Rinse with clean water, then dry with a towel or let it air-dry. To prevent flash rust, apply a light coat of oil or a rust inhibitor immediately after drying.
2. Baking Soda Paste
When rust is light and you want a gentle touch, baking soda steps in as a reliable helper. It's cheap, non-toxic, and sits in most kitchens already. Unlike harsher chemicals, it won't eat into the metal underneath, making it a safe first try for many projects.
Baking soda works by acting as a mild abrasive and a slight alkaline that helps lift rust particles. It's ideal for small items like hand tools, kitchen utensils, or metal fixtures where you want to avoid scratches. The paste clings to surfaces, so it stays put while you work, and it rinses off easily afterward.
How To Make The Paste
Mix three parts baking soda with one part water in a small bowl. Stir until you get a thick, spreadable paste—like toothpaste. If it's too runny, add more baking soda; if too dry, add a drop of water.
You can also use white vinegar instead of water for a slight boost, but water is enough for most jobs.
Applying And Scrubbing
Use a soft cloth or your fingers to spread the paste over the rusted area. Let it sit for 10 to 15 minutes—this gives it time to loosen the rust. Then, scrub gently with a toothbrush or a soft-bristled brush.
Work in small circles, applying light pressure. For stubborn spots, you can reapply and scrub a little longer.
Rinsing And Drying
After scrubbing, rinse the metal with clean water to remove all the paste and loosened rust. Dry it thoroughly with a soft towel. Leaving moisture behind can cause new rust, so make sure it's completely dry.
If you want extra protection, you can apply a thin coat of oil or wax afterward.
3. Lemon Juice and Salt
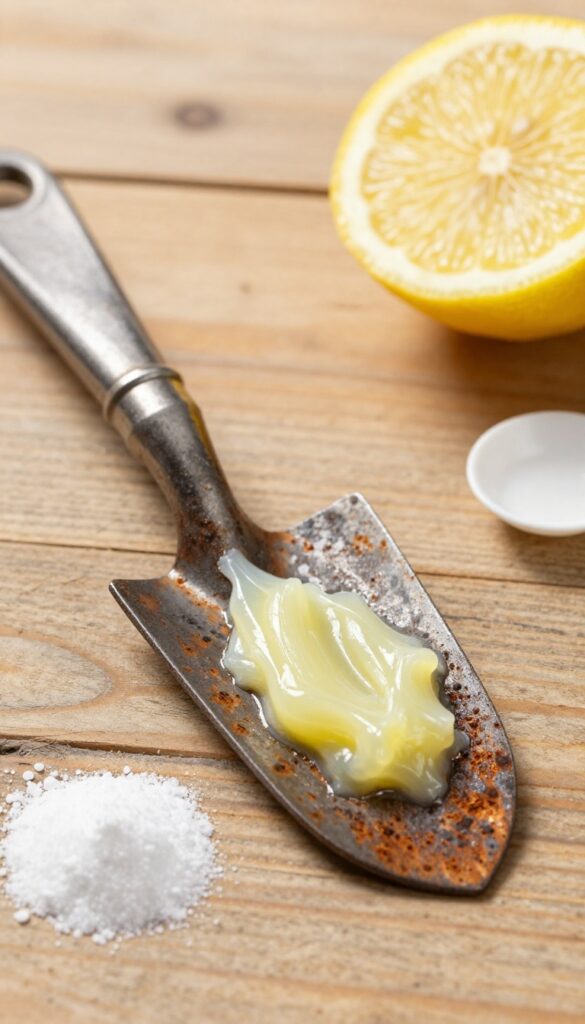
Another dynamic duo from your kitchen, lemon juice and salt work together to lift rust without harsh chemicals. The citric acid in lemon juice breaks down the rust, while the salt provides a gentle abrasive action that helps scrub it away. This method is especially good for small items or spot treatments where you want to control the application.
This natural rust remover is easy to mix and use. You'll likely have both ingredients on hand, making it a convenient option for quick rust fixes. The process is straightforward: apply the mixture to the rusted area, let it work, then scrub and rinse.
It's a satisfying way to tackle rust while keeping your metal surfaces safe from scratches.
How To Apply The Mixture
Start by sprinkling a generous amount of salt over the rusted area. Squeeze fresh lemon juice directly onto the salt, enough to create a paste. You can also mix them in a small bowl first, but applying directly works well.
Use a soft cloth or sponge to spread the paste evenly over the rust, ensuring full coverage.
Let It Sit And Work
Allow the mixture to sit for at least 30 minutes. For heavier rust, you can leave it for up to two hours. The citric acid needs time to dissolve the rust, so patience pays off.
Keep the paste moist by covering it with plastic wrap or adding more lemon juice if it dries out.
Scrub And Rinse
After the waiting period, scrub the area with a soft-bristled brush or a non-abrasive pad. The salt acts as a mild abrasive, helping to lift the loosened rust without scratching the metal. Rinse thoroughly with water and dry completely to prevent new rust from forming.
Repeat if necessary for stubborn spots.
4. Potato and Dish Soap
Potatoes are good for more than just fries and mashed sides—they're also a surprisingly gentle rust remover. The trick lies in the oxalic acid naturally found in potatoes, which helps break down rust without scratching the metal beneath. Pair that with a little dish soap for lubrication, and you've got a kitchen-based solution that's both effective and easy on your surfaces.
This method works best on light to moderate rust, especially on flat surfaces like tools, knives, or metal furniture. It's a great option if you're wary of harsh chemicals or abrasive scrubbing pads that can leave micro-scratches. The potato's natural acidity does the heavy lifting, while the soap helps the potato glide smoothly and lifts away loosened rust particles.
To get started, grab a raw potato and cut it in half. Pour a small amount of dish soap onto the cut surface—just enough to coat it lightly. Then, rub the potato directly over the rusted area, applying moderate pressure.
You'll notice the rust starting to lift as the oxalic acid goes to work. For stubborn spots, let the potato sit on the rust for a few minutes before scrubbing again. Once you've removed the rust, rinse the metal thoroughly with water to wash away any potato residue and soap.
Dry it completely with a clean cloth to prevent new rust from forming. You might want to apply a light coat of oil or metal polish afterward to add a protective barrier. One heads-up: this method isn't ideal for heavily pitted or deeply rusted metal, as the potato can't reach into deep crevices.
It's also not the best choice for large surfaces like a car hood—unless you have a lot of potatoes on hand! But for smaller items or spot treatments, it's a handy, low-risk option that leaves your metal smooth and scratch-free.
Why Potato And Dish Soap Works
The magic ingredient here is oxalic acid, a compound found in potatoes that's known for its rust-dissolving properties. It reacts with iron oxide (rust) to break it down into soluble compounds that can be wiped away. The dish soap isn't just for lubrication—it also helps emulsify the rust particles, making them easier to rinse off.
Together, they create a gentle yet effective cleaning combo that won't harm the metal's finish.
Step-by-step Instructions
- Cut a fresh potato in half. 2.
Pour a small amount of dish soap onto the cut side. 3. Rub the potato over the rusted area in circular motions.
- Let it sit for 5-10 minutes if the rust is stubborn. 5.
Rinse with water and dry thoroughly. 6. Optionally, apply a protective oil or polish.
When To Use This Method
This technique shines on small to medium-sized items with light to moderate rust. It's perfect for restoring hand tools, kitchen knives, garden shears, or metal furniture accents. Because it's so gentle, it's also safe for delicate metals that might be scratched by abrasive pads.
Just avoid using it on cast iron or surfaces with a protective coating, as the acid could strip it.
5. Aluminum Foil and Water
You might think of aluminum foil as something for the kitchen, but it’s also a handy tool for rust removal. When you crumple it into a ball and dip it in water, it becomes a gentle abrasive that can lift rust without scratching the metal underneath. This trick works especially well on chrome and stainless steel, where you want to avoid harsh scouring pads.
The magic here is in the softness of aluminum compared to steel. When you rub the foil over rusty spots, it physically removes the corrosion without gouging or scratching the surface. The water acts as a lubricant, reducing friction and helping the foil glide smoothly.
It’s a simple, low-cost method that uses items you likely already have at home.
Why Aluminum Foil Works
Aluminum is softer than most metals, so it won’t leave scratches on steel, chrome, or stainless steel. As you rub, the foil breaks down slightly, exposing fresh aluminum that continues to work on the rust. The water prevents heat buildup and keeps the surface lubricated, making the process smoother and safer.
Step-by-step Instructions
Tear off a sheet of aluminum foil and crumple it into a ball about the size of a golf ball. Dip it in water to wet it thoroughly. Gently rub the rusted area in a circular motion, applying light to medium pressure.
You’ll see the rust start to transfer onto the foil. Rinse the metal with water and dry it completely to prevent new rust from forming.
Best Uses And Precautions
This method is perfect for light to moderate rust on chrome bumpers, stainless steel sinks, or tools. Avoid using it on painted or coated surfaces, as the foil could remove the finish. Also, don’t use it on soft metals like aluminum or copper, as it might scratch them.
Always test on a small, hidden area first.
6. Commercial Rust Removers
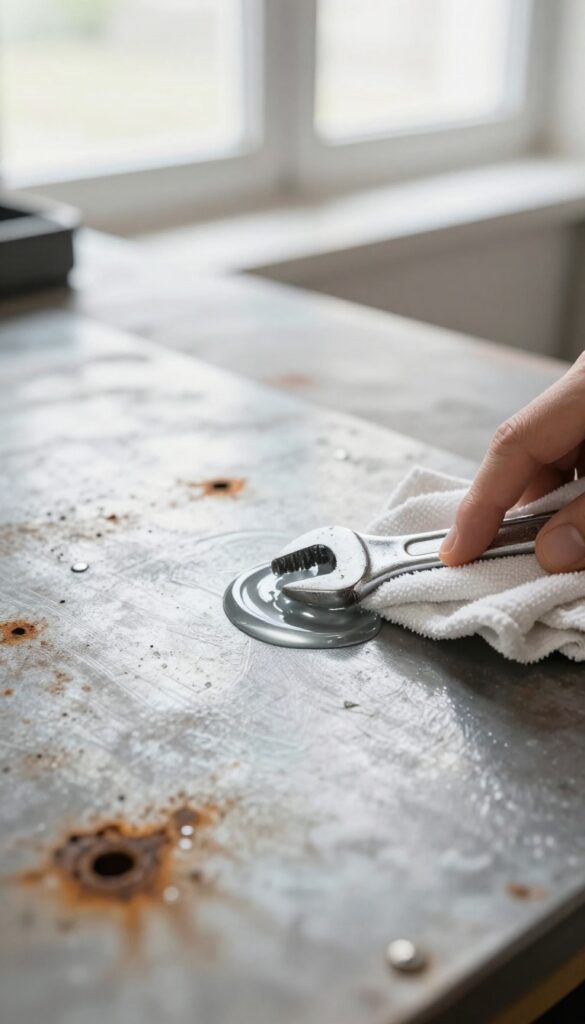
When DIY methods feel like too much work, commercial rust removers step in to save the day. These products are specifically formulated to dissolve rust without harming the metal underneath. They’re a solid choice for anyone who wants a no-scrub solution that’s both effective and gentle.
Commercial rust removers come in a variety of forms—liquids, gels, and even sprays—so you can pick the one that fits your project best. Most work by chemically converting rust into a water-soluble compound that you can simply wipe away. This means less elbow grease and more time enjoying the results.
Why They Work
These products contain chelating agents or acids that target rust molecules specifically. They don’t attack the healthy metal, which is why they’re safe for delicate surfaces like chrome or polished steel. Just follow the instructions, and you’ll see rust lift off without any scratching.
How To Use Them Safely
Start by cleaning the metal to remove dirt and grease. Apply the remover generously, let it sit for the recommended time, then rinse or wipe away. Always wear gloves and work in a well-ventilated area, as some products have strong fumes.
Test on a small spot first if you’re unsure about the metal type.
Best Products To Try
Evapo-Rust is a favorite because it’s water-based and non-toxic, making it safe for indoor use. CLR is another go-to for light rust and calcium deposits. For heavier corrosion, look for gel formulas that cling to vertical surfaces and stay put longer.
7. Electrolysis Method
When rust has really dug in, electrolysis is like a spa treatment for metal—it lifts corrosion away without any scrubbing or harsh chemicals. This method uses a low-voltage electrical current to reverse the rusting process, turning the rust into harmless black residue that easily rinses off. It's especially brilliant for heavily rusted tools, car parts, or antique pieces where you want to preserve every detail.
Electrolysis works by setting up a simple circuit: the rusty metal becomes the cathode, a piece of sacrificial steel becomes the anode, and a solution of washing soda and water acts as the electrolyte. When current flows, oxygen bubbles form at the anode and pull the rust off the cathode, leaving the base metal untouched. It's slow but incredibly thorough, and it's one of the few methods that won't damage the metal's surface, even on fragile items.
What You'll Need
Gather a plastic bucket, a battery charger (preferably with a low amp setting), a piece of rebar or scrap steel for the anode, washing soda (not baking soda), and water. You'll also need a wire to connect the metal pieces—copper wire works well. Make sure your work area is well-ventilated and away from sparks, since the process produces hydrogen gas.
Setting Up The Bath
Fill the bucket with water and dissolve about one tablespoon of washing soda per gallon. Attach the positive (red) lead to the sacrificial anode and the negative (black) lead to the rusty metal. Place both in the solution so they don't touch each other.
Plug in the charger, set it to a low amperage (around 2-5 amps), and let it run. You'll see bubbles start to form almost immediately.
Patience And Aftercare
Depending on the rust thickness, electrolysis can take anywhere from a few hours to overnight. When the rust looks like dark gray or black fuzz, it's done. Unplug the charger, remove the metal, and rinse it with water.
Use a soft brush to remove the residue, then dry it thoroughly and apply a light coat of oil to prevent flash rusting. The metal will look clean, with no scratches or pits from sanding.
8. Citric Acid Solution
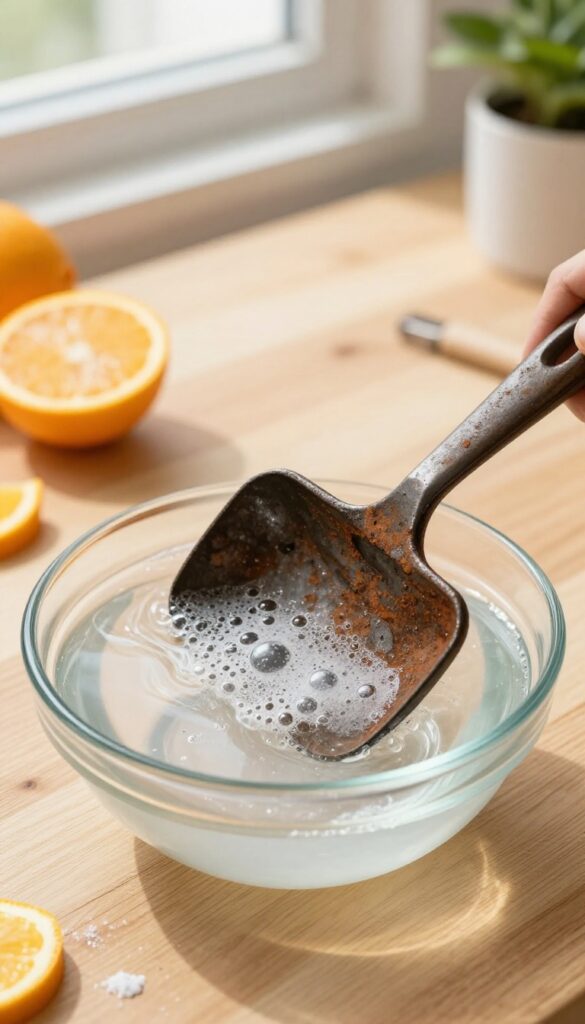
When vinegar feels too strong or you want a more pleasant-smelling option, citric acid is a fantastic alternative. This natural acid, found in citrus fruits, works wonders on rust without being as aggressive on the metal. It's a favorite among DIYers for its effectiveness and gentle touch.
Citric acid is a mild, food-safe acid that chelates rust, meaning it binds to the iron oxide and helps lift it away. Unlike harsher acids, it's less likely to etch or damage the underlying metal, making it suitable for delicate items. Plus, it's biodegradable and leaves a fresh, clean scent behind.
How To Make The Solution
Start by dissolving citric acid powder in warm water. A good ratio is about 1/4 cup of citric acid per quart of water, but you can adjust based on the level of rust. For heavy rust, use a stronger solution, and for lighter rust, a weaker one works fine.
Make sure the powder is fully dissolved before use.
Soaking And Scrubbing
Submerge the rusted metal completely in the solution and let it soak. Depending on the severity, this could take anywhere from 30 minutes to a few hours. After soaking, you'll notice the rust softening.
Use a soft brush or sponge to gently scrub away the loosened rust. For stubborn spots, a plastic scraper can help without scratching.
Rinsing And Drying
Once the rust is gone, rinse the metal thoroughly with clean water to remove any acid residue. Dry it completely with a soft cloth or let it air dry, but make sure no moisture remains to prevent new rust from forming. Applying a light coat of oil or wax afterward can add extra protection.
9. Oxalic Acid Cleaners
If you're dealing with stubborn rust on stainless steel or porcelain, oxalic acid is a powerhouse you might already have under your sink. Found in products like Bar Keepers Friend, this compound dissolves rust without the harsh scrubbing that can scratch surfaces. It's a favorite among restorers because it's effective yet gentle enough for delicate finishes.
Oxalic acid works by chemically breaking down rust, turning it into a soluble compound that wipes away easily. Unlike abrasive pads, it doesn't rely on physical force, so the underlying metal stays smooth and intact. This makes it ideal for items like sinks, appliances, and tools where preserving the finish matters.
How To Use Oxalic Acid Safely
Start by mixing the powder with a little water to form a thick paste. Apply it to the rusted area and let it sit for 5 to 10 minutes—longer for heavy rust. Then, gently rub with a soft cloth or sponge and rinse thoroughly.
Always wear gloves and work in a well-ventilated area, as the acid can irritate skin and lungs.
Best Surfaces For Oxalic Acid
This method shines on stainless steel, porcelain, and ceramic. It's also great for removing rust stains from concrete or tile. Avoid using it on aluminum, cast iron, or uncoated mild steel, as it can cause discoloration or further corrosion.
When in doubt, test on a small, hidden spot first.
Why It Beats Abrasive Cleaners
Many commercial rust removers rely on sanding or scraping, which can leave micro-scratches that invite future rust. Oxalic acid lifts the rust chemically, so you're not damaging the protective layer of the metal. Plus, it's often cheaper than specialized rust removers and easy to find at most grocery stores.
10. WD-40 and Steel Wool
Sometimes the simplest tools are already sitting in your garage. WD-40 and fine steel wool make a surprisingly effective team for lifting rust without gouging the metal underneath. The trick is letting the lubricant do the heavy lifting while the wool gently polishes the surface clean.
WD-40 isn't just a lubricant—it's also a rust breaker. The solvent penetrates the rust layer and loosens its bond with the metal. Pair that with ultra-fine steel wool (grade 0000), and you can wipe away corrosion without scratching the surface.
It's a go-to for tools, hardware, and small metal parts.
Why 0000 Steel Wool?
Regular steel wool is too abrasive and will leave fine scratches. Grade 0000 is the finest available, acting more like a gentle scouring pad than sandpaper. It's soft enough for polished metal but still has enough bite to break up rust.
Always check the grade before you start.
Step-by-step: Safe Rust Removal
Start by spraying the rusted area with WD-40 and let it sit for 10-15 minutes. This gives the solvent time to penetrate. Then, take a small piece of 0000 steel wool and rub in a circular motion, applying light pressure.
Wipe away the residue with a clean cloth. Repeat if needed, but avoid over-scrubbing.
When To Use This Method
This combo works best on light to moderate rust, especially on flat surfaces like hand tools, garden shears, or metal furniture. It's not ideal for heavily pitted metal or items that will be painted later, because the WD-40 leaves an oily residue. For those cases, consider a rust converter or a different approach.
11. Sandpaper with Lubricant
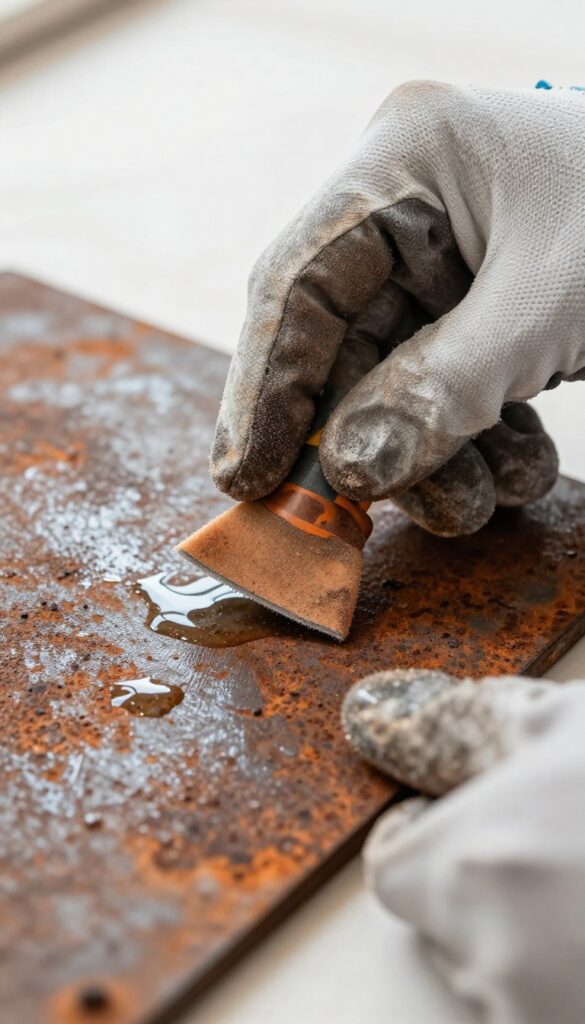
Sometimes rust is so stubborn that chemical removers and gentle scrubbing just won't cut it. That's when you need a little mechanical muscle—but done smartly. Sandpaper with a lubricant is a classic trick that lets you grind away corrosion without gouging the metal underneath.
The lubricant keeps friction low, so the abrasive bites into the rust, not the base metal.
Grab a fine-grit sandpaper (400 to 600 grit is ideal) and pair it with a few drops of oil or water. The liquid acts as a buffer, carrying away debris and keeping the surface cool. Always sand in the direction of the metal grain to avoid leaving visible swirl marks.
This method works wonders on tools, car parts, and metal furniture that have light to moderate rust.
Why Lubricant Matters
Dry sanding creates heat and friction that can warp thin metal or leave deep scratches. The lubricant reduces that friction, allowing the abrasive to glide smoothly. It also helps the sandpaper last longer by preventing clogging.
You'll get a cleaner finish and less risk of damaging the surface.
Choosing The Right Grit
Start with 400-grit if the rust is patchy, or 600-grit for lighter corrosion. If the rust is heavy, you might need to drop to 320-grit first, but always finish with a finer grit to smooth things out. Test on a small area first to see how the metal responds.
Technique Tips
Apply a few drops of oil or water to the rusted area, then sand gently with even pressure. Keep the sandpaper moving in straight lines along the grain. Wipe away the residue often to check your progress.
Once the rust is gone, clean the surface with a degreaser and dry it thoroughly.
12. Rust Converter Chemicals
Rust converters are the cheaters' way to deal with corrosion—they don't remove rust, they transform it into a stable, paintable layer. This is a game-changer when you want to stop rust in its tracks without grinding or scraping. The chemical reaction neutralizes the rust and leaves a protective primer that's ready for paint.
Rust converters are perfect for surfaces where you can't afford to lose any metal, like car panels or antique tools. They work by converting iron oxide into a black, inert coating that bonds with the metal. After application, you simply let it dry and then paint over it.
This not only stops the rust from spreading but also gives you a clean base for a professional finish.
How Rust Converters Work
Rust converters typically contain tannic acid or phosphoric acid, which react with rust to form a stable compound. The reaction turns the rust into a dark, protective layer that doesn't flake or peel. Unlike rust removers that dissolve the corrosion, converters leave a coating that can be painted directly, saving you time and effort.
When To Use A Rust Converter
Use a rust converter when you have light to moderate rust and you plan to paint the surface. It's ideal for car bodies, metal furniture, and outdoor fixtures. Avoid using it on heavily pitted metal or when the rust has eaten through the surface—in those cases, you might need to replace the metal or use a more aggressive method.
Applying Rust Converter Like A Pro
Start by removing loose rust and debris with a wire brush or sandpaper. Then, apply the converter with a brush or spray, making sure to cover the rusted area evenly. Let it dry according to the manufacturer's instructions—usually a few hours.
Once dry, you can paint directly over the converted surface. For best results, apply a primer before the final paint coat.
13. Baking Soda and Hydrogen Peroxide
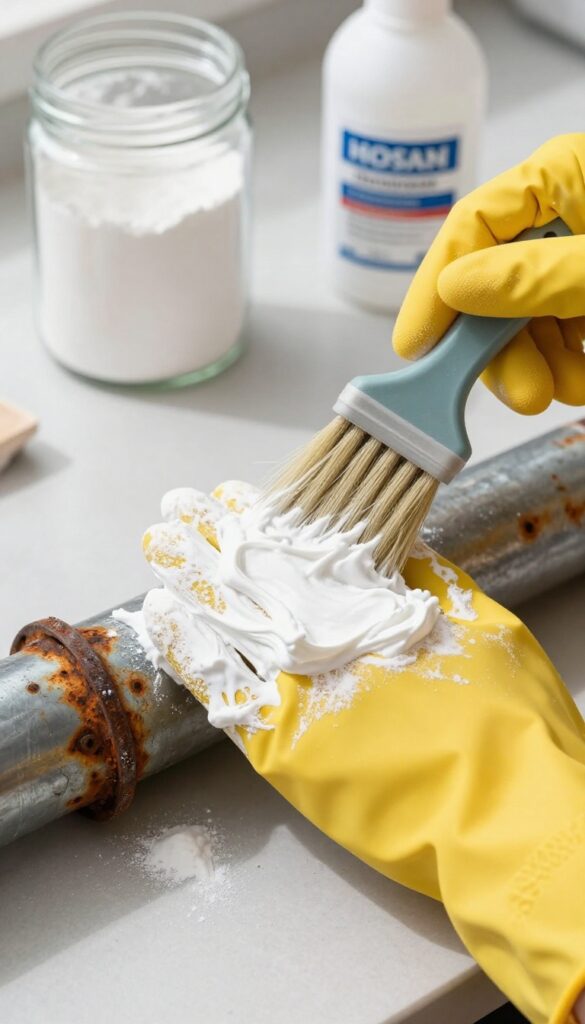
When you need a rust remover that's gentle on the metal but tough on corrosion, this pantry-powered duo is a quiet winner. Baking soda is a mild abrasive, and hydrogen peroxide works as a gentle oxidizer that helps lift rust without harsh fumes. Together they form a paste that's easy to control and safe for most metal surfaces, including chrome and delicate fixtures.
Mix equal parts baking soda and hydrogen peroxide to form a thick paste. Apply it generously to the rusted area and let it sit for 10 to 15 minutes. The paste will bubble slightly as it works.
Then scrub gently with a soft brush or sponge. For stubborn spots, let it sit longer or add a little more peroxide. Rinse with water and dry thoroughly to prevent new rust from forming.
Why This Combo Works
Baking soda is mildly alkaline and acts as a gentle abrasive that helps scrub away rust without scratching the metal underneath. Hydrogen peroxide releases oxygen bubbles that help lift rust particles from the surface. Together, they create a paste that clings well to vertical surfaces and stays put while it works.
Best Metals To Use This On
This method is ideal for light to moderate rust on steel, iron, chrome, and even aluminum. It's gentle enough for delicate items like jewelry or tools with fine details. Avoid using it on metals that are already pitted or heavily corroded, as the paste may not penetrate deep enough to be effective.
Tips For Best Results
Always test the paste on a small, hidden area first. Use a soft-bristle brush or a non-abrasive sponge to avoid scratching. If the rust is stubborn, let the paste sit longer or repeat the process.
Rinse thoroughly and dry completely, then apply a light coat of oil or wax to protect the metal from future rust.
FAQ
What is the safest way to remove rust from metal without damaging it?
The safest methods are those that use gentle acids or mild abrasives, like white vinegar, lemon juice, or baking soda. These dissolve rust without scratching the metal. Always test on a small area first and rinse thoroughly.
Can I use vinegar to remove rust from any metal?
Vinegar is safe for most metals, but avoid using it on aluminum or copper as it can cause pitting. For those metals, use a gentler method like baking soda paste or a commercial rust remover.
How do I prevent rust from coming back after cleaning?
After removing rust, dry the metal completely and apply a protective coating like oil, wax, or paint. Keeping metal dry and storing it in a low-humidity environment also helps prevent future rust.
Is it safe to use steel wool on metal surfaces?
Steel wool can scratch softer metals. Use fine-grade (0000) steel wool with a lubricant like WD-40 or oil to minimize scratching. For delicate surfaces, opt for a non-abrasive method.
What is the best rust remover for heavily rusted tools?
For heavy rust, electrolysis or commercial rust removers like Evapo-Rust are highly effective. They dissolve rust without damaging the tool's surface, and they're safe for most metals.
Conclusion
Removing rust doesn't have to mean sacrificing the integrity of your metal items. With the right approach, you can restore them to a clean, smooth condition without unsightly scratches or damage. Start with the gentlest method that suits your metal type and rust severity.
Remember to always dry and protect your metal after cleaning to prevent future rust. Whether you choose a natural remedy or a commercial product, these 13 techniques give you plenty of options to tackle rust safely and effectively. Your metal will thank you.