15 How to Clean Stainless Steel Pans for a Polished Shine
Stainless steel pans are a kitchen workhorse, but they can lose their luster with everyday use. Scratches, heat stains, and burnt-on food don't have to be permanent.
With the right techniques, you can restore that factory-fresh shine without harsh chemicals or expensive products. These 15 methods use everyday ingredients like vinegar, baking soda, and even ketchup to tackle everything from greasy residue to stubborn discoloration.
Whether you're dealing with daily grime or years of buildup, there's a solution here that works. Let's get your pans looking polished again.
1. Use White Vinegar for a Quick Degrease
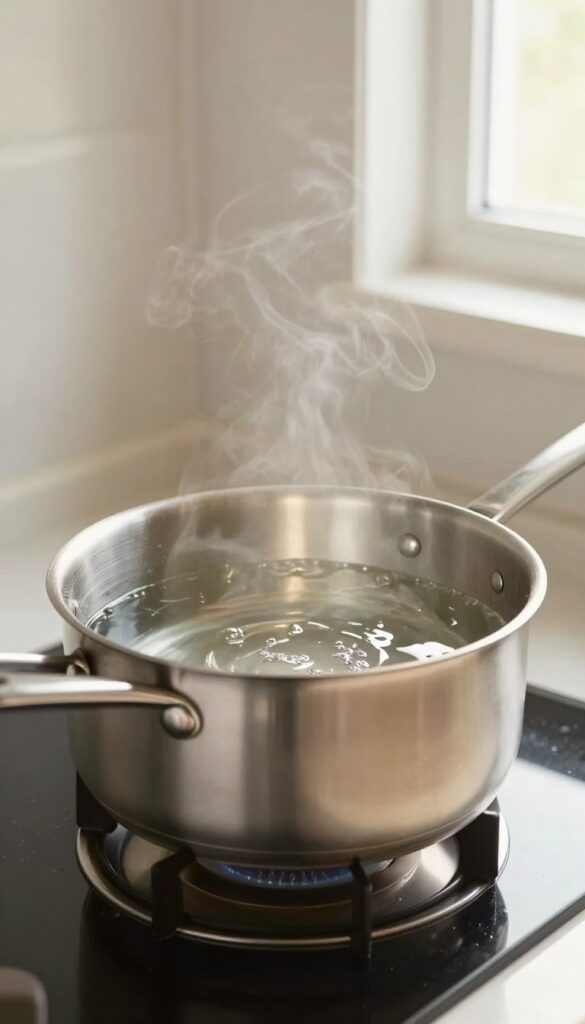
White vinegar is a pantry staple that doubles as a powerful cleaner for stainless steel pans. Its acidity cuts through grease and dissolves cloudy film caused by mineral deposits. This method is fast, cheap, and uses ingredients you already have.
To degrease with vinegar, fill your pan with equal parts water and white vinegar. Bring the mixture to a boil, then let it simmer for 5 minutes. The steam and heat loosen stubborn grease.
After cooling, wash the pan with warm soapy water and a soft sponge. Rinse and dry thoroughly. For extra shine, wipe with a microfiber cloth.
Why It Works
Vinegar's acetic acid breaks down grease molecules and neutralizes alkaline residues from soap. It also lifts mineral deposits that cause cloudiness, restoring the pan's natural luster.
When To Use This Method
Use vinegar for light to moderate grease buildup or when your pan looks hazy. It's not ideal for burnt-on food, but it preps the surface for deeper cleaning.
Pro Tips For Best Results
Don't let the vinegar boil dry—it can damage the pan. Always rinse well to remove any acidic residue. For extra stubborn spots, add a tablespoon of baking soda after boiling for gentle scrubbing.
2. Baking Soda Paste for Stubborn Stains
When water spots and grease just won't budge, baking soda steps in as a gentle abrasive that won't scratch your pans. This pantry staple works wonders on stubborn stains without the need for harsh chemicals. A simple paste can lift discoloration and restore that mirror-like finish you love.
Mix three parts baking soda with one part water to form a thick paste. Apply it directly to the stained areas and let it sit for 15 minutes. This gives the baking soda time to break down the residue.
Then, scrub gently with a soft sponge in circular motions. Rinse thoroughly with warm water and dry immediately with a soft cloth to prevent water spots.
Why Baking Soda Works
Baking soda is mildly alkaline, which helps neutralize acidic food residues and lift grease. Its fine particles provide just enough abrasion to remove stuck-on grime without scratching the metal. It's also non-toxic, making it safe for cookware you use daily.
Tips For Best Results
For extra tough stains, add a few drops of dish soap to the paste. Avoid using metal scrubbers or abrasive pads, as they can damage the surface. Always rinse thoroughly to remove any baking soda residue, which can leave a dull film if left behind.
3. Lemon Juice to Restore Shine
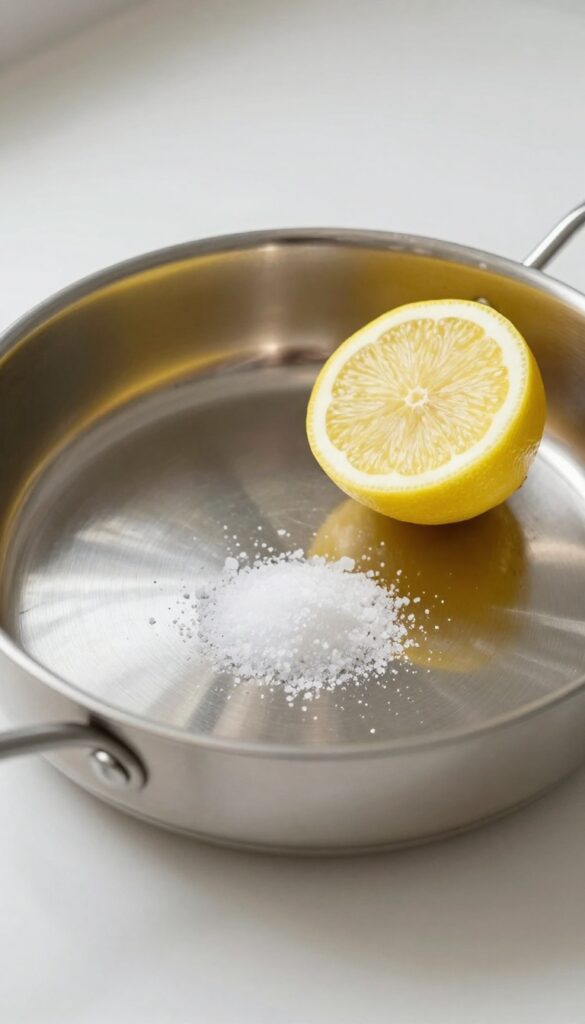
Lemon juice is a natural acid that cuts through grease and lifts discoloration from stainless steel. It's gentle enough for regular use but effective enough to revive dull pans. Plus, it leaves a fresh citrus scent that beats any chemical cleaner.
Lemons are a simple, eco-friendly way to bring back the gleam. The citric acid reacts with minerals and baked-on residues, breaking them down without scrubbing. You can use fresh lemons or bottled juice—both work well.
The Cut-lemon Rub
Cut a lemon in half and dip the cut side in a small dish of salt. Rub the lemon directly over the pan's surface, focusing on dull or stained areas. The salt acts as a mild abrasive while the acid cleans.
Rinse with warm water and dry immediately for a streak-free shine.
Boiling Lemon Water
For overall restoration, fill the pan with water and add slices from two lemons. Bring to a boil and let it simmer for 10 minutes. The steam and bubbling action loosen grime and lift heat stains.
Discard the water, wash with mild soap, and buff dry.
Lemon And Baking Soda Paste
Mix lemon juice with baking soda to form a thick paste. Apply it to stubborn spots or burnt areas and let it sit for 15 minutes. Gently scrub with a soft sponge, then rinse.
This combo tackles tough stains without scratching the surface.
4. Cream of Tartar for Heat Stains
Heat stains can make your stainless steel pans look blotchy and worn. That rainbow discoloration happens when the metal gets too hot, but it's not permanent. Cream of tartar is a mild acid that breaks down those stains without damaging the surface.
Cream of tartar works wonders on heat stains because it gently lifts the oxidized layer. It's a simple, non-toxic solution that's probably already in your spice rack. Best of all, it requires minimal effort for impressive results.
How To Make The Paste
Mix one tablespoon of cream of tartar with a few drops of water to form a thick paste. You want it spreadable but not runny. Adjust the water as needed until it has a toothpaste-like consistency.
Application And Wait Time
Apply the paste directly to the heat stains using a soft cloth or your fingers. Spread it evenly over the discolored areas. Let it sit for 10 minutes so the acid can work on the stains.
Scrubbing And Rinsing
After 10 minutes, scrub the paste in circular motions with a non-abrasive sponge. You'll see the rainbow marks fade as you work. Rinse thoroughly with warm water and dry with a soft towel.
5. Bar Keepers Friend for Heavy-Duty Cleaning
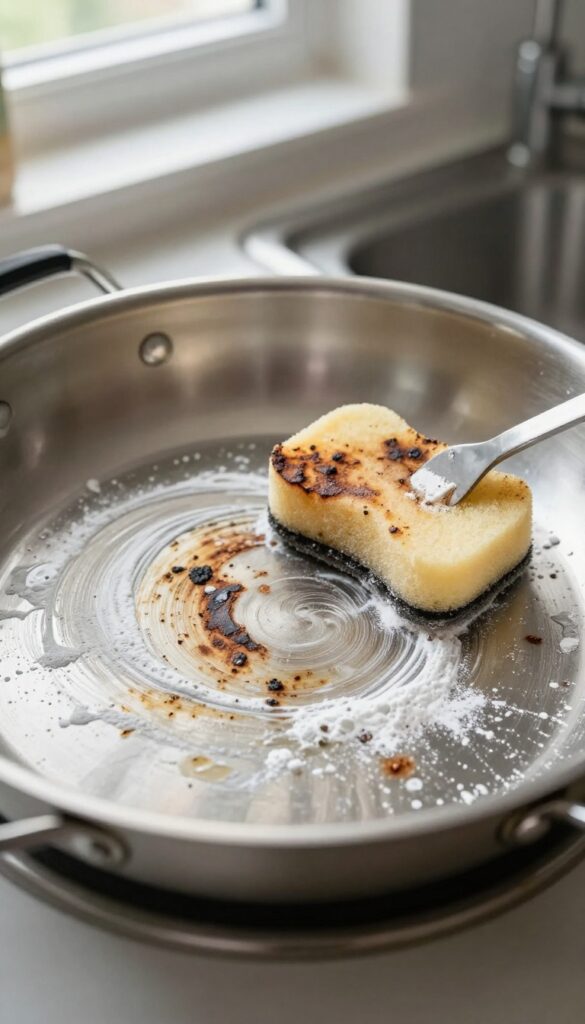
When your stainless steel pans have stubborn burnt-on food or tough stains that won't budge with gentler methods, Bar Keepers Friend is a game-changer. This powdered cleanser contains oxalic acid, which cuts through grime without scratching the surface. It's especially effective on pans that have seen better days.
Bar Keepers Friend is a trusted household name for tackling heavy-duty messes on stainless steel. The key is to use it correctly to avoid damaging the finish. Always wet the pan first, then sprinkle a small amount of the powder onto a damp sponge or soft cloth.
Work it into a paste and scrub gently in circular motions, focusing on the stained areas. Rinse thoroughly with warm water and dry immediately to prevent water spots. For extra stubborn spots, let the paste sit for a minute before scrubbing.
Avoid using it on non-stick or aluminum surfaces, as it can cause damage.
How To Use Bar Keepers Friend
Start by wetting the pan with warm water. Sprinkle a small amount of Bar Keepers Friend powder directly onto the surface or onto a damp sponge. Gently scrub in circular motions, applying light pressure.
You'll see the stains lift away quickly. Rinse the pan completely with clean water to remove all residue. Dry with a soft towel to prevent water spots.
For burnt-on food, you may need to repeat the process.
When To Reach For Bar Keepers Friend
This cleaner is ideal for pans with heavy discoloration, burnt-on food that won't come off with soap, or stubborn heat stains. It's also great for restoring the original shine to older pans. However, avoid using it daily, as the abrasive action can eventually dull the finish if overused.
Stick to gentler methods for regular cleaning and save Bar Keepers Friend for deep cleaning sessions.
Safety Precautions
Always wear gloves when using Bar Keepers Friend, as it can be irritating to skin. Work in a well-ventilated area and avoid inhaling the powder. Keep it away from children and pets.
Never use it on non-stick, aluminum, or cast iron pans, as it can cause damage. Rinse thoroughly to ensure no residue remains, which could affect the taste of food later.
6. Dish Soap and Warm Water for Daily Maintenance
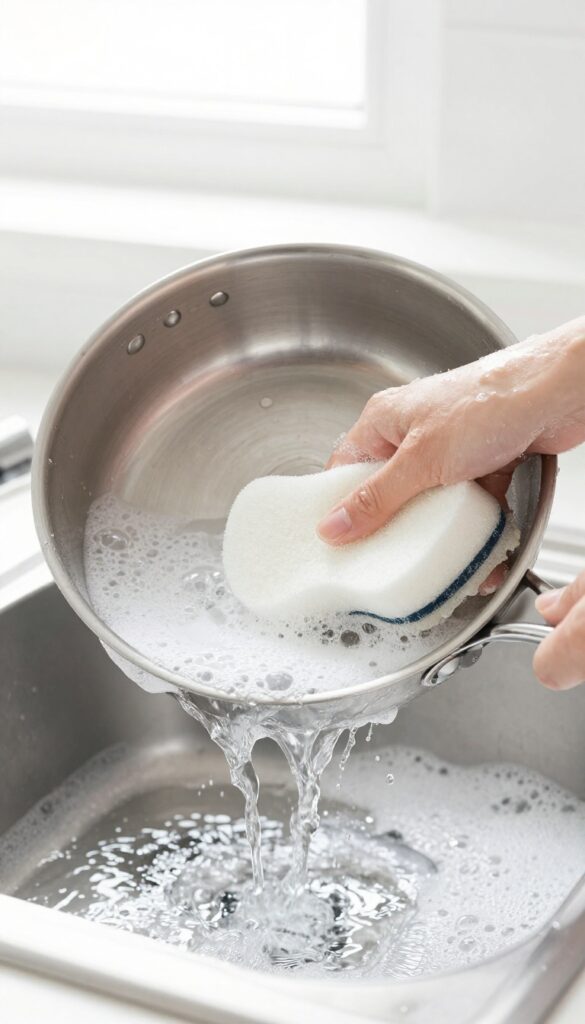
For everyday cleaning, you don't need anything fancy. A simple combination of mild dish soap and warm water is all it takes to keep your stainless steel pans looking great. This gentle approach removes grease, food residue, and fingerprints without damaging the surface.
Just be sure to use a soft sponge or cloth to avoid scratches.
Regular maintenance with dish soap and warm water prevents buildup and keeps your pans shiny. It's the safest method for daily use and works well on pans that aren't heavily soiled. Always rinse thoroughly and dry immediately to prevent water spots.
Why Dish Soap Works
Mild dish soap is formulated to cut through grease without being harsh. It's pH-neutral and won't react with the stainless steel, making it ideal for regular cleaning. Warm water helps loosen food particles and activates the soap for better cleaning.
Choosing The Right Sponge
Always use a non-abrasive sponge or a soft microfiber cloth. Steel wool or scrub pads with harsh abrasives can leave fine scratches that dull the finish over time. A soft sponge is gentle enough to clean without damaging the surface.
Drying To Avoid Water Spots
After washing, rinse the pan thoroughly with warm water to remove any soap residue. Then dry it immediately with a soft towel. Allowing the pan to air dry can leave mineral deposits that create unsightly water spots.
A quick hand-dry keeps the shine intact.
7. Olive Oil to Buff Out Scratches
Fine scratches on stainless steel pans are inevitable, especially if you use metal utensils or scrub too aggressively. While deep gouges are permanent, shallow scratches can be visually minimized with a simple kitchen staple: olive oil. The oil fills in the micro-grooves, reducing light scattering and making the surface look smoother.
This trick works best on pans with light, hairline scratches rather than deep ones.
Buffing with olive oil is a quick, non-toxic way to improve the appearance of your pans. It won't remove scratches, but it will make them less noticeable. The oil also leaves a protective layer that can help prevent future staining and tarnishing.
For best results, clean the pan thoroughly first, then apply a few drops of oil and buff in the direction of the grain. Wipe away any excess with a clean cloth.
Why Olive Oil Works
Olive oil has a refractive index similar to the protective layer on stainless steel. When you buff it into scratches, it fills the tiny gaps and evens out the surface's light reflection. This optical trick makes the scratches appear fainter.
The oil also adds a subtle shine that further distracts from imperfections.
Step-by-step Buffing Guide
Start by washing and drying your pan to remove any grease or residue. Apply 2-3 drops of olive oil to a soft, lint-free cloth. Buff the scratched area using circular motions, then switch to straight strokes following the grain of the metal.
Continue for about a minute, then wipe off excess oil with a clean section of the cloth. The pan should look noticeably smoother and shinier.
When To Avoid This Method
Olive oil is not a fix for deep scratches or gouges that you can feel with your fingernail. It also won't help with scratches caused by abrasive cleaners or steel wool. Additionally, avoid using oil on pans that will be heated soon after, as it can smoke or create a sticky residue.
Stick to this method for cosmetic touch-ups on cool pans.
8. Hydrogen Peroxide and Baking Soda for Burnt-On Food
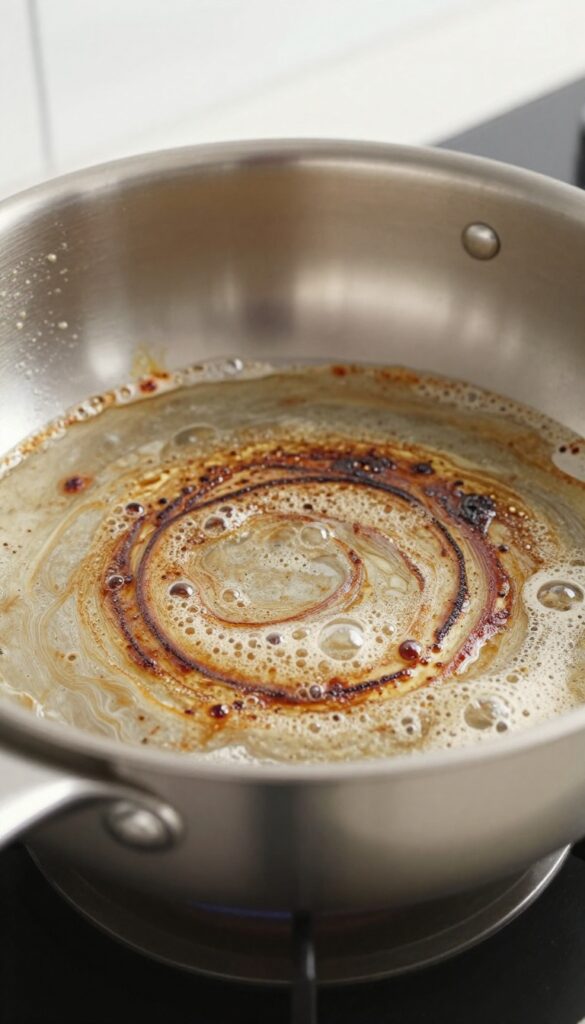
Burnt-on food can feel impossible to remove without scratching your pan. But hydrogen peroxide and baking soda team up to break down that stubborn layer without harsh scrubbing. This method is especially useful for pans with dark, crusty spots that resist soap and water.
Sprinkle a generous layer of baking soda over the burnt areas, then pour hydrogen peroxide over it until it forms a thick paste. Let it sit for about 30 minutes – you'll see it start to bubble and lift the grime. After that, scrub gently with a non-abrasive sponge or brush.
Rinse thoroughly with warm water and dry immediately. For extra stubborn spots, repeat or let it sit longer.
Why This Combo Works
Baking soda is mildly abrasive, so it helps physically lift burnt residue without scratching. Hydrogen peroxide acts as an oxidizing agent, breaking down the chemical bonds of burnt food. Together, they create a gentle but effective cleaning paste that's safe for stainless steel.
Tips For Best Results
Make sure the pan is cool before applying the paste. Use enough hydrogen peroxide to create a spreadable consistency – not too runny. If the paste dries out during the soak, add a few more drops.
Rinse very well to avoid any residue that could affect taste later.
When To Use This Method
This is ideal for pans with burnt-on food that's been sitting for a while, like after a high-heat cooking mishap. It's also great for removing dark stains that won't come off with regular dish soap. But skip this for everyday cleaning – save it for the tough stuff.
9. Boiling Water with Baking Soda for Stuck-On Residue
When food gets welded to your stainless steel pan, scrubbing feels like a losing battle. Baking soda and boiling water team up to loosen even the most stubborn crust without damaging the surface. This method is especially great for burnt-on sauces, rice, or cheese that refuse to budge.
Start by filling your pan with enough water to cover the stuck-on residue. Add two tablespoons of baking soda—it helps break down the bonds between food and metal. Bring the water to a boil and let it bubble away for about 10 minutes.
You'll see the gunk start to lift and float. Turn off the heat, let the water cool slightly, then scrape off the loosened bits with a wooden spoon or silicone spatula. Avoid metal utensils to prevent scratches.
Rinse and wash as usual. For extra stubborn spots, repeat the process or let the pan soak in the cooled solution for 30 minutes before scrubbing.
Why Baking Soda Works
Baking soda is mildly alkaline, which helps dissolve acidic food residues and soften burnt-on layers. Combined with heat, it creates a gentle abrasive action that lifts debris without scratching the stainless steel. It's also non-toxic and safe for cookware.
Tips For Best Results
Use enough water to fully submerge the residue, and don't skip the boiling step—hot water activates the baking soda. After boiling, let the pan cool a bit to avoid burns. If the residue is thick, add a splash of white vinegar to the water for extra cleaning power.
10. Ketchup to Remove Tarnish
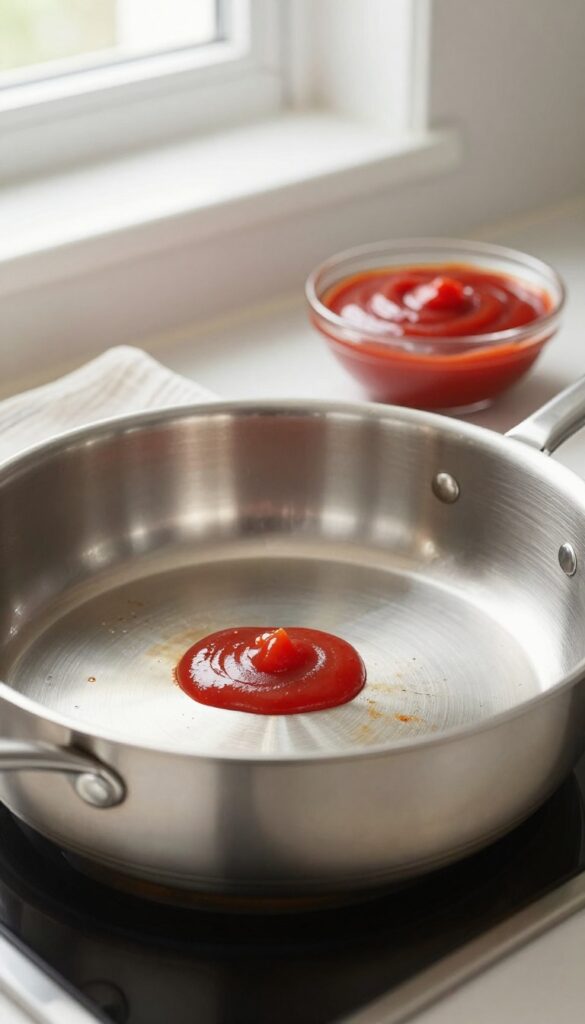
Ketchup isn't just for fries—it's a surprisingly effective cleaner for stainless steel pans. The acidity in tomatoes helps break down tarnish and discoloration, especially from heat exposure. This method is gentle enough for regular use and costs pennies.
Apply a thin layer of ketchup directly to the tarnished areas of your pan. Let it sit for about 15 minutes—longer if the tarnish is heavy. Then wipe off with a soft cloth and rinse with warm water.
Dry immediately to avoid water spots. For stubborn spots, repeat or let sit up to 30 minutes. The ketchup's acidity lifts the discoloration without scratching the surface.
Why Ketchup Works
Ketchup contains acetic acid (vinegar) and citric acid from tomatoes. These mild acids react with the oxidized layer on stainless steel, dissolving tarnish and restoring shine. It's a non-abrasive alternative to harsh cleaners.
Tips For Best Results
Use regular ketchup, not low-sugar or spicy varieties—they may have different acidity levels. Apply an even layer with a spatula or your fingers (wear gloves if you prefer). For pans with intricate patterns, use a soft brush to work ketchup into crevices.
Rinse thoroughly and buff dry with a microfiber cloth for extra shine.
When To Avoid This Method
Don't use ketchup on pans with non-stick coatings or damaged surfaces—it's only for stainless steel. Also avoid if your pan has deep scratches, as the acid could seep into the metal. For light tarnish, a quick 5-minute soak may be enough; for heavy buildup, consider combining with baking soda paste.
11. Dryer Sheets for Stubborn Stains
If you've ever scrubbed a pan until your arm aches, only to find burnt-on residue still clinging on, it's time to try a surprising helper: dryer sheets. Those soft, fragrant sheets you toss in the laundry have anti-static properties that work wonders on stubborn stains. The secret lies in the softening agents that help loosen and lift burnt-on food without harsh scrubbing.
Dryer sheets are a gentle yet effective solution for those tough, crusty stains that resist regular cleaning. The heat and moisture help activate the chemicals in the sheet, breaking down the bond between the food and the pan surface. This method is especially useful for pans with baked-on grease or caramelized sugars that won't budge with soap alone.
Plus, it's a great way to repurpose used sheets after a laundry cycle.
How To Use Dryer Sheets For Burnt-on Food
Start by placing one or two dryer sheets at the bottom of your stained stainless steel pan. Fill the pan with enough water to cover the burnt areas. Let it soak overnight—this gives the softening agents time to work.
The next day, pour out the water and discard the sheets. You'll likely see the residue has loosened significantly. A gentle scrub with a non-abrasive sponge should remove it easily.
Why Dryer Sheets Work So Well
Dryer sheets contain cationic surfactants and fatty acids that reduce static cling and soften fabrics. When used in water, these compounds help emulsify grease and lift particles from the pan's surface. The heat from the soaking water also aids in dissolving stubborn residues.
This combination makes them surprisingly effective for cleaning tasks beyond the laundry room.
Tips For Best Results
For extra stubborn stains, use hot water and let the pan sit for a full 24 hours. You can also add a drop of dish soap to boost grease-cutting power. Avoid using dryer sheets on non-stick pans, as they may damage the coating.
Stick to stainless steel for this trick. And remember, this method is best for burnt-on food, not for everyday cleaning.
12. Club Soda for a Spotless Finish
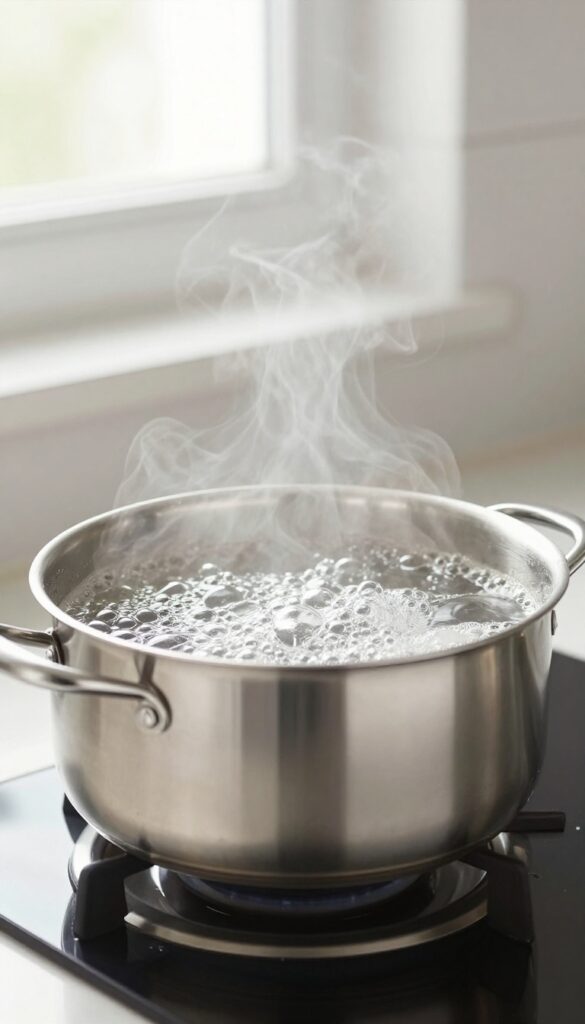
Club soda isn't just a mixer—it's a secret weapon for shiny stainless steel. The carbonation and minerals work together to lift grime and add a brilliant gleam. This method is especially effective for pans with light to moderate residue, and it's completely chemical-free.
Pour enough club soda into the pan to cover the stained or greasy areas, then bring it to a boil. Let it simmer for 5–10 minutes, then turn off the heat and let it cool slightly. The bubbles help dislodge stuck-on particles, while the minerals (like sodium bicarbonate) enhance shine.
After cooling, pour out the club soda and wash the pan with warm, soapy water. Rinse and dry immediately for a spotless finish. This trick works wonders on water spots and light discoloration too.
Why Club Soda Works
The carbonation creates tiny bubbles that agitate and lift debris from the pan's surface. Minerals in club soda, such as potassium bicarbonate and sodium citrate, help break down grease and add a polished sheen. Unlike tap water, club soda leaves no mineral deposits behind, so your pan dries streak-free.
Best Use Cases
This method is ideal for pans with light to moderate residue—think greasy film, water spots, or faint discoloration. It's not strong enough for burnt-on, charred food. Use it after cooking acidic foods (like tomatoes) to neutralize odors and restore shine.
It's also a great final rinse after using other cleaning methods to add extra luster.
Pro Tips For Best Results
Use plain club soda—avoid flavored or sweetened versions. For extra cleaning power, add a splash of white vinegar (about 1 tablespoon per cup of club soda) before boiling. Let the pan cool completely before washing to avoid warping.
Dry immediately with a soft cloth to prevent water spots. If the pan still looks dull, repeat the process or follow up with a vinegar wipe.
13. Salt and Ice for Deglazing
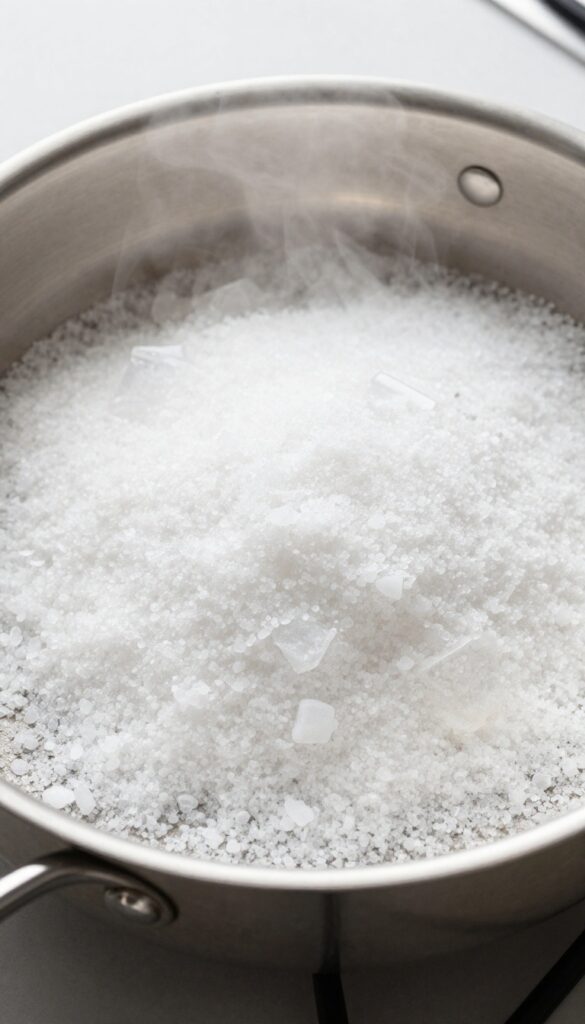
Deglazing a stainless steel pan doesn't have to involve wine or broth. A simple combination of coarse salt and ice cubes can lift burnt-on food without any scratching. The salt provides gentle abrasion while the ice creates steam that loosens stubborn residue.
Start by sprinkling a generous layer of coarse salt over the bottom of the warm pan. Add a handful of ice cubes and swirl the pan gently. The salt grinds away stuck bits as the ice melts and releases steam, helping to lift the gunk.
Once the ice has melted, dump the salty water and wipe the pan clean. For extra stubborn spots, repeat the process or let the salt-ice mixture sit for a minute before swirling.
Why This Works
The ice rapidly cools the pan, creating thermal shock that helps release food particles. Coarse salt acts as a non-scratch abrasive that scrubs away residue without damaging the stainless steel surface. Together, they form a gentle yet effective cleaning duo.
Best Practices
Use coarse salt like kosher or sea salt—table salt is too fine and may not provide enough abrasion. Always use ice cubes, not crushed ice, to avoid scratching. Swirl the pan continuously to distribute the salt and ice evenly.
This method works best on warm pans, not hot ones, to prevent rapid temperature changes that could warp the metal.
When To Use This Method
Ideal for pans with burnt-on food that hasn't hardened into a thick crust. It's a quick fix for everyday cooking mishaps like stuck-on eggs, seared meat residue, or caramelized sugars. For heavily burnt pans, combine this with a baking soda paste for deeper cleaning.
14. Toothpaste for Minor Scratches
Scratches on stainless steel pans are frustrating, but you don't need a professional to fix them. A simple tube of non-gel toothpaste can work wonders on light surface scratches. The mild abrasive in toothpaste gently buffs away the top layer of metal, blending the scratch into the surrounding surface.
How It Works
Toothpaste contains fine abrasive particles that polish metal. When rubbed gently, these particles wear down the raised edges of a scratch, making it less visible. It's the same principle as using a metal polish, but much gentler and readily available at home.
Step-by-step
Apply a pea-sized amount of non-gel white toothpaste to a soft, lint-free cloth. Rub it into the scratch in a circular motion for about 30 seconds. Wipe off the residue with a damp cloth, then buff dry with a clean towel.
Repeat if needed.
When To Skip This
Deep scratches or gouges won't be fixed by toothpaste. This method is only for light surface marks. Also, avoid gel toothpaste or whitening formulas with extra abrasives that can damage the finish.
15. Proper Drying to Prevent Water Spots
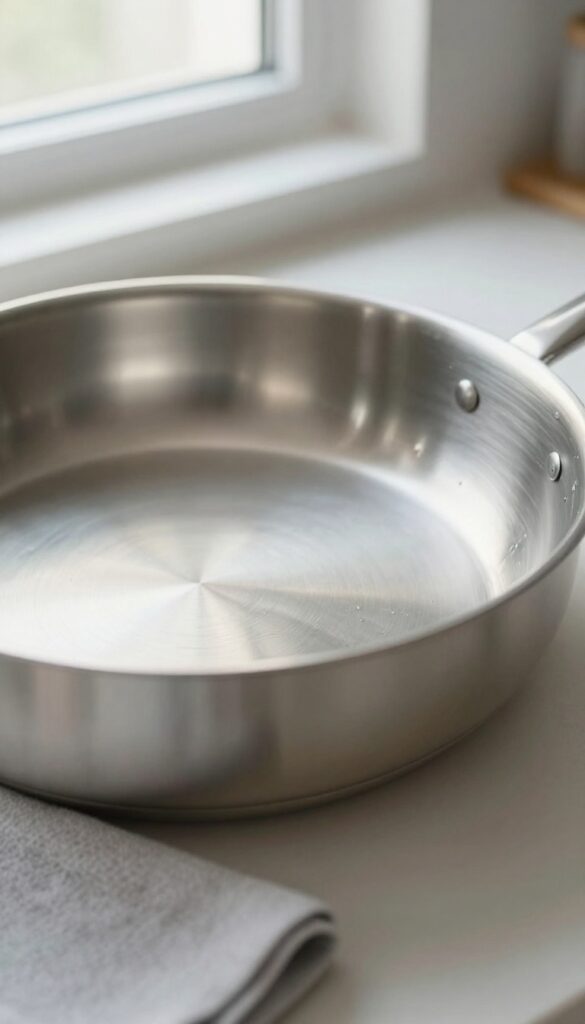
Drying might seem like the simplest step, but it's where many people accidentally dull their pans. Water spots and streaks form when minerals in tap water evaporate, leaving behind a cloudy film. A quick, mindful drying routine locks in that polished shine and prevents new blemishes from forming.
After washing and rinsing your pan, don't let it air dry. Air drying lets water droplets linger, which leads to those stubborn white spots. Instead, grab a soft, lint-free towel—microfiber works great—and dry the pan immediately.
For extra insurance, you can place the pan on a low burner for about a minute. The gentle heat evaporates any remaining moisture, leaving the surface spotless. This method works especially well for pans with rivets or handles where water tends to hide.
Choose The Right Towel
Not all towels are safe for stainless steel. Rough fabrics like terry cloth can leave tiny scratches that catch light and dull the finish. Stick to microfiber or soft cotton dishcloths.
They absorb water quickly without marring the surface.
The Heat Dry Trick
For a flawless finish, try the stovetop method. After towel drying, set the pan on a burner over low heat for 30 to 60 seconds. Watch the last traces of water evaporate.
Remove the pan once it's completely dry—don't let it get too hot or it might warp.
Polish While Drying
Use the drying step as a chance to add extra shine. Before drying, dab a tiny drop of olive oil or mineral oil on the towel. Buff the pan in a circular motion as you dry.
This leaves a thin protective layer that repels water and fingerprints.
FAQ
Can I use steel wool on stainless steel pans?
It's best to avoid steel wool because it can scratch the surface. Use non-abrasive sponges or soft cloths instead.
How do I remove rainbow discoloration from my pans?
Rainbow stains are caused by overheating. Use a paste of cream of tartar and water, or white vinegar, to gently remove them.
Is it safe to use bleach on stainless steel?
No, bleach can damage the protective layer and cause pitting. Stick to mild cleaners like dish soap, vinegar, or baking soda.
How often should I deep clean my stainless steel pans?
Deep clean every few weeks or as needed when stains or burnt-on food appear. Daily cleaning with dish soap is sufficient for regular use.
Can I put stainless steel pans in the dishwasher?
While some are dishwasher-safe, hand washing is recommended to preserve the finish and prevent water spots.
Conclusion
Keeping your stainless steel pans shiny doesn't require harsh chemicals or endless scrubbing. With these 15 methods, you can tackle everything from everyday grime to stubborn burnt-on residue using simple ingredients you probably already have. The secret is matching the technique to the mess—gentler options like vinegar or baking soda work wonders for light stains, while Bar Keepers Friend or a quick boil can handle tougher jobs.
Once you find your go-to method, maintaining that polished look becomes a breeze. Your pans will not only perform better but also look great hanging in your kitchen.