17 Oven Cleaning with Dishwasher Pods Tips for Baked Grime
Baked-on grime in your oven can feel impossible to remove, but dishwasher pods offer a surprising shortcut. These powerful little tablets dissolve grease and burnt food faster than many dedicated cleaners.
Instead of scrubbing for hours, you can let the pod do the heavy lifting. From the oven floor to the glass door, these 17 tips show you exactly how to use dishwasher pods to tackle even the toughest residue.
Get ready to see your oven sparkle with minimal effort.
1. Make a Paste for Stubborn Spots
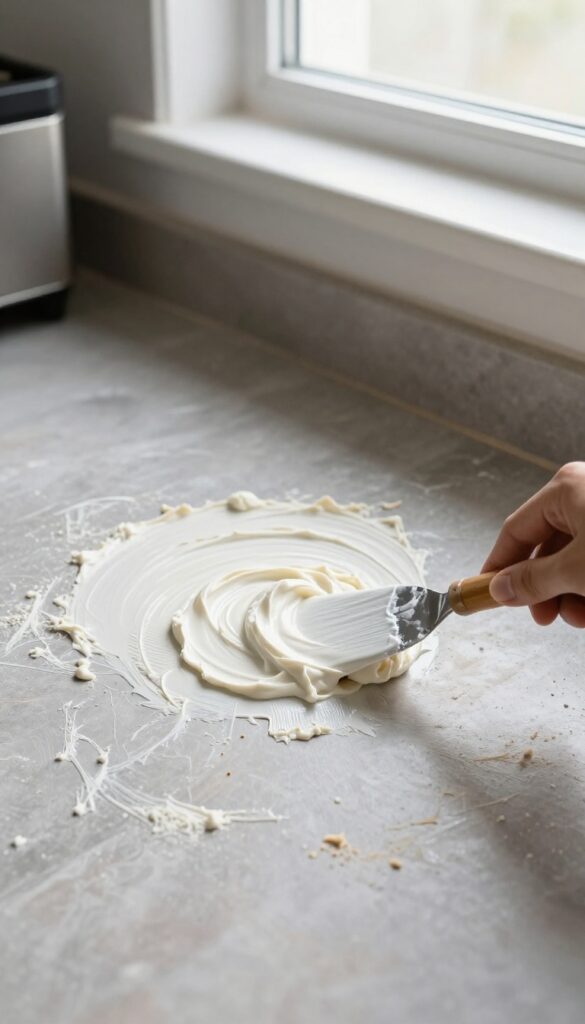
Sometimes a liquid spray just won't cut it. For those crusted-on patches that laugh at regular cleaners, a thick paste gives you more control and better adhesion to vertical surfaces.
Crush one dishwasher pod into a powder using a mortar and pestle or the back of a spoon. Add just enough hot water—a teaspoon at a time—to form a spreadable paste. Apply it directly to the baked-on spots with a spatula or old toothbrush, and let it sit for 15–20 minutes.
The enzymes and surfactants in the pod will break down the grime, making it easy to wipe away with a damp cloth. Rinse well to avoid any residue.
Why A Paste Works Better
A paste stays put instead of dripping off, so it can work longer on tough spots. It also lets you target specific areas without wasting product.
Best Spots For This Method
Use it on the oven floor, back wall, and around the heating elements. Avoid applying paste directly on the glass door—it can leave streaks.
How Long To Let It Sit
Fifteen minutes is enough for light grime. For thick, burnt-on layers, leave it for up to 30 minutes. Check periodically and reapply if it dries out.
2. Create a Soaking Solution for Oven Racks
Oven racks are often the most stubborn part of a cleaning session. They collect layers of baked-on grease that seem welded to the metal. But with a simple soaking solution, you can loosen that grime without any elbow grease.
Dishwasher pods are designed to break down tough food residue, and they work just as well on oven racks. All you need is hot water and a little patience. The result is racks that rinse clean with barely any scrubbing.
To start, fill your kitchen sink or a large plastic tub with the hottest tap water you can get. Drop in two dishwasher pods and let them dissolve completely—this usually takes a minute or two. Swish the water to distribute the cleaning agents evenly.
Submerge your oven racks fully in the solution. If they don't fit all at once, do one at a time. Let them soak for at least an hour, but for heavily caked-on grime, leave them overnight.
The enzymes and surfactants in the pod will break down the grease and carbon deposits. After soaking, lift the racks out and rinse them under warm water. Most of the grime will slide right off.
For any stubborn spots, use a soft sponge or nylon brush—no harsh scrubbing needed. Dry the racks with a clean towel before putting them back in the oven.
Why Dishwasher Pods Work So Well
Dishwasher pods contain powerful degreasers and enzymes that target protein-based stains and baked-on fats. When dissolved in hot water, they create an alkaline solution that saponifies grease, turning it into soap that rinses away easily. This chemistry makes them far more effective than plain dish soap for oven rack grime.
Tips For Best Results
Use the hottest water possible—near boiling if your sink handles it. If the water cools during a long soak, replace it with fresh hot water and another pod. For extra tough buildup, give the racks a quick scrub with a stiff brush before soaking to expose more surface area to the solution.
Safety And Rinsing
Always rinse racks thoroughly after soaking to remove any cleaning residue. Leftover chemicals could create fumes or affect food taste during future use. Dry completely before returning to the oven to prevent rust spots on metal racks.
3. Use a Pod in a Spray Bottle for Easy Application
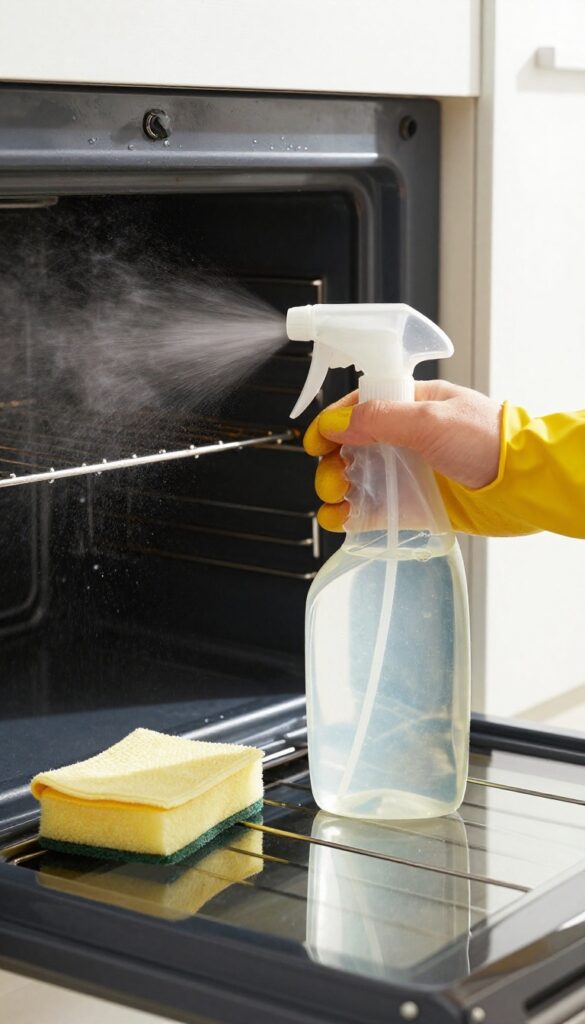
A spray bottle gives you total control over where the cleaner goes. Mixing a dishwasher pod with hot water creates a powerful degreaser that's easy to mist onto vertical surfaces, corners, and the oven door. No more struggling to spread a thick paste or worrying about drips.
How To Make The Spray
Drop one dishwasher pod into a clean spray bottle. Fill with very hot water, screw on the nozzle, and shake until the pod dissolves completely. The solution will be slightly sudsy but thin enough to spray.
Use it within an hour for best results.
Where To Spray
Target the oven walls, ceiling, and door. Avoid heating elements and the fan. For the glass door, spray generously and let it sit.
The solution clings well, so you don't need to oversaturate.
Let It Sit, Then Wipe
After spraying, wait 10 minutes for the enzymes to break down grease. Then wipe with a damp microfiber cloth. For stubborn spots, spray again and scrub gently with a non-abrasive sponge.
Rinse with a clean wet cloth to remove any residue.
4. Target the Oven Door Glass
The oven door glass is often the first thing people notice, but it's also a magnet for baked-on grease and fingerprints. Dishwasher pods can cut through that grime without leaving streaks or scratches. Here's how to get crystal-clear results.
Make A Thick Paste
Crush one dishwasher pod into a fine powder using a mortar and pestle or the back of a spoon. Add just enough warm water to form a thick, spreadable paste. The consistency should be like toothpaste—not too runny, so it stays put on the vertical glass.
Apply And Let It Sit
Use a sponge or your fingers (gloved) to spread the paste evenly over the entire oven door glass. Pay extra attention to baked-on spots. Let it sit for 15 minutes.
The enzymes and surfactants in the pod will break down grease and burnt food without harsh scrubbing.
Wipe Away For A Streak-free Shine
Dampen a clean microfiber cloth with water and wipe off the paste in circular motions. Rinse the cloth frequently to avoid redepositing grime. For a final streak-free finish, buff the glass with a dry microfiber cloth.
No vinegar or glass cleaner needed.
5. Tackle the Oven Floor with a Pod Soak
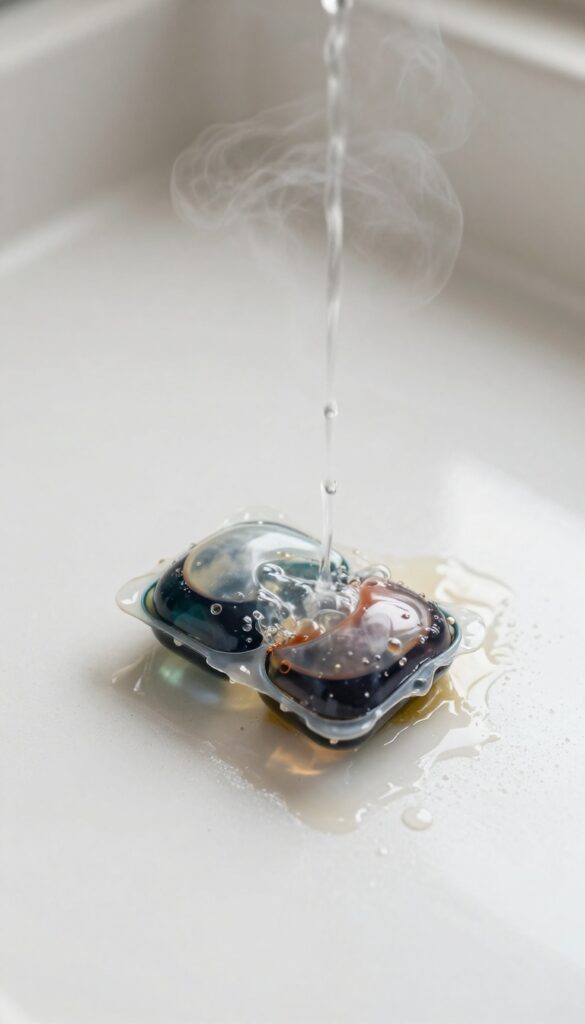
The oven floor takes the brunt of spills and drips, often ending up with a thick, baked-on layer that resists scrubbing. A dishwasher pod placed directly on the surface can break through that crust with minimal effort. This method works especially well for tough, sticky spots that won't budge with sprays alone.
To start, make sure the oven is completely cool. Place one dishwasher pod directly on the worst spot on the oven floor. Pour a cup of boiling water over the pod so it begins to dissolve and spread.
Let it sit for 20 minutes—you'll see the grime start to soften and lift. After the soak, scrub gently with a non-abrasive sponge or brush. The residue should wipe away easily, leaving the floor clean without harsh chemicals.
Why This Works So Well
Dishwasher pods contain enzymes and surfactants designed to break down grease and food particles. When combined with hot water, they create a powerful cleaning solution that targets baked-on grime. The direct contact method concentrates the cleaning power exactly where you need it, unlike sprays that can run off or dilute.
Tips For Best Results
Use only one pod per cleaning session—more isn't better and can leave residue. Avoid using this method on self-cleaning oven floors with catalytic liners, as the chemicals may damage them. Always rinse the floor thoroughly with a damp cloth after scrubbing to remove any soap residue before using the oven again.
What To Avoid
Never use this technique on a hot oven surface, as the pod can foam excessively and create a mess. Also, keep the pod away from heating elements and the oven door seal to prevent damage. If your oven floor has a textured surface, test a small area first to ensure the pod doesn't leave a film.
6. Combine with Baking Soda for Extra Power
Sometimes a dishwasher pod alone isn't quite enough for those stubborn, crusty spots. That's where baking soda comes in. Mixing the two creates a thick, gritty paste that clings to vertical surfaces and digs into baked-on grime.
This combo works because the pod's surfactants and enzymes break down grease while the baking soda provides gentle abrasion. The paste stays put longer, giving the chemicals more time to work. It's especially effective on the oven floor and back wall where spills tend to carbonize.
How To Make The Paste
Crush one dishwasher pod into a small bowl. Add about two tablespoons of baking soda and stir. Slowly add a teaspoon of warm water at a time until you get a spreadable paste.
It should be thick enough not to drip.
Where To Apply It
Focus on the worst spots: the oven floor, the back wall, and any burnt-on drips on the sides. Use a spatula or an old pastry brush to spread a thick layer. Avoid the heating elements and the seal around the door.
Let It Sit, Then Wipe
Leave the paste on for 30 minutes. For extra-tough spots, let it sit up to an hour. Then spray with warm water to loosen, and wipe away with a damp cloth.
Rinse thoroughly to remove any residue.
7. Use a Pod to Clean the Oven Ceiling
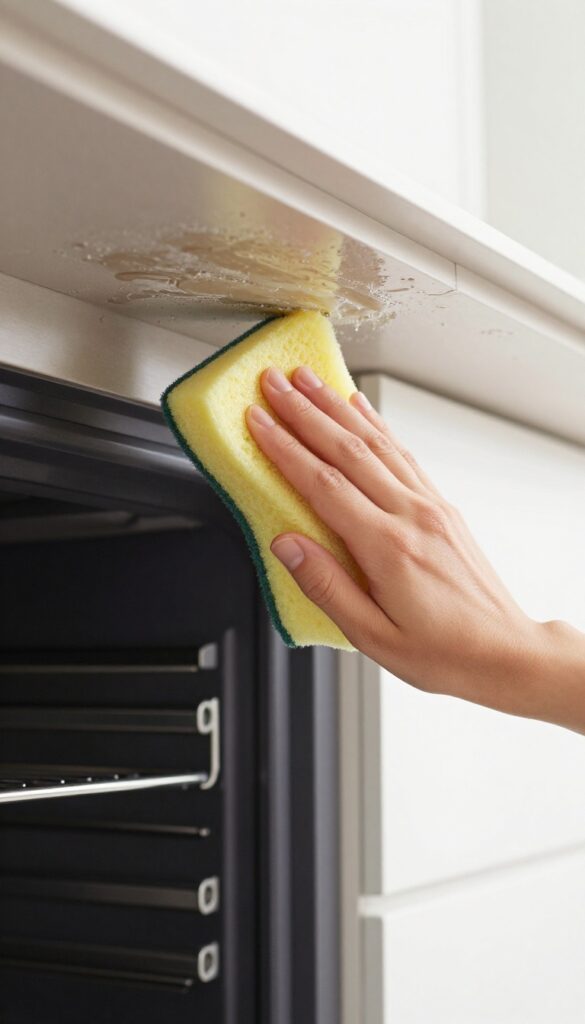
The oven ceiling is often neglected, but it collects baked-on grease and smoke residue over time. Cleaning it can be tricky because gravity works against you, making drips fall onto lower surfaces. A dishwasher pod dissolved in hot water creates a solution that clings well and cuts through grime without running everywhere.
To clean the oven ceiling, dissolve one dishwasher pod in a bowl of hot water. Dip a sponge or microfiber cloth into the solution, wring it out slightly so it's damp but not dripping, and wipe the ceiling thoroughly. Let the solution sit for 10 minutes to break down the baked-on grease.
Then, wipe away the residue with a clean damp cloth. For extra stubborn spots, use a non-abrasive scrubber. This method prevents messy drips and keeps your oven ceiling spotless.
Why The Ceiling Gets So Grimy
Heat and steam rise, so grease and food particles naturally accumulate on the oven ceiling. Over time, this layer bakes on and becomes hard to remove. Regular cleaning often skips this area, leading to a thick, stubborn crust.
Step-by-step Ceiling Cleaning
Start by removing oven racks and any loose debris. Mix one dishwasher pod with hot water until fully dissolved. Use a sponge to apply the solution to the ceiling, working in sections.
Let it sit for 10 minutes, then wipe with a damp cloth. Rinse the sponge frequently to avoid spreading grease.
Tips To Avoid Drips And Mess
Wring out your sponge well before applying to the ceiling. Work from the back to the front so any drips land on already-cleaned areas. Place a towel on the oven floor to catch any accidental drips.
For vertical surfaces, use a spray bottle with the pod solution for better control.
8. Freshen Up the Oven Interior Between Deep Cleans
You don't always need a full scrub session to keep your oven smelling fresh and looking clean. A quick steam treatment with a dishwasher pod can handle light grime and odors in between major cleanings. This method is perfect for after a big cooking session or when you just want to refresh the oven without much effort.
It's gentle on the oven but tough on smells and sticky residue.
Fill an oven-safe bowl with water and drop in one dishwasher pod. Place the bowl on the middle rack and set the oven to 200°F. Let it run for about 30 minutes.
The steam will loosen any light baked-on bits and neutralize odors. Once done, let the oven cool slightly, then wipe down the interior with a damp cloth. No harsh chemicals, no heavy scrubbing.
When To Use This Method
This steam trick works best when your oven has only light splatters or lingering smells from roasted meats or baked goods. If you've got thick, crusty grime, you'll need a deeper clean first. Use it weekly or bi-weekly to maintain a fresh oven between major scrubs.
Safety Tips For Steam Cleaning
Always use an oven-safe bowl—glass or ceramic works well. Never leave the oven unattended while it's running. Keep the oven door closed during the cycle to trap the steam.
Afterward, open the door to let the moisture escape before wiping. Avoid using this method on self-cleaning ovens that lock automatically.
Enhance The Freshening Effect
Add a few drops of lemon juice or a cinnamon stick to the water for a pleasant scent. You can also use a half pod if your oven is only slightly dirty. For stubborn spots, let the steam sit for an extra 10 minutes before wiping.
9. Remove Burnt-On Food from Baking Sheets
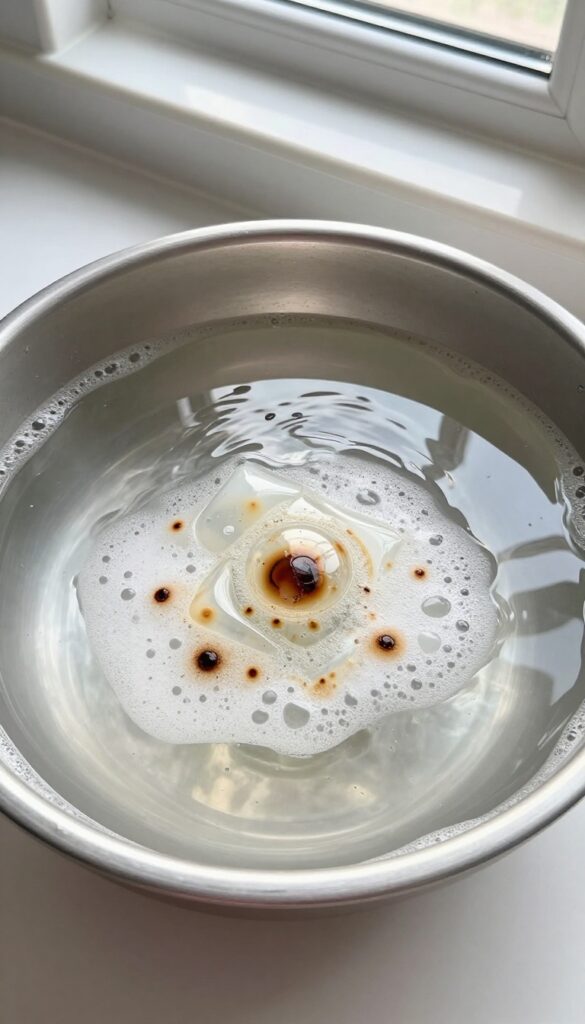
Baking sheets take a beating. After months of roasting vegetables or baking cookies, they develop a dark, crusty layer that no sponge seems to touch. Dishwasher pods can change that without hours of elbow grease.
Fill your sink or a large basin with hot water—enough to fully submerge the baking sheet. Drop in one dishwasher pod and let it dissolve completely. Place the sheet in the water and let it soak for 30 minutes.
The combination of heat and detergent breaks down carbonized food. After soaking, lift the sheet out and wipe it with a soft sponge. Burnt-on residue slides off like butter.
For extra-stubborn spots, scrub gently with a non-abrasive pad. Rinse thoroughly and dry. Your baking sheets will look nearly new.
Why This Works So Well
Dishwasher pods contain enzymes and surfactants designed to tackle dried-on food. When dissolved in hot water, they create a powerful soaking solution that penetrates burnt layers. The heat softens the carbon, while the chemicals break the bond between food and metal.
Best Practices For Best Results
Use the hottest tap water you can. Make sure the sheet is fully submerged—weigh it down with a heavy plate if needed. Don't rush the soak; 30 minutes is the sweet spot.
For sheets with multiple layers of buildup, repeat the process or let them soak overnight.
What To Avoid
Never use abrasive scrubbers like steel wool on non-stick or aluminum sheets—they'll scratch. Also, avoid mixing dishwasher pods with bleach or ammonia; the combination can release harmful fumes. Stick to warm water and the pod alone.
10. Clean the Oven Knobs and Handles
Knobs and handles collect greasy fingerprints and grime from everyday use. While they might seem like a small detail, clean controls make the whole oven feel fresher. A dishwasher pod solution cuts through that buildup without harsh scrubbing, keeping the finish intact.
Prep The Solution
Fill a small bowl with warm water and drop in one dishwasher pod. Let it dissolve completely, which takes about a minute. Stir gently to ensure it's fully mixed.
This creates a degreasing liquid that's safe for most metal and plastic surfaces.
Wipe Down Thoroughly
Dip a soft cloth or sponge into the solution, wring it out so it's damp but not dripping. Wipe each knob and handle, paying attention to crevices where grime hides. The pod's enzymes break down grease on contact, so you usually don't need to scrub hard.
Rinse And Dry
After wiping, go over the same areas with a clean, damp cloth to remove any soap residue. Then dry with a microfiber towel to prevent water spots. This step is key—leftover solution can feel sticky once dry.
11. Use a Pod to Degrease the Oven Fan
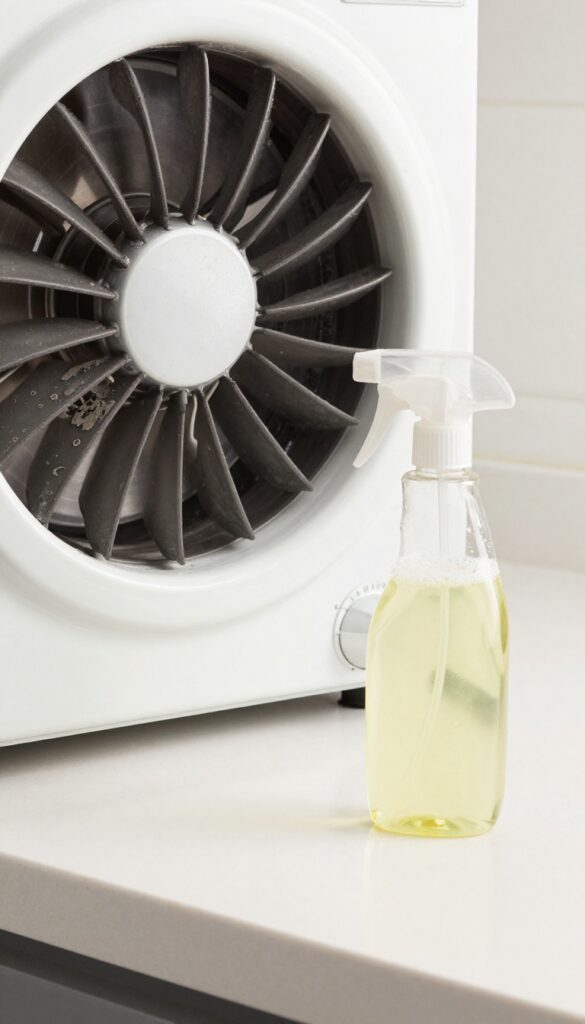
The oven fan works hard to circulate heat, but it also collects a surprising amount of grease and grime. When it's coated, airflow drops and your oven has to work harder. A dishwasher pod can cut through that buildup without you having to dismantle anything.
Spray a pod solution onto the fan blades (ensure the oven is off and cool). Let it sit for 10 minutes, then wipe. This improves airflow and efficiency.
Why The Fan Gets So Grimy
Every time you roast or bake, grease vaporizes and then condenses on the coolest surfaces—often the fan blades. Over time, that layer hardens, attracting more dust and debris. A clean fan moves air better, so your oven heats evenly and uses less energy.
How To Prep The Pod Solution
Drop one dishwasher pod into a spray bottle filled with warm water. Let it dissolve completely, then shake gently. You want a soapy solution, not a thick paste.
Avoid using too many pods—one is plenty for a full spray bottle.
Spray, Wait, And Wipe
With the oven off and cool, spray the solution directly onto the fan blades. Let it sit for about 10 minutes to break down the grease. Then wipe with a damp microfiber cloth.
For stubborn spots, use a soft brush or an old toothbrush. Dry the blades with a clean cloth.
Safety First
Never spray anything into the fan while it's running or still hot. Make sure the oven is completely off and unplugged if possible. Avoid getting excess liquid into the motor housing—a light mist is all you need.
If your fan is removable, check your manual for cleaning instructions.
12. Create a Long-Lasting Soak for Burnt-On Spills
Some spills just won't budge with a quick wipe. Burnt-on sauce or melted sugar can form a rock-hard layer that laughs at scrubbing. That's where a long soak comes in, and dishwasher pods make it incredibly easy.
For those stubborn spots, place a dishwasher pod directly on the burnt residue. Cover it with a wet paper towel to keep the pod moist and active. Let it sit for at least an hour—overnight for really tough crusts.
The enzymes in the pod will slowly break down the burnt-on grime, turning it into a soft paste you can wipe away with little effort.
Why The Wet Paper Towel Matters
The paper towel isn't just a cover—it traps moisture and keeps the pod from drying out. This creates a concentrated cleaning zone that works continuously. Without it, the pod would just sit there and harden.
Best Spills For This Method
This soak works wonders on dried cheese, caramelized sugar, burnt marinara sauce, and any spill that has turned into a dark, hard crust. Avoid using it on aluminum surfaces or self-cleaning oven liners, as the prolonged moisture could cause damage.
How To Finish The Job
After the soak, remove the paper towel and pod residue. The spill should now be soft and gooey. Use a damp sponge or a plastic scraper to lift it off.
Rinse the area with a clean wet cloth to remove any soap residue.
13. Combine Pods with Vinegar for a Rinse
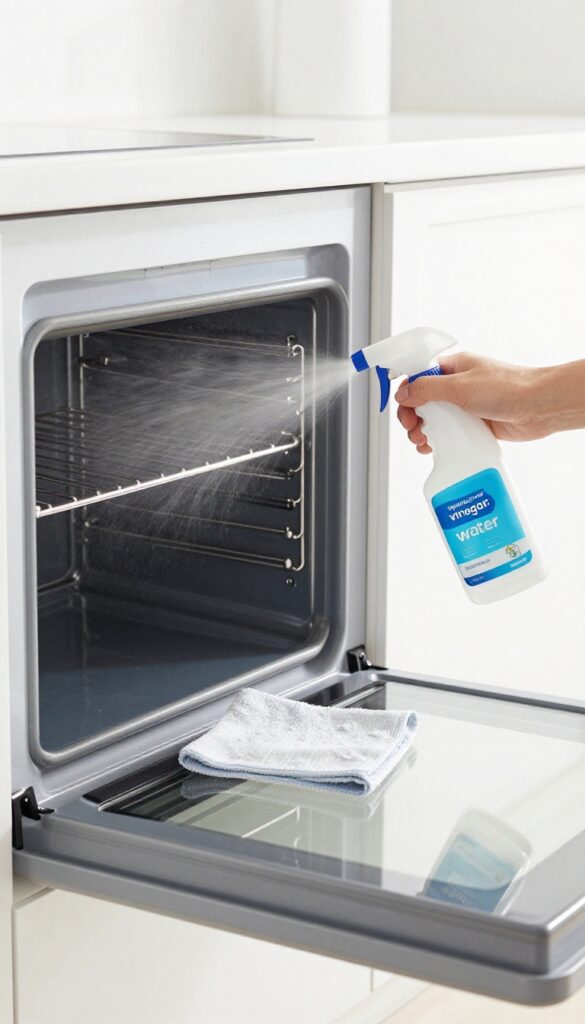
After you've scrubbed away the grime with a dishwasher pod solution, there's one more step that makes a big difference: a vinegar rinse. This simple trick neutralizes any leftover pod residue and leaves your oven looking streak-free and shiny.
Vinegar is a natural acid that cuts through soap residue and helps restore the shine to your oven surfaces. Mix equal parts white vinegar and water in a spray bottle, then lightly mist the interior after cleaning. Wipe with a clean, damp cloth to reveal a sparkling finish.
Why Vinegar Works
Dishwasher pods are alkaline, so they can leave a slight film if not rinsed thoroughly. Vinegar's acidity neutralizes that residue, preventing streaks and dullness. It also helps remove any lingering odors from the cleaning process.
How To Apply The Rinse
After you've wiped away the pod solution, spray the vinegar-water mix onto all surfaces—walls, floor, door, and racks. Let it sit for a minute, then wipe with a clean microfiber cloth. For stubborn spots, use a soft sponge.
Safety And Ventilation
Always ensure your oven is cool before applying any liquid. Open a window or turn on the range hood to avoid strong vinegar fumes. This rinse is safe for all oven types, including self-cleaning models.
14. Use Pods on Oven Gaskets Carefully
The rubber gasket that seals your oven door is essential for keeping heat in, but it's also a magnet for grease and grime. You can clean it with a dishwasher pod solution, but you need to be gentle. Too much moisture or harsh scrubbing can damage the seal, leading to heat loss and higher energy bills.
A soft cloth dipped in a weak pod solution is all you need. Wring it out well so it's damp, not wet, and gently wipe the gasket. Avoid soaking it or using abrasive tools.
This method removes grease without compromising the rubber.
Why The Gasket Needs Special Treatment
The oven gasket is made of rubber or silicone, which can degrade if exposed to strong chemicals or excessive moisture. Dishwasher pods are powerful, so diluting them is key. A weak solution lifts grease without weakening the seal.
Step-by-step Gentle Cleaning
Start by mixing one pod with a quart of warm water in a bowl. Dip a microfiber cloth, then wring it until barely damp. Wipe the gasket in one direction, following its contour.
Rinse with a clean damp cloth and dry immediately with a soft towel.
What To Avoid
Never spray or pour pod solution directly onto the gasket. Don't use scrub brushes, scouring pads, or any abrasive tool. Avoid letting liquid pool in the crevices.
If the gasket looks cracked or brittle, skip the pod method and replace it instead.
15. Clean the Broiler Pan with a Pod Soak
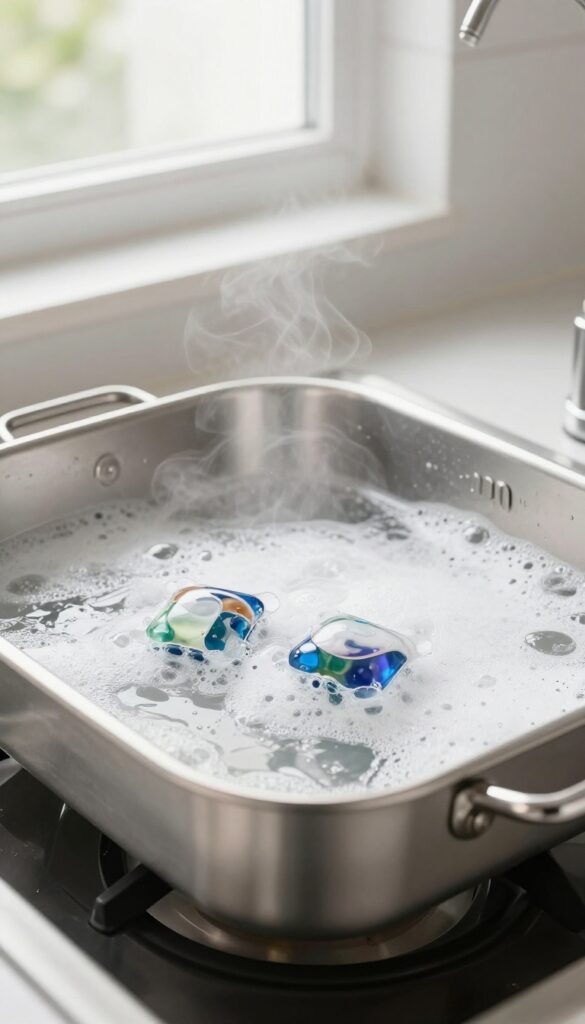
The broiler pan often gets overlooked, but it takes the brunt of burnt-on drips and splatters. After a few uses, that charred layer seems impossible to remove. Luckily, a dishwasher pod soak makes it easy.
Why The Soak Works
Dishwasher pods contain enzymes and surfactants that break down baked-on grease and protein. When dissolved in hot water, they create a powerful cleaning solution that penetrates burnt residue. The long soak gives the chemicals time to soften the grime, so you barely have to scrub.
Step-by-step Soak
Fill your sink or a large basin with the hottest tap water. Drop in two dishwasher pods and let them dissolve completely. Submerge the broiler pan and let it soak for at least an hour—overnight for heavy buildup.
After soaking, use a non-scratch sponge to wipe away the loosened food. Most of it will slide right off.
Tough Spots? A Little Extra Help
If some charred bits remain, make a paste with baking soda and a bit of the soak water. Apply it to the stubborn areas and let it sit for 15 minutes. Then scrub gently with the sponge.
Rinse thoroughly and dry. Your broiler pan will look nearly new.
16. Prevent Future Grime with Regular Pod Wipes
The best way to deal with baked-on grime is to stop it from building up in the first place. A quick post-cooking wipe with a dishwasher pod solution keeps your oven looking clean and cuts down on heavy scrubbing sessions. This simple habit takes just a couple of minutes and makes a huge difference over time.
Make A Weekly Wipe Solution
Dissolve half a dishwasher pod in a spray bottle filled with warm water. Shake until fully dissolved. Use this solution to spray down the oven interior after each use, focusing on any fresh spills.
The enzymes in the pod break down grease before it bakes on.
Focus On High-spill Areas
Pay extra attention to the oven floor, racks, and the area around the heating element. These spots collect the most drips and splatters. A quick spray and wipe while the oven is still warm (but not hot) prevents stubborn stains from forming.
Don't Forget The Door
The glass door is a magnet for grease splatters. Wipe it down with the pod solution after every few uses. This keeps the glass clear and prevents a hazy buildup that requires heavy scrubbing later.
17. Use Pods to Clean Oven Thermometer and Probes
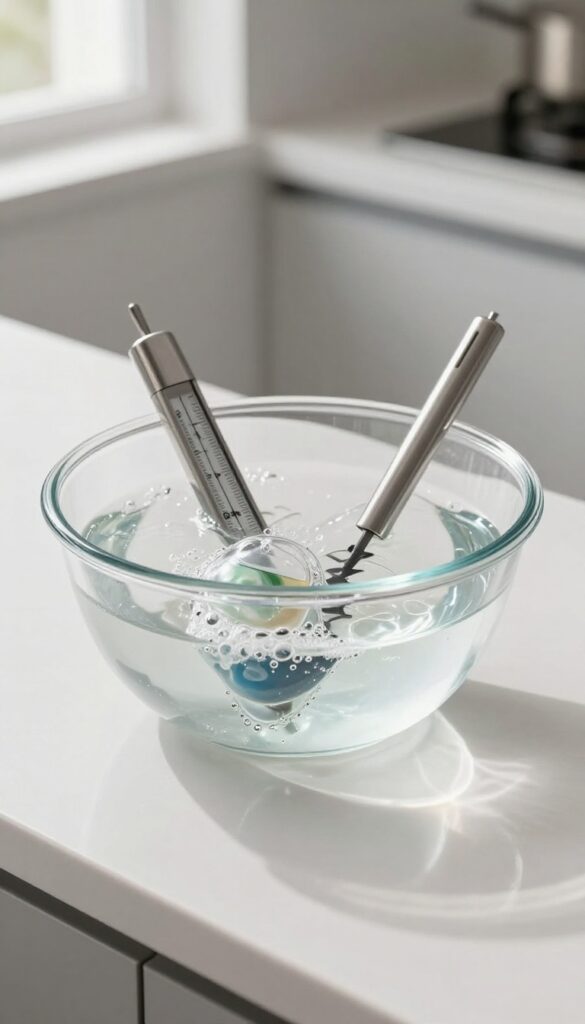
Your oven thermometer and probes are essential for accurate cooking, but they can get coated in grease and grime over time. Dishwasher pods offer a gentle yet effective way to clean them without damaging the metal or plastic components.
Soak your oven thermometer and probes in a warm dishwasher pod solution for about 15 minutes. The enzymes in the pod break down baked-on grease without harsh scrubbing. After soaking, rinse thoroughly with clean water and dry completely before storing.
This method keeps your tools accurate and hygienic.
Why Dishwasher Pods Work Well
Dishwasher pods contain surfactants and enzymes that dissolve grease and food residue. Unlike abrasive cleaners, they won't scratch the surface of your thermometer or probe. The soak time is short, so you don't have to worry about damaging sensitive components.
Step-by-step Cleaning Process
Fill a bowl with warm water and drop in one dishwasher pod. Stir until dissolved. Submerge your thermometer and probes completely.
Let them soak for 15 minutes. Remove and rinse under running water. Use a soft cloth to wipe away any remaining residue.
Dry thoroughly before next use.
Tips For Best Results
Avoid soaking any electronic parts or digital displays. If your probe has a cord, keep the connector out of the water. For stubborn spots, use a soft brush after soaking.
Always check the manufacturer's instructions to ensure your tools are water-safe.
FAQ
Are dishwasher pods safe for self-cleaning ovens?
Yes, but avoid using them during the self-cleaning cycle. Use them only on a cool oven as a cleaning solution.
Can I use any brand of dishwasher pod?
Most brands work well. Gel or powder pods dissolve faster, but any type will do. Avoid pods with rinse aid if possible.
Do I need to rinse after using a dishwasher pod in the oven?
Yes, always rinse thoroughly with water to remove any residue. Follow with a vinegar wipe for extra safety.
Will dishwasher pods damage the oven surface?
Generally no, but avoid prolonged contact on aluminum or delicate surfaces. Test on a small area first.
How often should I clean my oven with dishwasher pods?
Every 1-2 months for light use, or after heavy spills. Regular light cleaning prevents buildup.
Conclusion
Oven grime doesn't stand a chance when you repurpose dishwasher pods the right way. Start with the method that matches your mess level—whether it's a quick wipe-down or a deep soak—and adjust from there. A little experimentation helps you find what works for your oven and your schedule.
Consistency is the real secret.
Tackle spills as they happen, and you'll rarely need a heavy-duty session. Your oven will stay cleaner, your kitchen will smell fresher, and you'll save money on specialty cleaners. Give these tips a try and see the difference for yourself.