25 Stove Top Cleaning Hacks for Grease and Burnt Food
That crusted-on spaghetti sauce and greasy film on your stove top don't stand a chance against the right hack. You don't need harsh chemicals or hours of scrubbing—just a few pantry staples and a little know-how.
These 25 methods target everything from burnt-on food to stubborn grease, so you can pick the one that fits your stove type and mess level.
No fluff, just real solutions that make your cooktop look like new.
1. Baking Soda Paste for Burnt-On Food
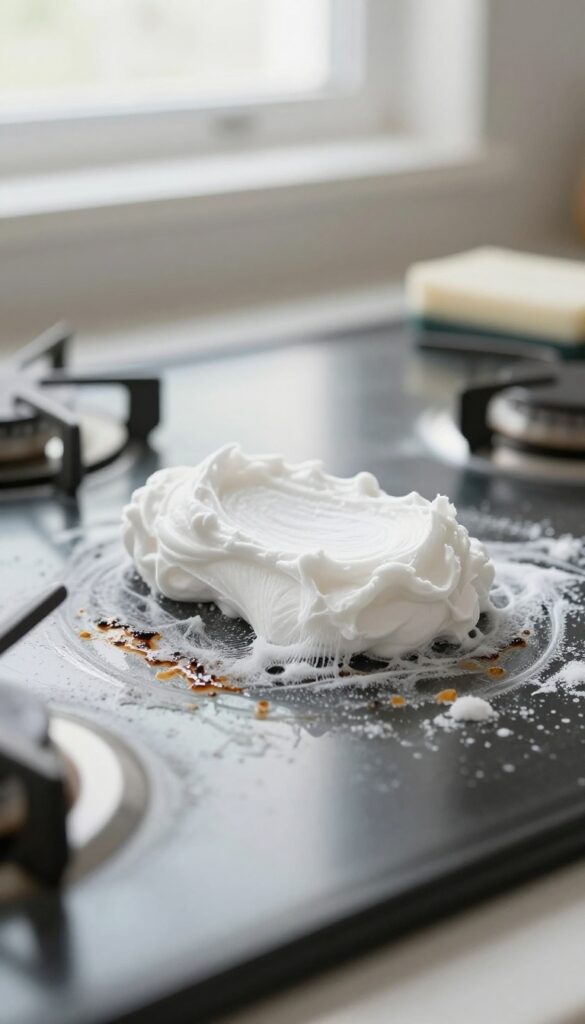
Baking soda is a powerhouse when it comes to tackling burnt-on messes. It's gentle enough for most stove tops but tough on carbonized food. This simple paste works wonders without scratching your cooktop's surface.
Mix three parts baking soda with one part water to create a thick, spreadable paste. Apply it generously over the burnt areas and let it sit for 15 minutes to soften the residue. Then, scrub gently with a soft sponge or cloth.
For extra stubborn spots, add a few drops of dish soap to the paste. Rinse thoroughly with a damp cloth and dry. This method works on glass, ceramic, and stainless steel stoves.
Why It Works
Baking soda is mildly abrasive, so it physically lifts burnt food without scratching. Its alkaline nature also helps break down acidic burnt residues, making them easier to wipe away.
Pro Tips For Best Results
Let the paste sit longer—up to 30 minutes—for heavily burnt areas. If the paste dries out, spritz a little water to reactivate it. Always test on a small hidden area first if you're unsure about your stove's finish.
2. Vinegar Spray to Cut Grease
White vinegar is a grease-cutting champion hiding in your pantry. Its acidity breaks down the sticky film that builds up on stove tops after a few rounds of cooking. This hack is as simple as it gets: mix, spray, wait, and wipe.
For regular maintenance or light grease, this method works wonders. The vinegar smell disappears as it dries, leaving a clean surface without chemical residue.
Why Vinegar Works So Well
Vinegar is acidic enough to dissolve grease without damaging most stove top surfaces. It's safe for glass, ceramic, and stainless steel, but avoid it on unsealed cast iron or aluminum. The acid cuts through the oil molecules, making them easy to wipe away.
Step-by-step Application
Fill a spray bottle with equal parts white vinegar and water. Spray the greasy areas generously. Let it sit for about 5 minutes to break down the grime.
Then wipe with a damp microfiber cloth. For stubborn spots, repeat or let it sit longer.
When To Use This Hack
This is perfect for daily or weekly cleaning after cooking bacon, frying, or sautéing. It's not strong enough for burnt-on food, but for grease alone it's a quick, cheap solution. Use it before the grease hardens for best results.
3. Dish Soap and Hydrogen Peroxide Combo
Sometimes the simplest mixtures work the best. Dish soap cuts grease on contact, while hydrogen peroxide lifts and bubbles away burnt-on food. Together, they create a foaming cleaner that tackles the toughest spots without harsh scrubbing.
This two-ingredient solution is perfect for baked-on spills that won't budge with regular cleaner. The peroxide oxidizes the burnt residue, making it soft and easy to wipe off. Plus, it's gentle enough for glass, ceramic, and stainless steel cooktops.
How To Mix And Apply
Squirt a few drops of dish soap directly onto the stain, then pour a small amount of hydrogen peroxide (3% is fine) over it. The mixture will foam up immediately. Let it sit for 10 minutes—don't rush this step.
The bubbles are working to break down the grease and char.
Best For Stubborn Spots
This combo shines on dried-on sauce, caramelized sugar, and oil splatters that have baked into a crust. It's also great for the area around burners where grease tends to accumulate. Avoid using on aluminum or unsealed cast iron, as peroxide can cause discoloration.
Wipe Away With Ease
After the wait, use a damp microfiber cloth to wipe the area. The residue should come off with little to no effort. For extra tough spots, a gentle scrub with a non-abrasive sponge will finish the job.
Rinse with water and dry with a clean cloth.
4. Lemon Juice for Glass Cooktops
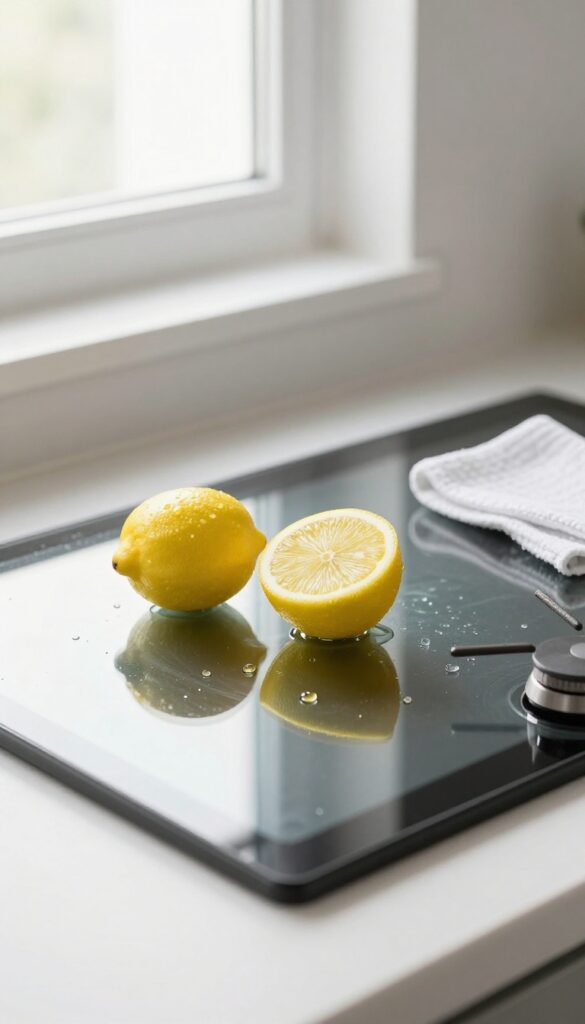
Lemons aren't just for lemonade—they're a secret weapon for glass stove tops. The natural acidity cuts through grease and lifts burnt-on food without scratching the surface. Plus, it leaves your kitchen smelling fresh, not like chemicals.
How It Works
Citric acid in lemon juice breaks down the bonds in burnt residue and grease. It's gentle enough for glass but tough on stuck-on messes. Unlike abrasive cleaners, it won't scratch or dull the surface.
Step-by-step Method
Cut a lemon in half and squeeze a little juice onto the burnt spots. Rub the cut side directly over the residue, applying light pressure. Let it sit for 5–10 minutes, then wipe with a damp microfiber cloth.
For extra stubborn spots, sprinkle a little baking soda on the lemon half before rubbing.
Pro Tips For Best Results
Use a fresh lemon for maximum juice. Avoid using the lemon on a hot cooktop—let it cool completely first. After cleaning, buff the surface with a dry cloth for a streak-free shine.
This method works best on light to moderate burnt-on food; for heavy buildup, you may need to repeat or combine with another hack.
5. Cream of Tartar for Tough Stains
Cream of tartar isn't just for baking—it's a gentle abrasive that tackles stubborn, burnt-on stains without scratching. When mixed with water, it forms a paste that breaks down residue on ceramic and glass cooktops. This hack is especially useful for those dark, crusty patches that regular cleaners can't budge.
Cream of tartar is a mild acid that helps dissolve burnt food and grease. It's safe for most stove tops, including glass and ceramic, and won't leave harsh chemical fumes. For best results, use it on cool surfaces and avoid letting the paste dry completely.
How To Make The Paste
Mix 2 tablespoons of cream of tartar with a splash of water to form a thick paste. Adjust the water until it's spreadable but not runny. Apply the paste directly to the burnt areas, covering them completely.
Application And Wait Time
Let the paste sit for 15–20 minutes. This gives the acid time to break down the burnt residue. Don't let it dry out—if it starts to crack, spritz a little water on top.
After waiting, scrub gently with a soft sponge or cloth.
Rinsing And Final Finish
Wipe away the paste with a damp cloth, then rinse the surface with clean water. Dry with a microfiber towel to avoid streaks. For extra shine, follow up with a glass cleaner.
Your stove top should look noticeably cleaner and brighter.
6. Steam Cleaning with a Damp Towel
Steam is a gentle but effective way to loosen burnt-on food without scrubbing. All you need is a damp microfiber cloth and a few minutes of low heat. This method works especially well on gas grates and burner caps, where grime gets baked into crevices.
It's almost like giving your stove a mini spa treatment—no elbow grease required.
Start by placing a damp (not soaking wet) microfiber cloth directly over the burnt-on spots on your gas grates or burner caps. Turn the burner to low heat and let it sit for about a minute. The heat will turn the moisture into steam, which penetrates the grime and softens it.
After turning off the burner, let the cloth cool slightly, then wipe away the loosened residue. For extra stubborn spots, repeat the process or let the cloth sit a bit longer. This hack is safe for most stove types, but avoid using it on electric coil burners that could be damaged by moisture.
Best For Gas Grates
Gas grates often have nooks and crannies where burnt food hides. The steam method reaches those tight spots without disassembling anything. Just lay the damp cloth over the grate, focusing on the dirtiest areas.
After steaming, use a sponge or brush to wipe away the softened gunk. It's quick and avoids the need for harsh scrubbing pads.
Safety Tips
Always use a microfiber cloth that's damp, not wet, to avoid water dripping into the burner openings. Keep the heat on low to prevent the cloth from scorching. Never leave the burner unattended while steaming, and let the cloth cool before handling.
This method is not recommended for glass or ceramic cooktops, as sudden temperature changes could cause cracking.
7. Magic Eraser for Quick Touch-Ups
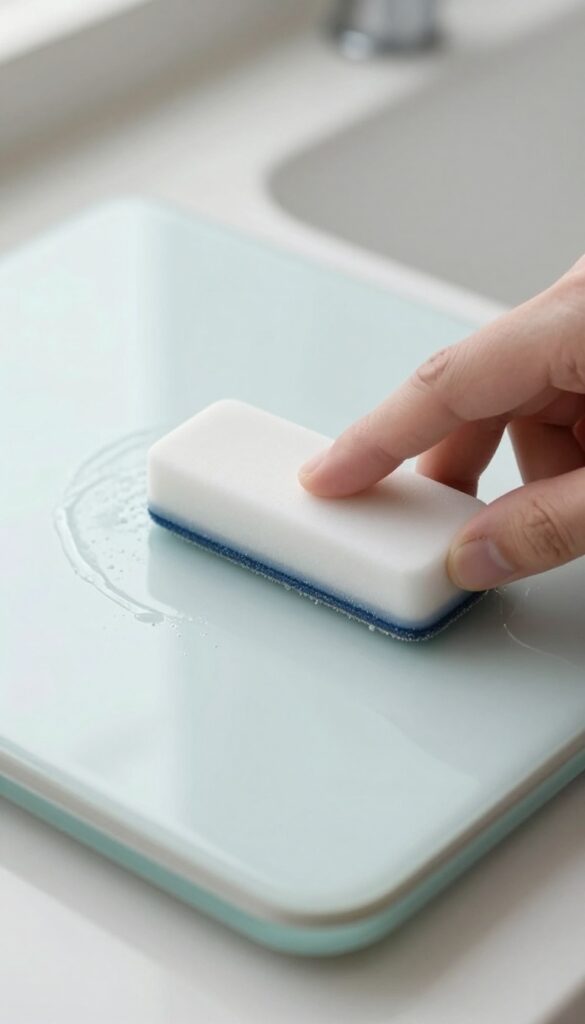
A melamine foam eraser—often sold as a magic eraser—is one of the easiest ways to handle fresh grease marks or light residue. Just dampen it, give the spot a gentle rub, and watch the grime lift away without any chemical cleaners. It's perfect for those in-between days when you don't want to break out the heavy-duty supplies.
These foam blocks work by micro-abrasion, meaning they essentially sand away dirt at a microscopic level. That makes them great for glass, ceramic, and enamel stove tops, but you'll want to test on a small hidden area first—especially on painted or coated surfaces. They're also disposable, so you can just toss them when they get too dirty.
Best Uses
Magic erasers shine on light grease splatters, dried-on sauce drips, and those faint yellow stains that appear around burners. They're not ideal for heavy burnt-on crud—that would eat up the eraser fast—but for daily maintenance, they're a lifesaver. Keep one in the kitchen and use it right after cooking for best results.
How To Use
Cut the eraser into smaller pieces so you don't waste the whole block. Wet it with water and squeeze out the excess—it should be damp, not dripping. Gently rub the soiled area in a circular motion.
No pressure needed; let the foam do the work. Rinse the surface with a clean damp cloth afterward to remove any foam residue.
What To Avoid
Don't use magic erasers on non-stick coatings, stainless steel with a brushed finish, or any surface that's easily scratched. They can dull shiny finishes over time. Also, never use them dry—that's too abrasive.
Stick to light touch-ups, and you'll keep your stove top looking fresh without extra effort.
8. Bar Keepers Friend for Stubborn Burnt Food
When baking soda and vinegar aren't cutting it, it's time to bring out the big guns. Bar Keepers Friend is a powdered cleaner that uses oxalic acid to dissolve carbonized food without excessive scrubbing. It's especially effective on stainless steel and ceramic cooktops, but you need to use it correctly to avoid damage.
Bar Keepers Friend is a game-changer for those black, crusty spots that seem impossible to remove. The key is to wet the surface, sprinkle the powder on a damp sponge, and scrub gently in circular motions. The oxalic acid breaks down the burnt-on residue chemically, so you don't have to scrub hard.
Rinse thoroughly with water afterward to remove any residue. Avoid using it on aluminum, marble, or painted surfaces, as it can etch or discolor them. For best results, wear gloves and work in a well-ventilated area.
How It Works
Bar Keepers Friend's active ingredient is oxalic acid, a mild acid that reacts with iron and carbon compounds in burnt food. This reaction loosens the bond between the stain and the cooktop, making it easy to wipe away. It's more aggressive than baking soda but still safe for most stove surfaces when used as directed.
Step-by-step Application
Start by wetting the stove top with water. Sprinkle a small amount of Bar Keepers Friend powder onto a damp, non-abrasive sponge. Gently scrub the burnt area in circular motions—no need to press hard.
The powder will create a mild foam. Let it sit for about a minute, then rinse thoroughly with a wet cloth. Repeat if necessary, but avoid letting the powder dry on the surface.
Safety Precautions
Always test on a small, inconspicuous area first. Wear gloves to protect your skin, and avoid inhaling the powder. Rinse extremely well—any residue left behind can cause discoloration or react with subsequent spills.
Never use Bar Keepers Friend on aluminum, marble, or painted surfaces, as it will damage them.
9. Cooking Oil to Loosen Burnt Grease
You might not think of oil as a cleaner, but it's surprisingly effective at breaking down old, burnt grease. The chemistry is simple: like dissolves like. A little vegetable oil applied to the mess softens the crust, making it easy to wipe away without harsh scrubbing.
This trick works best on baked-on grease that's still slightly tacky or has a thick, gummy layer. It's gentle enough for ceramic and glass cooktops, but also works on stainless steel and enamel surfaces. Just avoid using it on porous or unsealed surfaces.
How It Works
Grease is a fat, and vegetable oil is also a fat. When you apply oil to burnt grease, the fresh oil penetrates and dissolves the old, hardened grease molecules. This softens the layer so it lifts off with minimal effort.
Step-by-step Instructions
Put a few drops of vegetable oil on a paper towel. Rub the oily towel over the burnt grease until the area is coated. Let it sit for 10 minutes.
Then, wipe with a damp soapy cloth. Rinse and dry.
Pro Tips
Use a neutral oil like vegetable or canola—olive oil works too but can be sticky. For extra-stubborn spots, let the oil sit longer, up to 30 minutes. Finish with a vinegar-water rinse to remove any oily residue.
10. Ammonia for Heavy-Duty Cleaning
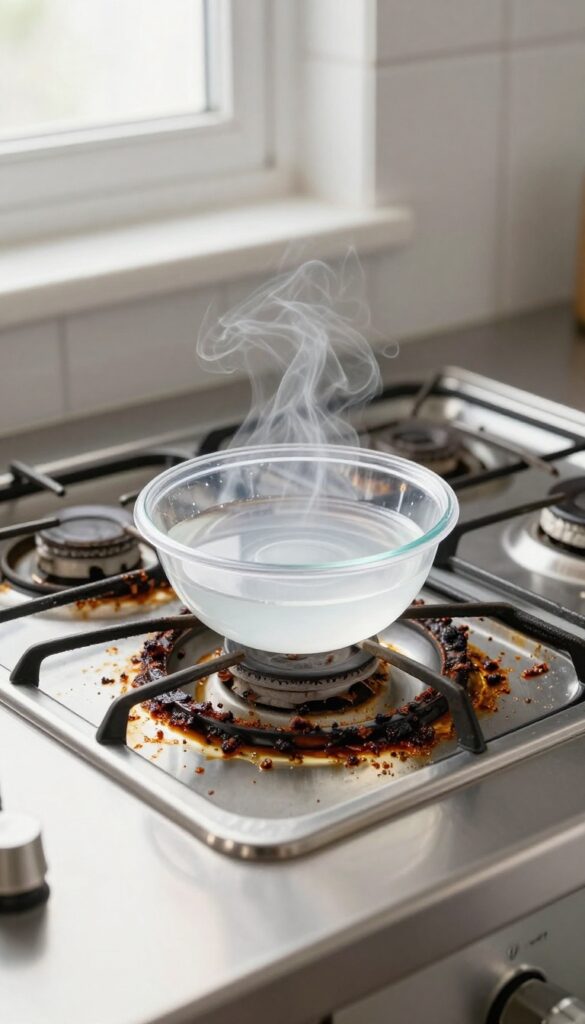
When baked-on grease and burnt food laugh at your usual cleaners, it's time to call in ammonia. This strong alkaline solution works by releasing fumes that chemically break down tough grime, so you barely have to scrub. It's a classic trick used by professional cleaners, but you need to use it safely.
Always work in a well-ventilated area—open windows and turn off any gas flames—and wear gloves to protect your skin.
How It Works
Ammonia's fumes are the real workers here. When you seal the bowl of ammonia in a plastic bag with the greasy burner grates, the vapors penetrate and soften the baked-on residue. The chemical reaction breaks down fats and proteins, turning hard crust into something you can wipe off with a sponge.
No scrubbing required.
Step-by-step Instructions
Remove the burner grates and place them in a large, heavy-duty plastic bag. Set a small bowl (like a ramekin) with about 1/4 cup of clear ammonia inside the bag, being careful not to spill it on the grates. Seal the bag tightly and let it sit overnight—at least 8 hours.
The next day, open the bag outside or near an open window to let the fumes escape. Take out the grates, rinse them thoroughly with warm water and dish soap, then dry completely before putting them back on the stove.
Safety Precautions
Ammonia fumes are strong and can irritate your eyes, nose, and throat. Never mix ammonia with bleach or any chlorine-based cleaner—it creates toxic gas. Keep kids and pets away from the area while the bag is sealed.
After rinsing, run the grates through a second rinse to make sure no ammonia residue remains. If you have a gas stove, double-check that the burner holes are clear before reassembling.
11. Ketchup for Copper or Stainless Steel
Ketchup isn't just for fries—it's a surprisingly effective cleaner for copper and stainless steel stove parts. The acidity in tomatoes helps dissolve tarnish and burnt-on residue without harsh scrubbing. This hack works best on small, stubborn spots rather than entire surfaces.
Spread a thick layer of ketchup directly over burnt spots or tarnished areas on stainless steel or copper parts. Let it sit for 15 minutes to allow the acids to work. Then scrub gently with a soft cloth or sponge, rinse, and dry.
For tougher spots, let it sit longer or add a pinch of salt for abrasion.
Why Ketchup Works
Ketchup contains vinegar and tomato acids that break down tarnish and grease. The mild acidity is strong enough to lift burnt-on residue but gentle on metal finishes. It's a safe alternative to harsh chemical polishes.
Best Surfaces To Use It On
This hack is ideal for copper-bottomed pans, stainless steel burner grates, and decorative trim. Avoid using it on aluminum or non-stick surfaces, as the acidity can cause discoloration or damage.
Pro Tips For Best Results
For extra stubborn spots, cover the ketchup with plastic wrap to keep it moist while it sits. Rinse thoroughly after scrubbing to avoid sticky residue. Follow up with a dry polish for a streak-free shine.
12. Dishwasher Tablet for Burnt Pots
Dishwasher tablets aren't just for your dishwasher. Drop one into warm water and soak removable stove parts for 30 minutes. The enzymes and surfactants break down burnt-on food and grease without scrubbing.
Rinse and dry for a like-new finish.
This hack works best on burner grates, drip pans, and knobs that can be removed. Fill your sink or a large basin with hot water, drop in a single dishwasher tablet, and let it dissolve. Submerge the parts and leave them for at least 30 minutes.
For extra-stubborn residue, let them soak overnight. The tablet's cleaning agents lift carbonized food and grease. After soaking, scrub gently with a soft brush or sponge—most grime will slide right off.
Rinse thoroughly and dry before putting them back on the stove.
Why It Works
Dishwasher tablets contain powerful enzymes, surfactants, and alkaline builders that target grease and protein-based stains. The warm water activates these ingredients, helping them penetrate burnt layers. This chemical action does the heavy lifting, so you don't have to.
Best Parts To Use It On
This method is ideal for metal burner caps, grates, and drip pans. Avoid using it on aluminum parts, as the alkalinity can discolor them. For enamel or porcelain pieces, check the manufacturer's instructions first.
Tips For Maximum Effect
Use the hottest water your tap can provide. If the parts are heavily caked, add a second tablet. After soaking, use a non-abrasive scrubber to avoid scratching.
Rinse well to remove any residue, as leftover detergent can cause discoloration when heated.
13. Rubbing Alcohol for Sticky Residue
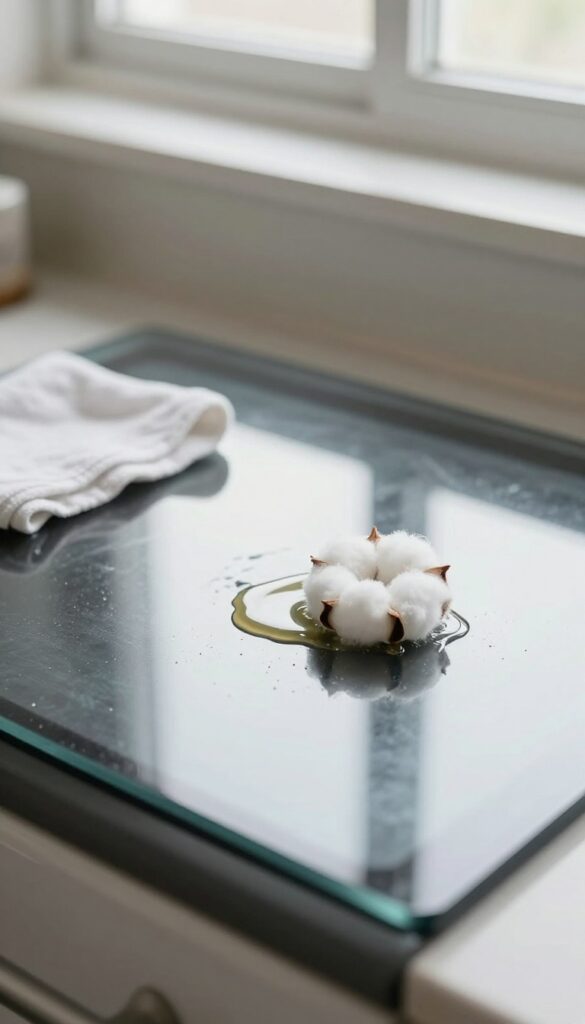
Sticky residue from spilled sauces or greasy fingerprints can be surprisingly stubborn. Rubbing alcohol cuts through that gunk fast without leaving streaks or harmful fumes. It's especially handy for glass cooktops where you want a spotless shine.
Rubbing alcohol works because it dissolves both water-based and oil-based residues. It evaporates quickly, so you don't have to worry about wiping it dry. Plus, it's safe on most stove surfaces—just avoid unsealed cast iron or painted finishes.
How To Use It
Dab a cotton ball or soft cloth with 70% or higher isopropyl alcohol. Wipe the sticky or greasy area gently. For tough spots, let it sit for 30 seconds before wiping.
No rinsing needed—the alcohol evaporates clean.
Best For Glass And Ceramic Tops
On glass or ceramic cooktops, rubbing alcohol removes the hazy film that dish soap can leave behind. It also helps lift burnt-on sugar or syrup without scratching. Use it after your usual cleaning for a streak-free finish.
Safety Tips
Keep rubbing alcohol away from open flames and let the stove cool completely before using. Test on a small hidden area first if you're unsure about your surface. Store the bottle out of reach of kids.
14. Salt and Baking Soda Scrub
When burnt-on food laughs at your regular sponge, it's time to bring out the heavy artillery from your pantry. A simple mix of salt and baking soda creates a gritty paste that tackles tough residue without scratching most surfaces. This combo is gentle enough for glass cooktops but tough enough for baked-on spills.
Mix equal parts salt and baking soda in a small bowl. Add just enough water to form a thick paste—think toothpaste consistency. Apply the scrub to the burnt areas using a soft sponge or cloth.
Let it sit for 5 minutes to loosen the grime, then scrub in circular motions. Rinse thoroughly with a damp cloth and dry. The salt adds abrasion while baking soda helps lift grease and neutralize odors.
Why This Combo Works
Baking soda is a mild alkali that reacts with acids in burnt food, helping to break them down. Salt acts as a gentle abrasive that physically scrubs away stuck-on bits without scratching. Together, they create a non-toxic scrub that's safe for most stovetops, including glass, ceramic, and enamel.
Best For Stubborn Burnt Spots
This hack shines on areas where food has carbonized into a dark, crusty layer. For extra tough spots, let the paste sit for 10–15 minutes before scrubbing. You can also add a splash of white vinegar to create a fizzy reaction that helps lift grime.
Just be sure to rinse well afterward.
Avoid On Delicate Surfaces
While salt and baking soda are generally safe, avoid using this scrub on uncoated aluminum or soft stainless steel finishes, as the abrasives can cause micro-scratches. Test on a small hidden area first if you're unsure. Rinse thoroughly to prevent any gritty residue from scratching during future cleaning.
15. Boiling Water for Burnt-On Spills
Boiling water is a surprisingly gentle yet effective way to loosen burnt-on spills without scrubbing yourself raw. The heat helps break down the bond between the food and the cooktop, making it easier to wipe away. This hack works best on glass or ceramic stove tops, but you can adapt it for other surfaces too.
How To Do It Safely
Make sure your stove top is completely cool before you start. Boil a kettle of water, then carefully pour the hot water directly over the burnt area. Let it sit for about 5 minutes—you'll see the residue start to soften.
For glass tops, use a razor blade scraper held at a 45-degree angle to gently lift the loosened gunk. Wipe away the water and debris with a microfiber cloth.
Why It Works So Well
The boiling water penetrates the burnt crust and rehydrates it, which weakens the bond to the surface. This method avoids harsh chemicals and reduces the risk of scratching compared to abrasive scrubbing. It's especially effective for sugary spills like jam or syrup that have caramelized into a tough layer.
When To Skip This Hack
Avoid using boiling water on electric coil burners or gas grates while they're still hot—thermal shock could damage them. Also, don't pour water directly onto a hot glass top; let it cool first to prevent cracking. For these surfaces, stick to other methods like baking soda paste or vinegar steam.
16. Club Soda for Shine
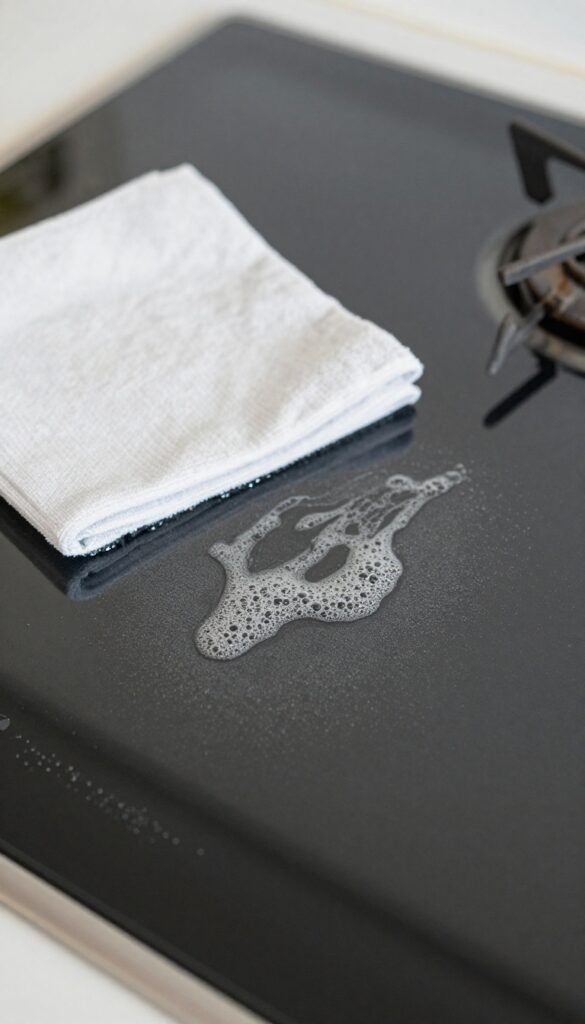
Club soda isn't just a mixer—it's a secret weapon for a streak-free stove top. The carbonation helps lift grease and grime, while the minerals leave behind a brilliant shine. It's especially safe on ceramic and glass cooktops where harsh chemicals can cause damage.
Pour a small amount of club soda directly onto greasy or dull areas. Let it fizz for a few seconds, then wipe with a soft, lint-free cloth. For tougher spots, use a spray bottle to apply the soda and let it sit for a minute before wiping.
No rinsing needed—just buff dry for a mirror-like finish.
Why It Works
The bubbles in club soda are carbon dioxide, which helps break down grease and lift dirt from the surface. The added minerals—like potassium and sodium—act as mild abrasives that polish without scratching. Unlike tap water, club soda leaves no residue, so your stove top dries streak-free.
Best Stove Types
This hack shines on ceramic, glass, and enamel stove tops. Avoid using it on unsealed cast iron or aluminum surfaces, as the minerals may cause discoloration. For stainless steel, it's safe but may leave water spots if not dried immediately.
Pro Tips
Use chilled club soda for extra fizz action. If the grease is heavy, sprinkle a little baking soda on the stove top first, then pour club soda over it—the reaction helps lift burnt-on food. Always wipe in one direction to avoid streaks.
17. Toothpaste as a Mild Abrasive
Toothpaste isn't just for pearly whites—it's surprisingly effective at tackling burnt-on messes on your stove top. The mild abrasive in white toothpaste gently lifts grime without scratching the surface, making it a safe bet for glass, ceramic, and enamel cooktops. Plus, you probably already have a tube in your bathroom cabinet.
Squeeze a small amount of white toothpaste onto a damp cloth and rub burnt spots. The mild abrasive cleans without scratching. Rinse thoroughly.
Why Toothpaste Works
Toothpaste contains mild abrasives like calcium carbonate or silica that are strong enough to break down burnt food but gentle enough not to scratch your stove top. It also includes detergents that help lift grease. Just make sure you use plain white paste—gels or whitening varieties with microbeads can leave residue or cause scratches.
How To Apply It
Start by wiping away loose debris with a dry paper towel. Squeeze a pea-sized amount of white toothpaste onto a soft, damp cloth or sponge. Rub the burnt area in small circles with light pressure.
You should see the mark fading within a minute or two. For stubborn spots, let the toothpaste sit for 5 minutes before scrubbing again.
Best Stove Types For This Hack
This method works best on smooth surfaces like glass, ceramic, and enamel stove tops. Avoid using it on stainless steel, as the abrasive can dull the finish. Also, never use toothpaste on cast iron grates—it will strip the seasoning.
Always test on a small, hidden area first to be safe.
18. Dryer Sheets for Stubborn Grease
If you've got a layer of baked-on grease that just won't budge, grab a dryer sheet from the laundry room. These little sheets aren't just for softening clothes—they're surprisingly good at cutting through tough grime on your stove top. The softening agents help loosen the grease so you can wipe it away with minimal effort.
To use this hack, soak a fresh dryer sheet in warm water for a few seconds until it's fully saturated. Lay the wet sheet directly over the greasy or burnt-on area on your cool stove top. Let it sit for about 15 minutes to let the ingredients work on the grime.
After that, remove the sheet and wipe the surface clean with a damp cloth or sponge. You'll notice the grease lifts off much more easily. For extra-stubborn spots, you can gently scrub with the dryer sheet itself before discarding it.
This method works best on ceramic, glass, and enamel stove tops, but avoid using it on unfinished cast iron or aluminum surfaces.
Why It Works
Dryer sheets contain surfactants and softening agents that are designed to break down oils and residues on fabric. These same ingredients are effective at emulsifying grease on hard surfaces. The warm water activates the compounds, helping them penetrate the greasy layer and loosen its grip on the stove top.
Best Surfaces To Use On
This hack is ideal for smooth, non-porous surfaces like glass cooktops, ceramic stoves, and enamel-coated drip pans. It can also be used on stainless steel, but always wipe with a clean damp cloth afterward to avoid any residue. Avoid using on unsealed cast iron or aluminum, as the chemicals may cause discoloration or damage.
Pro Tips For Best Results
Use a new, unused dryer sheet for each cleaning session—used ones won't have enough active ingredients. If the grease is extremely thick, you can let the wet sheet sit for up to 30 minutes. After wiping, rinse the area with water to remove any leftover film.
Pair this method with a microfiber cloth for a streak-free finish.
19. Pumice Stone for Ceramic Tops
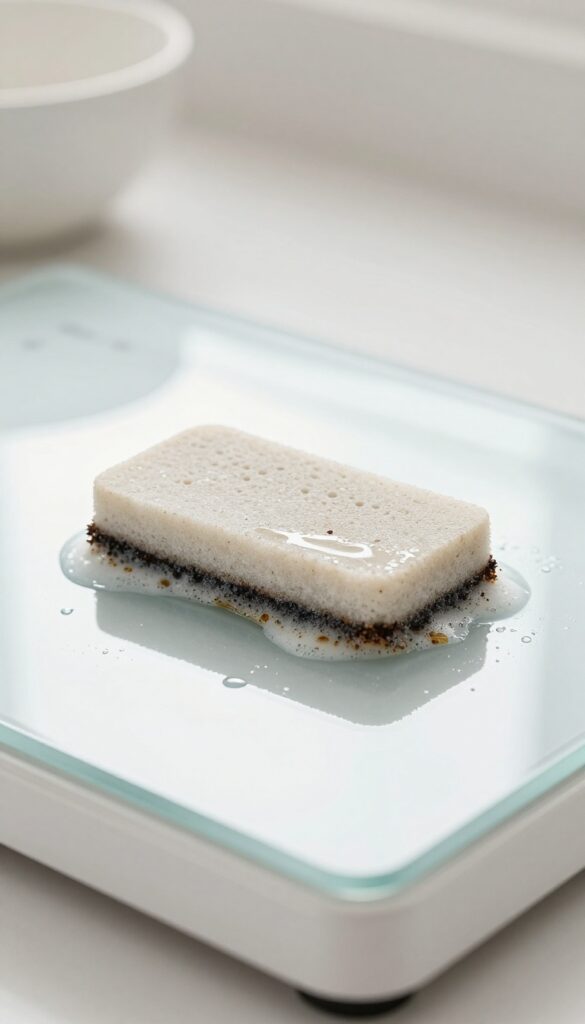
A pumice stone isn't just for rough feet—it's a surprisingly gentle abrasive for ceramic cooktops. The porous volcanic rock lifts burnt-on food without scratching the glass surface. Just wet it first and use light pressure.
This hack works best on tough, baked-on spills that resist regular cleaning. The stone's texture scrubs away residue while the water acts as a lubricant. Always keep the stone wet and glide it in a circular motion.
Rinse the surface afterward and buff dry with a microfiber cloth.
Why It Works
Pumice is softer than ceramic glass, so it won't scratch when used wet. The porous structure grabs onto burnt particles and lifts them off. It's like a gentle sandpaper that only targets the gunk.
How To Use It Right
Soak the pumice stone in water for a few minutes. Gently rub the stained area with light pressure—let the stone do the work. Wipe away residue with a damp cloth.
Repeat if needed, then dry the cooktop.
Cautions And Tips
Never use a dry pumice stone—it can scratch. Test on a small hidden spot first. Avoid using on glass stovetops with a painted pattern.
Store the stone dry after use to prevent bacteria growth.
20. Baby Oil for a Streak-Free Finish
After all that scrubbing, the last thing you want is a dull, smeary stove top. Baby oil—yes, the same stuff you use on delicate skin—gives your cooktop a brilliant, streak-free shine with almost zero effort. It's a simple final step that makes your whole kitchen look cleaner.
Baby oil is basically mineral oil with a little fragrance. It's non-toxic, gentle on surfaces, and leaves a thin protective layer that repels dust and future spills. A few drops go a long way, so don't overdo it.
To use it, make sure your stove top is clean and completely dry. Put a few drops of baby oil on a soft, lint-free microfiber cloth. Wipe the entire surface in a thin, even layer.
Then buff with a clean part of the cloth until it's glossy and streak-free. That's it. The oil fills in microscopic scratches and imperfections, which is why it creates that mirror-like finish.
It also helps prevent new grime from sticking, making your next cleaning session easier. Just avoid getting it on burner grates or electric coil elements—it can smoke when heated.
Why Baby Oil Works So Well
Mineral oil is a lightweight, non-drying oil that doesn't evaporate quickly. It smooths over tiny surface scratches on glass and ceramic cooktops, which are what cause that hazy, cloudy look. The result is a deep, wet-looking shine that lasts for days.
How To Apply It The Right Way
Start with a completely clean and dry stove top. Put 3-4 drops of baby oil on a microfiber cloth. Wipe the entire surface in a thin layer, working in small circles.
Then take a second dry microfiber cloth and buff until the shine appears. No need to rinse—the oil is safe and food-grade.
Where To Use It (and Where To Skip)
Baby oil is perfect for glass, ceramic, and stainless steel cooktops. But avoid it on cast iron grates, gas burner caps, or any textured surface where oil could burn and create smoke. Also keep it away from knobs and control panels—it can make them slippery.
21. Hydrogen Peroxide and Baking Soda Fizz
Sometimes the toughest burnt-on messes need a little chemistry. Hydrogen peroxide and baking soda create a fizzy reaction that lifts grime without harsh scrubbing. This duo is gentle enough for daily use but powerful enough to tackle stubborn stains.
Sprinkle baking soda generously over the burnt areas on your cold stove top. Spray hydrogen peroxide (3% solution) directly onto the baking soda until it forms a thick paste. Let it fizz and sit for 10 minutes—the bubbles work to loosen carbonized food and grease.
Scrub with a non-abrasive sponge or soft brush, then wipe clean with a damp cloth. Repeat if needed. Avoid using on hot surfaces or leaving it on for too long, as it may dry out and become harder to remove.
Why This Combo Works
Baking soda (sodium bicarbonate) is a mild alkali that helps break down grease and burnt food. Hydrogen peroxide acts as an oxidizing agent, releasing oxygen bubbles when mixed with baking soda. These bubbles penetrate crevices and lift debris from the surface, making scrubbing much easier.
Best Stove Types To Use This On
This method works well on ceramic glass, enamel, and stainless steel cooktops. Avoid using it on unsealed cast iron or aluminum surfaces, as the peroxide can cause discoloration. Always test on a small, hidden area first if you're unsure.
Tips For Maximum Effectiveness
For extra stubborn spots, let the paste sit for up to 15 minutes and cover with plastic wrap to keep it moist. Use a soft scrub brush or a nylon pad to avoid scratching. Rinse thoroughly with water afterward to remove any residue.
22. WD-40 for Grease Dissolving
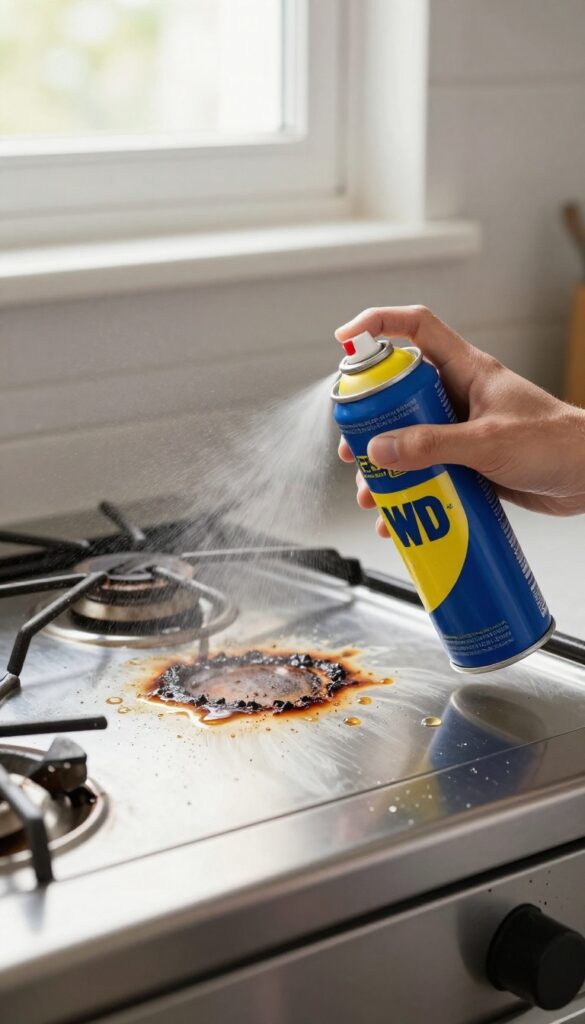
You might know WD-40 as the go-to for squeaky hinges or stuck zippers, but it's also a surprisingly effective grease cutter for your stove top. The formula is designed to penetrate and break down sticky residues, making burnt-on grease much easier to wipe away. Just a short soak does the heavy lifting, so you barely have to scrub.
Spray WD-40 directly onto the burnt grease spots and let it sit for about 5 minutes. The solvent works to loosen the gunk. Then, wipe the area clean with a soft cloth or paper towel.
Follow up with a soapy water wipe to remove any oily film left behind. This method works best on metal or ceramic cooktops, but avoid using it on painted or enamel surfaces as it may damage the finish.
Why It Works
WD-40 contains petroleum-based solvents that dissolve grease and grime on contact. The penetrating oils seep into baked-on layers, softening them so they lift off without aggressive scrubbing. It's especially handy for those stubborn spots that resist regular cleaners.
Step-by-step Application
Make sure the stove is cool. Spray a generous coat on the affected area. Let it sit for 5 minutes—don't let it dry completely.
Wipe with a damp cloth, then wash with dish soap and water to remove any residue. Repeat if needed for extra tough spots.
Safety And Surface Tips
Always test on a small hidden area first. Avoid using WD-40 on glass or ceramic cooktops if you're concerned about scratches—stick to a soft cloth. Keep the area ventilated, and wash thoroughly after use to prevent any slippery film.
23. Vinegar and Dish Soap Spray
When grease has built up into a sticky, stubborn film, a simple spray can save you from endless scrubbing. White vinegar cuts through grime while dish soap breaks down grease, making this duo a powerhouse for stove top cleaning. Best of all, you probably already have both in your kitchen.
Mix equal parts white vinegar and water in a spray bottle, then add a few drops of dish soap. Shake gently to combine without creating too many suds. Spray the solution generously on greasy areas, let it sit for five minutes, then wipe with a damp cloth.
For tough spots, let it sit longer or give a second spray. The vinegar also helps disinfect and deodorize, leaving your stove top fresh.
Why It Works So Well
Vinegar's acidity dissolves mineral deposits and lifts grease, while dish soap's surfactants trap oil particles so they rinse away easily. Together, they tackle both fresh spills and baked-on residue without harsh fumes.
Best For Glass And Ceramic Cooktops
This spray is gentle enough for glass and ceramic surfaces but strong enough to cut through grease. Avoid using on unsealed stone or aluminum, as vinegar can etch or discolor them.
Pro Tip: Add A Squirt Of Lemon
For extra degreasing power and a fresh scent, add a tablespoon of lemon juice to the mix. The citrus boosts cleaning ability and helps cut through the vinegar smell.
24. Razor Blade Scraper for Glass Tops
Glass cooktops look sleek, but they also show every bit of burnt-on food. When baking soda and vinegar won't cut it, a razor blade can be your best friend. The trick is using it correctly to avoid scratches.
Why It Works
A single-edge razor blade is thin and sharp enough to lift carbonized food without damaging the glass. The key is keeping the surface wet—soapy water or a glass cleaner works—to provide lubrication and prevent scratching.
How To Do It Safely
Hold the blade at a 45-degree angle and push it forward in short, gentle strokes. Never drag it backward or use a dull blade. Work in small sections, rinsing the blade often.
For extra safety, use a dedicated scraper tool with a handle.
When To Skip This Hack
Avoid using a razor blade on ceramic or enamel cooktops—it can scratch the finish. Stick to glass tops only. Also, never use it on a hot surface; wait until the stove is completely cool.
25. Regular Wiping with Microfiber Cloth
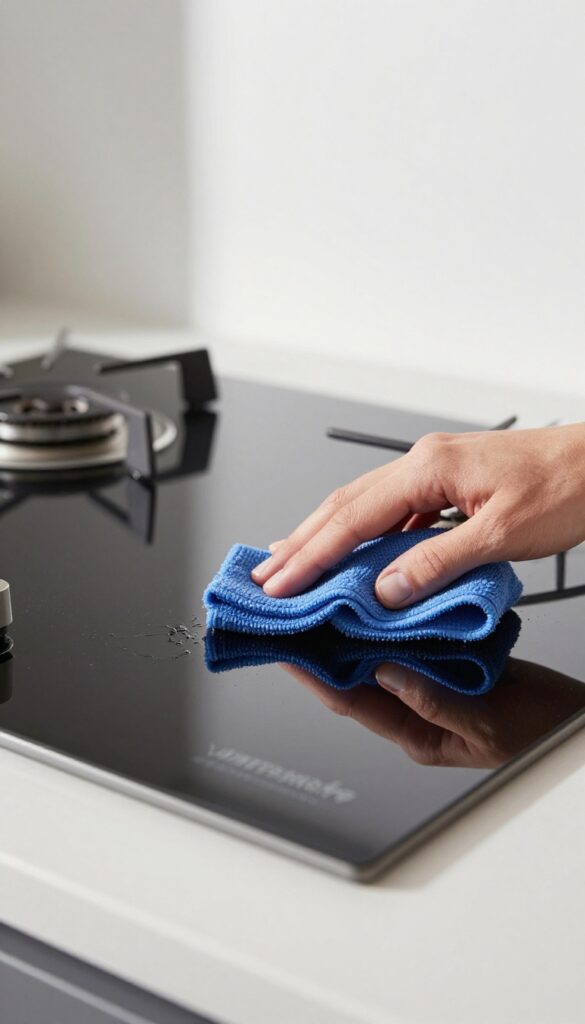
The simplest habit can save you the most time. A quick wipe after each use prevents grease and food from baking on, making deep cleaning almost unnecessary. Microfiber cloths are the hero here—they trap particles without scratching surfaces.
Get into the routine of wiping your stove top with a damp microfiber cloth once it's cool enough to touch. This takes just 30 seconds but stops residue from hardening. For glass or ceramic cooktops, follow with a dry microfiber to avoid streaks.
Over time, you'll notice how much less scrubbing you need.
Why Microfiber Works
Microfiber has split fibers that create a static charge, attracting dust and grease rather than pushing them around. It's also non-abrasive, so it won't scratch delicate surfaces like glass or enamel. Plus, it's reusable and machine washable, making it eco-friendly and cost-effective.
When To Wipe
The best time is right after cooking, once the burners are cool. If you wait too long, grease solidifies and requires more effort. For gas stoves, remove grates and wipe underneath too.
A quick daily wipe keeps your stove looking clean and reduces the need for heavy-duty cleaners.
Pro Tip: Keep A Cloth Handy
Store a microfiber cloth near your stove so you can grab it easily. Dampen it with warm water or a drop of dish soap for extra grease-cutting power. Rinse the cloth after each use and let it air dry to prevent bacteria buildup.
FAQ
Can I use bleach on my stove top?
Bleach is too harsh for most stove tops and can damage the surface or discolor it. Stick to mild cleaners like baking soda, vinegar, or dish soap.
How often should I deep clean my stove top?
Aim for a deep clean every two to four weeks, depending on how often you cook. Wiping after each use helps reduce the need for frequent deep scrubbing.
What's the best way to clean a glass cooktop without scratching?
Use a soft cloth or sponge with a cleaner designed for glass tops. Avoid abrasive pads. A razor blade scraper (used wet) is safe for burnt-on food.
Can I use these hacks on a gas stove?
Yes, most hacks work on gas stoves. For grates and burner caps, soak them in warm soapy water or use the ammonia bag trick. Avoid getting liquids into gas ports.
Is it safe to mix vinegar and baking soda?
Yes, but they neutralize each other, so the fizzing action helps lift dirt. For best results, use them separately or as a paste (baking soda) followed by a vinegar spray.
Conclusion
A greasy stovetop doesn't stand a chance against these 25 hacks. Start with the method that matches your mess level—whether it's a quick vinegar steam for light splatter or a baking soda paste for burnt-on crud. You'll see results in minutes, not hours.
Make it a habit to wipe down the surface after each use, and a weekly deep clean with one of these tricks will keep buildup from ever getting out of hand. Your stove will look like new without harsh chemicals or endless scrubbing.