20 Cleaning a Dishwasher Steps for Fresher Wash Cycles
You load your dishwasher with dirty dishes, expecting them to come out sparkling clean. But over time, grease, food particles, and hard water minerals build up inside, leaving your machine less effective and sometimes smelly. A clean dishwasher means better wash performance and fresher-smelling dishes.
Regular maintenance doesn't have to be complicated. With a few simple steps and common household items, you can tackle grime in every nook and cranny. This guide walks you through 20 actionable steps to deep clean your dishwasher and keep it running smoothly.
From the filter to the door gasket, each part plays a role in your dishwasher's health. Let's dive into the steps that will make your next wash cycle noticeably fresher.
1. Clear the Drain and Remove Large Debris
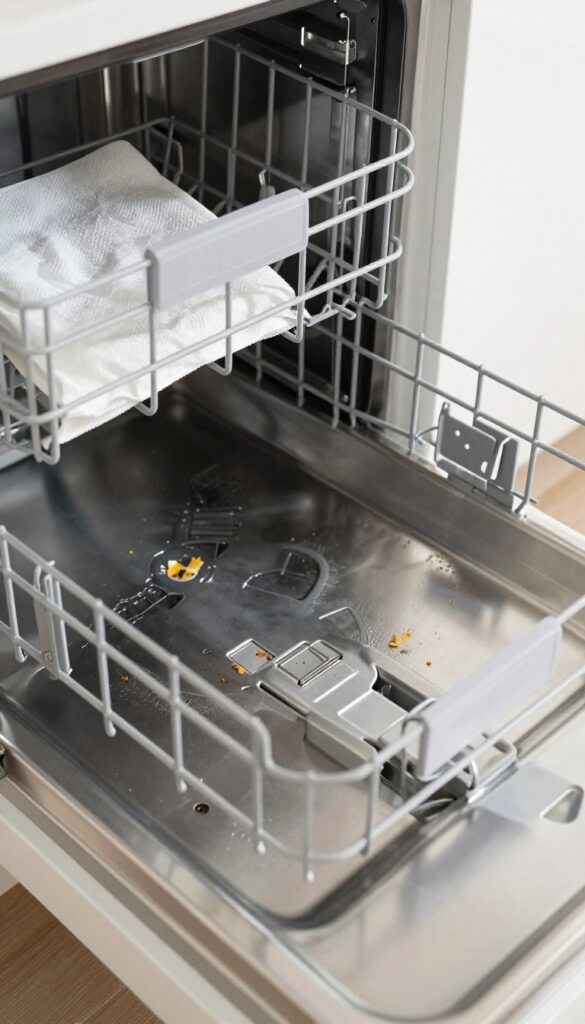
Before you break out the vinegar or baking soda, start with the obvious stuff. The drain at the bottom of your dishwasher collects food scraps, broken glass, and other debris over time. If that gunk stays put, it can block water flow and cause odors.
Clearing it out takes just a minute and makes a huge difference.
Check The Drain Basket
Pull out the bottom rack and look for the drain basket or cover near the back. Unscrew or unclip it, then lift out any visible debris. Use a damp paper towel to wipe away greasy residue.
Rinse the basket under hot water before snapping it back in place.
Inspect The Spray Arm Openings
Food particles often get lodged in the spray arm holes, reducing water pressure. Rotate the spray arm by hand and check for clogs. If you see any, use a toothpick or a small brush to gently dislodge them.
A quick rinse under the faucet helps, too.
Look Under The Bottom Rack
Sometimes large items like bones or fruit pits slip past the basket and sit in the sump area. Use a flashlight to peek under the rack. If you spot anything, remove it with tongs or gloved fingers.
This simple step prevents future drainage issues.
2. Scrub the Door Gasket
That rubber seal around your dishwasher door does a lot of work keeping water inside during a cycle. But it's also a prime spot for grime buildup. Moisture and tiny food bits get trapped in the folds, and over time, that leads to mold, mildew, and a funky smell.
Cleaning it regularly keeps your dishwasher fresh and prevents leaks.
The door gasket is often overlooked, but it's one of the easiest parts to clean. All you need is a damp cloth and a mild detergent. Run the cloth along the entire gasket, paying extra attention to the creases where gunk hides.
For stubborn spots, use an old toothbrush dipped in soapy water. Rinse with a clean damp cloth to remove any soap residue. Do this every few weeks to keep odors away.
Check For Mold And Mildew
If you see black spots or a musty smell, mold has taken hold. Mix equal parts water and white vinegar, then wipe the gasket thoroughly. Vinegar kills mold naturally without harsh chemicals.
Let it air dry completely before closing the door.
Don't Forget The Bottom Edge
The bottom of the gasket where it meets the tub collects water and debris. Lift the gasket slightly and wipe underneath. A buildup here can cause standing water and odors.
A quick wipe after each use helps prevent this.
When To Replace The Gasket
If the gasket is cracked, torn, or no longer seals tightly, it's time for a new one. A damaged gasket can cause leaks and reduce cleaning efficiency. Replacement kits are affordable and easy to install.
3. Clean the Filter
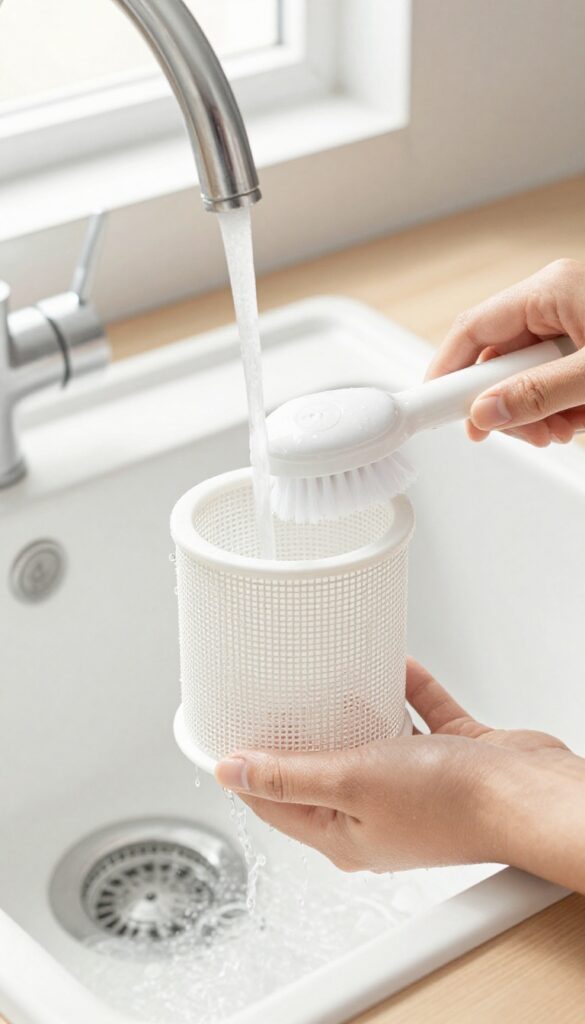
The filter is one of the most important parts of your dishwasher, yet it's often neglected. It catches food scraps and debris so they don't recirculate onto your dishes. Over time, it gets clogged with gunk, which can lead to poor cleaning and odors.
Cleaning it is quick and makes a huge difference.
Most dishwashers have a removable filter that collects food waste. Rinse it under warm water and scrub gently with a soft brush to remove buildup. This simple step prevents clogs and keeps your dishwasher running efficiently.
Locate And Remove The Filter
The filter is usually at the bottom of the dishwasher, under the spray arm. Twist it counterclockwise or lift it out, depending on your model. Check your manual if you're unsure.
Once out, you'll likely see a mesh cylinder and a flat screen.
Rinse And Scrub
Hold the filter under warm running water to wash away loose debris. Use a soft brush, like an old toothbrush, to gently scrub the mesh and screen. Avoid harsh scrubbers that could damage the filter.
Focus on any caked-on residue.
Reassemble And Test
After cleaning, snap or twist the filter back into place securely. Run a rinse cycle to ensure everything is seated correctly. You'll notice fresher water and better cleaning right away.
4. Wipe Down the Interior Walls
After tackling the filter and gasket, it's time to address the larger surfaces inside your dishwasher. The interior walls, floor, and ceiling can accumulate a film of grease, soap scum, and hard water deposits over time. A simple wipe-down removes that grime and helps your dishwasher breathe easier.
Grab a soft sponge or microfiber cloth and warm, soapy water. Avoid using anything abrasive that could scratch the stainless steel or plastic lining. Work from top to bottom, starting with the ceiling and upper walls, then move to the sides and finally the bottom.
Pay special attention to corners and edges where gunk tends to hide. For stubborn spots, a non-abrasive scrub pad or an old toothbrush can help. Rinse the sponge frequently and change the water if it gets too dirty.
Finish by wiping with a damp cloth to remove any soap residue.
Don't Forget The Spray Arms
The spray arms spin and spray water, but their nozzles can clog with debris. While you're wiping the walls, check each spray arm. Remove any visible blockages with a toothpick or small brush.
If they're removable, take them off and rinse under running water. Clean nozzles mean better water coverage and cleaner dishes.
Use A Gentle Cleaner For Tough Buildup
For baked-on grime or hard water stains, a paste of baking soda and water works wonders. Apply it to a damp sponge and scrub gently. Let it sit for a few minutes on tough spots before wiping away.
Avoid harsh chemicals like bleach, which can damage the dishwasher's interior and leave harmful residues.
Dry The Interior After Wiping
After cleaning, leave the dishwasher door open for a while to let the interior air dry completely. This prevents moisture from encouraging mold or mildew. A dry interior also helps your next wash cycle start fresh, without any lingering odors from the cleaning process.
5. Remove and Soak the Spray Arms
Spray arms are the workhorses of your dishwasher, spinning and blasting water at every dish. But over time, mineral deposits and food debris can clog those tiny holes, reducing water pressure and leaving spots on your glasses. Cleaning them is easier than you think and makes a huge difference.
Check For Removability
Most modern dishwashers have spray arms that pop off easily. Look for a nut or a clip holding them in place. If yours are fixed, you can still clean them in place with a brush and vinegar.
Soak In Vinegar
Once removed, place the spray arms in a bowl of white vinegar. Let them soak for at least 30 minutes. The vinegar dissolves hard water scale and loosens any gunk stuck inside.
Clear The Holes
After soaking, use a toothpick or a thin wire to gently poke through each hole. Be careful not to enlarge the holes. Rinse the arms under running water to flush out debris.
Reattach And Test
Snap the spray arms back into place, making sure they spin freely. Run a rinse cycle to check that water is spraying evenly. You'll notice a stronger, more consistent spray.
6. Run a Hot Water Cycle with Vinegar
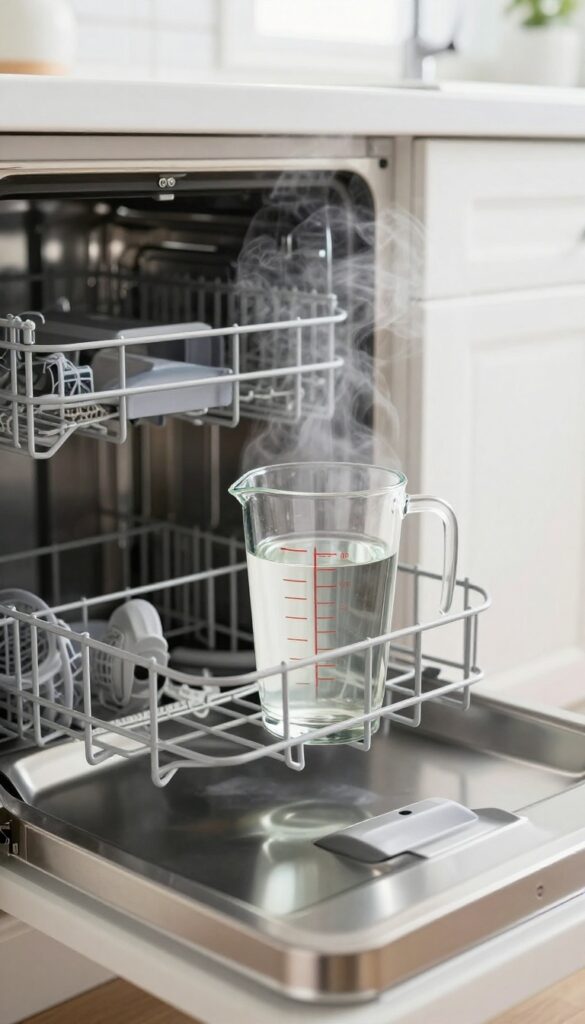
Vinegar is a powerhouse cleaner that cuts through grease, soap scum, and mineral deposits without harsh chemicals. Running a hot water cycle with a cup of white vinegar is one of the simplest ways to freshen up your dishwasher. It's a quick, effective step that you can do monthly to keep things running smoothly.
Why Vinegar Works So Well
White vinegar is acidic enough to dissolve alkaline mineral deposits like limescale and soap residue. It also breaks down grease and food particles that cling to interior surfaces. Plus, it's a natural deodorizer, so it tackles any musty smells lingering inside.
How To Set It Up
Pour one cup of white vinegar into a dishwasher-safe bowl or measuring cup, then place it upright on the top rack. Don't put vinegar in the detergent dispenser—it can damage the seals. Then run the hottest cycle your dishwasher has, usually labeled "Heavy" or "Sanitize.
" Avoid adding any detergent during this cycle.
When To Use This Method
Do this once a month as part of regular maintenance, or more often if you have hard water or notice a buildup. It's also a great first step before tackling other deep-cleaning tasks, since it loosens grime that you can then wipe away.
7. Sprinkle Baking Soda for a Second Cycle
Once the vinegar cycle is done, your dishwasher is already much cleaner. But there's one more step that really locks in freshness. Baking soda is a natural deodorizer and mild abrasive that tackles any lingering odors and leaves the interior bright.
After the hot vinegar cycle finishes, don't unload anything yet. Sprinkle about a cup of baking soda evenly across the bottom of the dishwasher. Then run a short hot water cycle—the quickest one you have.
The baking soda will dissolve and work its magic during the wash and rinse phases, neutralizing acids and lifting any remaining stains. When the cycle ends, open the door and let it air out. You'll notice a fresh, clean scent and a noticeably brighter interior.
This simple step is especially effective if you've been dealing with musty smells or hard water deposits.
Why Baking Soda Works So Well
Baking soda is alkaline, which means it neutralizes acidic odors from food residues and soap scum. It also acts as a gentle scouring agent, helping to loosen any stubborn spots without scratching the dishwasher's surfaces. Plus, it's cheap and non-toxic, making it a safe choice for your kitchen.
When To Use This Step
This baking soda cycle is perfect as a monthly maintenance step or whenever you notice a funky smell. It's also great after cleaning a particularly dirty filter or gasket, as it helps freshen the entire machine. You can even do it right before a holiday gathering to ensure your dishwasher is ready for heavy use.
Pro Tips For Best Results
For extra cleaning power, combine baking soda with a few drops of essential oil like lemon or tea tree oil before sprinkling. Make sure the dishwasher is empty and that no large food particles are left inside. If your dishwasher has a stainless steel interior, this method is safe and will actually help restore its shine.
8. Clean the Silverware Basket
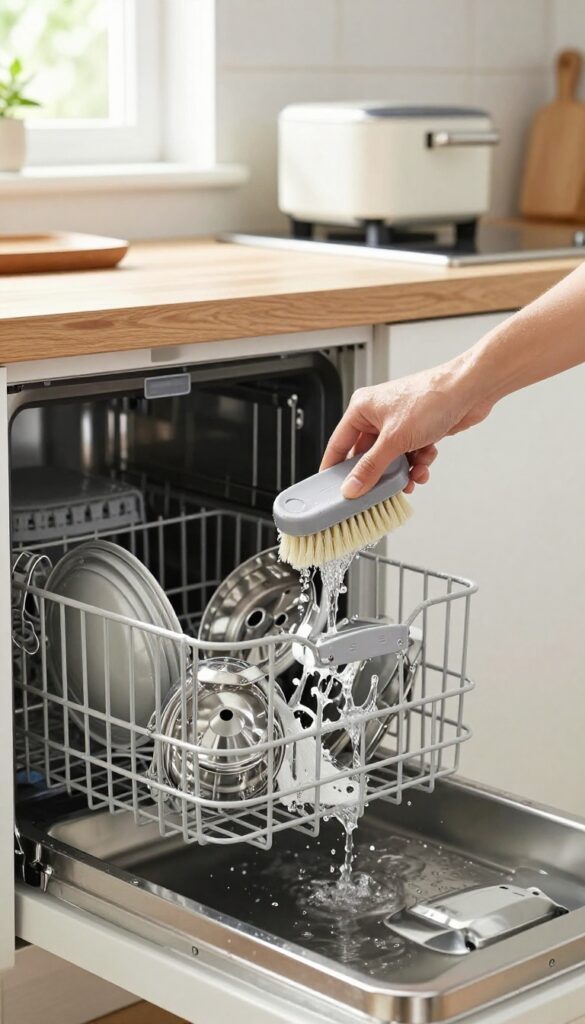
The silverware basket sees a lot of action, but it rarely gets a proper scrub. Food bits often get trapped under the handles or in the tiny holes, leading to odors and poor drainage. Giving it a dedicated cleaning keeps your utensils spotless and your dishwasher fresh.
Removing the basket is usually straightforward—just lift it out. Wash it in warm, soapy water using a soft brush or sponge to reach every crevice. Pay extra attention to the handle undersides and the bottom where gunk collects.
Rinse well and let it dry before putting it back.
Check For Trapped Debris
Flip the basket over and inspect the underside. Food particles often hide in the slots where the tines meet the base. Use a toothpick or small brush to dislodge anything stuck.
This simple step prevents clogs and keeps water flowing freely.
Sanitize With Vinegar
For a deeper clean, soak the basket in a mixture of equal parts water and white vinegar for 15 minutes. Vinegar cuts through grease and kills bacteria without harsh chemicals. Rinse thoroughly afterward to avoid any vinegar smell on your silverware.
Dry Completely Before Reinstalling
Moisture trapped in the basket can lead to mildew. After washing, shake off excess water and let it air dry on a dish towel. Once fully dry, slide it back into the dishwasher.
This ensures no musty odors transfer to your next load.
9. Inspect and Clean the Drain Hose
A clogged drain hose is often the culprit behind standing water or poor drainage. When water can't escape, it leaves dishes dirty and can cause odors. Luckily, this fix is straightforward and doesn't require a plumber.
Start by unplugging the dishwasher or turning off the circuit breaker. Locate the drain hose under the sink or behind the dishwasher—it's a corrugated plastic tube connected to the sink drain or garbage disposal. Place a bucket underneath to catch any water that spills when you disconnect it.
Loosen the clamp and pull the hose off. Check for blockages like food bits or grease buildup. Flush the hose with warm water from a faucet or use a long pipe cleaner to dislodge stubborn clogs.
Reattach the hose and tighten the clamp. Run a short cycle to test drainage.
Why The Drain Hose Gets Clogged
Over time, food particles, grease, and soap scum accumulate in the hose, especially if you don't scrape dishes well. The corrugated ridges trap debris, gradually restricting flow. Hard water minerals can also deposit inside, narrowing the passage.
How To Disconnect And Inspect
Safety first: always disconnect power before working on the dishwasher. The drain hose is usually at the front or back of the unit, near the floor. Use a screwdriver to loosen the clamp.
Pull the hose off carefully—there might be residual water. Shine a flashlight inside to see any blockages.
Cleaning Methods That Work
For minor clogs, run hot water through the hose from a faucet. For tougher buildup, use a flexible brush or pipe cleaner designed for appliance hoses. You can also soak the hose in a vinegar solution (equal parts vinegar and water) for 30 minutes, then rinse thoroughly.
When To Replace The Hose
If the hose is cracked, kinked, or has a persistent clog that won't clear, replace it. Look for a standard dishwasher drain hose at any hardware store. Ensure it's the correct length and diameter for your model.
Replacing a damaged hose prevents leaks and future drainage issues.
10. Wipe Down the Control Panel
The control panel is the command center of your dishwasher, but it's also a magnet for fingerprints, food splatters, and sticky residue. Over time, grime can build up around buttons and the display, making them less responsive or even causing them to malfunction. A simple wipe-down keeps everything looking clean and working properly.
Use a soft, damp microfiber cloth to gently clean the control panel. Avoid spraying water or cleaner directly onto the panel, as moisture can seep into the electronics. Instead, lightly dampen the cloth with water or a mild soap solution, then wipe the surface.
For stubborn spots, a little white vinegar on the cloth works wonders. Never use abrasive cleaners, bleach, or harsh chemicals, as they can damage the plastic and remove printed labels.
Why It Matters
A dirty control panel isn't just unsightly. Grease and grime can interfere with touch-sensitive buttons, causing delayed responses or unintended cycles. Keeping it clean ensures your dishwasher runs exactly how you want it to.
What To Avoid
Steer clear of ammonia-based cleaners, scouring pads, and paper towels (which can leave lint). Also, never use a steam cleaner or submerge the panel. Stick to soft cloths and gentle cleaning agents to protect the electronics.
Quick Maintenance Tip
Make it a habit to wipe the control panel after every few loads, especially if you notice buildup. A quick 30-second wipe prevents stubborn grime from setting in and keeps your dishwasher looking like new.
11. Descale with a Commercial Cleaner
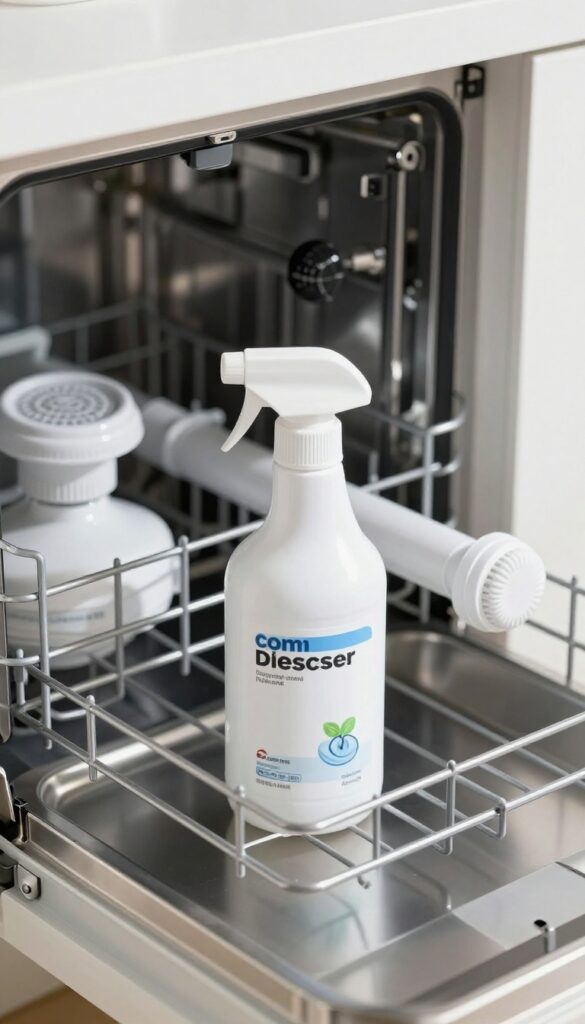
If you live in a hard water area, you've probably noticed white, chalky buildup on your dishes and inside the dishwasher. That's limescale, and it can clog spray arms, reduce water flow, and make your machine work harder. While vinegar works for light deposits, stubborn limescale often needs a stronger, dishwasher-specific descaler or a citric acid cleaner.
Descaling removes mineral deposits that regular cleaning can't touch. Commercial descalers are formulated to dissolve heavy limescale without damaging dishwasher components. They're especially effective if you've neglected cleaning for a while or if your water hardness is high.
Using one every few months keeps your dishwasher running efficiently and extends its lifespan.
Choosing The Right Descaler
Look for a product labeled as a dishwasher descaler or one containing citric acid as the active ingredient. Avoid using generic limescale removers meant for kettles or coffee makers, as they may contain harsh chemicals that can harm rubber seals or stainless steel interiors. Popular options include Finish Dishwasher Cleaner, Lemi Shine, or straight citric acid powder.
How To Descale Step By Step
First, remove any large debris from the filter and spray arms. Then, place the descaler in the detergent dispenser or the bottom of the dishwasher, following package instructions. Run a hot water cycle (usually the longest and hottest setting) without any dishes.
After the cycle finishes, wipe down the interior with a damp cloth to remove any remaining residue.
When To Descale
If you see white spots on glassware, notice reduced water pressure from the spray arms, or hear unusual noises during cycles, it's time to descale. For homes with very hard water, descaling every three months is a good rule of thumb. In areas with soft or moderate water, once or twice a year may be enough.
12. Clean the Door Latch and Hinges
The door latch and hinges might seem like minor components, but they're essential for a tight seal and smooth operation. Over time, food debris and grime can build up here, causing the door to not close properly or even triggering error codes. A quick wipe-down keeps everything working like new.
Start by inspecting the latch mechanism and hinge areas. Use a damp microfiber cloth to wipe away any visible residue. For stubborn buildup, dip a toothbrush in warm soapy water and gently scrub the crevices.
Dry thoroughly with a clean cloth to prevent rust or sticky spots. Finally, apply a tiny drop of food-grade lubricant to the hinges if they squeak or feel stiff.
Check The Latch Mechanism
The latch is what tells your dishwasher the door is securely closed. If it's dirty or sticky, the machine might not start. Look for any gunk around the latch hook and its receiver.
Clean with a cotton swab dipped in vinegar to dissolve mineral deposits. Test the latch by opening and closing the door a few times to ensure it clicks firmly.
Wipe Down The Hinges
Hinges collect dust and grease from daily use. Open the door fully and wipe the hinge arms with a degreasing cleaner or a vinegar-water solution. Pay attention to the small pivot points where grime hides.
After cleaning, dry the hinges completely to avoid attracting more dirt.
Lubricate Moving Parts
Once clean, a little lubrication goes a long way. Use a silicone-based lubricant or a dab of mineral oil on the hinge pins and latch sliding surfaces. Avoid WD-40 as it can attract dust.
Open and close the door a few times to distribute the lubricant evenly. This keeps the door operating smoothly and quietly.
13. Check and Clean the Air Gap
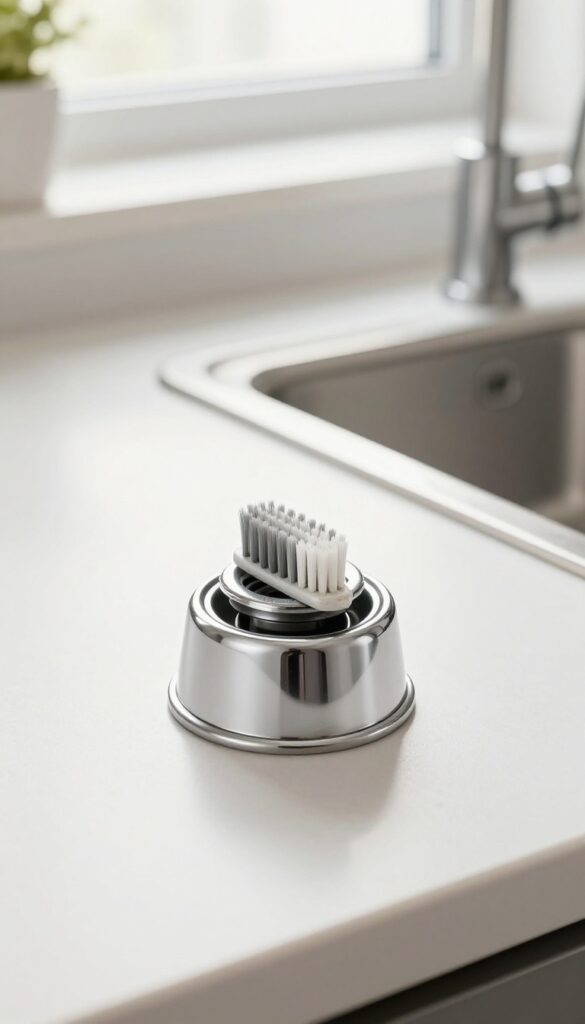
That small chrome or plastic cylinder on your countertop near the sink isn't just a decoration—it's your air gap. This device prevents dirty water from siphoning back into your dishwasher by creating a physical break in the drain line. Over time, food particles and debris can accumulate inside, leading to unpleasant odors or even backups.
Giving it a quick clean every few months keeps things flowing smoothly.
What To Look For
Pop off the decorative cap (it usually lifts straight up) and inspect the inner chamber. You might find a slimy film, bits of food, or even mold. If water pools around the base after a cycle, that's a sign of a clog.
Also check the small hose underneath—it should be clear and free of kinks.
How To Clean It
Remove the inner cap or cover (some twist off, others just lift). Use a small brush—an old toothbrush works great—to scrub away any gunk inside the chamber. Flush it with hot water from the faucet to rinse out loosened debris.
Reassemble the caps and run a rinse cycle to clear any remaining particles.
When To Call A Plumber
If cleaning doesn't solve recurring backups or foul smells, the issue might be deeper in the drain line. A professional can check for blockages in the garbage disposal or plumbing. Also, if water overflows from the air gap during a cycle, the drain hose might be clogged—sometimes it's easier to let an expert handle it.
14. Sanitize with Bleach (if safe)
Sometimes a regular wash just isn't enough to kill the bacteria and mold lurking in your dishwasher. If your machine has been smelling funky or you've noticed slimy buildup, a bleach treatment can help reset things. But you have to be careful—bleach is powerful and can damage certain dishwasher parts or react badly with other cleaners.
Sanitizing with bleach is a deep-cleaning step that should only be done occasionally, maybe every few months. It's especially useful if someone in your household has been sick or if your dishwasher has developed a persistent odor. The key is to never mix bleach with other cleaning agents, especially vinegar, as that creates toxic chlorine gas.
Check Your Manual First
Not all dishwashers are safe for bleach. Stainless steel interiors and certain rubber gaskets can be damaged by chlorine. Pull out your owner's manual or look up the model online to see if bleach is recommended.
If it's not, skip this step and use a dishwasher-safe sanitizer instead.
Run A Bleach Cycle
If bleach is safe, pour 1/2 cup of regular bleach (not gel or splash-less) into the detergent dispenser or the bottom of the dishwasher. Then run a full hot-water cycle with the empty dishwasher. The heat and bleach will kill bacteria, mold, and mildew.
After the cycle finishes, open the door and let it air out for a few minutes.
Never Mix With Other Cleaners
This is a big one. Never combine bleach with vinegar, ammonia, or any other cleaning product. Even residues from a previous rinse can cause a dangerous reaction.
Always run a rinse cycle or check that no other cleaners are present before using bleach. Safety first.
15. Clean the Utensil Tray
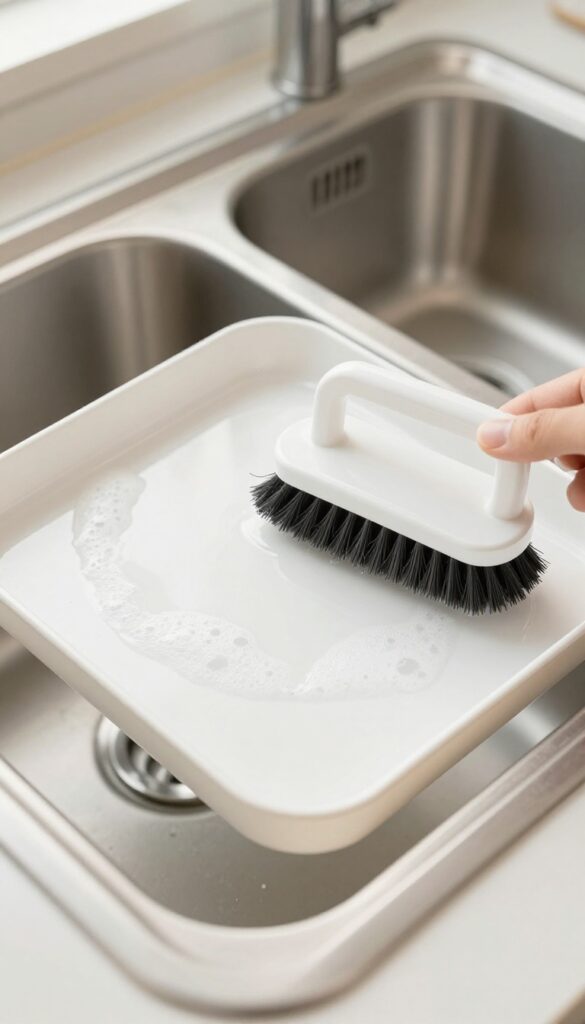
The utensil tray is a prime spot for trapped food and grime. Over time, bits of food get lodged in the slots and under the tray, leading to odors and poor cleaning. Regular cleaning keeps it fresh and functional.
Removing the utensil tray is simple—just slide it out and wash it in the sink with warm, soapy water. Use a soft brush or sponge to scrub the slots and underside. Rinse thoroughly and dry before replacing.
Soak For Stubborn Grime
If food is caked on, soak the tray in a sink filled with hot water and a few drops of dish soap for 15–20 minutes. This loosens debris, making it easier to scrub away.
Check For Hidden Debris
Inspect the tray's underside and corners for trapped particles. Use a toothpick or small brush to dislodge anything stuck in narrow gaps.
Dry Before Reinstalling
After washing, dry the tray completely with a clean towel. Reinstalling a wet tray can promote mold growth and cause musty smells.
16. Wipe the Exterior and Handle
The outside of your dishwasher gets just as much attention as the inside, especially the handle and front panel. Fingerprints, grease splatters, and dried-on food residue can build up over time, making your appliance look older than it is. A quick wipe-down not only restores its appearance but also prevents grime from transferring back onto clean dishes when you open the door.
Use a soft, damp cloth with a mild dish soap or a dedicated appliance cleaner to gently wipe the front panel, edges, and handle. Avoid abrasive sponges or harsh chemicals that can scratch the finish or damage the control panel. For stainless steel models, follow the grain with a microfiber cloth and a stainless steel cleaner to keep it streak-free and shiny.
Focus On The Handle
The handle is a high-touch area that collects oils and dirt from your hands. Wipe it down with a disinfecting wipe or a cloth dampened with a vinegar-water solution. Pay extra attention to the underside and crevices where grime hides.
Don't Skip The Edges
The edges around the door and the gap between the panel and countertop can trap dust and food particles. Run a dry toothbrush along these seams to dislodge debris, then wipe clean. This simple step prevents buildup that can lead to stains or odors.
17. Run a Maintenance Wash Monthly
Even after you've scrubbed the filter and wiped down the gasket, your dishwasher still needs a deep internal cleaning. A monthly maintenance wash flushes out hidden grease, soap scum, and mineral deposits that accumulate in the spray arms, sump, and drain lines. This simple habit keeps your machine running efficiently and your dishes spotless.
Set a recurring reminder on your phone to run a maintenance wash on the first weekend of every month. You can use plain white vinegar (place a cup filled with vinegar on the top rack) or a commercial dishwasher cleaner like Affresh or Finish. Run the hottest cycle available, then stop the machine mid-cycle if the cleaner requires a soak.
This process breaks down residue that regular cycles leave behind.
Why Monthly Matters
Skipping monthly maintenance lets biofilm and mineral scale build up over time. That can lead to clogged spray arm holes, reduced water pressure, and a musty smell. A monthly wash is cheap insurance against costly repairs and ensures every cycle is as fresh as the first.
Vinegar Vs. Commercial Cleaners
White vinegar is a natural deodorizer and descaler, but it may not tackle heavy grease as effectively as a commercial cleaner. For hard water areas, a citric-acid-based cleaner works wonders. If you use vinegar, place a dishwasher-safe cup upright on the top rack—don't pour it directly into the detergent dispenser.
Step-by-step Maintenance Wash
Start by removing any large food debris from the filter. Place a cup of white vinegar on the top rack (or drop a commercial cleaner tablet in the detergent compartment). Select the hottest cycle with extra rinse if available.
Once the cycle finishes, wipe down the door seal and leave the door open for an hour to air dry.
18. Use Rinse Aid to Reduce Residue
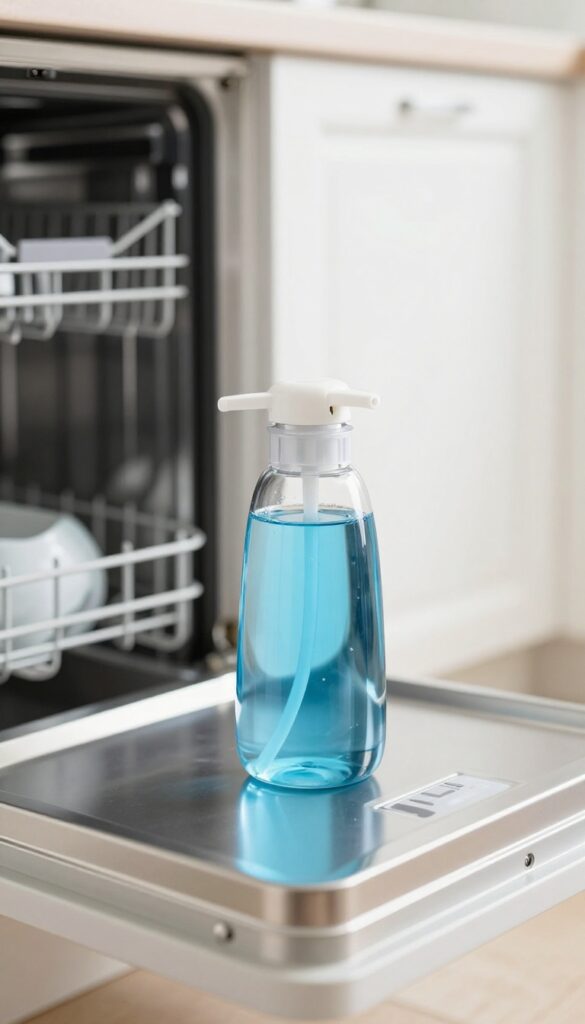
Rinse aid is one of those dishwasher helpers that often gets overlooked, but it can make a big difference in how your dishes come out. It works by breaking the surface tension of water, allowing it to sheet off plates and glasses instead of forming droplets that leave spots and mineral deposits. Keeping the dispenser filled ensures every cycle benefits from this simple additive.
You don't need a fancy brand—any standard rinse aid will do. Just check the dispenser on your dishwasher's door and refill it when it's low. Most models have a window or indicator light to let you know when it's time to top up.
Rinse aid is a simple but powerful tool for spot-free, residue-free dishes. By reducing water surface tension, it helps water slide off surfaces quickly, preventing mineral deposits from forming. This is especially helpful in areas with hard water, where spots and film are common.
Many people skip rinse aid thinking it's unnecessary, but it actually helps your dishwasher run more efficiently by aiding the drying process. Plus, it can extend the life of your machine by reducing scale buildup in the internal plumbing. To use it effectively, fill the dispenser to the max line, and adjust the setting based on your water hardness—higher for harder water, lower for softer.
You'll notice the difference after just a few cycles.
How Rinse Aid Works
Rinse aid contains surfactants that lower the surface tension of water. This makes water form a thin, even sheet instead of droplets. When water sheets off, it carries away minerals and food particles, leaving dishes clean and shiny.
The effect is most noticeable on glassware and plastic items, which are prone to spotting.
When To Refill The Dispenser
Most dishwashers have a rinse aid dispenser located on the inside of the door, usually next to the detergent compartment. Look for a small cap with a symbol that looks like a sun or a water drop. Refill it when the indicator light comes on or when you notice spots on your dishes.
Simply pour rinse aid into the opening until it reaches the max line. Avoid overfilling, as it can leak into the dishwasher during the cycle.
Choosing The Right Rinse Aid
You can use any commercial rinse aid, but some are formulated for hard water or have added drying agents. If you prefer a natural option, white vinegar can work in a pinch, but it may damage rubber seals over time. Stick with a dedicated rinse aid for best results.
Adjust the dosage setting on your dishwasher if you live in an area with very hard or very soft water.
19. Check the Water Inlet Valve Screen
A small but mighty component of your dishwasher is the water inlet valve screen. This tiny mesh filter sits at the connection where the water supply hose attaches to the machine. Over time, sediment and mineral deposits from your water can clog it, reducing water flow and affecting wash performance.
Checking and cleaning this screen is a quick step that can make a big difference.
To access the screen, first turn off the water supply to the dishwasher. Then disconnect the water supply hose from the valve. You'll likely see a small plastic or metal screen inside the valve opening.
Use a pair of needle-nose pliers to gently remove it if it's not already loose. Rinse the screen under running water and scrub it gently with an old toothbrush to dislodge any stubborn debris. If the screen is damaged or heavily corroded, replace it with a new one.
Reattach the hose, turn the water back on, and check for leaks.
Why The Screen Matters
The water inlet valve screen is your dishwasher's first line of defense against sediment. Without it, particles could enter the valve and cause it to malfunction or fail. A clogged screen restricts water flow, leading to longer cycle times, poor cleaning, and even error codes on some models.
How Often To Check
Inspect the screen every six months or whenever you notice a decline in washing performance. If you have hard water or a well water system, check it more frequently—every three months is a good rule of thumb.
Signs Of A Clogged Screen
Look out for dishes that come out with a white film or spots, longer than usual cycle times, or water pooling at the bottom of the dishwasher after a cycle. These can all indicate restricted water flow from a dirty screen.
20. Schedule Professional Maintenance Annually
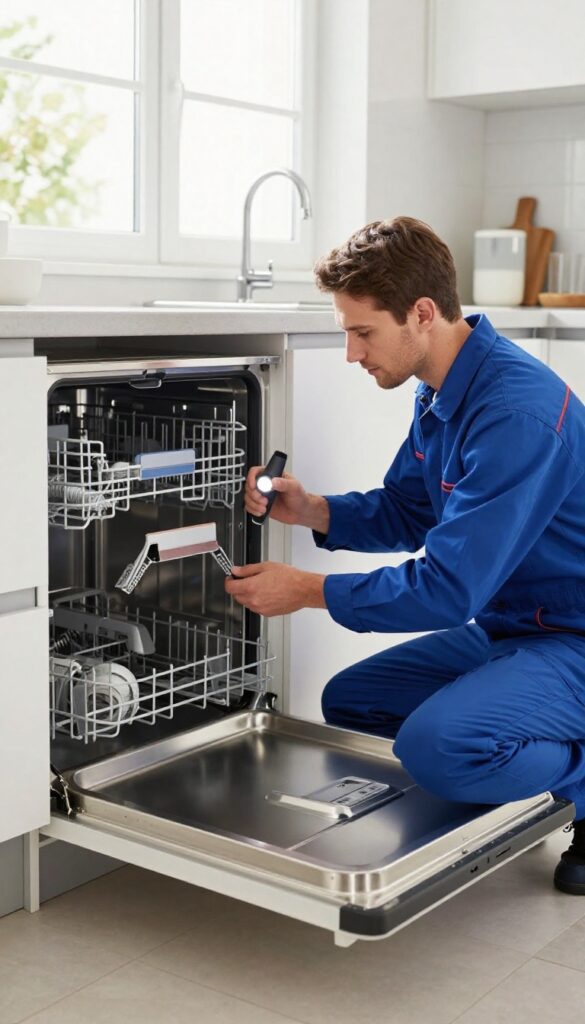
Even with diligent DIY cleaning, some dishwasher components are best left to the pros. Internal parts like hoses, pumps, and seals can develop hidden issues that affect performance and longevity. An annual professional inspection catches these problems early, saving you from costly repairs or a premature replacement.
Think of it as a wellness check for your dishwasher. A technician can spot worn belts, leaking seals, or mineral buildup in places you can't reach. They'll also test water temperature and pressure to ensure optimal cleaning.
This small investment often pays for itself by preventing major breakdowns and keeping your machine running efficiently for years.
What A Pro Checks
During a maintenance visit, the technician will inspect the door gasket for cracks, check the spray arms for clogs, and examine the drain hose for kinks or blockages. They'll also test the heating element and thermostat, and clean the air gap if you have one. This thorough once-over catches issues before they become emergencies.
When To Call For Help
If you notice persistent problems like dishes not drying, strange noises, or standing water after a cycle, don't wait. These signs often indicate a failing pump, clogged drain line, or faulty valve. A professional can diagnose and fix these quickly, restoring your dishwasher to peak performance.
Cost Vs. Benefit
An annual service call typically costs $75 to $150, but it can extend your dishwasher's life by several years. Compare that to $400–$800 for a new machine, and the savings are clear. Plus, you'll enjoy consistently clean dishes and fewer headaches.
FAQ
How often should I clean my dishwasher?
Aim for a deep clean every 1-3 months, depending on usage and water hardness. Monthly maintenance with vinegar or a cleaner helps prevent buildup.
Can I use bleach in my dishwasher?
Only if your manufacturer allows it. Check the manual first. Never mix bleach with vinegar or ammonia, as it creates toxic fumes.
Why does my dishwasher smell bad?
Odors usually come from trapped food, mold in the gasket, or a dirty filter. Regular cleaning of these areas should eliminate smells.
Is it safe to run an empty cycle with vinegar?
Yes, white vinegar is safe for most dishwashers. Place a cup on the top rack and run a hot cycle. Avoid using vinegar if you have a stainless steel interior (check manual).
How do I clean the spray arm holes?
Remove the spray arm and use a toothpick or small wire to clear any clogged holes. Soaking in vinegar helps dissolve mineral deposits.
Conclusion
Keeping your dishwasher fresh doesn't require expensive products or complicated routines. Most of these steps take just minutes and use items you already have at home. Pick two or three methods that fit your schedule—maybe the vinegar rinse and filter cleaning—and make them a monthly habit.
Consistency really is the secret to a sparkling dishwasher and spotless dishes. A quick wipe of the gasket after each cycle and a monthly deep clean will prevent buildup before it starts. Your machine will run better, last longer, and your glasses will come out crystal clear every time.