17 Cleaning the Oven Tips for Grease Smoke and Grime
You open the oven door and see baked-on spills from last week's lasagna. The smell of burnt grease hits you every time you preheat. It's time to tackle that grime.
Cleaning the oven is nobody's favorite chore, but it doesn't have to be a nightmare. With the right approach, you can cut through grease and smoke without harsh chemicals or endless scrubbing.
These 17 tips cover everything from quick daily wipes to deep-cleaning strategies. Whether you have a self-cleaning oven or an old reliable model, there's something here for you.
1. Wipe Spills Immediately After They Cool
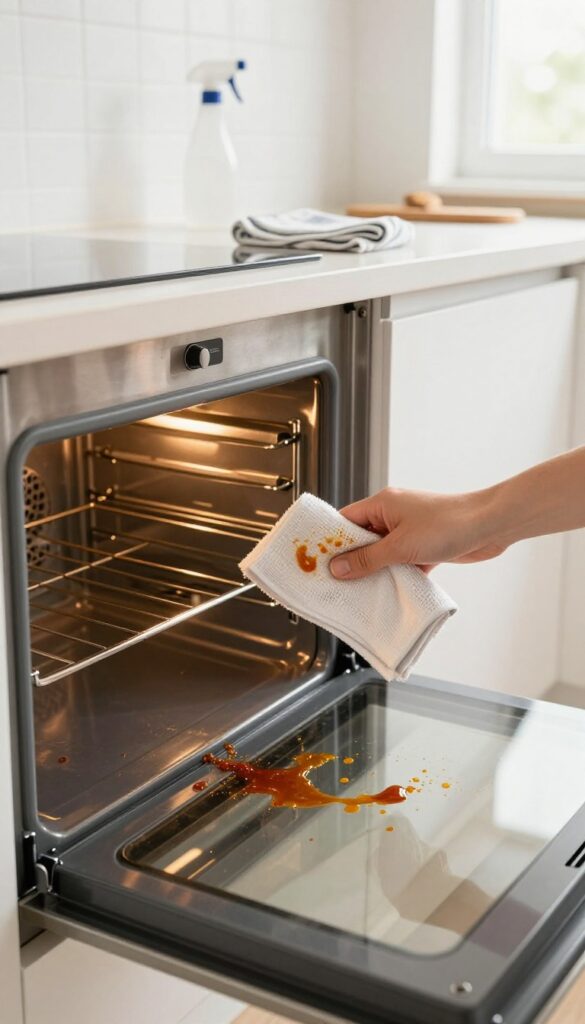
The easiest way to keep your oven clean is to catch messes before they bake on. When a spill happens, wait just a few minutes for it to cool down enough to touch safely, then wipe it up. A damp cloth with a drop of dish soap is usually all you need.
This simple habit prevents stubborn burnt-on stains and keeps smoke at bay.
Letting spills sit through multiple heating cycles turns them into rock-hard carbon. That's the stuff that smokes every time you preheat. By cleaning while the spill is still warm, you dissolve grease and food particles before they bond to the oven surface.
It takes less than a minute and saves you from heavy scrubbing later.
What You'll Need
Keep a soft microfiber cloth and a small spray bottle of mild dish soap diluted with water near the oven. That way you're always ready. Avoid abrasive scrubbers or harsh chemicals—they can damage the oven's interior finish.
How To Do It Safely
After the oven has been off for about 10 to 15 minutes, test the spill with the back of your hand. It should feel warm, not hot. Gently blot the spill with your damp cloth—don't rub, or you might spread the grease.
For sticky spots, let the soapy cloth sit on the spill for a minute, then wipe clean.
When To Skip This Tip
If the spill contains sugary ingredients like jam or pie filling, wait until it's completely cool. Sugar stays molten and can cause burns. In that case, let it harden, then scrape gently with a plastic scraper before wiping.
2. Use Baking Soda and Vinegar for a Natural Deep Clean
If you want to skip the harsh chemicals and still get a sparkling oven, baking soda and vinegar are your best friends. This dynamic duo works wonders on baked-on grease and grime without any toxic fumes. The best part?
You probably already have both in your pantry.
This method is gentle on surfaces but tough on dirt. The baking soda paste breaks down grease, while the vinegar reacts to lift everything away. It's perfect for regular maintenance or a deep clean before the holidays.
Making The Paste
Mix half a cup of baking soda with a few tablespoons of water until it forms a spreadable paste. Add water slowly—you want it thick enough to stick to vertical surfaces. If the paste is too runny, it will drip off the oven walls.
Applying And Waiting
Spread the paste all over the interior of your oven, avoiding the heating elements. Pay extra attention to areas with tough buildup. Close the door and let it sit overnight—or at least 12 hours.
The longer it sits, the easier the grime will lift.
The Vinegar Reaction
After the paste has done its work, spray white vinegar over the dried baking soda. It will fizz and bubble, which helps dislodge stubborn residue. Wipe everything down with a damp cloth.
For extra-sticky spots, use a non-scratch sponge.
3. Steam Clean with a Bowl of Water and Lemon
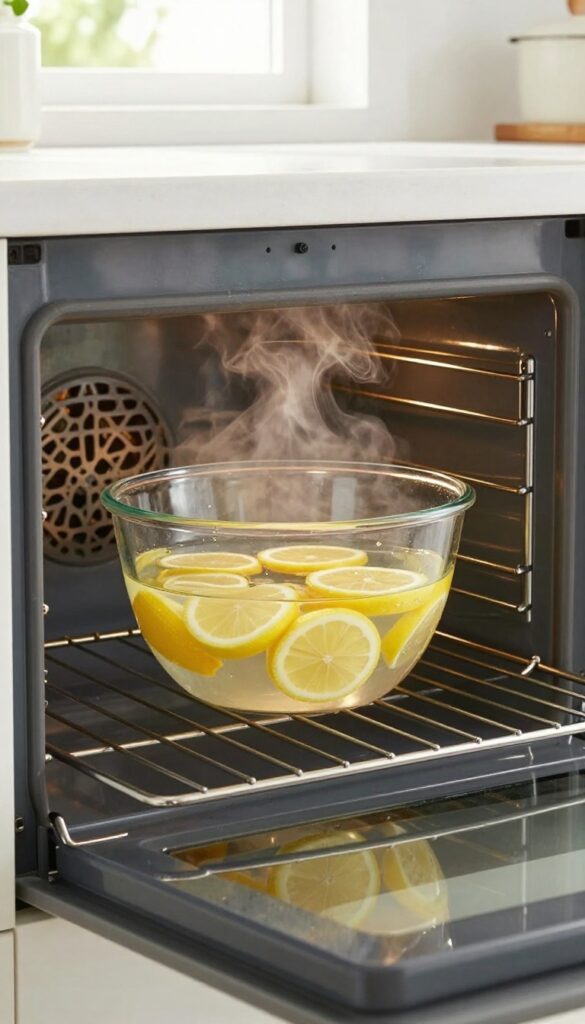
Steam is a powerful, chemical-free way to loosen baked-on grease. By adding lemon, you also get a fresh, clean scent that cuts through lingering odors. This method works best for light to moderate grime and takes almost no effort.
How It Works
Fill an oven-safe bowl with water and add a few lemon slices. Place it on the middle rack and heat the oven to 250°F. Let the steam build for 20 minutes, then turn off the oven and let it cool slightly.
The steam softens grease and food residue, making them easy to wipe away with a damp cloth.
Best Practices
Use a deep bowl to prevent water from boiling over. For extra cleaning power, add a tablespoon of white vinegar. Avoid opening the oven door during steaming to keep the steam trapped.
After wiping, rinse with clean water to remove any lemon residue.
When To Use This Method
This steam technique is ideal for quick maintenance between deep cleans. It's also a great option if you're sensitive to chemical cleaners or want to avoid fumes. For heavy, baked-on grime, you may need to repeat the process or follow up with a paste cleaner.
4. Remove Oven Racks and Soak Them Separately
Oven racks often get ignored during a deep clean, but they collect just as much grease and grime as the oven floor. Pulling them out and giving them a separate soak makes the job much easier. Plus, you avoid damaging the oven interior with harsh scrubbing.
Start by removing all racks from the oven. Fill your sink or a large tub with hot water and add a few squirts of dish soap or a quarter cup of baking soda. Submerge the racks completely and let them soak for at least 30 minutes—longer if they're really caked on.
After soaking, use a non-abrasive scrub brush or sponge to work off the softened residue. Rinse thoroughly and dry before sliding them back in.
Why Soaking Works Best
Hot water and detergent break down grease bonds without elbow grease. Baking soda adds mild abrasion and deodorizes. Soaking saves you from scratching the racks or the oven walls with steel wool.
What To Do If Racks Don't Fit In Your Sink
If your racks are too large, use a bathtub or a large plastic storage bin. You can also place them on a towel in the shower and pour hot soapy water over them. Let them sit, then scrub in place.
Drying And Reinserting
After rinsing, dry racks completely with a clean cloth to prevent rust. Slide them back into the oven once the interior is clean and dry. This prevents water spots and keeps the oven ready for use.
5. Use a Pumice Stone for Stubborn Burnt-On Spots
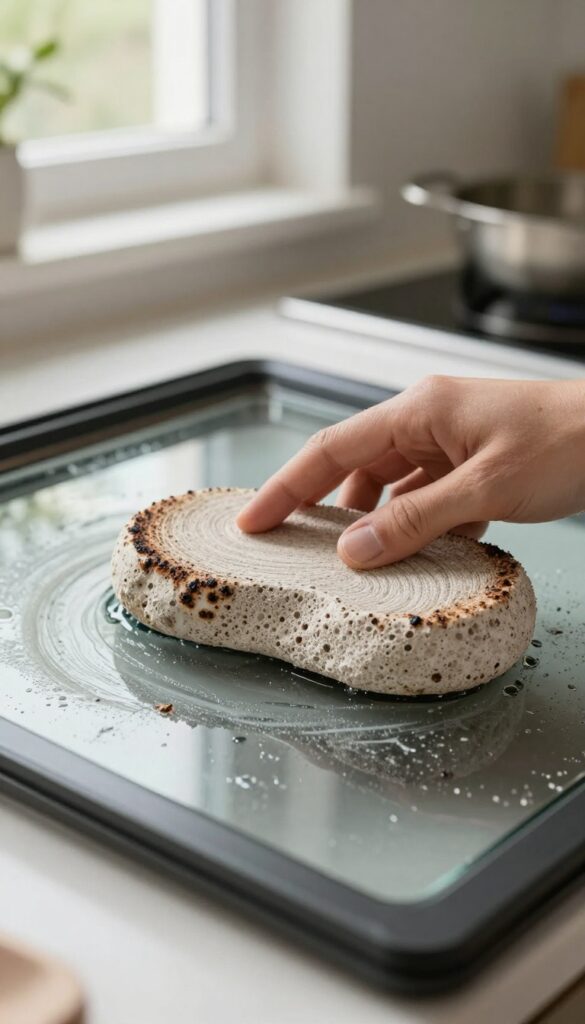
Some spills just won't budge, no matter how much you scrub. That's where a pumice stone comes in. It's a gentle abrasive tool that can lift burnt-on grime without damaging your oven's surface.
Wet a pumice stone and gently rub over burnt-on spots. The abrasive action removes tough grime without scratching glass or enamel surfaces. This method works especially well on oven doors and interior walls where baked-on food has turned into a hard crust.
How To Use A Pumice Stone Safely
First, soak the pumice stone in water for a few minutes. Then, while the oven surface is still damp, rub the stone in a circular motion over the burnt area. Apply light pressure—let the stone do the work.
Rinse the stone frequently to clear away debris.
Best Surfaces For Pumice Stone Cleaning
Pumice stones are ideal for glass oven doors, ceramic cooktops, and enamel interiors. Avoid using them on non-stick coatings or aluminum surfaces, as they can cause scratches. Always test a small hidden area first.
Why Pumice Works Better Than Scouring Pads
Scouring pads can leave fine scratches that trap more grease over time. Pumice stone is porous and self-sharpening, so it maintains its abrasive power without shedding particles. Plus, it won't rust or leave behind fibers.
6. Try a Commercial Oven Cleaner for Heavy-Duty Jobs
Sometimes, the gentle methods just don't cut it. When you're facing a thick layer of carbonized grease that laughs at baking soda, it's time to bring in the big guns. Commercial oven cleaners are formulated to dissolve the toughest grime, but they come with a few safety precautions you need to follow.
Choosing The Right Cleaner
Not all oven cleaners are created equal. Look for a product that specifically mentions heavy-duty grease removal. Gel-based cleaners tend to cling better to vertical surfaces, while foaming sprays cover large areas quickly.
Avoid abrasive cleaners that can damage the oven's enamel coating.
Safety First: Gloves And Ventilation
These cleaners contain strong chemicals like sodium hydroxide or potassium hydroxide. Always wear rubber gloves to protect your skin. Open windows and turn on the range hood to keep fumes from building up.
If you have a gas oven, make sure the pilot light is off before spraying.
Step-by-step Application
Remove oven racks and any loose debris. Spray the cleaner evenly over the interior surfaces, avoiding heating elements and the door seal. Let it sit for the time specified on the label—usually 15 to 30 minutes.
Then wipe away the dissolved grime with a damp sponge. Rinse thoroughly with water to remove any chemical residue.
When To Avoid Commercial Cleaners
Skip these products if your oven has a self-cleaning coating or is made of certain materials like stainless steel interiors. Also, avoid using them in ovens with continuous cleaning liners. When in doubt, check your oven's manual or test a small hidden area first.
7. Clean the Oven Door Glass with a Paste of Baking Soda
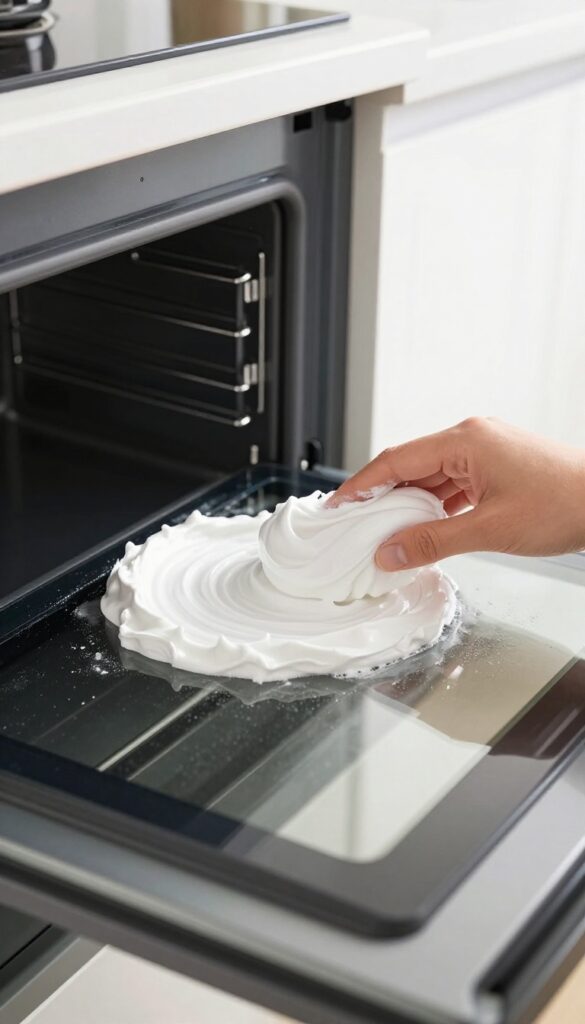
The oven door glass is often the first thing people notice, but it's also one of the hardest parts to clean. Grease and baked-on food can create a stubborn film that blocks your view and looks unsightly. Luckily, a simple baking soda paste can cut through that grime without scratching the glass.
Mix baking soda with a little water to form a thick, spreadable paste. Apply it generously to the inside of the oven door glass, focusing on the greasiest spots. Let the paste sit for about 15 minutes to loosen the baked-on residue.
Then, scrub gently with a damp sponge or soft cloth. Rinse thoroughly with a clean damp cloth, and buff dry with a microfiber cloth for a streak-free shine.
Why Baking Soda Works
Baking soda is mildly abrasive, so it can scrub away grime without scratching glass. It also reacts with grease to help lift it off the surface. Plus, it's non-toxic and inexpensive, making it a safe choice for kitchen cleaning.
Pro Tips For Best Results
For extra stubborn spots, let the paste sit longer—up to 30 minutes. You can also add a few drops of dish soap to the paste for more grease-cutting power. Avoid using metal scrubbers or harsh pads that could scratch the glass.
How Often To Do This
Aim to clean the oven door glass every few weeks, or whenever you notice a buildup. Regular cleaning prevents the grime from becoming baked on and makes the job much easier.
8. Use a Razor Blade Scraper for Glass Cooktops and Doors
Glass surfaces in the kitchen—cooktops and oven doors—can look terrible after a few cooking sessions. Baked-on grease and food residue seem to fuse with the glass, making regular cleaning feel pointless. But a simple razor blade scraper can change that.
When used correctly, a razor blade lifts off the gunk without scratching the glass. It's a fast, effective method for stubborn spots that sponges and sprays can't handle. Just a few careful passes and your glass will look like new.
Hold the razor blade scraper at a 45-degree angle to the glass surface. Gently push the blade under the baked-on residue, using short, controlled strokes. Keep the glass wet with a little soapy water or glass cleaner to lubricate the blade and prevent scratches.
Wipe away the loosened grime with a damp cloth. This technique works wonders on the inner oven door and glass cooktops.
Why It Works
Glass is harder than the baked-on grease and carbon deposits. A sharp razor blade can slide under the residue and lift it off without damaging the glass. The 45-degree angle ensures the blade doesn't dig in or scratch.
Keeping the surface wet reduces friction and helps the blade glide smoothly.
Safety First
Always use a new, sharp blade for best results and to avoid accidental slips. Wear gloves to protect your fingers. Work slowly and apply gentle pressure—let the blade do the work.
Never use a razor blade on tinted glass, ceramic coatings, or surfaces with decorative etching, as it can cause permanent damage.
When To Use This Method
This technique is ideal for heavy, baked-on spills that won't come off with cleaners or scrubbing. It's especially useful on glass cooktops with burnt-on food and oven doors with years of grease buildup. For light smudges, stick to a standard glass cleaner and a microfiber cloth.
9. Prevent Smoke by Cleaning the Oven Floor Regularly
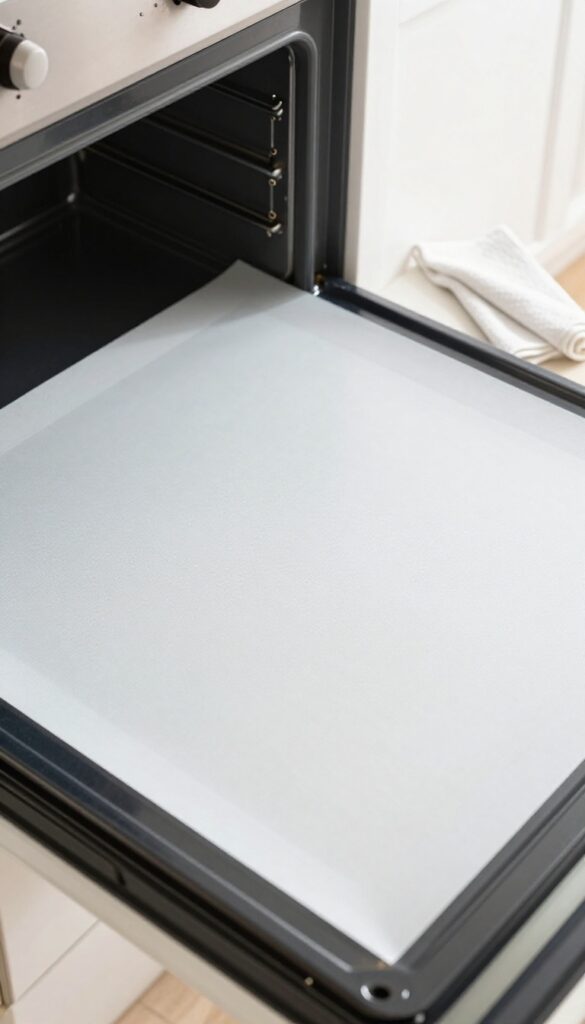
That sudden plume of smoke when you preheat the oven? Chances are it's old food drippings burning off. The oven floor is a magnet for spills, and once they carbonize, they smoke every time the heat kicks in.
The fix is simple: keep the floor clean.
Wipe After Every Use
Let the oven cool slightly after cooking, then wipe the floor with a damp cloth. Most spills come right off when they're still soft. A quick wipe prevents buildup and keeps smoke at bay.
Use A Silicone Mat
Line the bottom rack or the oven floor with a silicone mat designed for ovens. It catches drips and makes cleanup as easy as pulling out the mat and rinsing it. Just make sure the mat is oven-safe and doesn't block airflow.
Baking Soda Paste For Stubborn Spots
If spills have already baked on, make a paste of baking soda and water. Spread it on the spots, let it sit for 15 minutes, then scrub gently with a non-abrasive sponge. Rinse well.
10. Use a Self-Cleaning Cycle Wisely
That self-cleaning cycle on your oven can be a lifesaver, but it's not something you want to run every week. It gets incredibly hot—hot enough to turn spills into ash—and that heat can put stress on your oven's components over time. Use it as a deep-cleaning tool, not a quick fix.
The self-cleaning cycle works by heating the oven to around 800°F, burning off food residue into fine ash. After it runs, you just wipe away the ash with a damp cloth. It's effective for baked-on grease and grime that manual scrubbing can't touch.
However, it can also produce smoke and strong odors, so make sure your kitchen is well-ventilated.
Prep Before You Start
Don't just hit the button and walk away. First, remove any large food chunks or loose debris—otherwise, you'll end up with a smoky mess. Take out oven racks (unless your manual says they can stay) and wipe up any puddles of grease.
A quick sweep reduces smoke and makes the cycle more efficient.
When To Run It
Aim to use the self-cleaning cycle only a few times a year, or when you notice heavy buildup. Running it too often can wear out door seals, locks, and heating elements. If your oven has a steam-clean option, use that for lighter messes instead.
Post-cycle Cleanup
Once the cycle finishes and the oven cools down (this can take a couple of hours), open the door and wipe out the ash with a damp microfiber cloth. Avoid using harsh cleaners—the ash is alkaline and can react with chemicals. A simple water wipe is all you need.
11. Clean the Oven Gasket to Maintain a Tight Seal
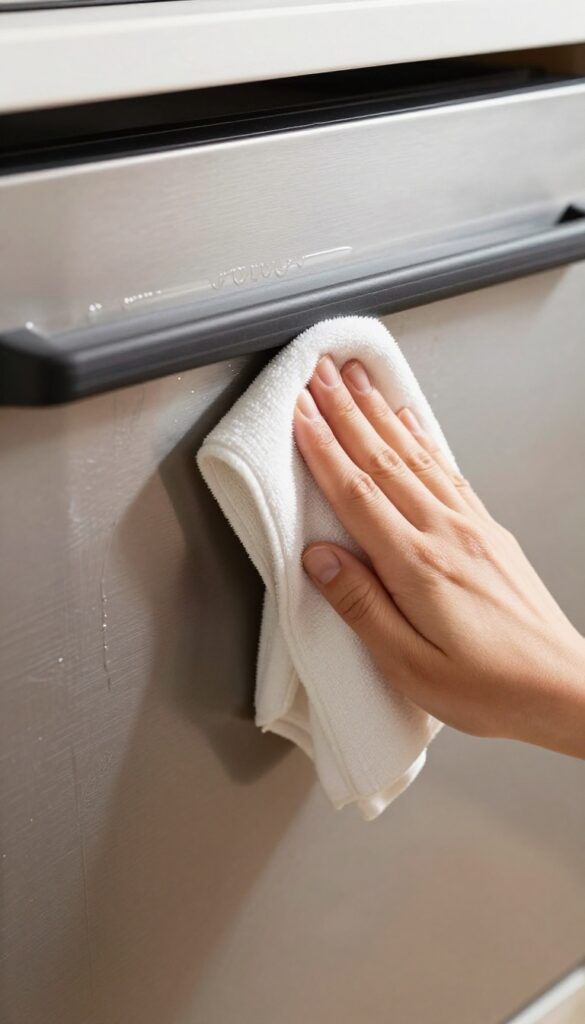
The rubber gasket that runs around your oven door is easy to overlook, but it plays a big role in how well your oven works. When grease builds up on it, the seal can break, letting heat escape and smoke sneak out. A quick wipe keeps everything tight and efficient.
Cleaning the gasket isn't complicated, but you do need to be gentle. Harsh scrubbing or strong chemicals can damage the rubber, so stick to mild soap and a soft cloth. Here's how to do it right.
Why The Gasket Matters
The gasket creates a tight seal that keeps heat inside your oven. If it's caked with grease, the seal weakens, leading to longer cook times and more smoke. A clean gasket also prevents food particles from burning onto the rubber, which can cause unpleasant odors.
How To Clean Without Damaging It
Mix a few drops of mild dish soap with warm water. Dampen a soft cloth or sponge (not dripping wet) and gently wipe along the gasket. Avoid pulling or stretching the rubber.
For stubborn spots, let the soapy cloth sit on the area for a minute, then wipe again. Rinse with a clean damp cloth and dry with a towel.
When To Replace The Gasket
If you notice cracks, tears, or a permanent gap, it's time for a new gasket. A damaged seal won't hold heat no matter how clean it is. Replacement kits are affordable and easy to install—just check your oven's model number.
12. Deodorize with Coffee Grounds or Vanilla Extract
Even after a deep clean, stubborn smells can linger in your oven. Burnt cheese, fish, or sugary spills leave behind odors that come back every time you heat things up. Instead of masking them with sprays, you can naturally absorb those smells with items you probably already have in your kitchen.
Coffee grounds and vanilla extract are both excellent at neutralizing odors because they contain compounds that bind to and trap smelly molecules. The gentle heat helps release their own pleasant aromas while pulling in the bad smells. This method works best after you've already cleaned the oven, not as a substitute for scrubbing.
Why Coffee Grounds Work
Used coffee grounds still have enough aromatic oils to freshen up your oven. Spread a thin layer on a baking sheet and place it on the middle rack. Warm the oven to about 200°F (95°C) for 15 minutes, then turn it off and let the grounds sit overnight.
The next morning, your oven will smell like a coffee shop instead of a greasy diner.
Vanilla Extract Trick
Vanilla extract does double duty—it adds a sweet scent and helps break down odor molecules. Soak a cotton ball or a small cloth in vanilla extract and put it in an oven-safe dish. Heat the oven to 300°F (150°C) for 10 minutes, then turn it off and leave the dish inside for a few hours.
The vanilla aroma will linger pleasantly.
What To Avoid
Skip synthetic air fresheners or scented candles inside the oven—they can leave residue or even catch fire. Also, don't use essential oils directly on oven surfaces; they can stain or react with heat. Stick to natural absorbents like coffee or vanilla for safe, effective deodorizing.
13. Use a Toothbrush for Crevices and Hinges
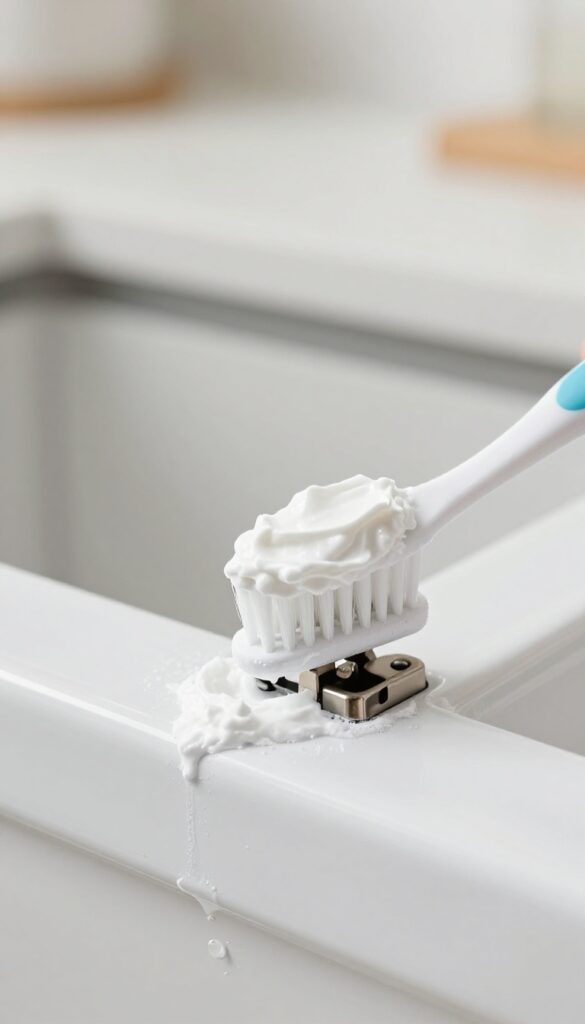
The oven has plenty of tight spots where grease loves to hide—hinges, vents, and corners. A standard sponge or cloth can't reach these nooks, but an old toothbrush can. It's the perfect tool for precision scrubbing without damaging the oven's surface.
Grab a toothbrush with firm bristles and dip it in a baking soda paste (three parts baking soda to one part water). Scrub along the hinge areas, inside vent openings, and any tight corners where grime builds up. The bristles work the paste into the crevices, loosening baked-on grease.
Let the paste sit for 10 minutes, then wipe away with a damp cloth. For extra stubborn spots, add a few drops of dish soap to the paste. This method is gentle enough for enamel surfaces but tough on grime.
Rinse the toothbrush after each use and store it with your cleaning supplies.
Why A Toothbrush Works Best
Toothbrushes have small heads and angled bristles that fit exactly where larger brushes can't. The firm bristles provide enough friction to dislodge grease without scratching the oven's interior. Plus, they're cheap and easy to replace.
Targeting The Hinges
Oven door hinges collect grease from steam and splatters. Open the door fully and look for buildup along the hinge arms. Apply the baking soda paste with your toothbrush and scrub in a circular motion.
Wipe clean with a damp microfiber cloth. This keeps the door moving smoothly and prevents smoke when you open it.
Cleaning Vents And Airflow Paths
Vents on the back or bottom of the oven can clog with grease, affecting airflow and temperature. Use the toothbrush to gently scrub inside the vent slits. Follow up with a vacuum cleaner using a brush attachment to remove loosened debris.
This helps your oven heat evenly and reduces smoke.
14. Line the Oven Bottom with a Silicone Mat or Foil
That drip from a bubbling casserole hits the oven floor and instantly turns into a smoke bomb. The fix is simpler than you think: put a barrier between the food and the oven bottom. A silicone mat or a sheet of heavy-duty aluminum foil can catch spills before they bake on, saving you from future scrubbing sessions.
Placing a liner on the bottom rack (never directly on the oven floor, unless your manual says it's okay) catches drips and drips. Silicone mats are reusable, non-stick, and easy to wipe clean. Heavy-duty foil works too, but avoid regular foil—it can tear or melt.
Replace foil after each use, and wash silicone mats regularly to prevent grease buildup that can smoke.
Why Liners Work So Well
Liners create a sacrificial layer that takes the heat instead of your oven floor. When a spill lands on the liner, it doesn't burn onto the enamel. You just lift out the liner, wipe it, or toss it.
This simple habit cuts down on smoke and keeps your oven cleaner between deep cleans.
Silicone Vs. Foil: Which Is Better?
Silicone mats are durable, reusable, and can withstand high temperatures (usually up to 500°F). They're also non-stick, so most spills wipe right off. Foil is cheaper and disposable, but it can rip or crinkle under heavy dishes.
If you use foil, double-layer it for strength and avoid covering vents. For most people, a silicone mat is the better long-term choice.
When To Replace Or Clean Your Liner
Even the best liner needs maintenance. Wash silicone mats with warm soapy water after each use, especially if you see grease pooling. Replace foil after every messy meal.
If you notice smoke during preheat, check the liner—it might have accumulated enough grease to burn. A quick swap or scrub solves the problem.
15. Clean the Oven Fan and Vents to Reduce Smoke
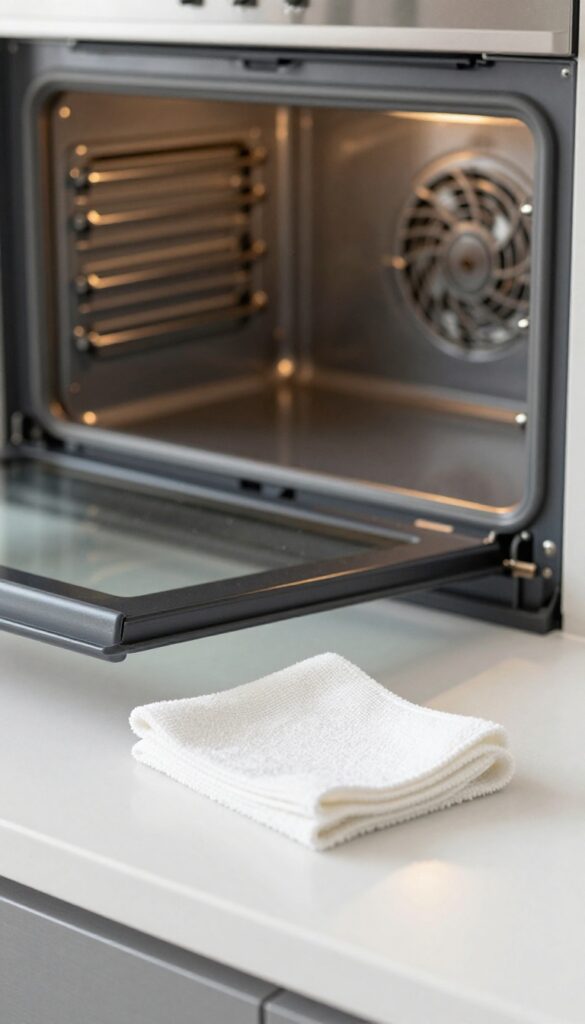
The oven fan and vents are like the lungs of your oven—they pull out steam and smoke during cooking. When they get caked with grease, they can't do their job properly. Instead of clearing the air, they recirculate smoke and odors right back into your kitchen.
Cleaning the fan and vents isn't complicated, but it does require a gentle touch. You don't want to damage the fan blades or push debris further into the system. A little regular maintenance here goes a long way toward smoke-free baking.
Why Grease Builds Up Here
Every time you roast or bake, hot air carries grease particles upward. They settle on the fan blades and vent openings. Over time, that layer gets thick and starts to burn during preheating, producing that smoky smell.
How To Clean The Fan Safely
First, make sure the oven is completely cool and unplugged. Use a vacuum with a soft brush attachment to gently remove loose dust and grease from the fan blades and vent grille. For stubborn residue, wipe with a damp microfiber cloth—never spray liquid directly into the fan motor.
Cleaning The Vents
The vents are usually located at the back or bottom of the oven. Use a narrow brush or a pipe cleaner to dislodge any gunk from the slots. Follow up with the vacuum.
Keeping these clear helps air circulate freely and reduces smoke during cooking.
16. Use a Steam Cleaner for a Chemical-Free Deep Clean
If you want to skip the harsh chemicals and still get a spotless oven, a steam cleaner is your best friend. These handy tools blast hot steam at high pressure, loosening baked-on grease and grime without any scrubbing. It's a game-changer for anyone who hates the smell of oven cleaners or wants a more eco-friendly approach.
How Steam Cleaning Works
A handheld steam cleaner heats water to create pressurized steam. When you direct the steam onto greasy surfaces, it softens the grime in seconds. You don't need to let it sit or soak—just steam and wipe.
The heat also kills bacteria and neutralizes odors, leaving your oven fresh without any chemical residue.
Best Areas To Target
Focus on the oven floor, walls, and door glass. The steam is especially effective on stubborn drips and burnt-on food. For tight corners and crevices, use the nozzle attachment.
Don't forget the area around the heating elements (if cool) and the oven racks—steam can clean those too, though you might need to wipe them dry afterward.
Tips For Best Results
Make sure your oven is cool before you start. Work in small sections, steaming then immediately wiping with a microfiber cloth. If the grime is extra thick, repeat the process.
Avoid using steam on electrical components or the oven light. After cleaning, run the oven on low heat for a few minutes to dry any remaining moisture.
17. Maintain a Weekly Quick Wipe Routine
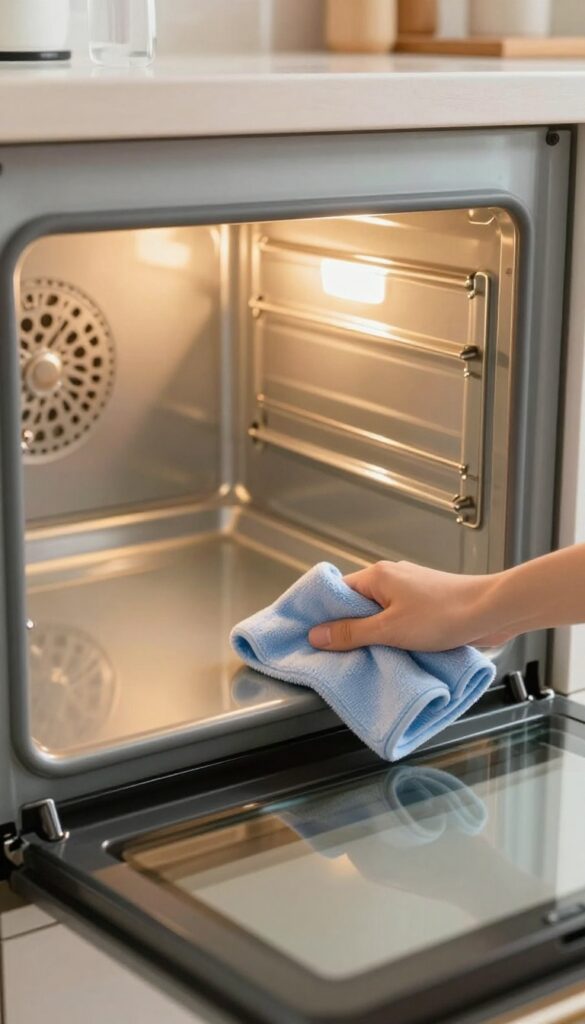
You don't need to deep clean every week to keep your oven looking good. A simple wipe-down after each use stops grease and grime from building up in the first place. It takes just a few minutes and saves you from scrubbing for hours later.
The key is consistency. After the oven cools, grab a damp microfiber cloth and wipe down the interior walls, door, and floor. Focus on any spills or splatters while they're still fresh.
This habit keeps your oven cleaner and reduces smoke and smells during cooking.
What You'll Need
Keep a dedicated microfiber cloth and a spray bottle of water near the oven. That's it. No special cleaners required.
The cloth traps grease without scratching the surface.
When To Wipe
Do this after every use, once the oven is completely cool. If you forget, aim for at least once a week. The more often you wipe, the less buildup you'll deal with.
Pro Tip For Stubborn Spots
For dried-on spills, dampen the cloth with a little dish soap and water. Let it sit on the spot for a minute before wiping. It softens the grime without heavy scrubbing.
FAQ
How often should I clean my oven?
For light use, a deep clean every 3-6 months is sufficient. Wipe up spills immediately and do a quick wipe weekly to prevent buildup.
Can I use oven cleaner on a self-cleaning oven?
It's not recommended because the self-cleaning cycle reaches high temperatures that can react with chemical residues. Stick to natural methods or the self-cleaning feature.
Is it safe to use baking soda and vinegar on an oven?
Yes, it's safe and effective. Baking soda is mildly abrasive, and vinegar reacts to lift grease. Rinse thoroughly to avoid residue.
Why does my oven smoke when I preheat?
Smoke is usually caused by food drips or grease on the oven floor. Clean the bottom regularly and consider using a liner to catch spills.
How do I clean the glass on my oven door without streaks?
Use a baking soda paste, let it sit, then scrub with a damp sponge. Rinse with a vinegar-water solution and buff dry with a microfiber cloth.
Conclusion
Tackling oven grease and grime doesn't have to be a dreaded chore. These 17 tips show that with a little know-how and common household items, you can banish smoke and baked-on mess without harsh fumes or endless scrubbing. Pick a couple of methods that fit your oven's current state and give them a try this weekend.
Consistency is the real secret to a sparkling oven. A quick wipe after each use and a monthly deep clean with one of these techniques will keep future buildup from becoming a major project.