15 Wrapping Paper Ideas for Gifts That Look Extra Special
Great wrapping doesn't require a drawer full of fancy supplies. A roll of kraft paper, a spool of ribbon, and a few things already sitting in your recycling bin can carry you through every gift on your list. The trick is knowing which combination makes a present look intentional instead of last-minute.
Most of these ideas cost very little and take only a few extra minutes. Some lean crafty, others stay almost embarrassingly simple, and a few work best when you embrace the imperfect look.
None of them demand perfect corners or a dedicated craft room. Pick the approach that matches your gift, your schedule, and whatever you've already got on hand.
1. Kraft Paper with a Bold Ribbon
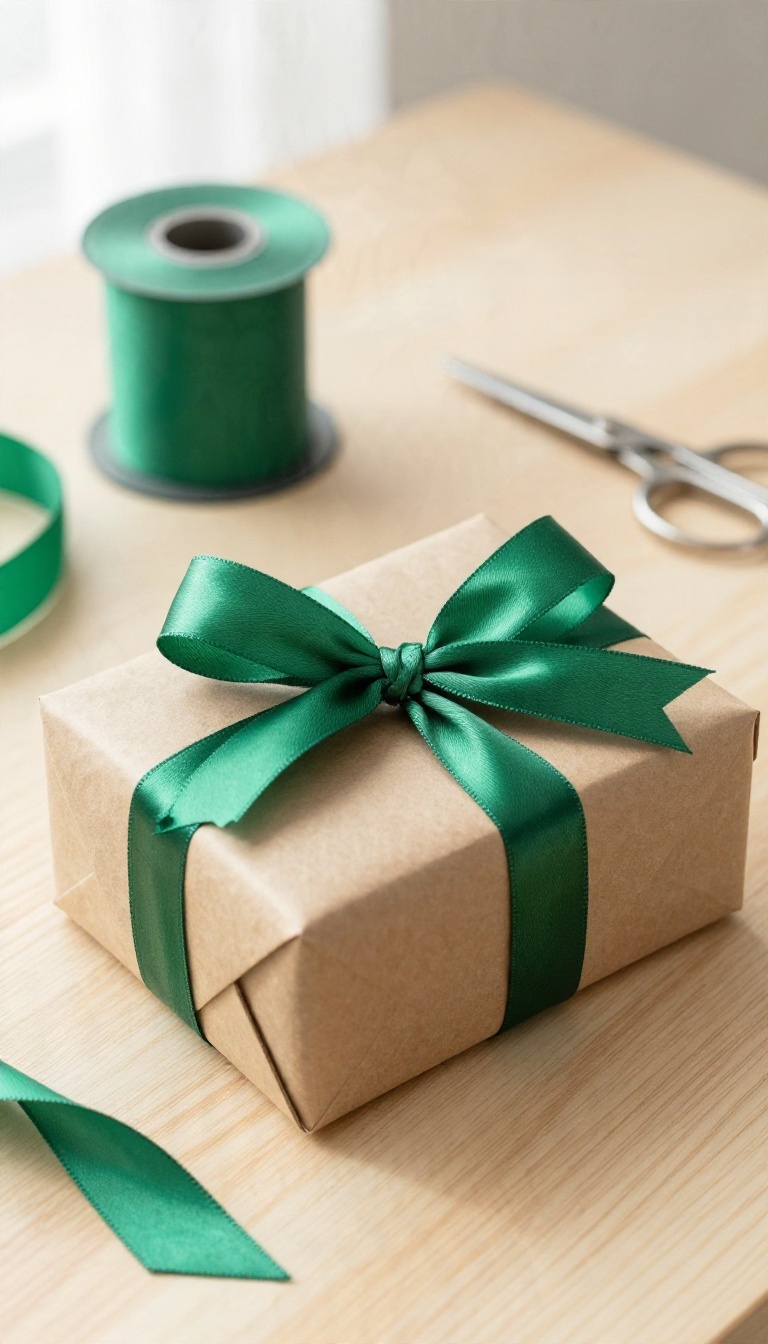
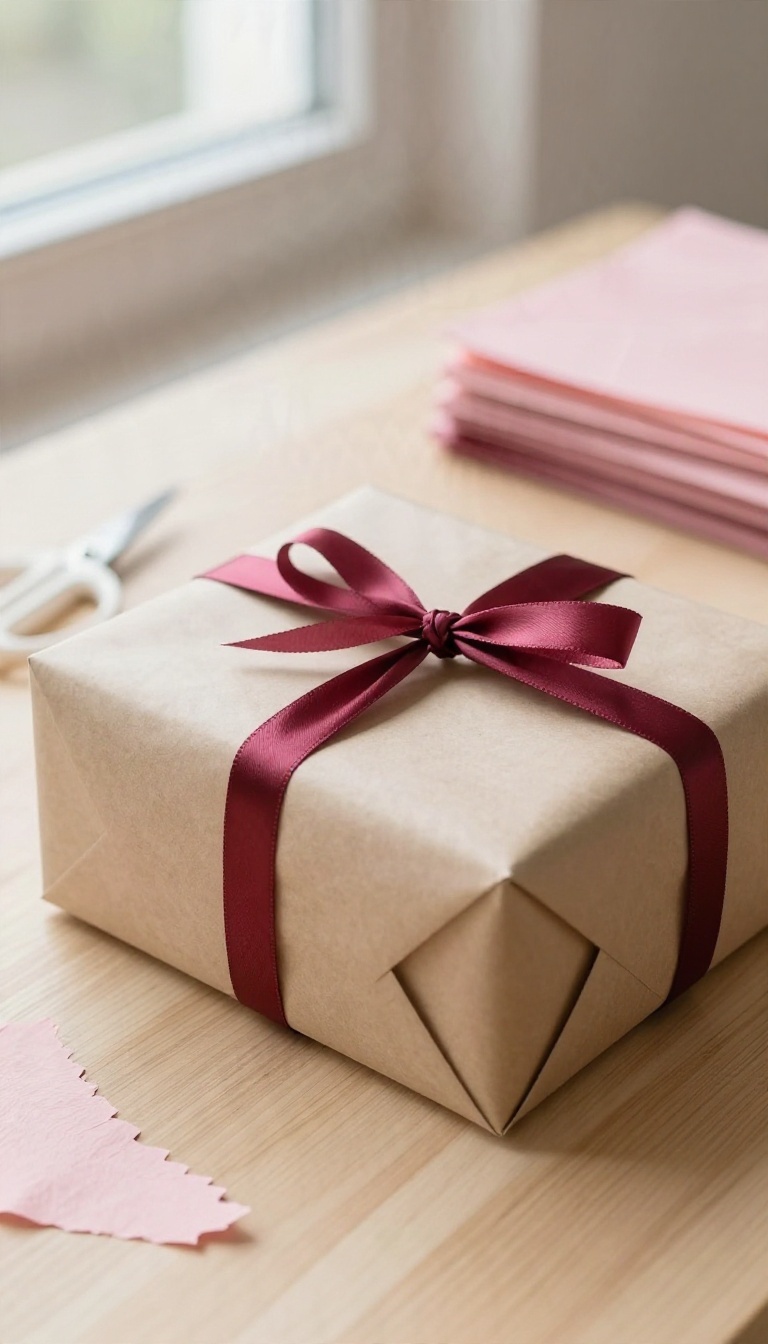
Brown paper has a reputation problem it doesn't deserve. People hear "kraft" and picture moving boxes, but a clean sheet wrapped tight with a wide ribbon looks deliberate, warm, and a little bit Scandinavian. It also costs almost nothing, which means you can splurge on the ribbon instead.
This is the idea to reach for when you want something that reads as thoughtful without looking like you tried too hard. It suits almost any gift, any season, and any recipient.
The whole look rests on contrast. You've got a matte, earthy base and one loud pop of color on top. Get that balance right and the present basically styles itself.
A few small choices separate a tidy kraft wrap from a sad parcel, so here's what actually matters.
Picking A Ribbon That Pops
Go wide. A ribbon that's at least an inch and a half across gives you that bold, graphic stripe down the middle, while skinny curling ribbon tends to disappear against the paper. Color is where you get to have fun.
Satin in deep red, emerald, or navy looks classic. A bright mustard or hot pink feels more playful. If you want texture instead of shine, try velvet, grosgrain, or a wide cotton twill.
One ribbon, tied once, is usually enough. Resist the urge to add three more.
Wrapping It Clean
Kraft paper is forgiving but not invisible. Crease your edges sharply with your thumbnail and keep the seams on the back or bottom of the box. Double-sided tape hides itself, which matters more here than with patterned paper because there's nothing to camouflage a messy strip of tape.
Pull the paper snug before you stick it down so the box looks crisp, not lumpy. If a corner puckers, smooth it flat with your hand before moving on. Small wrinkles read as handmade charm; big ones read as rushed.
Finishing With A Simple Tag
Skip the store-bought sticker and cut a small rectangle from cardstock or a brown paper bag. Punch a hole in one corner and tie it on with twine or a thin strip of the same ribbon. Write the name in a dark marker or a nice pen.
That's it. A plain tag against bold ribbon keeps the whole thing from getting busy. For a tiny extra touch, tuck a sprig of greenery or a single dried flower under the knot.
It takes five seconds and looks like you planned it.
2. Newspaper and Twine for a Vintage Feel
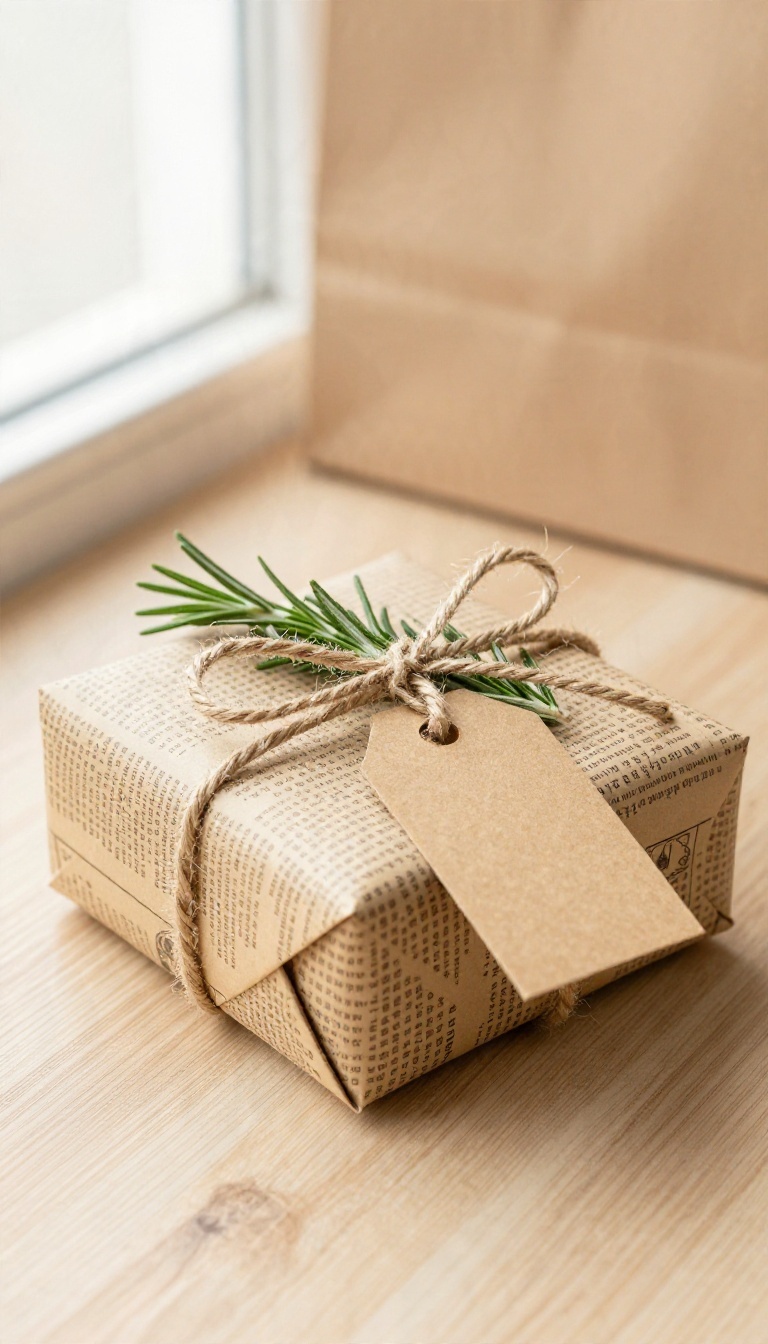
Newspaper wrapping looks like something you'd find tied up in an attic trunk, and that's exactly the charm. It costs next to nothing, keeps paper out of the recycling bin for one more use, and photographs beautifully under a tree. The trick is choosing the right pages and finishing them with something natural so the whole thing reads as deliberate rather than lazy.
The paper itself does most of the heavy lifting here, so pick your pages with a little care. You want sheets that are mostly text or simple line art, not a full-page ad for a mattress sale. Once you've got good pages, the finish is simple: twine, a small sprig of green, and maybe a handwritten tag.
This style suits almost any gift, but it shines on books, bottles, small boxes, and anything with a slightly old-fashioned feel. It's also the fastest way to make a plain brown box look like it came from a boutique.
Pick The Right Pages
The comic section is the crowd-pleaser. Colorful panels wrap a gift in instant personality, and the recipient gets a small laugh before they even open it. Just avoid pages with a giant single ad, since those tend to look like, well, an ad.
Foreign-language newspapers are the quiet upgrade. A page of Japanese or Italian text looks exotic and graphic even if nobody can read a word of it. Grab a copy at an international grocery store or ask a friend who travels to save you a few sheets.
If you don't have either on hand, the stock listings and classifieds work surprisingly well. Dense columns of tiny text create a textured, almost wallpaper-like look. Skip the front page with giant headlines unless the headline happens to be funny and relevant to the gift.
Tie It With Twine, Not Ribbon
Natural jute twine is the partner this paper deserves. Satin ribbon fights the rustic look, while twine leans into it. Wrap it around the box a couple of times in each direction, then tie a simple knot and a small bow.
Don't overthink the knot. A slightly loose, uneven bow looks better here than a perfectly symmetrical one. Leave the ends a little long and let them curl naturally.
One practical note: twine can slide on glossy paper, so double-check that your folds are snug before you tie. A small piece of double-sided tape under the first crossing keeps everything from shifting.
Add A Sprig And A Tag
A small cutting of greenery tucked under the twine finishes the look. Rosemary, pine, eucalyptus, or even a few bay leaves from the kitchen all work. They smell good, cost nothing if you have a plant, and add a hit of color against the newsprint.
For the tag, plain kraft card stock with a handwritten name beats anything printed. If you want to lean into the vintage feel, use a fountain pen or a fine-tip marker and keep the message short. Skip the plastic bow and the metallic sticker.
The whole point of this style is that it looks handmade, so let the imperfections show.
3. Fabric Scraps Instead of Paper
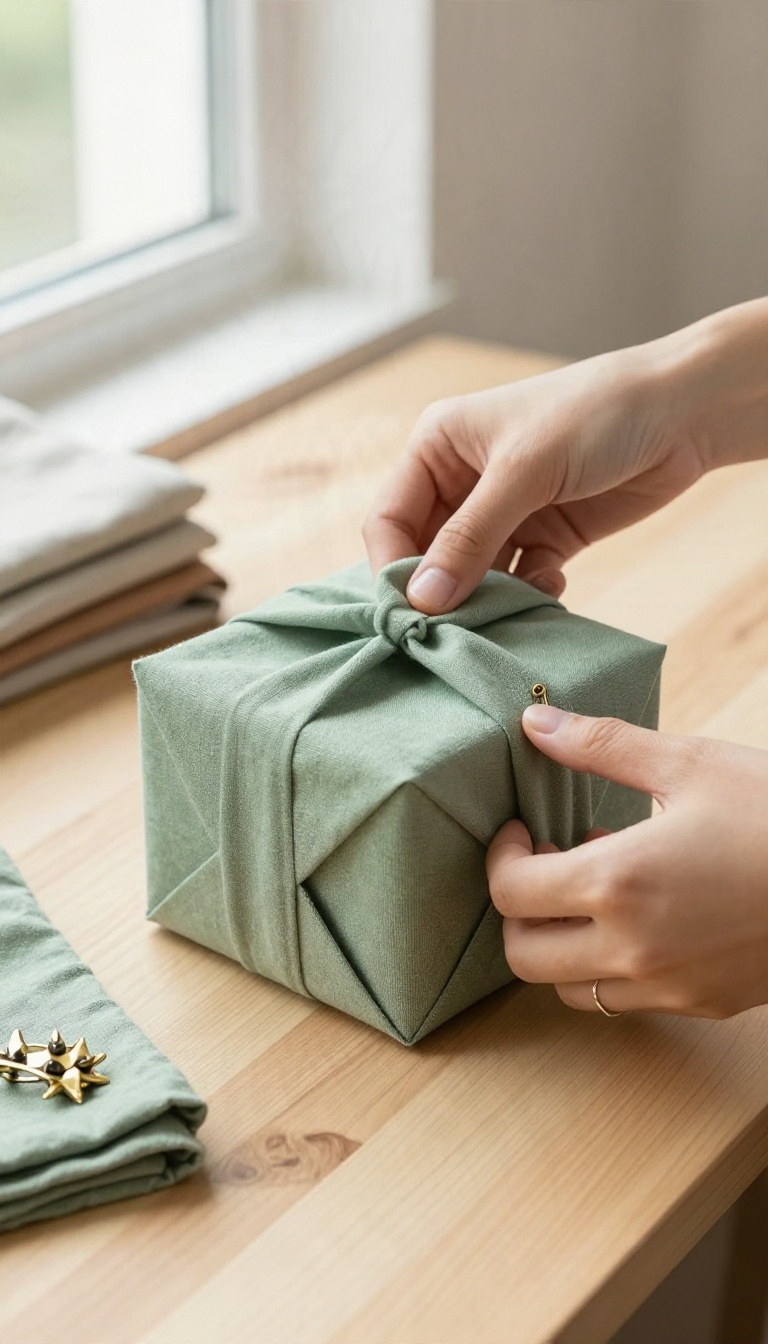
Paper gets all the attention, but fabric wraps a gift just as well and sticks around long after the box is open. A scarf, a square of leftover cotton, or a piece of linen you never got around to using can turn a plain present into something that feels hand-finished. The best part is that nothing ends up in the trash, and you skip the tape entirely.
Fabric wrapping works on the same principle as paper, just with more give. You fold, tuck, and secure, but instead of fighting with tape, you pin or knot the ends. The result looks softer and a little more personal, and it's forgiving if your corners aren't razor sharp.
You don't need special supplies. Anything thin and flexible will do, and the finish depends more on how you tie it than on what you spent.
Pick The Right Fabric
Thin, flexible materials behave best. Cotton, linen, and lightweight scarves fold neatly and hold a knot without bulk. Save the thick fleece and heavy knits for something else, since they turn a small gift into a lumpy bundle.
Size matters too. A square roughly three times the width of your gift gives you enough to wrap and tie. Too small and you'll be wrestling the corners; too big and you'll have fabric pooling everywhere.
The Fold-and-pin Method
Lay the fabric flat with the good side facing down and set the gift in the center. Pull two opposite corners over the top and pin them together, then bring the other two corners across and pin again. A single safety pin or a decorative brooch does the job.
For a cleaner look, fold the fabric around the box like you would paper, then pin the loose flap underneath. It takes about as long as taping and looks far more deliberate.
Knots That Hold Without Tape
For soft items like scarves or clothing, skip the pins and tie instead. Gather the fabric at the top and knot it once, then tie a second knot or a simple bow. A double knot keeps everything secure in a bag or under the tree.
If you're wrapping a scarf as the gift itself, wrap the present in it and let the ends become the bow. One item, two jobs, and nothing to throw away.
4. Double-Sided Paper with a Contrasting Fold
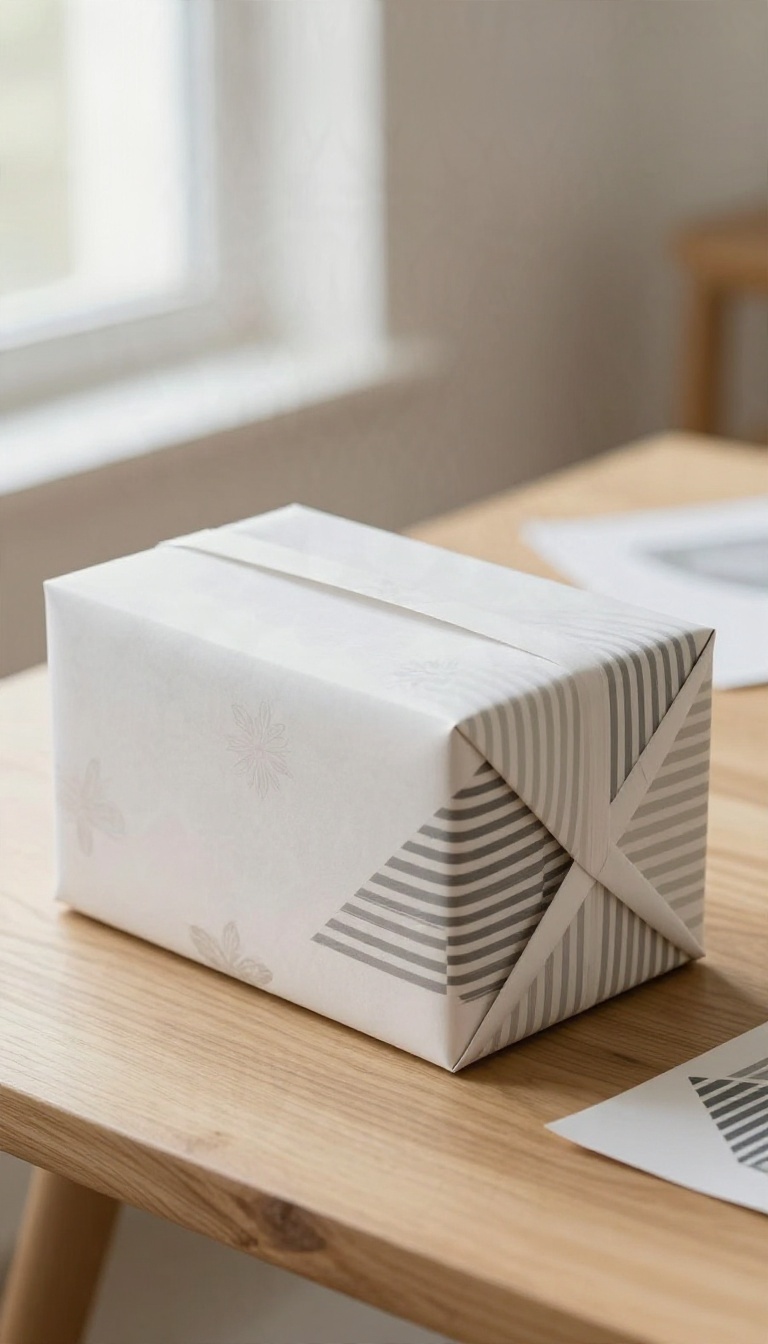
Double-sided wrapping paper hides a second pattern on the inside, and that's a free design upgrade most people never touch. Fold back a corner or a strip along one edge, and the reverse print shows up like a built-in accent. It reads as custom without costing a penny more than the roll already did.
The whole trick lives in the fold. You're not adding ribbon or tags to fake a designer look; you're letting the paper do two jobs at once. Thick, double-sided stock holds a crisp crease, so the reveal stays sharp instead of flopping over.
Thin paper will fight you here, so save the bargain rolls for another gift.
Pick Paper That Holds A Crease
Double-sided paper comes in two flavors: bonded sheets with two printed sides and heavier stock that's coated on both faces. The second kind is what you want. It creases cleanly and won't show the white core when you fold it back.
Test a scrap before you commit. Fold it hard along an edge and press with your thumbnail. If the crease stays flat and the corner doesn't spring up, you're good to go.
If it cracks or the layers separate, that roll is better suited to a simple wrap.
Choose Your Contrast Point
A folded-back corner near the top of the box gives you a small triangle of the reverse pattern, which is subtle and tidy. A full strip down one side makes a bolder statement and works well on rectangular boxes. Match the reveal to the gift.
Small jewelry boxes suit a single corner fold. Bigger shirt or book boxes can handle a strip along the long edge. Keep the fold on the side facing the recipient so it doesn't get crushed in a bag.
Fold, Press, And Secure
Wrap the gift as usual, then decide where the fold goes before you tape anything down. Crease the flap with a bone folder or the back of a spoon, then press it flat for a few seconds. A tiny piece of double-sided tape under the fold keeps it from lifting.
Skip the tape if the paper is stiff enough to hold on its own. Either way, don't crease over a corner of the box itself, or the fold will look lumpy.
Let The Pattern Do The Talking
Once you've got a clean contrast fold, hold back on extras. A thin ribbon or a simple tag is plenty, because the paper is already carrying the visual interest. This is also a good moment to skip a bow entirely.
The fold gives the eye somewhere to land, and piling on more just muddies it. Simple wins here.
5. Map or Sheet Music Wrapping
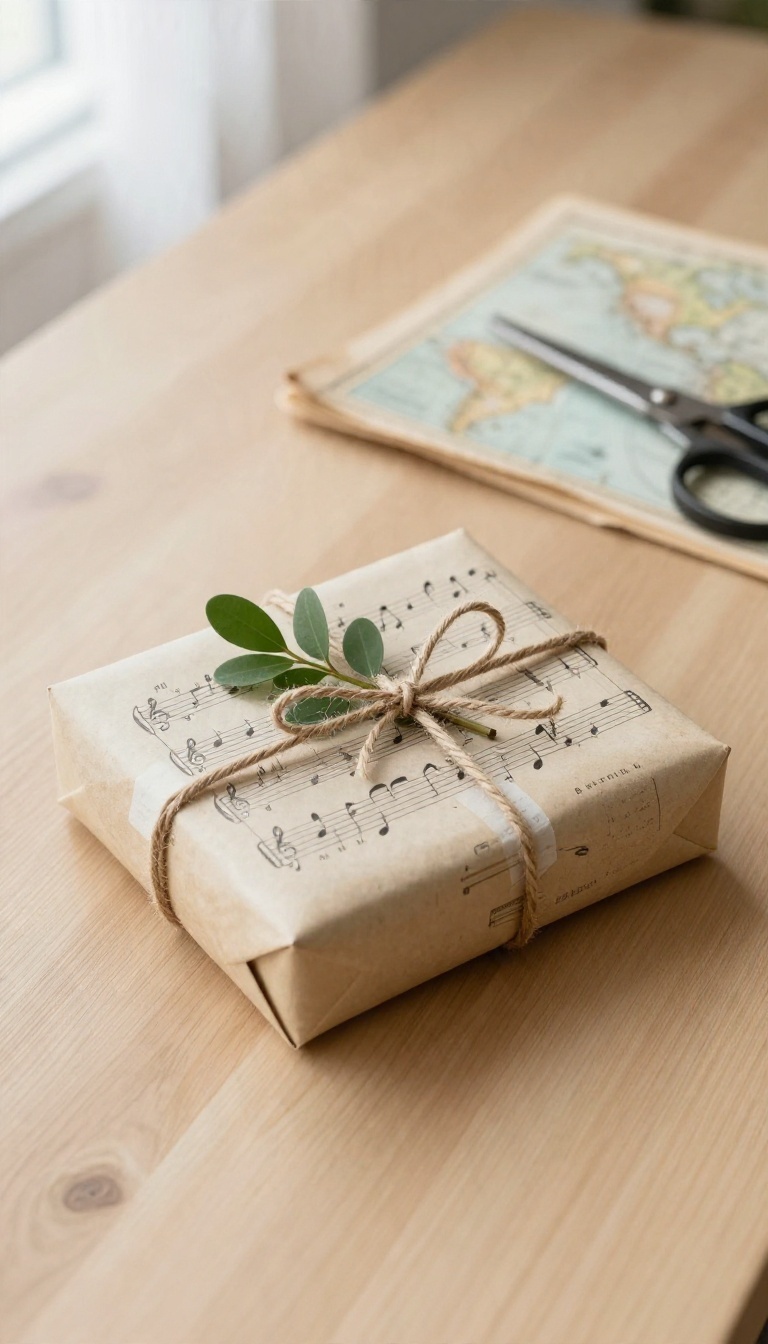
Vintage maps and printed sheet music bring a sense of story to any gift, especially for book lovers or travelers. They're surprisingly easy to find and cost next to nothing if you know where to look. The result looks thoughtful and personal, without requiring any artistic skill.
Old atlases from thrift stores often sell for a dollar or two, and one atlas can wrap a dozen small gifts. Sheet music works the same way—pick up a tattered songbook at a yard sale or print free public domain pages online. The paper is usually thin, so it folds neatly around corners and edges.
Where To Find Cheap Maps And Sheet Music
Thrift stores, library sales, and estate sales are goldmines for old atlases and sheet music. Look for books with torn covers or missing pages—they're often marked down and still have plenty of usable sheets. Online, you can find printable vintage maps and sheet music for free, but check the resolution before printing.
How To Wrap With Map Or Sheet Music
Cut the paper to size and wrap as you would with any thin wrapping paper. The key is to handle it gently—old paper tears easily. For a cleaner look, use double-sided tape instead of regular tape to avoid shiny strips on the vintage print.
Add a simple twine bow or a sprig of greenery to finish.
Matching The Paper To The Gift
A map-wrapped gift suits a travel guide, a passport holder, or a coffee table book about far-off places. Sheet music pairs well with concert tickets, a music-themed mug, or a framed print. If you're unsure, stick to neutral maps or classical sheet music—they work for almost anyone.
6. Stamped Kraft Paper with Homemade Patterns
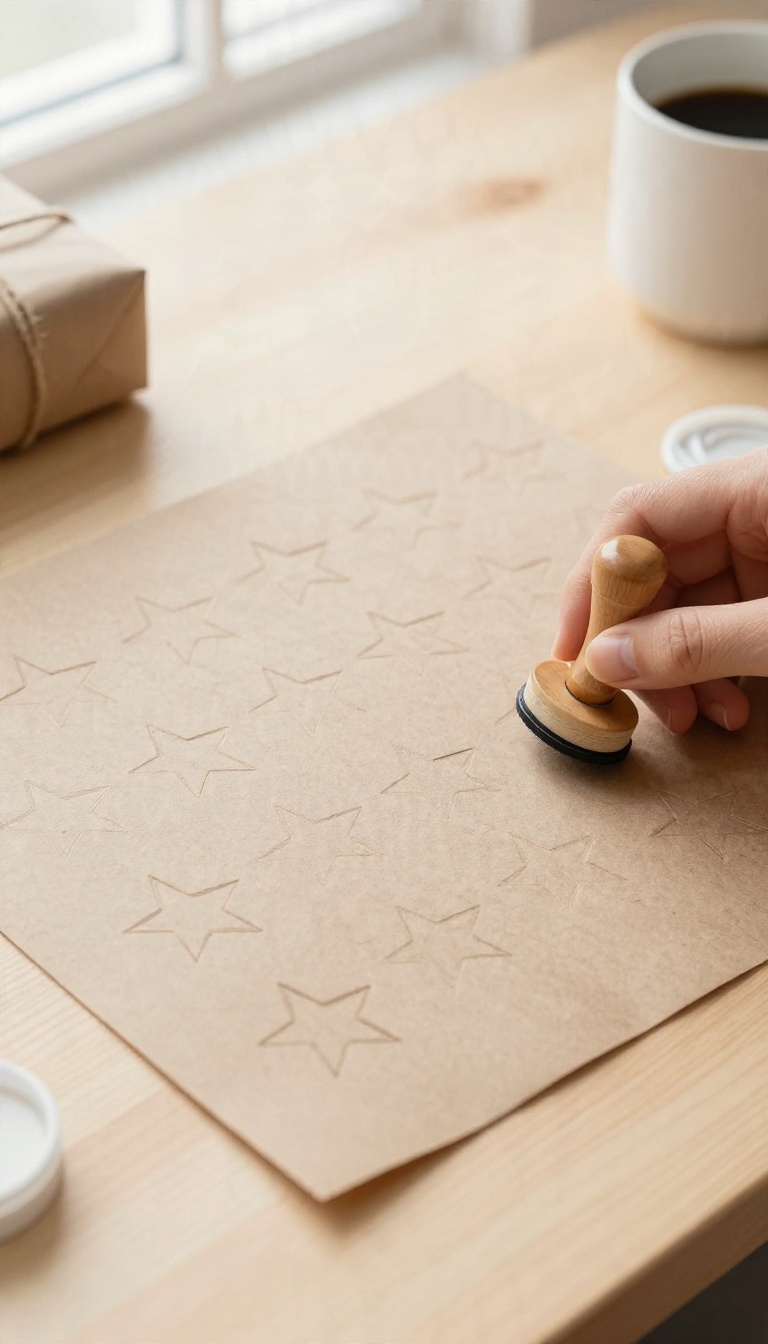
Plain kraft paper is a blank canvas, and a rubber stamp turns it into something that looks custom-made. You don't need a collection of stamps, either. One simple shape, repeated across the paper in a neat grid or a loose scatter, reads as intentional design.
It's the kind of project you can do at the kitchen table while a pot of coffee goes cold, and the results look far more expensive than the supplies suggest.
The appeal here is speed and repetition. Once you've got a stamp in hand, you can cover a whole roll of paper in a few minutes, and every gift in the pile ends up matching without looking mass-produced. Kids can help with this one, too, which makes it a good rainy-afternoon activity that actually produces something useful.
Start with a stamp you already own or carve a simple one yourself. Press it into an ink pad, stamp a test sheet first to check the pressure, then work your way across the paper. Let each gift dry flat before you wrap, and you're done.
Pick A Stamp That Works
Store-bought rubber stamps are the easiest route. Look for small, simple shapes like stars, leaves, dots, or a single letter, since bold designs repeat cleanly and read well from across a room. Avoid anything too detailed, because fine lines blur when you stamp on textured kraft paper.
If you want something more personal, carve a potato stamp. Cut a potato in half, sketch your shape on the flat side with a marker, then carve around it with a small knife so the design sits about a quarter inch above the surface. Blot the cut side dry before you ink it, or the stamp will slide around.
Ink And Placement Tips
Use a pigment ink pad rather than a water-based one. Pigment ink sits on top of the paper instead of soaking straight in, so the pattern stays crisp and doesn't bleed at the edges. A single color like black, deep green, or terracotta keeps things elegant, though two colors used sparingly can look festive.
Space your stamps evenly for a tidy look, or go loose and slightly off-grid for something more relaxed. Either way, stamp a scrap piece first to dial in how hard to press. Too much pressure smears the edges; too little leaves a patchy print.
Make It Match The Gift
The pattern can hint at what's inside without giving anything away. Stamp little paw prints for a pet gift, tiny forks and spoons for a kitchen present, or stars for a birthday. A single initial stamped in a corner works well for wedding and baby gifts.
You can also stamp a strip of paper to use as a band around the middle of the package, which saves you from covering the whole sheet. Tie it off with twine and the gift looks finished.
7. Layered Tissue Paper with a Window
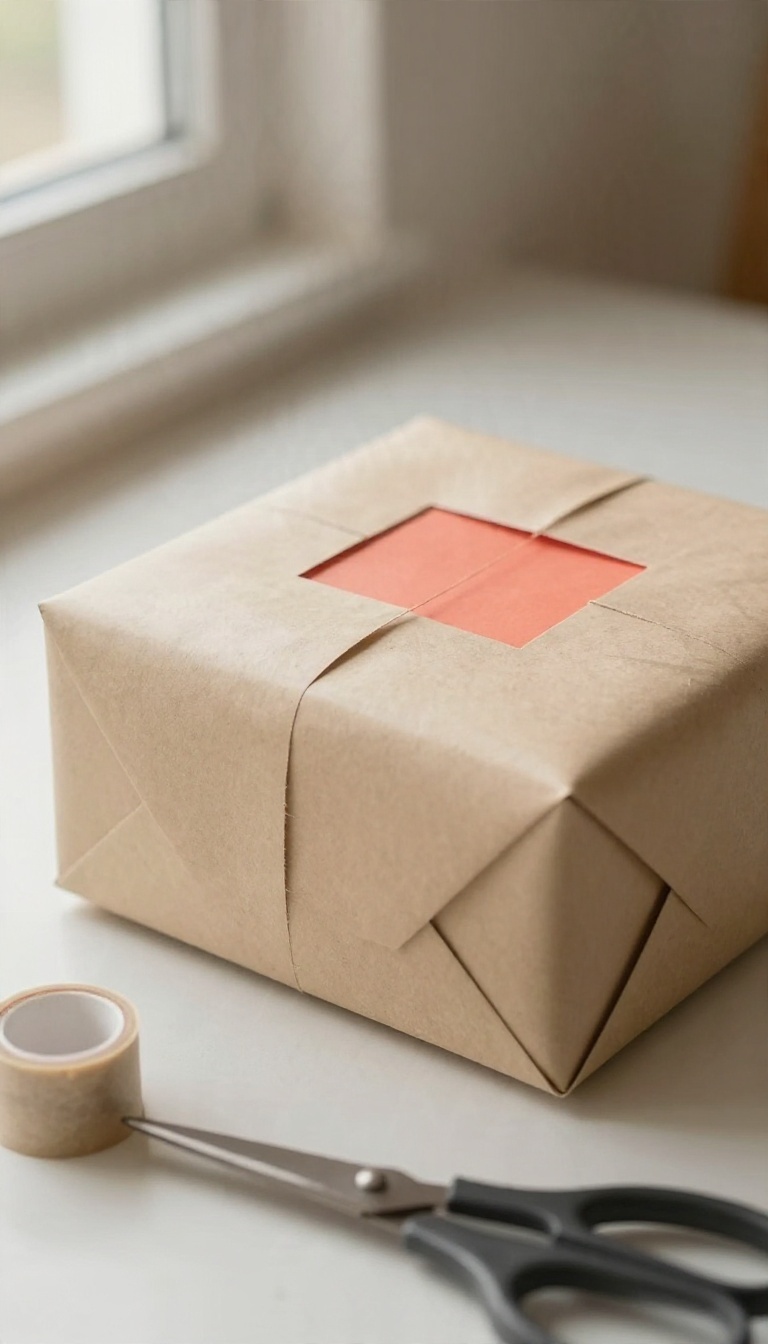
A cutout window turns a plain wrapped box into something people pause to look at. You keep the outer paper solid and simple, then let a bright layer of tissue peek through the opening. It reads as deliberate and detailed, even though the whole thing takes about five minutes.
The trick is contrast. A dark outer paper with a light tissue behind it, or the reverse, gives you a clean pop of color right where the eye lands. You don't need special tools, just scissors, a bit of tape, and tissue you probably already have from a gift bag.
Work on a flat surface and cut before you wrap. It's much easier to handle a sheet of paper than a half-wrapped box, and you avoid slicing into the gift itself.
Choosing Papers That Play Well Together
Pick a solid outer wrap first, since patterns fight with the cutout and make it look busy. Kraft, matte black, deep green, or plain white all work as a quiet base. Then choose a tissue that contrasts clearly, like coral behind navy or gold behind charcoal.
Hold the two together before you cut anything. If they blend into each other from a few feet away, the window won't do its job.
Cutting A Clean Window
Fold the outer paper in half where you want the window, then cut a simple shape from the fold. Hearts, circles, and soft rectangles are the easiest to keep neat. A craft knife gives sharper corners, but scissors are fine if you go slowly.
Keep the window small, roughly the size of a business card or a little bigger. A modest opening looks intentional, while a huge one can make the wrap feel flimsy.
Layering And Wrapping
Tape a square of tissue behind the cutout, slightly larger than the opening, on the inside of the paper. Smooth it flat so there are no wrinkles showing through. Then wrap the gift as usual, keeping the window on the top or front face.
Finish with a thin ribbon placed off to one side so it doesn't cross the window. The cutout is the star here, and the ribbon just frames it.
8. Washi Tape Grids on Plain Paper
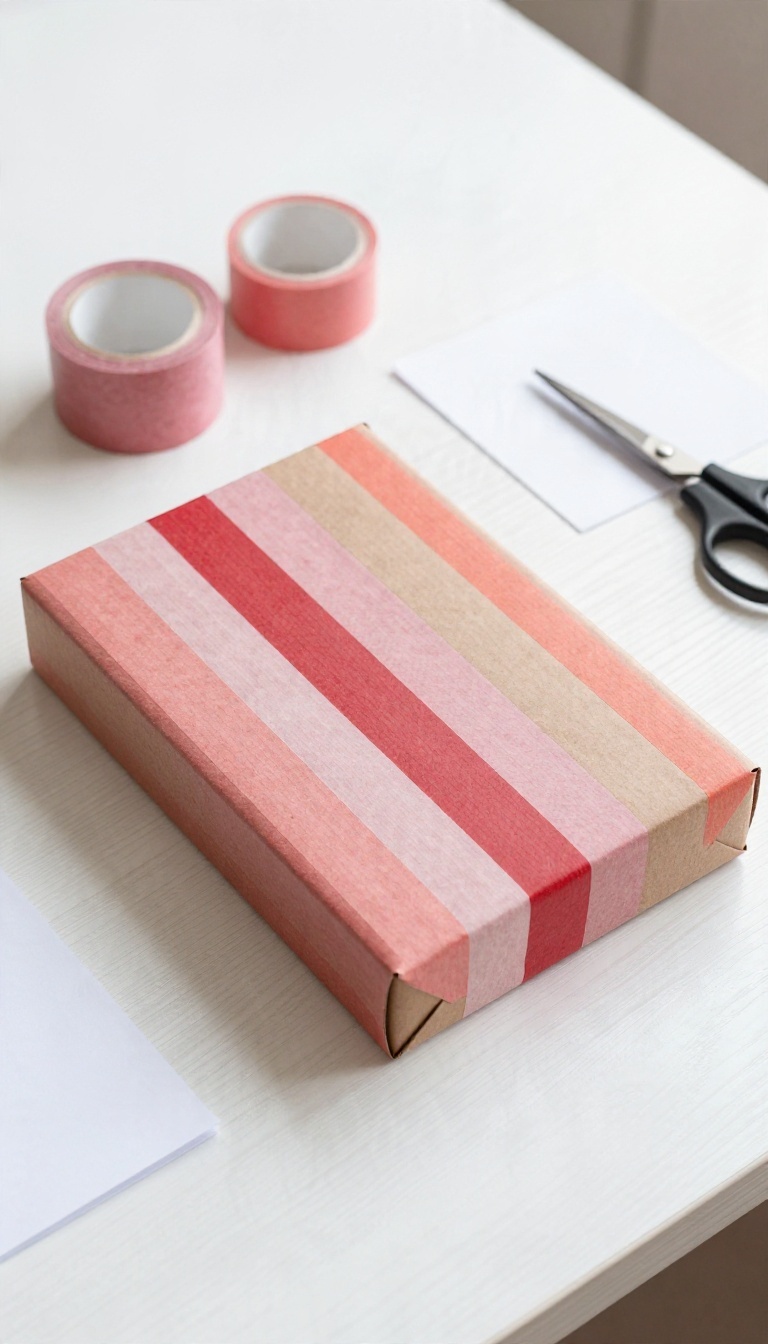
A roll of washi tape and a sheet of plain paper can do a lot of heavy lifting when you're short on time. Lay down a few strips in a grid or stripe pattern and suddenly that basic kraft or white paper looks deliberate. The tape peels off cleanly too, so you can reposition it until the spacing feels right.
The appeal here is speed. You don't need to measure perfectly or commit to a design, because washi lifts off without tearing the paper underneath. That makes it a forgiving option for the gift you're wrapping five minutes before you walk out the door.
It also plays well with almost any color scheme. Pick tapes that match the ribbon, the recipient's favorite shade, or just whatever's rattling around your desk drawer.
Building A Clean Grid
Start with a sheet of white or kraft paper and cut it to size before you wrap. Lay the paper flat and run your first strip along one edge, pressing it down smoothly. Space the next strips evenly, using the width of your finger or a ruler as a guide.
Cross the vertical strips with horizontal ones to form a grid, or skip the crosshatch and keep it to parallel lines. Trim any overhang with scissors once the pattern is done. Wrap as usual and the design carries right around the box.
Mixing Widths And Colors
One tape width looks tidy, but combining a thin roll with a wider one adds visual interest without extra effort. Try two or three colors from the same family, like blush, coral, and deep red, so it reads as coordinated rather than random. Metallic or patterned washi works too, especially on plain white paper where it really pops.
Keep the palette to three tapes max so the grid stays crisp instead of busy.
Making It Stay Put
Washi sticks well to smooth paper but can lift at the edges on textured kraft. Press each strip down firmly with your thumb, working from the center outward. If you're wrapping something heavy or oddly shaped, add a small piece of clear tape over the ends of each strip to lock them in place.
For a more permanent finish, a light pass with a glue stick under the tape helps it hold through handling and travel.
9. Brown Paper with Hand-Drawn Doodles
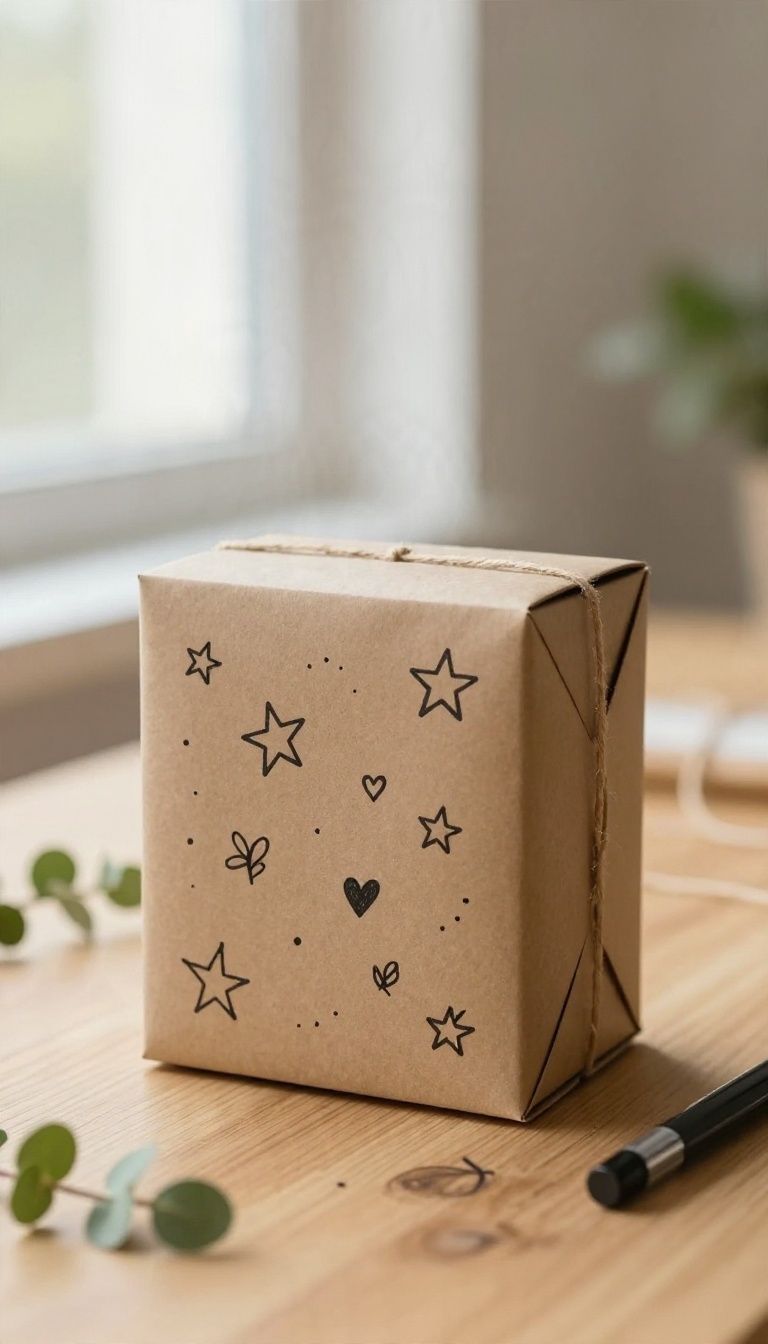
A plain brown parcel and a black marker can turn into the most personal gift under the tree. Doodling on kraft paper takes about as long as tying a bow, and it instantly tells the recipient you thought about them specifically. It's a low-pressure approach that looks charming even when your drawing skills stop at stick figures.
The casual, handmade vibe suits kids' gifts, teacher presents, and low-key exchanges between friends. You don't need artistic talent, just a steady hand and a little imagination. Best of all, mistakes blend right in, so there's no pressure to get it perfect.
Kraft paper is forgiving, cheap, and takes marker beautifully. That makes it the ideal base for a doodle-covered gift that feels warm and one-of-a-kind. Here's how to make it work without overthinking it.
Pick Markers That Behave
Permanent markers like Sharpies give bold, clean lines that won't smudge once dry. Metallic or white gel pens pop nicely against brown paper and add a bit of shine. Test your pen on a scrap first, since some markers bleed or feather on rougher kraft.
Doodle Simple, Repeatable Shapes
Stars, hearts, polka dots, and little leaves are easy to draw and look great scattered across the paper. You don't need a plan, just space the shapes out evenly and keep them loose. Repeating one simple motif often looks more polished than a busy scene.
Write The Name Big
Spelling out the recipient's name in large letters makes the gift feel instantly personal. Block letters or a loose cursive both work, and you can fill them in or leave them outlined. Add a small doodle next to the name for a little extra charm.
Match The Doodle To The Gift
Draw a tiny hint of what's inside, like a book, a mug, or a pair of socks. Kids love guessing games, and a playful clue builds excitement before they even tear the paper. Keep it simple so the surprise still lands.
10. Recycled Magazine Pages for Small Gifts
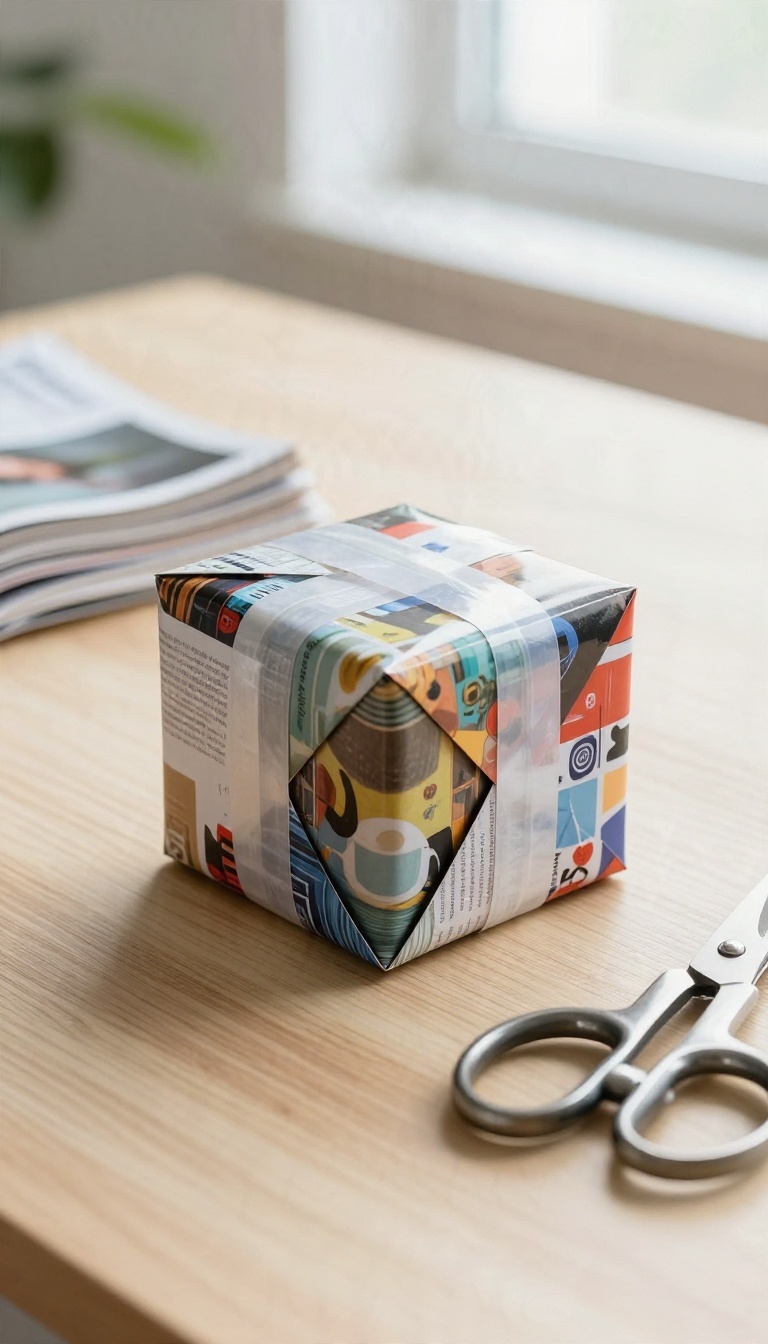
Some of the prettiest wrapping in the room came out of a recycling bin. Glossy magazine pages are full of color, pattern, and unexpected combinations you'd never think to buy by the roll. They're free, they keep paper out of the trash, and they wrap small gifts beautifully.
The trick is matching the page to the present. A bold ad spread suits a box of chocolates, while a softer editorial page works better for jewelry. Once you get the hang of it, you'll start flipping through old issues with wrapping in mind.
Small gifts are the hardest to wrap well. A full sheet of wrapping paper swallows a ring box or a handful of candies, and the leftover scraps go straight in the bin. Magazine pages solve that problem because they're already the right size.
You probably have a stack of old issues somewhere, or a friend who does. Ask around before you buy anything. A single magazine can wrap a dozen small gifts, and every page gives you a different look.
Pick The Right Pages
Flip through and look for pages with strong color blocks, bold typography, or clean patterns. Full-page ads often work better than articles, since the layouts are more graphic and less cluttered. Avoid pages with lots of small text or busy photos, which can look messy once folded.
If you're wrapping jewelry, a page with a soft background and one bright accent tends to look the most polished.
Fold Tight And Tape Light
Magazine paper is thinner than standard wrapping paper, so it creases easily and holds a sharp fold. That's a good thing for small boxes, where clean edges make the biggest difference. Use small pieces of double-sided tape so nothing shows on the glossy surface.
Regular tape tends to peel off the coating, so press it down firmly or use a tiny dab of glue stick instead.
Finish With A Simple Touch
You don't need much on top. A thin strip of twine, a small sticker, or a handwritten tag is enough to pull the look together. If the page has a striking image, let it be the star and skip the extras.
For plainer pages, a contrasting ribbon adds just enough interest without hiding the print.
11. Glossy Paper with a Matte Ribbon

Shiny paper catches the light, and a matte ribbon quietly absorbs it. Put the two together and you get a contrast that reads as expensive, even when the paper came from a discount bin. This combo works because texture does the decorating for you.
No stamps, no tags with fancy handwriting, no extras required. The paper and ribbon argue just enough to look interesting.
The formula is simple: pick one glossy surface and one matte finish, then let them sit next to each other. Metallic foil paper, pearlized sheets, or even a high-shine coated wrap all work on the glossy side. On the matte side, velvet ribbon, cotton twill, or a soft grosgrain does the job.
The trick is restraint. Keep everything else neutral so the texture contrast stays the star. A plain box, a clean fold, and one ribbon is all this look needs.
Picking The Right Pairing
Not every glossy paper plays well with every matte ribbon. Gold foil with deep burgundy velvet feels warm and classic. Silver metallic with charcoal twill reads modern and sharp.
Rose gold paper with a dusty pink velvet ribbon lands somewhere soft and romantic. Avoid pairing two finishes that fight for attention. If the paper is loud, let the ribbon stay quiet.
If the ribbon has a rich color, keep the paper simple and reflective rather than patterned.
Getting A Clean, Even Wrap
Glossy paper shows every wrinkle, so slow down on the corners. Crease each fold firmly with your thumbnail before you tape it down. A bone folder helps if you have one, but your fingers work fine.
Matte ribbon hides less than you'd think, so tie it snug and trim the ends at an angle. A single wrap around the box with a simple knot looks cleaner than a big floppy bow. If you want a bow, keep it small and centered.
Small Touches That Finish The Look
Skip the shiny gift tag and go matte to match the ribbon. A plain card in a soft finish, tucked under the ribbon, keeps the texture story consistent. If you want one extra detail, add a thin matte cord wrapped twice around the velvet ribbon.
It adds depth without breaking the glossy-versus-matte rule. Keep it subtle and let the paper shine.
12. Paper Bags with Stenciled Designs
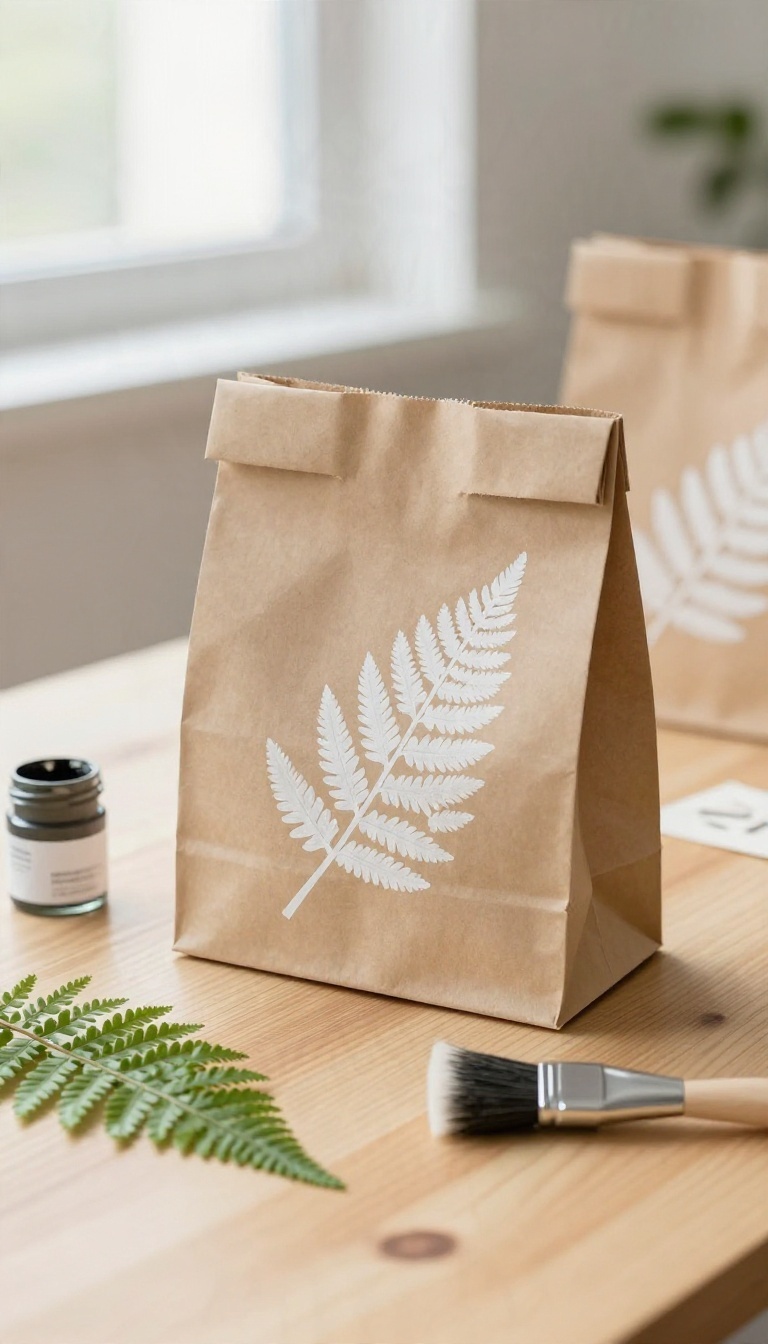
Plain kraft paper bags sit in a strange spot: sturdy enough to hold almost anything, cheap enough to buy by the pack, and boring enough that nobody expects much. A stencil and a little acrylic paint change that in about ten minutes. You end up with custom wrap that holds its shape around awkward gifts and looks like you planned it all along.
The bag does the structural work, so the paint can stay simple. You don't need a cutting machine or a drawer of supplies. A stencil, a foam brush, and a bag are basically the whole list.
Why Bags Beat Flat Paper Sometimes
Odd-shaped items fight back against wrapping paper. A mug with a handle, a stack of books, a lopsided candle jar, a pair of gloves that won't sit flat — these all turn into a wrestling match with a sheet of paper and tape. A paper bag swallows the shape without complaint.
Drop the gift in, fold the top over, and you're done. No crumpled corners, no tape popping loose on the drive over. The stencil is what keeps it from looking like a grocery run.
A painted pattern gives the bag a reason to be there instead of feeling like a last resort.
Stencils You Already Have Around
Store-bought stencils work, but you probably don't need to buy anything. A few options that cost nothing: – A leaf or fern frond pressed flat and painted over – A paper doily held in place with a little tape – A cookie cutter traced and filled in – A piece of cardboard with a shape cut out – A mesh produce bag for a dotted texture Freezer paper also works if you cut a shape from it and iron it on, though that's more effort than most gifts need. Simple shapes read best on a bag anyway.
Getting A Clean Painted Edge
Tape the stencil down so it doesn't shift, then load a foam brush lightly. Too much paint is the main reason stencils bleed and blur. Dab off the excess on a paper towel before you touch the bag.
Pounce the brush up and down instead of dragging it across. That keeps paint from sneaking under the edges of the stencil. Peel the stencil off while the paint is still damp.
If you wait until it dries, the stencil can pull up flakes along the edges. Let the bag dry flat for an hour or so before you fill it.
Finishing Touches That Pull It Together
A stenciled bag already looks intentional, so keep the rest quiet. Fold the top down twice and punch two holes through the layers. Thread a ribbon or a strip of twine through and tie it off.
If you want a little more, add a small tag or a sprig of greenery tucked under the ribbon. Skip the glitter and the extra stickers — the painted design is the moment. One color of paint per bag tends to look cleaner than a rainbow.
Pick a shade that matches the ribbon and stop there.
13. Wallpaper Remnants for a Designer Look
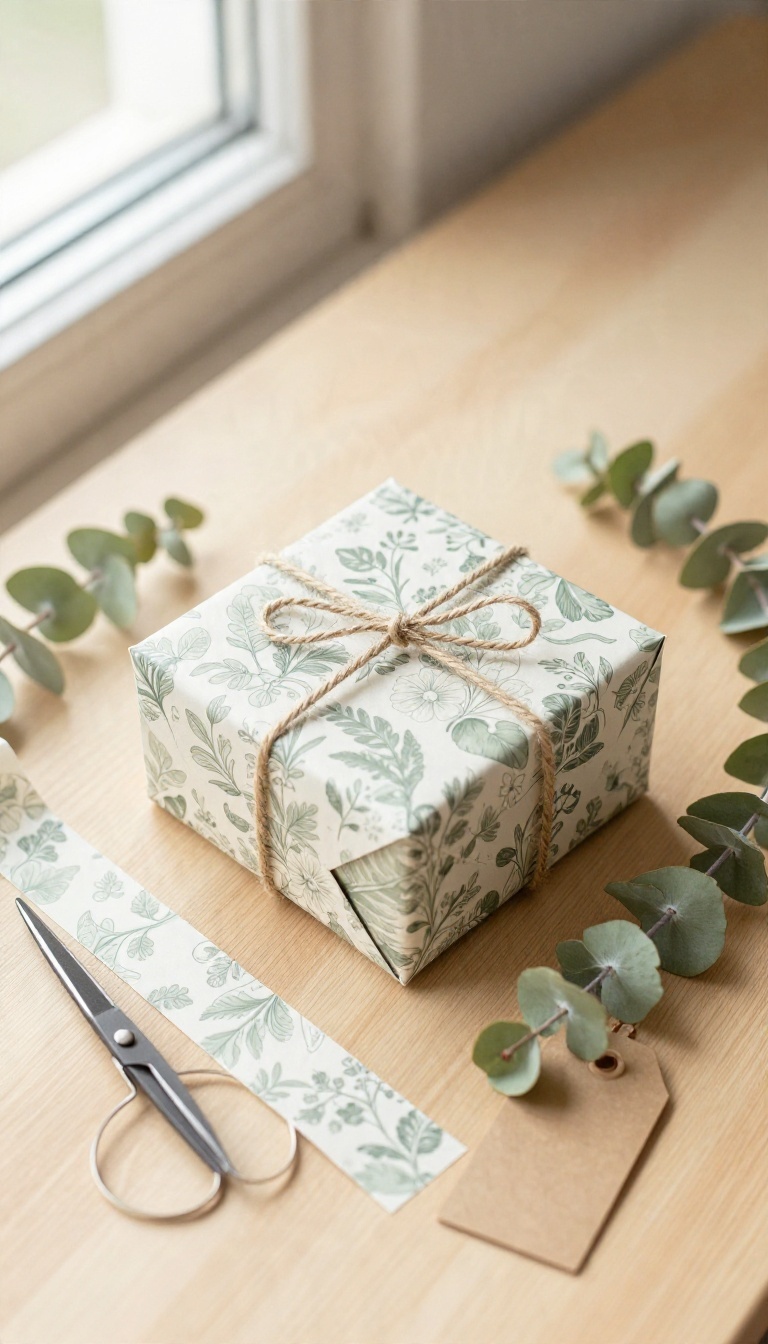
Wallpaper leftovers have a way of piling up in closets and garage corners after a single-room project. Those spare strips and sample books cost you nothing now, and they wrap like a dream. The result looks like you hired someone, which is a fun thing to pull off for free.
The paper itself does most of the work here. Wallpaper is thicker than standard gift wrap, holds a crease cleanly, and comes in patterns you simply can't buy on a roll at the drugstore. A gift wrapped in a leftover strip reads as deliberate, even when the present inside is small and practical.
Just pick your patterns with a little care. The scale of the print matters more than the color, and a busy design can swallow a small box whole.
Pick Patterns That Suit The Size
Small-scale prints work best on most gifts. Tiny florals, dots, thin stripes, and subtle geometrics keep a small box from looking overwhelmed. Save the bold, oversized patterns for larger items like books, frames, or a big box of kitchen gear.
A giant cabbage rose looks great on a shoebox and chaotic on a ring box. If you're wrapping several gifts in the same paper, stick to one pattern family so the pile looks coordinated rather than random.
Where To Find Free Remnants
Paint and wallpaper stores often give away discontinued sample books when they rotate stock. Ask at the counter, and you'll sometimes walk out with a whole book of designer patterns. Friends who just finished a renovation are another goldmine.
A single leftover roll can wrap a dozen small gifts, and most people are happy to hand it off instead of storing it. Check your own stash first. That half-roll from the hallway project might be exactly the pattern you need.
Wrapping With Thicker Paper
Wallpaper doesn't stretch or tear the way thin gift wrap does, so use a little less tension when you fold. Sharp creases hold well, which makes crisp corners easier than you'd expect. Double-sided tape works better than regular tape on the back of the paper, since the thicker stock can peel away from a light adhesive.
Press each seam firmly as you go. Finish with a simple ribbon in a solid color. Let the pattern be the star and keep the trim quiet.
14. Tissue Paper Fringe for a Festive Touch
Tissue paper usually gets stuffed inside a gift bag and forgotten. Give it a promotion instead. Cut it into a fringe, layer a few colors, and you've got a soft, ruffled border that makes a plain box look like it came from a boutique.
The whole thing takes about ten minutes and costs almost nothing, which is exactly the kind of upgrade most of us can get behind.
The appeal here is texture. Flat paper and smooth ribbon look tidy, but fringe adds movement and a little shadow play that catches the eye from across the room. It also hides imperfect wrapping underneath, so if your corners are lumpy, nobody will notice.
You can fringe one band around the middle of a package or cover a whole top panel for a fuller, more dramatic look. Either way, it reads as festive without tipping into fussy. ## Cut a Clean Fringe Stack two or three sheets of tissue paper and fold them in half lengthwise. Starting at the folded edge, cut strips about half an inch apart, stopping roughly an inch before the open edge so the fringe stays attached.
Sharp scissors make a real difference here. Dull blades snag the paper and leave ragged edges that look messy instead of intentional. Take your time, and don't worry if the strips aren't perfectly even.
A little variation actually helps. ## Layer Colors for Depth One color of fringe looks fine, but two or three layered together look much better. Pick a light shade for the bottom layer and a darker one on top, or go with a metallic sheet peeking out from under a solid color. Offset the layers slightly as you stack them so each color shows through.
Then attach the whole piece with double-sided tape along the uncut edge and press it down firmly. ## Place It Where It Counts A band of fringe wrapped around the center of a box is the simplest placement and works on almost any shape. For a bigger statement, cover the entire top of a flat gift so the fringe hangs over the edges like a little skirt. Finish with a simple ribbon tied over the fringe, or skip the ribbon entirely and let the texture do the work.
Either way, keep the rest of the wrapping plain so the fringe stays the star.
Cut A Clean Fringe
Stack two or three sheets of tissue paper and fold them in half lengthwise. Starting at the folded edge, cut strips about half an inch apart, stopping roughly an inch before the open edge so the fringe stays attached. Sharp scissors make a real difference here.
Dull blades snag the paper and leave ragged edges that look messy instead of intentional. Take your time, and don't worry if the strips aren't perfectly even. A little variation actually helps.
Layer Colors For Depth
One color of fringe looks fine, but two or three layered together look much better. Pick a light shade for the bottom layer and a darker one on top, or go with a metallic sheet peeking out from under a solid color. Offset the layers slightly as you stack them so each color shows through.
Then attach the whole piece with double-sided tape along the uncut edge and press it down firmly.
Place It Where It Counts
A band of fringe wrapped around the center of a box is the simplest placement and works on almost any shape. For a bigger statement, cover the entire top of a flat gift so the fringe hangs over the edges like a little skirt. Finish with a simple ribbon tied over the fringe, or skip the ribbon entirely and let the texture do the work.
Either way, keep the rest of the wrapping plain so the fringe stays the star.
15. Photo Print Wrapping for Personal Gifts
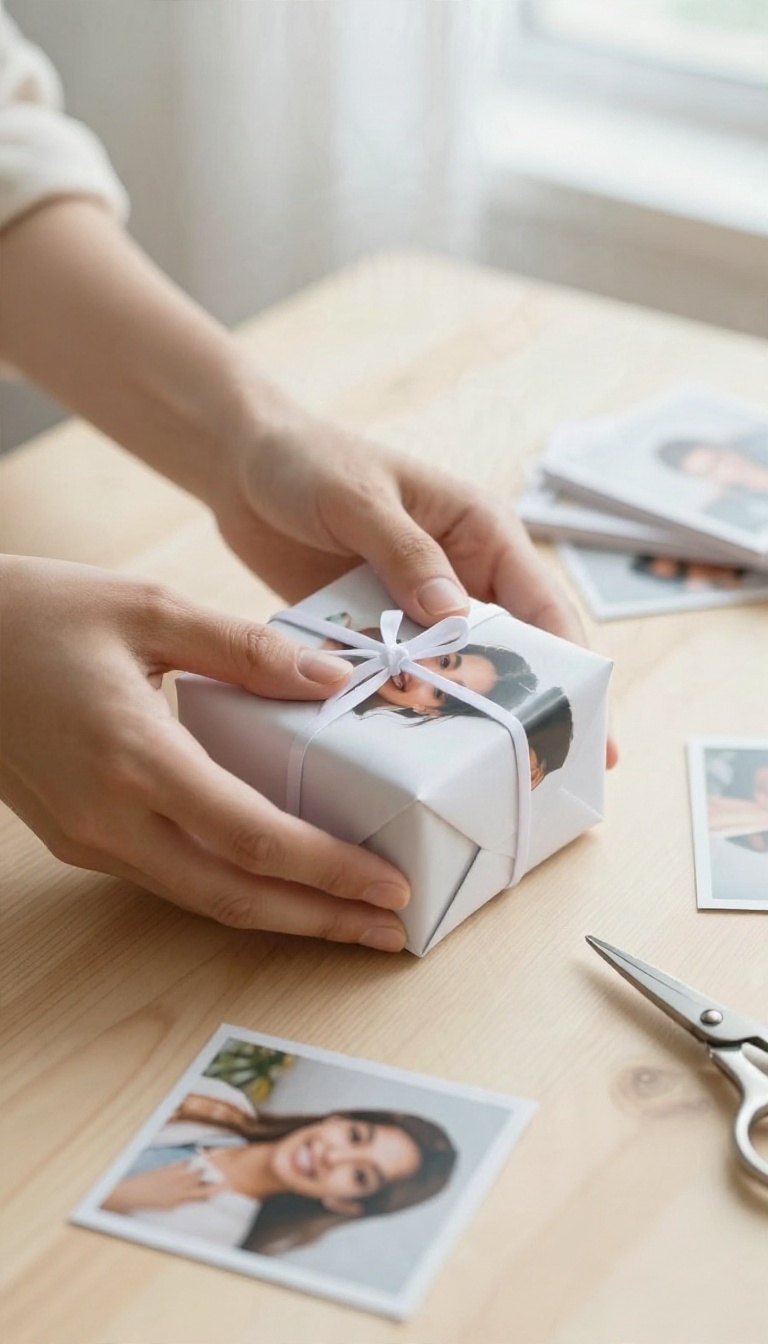
A photo does something no patterned paper can: it turns the wrapping into part of the gift. Print a favorite picture on lightweight paper, wrap the present in it, and watch the recipient pause before they even tear the paper. It works best for family gifts, close friends, and anything tied to a shared memory.
The idea is simple. Pick a photo that means something to the person receiving the gift, print it on thin paper, and use it the way you'd use any other wrapping sheet. The result looks custom without requiring custom skills.
You don't need a professional printer, either. Most home printers handle this fine if you choose the right paper and keep the images simple. A few small choices make the difference between a charming wrap and a smudged mess.
Choosing A Photo That Works
Go for a clear, well-lit shot with a single subject. A candid of the two of you, a vacation snapshot, or a picture of a pet tends to land better than a busy group photo where faces get lost in the folds. Crop tight so the main subject survives being wrapped around corners.
If the photo is mostly background, the paper just looks like noise once it's creased. Print a test copy first and fold it to see what actually shows.
Paper And Printer Basics
Lightweight matte paper prints cleanly and folds without cracking. Standard copy paper works in a pinch, though slightly thinner paper wraps more smoothly around odd shapes. Avoid glossy stock, since it smudges and fights every crease.
Let the ink dry completely before you start folding, especially on inkjet prints. Give it ten or fifteen minutes, or hit it briefly with a hairdryer on low. Nothing ruins the effect faster than a thumbprint across someone's face.
Making It Look Finished
Tie it off with a plain ribbon or a piece of twine so the photo stays the star. A simple band of solid color gives the eye somewhere to rest and keeps the wrap from feeling busy. For a nice extra, print a small duplicate of the photo and tuck it under the ribbon as a tag.
Write the date or a short note on the back. That little detail turns the wrapping into a keepsake instead of something headed for the trash.
FAQ
What's the cheapest way to make wrapping paper look expensive?
Use kraft paper or plain paper bags and add a wide ribbon or a handmade tag. The contrast between simple paper and a nice ribbon does most of the work.
Can I use fabric instead of wrapping paper?
Yes, fabric scraps or scarves work great and double as part of the gift. Secure them with a knot or a pin instead of tape.
How do I wrap odd-shaped gifts without them looking messy?
Use a paper bag or a fabric wrap that can mold to the shape. Tissue paper inside helps fill gaps and keeps corners sharp.
What kind of paper works best for stamping or drawing on?
Matte kraft paper or plain white butcher paper absorbs ink well and doesn't smudge. Avoid glossy paper for hand-drawn designs.
Are these wrapping ideas eco-friendly?
Many are, like newspaper, fabric, and recycled magazine pages. You can also reuse paper bags and ribbons to cut down on waste.
Conclusion
You don't need a craft room or a big budget to make a gift feel special. Pick one or two ideas that match the person and the present, then give yourself a little extra time to wrap. A simple kraft roll with a sprig of greenery often beats an elaborate setup anyway.
Start with what you already have, add one small touch, and stop there. The wrapping is just the first hello. Make it warm, make it a little playful, and let the gift do the rest.