9 Christmas Keepsake Crafts for Kids to Treasure Forever
Kids grow out of a lot of things fast, but a handmade ornament tends to stick around. The trick is picking projects that survive the season without costing a fortune or eating your whole weekend.
Most of these crafts use supplies you probably already have, or can grab for a few dollars. A couple need a little drying time, so plan around a movie or a nap.
Below are nine keepsake ideas that hold up over the years. Each one comes with a quick rundown of what you need and how to keep it from turning into a mess.
1. Salt Dough Handprint Ornaments
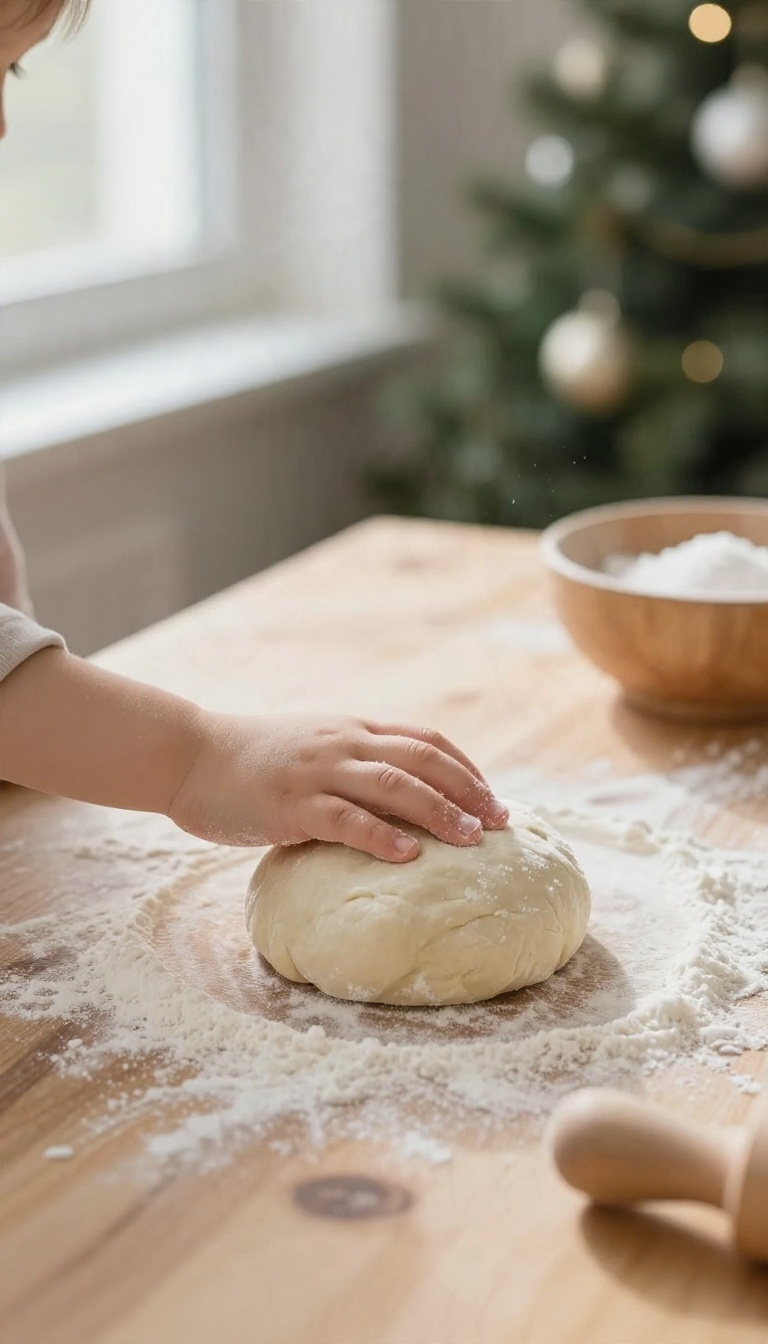
Salt dough is the handprint craft that keeps showing up on trees decades later, and there's a good reason for that. Three pantry ingredients, one small hand, and an afternoon of drying time get you an ornament that actually holds its shape. It's cheap, forgiving, and easy enough that a toddler can help without derailing the whole thing.
The real secret isn't the dough, though. It's how you press, dry, and seal it. Get those steps right and a wiggly handprint from this Christmas will still look sharp when that kid is packing for college.
Start with the dough itself, because the ratio matters more than people expect. Then work on the pressing and drying, which is where most first attempts go sideways. Finish with dating and sealing so the whole thing survives the attic.
A quick heads-up before you start: this is a two-day project, not a two-hour one. Mix and press on day one, paint and seal on day two. Plan accordingly and nobody ends up frustrated.
The Dough Ratio That Actually Works
The standard mix is one cup of flour to half a cup of salt, with about half a cup of water added slowly. That's a 2: 1 flour-to-salt ratio, and it's the one worth memorizing. Too much salt and the dough cracks as it dries.
Too little and it stays soft and never firms up properly. Add the water a splash at a time and stop when the dough pulls together into a smooth ball. If it's sticky, work in a little more flour.
If it crumbles, add water by the teaspoon. Knead it for a minute or two until it feels like soft playdough. One tip that saves a lot of grief: mix in a tablespoon of cinnamon or a few drops of essential oil if you want a nicer smell.
It won't change how the dough behaves, but it makes the craft feel a little more special.
Pressing A Clean Handprint
Roll the dough out to about a quarter inch thick, maybe a touch more. Thinner than that and the ornament gets brittle and snaps in storage. Thicker and it takes forever to dry and tends to crack in the middle.
Press your child's hand down firmly and evenly, holding for a few seconds. Lift straight up so you don't smear the edges. If the print comes out messy, just re-roll the dough and try again.
That's the beauty of salt dough. Use a straw to poke a hole near the top for the ribbon, and make sure it's at least half an inch from the edge. If you want to keep the ornament round, cut around the handprint with a cookie cutter or a knife before it dries.
Small fingers can also add a second, lighter print if there's room.
Drying It Without Cracks
You can air-dry the ornaments on a wire rack for two to three days, flipping them once a day. Or bake them low and slow at 200°F for about two to three hours, checking every 30 minutes. Baking is faster but less forgiving, so keep an eye out for browning.
Either way, don't rush it. If the dough dries unevenly, it curls or splits right through the handprint. A wire rack underneath helps air reach the bottom, which cuts down on that problem a lot.
Once they're bone dry, they'll feel light and hard to the touch. That's your signal to move on to painting.
Painting, Dating, And Sealing For The Long Haul
Acrylic paint works best because it covers well and dries fast. Paint the handprint a contrasting color so it stands out, and let each coat dry fully. Write the child's name and the year on the back with a fine-tip permanent marker, or paint it on for something more permanent.
Sealing is the step most people skip, and it's the one that matters most. A coat or two of clear acrylic spray or a brush-on matte sealer keeps moisture out and stops the dough from crumbling over time. Spray outside or in a well-ventilated spot and let it cure overnight.
Thread a ribbon through the hole and hang it up. Done right, that lumpy little handprint will still be on the tree when the hand that made it is big enough to reach the top branches.
2. Clay Thumbprint Reindeer
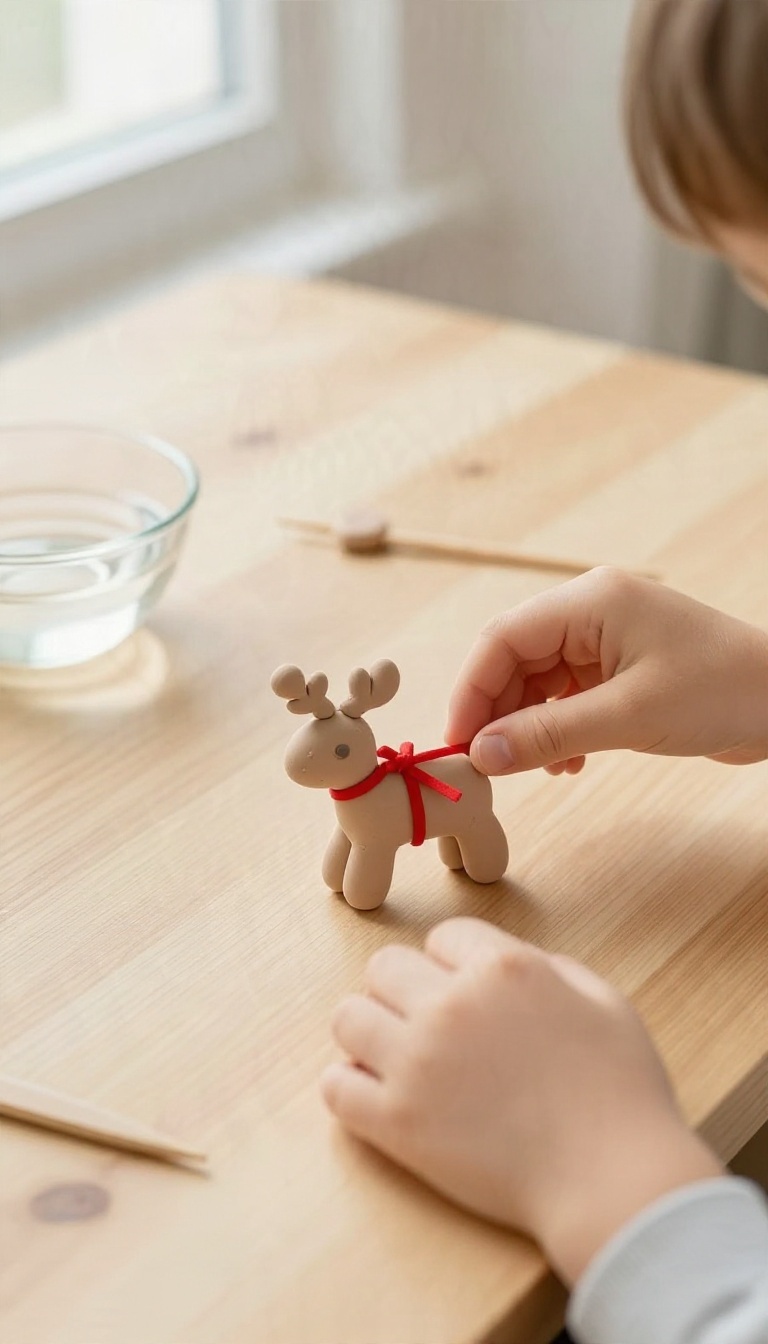
A reindeer made from clay sounds fancy until you realize it's basically three balls, one thumb press, and a ribbon. Kids can shape the body, head, and legs in minutes, then stamp their own thumb into the antlers for a print that's theirs alone. Air-dry clay keeps the project simple since there's no kiln or oven involved.
You just shape, stamp, and let it sit. The finished piece is light enough to hang on a branch without dragging it down.
The charm here is the imperfection. A slightly lopsided head or a thumbprint that's a little off-center is exactly what makes it a keepsake rather than a store-bought ornament. Give kids the basic shape and let them run with the details.
You'll need air-dry clay, a small bowl of water, a toothpick or skewer for the ribbon hole, and a thin ribbon. A little acrylic paint and a fine brush are optional if you want to add eyes or a red nose later.
Which Clay Holds A Print Best
Not all air-dry clay behaves the same, and the difference matters when you're relying on a thumbprint to show up. A soft, smooth clay like a lightweight modeling or polymer-style air-dry clay takes a clean print and holds the ridges well. Firmer or heavily textured clay can blur the print or spring back and fill in the lines.
Test a small pinch first. Press your thumb in and see if the ridges stay sharp. If they fade, the clay is too stiff, so work in a drop of water and knead it until it softens.
Drying Without Cracks
Cracks usually come from drying too fast, not from bad clay. Thick pieces dry unevenly, so keep the reindeer on the thinner side, roughly a quarter inch for the body and head. Set it on parchment or a plastic sheet in a cool, shaded spot and skip the radiator, sunny windowsill, or oven.
Flip it gently after a day so the bottom can breathe. Small hairline cracks can be smoothed with a damp fingertip before it fully sets.
Adding The Ribbon Loop
Poke the hole before the clay dries, while it's still soft. Use a toothpick or skewer and push it through the top of the head or between the antlers, then wiggle it slightly to widen the opening. Make the hole a touch bigger than you think you need, since clay shrinks as it dries.
Once it's fully dry, thread a thin ribbon through and tie a loop. A dab of glue on the knot keeps it from slipping.
3. Painted Wooden Spoon Angels
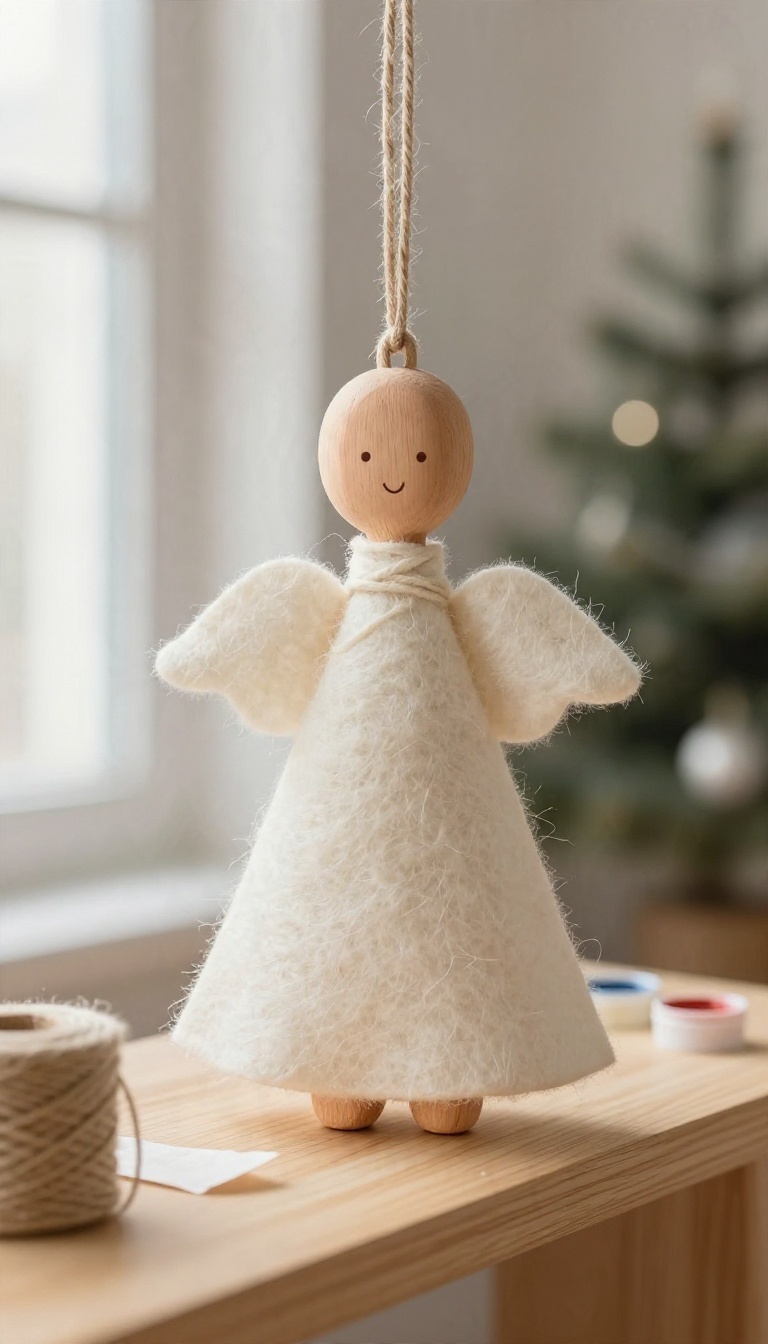
Wooden spoons are one of those kitchen drawer staples you can buy in a pack for almost nothing, which makes them perfect for a craft you're not sure will work. Paint them up and they turn into sweet little angels with round heads and simple gowns. The shape does most of the work for you.
The bowl becomes the head, the handle becomes the body, and a scrap of fabric covers the middle. Kids can handle the painting, and you can step in for the fiddly parts. These hang nicely on a tree, but they also stand up on a shelf if you give them a little base.
Either way, you end up with something that looks handmade in the best sense.
Start with plain wooden spoons, the kind sold in multipacks at the grocery or dollar store. Skip anything with a glossy finish, since paint won't stick well to it. Give each kid a spoon and let them pick a skin tone or a fun color for the head.
Once that dries, they can add a simple face with a fine brush or a marker. The gown is where the fabric scraps come in. A small triangle or half-circle of felt, cotton, or even an old T-shirt works fine.
Glue it around the handle just below the bowl so it flares out like a dress.
A Paint Order That Actually Works
Paint the head first and let it dry completely before anything else. Wet paint plus small hands equals smudges, so give it ten or fifteen minutes. Next, paint the gown area on the handle, or leave it bare if fabric will cover it.
A base coat of white or cream helps brighter colors show up on the wood. Save the face for last. Tiny dots for eyes and a small curved mouth are enough.
A fine-tip brush or a regular marker keeps it from turning into a blob.
Gluing Without The Mess
Tacky glue or a low-temp hot glue gun holds fabric to wood best. Tacky glue is safer for little kids, but it needs a few hours to set, so plan a drying break. Put a thin line of glue around the handle, press the fabric on, and pinch it for a few seconds.
Less glue means less seep-through and a cleaner look. For the halo, bend a small piece of gold pipe cleaner or wire into a circle and glue it behind the head. A dab is plenty.
Hanging And Displaying Them
A loop of ribbon or twine glued to the back of the head makes an easy ornament hanger. Test the balance before the glue dries so the angel doesn't hang sideways. If you'd rather stand them up, glue the handle into a small wooden block or a bottle cap.
A little paint on the base ties it together. Write the child's name and the year on the back with a permanent marker. That small detail is what turns a spoon into a keepsake years down the line.
4. Handprint Canvas Wall Art
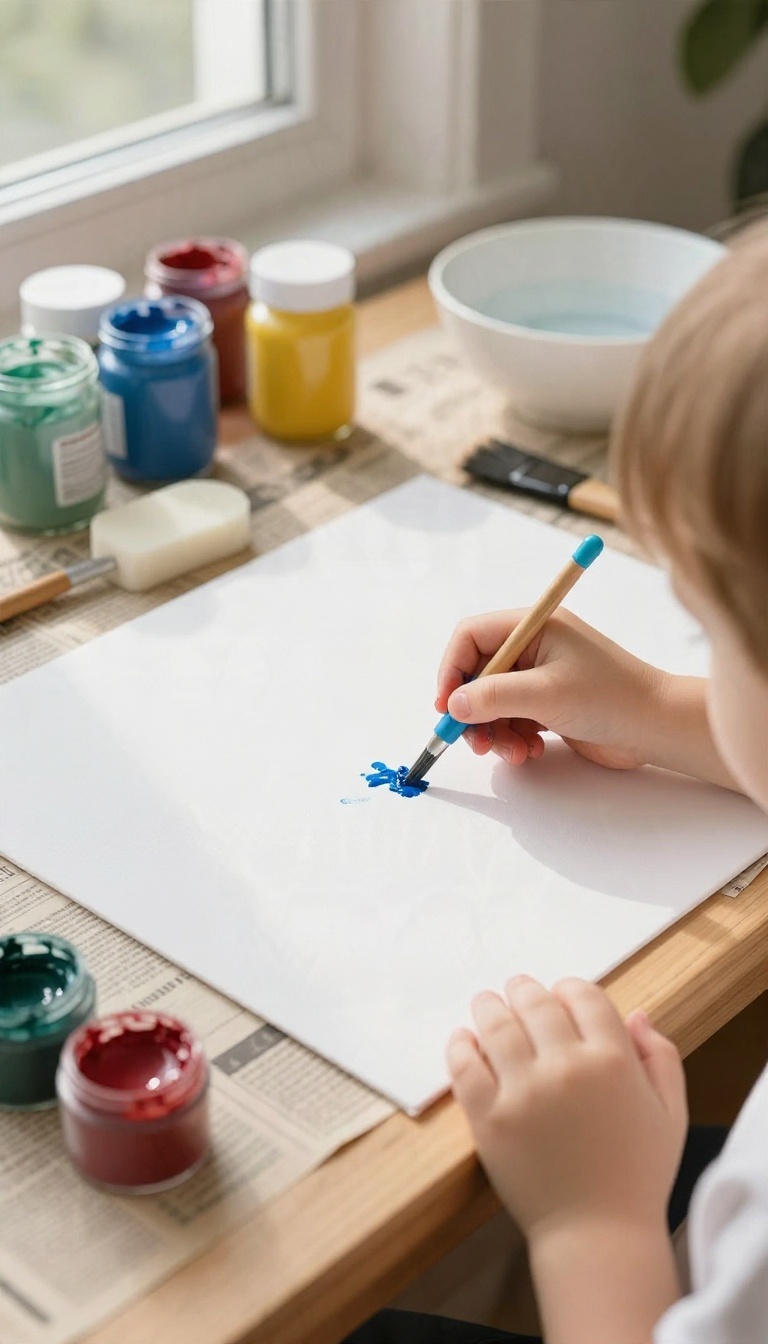
A handprint on canvas turns a fleeting size into something you can hang on the wall. You can make one every Christmas and watch the hand grow, or do a single canvas with a layered rainbow of prints from different years. Either way, it's a project that takes an afternoon and leaves you with a piece that feels like a mini time capsule.
The basic idea is simple: paint your child's hand, press it onto a canvas, and add the year. But a few small choices make the difference between a keepsake and a smudged mess. Start with a canvas size that fits your wall—8×10 or 11×14 works for a single print, while a larger canvas gives you room for multiple years.
Choose acrylic paint because it's washable from skin (with soap and water) and dries permanently on canvas. Set up a workspace with newspaper or a drop cloth, and keep wipes handy for quick cleanups.
Paint That Washes Off Small Hands
Not all paint is created equal when it comes to kid-friendly cleanup. Look for water-based acrylics labeled non-toxic and washable. Avoid anything that says 'permanent' or 'fabric' unless you want stained fingers for days.
Before you commit to the canvas, do a test print on paper to check the consistency—if the paint is too thick, it'll glop; too thin, it'll bleed. A thin, even coat with a foam brush works best. Keep a bowl of warm soapy water nearby and wash hands immediately after pressing to avoid paint drying in creases.
Layering Prints Without The Mess
If you're doing a multi-year canvas, plan the layout first. Lightly pencil in where each handprint will go, leaving space for the year. Start with the current year at the bottom and work upward, or arrange prints in a circle for a wreath effect.
Let each layer dry completely before adding the next—acrylic dries to the touch in about 20 minutes, but wait an hour to be safe. Use a different color for each year to make the growth obvious. To avoid smudging, press the hand straight down and lift straight up; no wiggling.
Sealing The Canvas For The Long Haul
Once the paint is dry, seal the canvas to protect it from dust and fading. A clear acrylic sealer spray works well—apply two light coats in a well-ventilated area, following the can's instructions. If you prefer a brush-on option, use a water-based varnish.
Avoid oil-based sealers, which can yellow over time. Let the sealer cure for 24 hours before hanging. Add a sawtooth hanger or wire to the back, and write the date on the back of the canvas with a permanent marker for future reference.
5. Photo and Fingerprint Snow Globe Cards
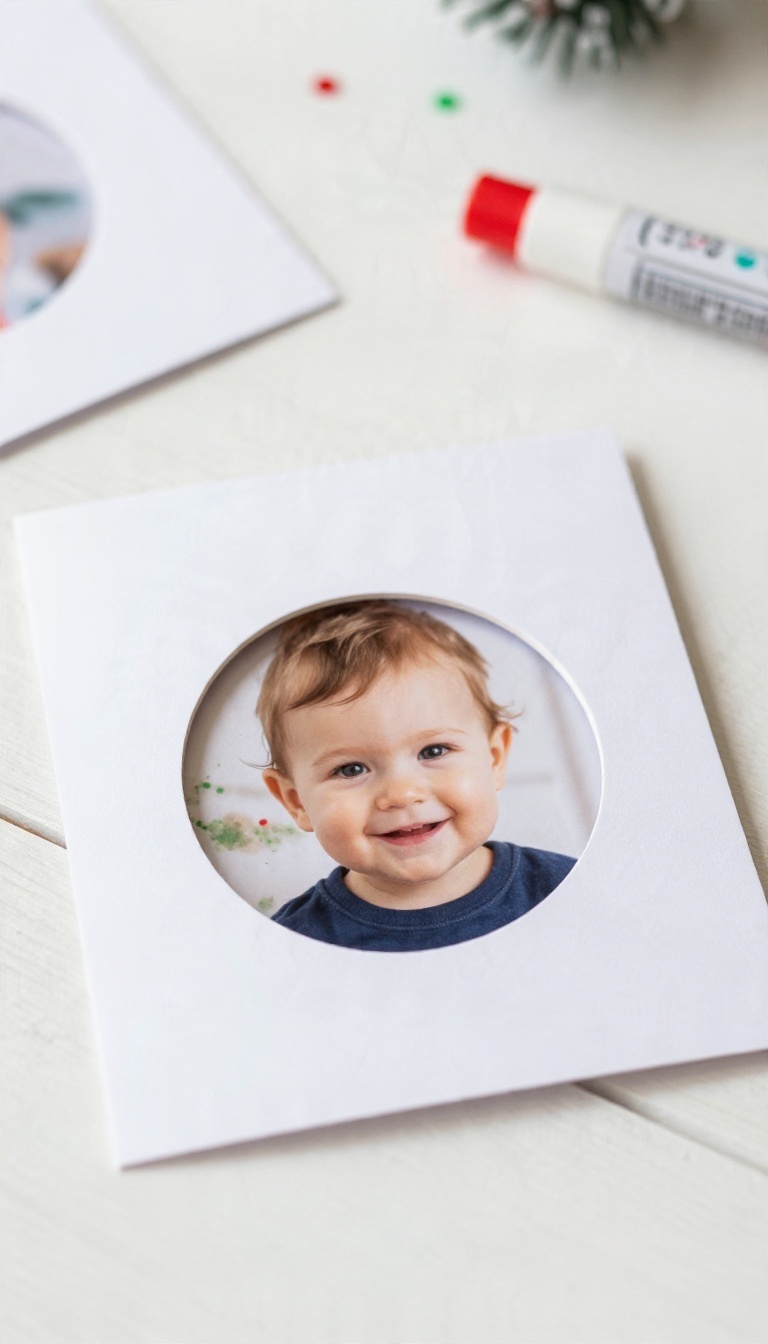
Grandparents have a drawer full of store-bought cards, but a snow globe card with a tiny face inside tends to stay on the fridge until spring. The idea is simple: a photo of your kid sits behind a clear window, and their fingerprints become the falling snow. It takes about twenty minutes per card once you have the pieces ready, and the results look like something from a boutique.
Start with a piece of white cardstock cut to 5×7 inches, which fits a standard envelope and leaves room for a border. Print the photo at 2×2 inches so it fits inside a 3-inch circle without cropping anyone's head off. Use a glue stick to attach the photo to the center of the card, then build the snow globe around it.
Getting The Photo Size Right
Print on matte photo paper rather than glossy, because matte takes ink and glue without smudging. A 2×2 inch square is the sweet spot for a 5×7 card, but you can go up to 2. 5 inches if you want the face to be the star.
Crop tight to the shoulders so the background doesn't compete with the snow globe shape.
Ink That Stays Put
Washable ink pads are tempting, but they smear the moment a card gets handled. Use pigment ink or a permanent stamp pad for the fingerprints, and press firmly but quickly. If you're worried about smudges, test on a scrap piece of cardstock first.
A light touch gives you a delicate snowflake; a heavy one gives you a blob.
The Laminating Trick
Run the finished card through a laminator with a self-adhesive laminating pouch, then cut around the edges leaving a thin border. This seals the fingerprints and photo so they won't fade or flake. If you don't have a laminator, clear contact paper works just as well.
Press it down slowly from one edge to avoid bubbles.
6. Felt Christmas Tree Countdown
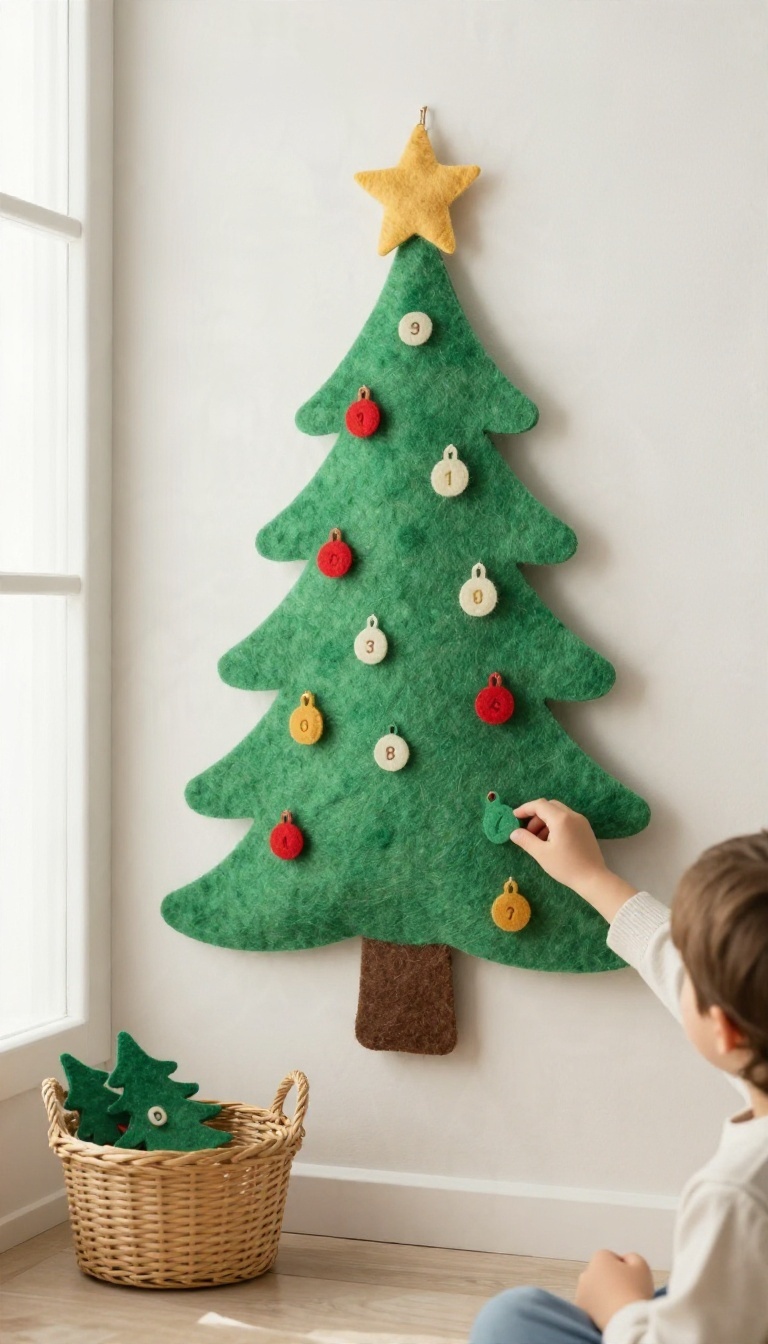
December has a way of dragging for small kids, and asking "how many days left? " forty times a morning gets old fast. A felt Christmas tree countdown gives them something to do about it.
Hang a fabric tree on the wall, attach numbered ornaments, and let them move one piece each day until the big one arrives. It doubles as decor and a quiet activity, which is a nice bonus on rainy afternoons. The whole thing packs flat and comes back out next year, so it earns its storage space.
Best of all, kids can help make it, which makes the countdown feel like theirs.
The setup is simple. Cut a tree shape from green felt, stick it to a wall or a door, and give it a set of ornaments numbered 1 through 24. Each morning, a kid pulls off the day's ornament and tucks it into a little pocket or basket at the base of the tree.
By Christmas Eve, the tree is bare and the basket is full, which is a satisfying visual for anyone counting down. You can flip the numbers so ornaments go on instead of off, depending on what your kid finds more fun. Felt is forgiving, cheap, and doesn't fray much, so it's a good match for little hands.
A yard or two covers the tree, and scraps handle the ornaments.
No-sew Options That Actually Hold
Not everyone wants to thread a needle in December, and you don't have to. Fabric glue works well for the tree itself, especially if you let it cure overnight under a heavy book. For ornaments, peel-and-stick felt sheets are the easiest route.
Cut your shapes, peel the backing, and press two layers together so the ornament has some body. If you want a little more durability, iron-on fusible web is your friend. It bonds felt to felt in seconds and holds up to a season of daily grabbing.
Just keep the iron away from any plastic hooks.
Hook-and-loop Backing For Daily Use
Regular felt sticks to felt okay at first, but daily handling wears it out. A strip of hook-and-loop tape on the back of each ornament fixes that. Stick the soft loop side to the ornament and the grippy hook side to the tree, or use adhesive dots if you want to skip cutting strips.
The ornaments stay put but still pull off easily. Test one ornament before you commit to all 24. Some adhesive dots need a day to set, and a quick tug test saves you from finding ornaments on the floor every morning.
Let The Kids Cut The Shapes
Older kids can handle scissors on felt, and the imperfect shapes end up being the charm. Draw simple outlines first: circles, stars, candy canes, little stockings. Younger kids can help by sorting colors, peeling backing, or pressing ornaments together.
Give them a job that matters and they stay invested in the countdown. Skip the perfectionism. A lopsided star still counts as a star, and in ten years nobody will wish it had been rounder.
7. Popsicle Stick Photo Frames
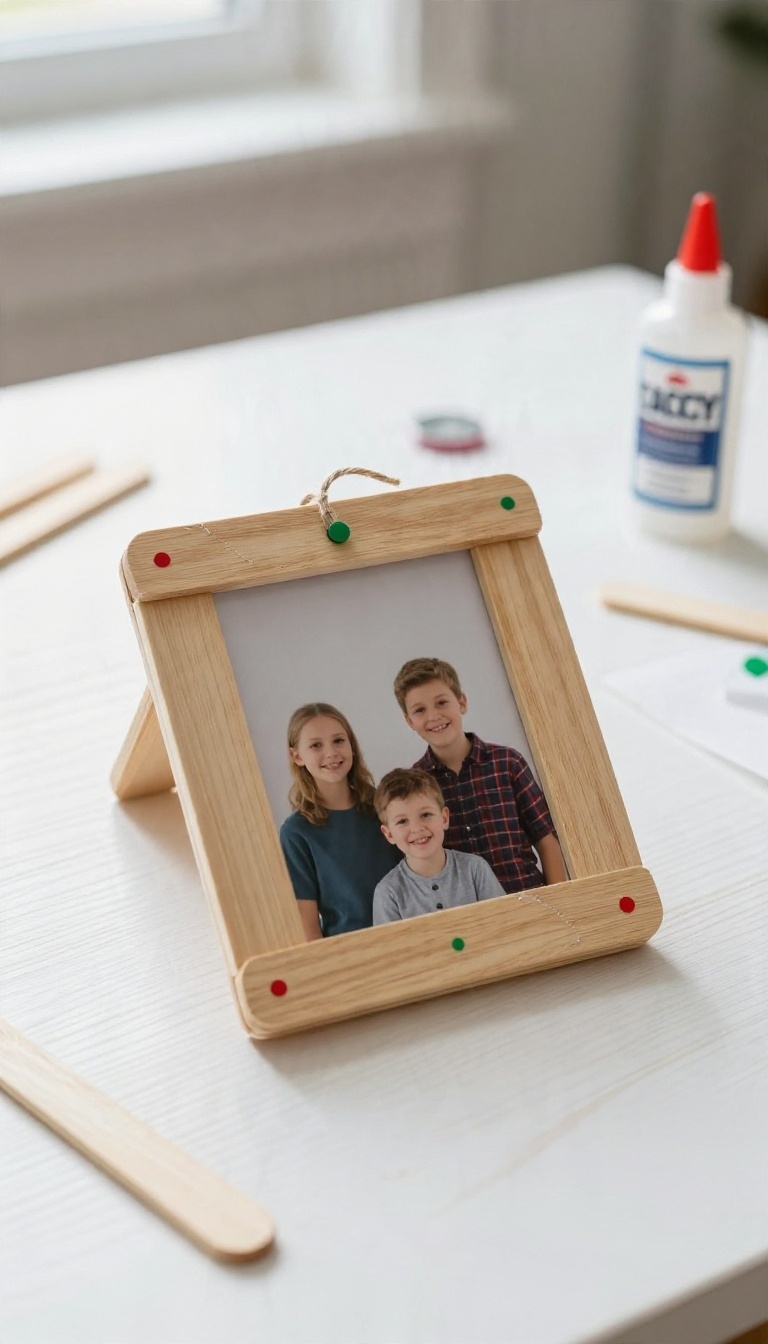
A popsicle stick frame costs almost nothing and gives a small photo a place of honor. Kids can build the whole thing themselves, which makes it a good pick for a mixed-age group. The one catch is glue, since a flimsy frame falls apart the moment someone picks it up.
Get the glue right and the rest is decorating. Set it up so the frame dries flat and you'll avoid the lopsided, warped look that turns a keepsake into clutter. A magnet or a loop of string at the end decides whether it lives on the fridge or the tree.
Start with a stack of jumbo craft sticks, the wide ones, because standard skinny sticks make a frame too small for most printed photos. You want four sticks per frame, plus a couple extra for the back if you're adding a stand or a magnet. A 3×4 or 4×6 print trimmed down fits nicely in the window.
Have the kids lay the four sticks out in a square first before any glue touches them. That dry run saves a lot of crooked corners.
Glue That Actually Holds
White school glue works, but it needs a full day to cure and it stays a little flexible. For a frame kids will handle, a tacky craft glue or a low-temp hot glue gun gives a much stronger bond in seconds. If you're using hot glue, an adult should handle the gun while kids place the sticks.
Wood glue is another solid option, though it needs clamping or weighting while it dries. Skip glue sticks entirely here, since they peel right off wood.
Drying Flat And Square
Lay the glued frame on a sheet of wax paper on a flat surface, then set something light on top, like a book or a cutting board. This keeps the corners from curling up as the glue sets. Check the square with your eyes before it dries, nudging corners until the window looks even.
Give it at least a few hours, or overnight if you used white glue. Rushing this step is what makes frames warp.
Adding The Photo
Trim the print so it overlaps the back of the frame by about a quarter inch on each side. Tape it to the back with double-sided tape or a couple of glue dots, which hold better than liquid glue on photo paper. Let kids decorate the front with markers, stickers, or a coat of paint first, then add the photo once everything's dry.
Writing the year on the back turns it into a dated keepsake.
Magnet Or String Finish
For a fridge frame, glue a strip magnet or a couple of small round magnets to the back and let them set. For hanging, tape a loop of ribbon or twine to the top back corner before the photo goes on. A small sawtooth hanger works if you want it on a wall.
Test the hold with a gentle tug before handing it over, especially if a grandparent is the recipient.
8. Cinnamon Applesauce Ornaments
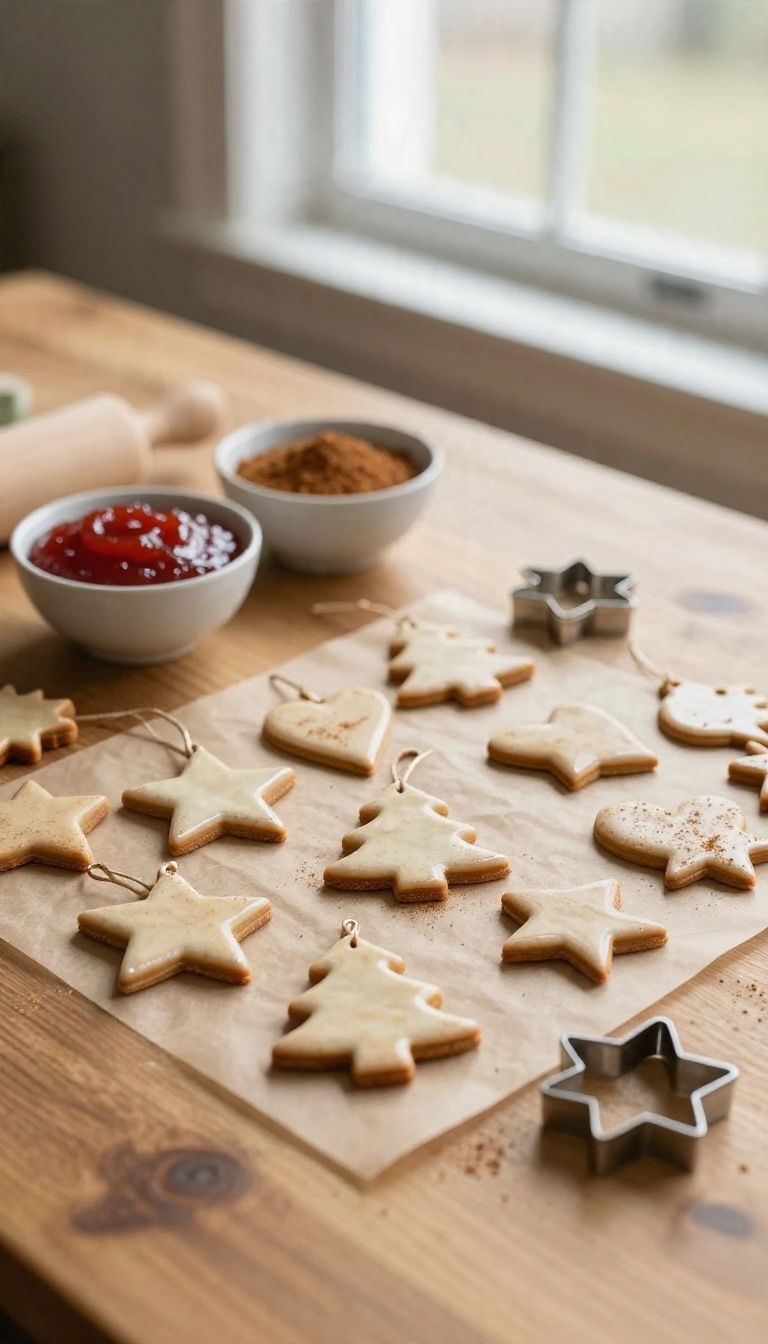
Cinnamon applesauce ornaments might be the easiest homemade keepsake on this list. You need two ingredients, a bowl, and a rolling pin. The dough comes together in minutes, and the finished ornaments smell like a spice shop for years.
They also dry rock hard, so they hold up to handling and storage better than most kid-made crafts.
The magic is in the ratio. Use equal parts cinnamon and applesauce by weight, not volume. A kitchen scale makes this foolproof, but you can also start with one cup of applesauce and add cinnamon until the dough pulls away from the bowl.
It should feel like stiff cookie dough, not sticky paste. If it's too wet, add more cinnamon a tablespoon at a time. If it's crumbly, add applesauce a teaspoon at a time.
Getting The Dough Right
Kids can absolutely help mix, but you'll want to knead the final dough yourself until it's smooth. A good test: pinch off a small piece and roll it into a ball. If it holds without cracking, you're set.
Let the dough rest for 15 minutes before rolling. This gives the cinnamon time to absorb the applesauce and makes rolling much easier.
Rolling And Cutting
Roll the dough between two sheets of parchment paper to about 1/4 inch thick. That's the sweet spot: thick enough to stay sturdy, thin enough to dry all the way through. Use cookie cutters to stamp out shapes, and don't forget the hole for hanging.
A straw makes a perfect hole, but poke it before you move the ornament to the drying rack. Re-roll scraps as needed, but if the dough starts to dry out, knead in a drop of water.
Drying Them Slow And Steady
Patience is the secret here. Place the ornaments on a wire rack and let them air-dry for 3 to 5 days, flipping them once a day. A food dehydrator on the lowest setting can speed things up, but the oven is risky because even low heat can cause cracking.
You'll know they're done when they feel light and sound hollow when tapped. Rushing the drying process leads to crumbly ornaments that won't last.
Storing Without Crumbling
Once fully dry, these ornaments are surprisingly tough, but they can still break if tossed in a box with heavy decorations. Wrap each one in a piece of tissue paper or a small paper bag, and store them in a rigid container. Avoid damp basements or attics with big temperature swings.
If you want to refresh the scent, add a few drops of cinnamon oil to a cotton ball and tuck it in the storage box.
9. Kids' Recipe and Letter Time Capsule
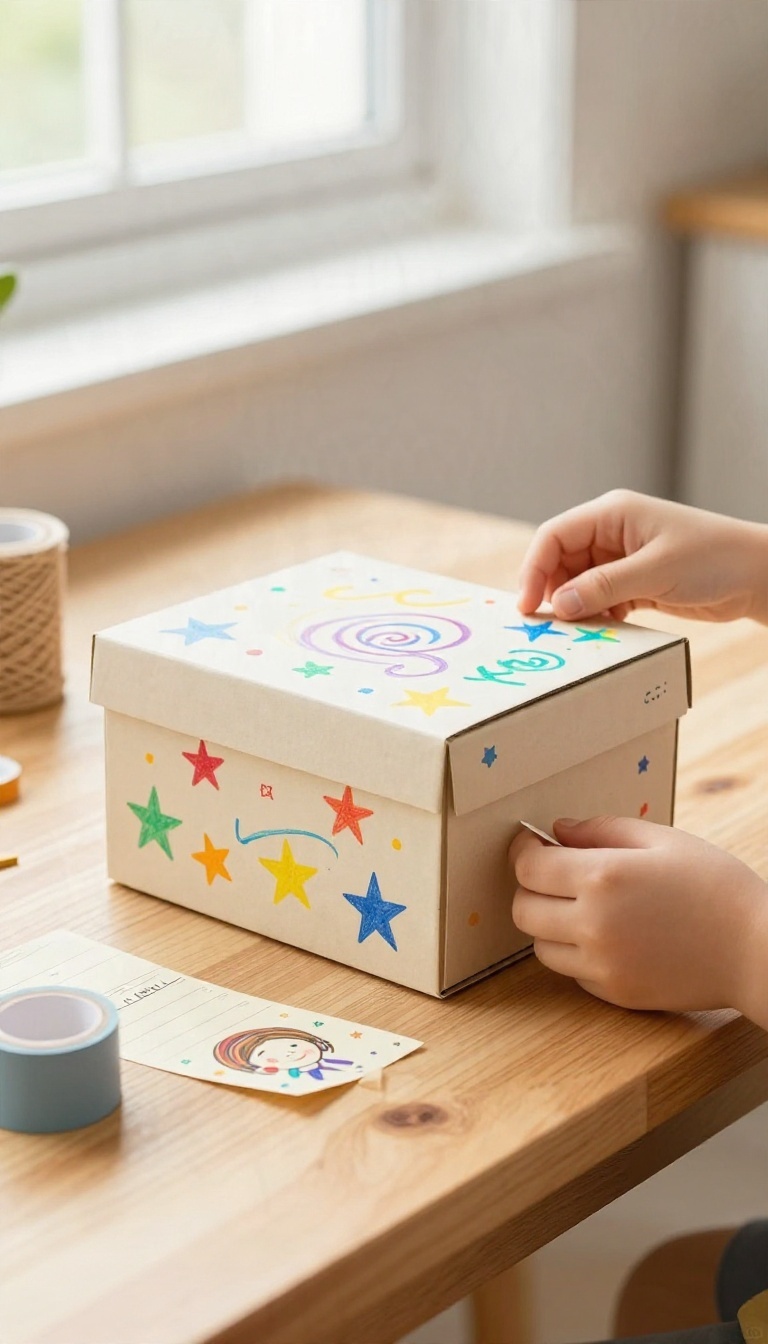
A time capsule gives kids a way to talk to their future selves. This one holds a handwritten letter, a favorite recipe, and a small drawing, all tucked into a decorated box. You seal it, store it, and open it in a future year.
It's part craft, part family history, and it costs almost nothing.
The best time capsules are the ones with a clear opening date. Pick a year that feels far enough away to be exciting but close enough to remember. Five years works well for young kids; ten is better for older ones.
Write the date on the box so nobody peeks early.
What To Put Inside
Start with a letter. Have your child write to their future self about what they love right now, who their friends are, and what they hope will be different. Keep it short and honest.
A favorite recipe comes next. It could be a family dish, a holiday cookie, or even a silly snack they invented. Copy it onto a recipe card and add a note about why it matters.
Then add a small drawing. A self-portrait, a pet, or the view from their bedroom window all work. Fold everything neatly and place it in the box.
Sealing It Shut
Use a sturdy box with a lid. A shoebox or a wooden craft box works fine. Let your child decorate the outside with markers, stickers, or paint.
Write the opening date in big letters on the top. Before you seal it, take a photo of the contents so you remember what's inside. Then close the lid and wrap tape around the edges.
For extra security, tie it with string and add a wax seal or a sticker. The point is to make it feel official.
Where To Store It
Pick a spot that's dry and out of the way. A closet shelf, the top of a bookcase, or a storage bin in the basement all work. Avoid attics and garages where temperature swings can damage paper.
Label the box clearly and tell one other adult where it is. Set a reminder on your phone for the opening date. When the day comes, open it together and read the letter out loud.
It's a small moment, but it sticks.
FAQ
What age range are these crafts best for?
Most work well from about age three with help, and kids six and up can handle more of the steps alone. Adjust by doing the cutting, gluing, or baking yourself and letting them handle the fun parts.
How much do these projects usually cost?
Most run under ten dollars per kid if you use what's already in the craft bin. Flour, salt, and applesauce are the cheapest bases, and paint and ribbon go a long way.
How do I keep keepsakes from falling apart over the years?
Seal anything dough-based with a clear coat, write the name and year on the back, and store pieces in a dry box away from heat. Photos and paper crafts do best out of direct sun.
Can we make these as gifts for grandparents?
Absolutely. Ornaments, spoon angels, and photo frames all make easy gifts. Make a couple extra while supplies are out so you're not redoing the whole setup later.
What if my kid hates getting their hands messy?
Skip the handprint projects and lean on the spoon angels, photo frames, or countdown tree. Brushes, stickers, and glue sticks give the same keepsake payoff without the cleanup.
Conclusion
Nine crafts is plenty to work with, so pick one that matches the supplies you already own and the age of the kid doing the gluing. A salt dough handprint or a wobbly felt tree still earns a spot on the shelf years from now, even if it looks a little rough today. Don't wait for a free weekend that never comes.
Set aside an afternoon, put down a towel, and let the kids run the show. Date the back of whatever they make, and you'll thank yourself later. The mess cleans up—the keepsake stays.