How to Make a Bag Out of Wrapping Paper: 9 Easy Ideas
A homemade wrapping paper bag costs almost nothing and looks like you tried harder than you did. Grab a roll, some tape, and scissors, and you can fold a gift bag in about five minutes flat.
The paper you already have leftover from birthdays and holidays works fine here. Most of these ideas need no sewing, no special tools, and no trip to the craft store.
Below are nine ways to make one, from a plain gift bag to a sturdier tote that actually holds weight. Pick the one that matches what you're wrapping and how much time you've got.
1. The Classic Gift Bag
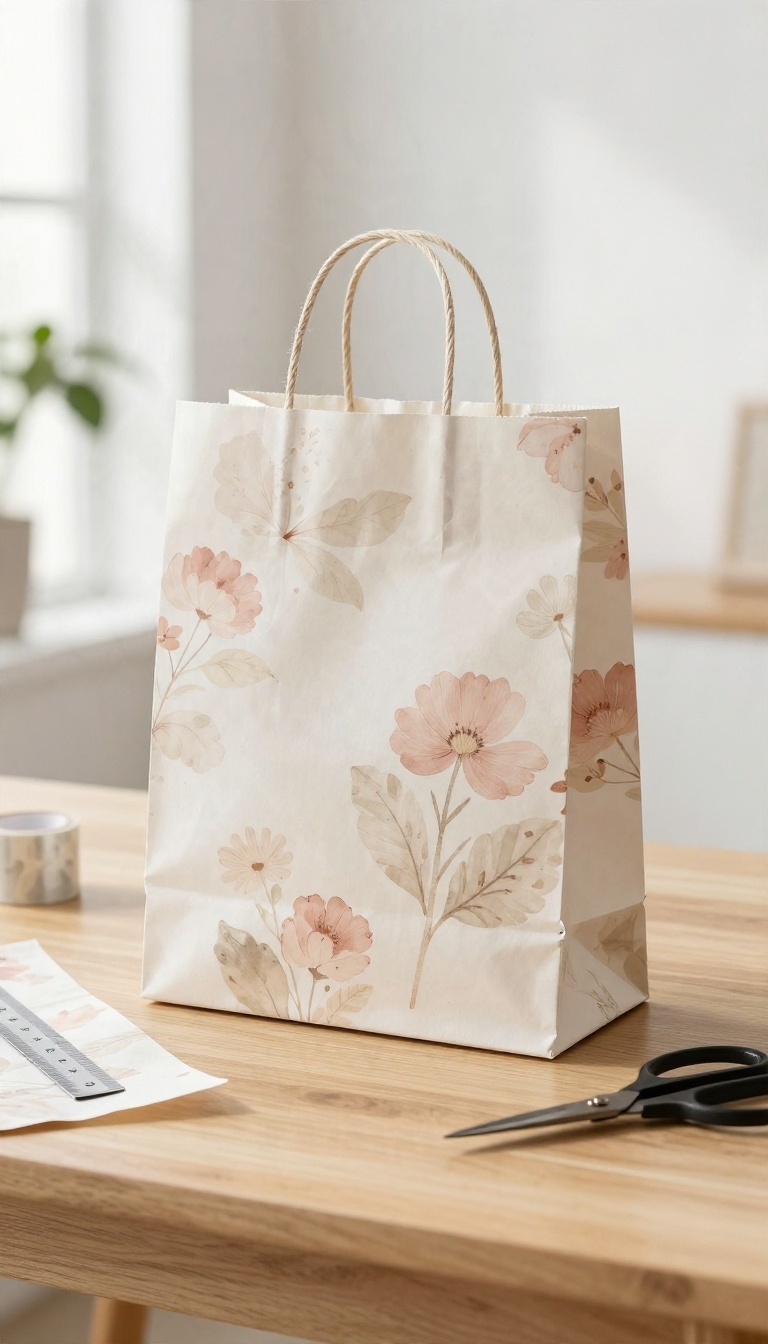
Start with the plain fold-and-tape bag. It has a flat bottom that lets it stand on its own and a folded top edge that hides the raw paper and gives the handles something solid to grip. It handles small, light presents best, and it's the version to learn on before you try anything fancier.
The whole thing comes down to three folds: the side seams, the bottom flaps, and the top hem. Get those right and you've got a bag that looks store-bought. Get them crooked and it still works, just with a little more character.
Work on a flat surface and keep your creases sharp. A ruler or the edge of a book helps press them down. Once the folds are set, the tape has an easy job.
Folding The Sides And Base
Cut a rectangle of paper roughly twice as wide as you want the finished bag, plus an inch or so for overlap. Fold the long edges inward about half an inch and crease them well. Bring the two short sides together so the paper forms a tube, then tape the overlap shut.
Flatten the tube so the seam runs up one side. Now fold the bottom edge up about two inches and crease it firmly. Open that flap out into a diamond shape and fold the left and right points toward the center, overlapping them, then tape the whole base flat.
Adding The Top Hem And Handles
Fold the top edge down about an inch and a half to make a clean hem. This is where your handles go, so give it a solid crease and tape it along the inside. Punch two holes on each side, about an inch apart, through the hem.
Thread ribbon or twine through and knot the ends inside so they don't pull through. A double knot holds better than a single one on slick paper.
Making It Last Longer
Wrapping paper tears easily, so line the inside with a strip of cardstock if the gift has any weight to it. A piece cut to the base size slides right in and keeps the bottom from sagging. For a cleaner look, hide your tape on the inside wherever you can.
And if the paper is thin, double up two sheets before you start folding. It takes an extra minute and makes a big difference.
2. The Reinforced Double-Layer Bag
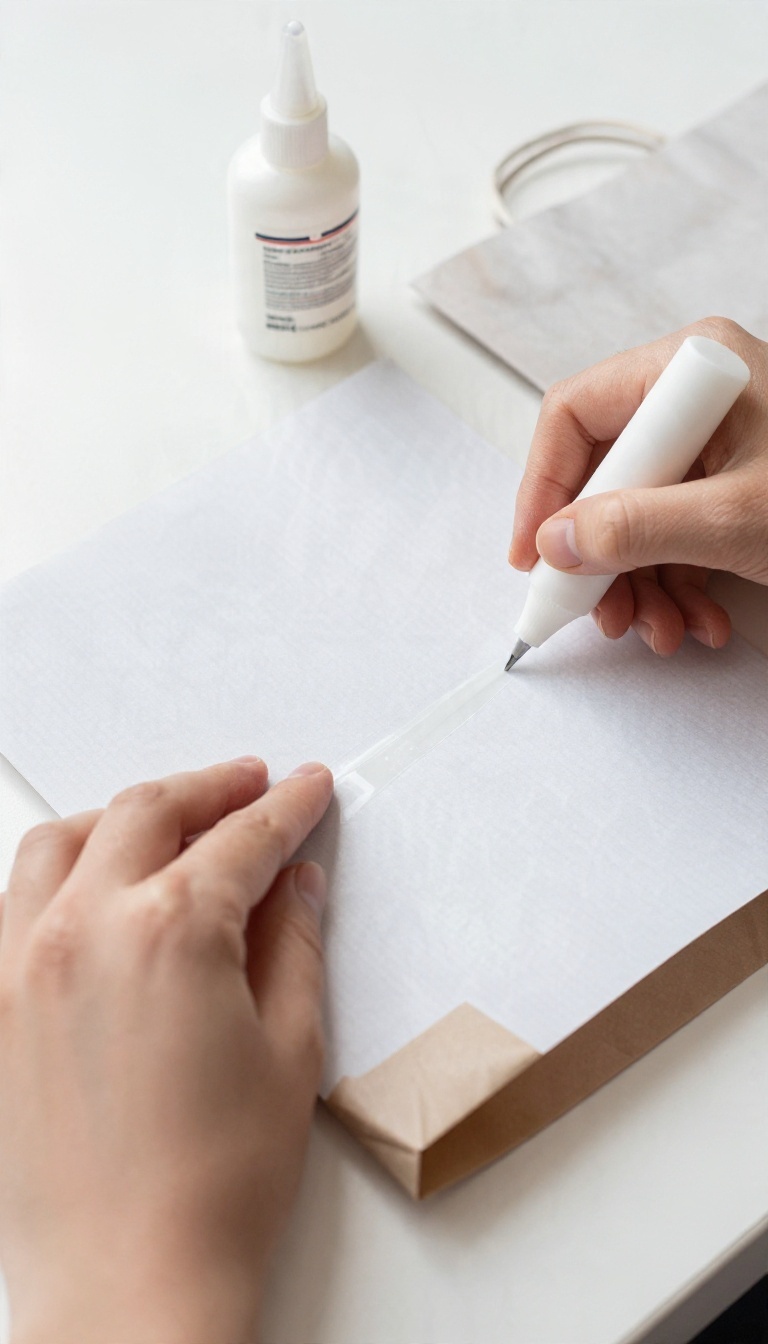
Single-layer wrapping paper bags have one weakness: they tear. Load them with anything heavier than a scarf and the corners start to split. The fix is simple—glue two sheets together before you fold anything.
You get a bag that behaves more like cardstock and less like tissue, and it still takes about the same amount of time.
The trick works because two thin sheets bonded together spread the load across a wider surface. A single sheet concentrates all the weight on one seam or bottom corner. A doubled sheet shares it, so the paper flexes instead of ripping.
Use the same folding method you'd use for a regular bag—just start with a thicker base.
Gluing The Sheets Together
Lay both sheets flat with the printed sides facing out, so the plain back sides touch. Run a thin, even layer of glue stick or white craft glue across the whole surface. Press them together and smooth from the center outward to push out air bubbles.
Skip the glue stick if you're using thin paper—it can wrinkle. A light spritz of spray adhesive gives a flatter bond. Let it dry for a few minutes before folding, or the layers will slide.
Folding And Reinforcing The Weak Spots
Fold and tape the bag the same way you would a single-layer one. The difference is at the bottom: add a strip of tape or a glued-in cardstock rectangle across the inside base. That's where heavy items push hardest.
For the handles, punch holes through both layers and add a small reinforcement patch—a square of tape or paper—on each side. This keeps the handle from pulling through when the bag is full.
What It Can Hold
A double-layer bag handles books, jars, small bottles, and anything with a bit of weight. It's still paper, so don't expect it to carry a brick. But for normal gift loads, it holds up without the sagging and splitting that single-layer bags show after a few minutes.
Use it when you want a wrapped gift to feel sturdy in hand. It's also a good choice for bags that will sit under a tree or get carried around before they're opened.
3. The No-Sew Paper Tote
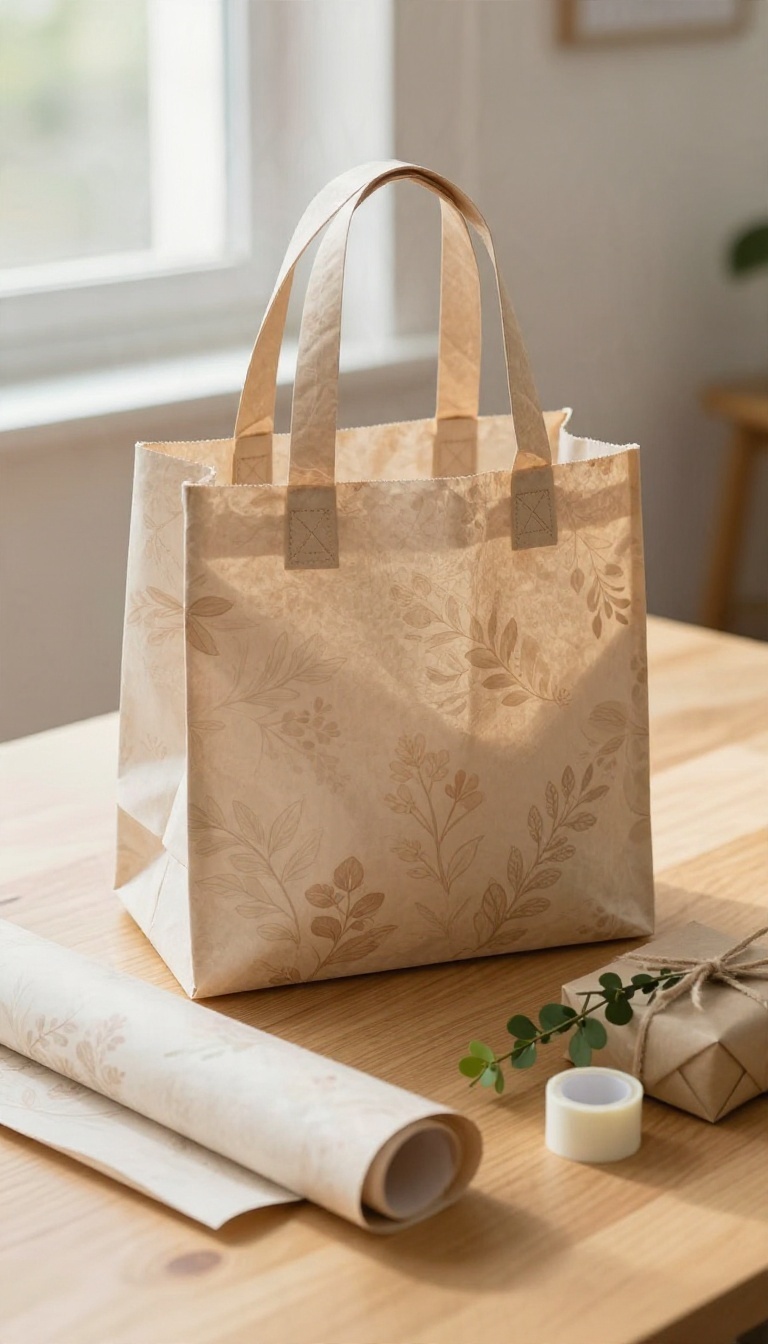
A flat gift bag works for light stuff, but sometimes you need something with a bottom that holds its shape. That's where the tote comes in. You fold a wider sheet so the sides puff out into gussets, add rolled handles, and end up with a bag that stands up on the table on its own.
It takes a little more folding than the basic version, but there's still no needle involved. Just paper, tape or glue, and a few minutes of patience. The result looks deliberate, like something you'd buy, and it can handle a real gift instead of just a card.
Grab a sheet that's wider than it is tall. Wrapping paper is usually long and skinny, so cut a piece roughly square or slightly wider to give yourself room for the gussets. The bigger the sheet, the roomier the tote, so don't be shy.
Lay it face-down so the pattern points away from you. You'll fold the printed side inward at the end, which keeps the outside looking clean.
Fold The Base And Side Gussets
Fold the bottom edge up a few inches and crease it firmly. This becomes the floor of the tote. Open it back out, then fold each side edge inward so they meet near the middle, pressing sharp creases along the way.
Now push the bottom corners in so the side panels collapse into triangles. Flatten those triangles against the base and tape them down. That's what gives the bag its flat bottom and lets it stand.
Run a strip of tape along the inside seam to lock it in place.
Roll The Handles
Cut two strips of paper about an inch wide and as long as you want the handles. Roll each strip tightly around a pencil or dowel, then slide the pencil out. Tape the loose end so the roll stays put.
Glue or tape the ends of each handle to the inside top edge of the bag. Let them sit for a minute before you load it up, since paper handles need a moment to grip. Doubling the strips makes them stronger if your gift has any weight to it.
Reinforce The Top Edge
Fold the top edge over about half an inch and crease it. This hides the raw edge and gives the handles something solid to grab. A second fold makes it even sturdier.
If you're worried about the paper splitting, stick a strip of tape along the inside rim before you fold. It's a small step that keeps the tote from tearing when someone lifts it by the handles.
4. The Envelope-Style Flat Bag
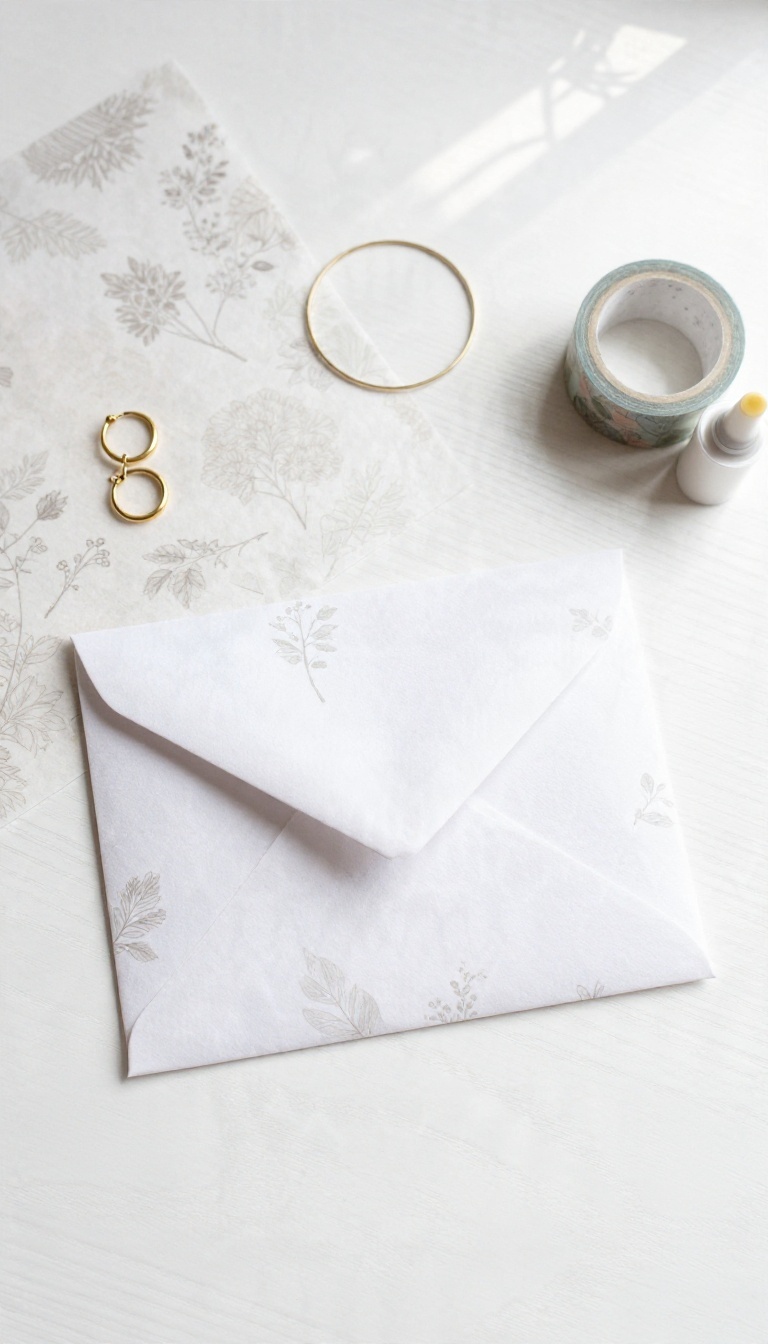
Some gifts are small, thin, and weirdly hard to wrap. A gift card, a pair of earrings, a bracelet, a set of stickers — they slide around in a box and look sad in a big bag. The envelope-style flat bag solves that.
It's a slim pouch folded from one sheet of wrapping paper, and it looks a lot more intentional than a lumpy taped-up square.
You only need one rectangle of paper, a bit of tape or glue, and a couple of minutes. The whole thing folds like an oversized envelope, which is exactly why it works so well for flat, awkward items. Once you get the fold down, you can knock out a stack of them for party favors or stocking stuffers.
Cut And Fold The Base
Start with a rectangle of wrapping paper roughly twice as wide as it is tall. Lay it face-down so the pattern stays on the outside later. Fold the two short sides inward toward the center, leaving a small gap between them, then tape those flaps down along the inner edge.
That overlap becomes the back of your pouch.
Close The Envelope Flap
Now fold the bottom edge up about a third of the way and crease it firmly. Slide your item in before you seal anything, because it's much easier to fill a flat bag while it's still open. Fold the top edge down over the opening and secure it with a small piece of tape or a glue dot.
For a cleaner look, tuck the top edge inside the pouch instead of taping it on the outside.
Seal And Finish It Off
Press all the creases flat so the bag holds its slim shape. A sticker, a small label, or a strip of washi tape over the top seam hides the tape and adds a little personality. If you're gifting jewelry, add a tiny piece of tissue inside first so the metal doesn't poke through the paper.
These flat bags stack neatly, so make a few extras while you're at it.
5. The Paper Bag With Handles
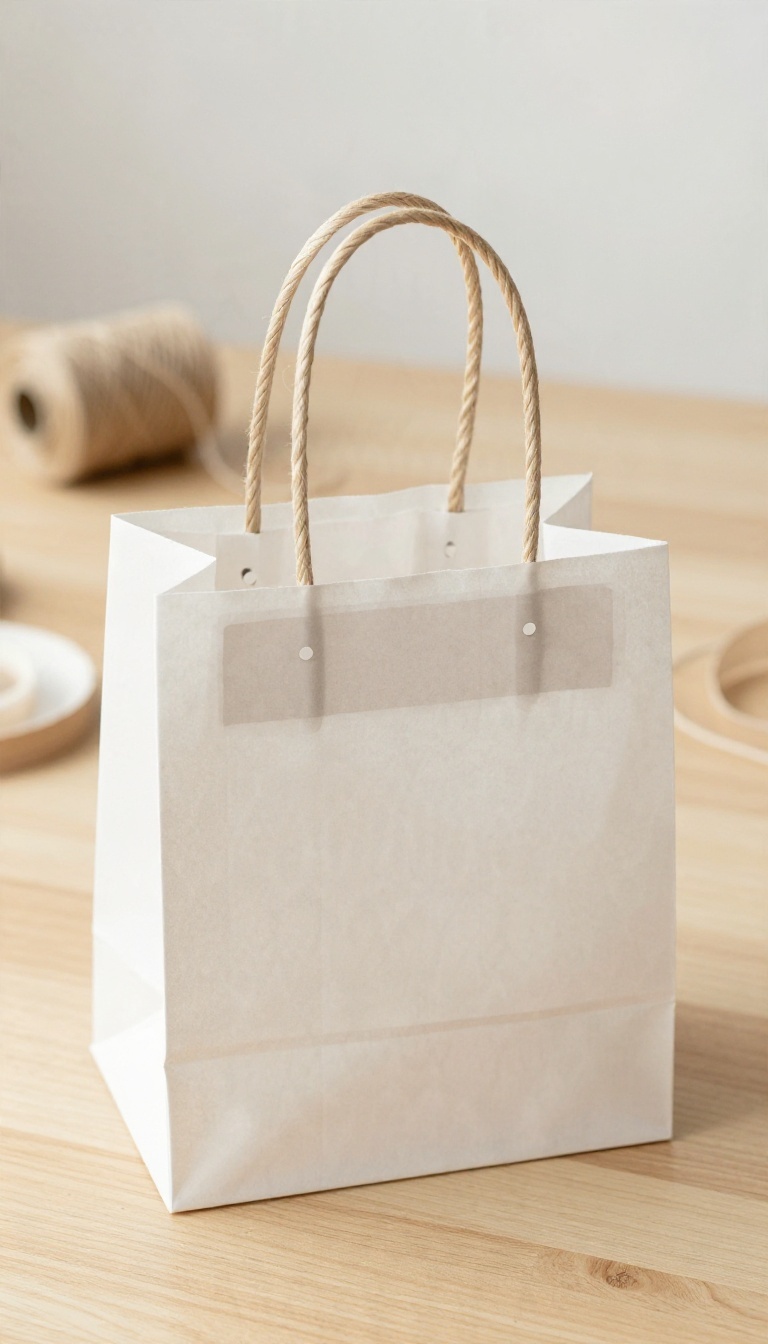
A gift bag without handles is basically a decorated box. Add a pair of cord handles and suddenly it's something you can carry to a party without hugging it against your chest. The trick isn't the handle itself — it's the reinforcement behind it, because wrapping paper will happily rip the moment you put any real weight on a bare hole.
Get that part right and this bag holds books, bottles, and whatever else you're hauling.
Start with a finished paper bag, either the plain fold-and-tape one or a sturdier double-layer version. Cut two lengths of cord, ribbon, or twine, each about ten inches long. You want enough slack to loop a hand through comfortably, but not so much that the bag drags on the ground.
Before you punch any holes, decide where the handles will sit. Fold the bag flat and mark two spots on each side, roughly an inch in from the edges and an inch down from the top. Symmetry matters here — a lopsided handle makes the whole bag hang crooked.
Make The Reinforcement Patches
Cut four small squares of cardstock, chipboard, or even a second layer of wrapping paper glued together. Each patch should be about an inch square. These go on the inside of the bag, directly behind where each hole will be, and they're the whole reason this thing survives a car ride.
Glue or tape the patches in place and let them dry fully before moving on. If you're using tape, press it down hard so there are no air bubbles. A patch that peels off mid-carry defeats the entire point.
Punch And Thread The Handles
Use a hole punch or the tip of a sharp pencil to push through both the paper and the patch at each marked spot. Go slowly so the paper doesn't tear outward. Four holes total, two on each side of the bag.
Thread one end of a cord through a hole from the outside in, then tie a knot on the inside that's bigger than the hole. A simple double knot works, but a dab of glue on the knot keeps it from slipping. Repeat on the other end, then do the same for the second handle.
Trim any loose cord ends so they don't dangle inside the bag.
Test It Before You Fill It
Drop something mildly heavy in the bag and lift it by the handles. If the paper puckers or the knots pull, add another patch or swap to wider cord to spread the load. Thin twine digs into paper and tends to fail first.
Once it passes the test, you're done. This bag handles a wrapped bottle, a paperback, or a small box of cookies without complaint. Just don't expect it to survive a downpour — wrapping paper and rain are not friends.
6. The Mini Favor Bag
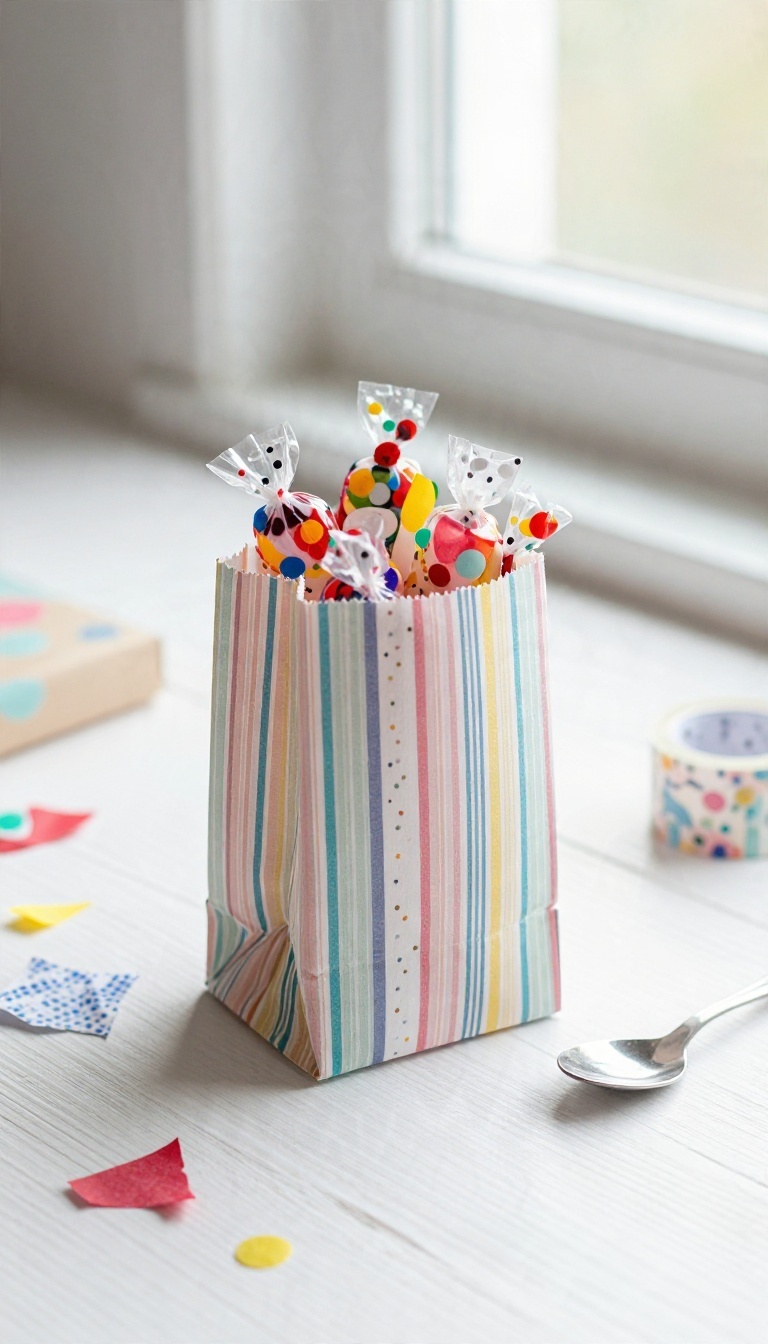
Every wrapping paper project leaves behind a pile of offcuts — the odd-shaped scraps too small to wrap anything and too pretty to toss. That's exactly the size you need for a mini favor bag. Scaled down to palm size, the basic fold becomes a tiny pouch that holds candy, confetti, or a small trinket, and it costs you nothing but a few minutes.
These little bags shine at parties, showers, and holiday tables where you need a handful of matching favors. Make one as a test, then batch the rest while you watch something. Once the fold clicks, your hands do the work.
The mini version follows the same steps as a full-size bag, just with tighter measurements. Start with a rectangle of paper roughly 5 by 7 inches — a scrap from trimming a larger gift is perfect here. Fold the bottom edge up about an inch and crease it firmly.
That crease becomes the floor of the bag, so press it hard with a fingernail or the back of a spoon. Sharp creases are what keep a small bag from slumping. Open the paper, flatten the bottom corners into small triangles the way you would a paper grocery sack, and tape them down.
Fold the long edges inward a half inch for side seams, then tape or glue the bag shut along one side. Fluff it open and you've got a pouch that stands on its own.
Sizing Scraps That Actually Work
Not every scrap is worth saving. Aim for a piece at least 4 inches wide and 6 inches tall, since anything smaller gets fiddly and the seams eat up your usable space. Stripes, dots, and small prints look best at this scale — big patterns get chopped into nonsense on a palm-size bag.
If your scrap has a torn edge, trim it straight before you start folding or the finished bag will lean.
Closing And Finishing The Top
A mini bag doesn't need punched handles. Fold the top edge over about a quarter inch, then punch two small holes near the center and thread through a short piece of ribbon or twine. Tie it in a loose bow so the bag opens without tearing.
For candy favors, a simple fold-over with a sticker or washi tape seal works even faster and looks tidy on a party table.
Filling And Displaying Them
Small bags hold more than you'd expect — a handful of wrapped candies, a lip balm, a few stickers, or a tiny succulent in a paper cup. Keep the contents light so the paper doesn't stretch at the seams. Line them up in a basket or scatter them across a dessert table.
If you're making a batch, cut all your paper first, then fold assembly-line style. It goes faster and keeps the sizes consistent.
7. The Lined Bag With a Contrasting Interior
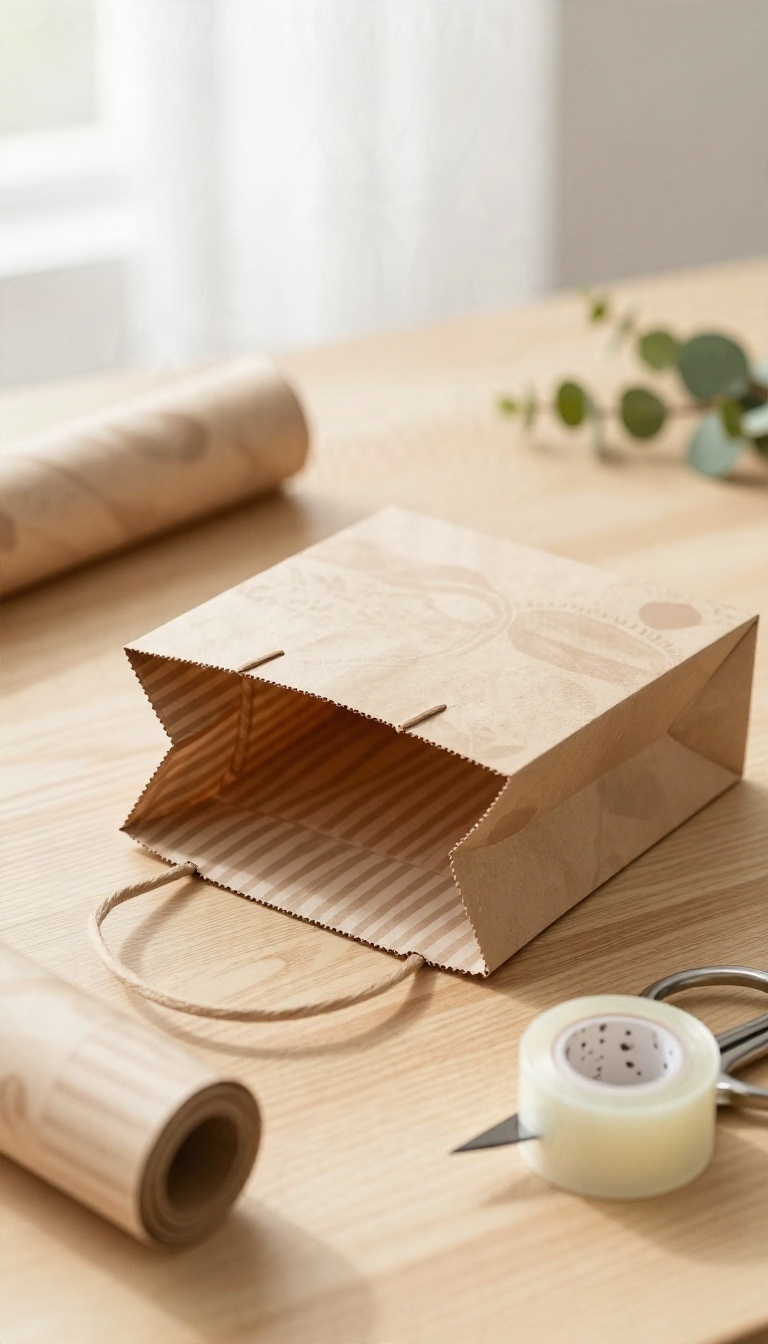
Most gift bags only look good from the outside. Flip one open and you get a plain, slightly sad interior that gives away the whole homemade thing. Lining the inside with a second paper in a different pattern fixes that in a few extra minutes.
It also doubles the wall thickness, so the bag holds up better when someone actually fills it.
The trick is to build the liner as its own bag and drop it inside the outer one. That way the two papers support each other instead of fighting over the same folds. Pick a contrasting pattern that shares a color with the outside paper, and the whole thing reads as intentional rather than accidental.
Choosing A Liner That Plays Nice
You want contrast, not chaos. If the outer paper is a bold print, go with a solid or a small, quiet pattern inside. If the outside is plain kraft or a solid color, that's your chance to use a loud liner — stripes, dots, whatever you've been saving.
Keep the liner slightly shorter than the outer bag, about half an inch on the sides and an inch at the top. That little reveal of the outer paper along the rim looks clean and hides any wobble in your folds. Tissue paper works for a soft look, but a real wrapping paper liner adds the strength that makes this idea worth doing.
Building The Liner Bag
Make a second bag using the same method as your outer one, just scaled down a touch. Fold the sides, crease the bottom, and tape the seams the same way. Don't worry about the liner's outside looking perfect — nobody sees it.
Before you slide it in, fold the liner's top edge down about half an inch and crease it hard. That folded rim gives you a clean line to work with and stops the liner from fraying as people reach in and out. Slide the liner into the outer bag and press the corners so the two bottoms sit flush.
Locking The Two Layers Together
Run a thin line of glue or double-sided tape around the inside of the outer bag's top edge, then press the liner's folded rim against it. Work your way around in small sections so the papers stay lined up. A couple of dots of glue at the bottom corners keeps the liner from sliding around when the bag is empty.
Once it's set, fold the top edge of both layers over together to form the finished rim. Punch your handle holes through all four layers, add your handles, and you're done. The bag now has a crisp opening, a hidden pop of pattern, and walls thick enough to survive a real gift.
8. The Folded Paper Pouch With a Button Closure
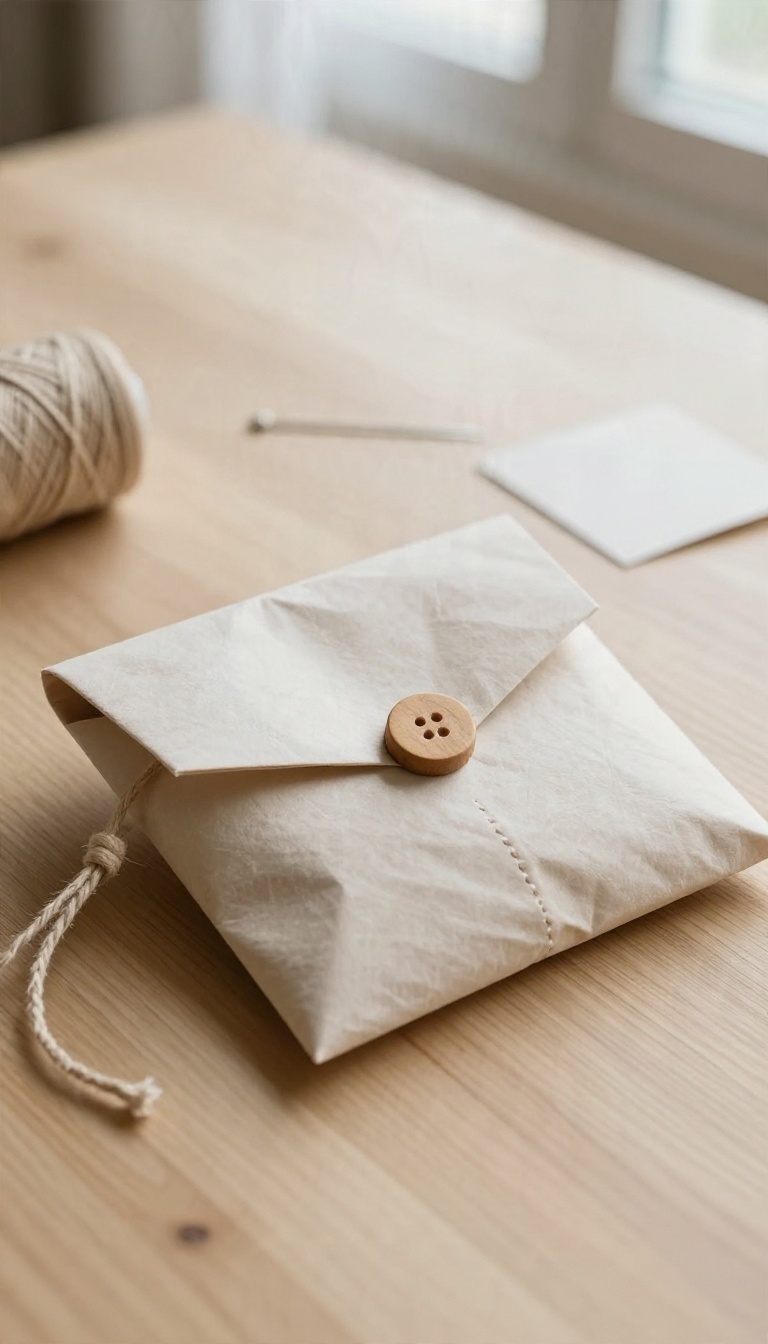
A plain paper pouch gets the job done, but a button and a loop of string make it feel like something you'd buy. This version folds flat, closes tight, and opens again without tearing, so whoever receives it can reuse it for jewelry, hair ties, or loose change. It takes maybe ten minutes and a needle you probably already have.
The button does all the work, so you don't need to be neat with your stitching.
Start with a rectangle of wrapping paper roughly twice as wide as the pouch you want and a little taller than it is wide. A piece about 8 by 10 inches makes a nice palm-sized pouch for small gifts. Fold the bottom edge up to meet the top edge, pretty side facing in, and tape or glue the two side seams.
Leave the top open. Now flip it right side out and press the creases flat with your fingers. ## Add the Button Before You Close the Flap Sew a button onto the front panel, about an inch down from the open edge and centered. A plastic or wooden button works better than a fancy shanked one because it sits flatter against the paper.
If the paper is thin, glue a small square of cardstock behind the button spot first so the thread doesn't rip through. Let it dry before you stitch. ## Make the String Loop Cut a piece of twine, embroidery floss, or thin ribbon about four inches long. Tie the ends into a small loop and tape or glue it to the inside of the back panel, lined up with the button.
Fold the top edge over once, about half an inch, to hide the raw paper and give the flap some body. Crease it well. ## Fold, Button, Done Slide the gift inside, fold the flap down over the front, and hook the string around the button. The pouch stays shut in a bag or a pocket.
For a sturdier version, line the inside with a second sheet of paper or a scrap of tissue before you tape the seams. It adds a couple of minutes and makes the pouch last through more than one use.
Add The Button Before You Close The Flap
Sew the button onto the front panel about an inch below the open edge, centered left to right. Reinforce thin paper with a small cardstock square behind the button so the thread has something to grip.
Make The String Loop
Tie a four-inch length of twine or thin ribbon into a loop and attach it inside the back panel, directly across from the button. Fold the top edge over half an inch to hide the raw paper and stiffen the flap.
Fold, Button, Done
Tuck the gift in, fold the flap down, and wrap the string around the button. Add a paper or tissue lining before taping the seams if you want the pouch to hold up to repeat use.
9. The Upcycled Scrap-Paper Patchwork Bag
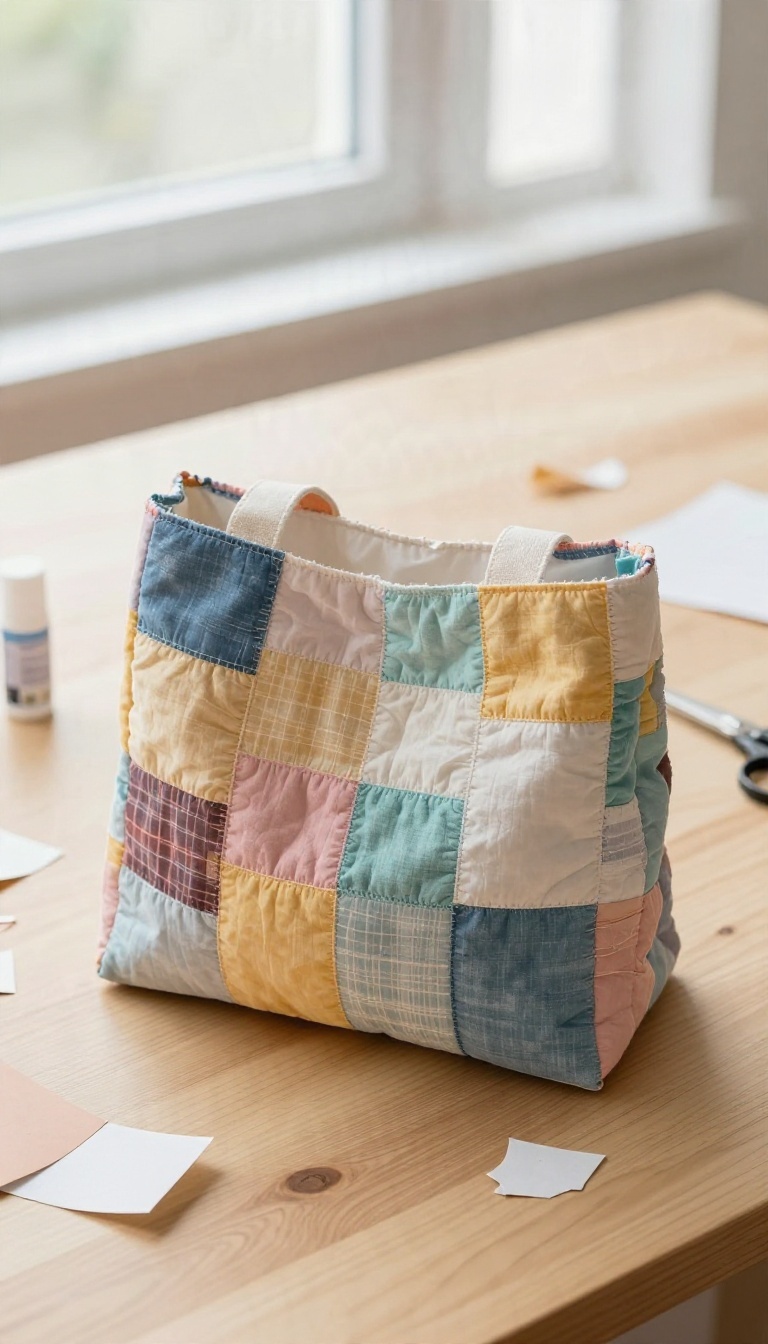
Every wrapping paper project leaves a trail of scraps, and this bag turns that mess into the main event. Instead of hiding the offcuts, you glue them into a colorful patchwork sheet and fold that sheet into a bag. The result looks intentional, scrappy in the best way, and completely one of a kind.
It takes a little more patience than wrapping a box, but the payoff is a bag nobody else has. Use it for a gift, a small storage pouch, or just to prove those scraps were worth keeping.
The trick here is building a flat, sturdy sheet first and shaping the bag second. Treat the patchwork like fabric: lay it out, glue it solid, then fold. Skipping the sheet stage usually ends in a floppy mess that splits at the seams.
Sort And Cut Your Scraps
Dump your scraps out and separate them by weight. Thin, shiny paper and thicker kraft-style paper glue at different rates, so keep the flimsy pieces together and the sturdy ones in their own pile. Cut the scraps into rough squares and rectangles, somewhere between two and four inches.
Straight edges matter more than matching sizes, since you'll trim the finished sheet anyway. Aim for enough pieces to cover a rectangle about the size of a sheet of printer paper, plus a little extra.
Build The Patchwork Sheet
Lay the pieces out on a flat surface first and shuffle them until the colors feel balanced. Snap a photo with your phone so you can rebuild the layout after you start gluing. Work on a sheet of parchment or wax paper so nothing sticks to the table.
Spread a thin, even layer of glue stick or white glue on each piece and press it down, overlapping edges by about a quarter inch. Keep going until the whole rectangle is covered, then lay a heavy book on top for ten minutes to flatten it. Once it's dry, trim the edges straight with scissors.
For extra strength, glue a second plain sheet of paper to the back, or run a strip of tape along the outer border.
Fold It Into A Bag
With your patchwork sheet flat and dry, fold the bottom third up and crease it firmly. Open it back out, fold the two side edges in about an inch, and crease those too. These creases become your bag's shape.
Stand the sheet up and pinch the bottom corners into triangles, folding them flat against the base the way you'd shape a paper grocery bag. Tape or glue those triangles down so the bottom holds. Punch two holes near the top on each side and thread a length of ribbon or twine through for handles, knotting the ends inside.
If the paper feels thin, add a strip of tape along the top edge before punching so the holes don't tear.
FAQ
What kind of wrapping paper works best for making bags?
Thicker paper holds up best. Matte or slightly textured wrapping paper folds cleanly and resists tearing, while very thin, glossy paper works but needs a double layer for anything with weight.
Do I need glue or can I just use tape?
Double-sided tape handles most bags fine and keeps seams hidden. For heavier items or a bag you want to reuse, a glue stick or white craft glue gives a stronger hold.
How do I make the bottom of the bag strong enough?
Fold the bottom flap twice and tape or glue it flat, then add a small piece of cardstock inside for extra support. A double-layer bag helps too if you're packing something heavy.
Can I make these bags ahead of time?
Yes. Fold them flat and store them stacked under a book so they stay crisp. Add handles and decorations closer to when you need them.
How big should the paper be for a standard gift bag?
A sheet roughly 12 by 15 inches makes a small-to-medium gift bag. Size up or down from there, keeping the paper about two and a half times wider than the finished bag.
Conclusion
Nine ideas, one sheet of wrapping paper, and a bag that actually holds up—that's a pretty good trade for a few minutes of folding. Start with the simplest style, then work your way toward the ones with handles and liners once you get the hang of the creases.
Keep a roll or two around for last-minute gifts, and don't stress if your first attempt looks a little lopsided. Nobody inspects the corners that closely, and a homemade bag tends to get more compliments than a store-bought one anyway.