13 Christmas Bows DIY Ideas for Gifts, Trees and Wreaths
A roll of ribbon costs less than a fancy pre-made bow, and you get to pick the exact color and size you need. Most of these projects take under twenty minutes once you get the hang of the folding.
You don't need a craft room or a glue gun collection to pull these off. A few of the ideas use fabric scraps, old wrapping paper, or dollar-store ribbon you can grab on your next grocery run.
Some bows suit a wrapped present, some belong on a tree branch, and a few are built for a front-door wreath. Pick the ones that match what you're actually decorating this year.
1. The Classic Loop Bow That Works on Almost Anything
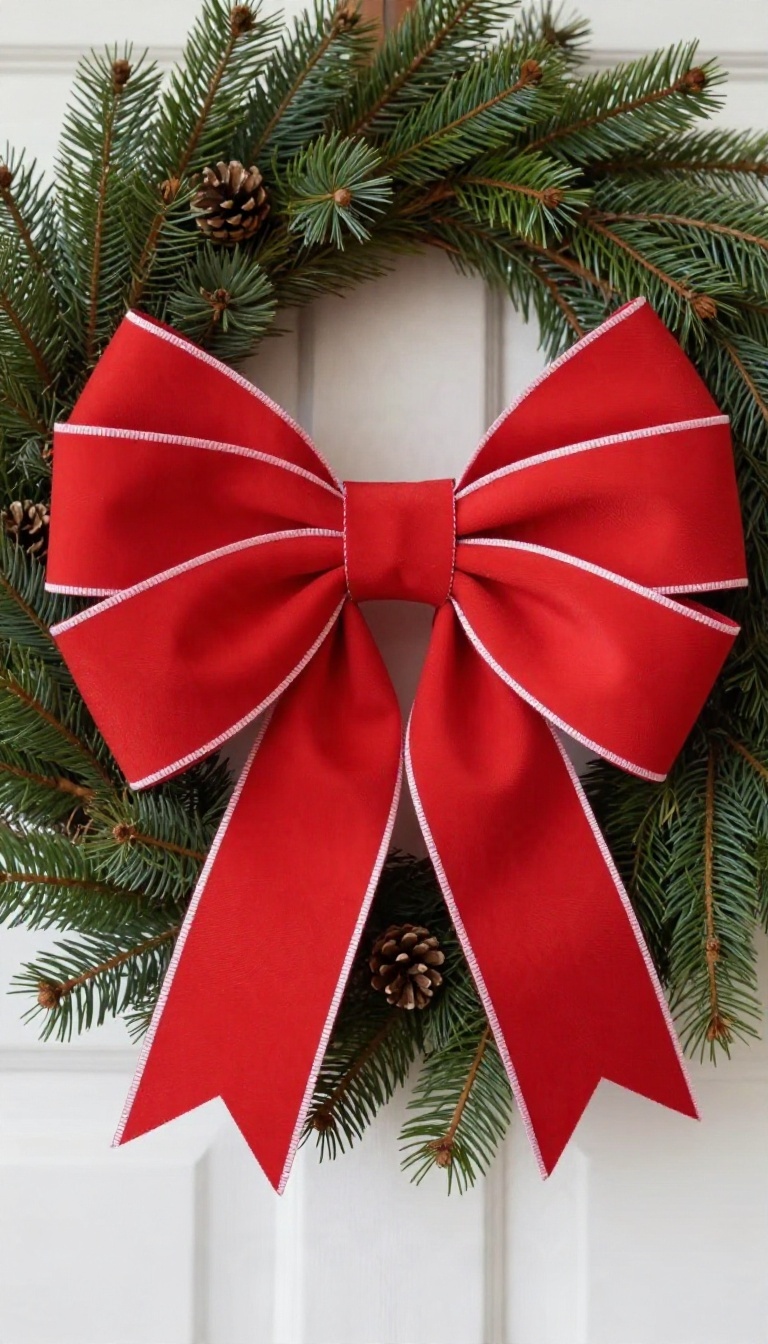
Learn the classic loop bow once and you'll stop buying pre-made bows altogether. It's the traditional multi-loop shape you see on wreaths, gift boxes, and front doors, and it holds up on practically any surface. The whole thing comes down to even loops and a tight center wrap, both of which you can nail without a bow maker.
The trick with this bow is that it's forgiving. Sloppy loops still look charming, and you can adjust the size after it's tied. Start with a ribbon that has a bit of body to it, since floppy ribbon makes the loops collapse.
Wire-edged ribbon is the easiest to learn on, but a stiff satin or a good grosgrain works too.
Pick The Right Ribbon Width
For a gift box, a 1. 5-inch ribbon gives you a full bow without swallowing the present. Wreath bows usually want something wider, around 2 to 2.
5 inches, so the loops read from the sidewalk. If you're tying onto a tree branch, go narrow at 1 inch or less so it doesn't overpower the ornaments.
Tie It Without A Bow Maker
Pinch the ribbon about 8 inches from the end and form your first loop, holding it between your thumb and forefinger. Twist the ribbon at the base to keep the loop facing forward, then make the next loop slightly larger and pinch it beside the first. Keep going until you have four to six loops, then wrap a short piece of wire around the center and twist it tight at the back.
Fix Uneven Loops Fast
Once the wire is on, fluff each loop outward and give it a gentle tug until the sizes even out. If one loop droops, a small piece of double-sided tape inside the fold holds it up. Trim the tails on a diagonal, and you're done in about ten minutes.
2. The Fork Bow for Tiny Gifts and Tags
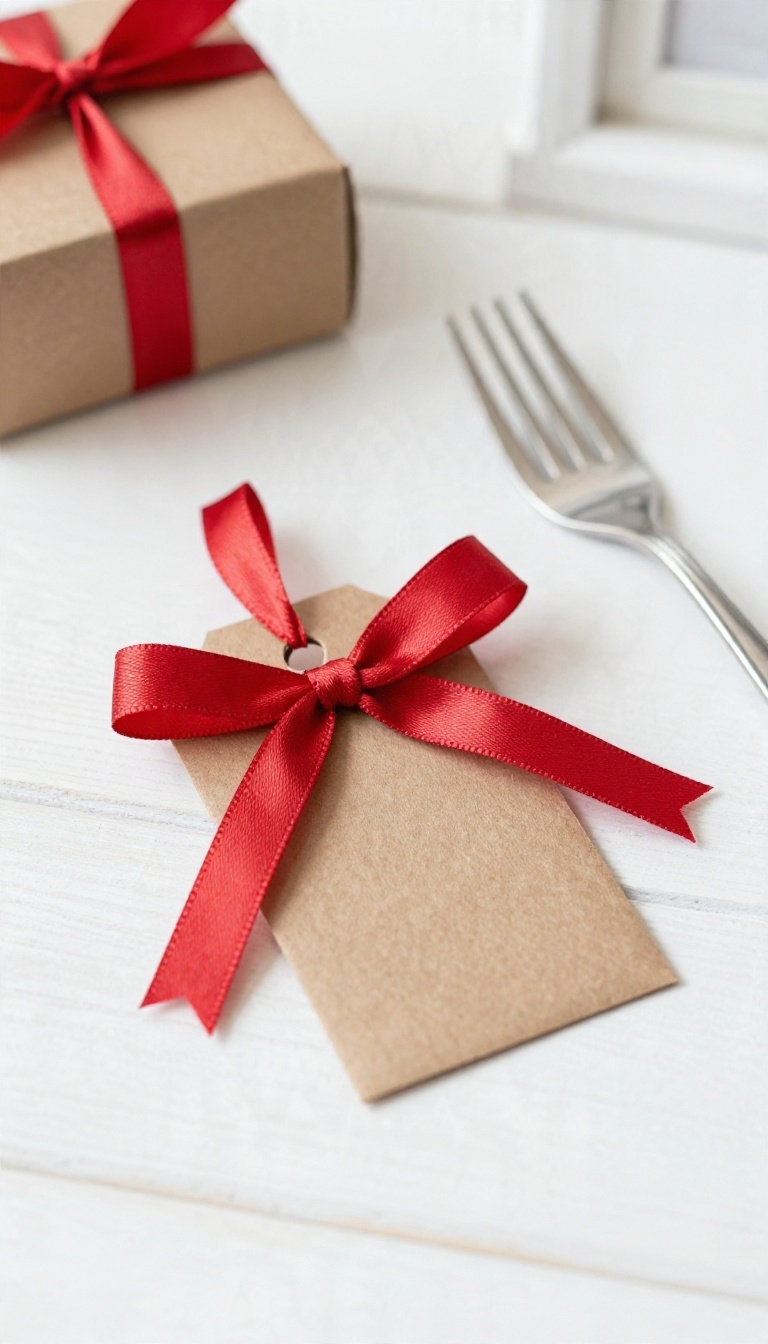
Tiny packages are the hardest ones to decorate. A big bow swallows the whole box, and a regular ribbon loop looks clumsy on something the size of a jewelry box. A dinner fork solves the problem in about sixty seconds.
The fork works as a mini bow maker. You wrap ribbon around its tines, tie it off through the middle gap, and slide the finished bow free. The spacing comes out even every time, which is the part that's hard to do by hand.
Grab any fork from the kitchen drawer and a spool of narrow ribbon. Satin, grosgrain, or thin velvet all work. Skip anything wider than about half an inch, since it won't fit cleanly between the tines.
Once you've made a few, you'll be able to crank out a whole batch while your coffee cools.
How To Tie It On The Fork
Hold the fork with the tines facing up. Leave a short tail of ribbon and press it against the back of the fork with your thumb. Wrap the ribbon over the front, around the back, and across the front again, working up and down the tines.
Three or four passes give you a full bow. More passes mean a denser, puffier result. Thread the ribbon end through the gap in the middle of the tines, under all the wraps.
Pull it through and tie a tight knot against the ribbon bundle. Slide the whole thing off the fork and fluff the loops apart with your fingers.
Ribbon Widths And Fork Sizes
A standard dinner fork makes a bow roughly an inch and a half wide, which suits most gift tags and small boxes. A salad fork gives you something even smaller for earring boxes or tiny treat bags. Match the ribbon to the gap.
If the ribbon keeps bunching, go thinner. If the loops look flat and sad, try a ribbon with a bit more body, like grosgrain.
Where These Mini Bows Shine
Gift tags are the obvious spot, but don't stop there. Tape one to the top of a jewelry box, glue a few onto homemade cards, or use them to dress up a jar of hot cocoa mix. They also work on wine bottle necks and small party favors.
Make a batch in assorted colors and keep them in a little dish by your wrapping station. You'll reach for them constantly.
3. A No-Sew Fabric Bow From Scrap Material
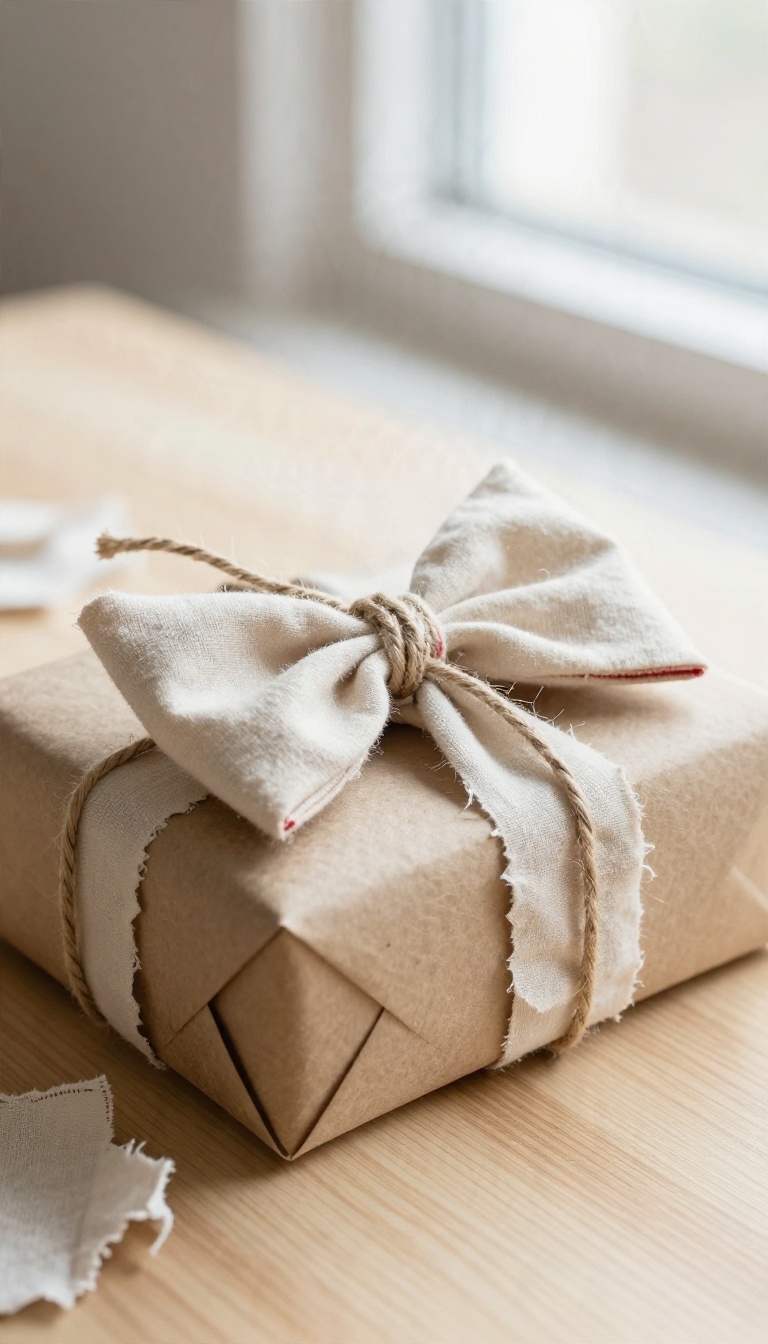
Fabric scraps pile up fast if you sew, and even if you don't, a torn linen shirt or an old pillowcase can become something worth keeping. This bow turns those leftovers into a soft, rustic topper that looks handmade in the best way. No needle, no thread, just folds and a little hot glue.
It pairs especially well with gifts wrapped in kraft paper or plain linen, where a shiny satin bow would feel out of place.
Grab a strip of fabric about 3 inches wide and 18 inches long for a medium bow. Cotton, linen, and canvas hold their shape nicely, while silky scraps tend to slide around. Press the strip flat with an iron first, because wrinkles show up more than you'd expect once the bow is glued.
The whole thing comes together in about ten minutes, and you can size it up or down by adjusting the strip length. A shorter, wider strip makes a chunky bow for a big box, and a thin, long one works for a small gift or a jar.
Fold The Loops
Fold the strip in half to find the center, then pinch that spot between your fingers. Take each end and fold it back toward the center, forming two loops that meet in the middle. Hold the loops flat and give them a slight twist so they sit at a gentle angle instead of perfectly straight.
A little asymmetry looks more natural than a rigid, store-bought shape. Once you like the arrangement, add a small dot of hot glue at the center to lock the loops in place.
Wrap The Center
Cut a short, narrow strip of the same fabric, about 1 inch wide and 4 inches long. Wrap it around the middle of the bow to cover the glued joint, pulling it snug. Glue the ends down at the back so the wrap stays put.
If you want a cleaner look, fold the raw edges of this center strip under before wrapping. It hides fraying and gives the bow a finished feel.
Finish The Tails
Cut two tails from the leftover fabric, each about 2 inches wide and 6 inches long. Trim the ends at an angle or notch them with a V-cut to stop fraying and add a tailored touch. Glue the tails to the back of the bow, slightly apart, so they hang below the loops.
For a rustic look, leave the edges raw and let them fray just a little. For a tidier gift, fold each edge under and press before gluing.
4. The Pull-Bow Made From a Single Ribbon Strip
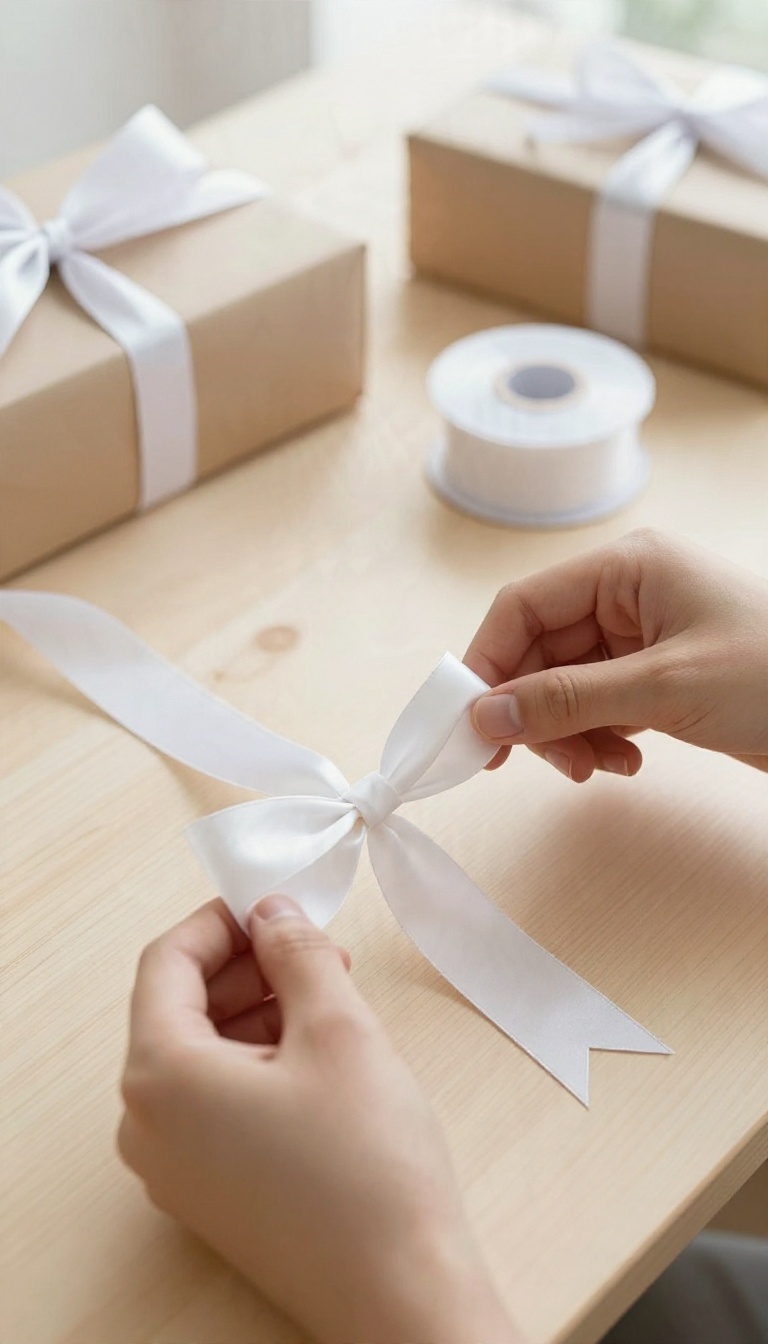
One strip of ribbon, a few folds, and a single tug gives you a bow that looks like it took far more effort than it did. This is the trick to reach for when you've got a stack of presents on the table and no patience for anything fussy. No cutting multiple lengths, no matching tails, no hunting for a second spool.
You start and finish with the same piece, which keeps the whole thing fast and tidy.
The pull-bow works because the ribbon folds back on itself to build the loops, then a quick pull cinches everything into shape. It's forgiving, too. If a loop looks lopsided, you loosen it and try again without wrecking the ribbon.
Grab a strip about three times as long as the bow you want. Wider ribbon gives you a fuller result, but satin, grosgrain, and even paper ribbon all behave well once you get the motion down.
How To Fold And Pull It
Lay the ribbon flat and form a loop near one end, pinching it between your thumb and finger. Bring the long tail around behind the loop and back through the gap to make a second loop, keeping both the same size. Now pull the loose end gently.
The loops tighten into place as you go, and you stop when the bow feels snug. Give the loops a little fluff and straighten the tails so they hang evenly.
Getting A Full-looking Bow
A thin strip can look skimpy, so use a wider ribbon or fold a narrower one double before you start. Slightly larger loops also read as fuller from a distance, which matters on a tree or a big box. Keep your pinches firm while you fold.
Loose fingers let the loops slip and you end up with a lopsided bow that won't sit right.
When To Use It On A Wrapping Marathon
This is the bow for a long gift-wrapping session. Make a dozen in a row and your hands find the rhythm, which is faster than tying a fresh bow from scratch each time. Pair it with plain kraft paper and a ribbon that matches your theme.
The bow does the decorating, so the paper can stay simple and cheap.
5. A Layered Double-Ribbon Bow for Statement Gifts
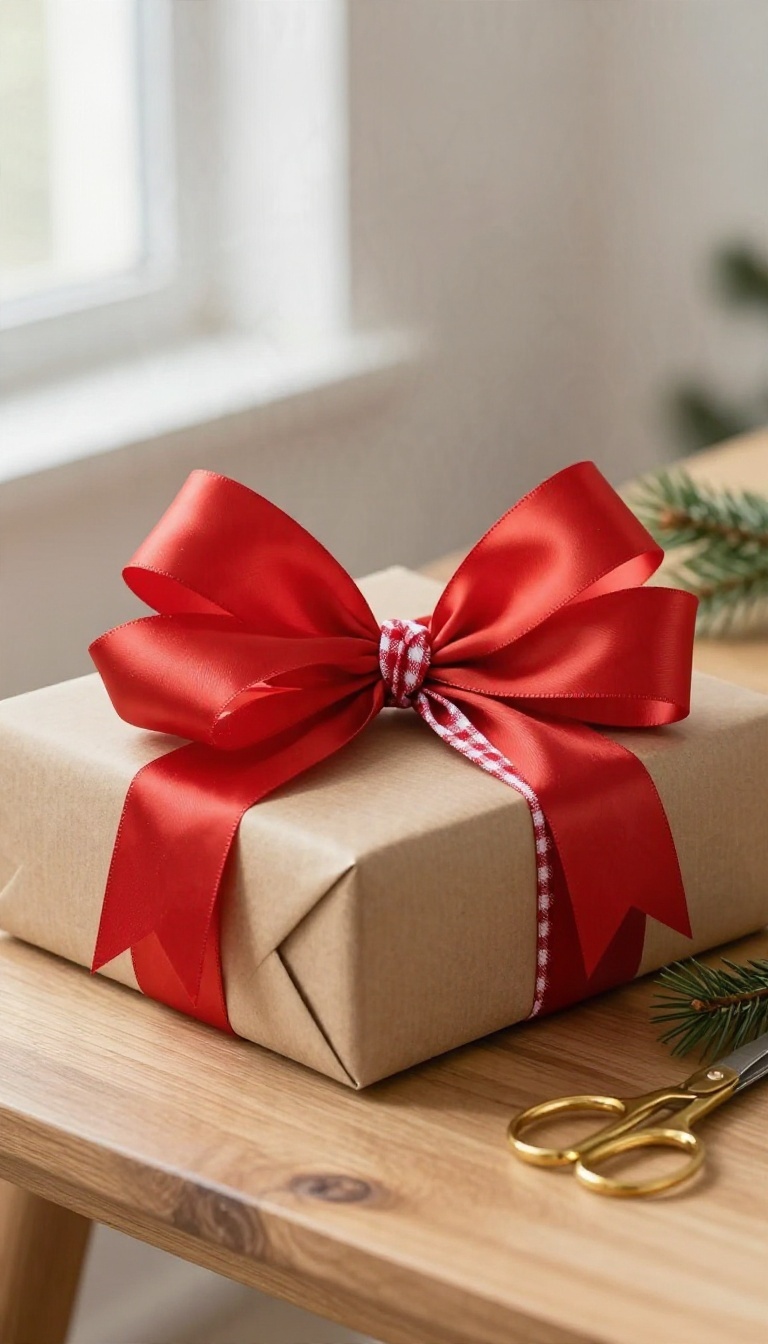
A single ribbon can look a little flat on a big box. Layering a wide ribbon under a narrow one adds depth and makes the bow feel substantial, like something you'd find at a boutique. The trick is to treat the two ribbons as a team: one provides the body, the other adds the detail.
Once you get the stacking order right, you can mix patterns and colors without it turning into a mess.
Start with a wide ribbon for the base—think 1. 5 to 2 inches—and a narrower one, about half that width. You'll use the wide ribbon to form the main loops and tails, then tie the narrow ribbon over the center to create contrast and hide your knots.
This method works for any gift that needs a little extra presence, from a bulky sweater box to a bottle of wine.
Choosing Ribbons That Play Nice
Pattern mixing is where these bows get fun, but a few guidelines keep it from looking chaotic. Pick one ribbon with a pattern and one solid, or use two solids in shades from the same color family. If you want to combine two patterns, make sure they share a color—like a plaid and a stripe that both include the same red.
Texture matters too: a smooth satin under a rustic burlap creates a nice contrast, while two glossy ribbons can compete for attention.
Stacking And Tying For A Full Look
Cut a length of each ribbon—about 24 inches for the wide one and 18 inches for the narrow one, depending on the bow size you want. Lay the narrow ribbon on top of the wide one, centered, and treat them as a single unit as you form your loops. Make a basic bow with the wide ribbon first, then use the narrow ribbon to tie a simple knot over the center, pulling it tight to gather the layers.
Fluff the loops and trim the tails at an angle for a polished finish.
Making It Stay Put
Double-sided tape or a tiny dot of hot glue between the layers keeps the narrow ribbon from sliding around. If your gift is heavy, secure the bow to the package with a strip of tape across the back before you tie the final knot. For a reusable option, attach the finished bow to a clip or a pin so the recipient can move it to a wreath or tree later.
6. The Paper Bow Folded From Wrapping Scraps
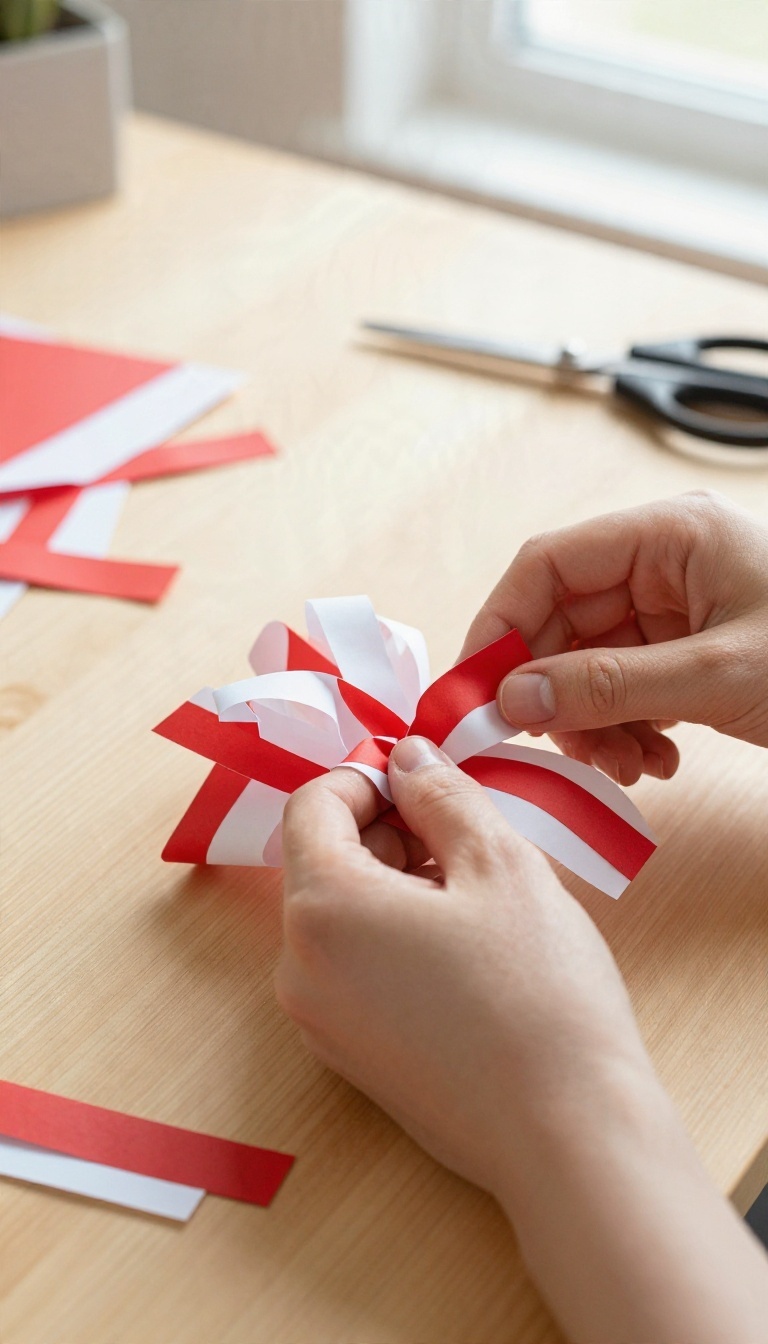
Ribbon runs out at the worst possible moment, usually five minutes before you need to leave. That leftover wrapping paper in the corner is more useful than it looks. Fold a few strips the right way and you get a structured bow that holds its shape and costs nothing extra.
Paper bows work best with a decent weight of wrapping paper, the kind that creases cleanly instead of crumpling into a ball. Thin tissue-style paper sags, and glossy foil fights every fold. Test a scrap first by folding it in half and pressing the crease with your thumbnail.
If the fold stays sharp, you're in business.
Cut The Strips
Slice three or four strips from your leftover paper, each about an inch wide and eight to ten inches long. Keep them roughly even so the loops match. A cutting mat and craft knife give the cleanest edges, but scissors work fine if you take your time.
Fold And Pinch
Fold each strip into a loop and pinch the center flat, the same motion as making a paper fan. Stack the loops on top of each other, fanning them out like petals. Twist a short thin strip around the middle and tape the ends at the back.
Fluff the loops outward and the bow pops into shape.
Make It Stick
Double-sided tape holds the bow to the package without showing. For a sturdier version, glue two paper circles to the back and thread a twist tie through before attaching. That way you can tie it onto a bag handle or a gift box ribbon-free.
7. A Burlap Bow for Rustic Wreaths
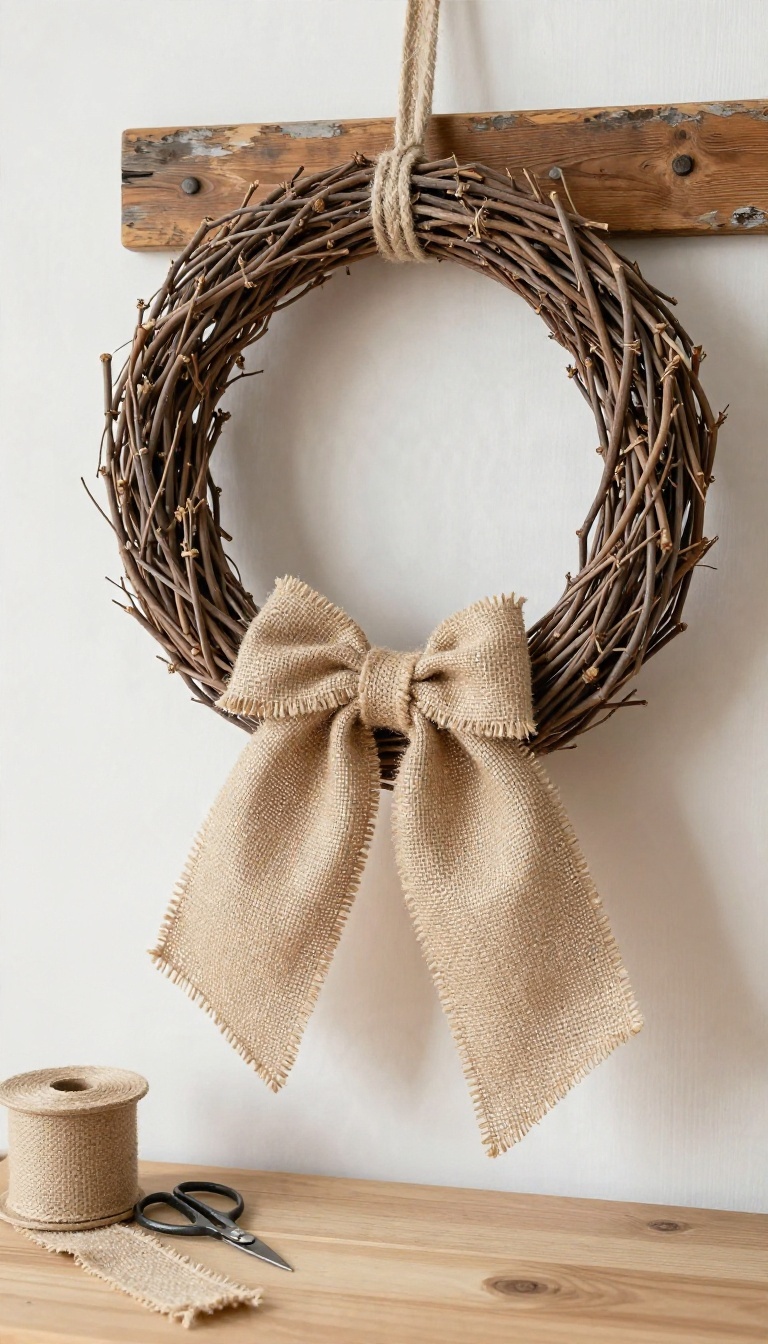
Burlap has a texture that plastic ribbon just can't fake, and it holds a bow shape without much fuss. The catch is that the same stiffness that makes it stand up nicely also makes it fray the second you cut it. Get the edges under control first, and the rest of this bow comes together in about ten minutes.
It's a natural fit for grapevine wreaths, farmhouse-style doors, and anything that leans a little country.
You'll want a burlap ribbon rather than loose fabric if you can find it, since the woven edge stays tidier. A roll of 2. 5- to 3-inch ribbon gives you enough width to make a bow that reads well from the sidewalk.
If you're working from a burlap sack or yardage, cut strips along the grain so the weave stays straight. The bow itself is a basic loop-and-tail shape, but burlap rewards a slightly different touch than satin does. Skip the tight pinching and let the loops stay open and a little loose.
That airiness is what makes it look handmade in a good way.
Stop The Fraying Before You Fold
Raw burlap sheds like crazy, so seal every cut end before the bow goes anywhere near your wreath. A thin line of fabric glue along the cut edge works, and so does a quick pass with a lighter held a few inches away, just until the fibers melt and stop unraveling. Clear nail polish is the low-effort option if you already have a bottle handy.
Let any glue or polish dry completely before you start folding. Wet edges will stick to your fingers and smear, and you'll end up with a gummy mess instead of clean loops.
Fold The Loops And Tails
Cut two lengths of ribbon, one for the main bow and one for a center wrap. For the main piece, make a loop on each side and leave two tails hanging down, then pinch the middle firmly. Burlap holds a crease well, so a couple of wraps with floral wire through the center keeps everything locked in place.
Take the shorter strip and wrap it around that pinched center to hide the wire. Glue the wrap's ends in the back where no one will see them. Fluff the loops outward and trim the tails to matching lengths, angling the cuts if you like a finished look.
Add A Loop For Hanging
A wreath bow needs something to attach with, and a hidden loop is the cleanest way to do it. Cut a short piece of ribbon or twine, fold it into a loop, and glue or wire it to the back of the bow's center. Make it long enough to slip over a wreath hook or tie around the grapevine base.
Test the loop before you commit. Hang the bow on the wreath and check that it sits where you want it, since burlap is heavy enough to sag if the loop is off-center.
8. The Mesh Bow That Fills a Big Wreath
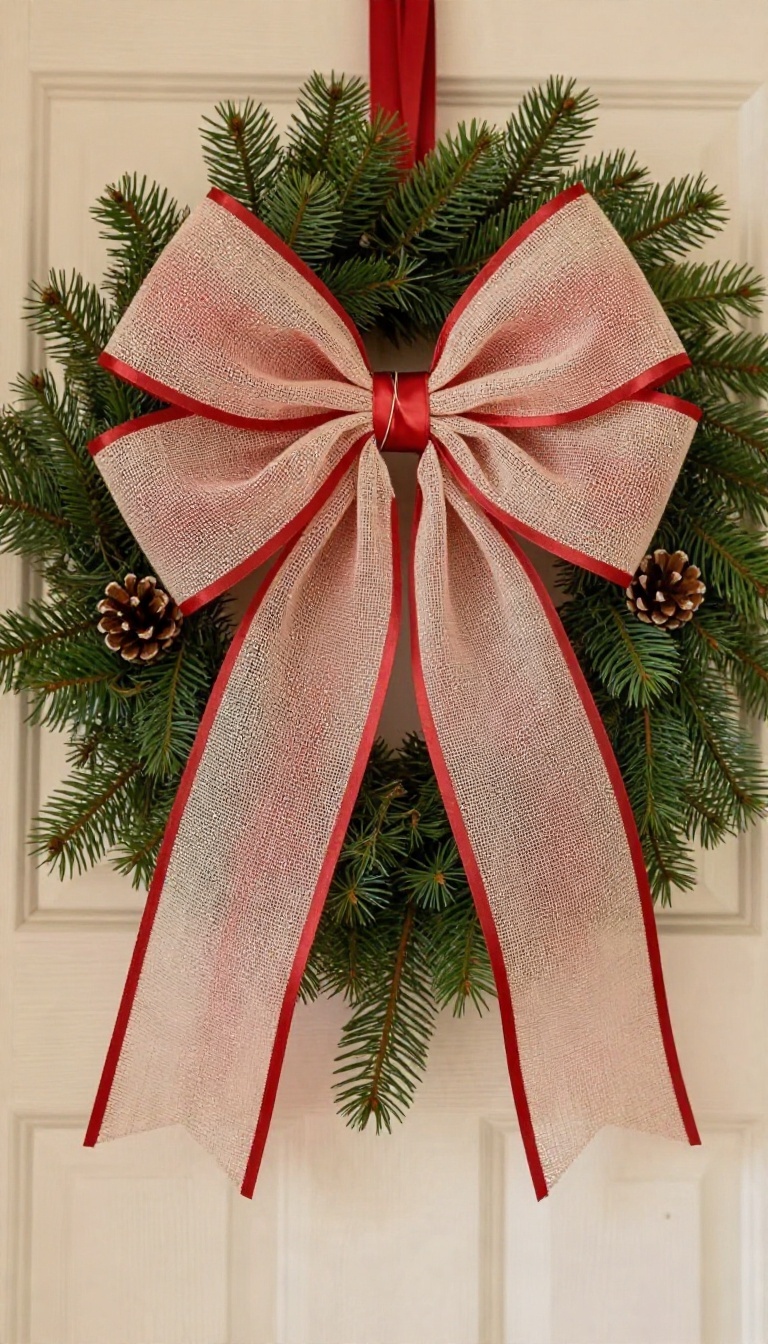
A big wreath needs a bow with some volume, and thin satin just disappears against all that greenery. Deco mesh solves that problem. It's springy, lightweight, and puffs up into a full, airy shape that holds its form without a ton of structure underneath.
The trick is in the gathering. Mesh wants to spread out, so you have to pinch it firmly and lock the center down tight. Get that part right and the loops take care of themselves.
Start with a roll of deco mesh, the wide kind that comes in a net-like texture. You want a length of roughly ten to twelve inches for each loop, and this bow usually has four to six loops depending on how large your wreath is. Work on a flat surface and keep the mesh relaxed.
If you stretch it tight, the bow goes flat and loses that soft, billowy look that makes it work on a wreath.
Pinching And Gathering The Loops
Fold the mesh into loops and pinch each one at the base as you go. Stack the pinched points together in your hand so they all meet at a single center. Don't worry about perfect symmetry.
Mesh is forgiving, and a slightly uneven bow reads as fuller and more natural than a rigid one. Give each loop a gentle twist as you pinch so it keeps some air inside.
Locking The Center Down
Once all your loops are gathered, wrap a zip tie or a length of florist wire tightly around the pinched center. Pull it snug, because loose mesh will sag once it's hanging on a door. Trim the tails of the zip tie, then cover the center with a short piece of matching ribbon or a small fabric scrap.
That hides the hardware and gives the bow a finished look.
Attaching It To The Wreath
Use the same wire or a couple of pipe cleaners to tie the bow onto your wreath form. Position it slightly off-center or dead center, whichever suits the design. Fluff the loops outward with your fingers once it's attached.
Step back and check the balance, then adjust any loop that looks squashed. A quick fluff makes the whole thing look intentional.
9. A Velvet Bow for a Dressy Tree Topper
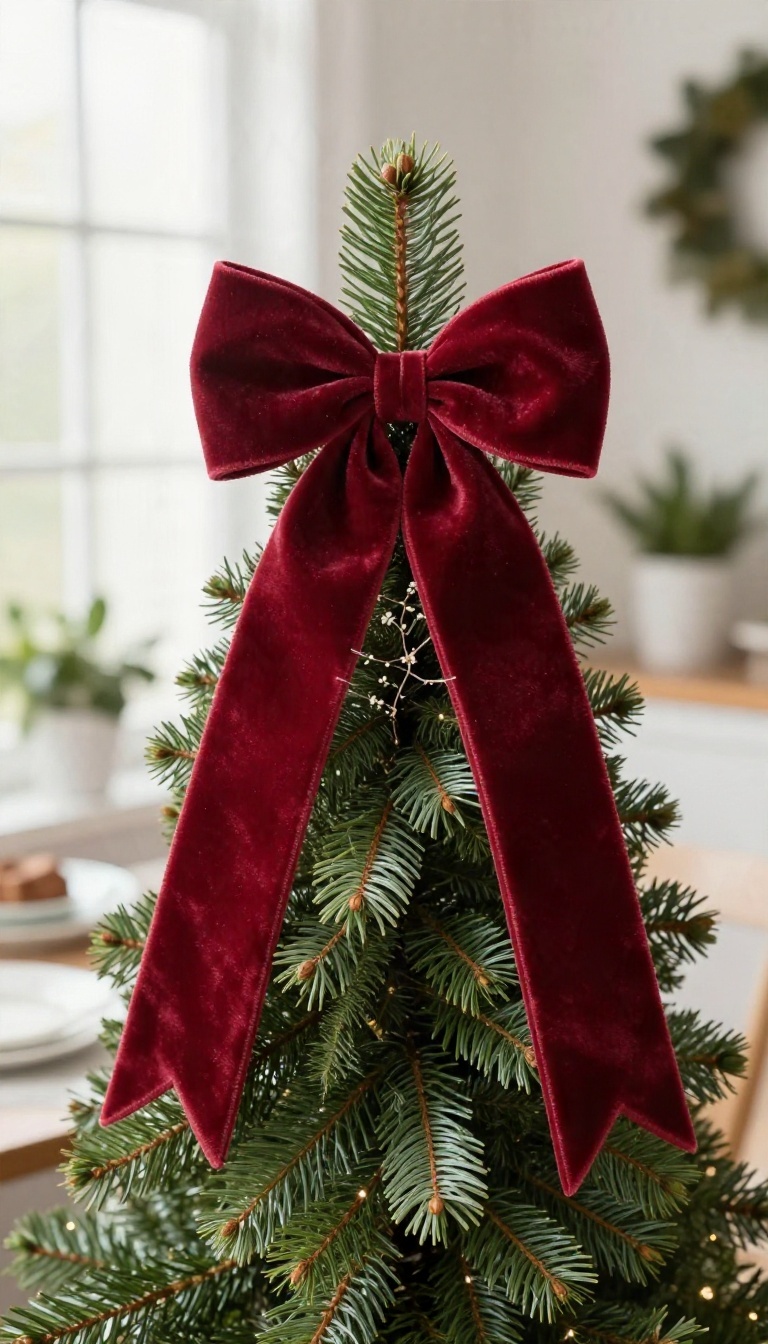
Velvet ribbon has a depth that satin and grosgrain can't match, and it makes a tree topper look intentional rather than improvised. The pile catches light softly, so the bow reads rich from across the room without any glitter or shine. It's also forgiving to work with, since the fabric holds a fold once you press it.
This one suits a formal tree, a flocked tree in a dining room, or the anchor point on a wreath that hangs where guests actually see it. You only need a yard or two of ribbon, some floral wire, and a few minutes at the top of a ladder.
## Pick a Ribbon That Holds Its Shape Not all velvet behaves the same. Crushed velvet is soft and drapey, which looks lovely but slumps in a bow. Look for a stiff-backed velvet or a velvet with a wired edge, since the wire lets you shape the loops and keeps them from collapsing overnight.
Two-inch to three-inch width works best for a topper. Anything narrower gets lost against the branches, and anything wider turns into a heavy blob at the top of the tree. ## Fold, Pinch, and Wire the Center Cut two tails about ten inches long and set them aside. Make your first loop, pinch the base, and hold it while you twist a piece of floral wire around the pinch point.
Repeat for the second loop and pull both to the same size. Add two smaller loops in front for a layered look, then wire the tails in behind. Wrap the center tightly with a short piece of ribbon to hide the wire, and fluff the loops with your fingers until they sit evenly. ## Anchor It Without Wrecking the Branches A top-heavy bow will tip over the moment someone bumps the tree.
Slide a chenille stem or a zip tie through the back of the bow and fasten it to the top branch, then tuck the ends into the needles so nothing shows. For a wreath, wire the bow to the frame at the bottom or off to one side rather than dead center. Off-center placement looks more natural and keeps the greenery visible.
Pick A Ribbon That Holds Its Shape
Stiff-backed or wired velvet keeps loops from collapsing. Aim for two to three inches wide so the bow reads clearly against the branches.
Fold, Pinch, And Wire The Center
Wire each loop at the pinch point, add smaller front loops for depth, and wrap the center to hide the wire before fluffing.
Anchor It Without Wrecking The Branches
Fasten the bow with a chenille stem or zip tie and tuck the ends into the needles. On a wreath, place it slightly off-center.
10. The Ribbon-and-Pinecone Tree Bow
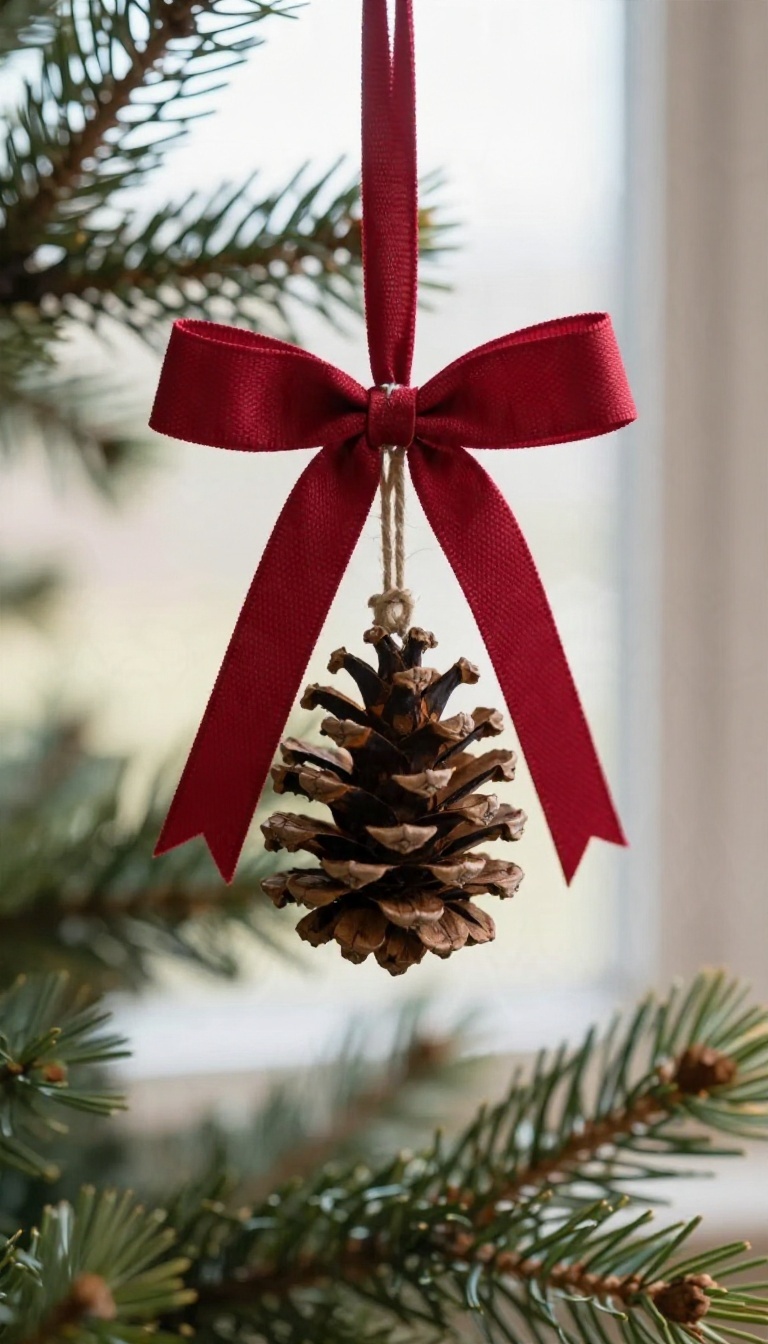
Tree ornaments don't have to come from a store shelf. A basic loop bow plus a pinecone or a snip of greenery gives you something that looks collected rather than bought. It's also a smart way to use up leftover ribbon from the other projects on this list.
The whole thing comes together in about ten minutes, and it hangs from a branch with a single piece of twine. No wire, no clips, no fuss. If you can tie your shoes, you can make this.
Start with a ribbon that holds its shape, like grosgrain or a stiff satin. Thin ribbon sags under the weight of a pinecone, so go a little wider than you think you need. The pinecone does most of the visual work here, so let the ribbon play a supporting role.
You're basically building a small loop bow and then tucking the natural element into the center knot. The pinecone sits flat against the branch, which keeps the ornament from spinning around. That little detail matters more than you'd expect once it's hanging.
Make The Base Bow
Cut a piece of ribbon about eighteen inches long. Fold it into two loops of equal size, pinch the middle, and tie it off with a short length of twine or a thin strip of the same ribbon. Leave the twine tails long enough to tie a hanging loop later.
Fluff the loops so they sit side by side instead of stacked. A slightly loose bow looks better with a pinecone than a tight, flat one.
Attach The Pinecone
Pick a small pinecone, roughly two to three inches tall. Anything bigger will pull the bow sideways on the branch. Hot glue works, but a dab of craft glue on the pinecone's base holds fine and gives you a few seconds to adjust.
Press the pinecone into the center knot and hold it for about thirty seconds. If you'd rather skip glue, thread a bit of floral wire around the pinecone's scales and twist it through the bow's center. A sprig of faux cedar or a tiny holly leaf works the same way when pinecones aren't your thing.
Hang It And Style It
Tie a loop of twine through the back of the bow and hang it near the branch tip, where it catches light. Cluster two or three at different heights on the same tree for a layered look. These also work as gift toppers if you swap the twine for a longer ribbon tail.
Make a batch in one sitting and you'll have ornaments and package decorations handled in a single afternoon.
11. A Buffalo Check Bow for Farmhouse Style
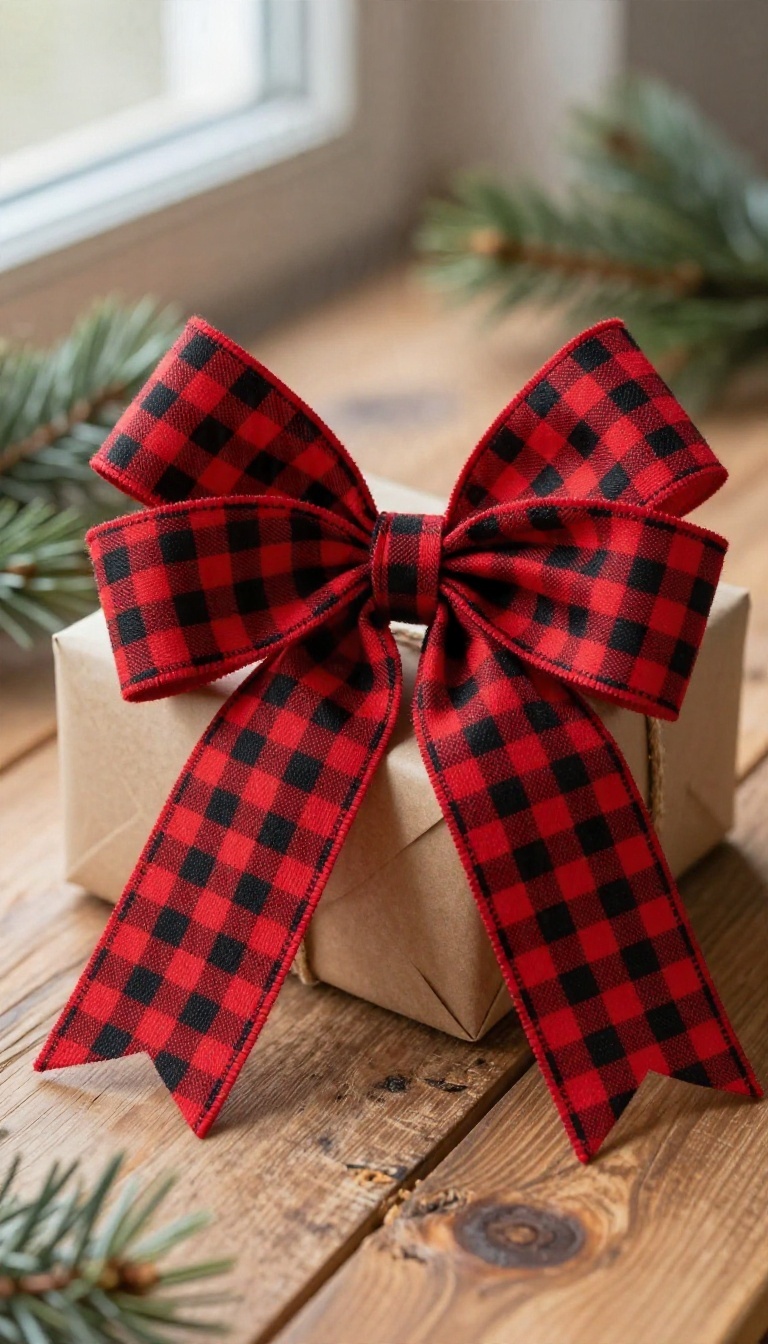
Buffalo check shows up on everything from throw pillows to tree skirts, and it earns its spot on a bow too. The pattern reads as cozy and a little bit country without tipping into kitsch, which is why farmhouse fans keep coming back to it. The trick is the ribbon itself.
You want a wire-edged version so the loops stay stiff and stand up instead of drooping. Once you have that, the rest is mostly about where you cut and how you line up those squares.
Grab a roll of wire-edged buffalo check ribbon, ideally two to two and a half inches wide. Wider ribbon makes a bigger statement, but anything over three inches gets hard to control on a small gift. You'll also want a pipe cleaner or a zip tie for the center and a pair of sharp scissors.
The wire is what gives this bow its crisp shape. It runs along both edges of the ribbon, so you can pinch and mold each loop until it holds exactly where you want it.
Getting The Pattern To Line Up
Buffalo check has a clear grid, and a sloppy bow makes that grid look crooked. Before you start folding, lay the ribbon flat and find the center of a square. That's the spot you want at the middle of your bow.
When you make each loop, keep the checks running straight up and down rather than on a slant. It takes an extra second per loop, but the finished bow looks deliberate instead of thrown together. If a loop twists, undo it and try again before you tie anything off.
Folding Loops That Stay Put
Make your first loop and pinch the base tightly between your thumb and finger. Hold that pinch while you build the next loop on the opposite side, then alternate back and forth until you have four to six loops total. Twist each loop slightly at the base so the wire locks into place.
Once the stack feels stable, wrap a pipe cleaner around the center and twist it tight at the back. Fluff the loops outward and give each one a small tug to even things out.
Hiding The Wire And The Tails
The wire edges can peek out at the loop tips, especially on the top loops where the ribbon folds sharply. Tuck those edges inward with your fingers so the raw wire sits behind the fabric. For the tails, cut a notch or a diagonal on each end, then fold the tip under about a quarter inch and press it flat.
That hides the wire and keeps the ends from fraying. A small dab of fabric glue on the fold seals it if you want extra insurance.
12. The Reusable Gift Bow You Can Untie and Keep
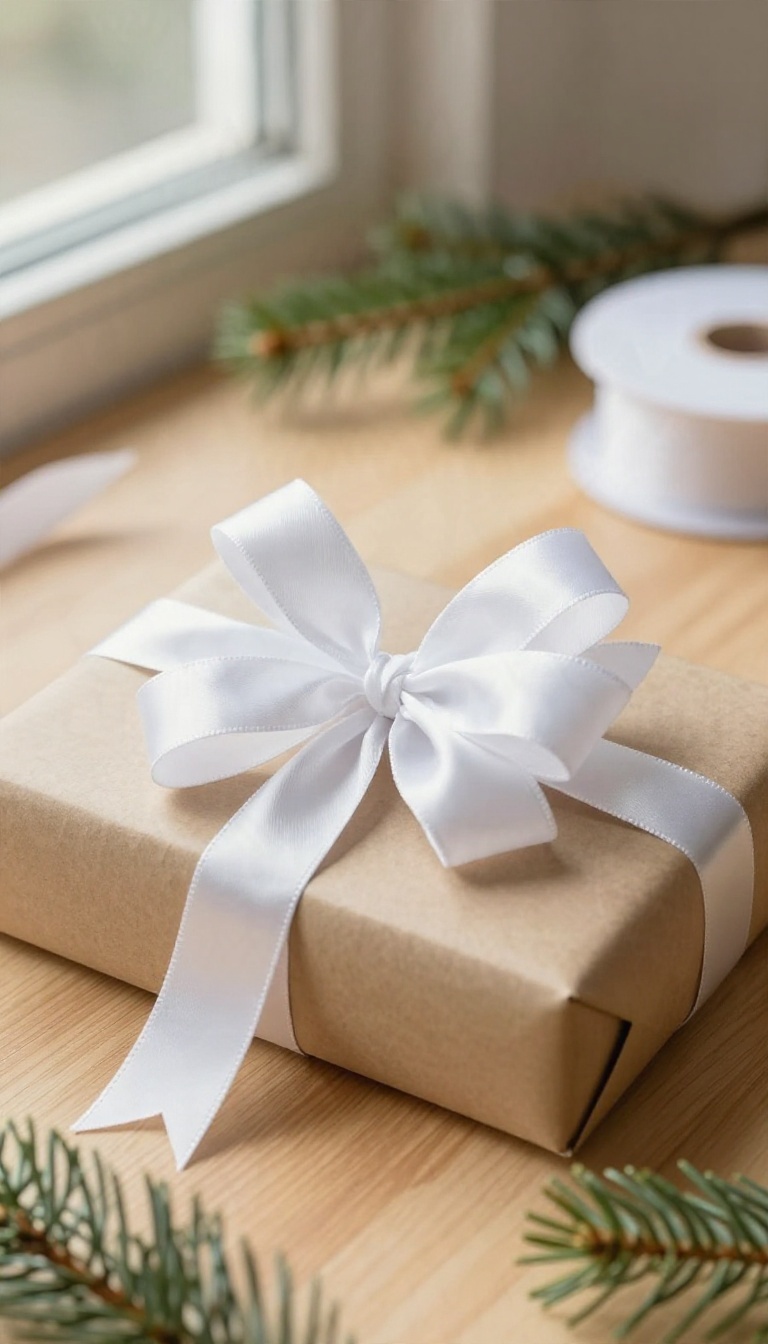
Most gift bows get one glorious afternoon on top of a present, then end up squashed in a trash bag by dinner. This one is built to survive the unwrapping. You tie it in a way that lets the whole thing slip off the box in one piece, so you can flatten it, stash it, and bring it back out next December.
It works because the bow holds itself together with a single knot rather than glue, staples, or a sticky backing. Pull the right tail and the whole thing comes undone without a snip. Tie it once, and you've basically made a bow you'll use for years.
The trick here is treating the bow like a shoelace instead of a decoration. You're making loops and a knot, not a permanent bond. That means no hot glue anywhere near the ribbon, and no trimming that can't be reversed.
Satin, grosgrain, or even a wide cotton ribbon all work. Something with a bit of body holds the loops better than floppy ribbon, but don't overthink it. If it ties a decent knot, it'll do the job.
Tie It So It Slips Off
Start by wrapping the ribbon around the box and crossing the ends underneath, just like you're tying a shoe. Bring both ends to the top and make your first knot, but leave it a little loose. Now form two loops and tie them together the same way you'd tie a bow on a sneaker.
Pull the loops snug, but not so tight that the knot locks up. The goal is a bow that holds its shape on the box but gives way when you tug the right tail. When the gift gets opened, the recipient pulls one end and the whole bow slides free.
No scissors, no ripped paper, no ribbon confetti.
Store It Flat Between Years
Once the bow comes off, give it a quick shake and lay it flat. Slip it into a small envelope or a zip bag so the loops don't get crushed under a pile of ornaments. Write the ribbon color on the bag if you keep a few of these around.
Next year you'll grab the right one without digging. A flat bow takes up almost no space, which is more than you can say for most holiday clutter.
Make It Part Of The Gift
There's a nice message baked into a bow that comes off clean. It tells the person on the other end that you thought past the unwrapping moment. You can even mention it as you hand the gift over.
A quick line like "that bow's a keeper" turns a small detail into a bit of charm. It costs you nothing and saves a little ribbon from the bin.
13. A Kid-Friendly Bow Made From Pipe Cleaners
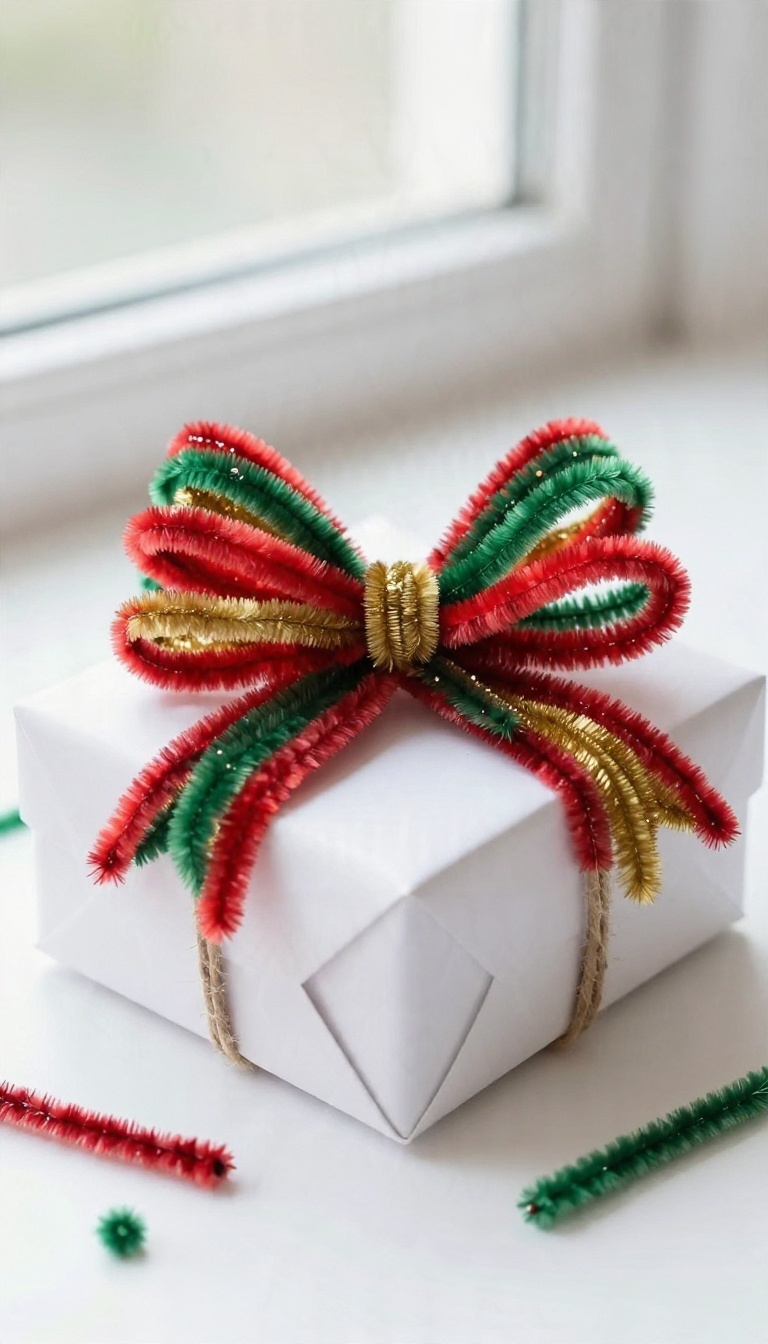
Pipe cleaners, also called chenille stems, bend into a bow shape without scissors, glue, or any help from an adult. That makes them a solid pick for a rainy afternoon when little hands want to make something for someone else. The finished bow holds its shape on its own, so it works on wrapped gifts, handmade cards, and even a classroom tree.
Grab a pack in red, green, and gold and let the kids take over the bow-making this year.
The whole process comes down to looping and twisting. Once a kid gets the rhythm, they can crank out a dozen of these in the time it takes to watch a holiday movie.
What You Need
A pack of chenille stems in two or three holiday colors covers everything. Standard 12-inch stems are the easiest for small hands to manage, and thicker ones hold their loop better than the thin craft-store kind. Skip the wire cutters unless you want shorter stems.
Kids can twist the ends together by hand, and that's really the only skill involved.
Twist-and-loop Method
Fold one stem in half and pinch the middle to mark the center. Bend each end into a loop and bring both loops back to the middle, then wrap a second stem tightly around the pinched spot a few times to lock everything in place. Fluff the loops outward so they look round instead of flat.
Leave the two tails of the wrapping stem long enough to twist around a gift or poke through a card.
Ways Kids Can Use Them
Tape one to the front of a homemade card, or thread the tails through a punched hole and twist them on the back. On presents, skip the tape and wrap the stems around the ribbon instead, so the bow stays put. They also clip easily onto tree branches and small wreaths, which means kids can decorate a mini tree in their room without any hooks or wire.
FAQ
What kind of ribbon works best for DIY Christmas bows?
Wire-edged ribbon holds its shape best for structured bows, while satin and grosgrain work well for simpler loops. Burlap and mesh suit wreaths, and fabric scraps are fine for soft, rustic looks.
Do I need a bow maker to make these?
No. Most of these bows use your hands, a fork, or a simple cardboard template. A bow maker speeds things up, but it isn't required for any of the ideas here.
How do I keep a bow from flopping on a wreath?
Use wire-edged ribbon and pinch the center tightly with floral wire. Attaching the bow to the wreath frame with wire rather than glue also keeps it from sagging.
Can I make these bows ahead of time?
Yes. Store finished bows flat in a box or hang them so they don't crush. Wire-edged and fabric bows hold up for weeks, so you can make a batch before the busy season.
How much ribbon does one bow usually take?
A small gift bow takes about a yard, a tree bow around two yards, and a large wreath bow can use three to four yards. Buy a little extra if you're matching patterns.
Conclusion
Thirteen bow ideas is plenty to work with, so start with the one that matches the ribbon already in your drawer and the amount of time you can spare. A simple loop bow takes five minutes, while a layered or wired version might eat a whole evening. Either way, you end up with something that looks far more expensive than it cost.
Don't stress about symmetry or perfect tails. A slightly lopsided bow still reads as festive once it's on a gift or a branch.