How to Clean a Shower Door in 13 Streak Free Steps
A sparkling glass shower door can make your entire bathroom feel brand new. But keeping it streak-free often feels like a losing battle against soap scum and hard water. You scrub, you spray, and still end up with cloudy smears.
The good news is that achieving a crystal-clear finish doesn't require harsh chemicals or endless elbow grease. With the right technique and a few simple tools, you can banish streaks for good. This guide breaks down the process into 13 actionable steps.
Each one tackles a specific part of the cleaning routine, from prepping the surface to the final polish. By the end, you'll have a shower door that looks like it just came out of the showroom.
1. Gather Your Streak-Busting Arsenal
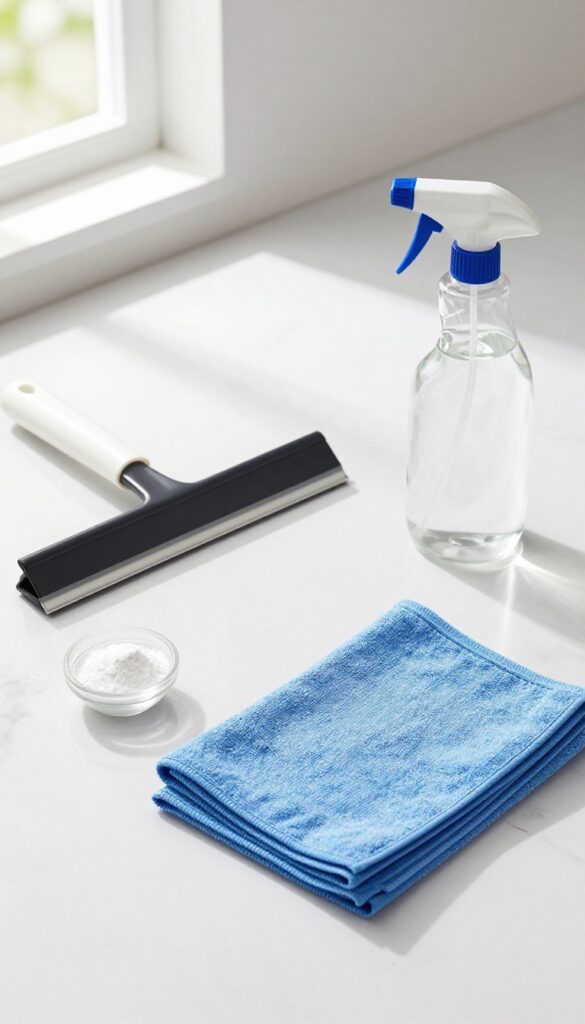
Before you dive in, having the right tools on hand makes all the difference. You don't need a closet full of specialty products—just a few essentials that work together to cut through grime without leaving residue. Think of this as prepping your cleaning kit so you're not scrambling mid-scrub.
The right supplies turn a frustrating chore into a quick, satisfying task. Here's what you'll need and why each item matters.
The Squeegee: Your Mvp
A good squeegee is non-negotiable for streak-free glass. Choose one with a rubber blade that's at least 10 inches wide—narrow ones take too long. Use it after every shower to prevent water spots from forming in the first place.
Microfiber Cloths: Lint-free Magic
Skip paper towels and old rags. Microfiber cloths trap dirt and absorb water without leaving lint or streaks. Keep a few dedicated ones for glass only—they work best when clean and dry.
The Cleaning Trio: Vinegar, Dish Soap, Baking Soda
White vinegar cuts through hard water stains, dish soap dissolves soap scum, and baking soda provides gentle abrasion for stubborn spots. Mix equal parts vinegar and dish soap in a spray bottle for an all-purpose glass cleaner. Add baking soda to make a paste for tough buildup.
2. Dry Scrape Loose Debris First
You might be tempted to grab a spray bottle and start scrubbing right away. But if there's loose grit or dried soap flakes on the glass, you're just grinding that debris into the surface. A quick dry scrape clears the way for a scratch-free clean.
Use a plastic scraper or an old credit card to gently lift off any crusty bits. Hold the scraper at a low angle—almost flat against the glass—and push forward with light pressure. You'll hear a faint crunching sound as the debris pops off.
Focus on the lower edges and corners where soap scum tends to build up. This step takes less than a minute but makes a huge difference in preventing micro-scratches that can dull the glass over time.
Why Dry Scraping Matters
Wet scrubbing can actually smear loose particles across the glass, turning them into an abrasive paste. Dry scraping removes them before any liquid touches the surface. It's especially important if your water is hard, because mineral deposits can be sharp.
Skipping this step is like sanding your shower door every time you clean it.
Best Tools For The Job
A dedicated plastic razor scraper is ideal—you can find them at hardware stores or online. An old credit card or gift card works in a pinch, but avoid metal scrapers or anything with a sharp edge. You want something that flexes slightly to conform to the glass.
Always inspect the tool for nicks or rough spots before use.
When To Skip This Step
If your shower door is relatively new or you clean it weekly, you might not have much loose debris. In that case, a quick rinse with water is enough. But if you can see visible flakes or grit, take the extra 30 seconds to scrape.
Your glass will thank you.
3. Mix a Vinegar and Dish Soap Solution
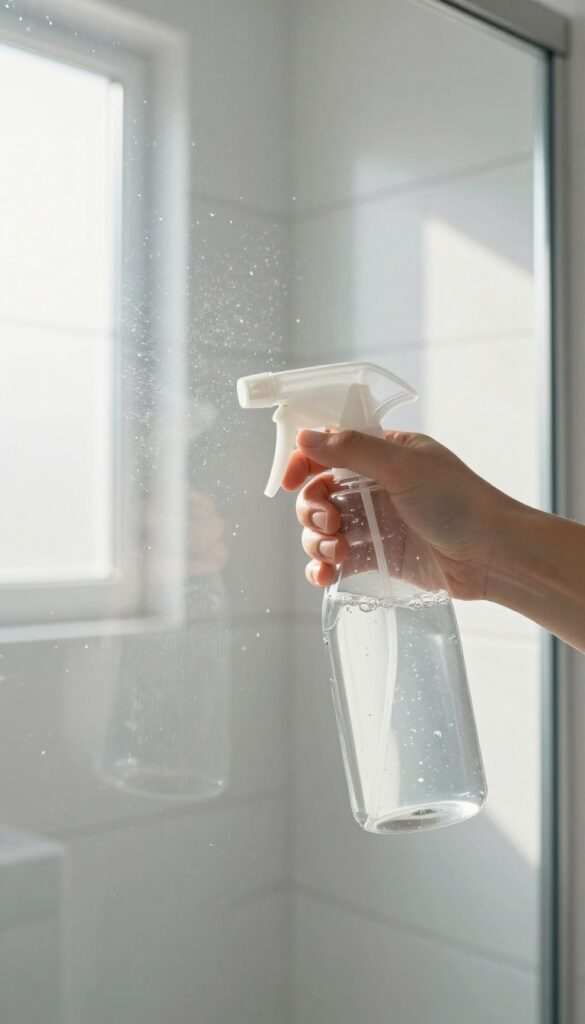
This simple DIY cleaner is a powerhouse against soap scum and grime. White vinegar naturally breaks down mineral deposits, while dish soap cuts through greasy residue. Together, they create a streak-fighting solution that's safe for glass and gentle on your hands.
Combine equal parts white vinegar and warm water in a spray bottle, then add a few drops of dish soap. Shake gently to mix. The vinegar dissolves hard water stains, and the soap helps lift oils and body wash residue.
This solution works best when applied directly to the glass and left to sit for a few minutes before scrubbing.
Why This Combo Works
Vinegar's acidity breaks down the calcium and magnesium in hard water, while dish soap's surfactants grab onto oily soap scum. Together, they tackle both types of buildup without harsh fumes or expensive specialty products.
How To Mix It Right
Use a 1: 1 ratio of vinegar to warm water. Warm water helps the ingredients blend and react faster. Add just 3-4 drops of dish soap—too much creates excess suds that leave residue.
Shake the bottle gently before each use.
Application Tips
Spray the solution generously onto the shower door, covering all cloudy areas. Let it sit for 5-10 minutes to break down grime. For stubborn spots, spray again and use a soft sponge or microfiber cloth to gently scrub.
Rinse thoroughly with warm water to avoid streaks.
4. Spray Generously and Let It Sit
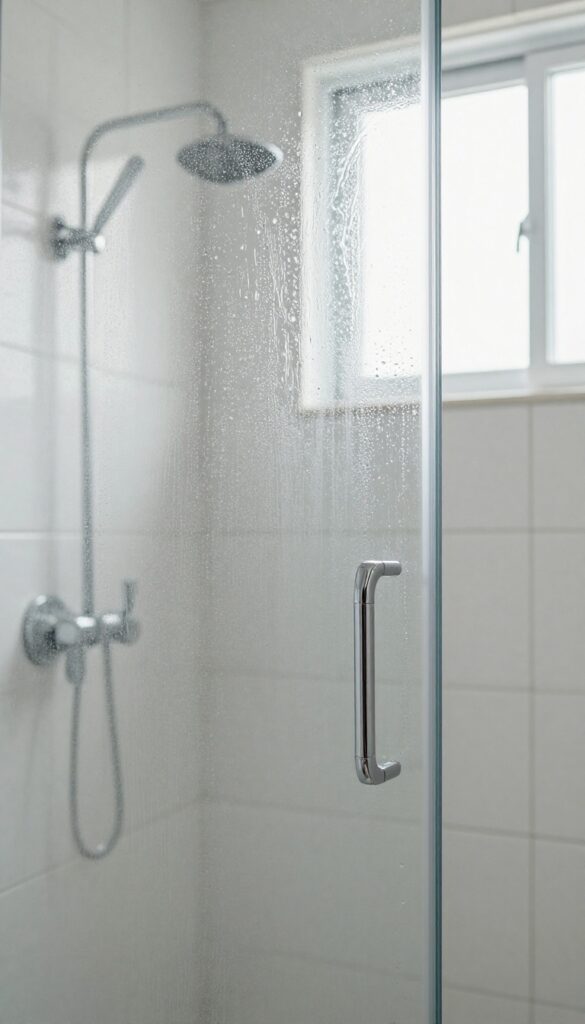
Once your cleaning solution is ready, it's time to put it to work. Spraying the door thoroughly and giving it a few minutes to soak is the secret to breaking down tough grime without scrubbing yourself sore. This step is all about letting chemistry do the heavy lifting.
Coat the entire door with the solution and let it sit for 5–10 minutes. This dwell time loosens stubborn deposits so you don't have to scrub as hard.
Why Dwell Time Matters
Soap scum and hard water stains are tenacious. A quick spray and wipe might remove surface dirt, but the real buildup needs time to soften. Letting the solution sit allows the acids (like vinegar or citric acid) to penetrate and dissolve mineral deposits.
You'll notice the difference when you wipe—less effort, better results.
How To Apply Evenly
Hold the spray bottle about 6–8 inches from the glass and use a sweeping motion from top to bottom. Make sure every inch is covered, especially the corners and edges where grime hides. Don't forget the door handle and hinges—they collect residue too.
A mist, not a stream, gives the best coverage.
Don't Let It Dry
If you live in a dry climate or the bathroom is warm, the solution might evaporate before the 5 minutes are up. If you see it drying, give it another light spritz to keep it wet. Dried solution can leave its own residue, so keep the glass damp during the soak.
5. Scrub with a Non-Abrasive Sponge
Now that the cleaning solution has had a moment to break down the grime, it's time to get scrubbing. But not all sponges are created equal—grab the wrong one and you could do more harm than good. The key here is gentle, circular motions with a soft touch.
Using a non-abrasive sponge or microfiber cloth, work in small circles to lift soap scum and hard water deposits. The circular motion helps agitate the residue without scratching the glass. Rinse the sponge frequently in clean water to avoid redepositing dirt.
For stubborn spots, let the solution sit a few extra minutes before scrubbing again.
Why Abrasive Pads Are A No-go
Steel wool, scouring pads, and rough scrub brushes might seem effective, but they can etch the glass surface. Once etched, the glass becomes more prone to collecting grime and looks permanently cloudy. Stick to soft sponges or microfiber—they're tough on dirt but gentle on glass.
The Best Sponges For Glass
Look for sponges labeled 'non-scratch' or 'safe for glass. ' Microfiber cloths are also excellent because they trap particles in their fibers rather than pushing them around. A soft cellulose sponge works well too, just avoid the green scrubby side.
Technique Tips For A Streak-free Finish
Work from top to bottom so drips don't mess up already cleaned areas. Use overlapping circular motions to ensure full coverage. Don't press too hard—let the cleaning solution do the heavy lifting.
Rinse your sponge or cloth often to prevent spreading residue.
6. Tackle Stubborn Spots with Baking Soda Paste
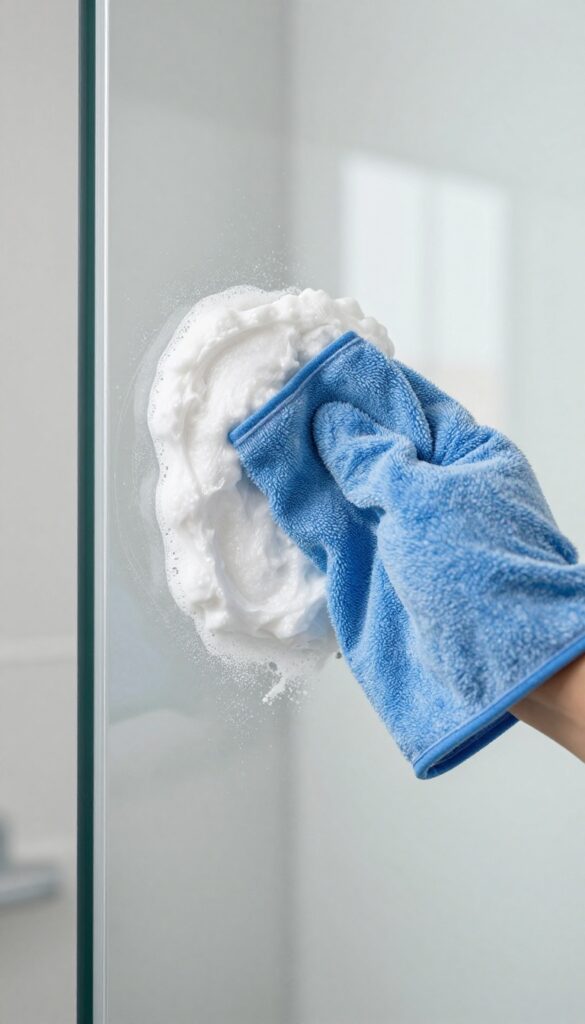
Sometimes a simple spray isn't enough. Hard water stains and thick soap scum can cling to glass like they're glued on. That's where a humble baking soda paste comes in—it's gentle enough to avoid scratches but tough on buildup.
Mix three parts baking soda with one part water to form a thick, spreadable paste. Apply it directly to the stubborn spots using a soft cloth or sponge. Let it sit for five to ten minutes to soften the deposits.
Then scrub gently in circular motions. Rinse thoroughly with warm water and dry with a microfiber cloth. For extra stubborn areas, add a splash of white vinegar to the paste for a fizzy boost—but avoid letting it dry on the glass.
Why Baking Soda Works
Baking soda is mildly abrasive, which means it can physically scrub away mineral deposits without scratching the glass. It's also alkaline, helping to break down acidic soap scum. This makes it a safe, non-toxic alternative to harsh chemical cleaners.
Application Tips For Best Results
For vertical surfaces, the paste can drip, so apply it thickly. Use a small spatula or your fingers (with gloves) to press it onto the stain. Work in small sections so the paste doesn't dry out before you scrub.
If it does dry, just re-wet it with a spray bottle.
When To Use A Vinegar Boost
If the paste alone isn't cutting it, add a tablespoon of white vinegar to the mix. The fizzing action helps lift grime. But be careful: vinegar is acidic, so don't let it sit too long on the glass—rinse within a few minutes to avoid etching.
7. Rinse Thoroughly with Hot Water
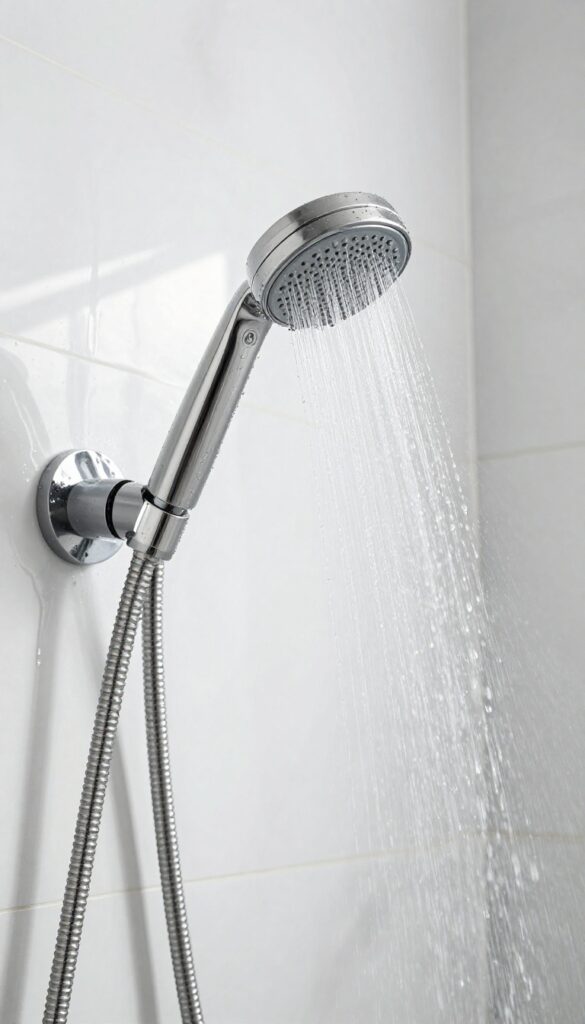
After all that scrubbing, the final step before drying is a thorough rinse. It might seem like a no-brainer, but skipping this or rushing through it is a common cause of streaks. Any leftover cleaning solution, loosened grime, or soap residue will dry into cloudy patches.
Using hot water helps dissolve and flush away residues more effectively than cold water. A handheld showerhead gives you precision, while a bucket allows you to pour water in a controlled stream. Work from top to bottom, making sure every inch of glass gets rinsed.
Pay extra attention to corners and edges where suds like to hide.
Why Hot Water Works Better
Hot water is a better solvent than cold water. It helps break down any remaining cleaning agents and lifts away microscopic particles. This is especially important if you used a vinegar-based solution, as the acetic acid can leave a film if not fully rinsed.
The Right Rinsing Technique
Start at the top of the door and work your way down. Use a sweeping motion to cover the entire surface. If you have a handheld showerhead, adjust it to a wide spray pattern.
For a bucket, pour slowly and evenly. Don't forget the bottom edge and the track—residue often collects there.
Check For Missed Spots
After rinsing, look at the glass from an angle. If you see any suds or streaks, rinse those areas again. It's easier to fix now than after drying.
A final rinse with distilled water can also help prevent mineral spots if you have hard water.
8. Squeegee Immediately After Rinsing
Rinsing away all that cleaning solution feels satisfying, but the real magic happens in the next 30 seconds. If you let the water air-dry, you're basically inviting new water spots and mineral deposits to settle in. That's why grabbing your squeegee right after the final rinse is a game-changer.
You don't need to rush like you're in a race, but don't walk away either. The sooner you remove the water, the less chance it has to leave behind those cloudy streaks. This single habit can cut your cleaning frequency in half.
Starting at the top, pull the squeegee across the glass in overlapping strokes. Wipe the blade with a dry cloth between passes to prevent redepositing water.
The Right Technique For A Streak-free Finish
Start at the very top corner of the door. Pull the squeegee horizontally across the glass in a smooth, steady motion. Overlap each stroke by about an inch to avoid missing any spots.
After each pass, wipe the rubber blade with a clean, dry microfiber cloth. This removes the water collected on the blade so you're not just spreading it back onto the glass.
Why Overlapping Strokes Matter
If you leave gaps between strokes, those untouched areas will dry into water spots. Overlapping ensures complete coverage. It also helps push water toward the bottom of the door where it can drain away instead of pooling.
Think of it like mowing a lawn—you want every inch covered without doubling back.
Don't Forget The Edges And Corners
The squeegee is great for the main glass, but water loves to hide in the edges and corners. After you finish the main surface, use a dry microfiber cloth to quickly wipe the perimeter of the door, including the frame and the bottom track. This prevents water from seeping back onto the glass and creating new streaks.
9. Buff with a Microfiber Cloth for Extra Shine
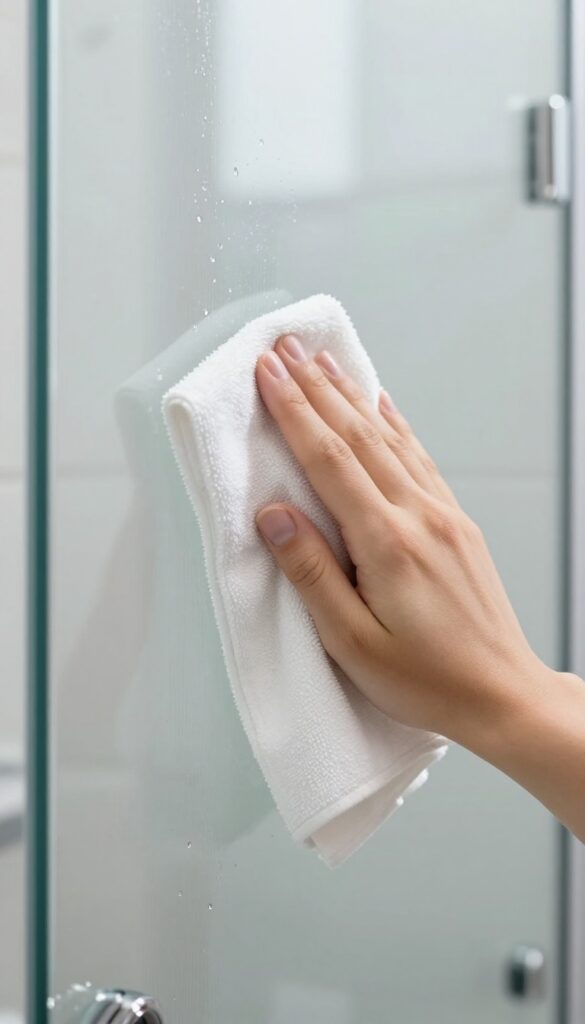
You might think the job is done once you've squeegeed the door, but there's one more step that makes all the difference. Buffing with a microfiber cloth removes the last traces of moisture and polishes the glass to a mirror-like finish. It's the secret weapon for a truly streak-free shower door.
Grab a clean, dry microfiber cloth—the kind you use for detailing cars or cleaning eyeglasses works perfectly. Fold it into a small pad and wipe the glass in a circular motion, covering every inch. Focus on edges and corners where water tends to pool.
You'll see the glass go from damp to dazzling in seconds. This step also helps prevent water spots from forming as the glass air-dries.
Why Microfiber Works Best
Microfiber cloths have ultra-fine fibers that trap moisture and dust without scratching the glass. Unlike paper towels, they don't leave lint or fibers behind. They also absorb more water than cotton cloths, so you can dry the entire door with just one or two wipes.
Plus, they're reusable—just toss them in the wash after use.
The Right Technique For A Streak-free Finish
Start at the top of the door and work your way down, using overlapping circular motions. This prevents streaks from forming and ensures even coverage. For stubborn spots, apply a little pressure, but don't press too hard—microfiber does the work for you.
Finish with a light, straight wipe from top to bottom to remove any circular marks.
When To Replace Your Microfiber Cloth
Over time, microfiber cloths lose their effectiveness. If you notice streaks or lint after buffing, it's time for a fresh one. Wash used cloths separately from other laundry, without fabric softener, to maintain their absorbency.
Replace them every few months for best results.
10. Don't Forget the Tracks and Frame
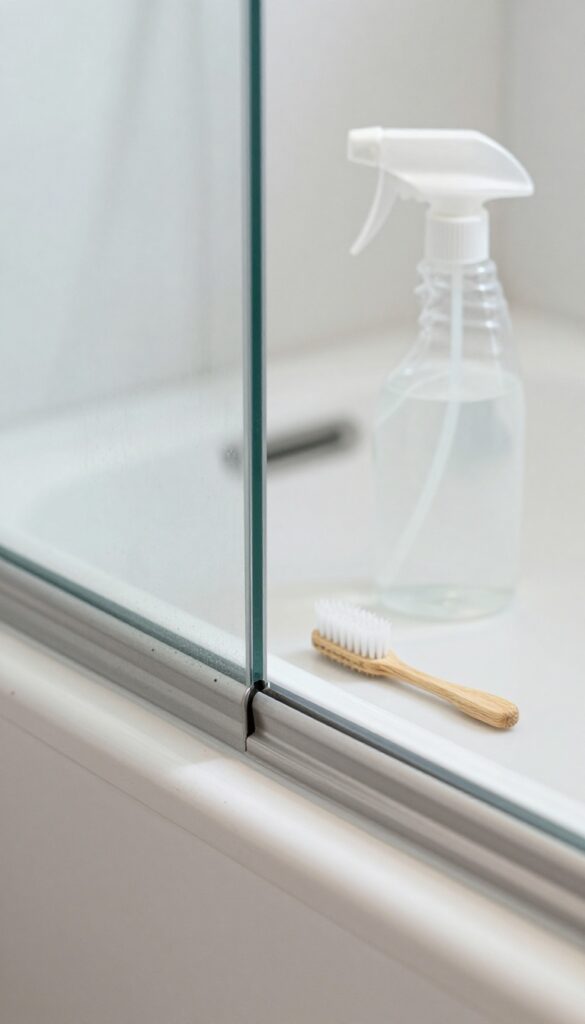
While the glass gets all the attention, the tracks and frame are where grime loves to hide. Soap scum, hair, and mildew build up in those crevices over time, and if you ignore them, that gunk can easily transfer back to your clean glass. Plus, neglected tracks can lead to mold growth and even affect how smoothly your door slides.
The Right Tool For The Job
An old toothbrush is perfect for scrubbing those tight corners and grooves. Its bristles can reach into the narrow tracks without scratching the finish. If you have a lot of buildup, a small scrub brush with stiffer bristles works even better.
Vinegar Solution For The Win
Mix equal parts white vinegar and warm water in a spray bottle. Spray the solution directly into the tracks and along the frame, letting it sit for a few minutes to loosen the grime. Then, dip your toothbrush in the solution and scrub vigorously along the entire length of the track.
Rinse And Dry Thoroughly
After scrubbing, rinse the tracks and frame with warm water. A handheld showerhead makes this easy. Then, wipe them dry with a microfiber cloth or an old towel.
Don't skip this step—moisture left in the tracks is an open invitation for mold and mildew.
11. Apply a Rain-Repellent Coating
You’ve scrubbed, rinsed, and dried—now it’s time to make that effort last longer. A rain-repellent coating creates a hydrophobic barrier that forces water to bead up and roll off the glass, taking soap scum and minerals with it. This step isn’t essential, but it’s a game-changer for anyone tired of cleaning every week.
Commercial Glass Protectants
Products like Rain‑X for shower doors or dedicated glass sealants are widely available. Apply a small amount to a clean microfiber cloth, rub it onto the dry glass in circular motions, then buff until clear. These coatings typically last two to four weeks, depending on usage and water hardness.
Diy Vinegar And Car Wax Mix
Mix equal parts white vinegar and water in a spray bottle, then add a teaspoon of car wax. Shake well, spray onto the glass, and wipe with a clean cloth. The vinegar cuts through residue while the wax leaves a protective layer.
It’s cheaper than commercial options and works surprisingly well.
Application Tips For Best Results
For any coating, start with a perfectly clean and dry surface. Work in a well-ventilated area and avoid getting the product on the shower floor or tiles—it can make them slippery. Reapply every month or when you notice water no longer beads up.
A little effort now saves a lot of scrubbing later.
12. Establish a Daily Squeegee Habit
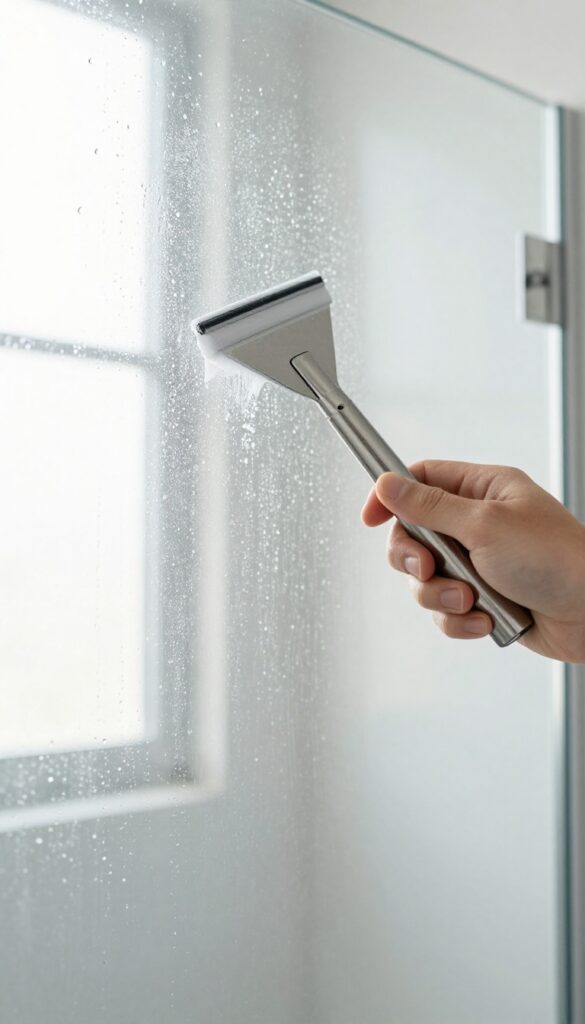
The secret to a streak-free shower door isn't a fancy cleaner—it's a simple tool and 30 seconds of your time. Making a daily squeegee habit is the single most effective way to prevent soap scum, hard water spots, and mineral buildup from ever bonding to the glass. Think of it as a tiny investment that saves you from hours of deep scrubbing later.
Squeegeeing after every shower removes the water droplets that leave behind mineral deposits as they evaporate. When those minerals dry, they create the cloudy film and stubborn spots you hate. By wiping the glass while it's still wet, you're stopping that process before it starts.
It's quick, easy, and makes your weekly cleanings almost effortless.
Choose The Right Squeegee
Not all squeegees are created equal. Look for one with a rubber blade that's at least 6 inches wide—narrower blades take too long. A stainless steel or plastic handle with a soft grip is ideal.
Avoid cheap models with flimsy blades that leave streaks. Replace the blade every few months when it starts to show wear.
Master The Technique
Start at the top corner and pull the squeegee horizontally across the glass, overlapping each stroke slightly. Wipe the blade with a microfiber cloth after every pass to keep it dry and streak-free. For large doors, use an S-shaped pattern: start at the top, pull down a few inches, then slide across and repeat.
Finish by wiping the bottom edge and corners with a cloth.
Make It A Routine
Keep your squeegee hanging inside the shower or on a hook nearby so it's always ready. After your last rinse, take 30 seconds to squeegee the door before you step out. That's it.
After a week, it'll feel automatic. Your future self—and your sparkling shower door—will thank you.
13. Schedule a Weekly Maintenance Clean
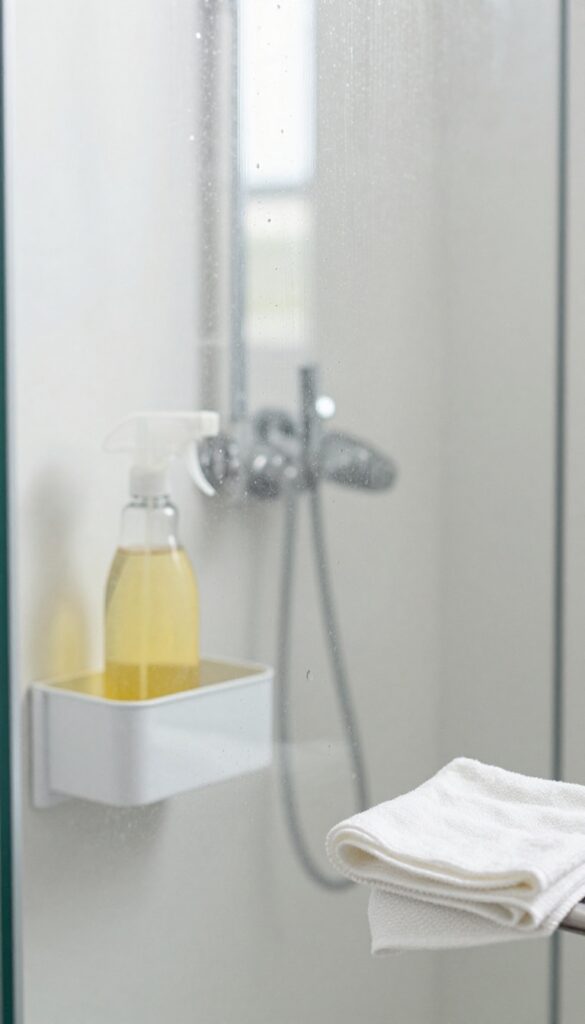
A little consistency goes a long way when it comes to keeping your shower door streak-free. Rather than waiting until grime builds up, a quick weekly wipe-down prevents soap scum and hard water spots from taking hold. This step is about building a habit that saves you time and effort in the long run.
Set aside five minutes once a week for a maintenance clean. You don't need to break out the heavy-duty scrubbers—just a spray bottle with your vinegar solution and a microfiber cloth will do. Spray the door, let it sit for a minute, then wipe it down.
Follow up with a squeegee to remove excess moisture. This routine keeps the glass clear and reduces the need for deep cleaning sessions.
Why Weekly Maintenance Works
Soap scum and mineral deposits build up gradually. By cleaning weekly, you remove these residues before they have a chance to harden and bond to the glass. This makes each cleaning quicker and easier, and it keeps the door looking pristine between deep cleans.
The Perfect Weekly Routine
Start by mixing a 50/50 solution of white vinegar and water in a spray bottle. After your shower, spray the door, let it sit for 30–60 seconds, then wipe with a microfiber cloth. Finish with a squeegee to prevent water spots.
If you prefer, you can use a commercial glass cleaner, but vinegar is effective and inexpensive.
Tips For Sticking To The Habit
Keep your cleaning supplies within arm's reach of the shower. A small caddy with your spray bottle and squeegee makes it easy to grab them when you're done. Set a recurring reminder on your phone until it becomes automatic.
Once you see how much easier maintenance is compared to deep cleaning, you'll never skip it.
FAQ
What is the best homemade cleaner for shower doors?
A mixture of equal parts white vinegar and warm water with a few drops of dish soap works great. It cuts through soap scum and hard water stains without harsh chemicals.
How do I prevent streaks after cleaning?
Rinse thoroughly to remove all cleaner residue, then squeegee immediately. Buff with a dry microfiber cloth for a final streak-free shine.
Can I use Windex on shower doors?
Yes, but it's not the most effective for heavy soap scum. Windex works best for light maintenance. For deep cleaning, use a vinegar-based solution or a dedicated glass cleaner.
How often should I clean my shower door?
For best results, squeegee after every shower and do a weekly wipe-down with a vinegar solution. A deep clean every month keeps the glass looking new.
What causes white spots on shower doors?
White spots are usually hard water mineral deposits. They can be removed with a vinegar soak or a baking soda paste. A rain-repellent coating helps prevent them.
Conclusion
Cleaning a shower door doesn't have to be a frustrating chore. By following these 13 steps, you can achieve a streak-free shine that lasts. The key is using the right tools, letting your cleaner do the work, and finishing with a good squeegee.
Make the daily squeegee a habit, and you'll spend less time scrubbing and more time enjoying your sparkling bathroom. Your shower door will thank you—and so will your morning routine.