10 How to Clean a Bed Mattress for Healthier Sleep
You spend a third of your life in bed, but when was the last time you actually cleaned your mattress? Dust mites, sweat, and dead skin cells build up fast, turning your sleep sanctuary into a bacteria buffet.
A dirty mattress doesn't just smell—it can trigger allergies and disrupt your rest. The good news is you don't need professional help.
With a few simple steps and household staples, you can deep clean your mattress and breathe easier tonight. Here are 10 practical ways to get it fresh, clean, and sleep-ready.
1. Strip the Bed and Vacuum the Surface
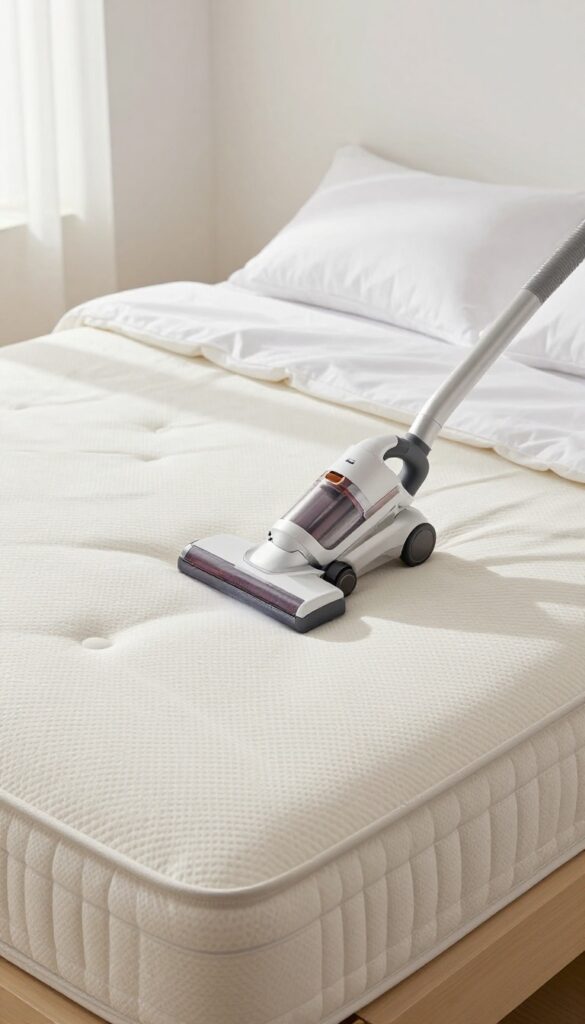
Before you do anything else, get everything off the mattress. That means sheets, pillowcases, mattress protectors, and any blankets or comforters. Toss them in the laundry so they can be washed while you work on the mattress itself.
Once the bed is bare, grab your vacuum cleaner with the upholstery attachment. Run it slowly across the entire surface of the mattress, paying extra attention to seams, crevices, and corners where dust and debris love to hide. This simple step lifts loose dirt, dust mites, pet dander, and hair that have settled into the fabric.
Don't forget the sides of the mattress—they collect dust too. A thorough vacuuming preps the mattress for deeper cleaning and instantly makes it feel fresher.
Why Vacuuming First Matters
Skipping this step means you'll just be pushing dirt around when you apply cleaning solutions later. Vacuuming removes the surface layer of grime so your cleaner can actually penetrate the fibers. It also reduces allergens right away, which is a win for anyone with asthma or allergies.
Best Vacuum Attachments For The Job
An upholstery brush is ideal because it's gentle yet effective at loosening embedded particles. If your vacuum has a crevice tool, use it along the edges and any tufted areas. Avoid using the beater bar—it can damage the mattress fabric or foam.
How Often To Vacuum Your Mattress
Aim to vacuum your mattress every time you change your sheets, or at least once a month. It only takes a few minutes and makes a big difference in prolonging mattress life and keeping your sleep environment clean.
2. Sprinkle Baking Soda to Absorb Odors
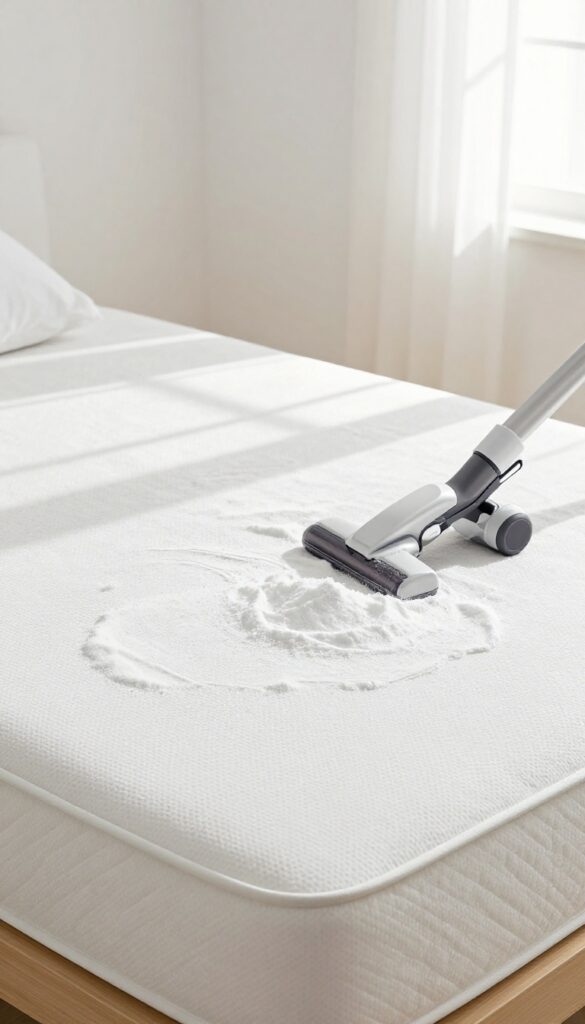
Baking soda is a natural deodorizer that works wonders on mattresses. It pulls out moisture, neutralizes smells, and leaves your bed feeling fresher. Best of all, it's cheap and non-toxic, so you can use it without worrying about harsh chemicals.
Why Baking Soda Works
Baking soda is alkaline, which means it reacts with acidic odors to neutralize them. It also absorbs excess moisture from sweat and spills, making it harder for mold and dust mites to thrive. This simple powder tackles both smell and humidity in one go.
How To Apply It Right
Start by stripping the bed and vacuuming the mattress surface. Then, sprinkle a generous, even layer of baking soda over the entire mattress. Don't be shy—use the whole box if you need to.
For extra freshness, mix in a few drops of essential oil like lavender or tea tree before sprinkling.
Let It Sit—then Vacuum
Let the baking soda sit for at least several hours, ideally a full day. The longer it rests, the more odors and moisture it absorbs. When you're ready, vacuum it up thoroughly using the upholstery attachment.
Make sure you get into every crevice to remove all residue.
3. Vacuum Again to Remove Baking Soda
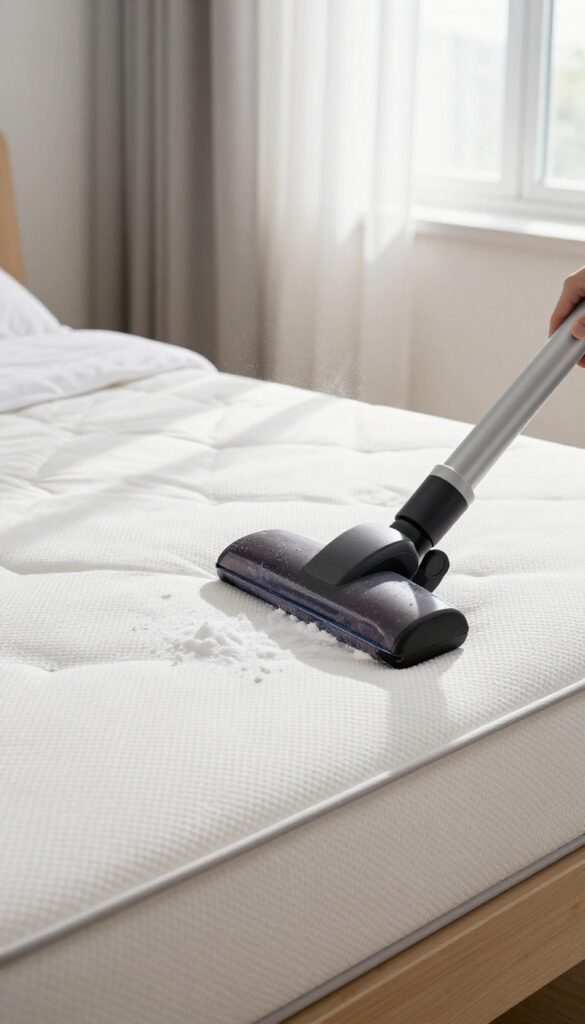
After letting the baking soda sit for several hours or overnight, it's time to suck it all up. This second vacuuming is just as important as the first—it removes the powder along with the odors and particles it absorbed. Don't rush this step; a thorough pass makes all the difference.
Use the upholstery attachment and go over every inch of the mattress. Work in slow, overlapping strokes so you don't miss spots. Pay extra attention to seams and edges where baking soda tends to collect.
If your vacuum has a HEPA filter, even better—it traps the fine dust that gets stirred up.
Why A Second Pass Matters
The first vacuuming cleared surface debris, but the baking soda has now pulled deeper impurities to the top. A second pass lifts those trapped odors, moisture, and microscopic allergens. Skipping this step leaves residue that can feel gritty and may irritate sensitive skin.
Tips For A Deep Vacuum
Empty the canister or replace the bag before you start so suction stays strong. Go over the mattress twice—once in one direction, then again perpendicular. For stubborn spots, use the crevice tool along the piping.
Finish by vacuuming the box spring and bed frame to catch any falling dust.
4. Spot Clean Stains with a Gentle Solution
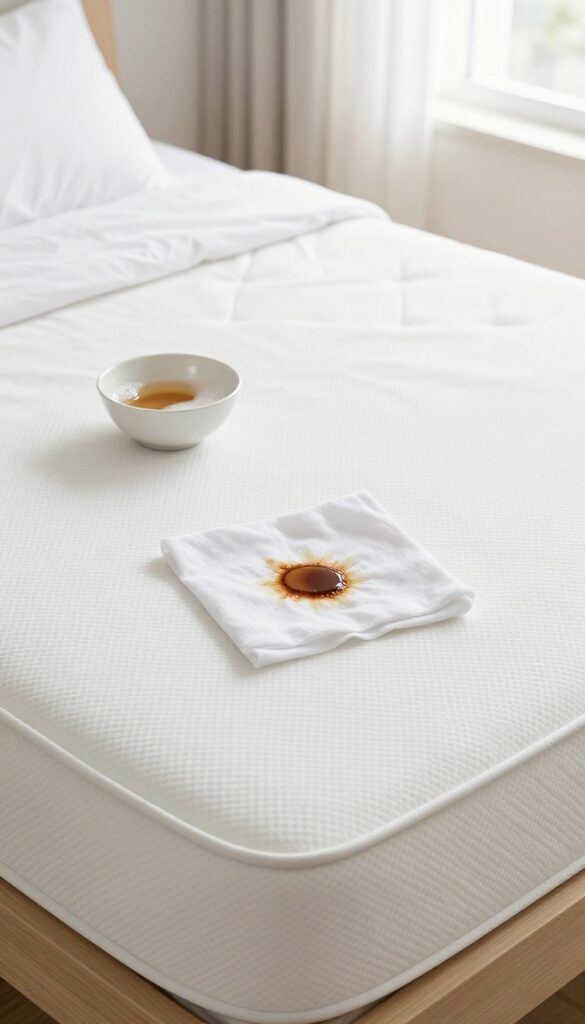
Stains happen—whether it's a spilled midnight snack, a pet accident, or a sweaty summer night. But before you reach for harsh chemicals, know that a simple DIY solution works just as well. The key is to treat stains quickly and gently, so you don't damage the mattress fibers or create a mold problem.
Mixing mild dish soap with warm water creates a stain-fighting solution that's tough on marks but soft on your mattress. Dab—don't rub—the stain with a clean cloth dipped in the soapy water. Rubbing pushes the stain deeper into the foam or padding, making it harder to remove.
After dabbing, blot the area with a dry cloth to soak up excess moisture. Let it air dry completely before putting sheets back on. If the stain is stubborn, a paste of baking soda and water can be applied, left for 15 minutes, and then vacuumed up.
Why A Gentle Solution Works Best
Harsh cleaners like bleach or ammonia can break down mattress materials, leave behind toxic residues, and even discolor the fabric. A mild dish soap solution is effective enough to lift most common stains—like sweat, urine, or light blood—without causing damage. It's also safe for memory foam and latex mattresses, which are sensitive to strong chemicals.
Step-by-step Spot Cleaning
First, blot up any fresh liquid with a dry towel. Then mix a few drops of mild dish soap with a cup of warm water. Dip a white cloth into the solution and wring it out so it's damp, not wet.
Gently dab the stain starting from the edges and moving inward to prevent spreading. Blot with a dry cloth to remove the soap. Repeat if needed, then let the area air dry with a fan or open window.
What To Avoid When Spot Cleaning
Never soak the mattress—excess moisture can lead to mold and mildew deep inside. Avoid colored cloths that might bleed dye onto the mattress. Also, skip scrubbing brushes or abrasive sponges that can fray the fabric.
Stick to soft white cloths or paper towels for the safest results.
5. Use Hydrogen Peroxide for Tough Stains
Some stains just won't budge with gentle cleaners. Blood, sweat, and other organic marks can set deep into mattress fibers, but hydrogen peroxide offers a simple fix. This common household item works by releasing oxygen that lifts stains without harsh scrubbing.
How Hydrogen Peroxide Works On Stains
Hydrogen peroxide is a mild bleaching agent that breaks down stain molecules. When applied, it fizzes as it releases oxygen, which helps lift the stain from the fabric. It's especially effective on protein-based stains like blood and sweat because it oxidizes the proteins, making them easier to remove.
Step-by-step Application
Start by blotting the stain with a dry cloth to absorb any excess liquid. Pour a small amount of 3% hydrogen peroxide directly onto the stain—don't soak the area, just enough to cover it. Let it fizz for a few minutes, then blot with a clean, damp cloth.
Repeat if needed, then let the area air dry completely.
Safety Tips And Precautions
Always test hydrogen peroxide on a hidden spot first to check for colorfastness. It can bleach some fabrics, so use sparingly on colored mattresses. Avoid mixing with other cleaners, especially vinegar or ammonia, as that can create harmful fumes.
Keep the room well-ventilated during use.
6. Deodorize with Essential Oils
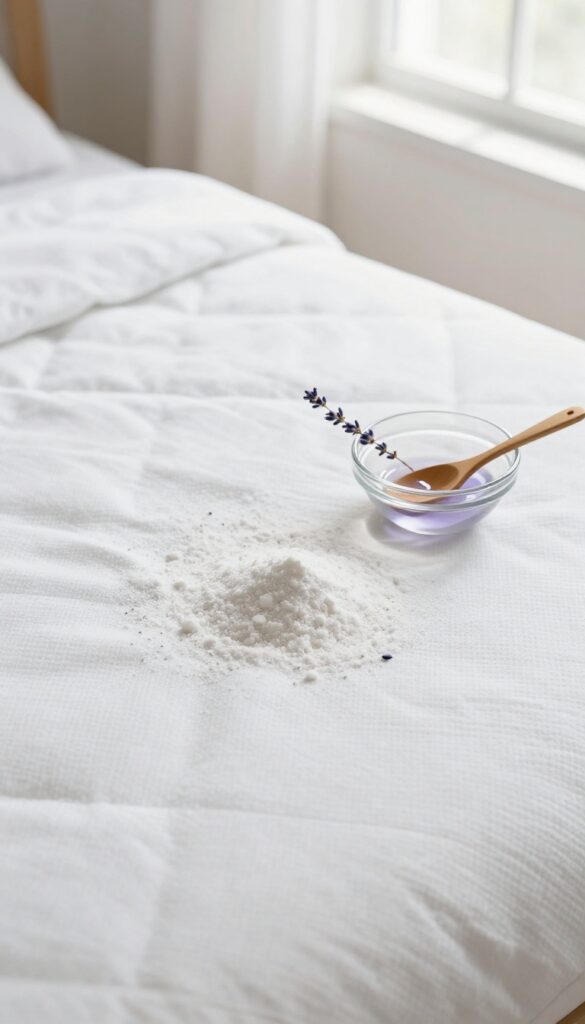
Baking soda is great for absorbing odors, but if you want your mattress to smell amazing, add a few drops of essential oil to the mix. Lavender promotes relaxation, while tea tree oil brings antimicrobial properties that help keep mold and bacteria at bay. This simple trick turns a basic cleaning step into an aromatherapy session.
Choose Your Oil Wisely
Not all essential oils are mattress-friendly. Stick with lavender, tea tree, eucalyptus, or lemon—they have natural antibacterial or antifungal properties. Avoid thick oils like sandalwood or vanilla, which can stain or leave a sticky residue.
A little goes a long way: 5 to 10 drops per cup of baking soda is plenty.
How To Mix And Apply
Sprinkle baking soda into a bowl, add your chosen oil, and stir with a fork to break up clumps. Then spread the mixture evenly over the mattress using a sieve or your hands. Let it sit for at least 30 minutes—or longer for deeper deodorizing.
The scent will infuse the fabric while the baking soda absorbs moisture and odors.
Vacuum Thoroughly Afterward
Once the time is up, vacuum the mattress with the upholstery attachment. Make sure to get into seams and crevices where the powder can hide. Your mattress will smell fresh without being overpowering.
If you're sensitive to scents, use fewer drops or skip the oil altogether—baking soda alone works well too.
7. Sun-Dry the Mattress to Kill Dust Mites
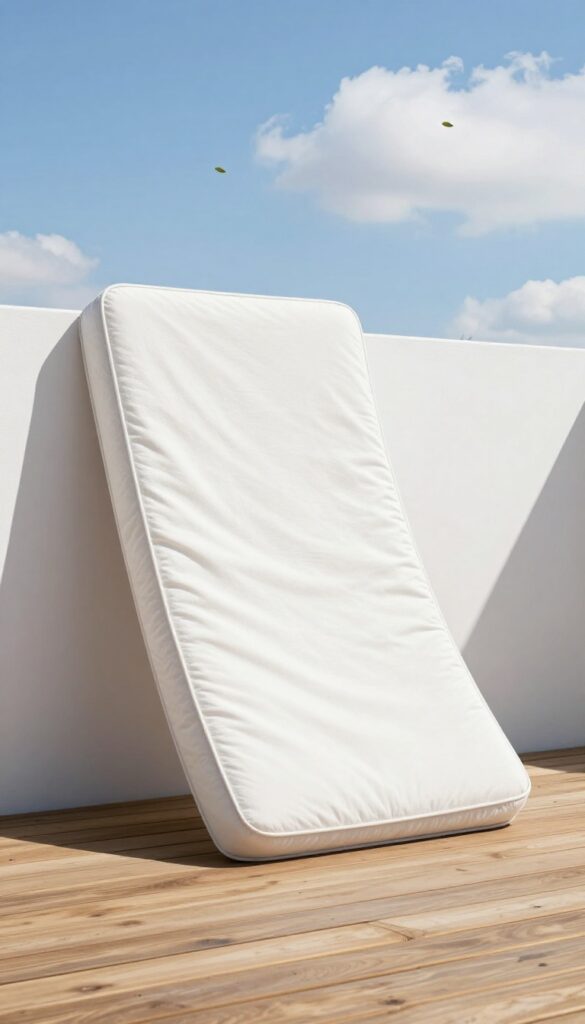
Sunlight is a powerful, natural disinfectant. If you have the space and the weather cooperates, moving your mattress outside for a few hours can do wonders. UV rays from the sun penetrate deep into the mattress fibers, killing dust mites and their eggs.
Plus, the heat and fresh air help evaporate any trapped moisture, leaving your mattress drier and less hospitable to allergens. It's a simple, chemical-free step that boosts your cleaning routine.
Sun-drying is especially effective after you've spot-cleaned stains or used baking soda. The combination of UV light and airflow accelerates drying and amplifies the deodorizing effect. Just make sure to check the weather forecast—you want a dry, sunny day with low humidity.
Avoid leaving the mattress out too long if it's extremely hot, as intense heat can damage some materials.
Choose The Right Spot
Place your mattress on a clean, dry surface like a patio, deck, or even two sawhorses. Avoid direct contact with grass or dirt, which can introduce new allergens. If you don't have a clean outdoor area, you can prop the mattress against a sunny wall or open windows wide to let sunlight stream in.
Flip And Rotate For Even Exposure
Leave the mattress in direct sunlight for at least two to three hours on each side. Flipping it ensures both sides get equal UV exposure and airflow. If your mattress is too heavy to flip alone, ask for help or do one side one day and the other the next.
Watch The Weather And Timing
Midday sun (10 a. m. to 2 p. m. ) is most intense and effective for killing dust mites. But if it's extremely hot, limit exposure to avoid heat damage. Also, keep an eye on clouds—if rain is forecast, bring the mattress inside promptly.
A sudden downpour can undo all your hard work.
Let It Air Out Afterward
Once you bring the mattress back inside, let it air out in a well-ventilated room for another hour. This allows any residual moisture to dissipate and ensures the mattress is completely dry before you put on sheets. A dry mattress is less likely to harbor mold or dust mites.
8. Steam Clean for Deep Sanitization
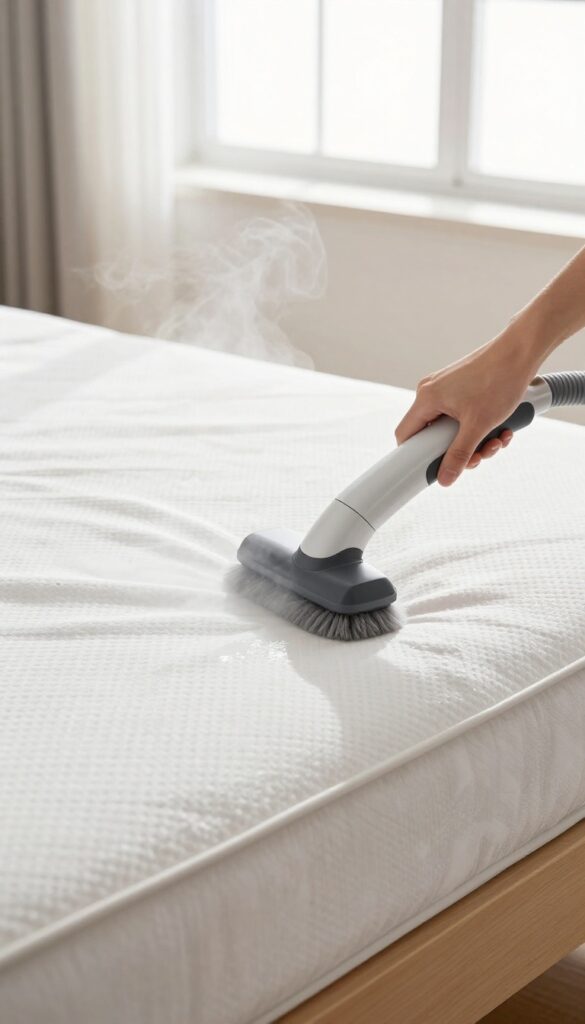
If you want to kill dust mites, bacteria, and bed bugs without using chemicals, steam cleaning is your best bet. The high heat penetrates deep into the mattress fibers, sanitizing every layer. It's especially effective for people with allergies or sensitive skin who react to harsh cleaners.
A handheld steam cleaner with a brush attachment works perfectly for mattress cleaning. Move the steamer slowly across the surface, overlapping each pass to ensure even coverage. The heat kills 99.
9% of germs and dust mites on contact. Just don't oversaturate—too much moisture can lead to mold growth inside the mattress.
Why Steam Works So Well
Steam reaches temperatures above 200°F, which is hot enough to destroy dust mites, bed bugs, and their eggs instantly. Unlike chemical sprays, steam leaves no residue, so you won't breathe in any fumes while you sleep. It also loosens embedded dirt and sweat, making it easier to vacuum afterward.
Step-by-step Steam Cleaning
First, strip all bedding and vacuum the mattress to remove loose debris. Fill your steamer with distilled water to avoid mineral buildup. Starting at the head, work in sections, keeping the steamer moving to prevent soaking.
After finishing, let the mattress dry completely—this can take 2 to 6 hours depending on humidity. Point a fan at the bed or open windows to speed up drying.
When Not To Steam Clean
Avoid steam cleaning if your mattress has a memory foam or latex top layer, as high heat can damage the foam's structure. Also skip it if your mattress is old or has visible mold—steam can spread mold spores. For these cases, stick with baking soda and vacuuming instead.
9. Protect with a Mattress Encasement
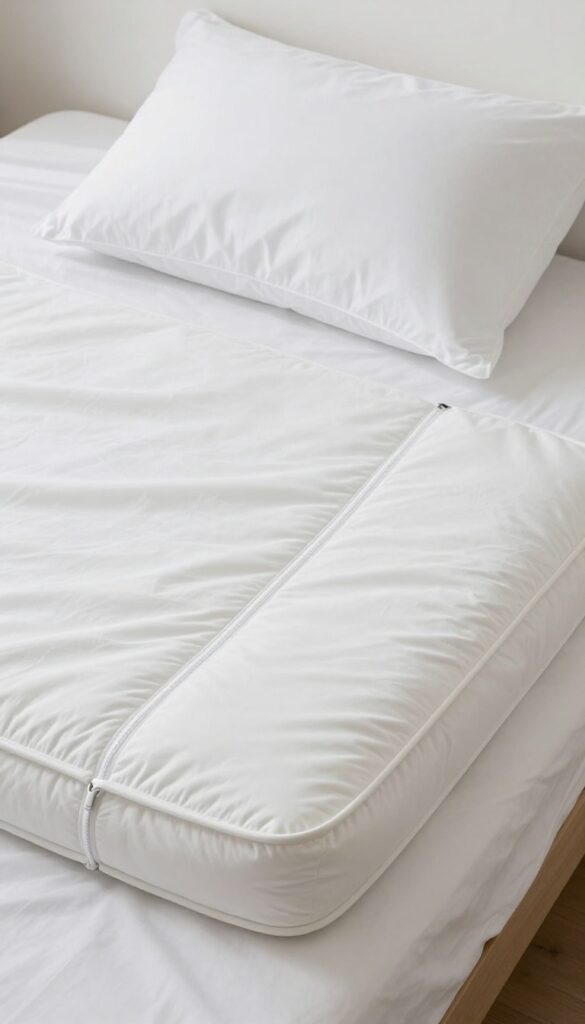
You've put in the work to deep clean your mattress—now keep it that way. A mattress encasement is like a shield that wraps around your entire mattress, zipping shut to block dust mites, bed bugs, allergens, and spills. It's a simple, one-time purchase that pays off in longer mattress life and healthier sleep.
After all that scrubbing and deodorizing, the last thing you want is for dirt and allergens to sneak back in. A good encasement creates a barrier that stops dust mites and bed bugs from colonizing your mattress, and it makes future cleaning as easy as wiping down the cover. Plus, it protects against accidental spills and stains, so your mattress stays fresh for years.
Why An Encasement Beats A Regular Mattress Protector
A standard mattress protector is often just a fitted sheet with a thin waterproof layer—it leaves the sides and bottom exposed. An encasement, on the other hand, fully encloses the mattress like a fitted bag. This six-sided protection is essential if you have allergies or want to prevent bed bugs from getting in or out.
Look for one labeled "allergen-proof" and "bed bug proof" with a zipper that's strong and secure.
What To Look For When Buying
Not all encasements are created equal. Choose one that's waterproof but breathable—vinyl or plastic covers can trap heat and make you sweat. Instead, opt for a fabric like cotton or polyester with a waterproof membrane.
Make sure it's machine washable so you can toss it in the laundry every few months. Check the depth to ensure it fits your mattress thickness, and look for a zipper with a flap that covers the zipper track to keep dust mites from escaping.
How To Install And Maintain Your Encasement
Once you've got your encasement, slip it over the mattress like a giant pillowcase, then zip it shut. Give it a few hours to settle, then make the bed as usual. To maintain it, wash the encasement every two to three months in warm water with a gentle detergent.
Avoid bleach or fabric softeners, which can damage the waterproof layer. If you ever notice a tear or the zipper breaks, replace it right away to keep the barrier intact.
10. Maintain a Regular Cleaning Schedule
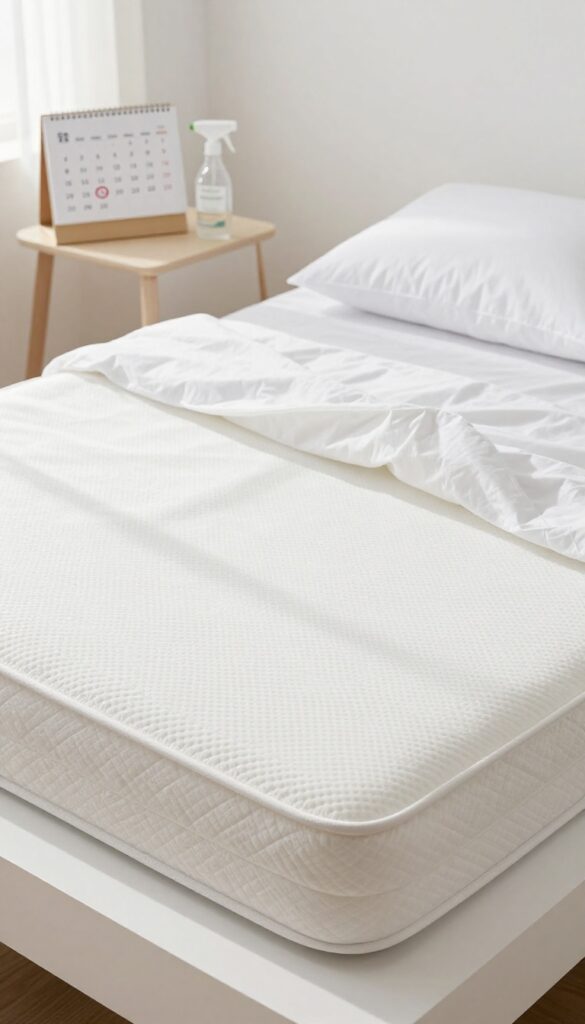
You've put in the work to deep clean your mattress—now keep it that way. A regular cleaning schedule prevents dirt and allergens from building up again, so you can enjoy fresher sleep every night. Consistency is key, and it doesn't have to be time-consuming.
Set a reminder to give your mattress a thorough cleaning every six months. In between, wash your bedding weekly in hot water to kill dust mites. These simple habits make a big difference in maintaining a healthy sleep environment.
Why Every Six Months?
That's the sweet spot for deep cleaning without overdoing it. Dust mites and allergens accumulate gradually, and a twice-yearly clean keeps them in check. Mark it on your calendar—spring and fall are perfect times.
Weekly Bedding Wash
Your sheets, pillowcases, and mattress protector should go in the wash once a week. Use hot water (at least 130°F) to kill dust mites. This simple step removes sweat, oils, and dead skin before they seep into your mattress.
Don't Forget The Mattress Protector
A good mattress protector is your first line of defense. Wash it every month or two, following the care label. It traps allergens and spills, keeping your mattress cleaner for longer.
FAQ
How often should I clean my mattress?
Aim to deep clean your mattress every 6 months. Vacuum it monthly and spot clean stains as they appear.
Can I use bleach on mattress stains?
No, bleach can damage mattress fibers and cause discoloration. Stick to mild soap, hydrogen peroxide, or enzyme cleaners.
Does baking soda really remove odors?
Yes, baking soda absorbs moisture and neutralizes odors. Let it sit for at least 4 hours for best results.
How do I dry a mattress after cleaning?
Air dry thoroughly by opening windows, using fans, or placing the mattress in sunlight. Never put a wet mattress cover back on.
Will steam cleaning damage my mattress?
Steam cleaning is safe for most mattresses if done lightly. Avoid oversaturating and ensure complete drying to prevent mold.
Conclusion
A clean mattress isn't just about looks—it directly affects your sleep quality and health. By making these cleaning methods part of your routine, you'll reduce allergens, dust mites, and odors that build up over time.
Pick the techniques that fit your schedule and mattress type, and stick with them. Your body will thank you with deeper, more restful sleep, and your mattress will last years longer.