10 How to Clean Burnt Pan Marks Without Harsh Scrubbing
You've scrubbed your pans until your arm aches, but those stubborn burnt marks just won't budge. Harsh chemicals and abrasive pads can ruin the surface, leaving you frustrated and out of options. Fortunately, there are gentler ways to restore your cookware without damaging it.
These 10 methods use common household ingredients to lift burnt residue with minimal effort. From baking soda pastes to fizzy cola soaks, each trick targets tough stains while keeping your pans in good shape.
No elbow grease required—just a little patience and the right technique. Let's get your cookware looking like new again.
1. Baking Soda and Water Paste
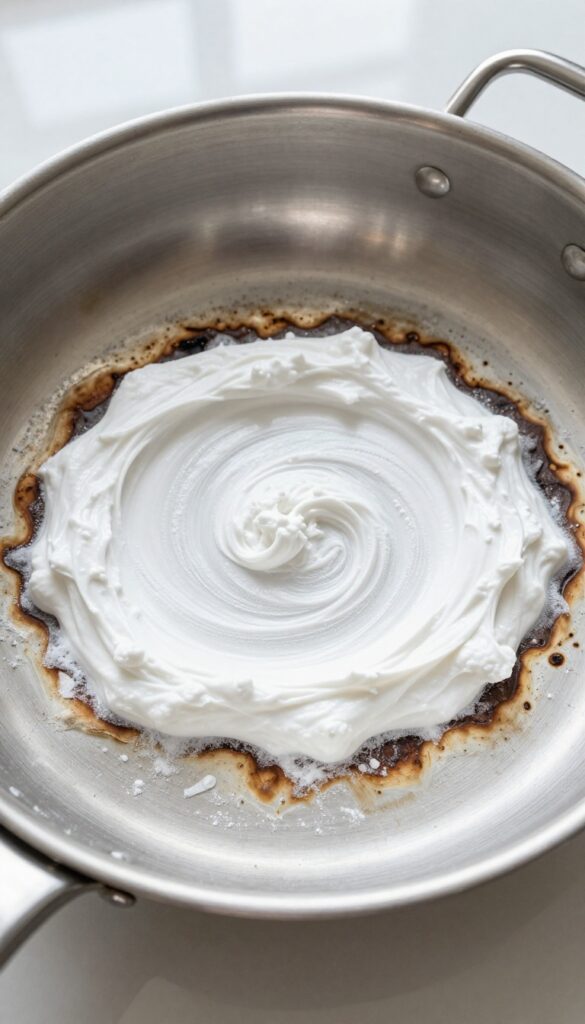
Baking soda is a kitchen superstar for a reason. It's mildly abrasive, so it can scrub away burnt marks without scratching your pans. Plus, it's gentle enough for non-stick surfaces.
All you need is baking soda and a little water to make a paste that works like magic.
To make the paste, mix three parts baking soda with one part water in a small bowl. Stir until it forms a thick, spreadable consistency. Apply it directly to the burnt areas, covering them completely.
Let the paste sit for about 15 minutes—this gives it time to break down the burnt residue. Then, simply wipe it away with a damp cloth or sponge. For stubborn spots, you can gently scrub with a soft sponge.
Rinse and dry your pan, and you'll see a noticeable difference.
Why It Works
Baking soda is a mild alkali that reacts with acidic burnt residues, helping to loosen them. Its fine particles provide gentle abrasion, lifting stains without scratching metal or non-stick coatings.
Tips For Best Results
Use warm water to make the paste—it helps dissolve the baking soda better. If the paste dries out, add a few drops of water to reactivate it. For extra tough marks, let the paste sit for up to 30 minutes.
What To Avoid
Don't use metal scrubbers or abrasive pads with this method. Stick to soft sponges or cloths to prevent scratches. Also, avoid using too much water—the paste should be thick, not runny.
2. Vinegar and Baking Soda Combo
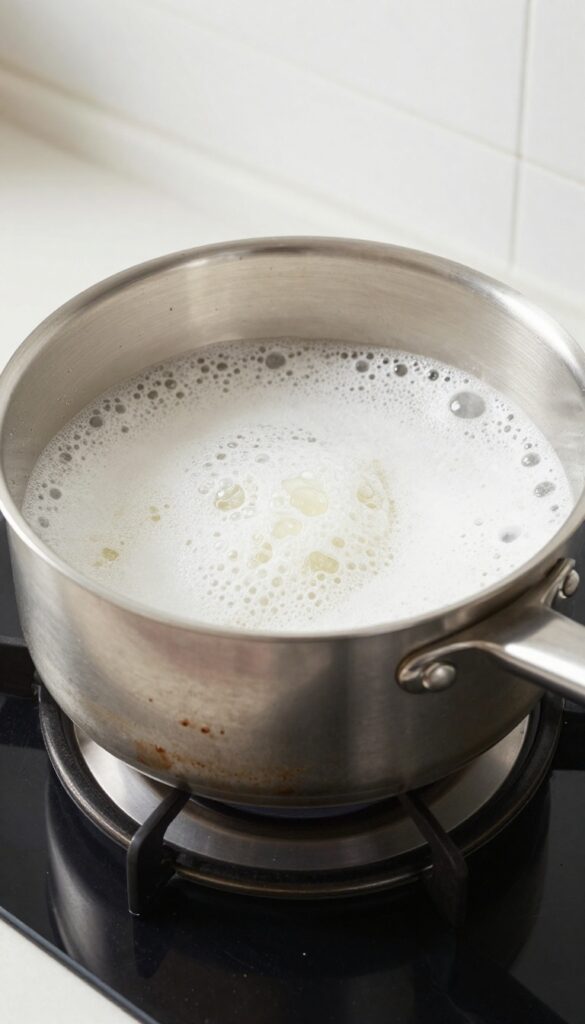
When burnt-on grime refuses to let go, a simple kitchen chemistry trick can save the day. White vinegar and baking soda create a fizzy reaction that lifts stubborn residue without any harsh scrubbing. This method works best on stainless steel and non-stick pans, but you can use it on most cookware with care.
Start by adding equal parts white vinegar and water to the pan—about a cup of each should do for a standard skillet. Bring the mixture to a boil and let it simmer for 5-10 minutes. The acidic vinegar helps break down the burnt food particles.
Remove the pan from heat and sprinkle a generous amount of baking soda over the surface. The reaction will foam up, loosening the charred bits. Let it sit until the fizzing stops and the pan cools down.
Then, simply rinse with warm water and wipe with a soft sponge. For extra stubborn marks, repeat the process or let the baking soda paste sit for a few minutes before rinsing.
Why This Combo Works
Vinegar is acidic, which dissolves mineral deposits and burnt food residue. Baking soda is mildly abrasive and alkaline, creating a gentle scrubbing action when combined with the acid. The carbon dioxide bubbles physically lift debris away from the pan surface, making it easy to rinse off without scrubbing.
Best Practices For Best Results
Use white vinegar for its neutral flavor and strong acidity. Avoid using this method on aluminum or cast iron pans, as vinegar can react with the metal. For non-stick pans, make sure the coating is intact before trying this method.
Always let the pan cool completely before handling to avoid burns.
What If The Marks Persist?
If some burnt spots remain after the first try, don't worry. You can make a thick paste with baking soda and a little water, apply it to the stubborn areas, and let it sit for 15-20 minutes before rinsing. For extra tough stains, repeat the boiling process with a higher vinegar-to-water ratio.
3. Dish Soap and Dryer Sheet Soak
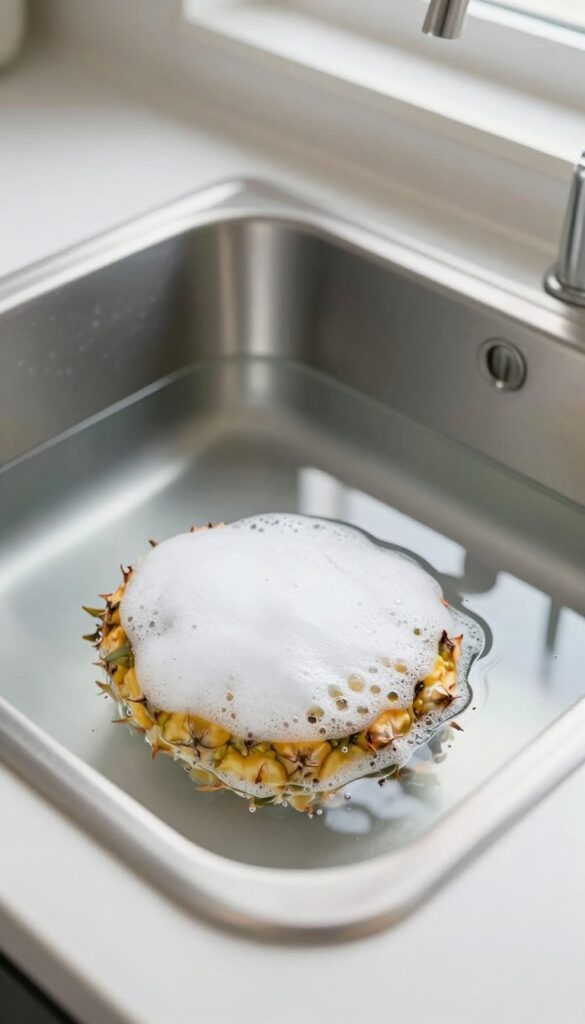
This trick might sound odd, but it works surprisingly well. The combination of dish soap and a dryer sheet creates a powerful soaking solution that loosens burnt-on food without any scrubbing. The fabric softener in the sheet contains surfactants that break down grease and carbonized residue, while the soap helps lift everything away.
Just fill your pan with warm water, add a squirt of dish soap, and drop in a dryer sheet. Let it sit overnight, and in the morning, the burnt marks will wipe off easily.
The dryer sheet soak is a gentle yet effective method that requires almost no effort. It's especially good for non-stick pans or delicate cookware that can't handle abrasive scrubbing. The fabric softener works by penetrating the burnt layer, making it soft and easy to remove.
For best results, use a fresh dryer sheet and make sure the water covers the burnt areas completely.
Why It Works
Dryer sheets are coated with fabric softeners that contain cationic surfactants. These compounds reduce surface tension and help break down stubborn food residues. Combined with dish soap, the solution becomes even more effective at lifting burnt-on grime without damaging the pan's surface.
Step-by-step Instructions
Start by filling the pan with enough warm water to cover the burnt marks. Add a generous squirt of dish soap and one unused dryer sheet. Let the pan soak for at least 8 hours or overnight.
After soaking, pour out the water and discard the sheet. Use a soft sponge to wipe away the loosened residue. Rinse thoroughly and dry.
Tips For Best Results
Use a fresh dryer sheet for each soak—reusing one won't be as effective. If the burnt marks are very thick, you can repeat the process or add a second sheet. This method works on stainless steel, non-stick, and ceramic pans, but avoid using it on cast iron, as the soap can strip seasoning.
4. Lemon and Salt Scrub
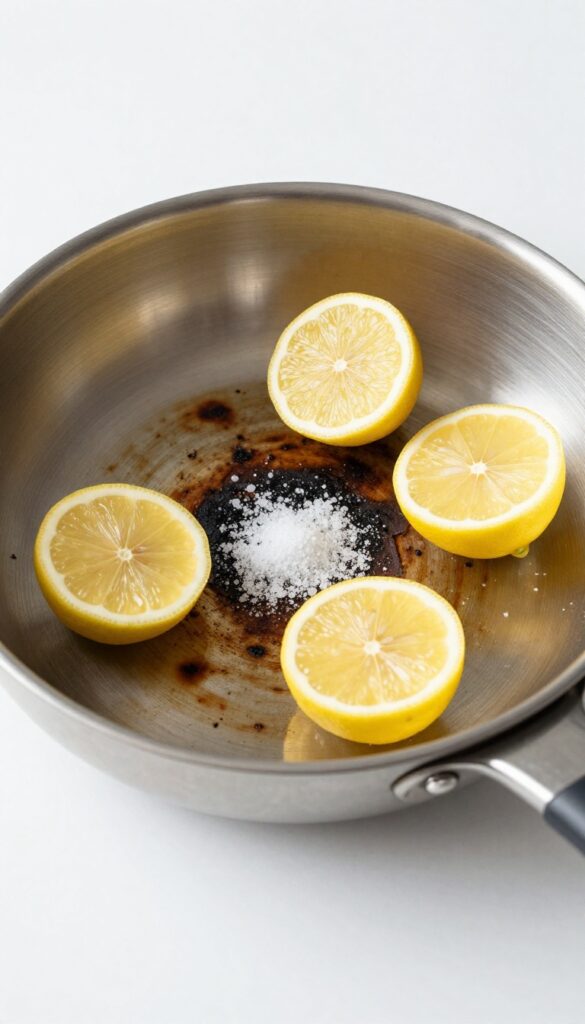
Sometimes the simplest solutions are hiding right in your kitchen. A lemon and some salt might not sound like a heavy-duty cleaning team, but together they can tackle burnt-on grime without any harsh chemicals. The acid in the lemon works to break down the burnt residue while the salt acts as a gentle abrasive.
It's a natural, effective method that leaves your pan smelling fresh.
This method is perfect for light to moderate burnt marks. It's quick, uses ingredients you already have, and won't damage non-stick surfaces if you're gentle. Just be sure to rinse thoroughly afterward to remove any salt residue.
How It Works
Lemon juice contains citric acid, which helps dissolve burnt food particles. Salt provides just enough abrasion to lift the stains without scratching the pan. Together, they create a mild chemical and physical scrub that's tough on grime but gentle on cookware.
Step-by-step Instructions
First, let the pan cool completely. Cut a lemon in half and sprinkle a generous amount of salt onto the cut side. Scrub the burnt areas in a circular motion, applying moderate pressure.
Rinse with warm water and check the results. Repeat if needed.
Tips For Best Results
Use coarse salt like kosher or sea salt for better abrasion. If the pan is heavily burnt, let the lemon-salt mixture sit on the marks for a few minutes before scrubbing. Avoid using this method on aluminum pans, as the acid can cause discoloration.
5. Cream of Tartar Solution
Cream of tartar isn't just for stabilizing egg whites—it's a mild acid that works wonders on burnt pan marks. When mixed into a paste, it gently breaks down stubborn residue without scratching. This method is especially effective on stainless steel and ceramic cookware.
Cream of tartar is a natural acidic powder that dissolves mineral deposits and burnt food particles. To use it, combine two tablespoons of cream of tartar with just enough water to form a thick paste. Apply the paste directly to the burnt areas, let it sit for 10 minutes, then scrub gently with a soft sponge and rinse.
The marks should lift away easily, leaving a shiny surface.
Why Cream Of Tartar Works
Cream of tartar is potassium bitartrate, a mild acid that reacts with burnt-on food residues. Unlike harsh chemicals, it breaks down the bonds without damaging the pan's finish. It's also non-toxic and safe for food contact surfaces.
Best Pans For This Method
This solution works best on stainless steel, ceramic, and enameled cookware. Avoid using it on non-stick pans, as the acidic paste can degrade the coating over time. For aluminum pans, test on a small area first.
Extra Tips For Stubborn Marks
For tougher stains, let the paste sit for up to 30 minutes. You can also add a few drops of lemon juice to boost acidity. If marks persist, repeat the process or combine with a gentle baking soda scrub afterward.
6. Hydrogen Peroxide and Baking Soda
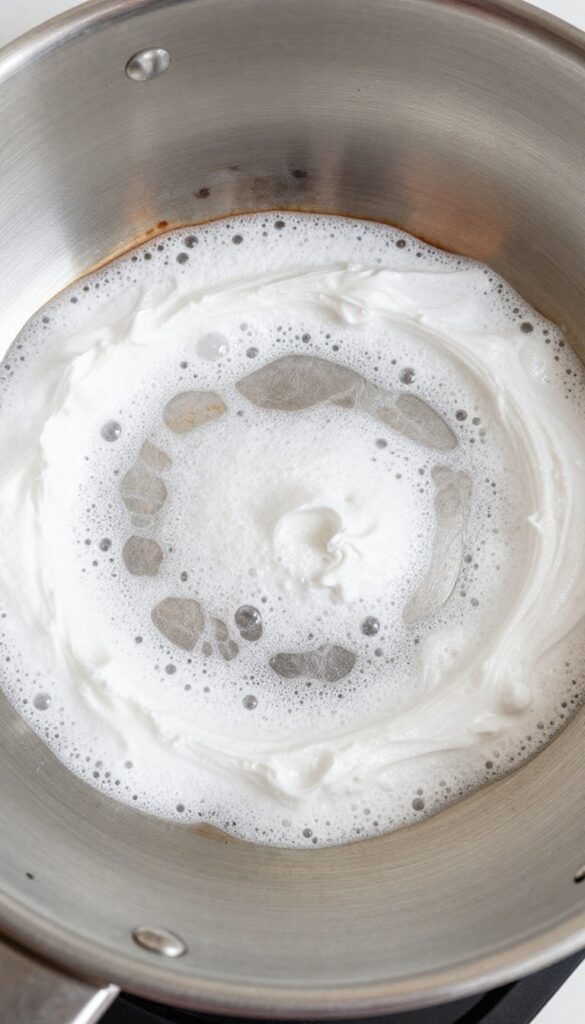
If you're looking for a gentle yet powerful way to lift burnt marks, hydrogen peroxide and baking soda make a surprisingly effective team. The peroxide reacts with the baking soda to create a bubbling action that helps loosen stubborn residue without any harsh scrubbing. This method is especially great for stainless steel and ceramic pans, where you want to avoid scratches.
This two-ingredient combo works because the fizzy reaction helps lift burnt particles from the pan's surface. The baking soda provides gentle abrasion, while hydrogen peroxide breaks down the burnt residue chemically. Together, they save you from elbow grease and keep your cookware looking pristine.
How To Apply The Mixture
Start by sprinkling a generous layer of baking soda over the burnt area. Then, slowly pour hydrogen peroxide directly onto the baking soda until it forms a thick paste. You'll see it start to bubble immediately.
Let the mixture sit for about 20 minutes—the longer, the better for tough stains. After that, rinse with warm water and wipe clean. For extra-stubborn marks, repeat or let it sit for up to an hour.
Why This Method Works So Well
Unlike harsh chemical cleaners, hydrogen peroxide is a mild oxidizer that breaks down organic residue without damaging the pan's coating. Baking soda is a gentle abrasive that won't scratch surfaces like steel wool would. The fizzy reaction helps lift burnt bits away from the pan, making them easy to rinse off.
It's safe for most cookware, including non-stick, stainless steel, and enamel.
Tips For Best Results
Use 3% hydrogen peroxide from the drugstore—it's strong enough to work but safe for kitchen use. Avoid letting the mixture dry completely; if it starts to dry, add a little more peroxide or water. For pans with heavy burnt layers, scrape off loose debris first, then apply the paste.
Always rinse thoroughly and dry your pan immediately to prevent water spots.
7. Cola Boil Method
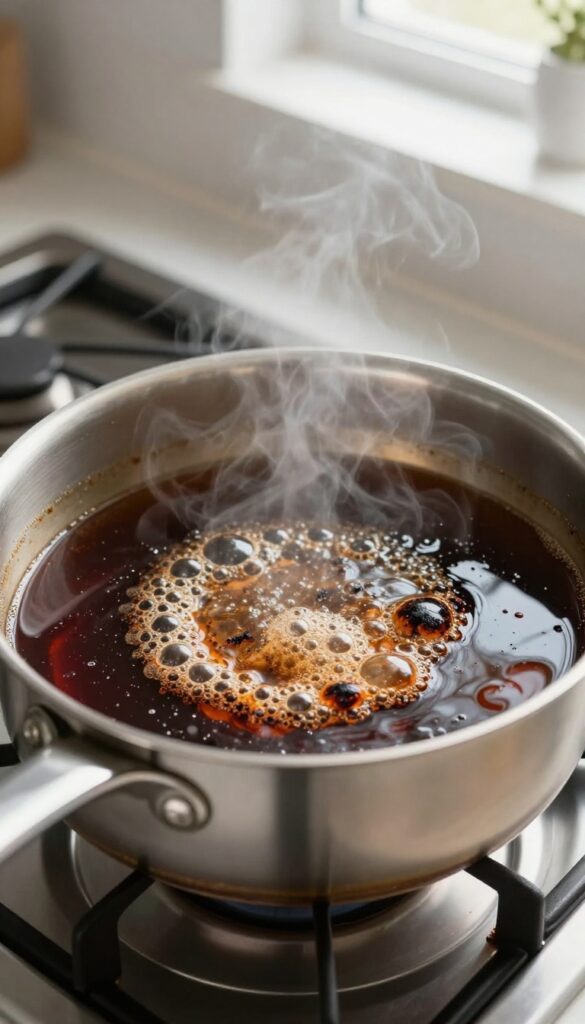
Cola isn't just a tasty drink—it's also a surprisingly effective cleaner for burnt pans. The phosphoric acid in cola works to break down stubborn burnt-on residue without you having to scrub hard. This method is almost magical: just pour, boil, and rinse.
This trick is perfect for pans with a thick layer of burnt food that other methods haven't touched. The carbonation and acid work together to lift the grime, leaving you with a pan that looks nearly new.
How It Works
Pour enough cola to cover the burnt areas of the pan. Bring it to a boil on the stove, then let it simmer for 5–10 minutes. The acid reacts with the burnt residue, loosening it.
Turn off the heat and let the pan cool completely before pouring out the cola and washing as usual.
Best Results
For extra-stubborn spots, let the cola sit in the pan for an hour after boiling before washing. You can also add a pinch of baking soda after boiling—it will fizz and help lift residue. This method works best on stainless steel and enameled cookware.
8. Salt and Ice Cube Trick
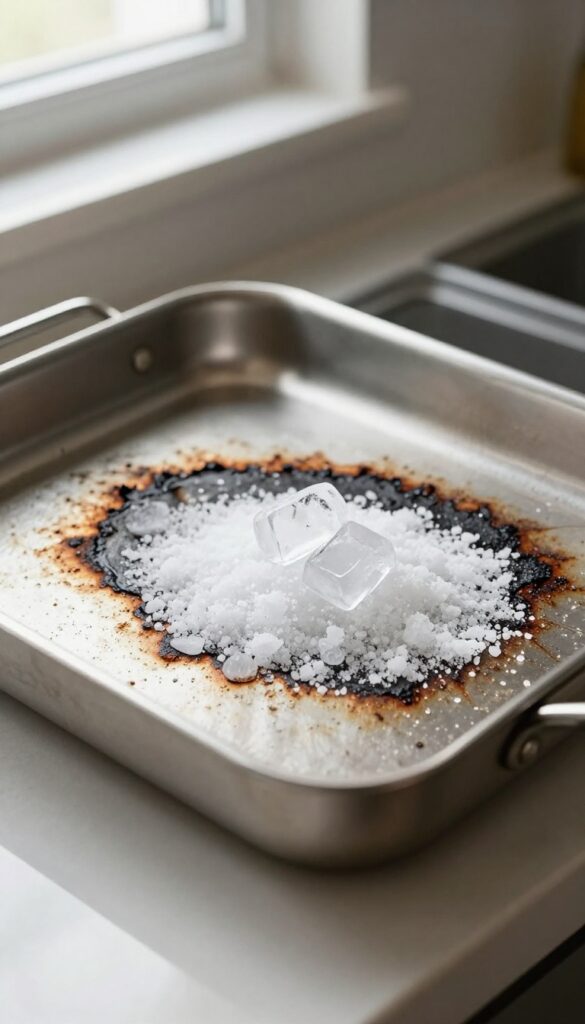
When heat and burnt-on grime refuse to let go, cold can be your secret weapon. The salt and ice cube trick uses temperature shock and abrasion to lift crusty marks without scratching. It's almost magical how well it works on stainless steel and ceramic pans.
This method is incredibly simple and requires only two ingredients you already have. The salt acts as a gentle abrasive while the ice cubes create a thermal shock that loosens the burnt residue. As the ice melts, the cold water helps release the bonds between the pan and the burnt food.
How To Do It
Start by sprinkling a generous layer of coarse salt over the burnt areas. Then place 3-4 ice cubes directly on top of the salt. Let everything sit for about 15-20 minutes as the ice melts.
The salt will dissolve slightly, creating a gritty slurry that you can use to gently scrub the pan with a soft sponge or cloth. Rinse thoroughly and repeat if needed.
Why It Works So Well
The rapid temperature change from hot pan to cold ice causes the burnt material to contract and crack, making it easier to dislodge. Salt adds mild abrasion without scratching, and the melting water helps lift the debris away from the surface. It's a gentle yet effective combination that avoids harsh chemicals.
Best Pan Types For This Trick
This trick works best on stainless steel, ceramic, and enameled cast iron pans. Avoid using it on non-stick surfaces, as the salt can scratch the coating. For non-stick, stick to the baking soda or vinegar methods instead.
9. Aspirin Paste
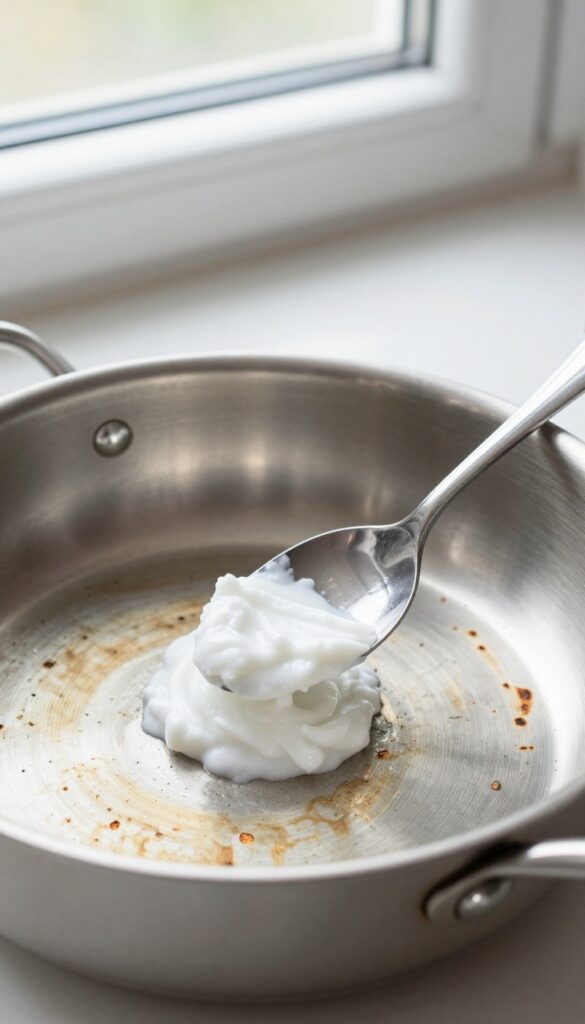
Aspirin isn't just for headaches—it can also tackle tough burnt stains on your pans. The salicylic acid in aspirin works as a mild chemical exfoliant, breaking down carbonized food particles without scratching the surface. This method is especially useful for stainless steel and ceramic cookware where you want to avoid abrasives.
How To Make The Paste
Start with 5 to 10 uncoated aspirin tablets (coated ones won't dissolve properly). Crush them into a fine powder using a mortar and pestle or the back of a spoon. Add just enough water to form a thick paste—about a teaspoon or two.
The consistency should be spreadable but not runny.
Applying And Waiting
Spread the paste evenly over the burnt areas of the pan. Let it sit for at least 30 minutes. For tougher stains, you can leave it on for up to an hour.
The salicylic acid needs time to react with the burnt residue, so patience is key here.
Rinsing And Finishing
After the wait, rinse the pan with warm water and use a soft sponge to gently wipe away the paste. Most of the burnt marks should lift off easily. If a few spots remain, repeat the process or follow up with a mild dish soap scrub.
Your pan will look noticeably cleaner without any harsh scrubbing.
10. Potato and Salt Scrub
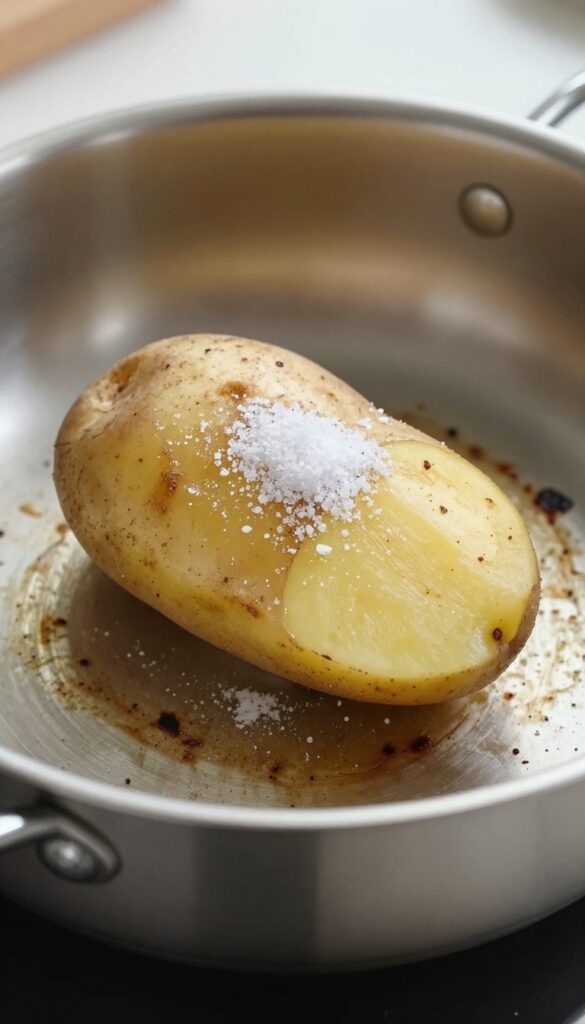
Who knew that a humble potato could help rescue your burnt pans? This method uses the natural starch in a raw potato to gently lift stubborn marks, while salt provides just enough abrasion to scrub away residue without scratching the surface. It's a simple, chemical-free trick that works surprisingly well on light to moderate burnt spots.
Cut a raw potato in half, dip the cut side into a small dish of salt, and rub it directly over the burnt areas of the pan. The starch from the potato reacts with the burnt residue, loosening it, while the salt acts as a gentle scrubber. Rinse the pan with warm water and repeat if needed.
For tougher spots, let the potato-salt mixture sit on the stain for a few minutes before scrubbing.
Why Potato Starch Works
Potatoes are rich in starch, which has mild abrasive properties and helps break down burnt-on food particles. When combined with salt, the mixture creates a paste-like texture that can lift grime without the need for harsh chemicals or vigorous scrubbing.
Best Pans For This Method
This technique is safe for stainless steel, ceramic, and non-stick pans. Avoid using it on cast iron, as the salt can strip the seasoning. For best results, use a raw potato and coarse salt like kosher or sea salt.
Step-by-step Instructions
- Cut a raw potato in half. 2.
Pour a small amount of salt onto a plate. 3. Dip the cut side of the potato into the salt.
- Rub the potato over the burnt marks in a circular motion. 5.
Rinse the pan with warm water. 6. Repeat if necessary.
For stubborn stains, let the potato sit on the spot for 5 minutes before scrubbing.
FAQ
Can I use these methods on non-stick pans?
Yes, but be gentle. Avoid abrasive scrubbing or harsh chemicals. Baking soda and vinegar are safe for non-stick surfaces if used as a soak rather than a scrub.
How long should I soak a burnt pan?
Soaking times vary. For light marks, 15-30 minutes may suffice. For stubborn stains, overnight soaking with dish soap and water or a dryer sheet works best.
Will these methods work on stainless steel?
Absolutely. Stainless steel is durable and responds well to most of these methods, especially vinegar and baking soda or cream of tartar.
What if the burnt marks are still there after trying?
Repeat the process or try a different method. Some burnt-on stains require multiple treatments. Avoid using metal scrubbers that can scratch the surface.
Are these methods safe for the environment?
Yes, most use common household ingredients like baking soda, vinegar, and lemon, which are biodegradable and non-toxic. They are eco-friendly alternatives to harsh chemical cleaners.
Conclusion
Those burnt pan marks don't stand a chance once you know which gentle method works for your specific cookware. Start with the simplest option—baking soda and water—and only move to stronger techniques if needed.
Your pans will look like new without you having to scrub until your arms ache. Keep these tricks in your back pocket, and you'll never dread cleaning a burnt pot again.