How to Clean Your Room Checklist: 13 Must-Do Tasks
Walking into a clean room feels like a breath of fresh air. But getting there doesn't have to take all day. This checklist breaks down the process into 13 simple tasks that you can knock out in under an hour.
Each step builds on the last, so you're not running around aimlessly. Start with the big stuff—like making your bed—and work your way to the finishing touches. By the end, your room will look and feel completely different.
Ready to transform your space? Grab a trash bag, put on some music, and let's get started.
1. Make Your Bed
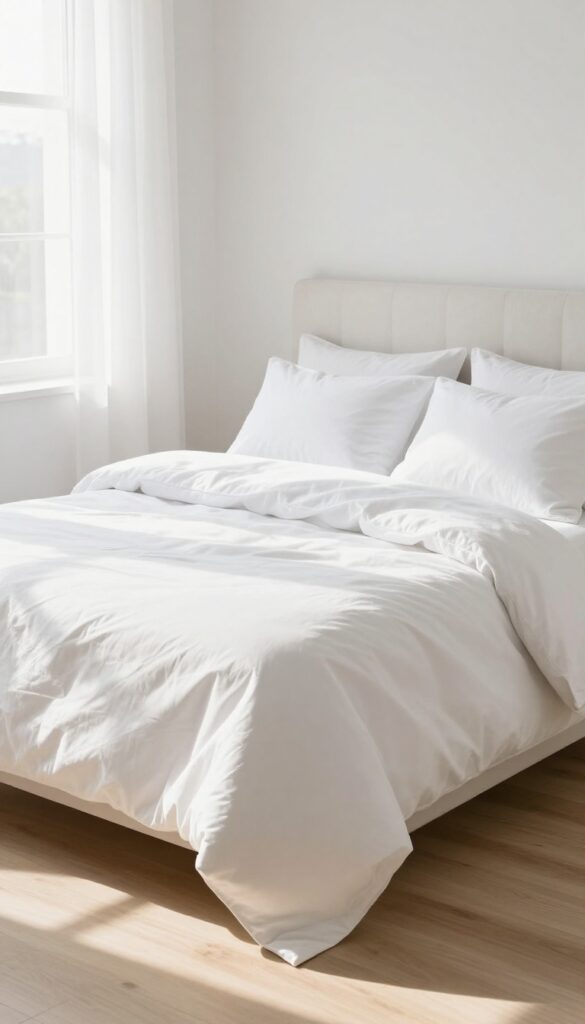
It might seem like a small thing, but making your bed first thing sets the tone for the entire cleaning session. That neatly tucked comforter instantly transforms the room's focal point from chaotic to calm. Plus, it gives you a quick win that builds momentum for the tasks ahead.
Start with the largest surface in the room. A made bed instantly makes the room look neater and gives you a sense of accomplishment.
Strip And Gather
Pull off all bedding—sheets, blankets, pillows—and toss them in a laundry basket if they need washing. This clears the canvas so you can start fresh.
Smooth And Tuck
Lay the fitted sheet evenly, then the flat sheet. Tuck the corners under the mattress for a crisp look. Add the comforter or duvet, smoothing out wrinkles.
Fluff And Arrange Pillows
Fluff each pillow and place them upright against the headboard. For a hotel vibe, angle two pillows slightly outward.
2. Clear the Floor
The floor is often the first place clutter piles up, and it's also the most visible. Clearing it instantly makes the room feel bigger and more organized. Don't overthink it—just grab and go.
Start With A Quick Scan
Walk around your room and pick up anything that doesn't belong on the floor. Clothes, shoes, books, chargers, random papers—they all go. Don't stop to sort yet; just toss everything into a laundry basket or a designated pile.
This step takes less than two minutes and gives you a blank canvas.
Check Under The Bed And Furniture
Out of sight doesn't mean out of mind. Use a broom handle or your arm to sweep out dust bunnies, lost socks, and forgotten water bottles. You'll be surprised what's hiding there.
Add these items to your pile or trash bag as needed.
Sweep Or Vacuum The Now-empty Floor
With the floor clear, take a minute to vacuum or sweep up crumbs, dust, and pet hair. This small action makes a huge difference in how clean the room feels. If you have hard floors, a quick mop can add extra shine.
3. Declutter Surfaces
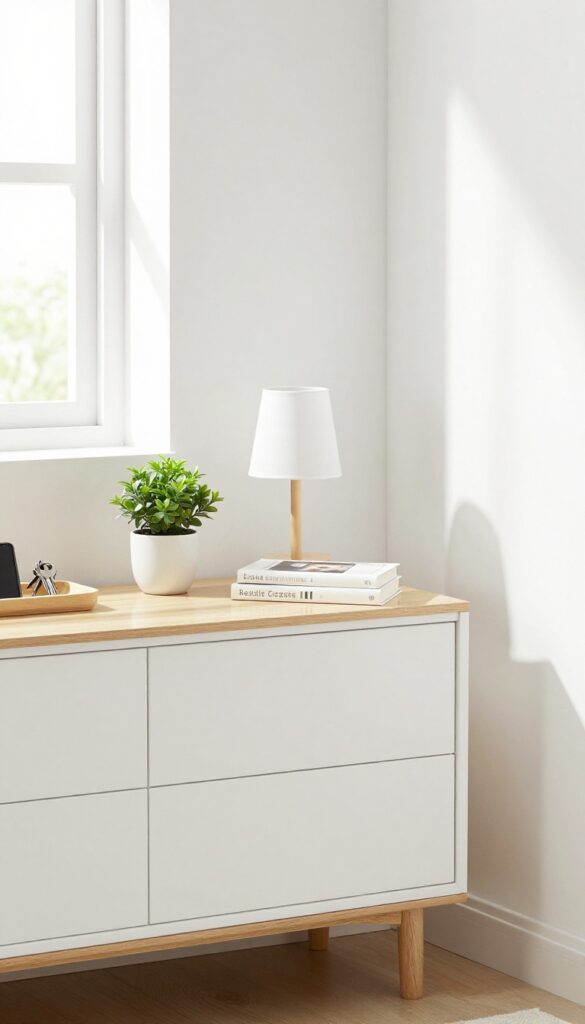
Flat surfaces are magnets for random stuff—chargers, mail, coffee mugs, and that thing you swear you'll put away later. Before you can wipe them clean, you need to clear them off completely. This step is about resetting your surfaces so they actually look intentional.
Start by grabbing a laundry basket or empty box. Go around your room and sweep everything off your nightstand, desk, dresser, and any shelves or tables. Don't sort yet—just get it all in one place.
Once everything is off, grab a microfiber cloth and all-purpose cleaner. Wipe down every surface thoroughly, including corners and under items that usually sit there. Let them dry while you sort through the pile.
Sort Into Three Piles
Divide your pile into keep, relocate, and trash. Keep only essentials you use daily—lamp, alarm clock, phone charger. Relocate items that belong elsewhere, like books that go on a shelf or pens that go in a drawer.
Trash anything expired, broken, or unnecessary.
Limit To Five Items Per Surface
A good rule: no more than five items on any flat surface. This prevents future clutter and makes cleaning easier next time. Choose items that serve a purpose or bring you joy, like a small plant, a framed photo, or a candle.
Use Trays Or Small Bins
Keep small items like keys, coins, or earbuds contained in a tray or small dish. This corrals loose objects and keeps your surfaces looking tidy without adding visual noise. Plus, it's easier to grab and go.
4. Put Away Clothes
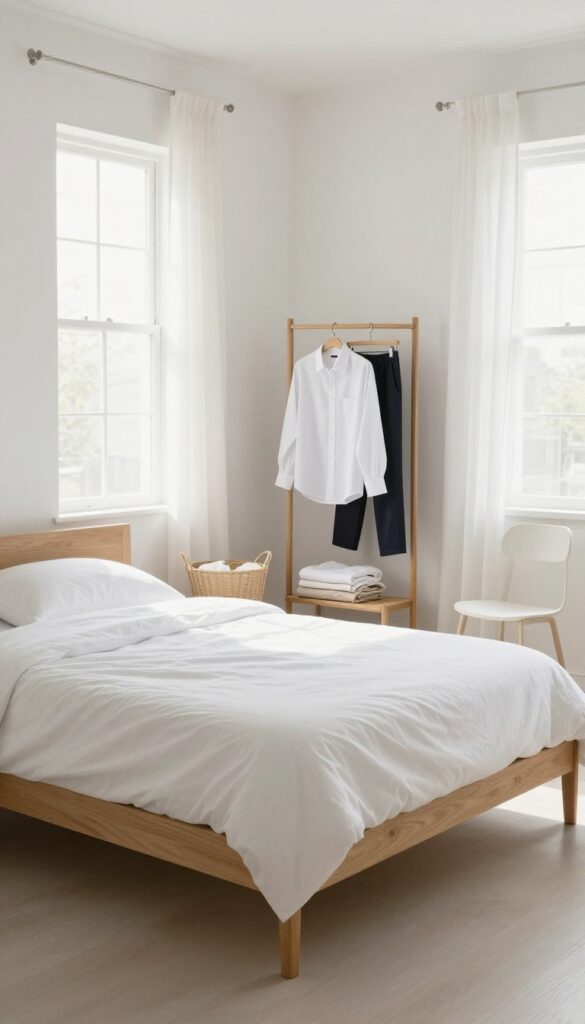
Clothes tend to pile up faster than anything else in a room. Whether it's the chair in the corner or the foot of your bed, that heap can make the whole space feel messy. This step is about making quick decisions so your wardrobe stops taking over your room.
Sort Into Two Piles
Grab every piece of clothing that's not in its proper place. Quickly decide: is it dirty or clean? Dirty goes straight into the hamper.
Clean gets folded or hung up right away. Don't let the clean pile sit—it'll just become a new mess.
Fold Or Hang Immediately
Once you've sorted, handle the clean clothes. Fold t-shirts, jeans, and sweatshirts neatly and put them in drawers or on shelves. Hang button-ups, dresses, and anything that wrinkles.
The key is to finish the job now, not later.
Tackle The 'chair Pile'
That chair in your room is not a closet. If clothes end up there, make a rule: either put them away or hang them up. For items you plan to wear again soon, use a designated hook or valet stand.
This keeps the chair clear and your room looking tidy.
5. Dust All Surfaces
Dust settles everywhere—on your nightstand, your bookshelf, even your lamp shades. It's one of those things you don't notice until you run your finger across a surface and see a gray streak. Tackling dust early in your cleaning routine keeps it from floating back onto freshly cleaned areas.
Work from top to bottom so dust falls onto surfaces you haven't cleaned yet. A microfiber cloth or an extendable duster works best—dry dusters just push particles around. Don't forget electronics like your TV or monitor; a dry microfiber cloth is safe for screens.
Baseboards and window sills often get overlooked, but they collect a surprising amount of dust. Give them a quick wipe while you're at it.
Start High, End Low
Begin with ceiling fans, light fixtures, and high shelves. Dust falls downward, so cleaning top to bottom means you won't have to redo lower surfaces. Use a microfiber duster with an extendable handle for hard-to-reach spots.
For ceiling fans, an old pillowcase works great—slip it over each blade and pull it off to trap the dust.
Don't Skip Electronics
Screens and keyboards are dust magnets. Use a dry microfiber cloth for monitors and TVs—never spray liquid directly on electronics. For keyboards, a soft brush or compressed air can dislodge crumbs and dust from between keys.
Dust your computer tower or laptop vents too; buildup can cause overheating.
Baseboards And Sills
These horizontal surfaces collect a surprising amount of grime. Wipe them down with a slightly damp microfiber cloth. For stubborn spots, a little all-purpose cleaner works.
If your baseboards are painted, be careful not to scrub too hard and damage the finish. Window sills also need attention—dust and pollen accumulate there quickly.
6. Wipe Down Mirrors and Glass
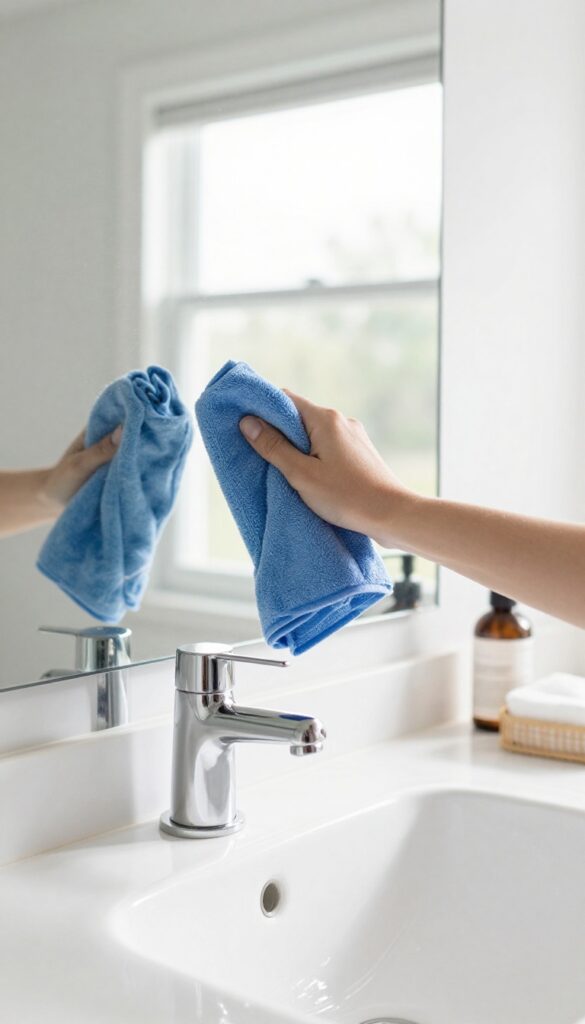
Mirrors and windows are the finishing touch that makes a room feel clean and bright. Even if everything else is spotless, smudged glass can dull the whole space. A quick wipe takes just a minute and instantly adds sparkle.
Grab a quality glass cleaner and a lint-free cloth—microfiber works great. Spray the cleaner onto the cloth, not directly on the mirror, to avoid drips. Wipe in a zigzag or S-pattern to prevent streaks.
For stubborn spots, a bit of rubbing alcohol on a cotton ball does the trick. Don't forget window sills and tracks—dust collects there fast. A quick vacuum or wipe keeps them clean longer.
Choose The Right Tools
Not all cloths are created equal. Avoid paper towels—they leave lint. Microfiber cloths or old cotton t-shirts work best.
For a streak-free finish, try a mix of equal parts water and vinegar in a spray bottle. It's cheap and chemical-free.
Tackle Tough Spots
Fingerprints, toothpaste splatter, and hairspray residue can be stubborn. Use a dab of dish soap on a damp cloth for greasy marks, then follow with glass cleaner. For windows, clean on a cloudy day—direct sun dries cleaner too fast and causes streaks.
Don't Forget The Details
Wipe down mirror frames and the edges of windows. Dusty frames make the whole window look dirty. Also clean any glass tabletops or picture frames in the room.
Consistent glass care keeps your space looking polished.
7. Organize Your Desk or Workspace
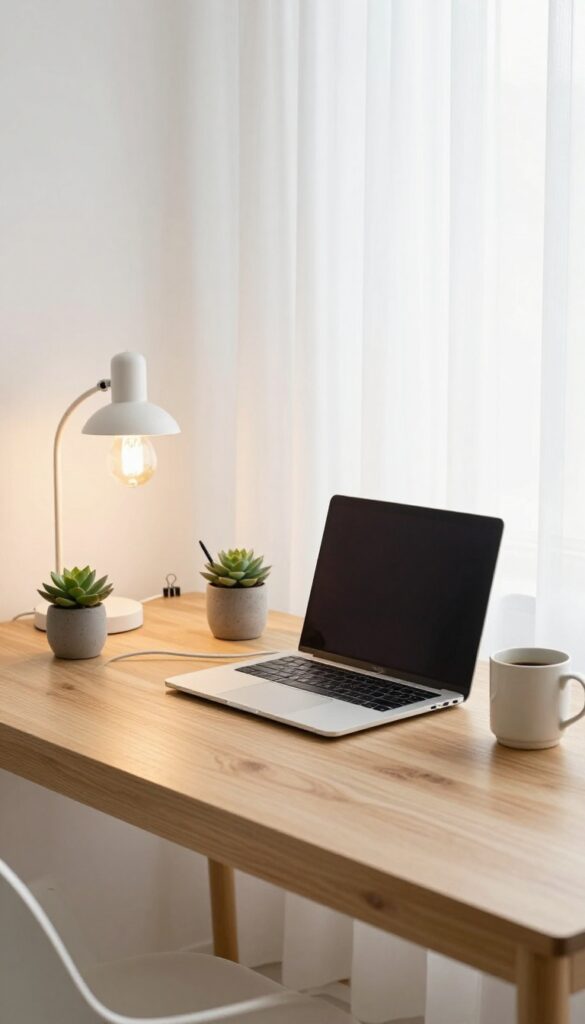
Your desk is command central for homework, hobbies, or remote work. When it's buried under papers and coffee cups, it's hard to focus. Let's turn it into a clean, functional zone that actually helps you get things done.
Clear The Surface First
Take everything off your desk and lay it out on the floor or a bed. Wipe down the desk with a damp cloth. As you put items back, only return what you truly need daily—like your laptop, a lamp, and one pen holder.
Everything else finds a new home.
Sort Papers And Supplies
Go through the pile of papers. Recycle old notes and junk mail. Shred anything with personal info.
For important documents, use a simple folder system or a small desktop file organizer. Pens, sticky notes, and chargers belong in a tray or small bin—not scattered everywhere.
Manage Cords And Gadgets
Tangled cords make any desk look messy. Use cable clips, zip ties, or a cord organizer to keep them tidy. Designate a spot for your phone, tablet, and other gadgets—maybe a charging station or a dedicated drawer.
Out of sight, out of mind.
Add A Personal Touch
A clean desk doesn't have to be boring. Add one small plant, a photo, or a nice coaster. Just keep it minimal.
The goal is a workspace that feels inviting without being distracting.
8. Vacuum or Sweep the Floor
Now that the floor is clear of clutter, it's time to tackle the dirt and dust that's been hiding. Vacuuming or sweeping might seem straightforward, but doing it thoroughly makes a huge difference. Focus on high-traffic areas and those sneaky spots where dust bunnies love to hide.
Start With The Right Tool
If you have carpet, a vacuum with a HEPA filter is best for trapping allergens. For hard floors, a microfiber mop or a vacuum with a hard floor setting works wonders. Sweeping is fine, but it can kick dust into the air—so open a window if you can.
Don't Skip The Edges And Corners
Use a crevice tool or a small brush to get along baseboards and into corners. Dust and hair accumulate there, and a quick pass makes the whole room look cleaner. Under the bed is another hotspot—pull it out if you can, or use an extendable duster.
Finish With A Final Pass
Once you've done the edges, go over the main area in overlapping strokes. For carpets, vacuum in different directions to lift the fibers. For hard floors, a quick damp mop after sweeping picks up any remaining dust.
Your feet will thank you.
9. Mop Hard Floors (If Needed)
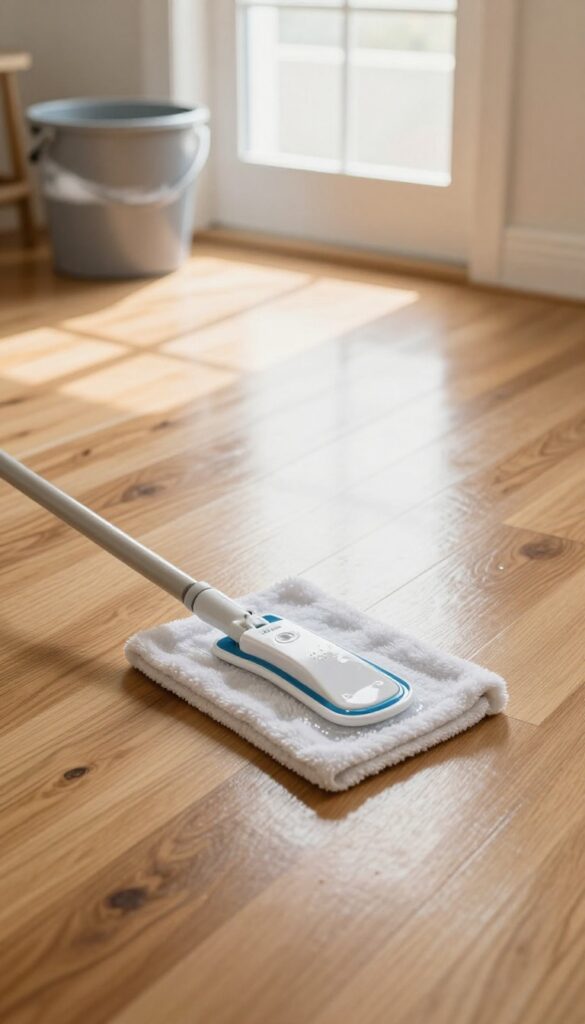
If your room has tile, wood, or laminate flooring, sweeping alone won't cut it. Mopping lifts stuck-on grime and leaves a fresh finish. Only do this step if your floors actually need it—daily mopping can wear down finishes.
Choose The Right Cleaner
Different floors need different care. For tile, a mild all-purpose cleaner works well. For wood or laminate, use a cleaner specifically designed for those surfaces to avoid damage.
Avoid soaking the floor—damp is better than wet.
Use A Damp Mop, Not A Soaking Wet One
Wring out your mop thoroughly before it touches the floor. Excess water can seep into cracks, warp wood, or leave streaks. Work in sections, starting from the farthest corner and moving toward the door.
Let It Air Dry Completely
After mopping, give the floor time to dry before walking on it. Open a window or turn on a fan to speed things up. Wet floors can be slippery, so keep pets and kids out until it's fully dry.
10. Tidy Up Cords and Cables
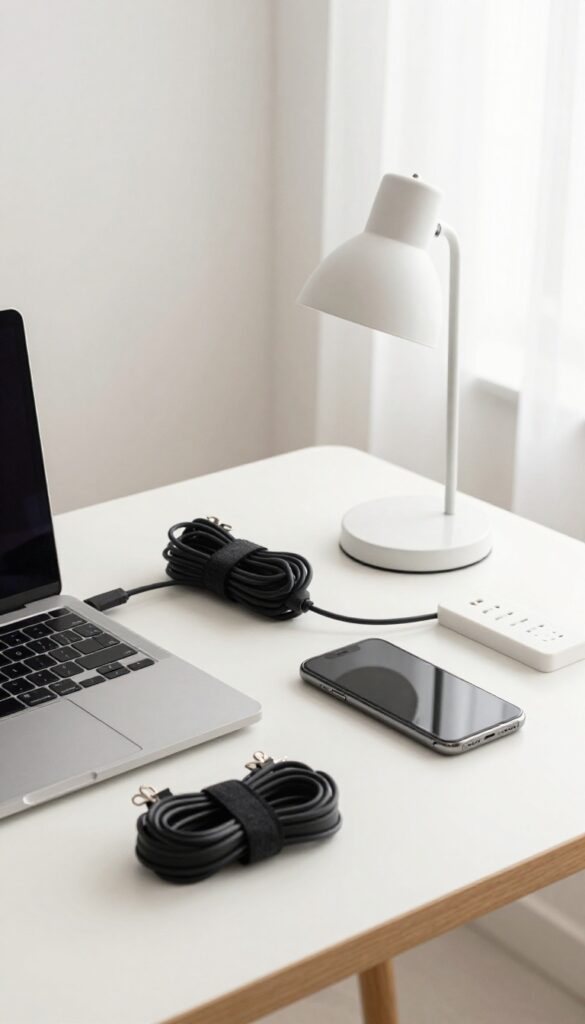
Cords and cables can turn a clean room into a tangled mess in seconds. Phone chargers, laptop cables, power strips, and device cords often end up in a heap, collecting dust and creating visual clutter. Taking a few minutes to wrangle them makes your space look instantly more organized and saves you the hassle of untangling knots later.
Gather All Cords First
Start by unplugging every cord and cable in your room. Group them by device or purpose—phone chargers together, laptop cables together, and so on. This gives you a clear picture of what you’re working with and makes it easier to decide what to keep, store, or toss.
Bundle With Ties Or Clips
Use Velcro straps, twist ties, or cable clips to bundle each cord neatly. Coil the cord loosely (avoid tight bends) and secure it with a tie. For cords you use daily, attach a small clip to the edge of your desk or nightstand so they’re always within reach but not sprawling across the surface.
Hide Power Strips
Power strips are often the biggest eyesores. Mount them under your desk or behind your nightstand using adhesive hooks or a cable management box. This keeps them out of sight while still accessible.
If you have multiple devices, label each cord with a small tag so you know which is which.
Maintain The System
Once everything is tidy, make a habit of wrapping cords before putting them away. A few seconds each day prevents the mess from building up again. If you notice a cord you no longer need, recycle it properly to keep your collection streamlined.
11. Refresh Bedding and Pillows
Your bed is the centerpiece of the room, so making it look inviting goes a long way. After you've cleaned the rest, give your bedding some attention. Fluffing pillows and straightening the comforter takes just a minute but makes the whole space feel pulled together.
Start by stripping off any used pillowcases and sheets if they need washing. If not, give the pillows a good fluff by squeezing and shaking them to redistribute the filling. For down or synthetic pillows, a few minutes in the dryer on low heat with a dryer sheet can restore fluffiness.
Next, pull the comforter or duvet up evenly and smooth out any wrinkles. Fold the top edge down about six inches for a hotel-like look. Finally, arrange decorative pillows or a throw blanket for a cozy, finished appearance.
A crisp bed instantly makes the room feel clean and relaxing.
Fluff And Freshen Pillows
Pillows flatten over time, so give them a good squeeze and shake. If they're machine washable, toss them in the wash with a gentle detergent. For a quick refresh, a dryer on low heat with a dryer sheet works wonders.
This step makes your bed look plumper and more inviting.
Straighten The Comforter Or Duvet
Pull the comforter evenly over the bed, ensuring it hangs the same length on both sides. Smooth out any lumps or wrinkles with your hands. Fold the top edge down about six inches for a neat, polished look.
This small detail makes a big difference.
Add Decorative Touches
If you have decorative pillows or a throw blanket, arrange them now. Place larger pillows in back, smaller ones in front, and drape the throw over a corner. These extras add personality and make the bed feel like a retreat.
Keep it simple—too many pillows can feel cluttered.
12. Empty Trash and Recycle
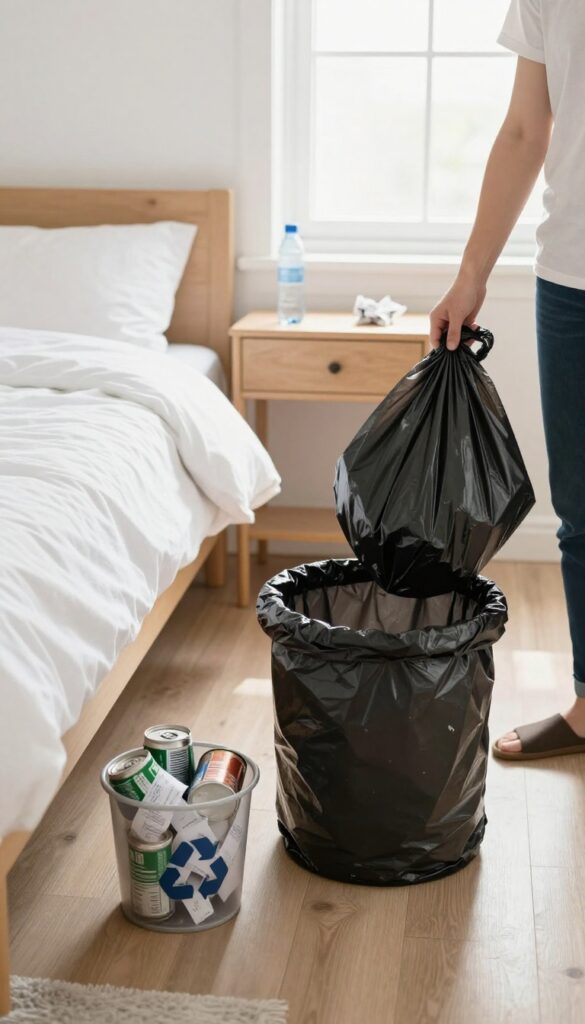
Trash can pile up faster than you think—old receipts, snack wrappers, used tissues. If you skip this step, your clean room will still smell and feel messy. Let's get every bit of garbage out so your space actually feels fresh.
Clear All Bins And Surfaces
Start by grabbing a large trash bag. Go around the room and empty every wastebasket, even if it's only half full. Check surfaces like your desk, nightstand, and dresser for stray wrappers, empty bottles, or old papers.
Don't forget to look under the bed and in corners—those places hide crumpled receipts and forgotten snack bags.
Sort Recyclables Separately
If your area has recycling, take a moment to separate cans, bottles, and paper from general trash. Keep a small recycling bin in your room to make this easier next time. Rinse out any containers with food residue so they don't attract bugs or smell.
Then take the recycling out to your main bin.
Take The Bag Out Immediately
This is the key step: don't leave the full trash bag by your door or in the hallway. Walk it all the way to your outdoor bin or dumpster. If you leave it inside, odors and fruit flies will undo all your hard work.
While you're at it, replace the liner in your wastebasket so it's ready for next time.
13. Add a Final Touch
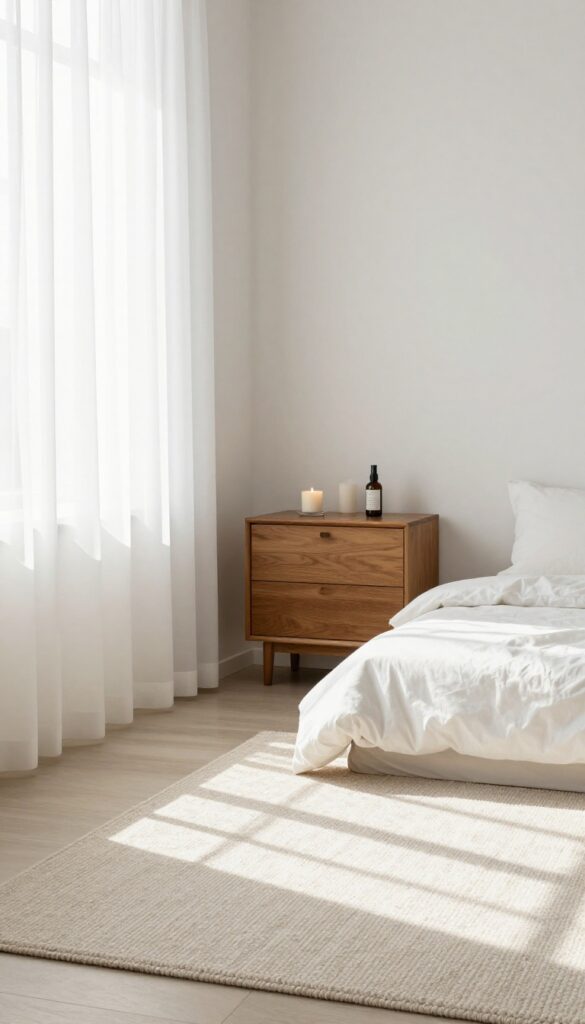
You've done the heavy lifting—cleared clutter, scrubbed surfaces, and organized every corner. Now it's time for the payoff: that little extra something that makes your room feel truly finished. This final step is about creating an atmosphere that says, “I’m clean, calm, and ready. ”
The last touch doesn't have to be elaborate. It's the small sensory details that signal your space is complete. Open the curtains to let in natural light, which instantly brightens the room and lifts your mood.
If it's evening, light a candle or turn on a soft lamp. A quick spritz of a room spray or essential oil mist can add a subtle, clean scent. These finishing moves take less than a minute but make a huge difference in how the room feels.
Take a moment to stand back, breathe, and enjoy your hard work.
Let The Light In
Pull back those curtains or blinds fully. Natural light makes any room look bigger, cleaner, and more inviting. If it's nighttime, switch on a warm lamp instead of harsh overhead lights.
The glow will soften the space and highlight your freshly cleaned surfaces.
Set The Scent
A clean room should smell as good as it looks. Light a candle, use a diffuser, or spray a linen mist. Choose a scent that feels refreshing—like citrus, lavender, or clean cotton.
Avoid anything too heavy; you want a subtle background note, not an overpowering perfume.
Take A Victory Lap
Before you leave the room, do a quick visual scan. Fluff a pillow, straighten a rug, or adjust a picture frame. These tiny tweaks are the polish that makes everything look intentional.
Then step back, smile, and enjoy the calm you've created.
FAQ
How long does it take to clean a room using this checklist?
Most people can complete all 13 tasks in 30 to 60 minutes, depending on the room size and clutter level.
What should I do if I don't have time for all 13 steps?
Focus on the first five steps: make the bed, clear the floor, declutter surfaces, put away clothes, and dust. That covers the essentials.
How often should I deep clean my room?
Aim for a thorough clean like this once a week. Daily maintenance (making the bed, picking up clutter) keeps it manageable.
What cleaning supplies do I need?
Basic supplies: microfiber cloths, all-purpose cleaner, glass cleaner, vacuum or broom, mop (if needed), and trash bags.
Can I use this checklist for other rooms?
Yes, the same principles apply to any room. Adjust the tasks based on the room's surfaces and items (e. g. , kitchen needs dishwashing).
Conclusion
Working through these 13 tasks transforms your room from chaotic to calm without the overwhelm. Each step builds on the last, making the whole process feel manageable. Stick with this checklist, and you'll have a clean room and a clearer mind.
The best part? You can repeat it anytime the mess creeps back.