17 Cleaning Stove Grates Tips for Burnt Grease Buildup
You scrub and scrub, but that blackened grease on your stove grates just won't budge. It's frustrating, especially when you want your kitchen to look spotless. But here's the good news: with the right approach, those grates can look brand new again.
These 17 tips cover everything from pantry staples to specialized cleaners. Each one targets burnt-on grease in a slightly different way, so you can choose what works best for your situation.
No more settling for grates that look like they've been through a war. Let's get them clean.
1. Soak in Dish Soap and Hot Water Overnight
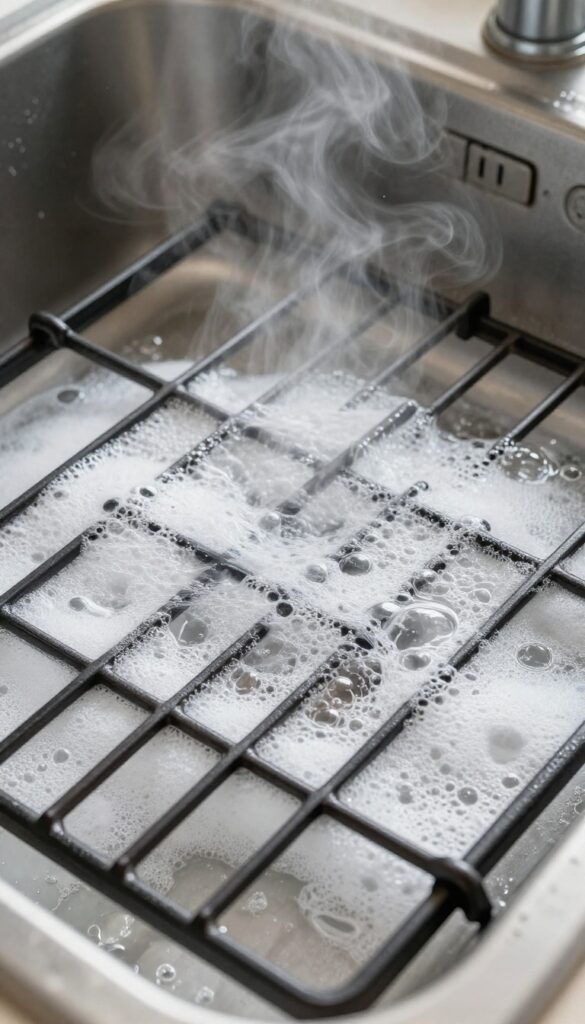
Sometimes the simplest solution is the most effective. If your stove grates are caked with burnt grease, a long soak in hot, soapy water can do most of the work for you. No harsh chemicals, no elbow grease—just patience and a little dish soap.
Fill your sink or a large tub with the hottest water from your tap. Add a generous squirt of dish soap—Dawn or any grease-cutting brand works great. Submerge the grates completely and let them sit overnight.
By morning, the grease will have softened significantly. A quick scrub with a non-abrasive sponge or brush will rinse away the residue. For extra stubborn spots, you can repeat the soak or scrub with a paste of baking soda and water.
Why Overnight Soaking Works
Hot water helps dissolve grease, while dish soap breaks down oil molecules. Giving it time—at least 8 hours—allows the mixture to penetrate deep into baked-on layers. The result is a much easier clean with minimal scrubbing.
Tips For Best Results
Use a tub or sink that's large enough so the grates are fully submerged. If they float, weigh them down with a heavy plate or pot. For gas grates, remove any rubber or plastic parts first.
Rinse thoroughly after soaking to avoid soap residue.
What To Do If Grease Remains
If a few spots still cling after the soak, make a paste of baking soda and water. Apply it to the stubborn areas, let it sit for 15 minutes, then scrub gently. This combo handles almost any leftover grease without scratching the finish.
2. Baking Soda and Vinegar Paste
When brute scrubbing fails, chemistry comes to the rescue. Baking soda and vinegar create a fizzy reaction that helps loosen stubborn burnt-on grease without harsh chemicals. This pantry duo is gentle enough for enamel and stainless steel grates but tough on grime.
Mix three parts baking soda with one part vinegar to form a spreadable paste. The mixture will bubble as it reacts, so stir until it settles into a thick consistency. Apply a generous layer over the greasy areas and let it sit for 30 minutes.
The paste will dry slightly and start lifting the burnt residue. After the wait, scrub with a non-abrasive sponge or a soft-bristle brush. Rinse thoroughly with warm water and dry completely to prevent rust.
For extra-stubborn spots, repeat the process or let the paste sit longer.
Why This Combo Works
Baking soda is a mild alkali that breaks down grease molecules, while vinegar's acetic acid dissolves mineral deposits and helps lift carbonized grime. Together, their fizzing action physically loosens debris, making scrubbing easier. This method is safe for most grate materials except aluminum, which can discolor from the acid.
Tips For Best Results
Use white vinegar for a neutral scent and avoid balsamic or apple cider varieties. Apply the paste evenly and don't let it dry completely before scrubbing—a slightly damp paste scrubs off easier. For gas grates, remove any plastic handles or knobs first.
Rinse well to avoid any vinegar smell lingering.
3. Ammonia Soak in a Sealed Bag
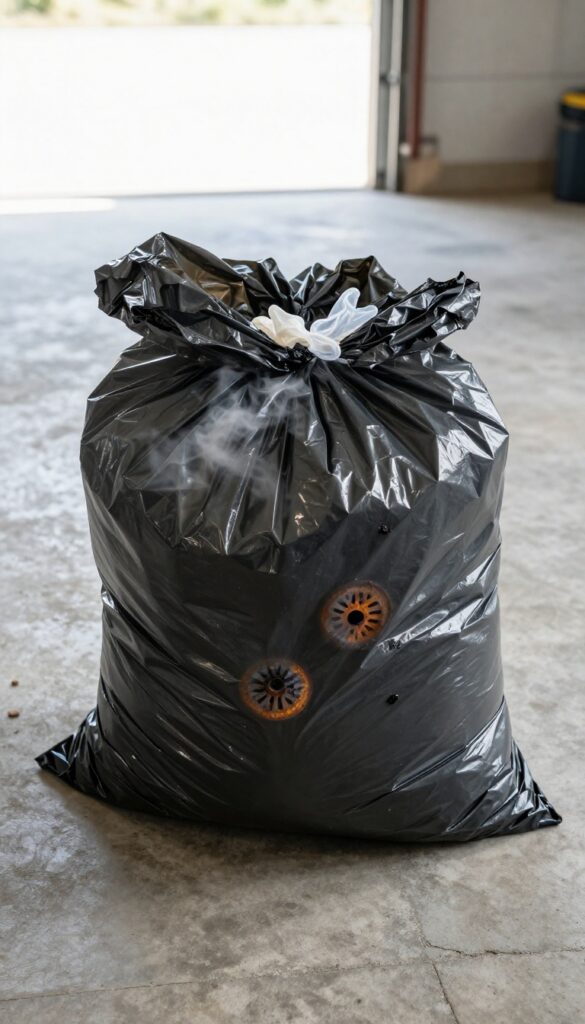
This method uses ammonia fumes to break down burnt-on grease without any scrubbing. It's a set-it-and-forget-it trick that works wonders on even the toughest buildup. Just be sure to work in a well-ventilated area and keep the bag sealed tight.
Place your grates inside a heavy-duty garbage bag. Pour in about 1/2 cup of household ammonia, then seal the bag securely. Let it sit overnight—ideally outdoors or in a garage with good airflow.
The ammonia fumes will loosen the grease, making it easy to rinse off the next morning. Always wear gloves when handling the grates afterward and rinse them thoroughly with hot water before using.
Why Ammonia Works So Well
Ammonia is a strong alkaline that reacts with fats and oils, breaking them down into soap-like compounds. The fumes penetrate the grease layers, softening them so they slide off with just a rinse. It's one of the most effective chemical methods for burnt-on grease.
Safety First: Ventilation And Handling
Ammonia fumes are potent and can irritate your eyes and lungs. Always do this outdoors or in a very well-ventilated area. Wear rubber gloves and avoid breathing in the fumes when opening the bag.
Keep the bag away from children and pets.
Step-by-step Instructions
- Place grates in a heavy-duty garbage bag. 2.
Pour 1/2 cup of ammonia into the bag. 3. Seal the bag tightly with a twist tie or knot.
- Let it sit overnight (8–12 hours). 5.
Remove grates with gloves and rinse thoroughly with hot water. 6. Wash with dish soap to remove any ammonia residue.
What To Do If Grease Remains
For extra-stubborn spots, scrub gently with a non-abrasive sponge after rinsing. The ammonia should have loosened the grease enough that minimal effort is needed. If not, repeat the soak for another 6–8 hours.
4. Boil Grates in Water with Baking Soda
If scrubbing feels like a losing battle, let boiling water do the heavy lifting. This method uses heat and baking soda to loosen burnt-on grease without harsh chemicals. It's especially effective for grates that have layers of baked-on grime.
Fill a large pot or stockpot with enough water to fully submerge your stove grates. Add 1/2 cup of baking soda and bring the water to a rolling boil. Carefully place the grates into the boiling water and let them boil for 15–20 minutes.
The combination of heat and alkaline baking soda breaks down the grease, making it easy to wipe away. After boiling, let the grates cool slightly, then scrub them with a sponge or brush. Rinse thoroughly and dry.
Why It Works
Baking soda is a mild alkali that reacts with grease to form soap-like compounds, a process called saponification. Boiling accelerates this reaction, while the heat softens the burnt-on residue. Together, they lift the gunk without abrasive scrubbing.
Tips For Best Results
Use a pot large enough to avoid overcrowding. If the water level drops, add more boiling water. For extra stubborn spots, add a squirt of dish soap along with the baking soda.
Let the grates soak in the hot water for another 10 minutes after boiling if needed.
Safety First
Be careful when lowering grates into boiling water—use tongs to avoid splashes. Let the grates cool completely before handling. The water will be very hot and may cause burns.
Also, avoid this method for grates with non-stick coatings, as boiling can damage them.
5. Use a Dishwasher Tablet in a Sink Soak
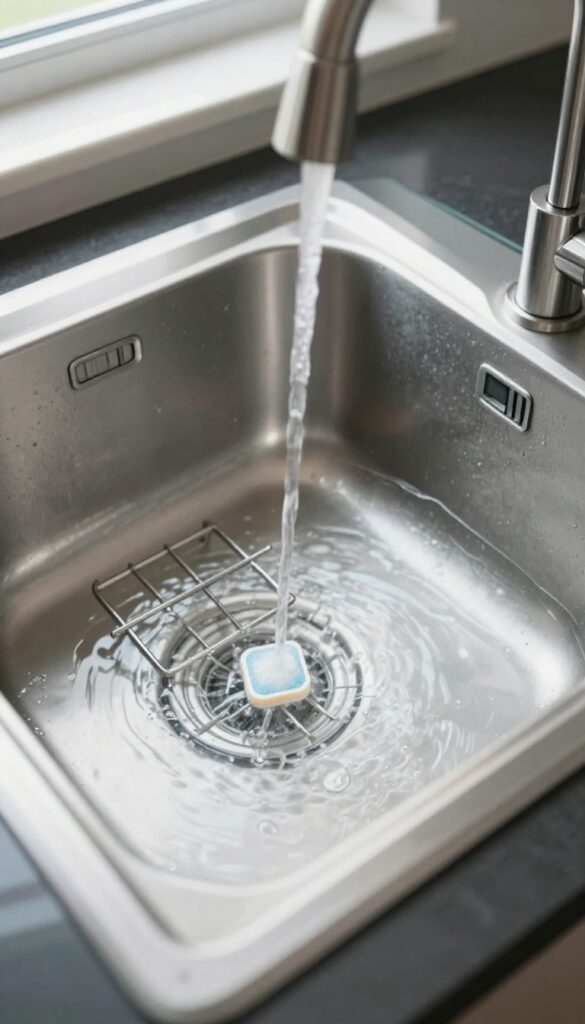
Dishwasher tablets are designed to break down tough, dried-on food. Why not let them work on your stove grates? It's an easy, hands-off method that uses the power of enzymes and surfactants to dissolve burnt grease without you having to scrub for hours.
Fill your sink or a large basin with the hottest tap water you can. Drop in one dishwasher tablet and let it dissolve completely. Submerge the grates and let them soak for at least 30 minutes.
The enzymes in the tablet target grease and food residue, loosening even the most stubborn buildup. After the soak, scrub lightly with a soft brush or sponge. Rinse thoroughly with clean water and dry.
This method works best for moderate grease buildup, not for charred-on layers that need a stronger approach.
Why It Works
Dishwasher tablets contain powerful cleaning agents like enzymes, surfactants, and bleach. Enzymes break down proteins and fats, surfactants lift grease, and bleach helps remove stains. The hot water activates these ingredients, making them more effective.
Tips For Best Results
Use the hottest water possible. If the grates are heavily soiled, let them soak for up to an hour. For extra cleaning power, add a squirt of dish soap.
Avoid using abrasive scrubbers that can scratch the grate finish.
Things To Avoid
Do not use this method on aluminum grates, as the bleach in the tablet can cause pitting or discoloration. Also, avoid soaking for more than an hour, as prolonged exposure to the chemicals might damage some coatings.
6. Bar Keepers Friend for Stubborn Spots
When ordinary scrubbing fails, Bar Keepers Friend steps in like a secret weapon. This powdered cleaner contains oxalic acid, which chemically breaks down carbonized grease without harsh scrubbing. It's especially good for porcelain-coated grates that scratch easily.
Bar Keepers Friend is a gentle abrasive that works wonders on baked-on carbon. The key is letting the paste sit long enough to dissolve the grime. This method is safe for most grate materials, but always test a small area first.
Making The Paste
Mix Bar Keepers Friend powder with a little water to form a thick paste. You want it spreadable but not runny. A tablespoon of powder and a teaspoon of water is a good starting point.
Adjust as needed.
Application And Dwell Time
Apply the paste to the dirty spots using a soft sponge or your fingers (wear gloves). Let it sit for 10 minutes. Don't let it dry completely; if it starts to dry, spritz with a little water.
Scrubbing And Rinsing
After 10 minutes, scrub gently with a non-abrasive sponge or soft brush. The grime should lift off easily. Rinse thoroughly with water and dry immediately to prevent any residue.
7. Oven Cleaner Spray (Heavy Duty)
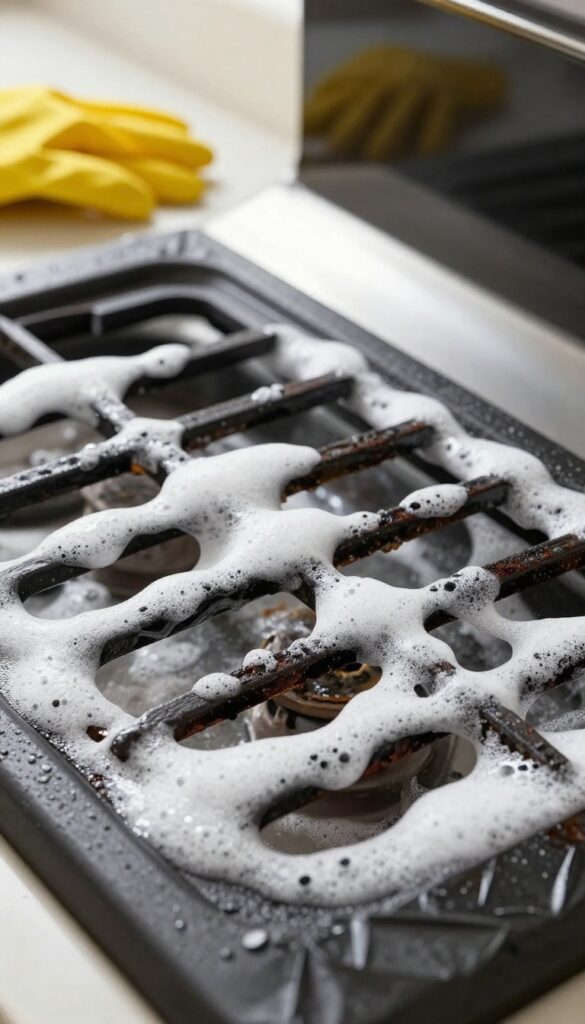
When grease has baked on so thick it looks like tar, it's time to bring out the big guns. Oven cleaner spray is formulated to eat through the toughest burnt-on messes, and it works just as well on stove grates. The key is giving it enough time to penetrate and then rinsing thoroughly.
This method is fast and effective, but you need to take safety seriously.
Oven cleaner spray contains powerful chemicals like sodium hydroxide that break down carbonized grease. It's a heavy-duty solution for grates that have seen years of buildup without regular cleaning. The process is simple: spray, wait, wipe.
But because the chemicals are strong, proper precautions are non-negotiable.
How To Apply Oven Cleaner On Grates
Start by removing the grates and placing them on a protected surface like a trash bag or old newspapers. Shake the oven cleaner can well, then spray an even coat over the entire grate, focusing on the greasiest areas. Let it sit for 15–20 minutes, or follow the product's instructions.
You'll see the cleaner start to foam and lift the grease. After the wait, wipe the grates with a damp cloth or sponge. For stubborn spots, a soft brush can help.
Rinse thoroughly with water to remove all chemical residue.
Safety First: Gloves And Ventilation
Oven cleaner is caustic, so always wear rubber gloves to protect your skin. Work in a well-ventilated area—open a window or turn on a fan. Avoid breathing in the fumes.
If any cleaner gets on your skin, rinse immediately with water. Keep the cleaner away from aluminum grates, as it can cause discoloration or damage. For cast iron or enameled grates, check the manufacturer's recommendations first.
Rinsing Is Crucial
After wiping off the cleaner, don't skip the rinse. Residual chemicals can leave a film or affect the taste of your food next time you cook. Use warm water and a clean cloth to wipe down each grate multiple times.
You can also soak them in a sink of warm water for a few minutes to ensure all traces are gone. Dry the grates completely before putting them back on the stove.
8. Lemon and Salt Scrub
Sometimes the simplest solutions are hiding right in your kitchen. A lemon and some salt might not sound like a heavy-duty cleaner, but together they form a surprisingly effective grease-busting team. The natural acidity in lemon cuts through burnt-on grime, while the salt acts as a gentle abrasive to lift it away.
Plus, you get a fresh citrus scent instead of harsh chemical fumes.
This method is best for light to moderate grease buildup. It's also a great option if you prefer using natural ingredients or if you're out of commercial cleaners. The process is quick and leaves your grates smelling clean.
Why It Works
Lemon juice contains citric acid, which breaks down grease and helps dissolve burnt-on food particles. Salt provides just enough abrasion to scrub away residue without scratching the metal. Together, they create a mild but effective cleaning paste that's safe for most stove grate materials.
Step-by-step Instructions
Start by removing the grates from your stove. Cut a lemon in half and dip the cut side into a small dish of salt. Scrub the grates firmly, applying extra pressure on stubborn spots.
The salt will gradually dissolve, so re-dip as needed. Once you've covered the entire surface, let the grates sit for 5-10 minutes. Rinse thoroughly with warm water and dry with a clean cloth.
Tips For Best Results
Use coarse salt like kosher or sea salt for better abrasion. If the grates are heavily soiled, you can squeeze some lemon juice directly onto the salt to make a thicker paste. For extra cleaning power, let the lemon-salt mixture sit on the grates for up to 30 minutes before scrubbing.
Avoid using this method on cast iron grates that aren't enameled, as the acid can damage the seasoning.
9. Cream of Tartar Paste
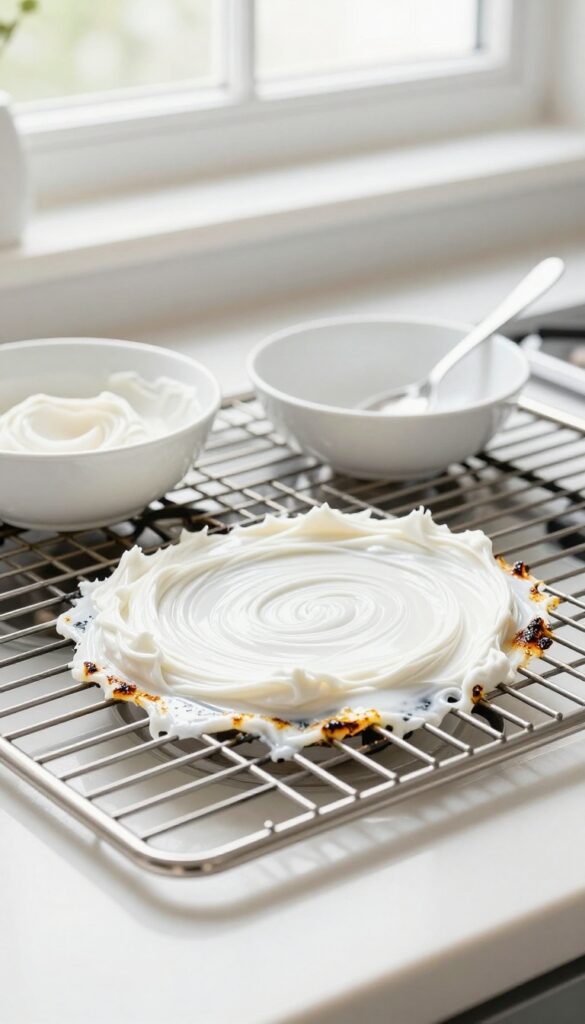
Cream of tartar isn't just for baking. This fine white powder is a mild acid that cuts through grease without harsh chemicals. Mixed into a paste, it becomes a gentle abrasive that lifts burnt-on grime without scratching metal or enamel.
Cream of tartar paste is one of those kitchen hacks that sounds too simple to work—until you try it. The acid breaks down the bonds in burnt grease, while the paste texture gives you something to scrub against. It's safe on most grate materials, including stainless steel, porcelain, and cast iron (as long as you dry cast iron thoroughly afterward).
How To Make The Paste
In a small bowl, mix two tablespoons of cream of tartar with just enough water to form a thick, spreadable paste. You want it to be like toothpaste—not too runny, not too stiff. If it's too thin, add more powder; if too thick, add a few drops of water.
Application And Wait Time
Spread the paste evenly over the greasy areas of your grates. Let it sit for 20 minutes so the acid can work. Don't let it dry completely—if it starts to crack, spritz a little water on top.
After the wait, scrub with a non-abrasive sponge or brush. Rinse with warm water and dry immediately.
When It Works Best
This method shines on moderately burnt grease—the kind that's dark and sticky but not yet rock-hard. For really caked-on layers, you might need a second application or a longer soak. Pair it with a little elbow grease, and your grates will look noticeably cleaner.
10. Steam Clean with a Pressure Cooker
If you own a pressure cooker, you've got a powerful cleaning tool hiding in your kitchen. The high-pressure steam works wonders on baked-on grease, softening it in minutes. This method is fast, chemical-free, and perfect for grates that fit inside your cooker.
Fill your pressure cooker with about 2 cups of water and 1/4 cup of white vinegar. Place the grates inside—if they don't all fit, do them in batches. Lock the lid and bring to high pressure.
Cook for 10 minutes, then release the pressure naturally or use quick release according to your cooker's instructions. Once the pressure is gone, carefully remove the grates (they'll be hot) and let them cool slightly. The grease should now be loose and easy to scrub off with a sponge or brush.
Rinse well and dry.
Why It Works So Well
The combination of high heat, moisture, and pressure penetrates deep into the grease layers, breaking the bond between the burnt residue and the metal. Vinegar adds a mild acidic boost to help dissolve grease without harsh chemicals.
Tips For Best Results
Make sure your grates are fully submerged or at least exposed to steam—stack them if needed. For extra stubborn spots, add a squirt of dish soap to the water. Always check your pressure cooker's manual for maximum fill levels and safe operation.
What To Avoid
Don't use this method on grates with plastic handles or rubber feet—they might melt. Also, avoid pressure cookers that are too small to allow proper steam circulation. If your grates are enameled, test a small area first to ensure the steam doesn't damage the finish.
11. Use a Magic Eraser for Light Build-Up
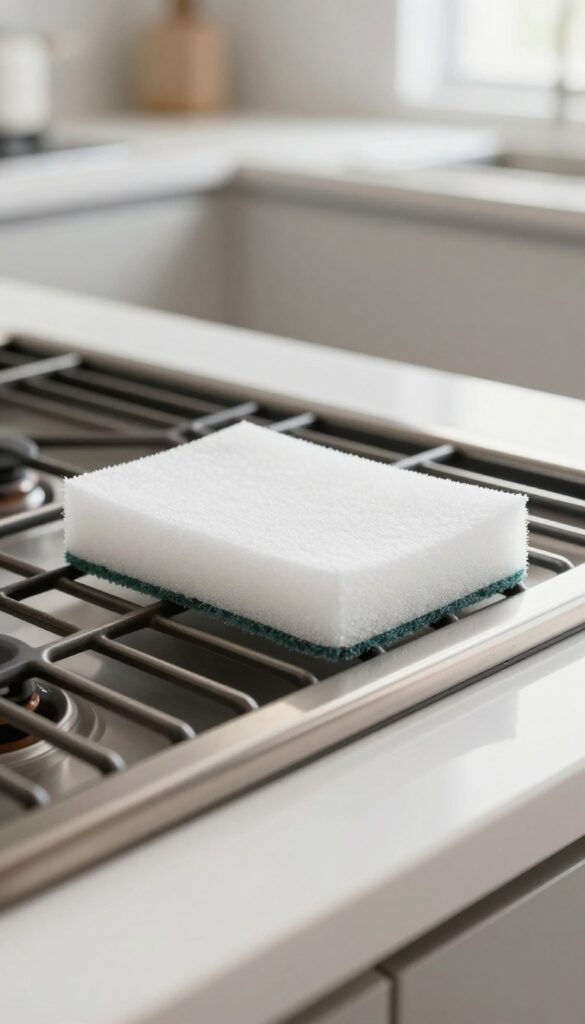
Not every cleaning job calls for heavy chemicals or elbow grease. For those times when the grates have just a light film of grease or a few baked-on spots, a simple melamine sponge—commonly known as a Magic Eraser—can be your best friend. It works like ultra-fine sandpaper, lifting grime without scratching the metal surface.
This method is ideal for grates that are cleaned regularly or have only moderate buildup. It's quick, requires no soaking, and leaves the surface smooth and shiny. Just remember to wear gloves if you have sensitive skin, as the sponge can be a bit abrasive on your hands.
How It Works
Melamine foam is a micro-abrasive material that acts like super-fine sandpaper. When wet, it gently wears away grease and burnt-on food particles. The sponge itself crumbles slightly as you scrub, exposing fresh abrasive surface.
This makes it effective without scratching most metal finishes.
Step-by-step Instructions
First, wet the Magic Eraser and wring out excess water—it should be damp, not dripping. Then, gently scrub the grates in a circular motion, focusing on the greasy areas. Rinse the sponge as it gets dirty and continue until the grates are clean.
Finally, rinse the grates with water and dry them thoroughly to prevent water spots.
When To Use This Method
This technique works best on light to moderate buildup. If your grates have thick, crusty layers of burnt grease, you'll need a stronger method first. But for weekly maintenance or quick touch-ups, the Magic Eraser is a fantastic, chemical-free option.
12. Hydrogen Peroxide and Baking Soda
Hydrogen peroxide isn't just for first aid—it's a surprisingly effective cleaner for burnt-on grease. When combined with baking soda, the mixture creates a gentle but powerful paste that breaks down organic residue without harsh fumes. This duo works especially well on stainless steel or porcelain-coated grates, where you want to avoid abrasive damage.
To use this method, start by removing the grates and giving them a quick rinse to loosen any loose debris. In a small bowl, mix equal parts hydrogen peroxide (3% solution works fine) and baking soda until you get a thick, spreadable paste. Apply the paste generously to the greasy areas, making sure to cover all the blackened spots.
Let it sit for about 15 minutes—you might see some fizzing as the peroxide reacts with the grime. Then, scrub with a non-abrasive sponge or a soft-bristled brush. Rinse thoroughly with warm water and dry with a clean cloth.
For stubborn spots, you can let the paste sit longer or repeat the process.
Why This Combo Works
Hydrogen peroxide is an oxidizer, meaning it helps break down the chemical bonds in organic matter like grease and food residue. Baking soda provides mild abrasion to lift the gunk without scratching the surface. Together, they create a fizzy reaction that helps lift burnt-on particles, making scrubbing much easier.
Best Practices For Best Results
For maximum effectiveness, apply the paste to dry grates—moisture can dilute the mixture. Also, avoid letting the paste dry completely; if it hardens, it becomes harder to rinse off. If you're dealing with heavy buildup, consider covering the paste with plastic wrap to keep it moist and active longer.
13. Dryer Sheet Soak
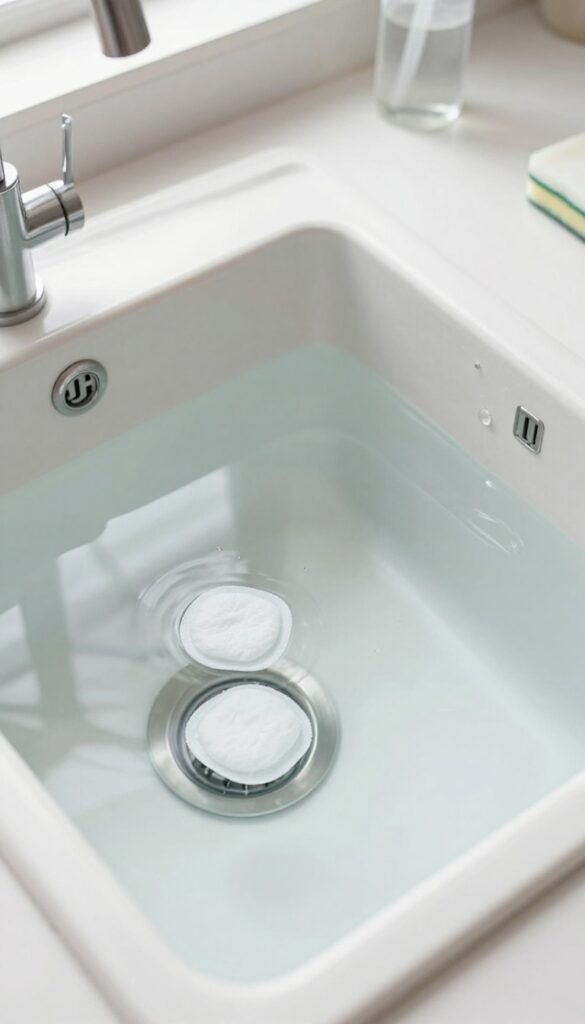
Fabric softener sheets are great for more than just laundry. They contain softening agents that help break down grease and grime. This soak method is almost effortless—just drop the grates in and let the dryer sheets do the work.
Fill your sink or a large basin with hot water. Toss in a few used or new dryer sheets—about three to four should do. Submerge the grates completely and let them soak for at least an hour.
The fabric softener compounds work to loosen the burnt-on grease, making it much easier to scrub off. After soaking, scrub with a non-abrasive sponge or brush. Rinse thoroughly with clean water and dry.
This method is especially good for lighter buildup and leaves a fresh scent.
Why It Works
Dryer sheets contain surfactants and softening agents that help break down oils and grease. The hot water activates these ingredients, allowing them to penetrate baked-on residue. It's a gentle but effective chemical reaction that saves you elbow grease.
Best Practices
Use hot water for best results—cold water won't activate the sheets as well. You can reuse sheets from a previous dryer load to save money. For extra tough grime, let the grates soak overnight.
Always rinse well to avoid any slippery residue on the grates.
What To Avoid
Don't use this method on aluminum grates, as the chemicals in dryer sheets can cause discoloration. Also avoid soaking for more than 24 hours, as prolonged exposure may damage some finishes. Stick to enameled or stainless steel grates for best results.
14. Ketchup for Burnt-On Grease
Believe it or not, that bottle of ketchup in your fridge can double as a powerful grease cutter. The acidity in tomatoes works to break down stubborn burnt-on residue without any harsh chemicals. It's a surprisingly effective hack that costs next to nothing.
Spread a generous layer of ketchup over the grates, making sure to cover all the greasy spots. Let it sit for about 30 minutes—the longer, the better for tough buildup. Then scrub with a non-abrasive sponge or brush, rinse thoroughly, and dry.
The ketchup's acidity loosens the grease, so you won't need to scrub as hard. It works especially well on lighter stains, but even heavy buildup will see improvement.
Why Ketchup Works
Tomatoes contain natural acids, like citric and malic acid, which help dissolve grease and grime. The vinegar in ketchup adds extra cleaning power. This combination makes ketchup a mild but effective cleaner that's safe on most stove grate materials, including porcelain and enamel.
Tips For Best Results
For maximum effect, warm the grates slightly before applying ketchup—the heat helps the acid work faster. If the ketchup starts to dry out, spritz a little water on top. After scrubbing, wash with dish soap to remove any sticky residue.
This method is also great for cleaning copper pots or removing baked-on food from baking sheets.
15. Self-Cleaning Oven Cycle (If Applicable)
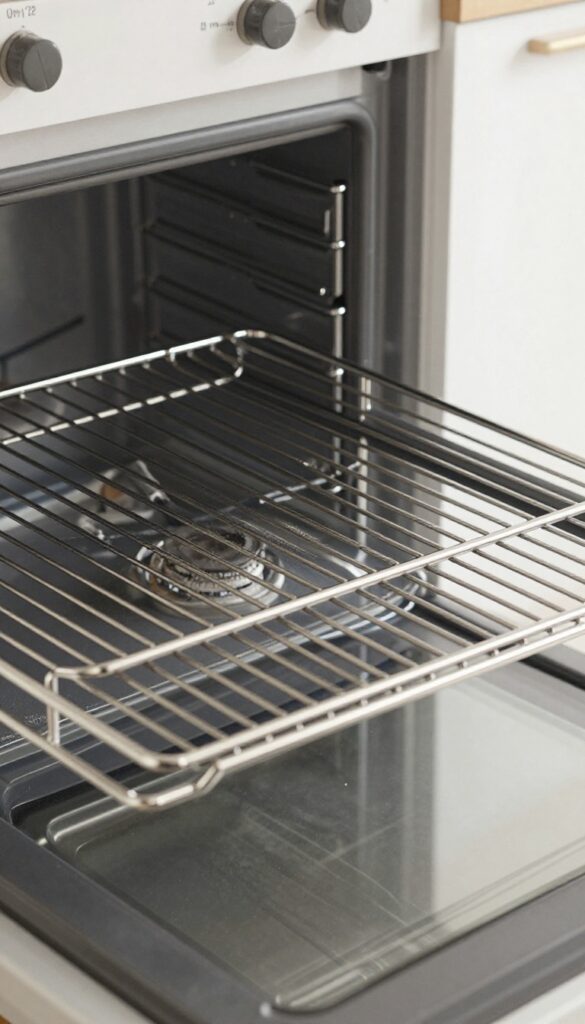
Your oven's self-cleaning cycle isn't just for the interior—it can work wonders on stove grates too. The extreme heat turns baked-on grease into fine ash that wipes away effortlessly. It's a hands-off method that saves serious scrubbing time.
Before you start, check your oven manual to confirm it's safe to place grates inside. Some manufacturers warn against it because high heat can damage certain finishes. If it's approved, load the grates directly on the oven racks, then run the self-cleaning cycle.
Once the cycle finishes and the oven cools, you'll find the grates covered in ash. Simply wipe them down with a damp cloth or rinse in the sink. No harsh chemicals, no elbow grease.
Check Your Manual First
Not all grates are built to withstand the intense heat of a self-cleaning cycle. Porcelain-coated grates might crack or discolor. Look for a note in your oven's manual or on the manufacturer's website.
When in doubt, skip this method.
Place Grates Properly
Arrange grates flat on the oven racks so they don't touch each other or the oven walls. Overlapping can cause uneven cleaning or damage. Leave space for heat to circulate.
Post-cycle Cleanup
After the cycle ends and the oven cools completely, open the door and gently wipe the ash off the grates. Use a damp microfiber cloth to avoid spreading dust. Rinse with water and dry thoroughly before putting them back on the stove.
16. Commercial Grill Cleaner
When household remedies fall short, it's time to bring in the heavy artillery. Commercial grill cleaners are specifically formulated to dissolve the kind of carbonized grease that builds up on barbecue grates—and they work just as well on your stove grates. These products contain strong degreasers that break down burnt-on residue quickly, saving you time and effort.
These cleaners are widely available at hardware stores and online. They come in spray, gel, or foam forms. The key is to choose one that's safe for your grate material (cast iron, porcelain, or stainless steel).
Always follow the manufacturer's instructions, as some require a short dwell time before scrubbing. Wear gloves and ensure good ventilation, because these are potent chemicals.
How To Use It
Spray or apply the cleaner generously over the greasy areas. Let it sit for the recommended time—usually 5 to 15 minutes. You'll see the grime start to bubble and loosen.
Then scrub with a stiff brush or non-abrasive pad. Rinse thoroughly with water and dry immediately to prevent rust.
Safety First
These cleaners often contain lye or other caustic agents. Always work in a well-ventilated area, wear rubber gloves, and protect your eyes. Keep them away from children and pets.
Never mix with other cleaners, especially ammonia or bleach.
When To Choose This Method
Commercial grill cleaners are best for heavy, baked-on grease that has resisted other methods. They're ideal for a deep clean once or twice a year, rather than daily maintenance. If your grates have layers of carbonized buildup, this is your most effective option.
17. Regular Maintenance with a Degreaser
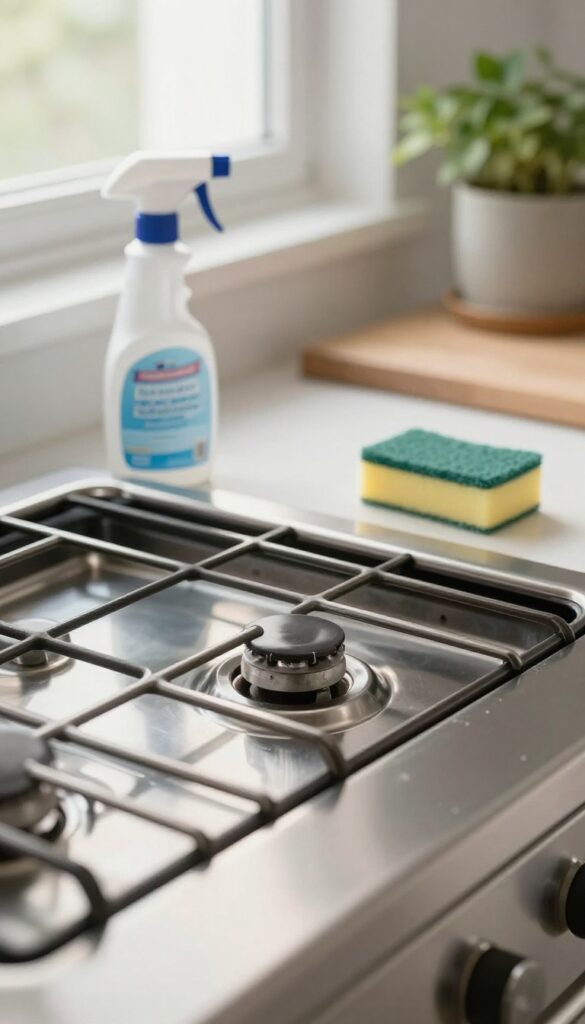
The best way to deal with burnt-on grease is to not let it get that bad in the first place. A quick wipe-down after each use with a good degreaser keeps grates looking fresh and prevents that stubborn buildup. It's a small habit that saves you from hours of scrubbing later.
Consistency is key. After cooking, let the grates cool slightly, then spray on a degreasing cleaner and wipe with a sponge or cloth. Focus on areas that see the most grease splatter.
This routine takes less than a minute but dramatically reduces the need for deep cleaning. Choose a degreaser that's safe for your grate material—stainless steel, porcelain, or cast iron all have different needs. For an eco-friendly option, a 50/50 mix of white vinegar and water works well on light buildup.
Why Daily Wiping Matters
Grease hardens over time, especially when exposed to high heat. A daily degreaser wipe removes the fresh oil before it carbonizes. This prevents the dark, crusty layer that requires heavy-duty methods to remove.
Think of it as brushing your teeth—a little effort each day prevents major problems later.
Best Degreasers For Stove Grates
Look for products labeled as kitchen degreasers, like Simple Green or Krud Kutter. Avoid harsh chemicals that might damage the finish. For cast iron grates, stick to mild dish soap and water to preserve seasoning.
Always test a small area first. If you prefer homemade, a paste of baking soda and dish soap works wonders without harsh fumes.
How To Incorporate It Into Your Routine
Make it part of your post-dinner cleanup. While the dishes soak, spray the grates and let the degreaser sit for a minute. Then wipe them down with a damp cloth.
If you have a dishwasher-safe grate, you can even toss it in for a quick rinse—but check the manufacturer's instructions first. This simple step keeps your stove looking clean and ready for the next meal.
FAQ
Can I use bleach to clean stove grates?
Bleach is not recommended for stove grates as it can damage the finish and is not effective on grease. Stick to degreasers or natural alternatives.
How often should I clean my stove grates?
For best results, clean grates every few weeks or when you notice buildup. Regular wiping after cooking prevents heavy grease accumulation.
Will these methods work on enameled grates?
Yes, but avoid abrasive scrubbers that can scratch enamel. Use soft sponges and non-abrasive cleaners like baking soda or dish soap.
Can I put stove grates in the dishwasher?
Check your manufacturer's instructions. Some grates are dishwasher-safe, but others may discolor or get damaged. Hand washing is generally safer.
What if my grates are rusted?
Rust indicates worn coating. Clean off rust with a wire brush, then season with cooking oil to protect. If rust is extensive, consider replacing the grates.
Conclusion
Cleaning stove grates doesn't have to be a chore. With these 17 tips, you can tackle even the toughest burnt grease using simple household items. Start with the method that matches your grates' condition—whether it's a quick ammonia bag soak or a baking soda paste.
A little regular maintenance will keep them looking like new and save you from heavy scrubbing later. Pick a couple of techniques and make them part of your cleaning routine. Your stove will thank you.