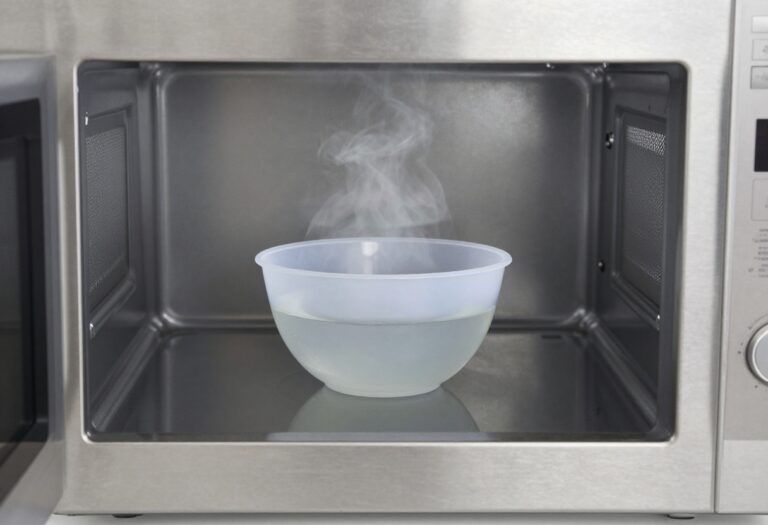
20 Cleaning Stove Tips for Grease Splashes and Burnt Food
Grease splatters and burnt-on food can turn stove cleaning into a dreaded chore. But with the right techniques, you can cut through grime quickly without harsh scrubbing.
These 20 tips tackle everything from daily wipe-downs to stubborn residue using common household items. Each method is tested and practical, saving you time and elbow grease.
Ready to make your stovetop shine again? Let's get into the strategies that actually work.
1. Wipe Down After Every Use
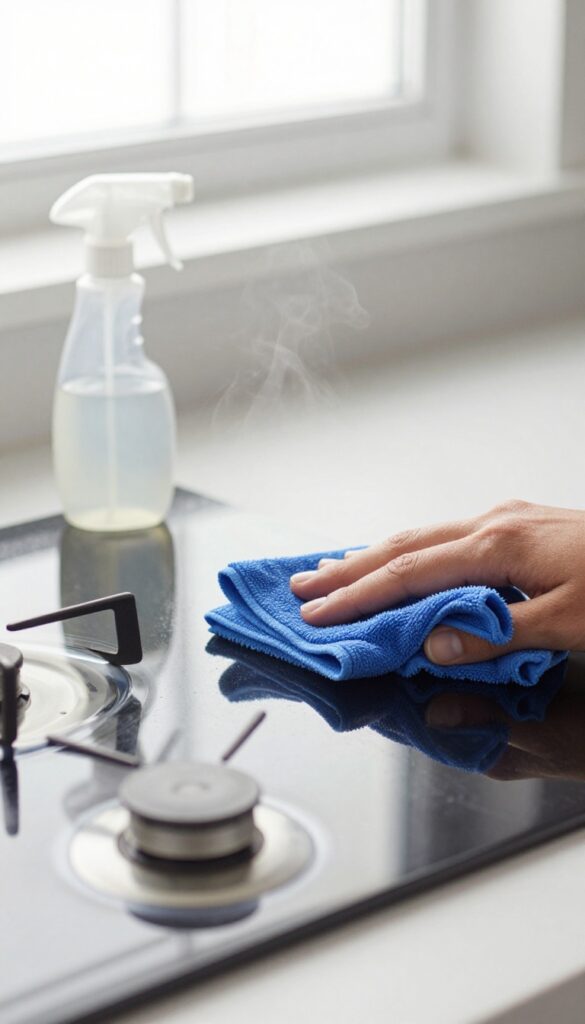
A quick wipe while the stove is still warm (but not hot) prevents grease from hardening. Use a damp microfiber cloth and a drop of dish soap. This simple habit saves you from heavy scrubbing later.
Make it a routine to wipe the stovetop after each cooking session. Warm grease wipes off easily, but once it cools and hardens, it becomes stubborn. A microfiber cloth grabs grime without scratching, and a tiny bit of dish soap cuts through oil.
Keep a spray bottle of diluted soap nearby for convenience.
Why Warm Is Best
Grease is liquid when hot, so it lifts off with minimal effort. If you wait until the stove is cold, the grease solidifies and bonds to the surface. Just make sure the burner is off and the surface is warm to the touch, not hot enough to burn your hand.
Choose The Right Cloth
Microfiber is ideal because it traps grease and dirt without leaving lint. Avoid abrasive sponges or scrub pads that can scratch glass or ceramic tops. For stubborn spots, let the damp cloth sit on the spot for a minute to loosen the residue.
Quick Daily Routine
After dinner, while the stove is still warm, spray lightly with soapy water, wipe with microfiber, then dry with a separate cloth. This takes under a minute and keeps your stove looking clean every day.
2. Use Baking Soda Paste for Burnt-On Food
Burnt-on food can feel impossible to remove, but baking soda is a gentle abrasive that works wonders. Mixed with water, it forms a paste that breaks down carbonized residue without scratching your stove's surface. This method is safe for glass, ceramic, and enamel cooktops.
Baking soda paste is one of the most reliable ways to tackle burnt-on messes. It's cheap, non-toxic, and requires minimal effort. Just let the paste sit for a while to soften the gunk, then wipe away.
For extra stubborn spots, you can add a splash of vinegar to create a fizzing action that lifts residue.
How To Make The Paste
Mix three parts baking soda with one part water in a small bowl. Stir until it forms a thick, spreadable paste. If it's too runny, add more baking soda; if too dry, add a few more drops of water.
The consistency should be similar to toothpaste.
Application And Waiting Time
Spread the paste generously over the burnt areas, making sure to cover all the crusty bits. Let it sit for 15 to 20 minutes. For older or thicker buildup, you can leave it on for up to 30 minutes.
This gives the baking soda time to break down the burnt food.
Scrubbing And Rinsing
After the wait, dampen a non-abrasive sponge or microfiber cloth and gently scrub in circular motions. The burnt-on food should lift off easily. Rinse the area with clean water and dry with a soft towel.
Repeat if any residue remains.
3. Vinegar Spray for Grease Cuts
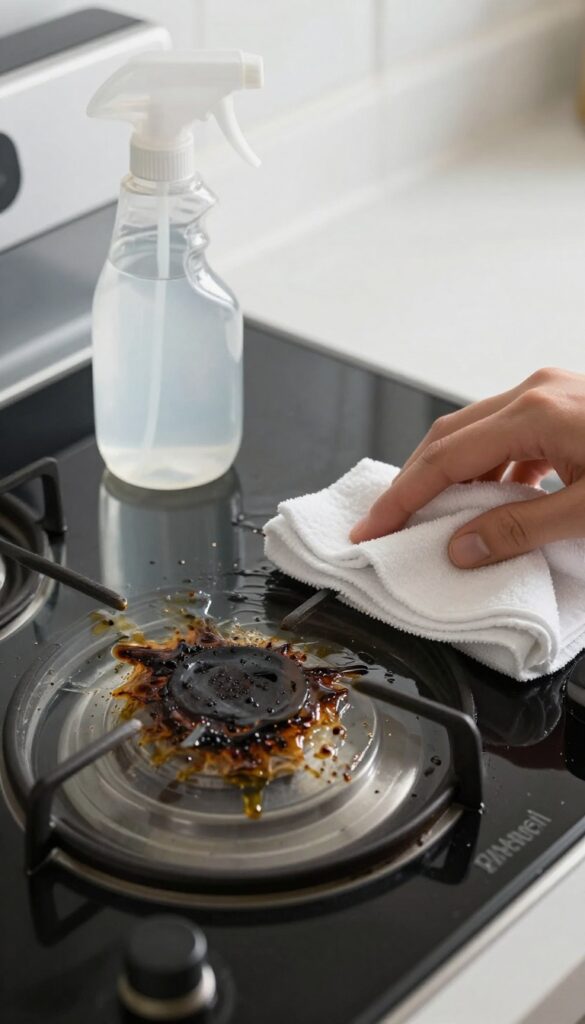
White vinegar is a powerhouse when it comes to cutting through grease. Its acidity breaks down the oily residue that clings to your stovetop, making it easy to wipe away without harsh chemicals. This simple spray solution works on glass, ceramic, and stainless steel surfaces, but avoid using it on unsealed cast iron or aluminum.
Mix equal parts white vinegar and water in a spray bottle. Spray the solution generously on greasy areas and let it sit for 5 minutes. The vinegar will start to dissolve the grime.
Then, wipe clean with a soft cloth or sponge. For stubborn spots, give it a second spray and let it sit longer. Rinse with a damp cloth to remove any vinegar smell.
Why Vinegar Works So Well
Vinegar contains acetic acid, which is a mild acid that reacts with the alkaline compounds in grease. This reaction helps to break down the grease into smaller, water-soluble particles that rinse away easily. It's a natural degreaser that's safe for most stove surfaces and won't leave behind toxic residues.
Best Practices For Using Vinegar Spray
Always test on a small, hidden area first to ensure it doesn't damage the finish. Use a spray bottle with a fine mist to avoid soaking the stove. Let the solution sit for the full 5 minutes to give it time to work.
Avoid using abrasive scrubbers that could scratch the surface. After wiping, buff with a dry microfiber cloth for a streak-free shine.
4. Degrease with Dish Soap and Hot Water
For heavy grease buildup, soaking is your best friend. Hot water and dish soap break down oil without you having to scrub for ages. This method works especially well on burner grates, knobs, and drip pans.
Soak Removable Parts
Take off any parts that can be removed—grates, caps, and knobs. Fill your sink or a large basin with hot water and add a generous squirt of dish soap. Submerge the parts and let them soak for at least 20 minutes.
The heat and soap loosen the grease, so most of it rinses off easily.
Scrub Gently
After soaking, use a soft sponge or a non-abrasive brush to wipe away the softened grime. Avoid steel wool on coated surfaces—it can scratch. For stubborn spots, a paste of baking soda and water can help without damaging the finish.
Rinse And Dry
Rinse each piece thoroughly with clean water to remove all soap residue. Dry them completely before putting them back on the stove. Wet parts can lead to rust or water spots, especially on metal surfaces.
5. Lemon Juice for Stubborn Stains
Lemon juice isn't just for lemonade—it's a natural degreaser and stain remover. The citric acid breaks down burnt-on food and lifts discoloration without harsh chemicals. Plus, it leaves your kitchen smelling fresh.
For tough, burnt-on stains, cut a lemon in half and rub it directly over the affected area. Let the juice sit for 5–10 minutes, then wipe with a damp cloth. For extra stubborn spots, sprinkle some salt on the lemon half before rubbing—it acts as a gentle abrasive.
Rinse with water and dry. This method works best on glass, ceramic, and stainless steel stovetops. Avoid using on unsealed cast iron or aluminum.
Why Lemon Works
Lemons contain citric acid, a mild organic acid that dissolves mineral deposits and breaks down grease. It's also a natural bleach, helping to lighten burnt stains without damaging the surface.
Step-by-step Application
- Cut a lemon in half. 2.
Rub the cut side directly on the stain, squeezing slightly to release juice. 3. Let sit for 5–10 minutes.
- Wipe with a damp cloth or sponge. 5.
Rinse with water and dry. For extra scrubbing power, dip the lemon in baking soda or salt before rubbing.
When To Use Lemon Juice
Best for fresh or moderately burnt stains on glass, ceramic, and stainless steel. Avoid on aluminum, copper, or unsealed cast iron, as acid can cause discoloration. Always test on a small area first.
6. Steam Clean with a Damp Towel
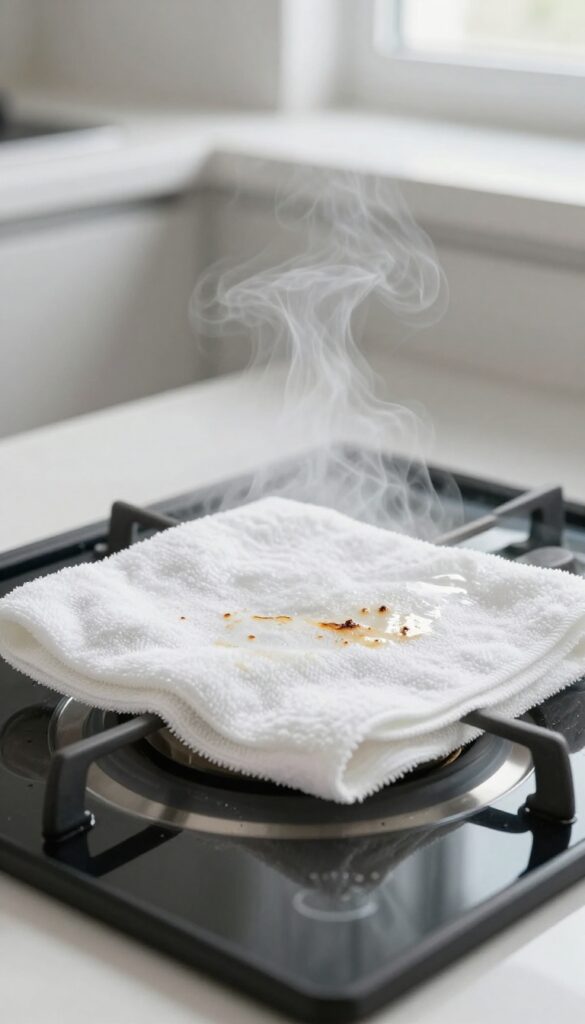
Steam is a powerful, chemical-free way to loosen burnt-on messes. A damp towel traps heat and moisture, softening stubborn residue without scrubbing. This method works best on electric and glass cooktops, but be careful with gas grates—remove them first if needed.
How It Works
When you place a damp towel on a warm burner, the water turns to steam and penetrates the burnt layer. The heat stays trapped under the towel, allowing the steam to work for several minutes. This rehydrates the crusty food, making it lift off with gentle wiping.
Step-by-step Instructions
First, make sure the burner is warm but not scorching hot—set it to low after cooking. Dampen a clean dish towel or microfiber cloth with water and wring it out so it's wet but not dripping. Lay it flat over the burnt area and let it sit for 10 minutes.
Remove the towel (careful—it will be hot) and wipe the residue with a sponge or cloth. For extra stubborn spots, repeat or add a drop of dish soap.
When To Use This Method
This technique is ideal for fresh spills that have baked on during cooking. It's less effective on old, hardened crust that has cooled and set for hours. For those, try a baking soda paste first, then follow up with steam.
Also avoid using this on very hot burners—let them cool slightly to prevent burns or damaging the towel.
Pro Tips For Best Results
Use a towel you don't mind staining, as burnt residue may transfer. If the spill is large, cover the whole burner area with a damp cloth or paper towel. For gas stoves, remove the grates and burner caps, then steam the drip pans separately.
Always dry the stovetop afterward to prevent water spots or rust.
7. Use a Razor Scraper for Glass Cooktops
Glass cooktops look sleek, but burnt-on food can be a real eyesore. Scrubbing with a sponge often just smears the mess around. That's where a razor scraper comes in—it's a quick, effective way to lift stubborn residue without damaging the surface, as long as you use it correctly.
The Right Angle Matters
Hold the razor scraper at a 45-degree angle to the glass. This lets the blade catch the edge of the burnt food without digging into the surface. Always use light pressure—let the blade do the work.
Pushing too hard can cause scratches, especially if there's grit underneath.
Always Use A Lubricant
Never use a dry scraper on a dry cooktop. Apply a few sprays of glass cleaner or a mixture of water and dish soap before scraping. The lubricant reduces friction and helps the blade glide smoothly, preventing scratches.
It also lifts the residue slightly, making it easier to remove.
Work In Small Sections
Don't try to scrape the entire cooktop at once. Focus on a small area, spray lubricant, and scrape gently. Wipe away the loosened debris with a damp cloth.
Repeat for each burnt spot. This method is especially effective for caramelized sugar or dried-on sauce that won't budge with a sponge.
8. Remove Grates and Knobs for Deep Cleaning
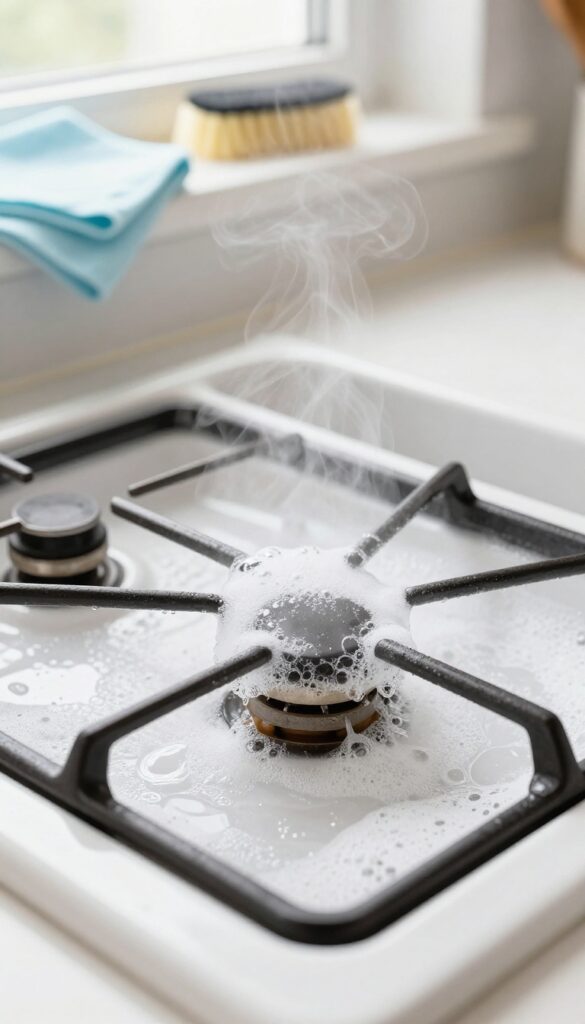
Burner grates and knobs trap grease and food particles in all those nooks and crannies. A quick wipe isn't enough to get them truly clean. Removing them for a proper soak makes a huge difference.
Taking off the grates and knobs might seem like extra work, but it's the only way to reach the hidden grime. Once removed, you can scrub every surface thoroughly without bending around obstacles. Plus, soaking loosens baked-on residue that would otherwise require heavy scrubbing.
Soaking Technique
Fill your sink or a large basin with hot water and add a few squirts of dish soap. Submerge the grates and knobs completely. Let them soak for at least 15–30 minutes—longer for stubborn buildup.
The hot soapy water breaks down grease and softens burnt food.
Scrubbing Strategy
After soaking, use a non-abrasive scrub brush or an old toothbrush to work into crevices. For grates, a stiff-bristled brush is best. Rinse thoroughly with clean water and dry with a microfiber cloth before putting them back.
Drying And Reassembly
Make sure everything is completely dry to prevent rust or mineral spots. Let grates air-dry on a towel, and wipe knobs with a dry cloth. Reattach only when the stovetop surface is also dry and clean.
9. Clean Burner Caps with Ammonia (Gas Stoves)
Gas stove burner caps collect a surprising amount of baked-on grease and carbon. Scrubbing them clean by hand is tedious, but ammonia does the heavy lifting for you. This overnight method breaks down tough residue with almost no effort on your part.
Ammonia fumes are highly effective at softening carbon deposits without soaking or scrubbing. The sealed bag traps the fumes, letting them work on the grime while you sleep. Just remember to rinse caps thoroughly before putting them back on the stove.
What You'll Need
Grab a gallon-size zip-top bag, a tablespoon of household ammonia, and your burner caps. Make sure the caps are cool and dry before starting. You'll also want rubber gloves and good ventilation—open a window or work near an exhaust fan.
The Overnight Soak (without Liquid)
Place the burner caps inside the bag. Add the tablespoon of ammonia without letting it touch the caps directly—you can pour it into a corner or use a small dish inside the bag. Seal the bag almost completely, squeeze out excess air, then seal it tight.
Leave it on a counter or in the sink overnight.
Rinsing And Finishing
In the morning, remove the caps (wear gloves! ) and rinse them under hot water. Most of the carbon will wash away or wipe off easily with a sponge. For stubborn spots, a quick scrub with a non-abrasive pad will finish the job.
Dry the caps completely before reinstalling.
10. Use a Magic Eraser for Scuff Marks
Sometimes a gentle abrasive is all you need to lift those stubborn scuff marks or light burnt spots without resorting to harsh chemicals. A melamine sponge—better known as a Magic Eraser—works like a charm on ceramic, glass, and even some metal surfaces. It's a simple, low-effort trick that can make your stove look nearly new again.
Dampen a melamine sponge (Magic Eraser) and gently rub scuff marks or light burnt spots. It works like an eraser without harsh chemicals.
How It Works
Melamine foam has a micro-abrasive structure that acts like super-fine sandpaper. When dampened, it creates a mild scrubbing action that lifts dirt and stains from smooth surfaces without scratching. It's especially effective on glass cooktops, ceramic stoves, and painted metal surfaces.
Best Practices
Always test on a small hidden area first. Use light pressure—let the sponge do the work. Rinse the sponge frequently to avoid redepositing grime.
For tough spots, let the damp sponge sit on the stain for a minute before wiping.
What To Avoid
Don't use Magic Erasers on non-stick coatings, polished stainless steel, or glossy finishes, as they can cause dullness or scratches. Also avoid using them on hot surfaces or with bleach-based cleaners, which can react with the foam.
11. Prevent Splatters with a Splatter Guard
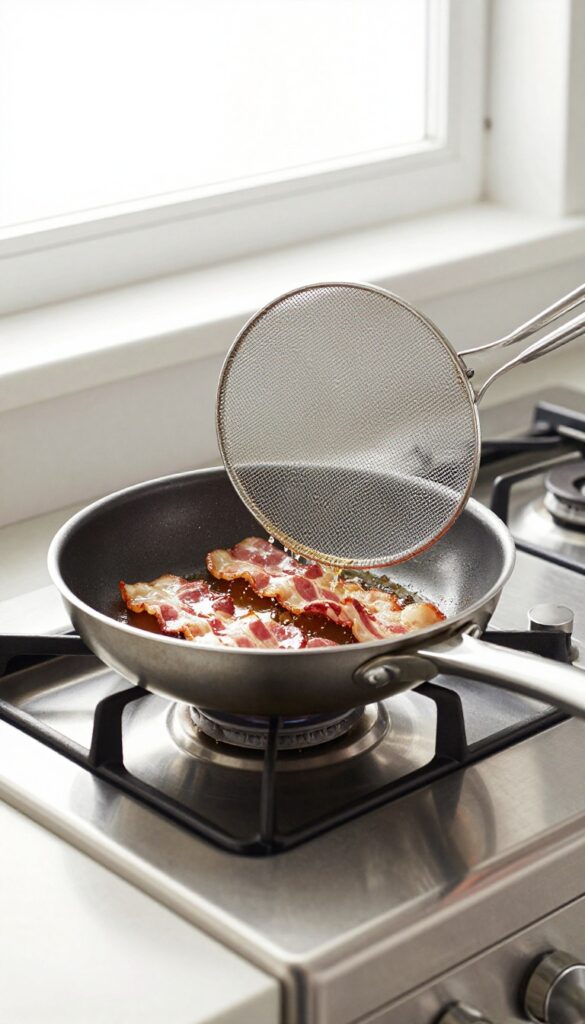
Frying bacon, chicken, or fish inevitably sends grease flying across your stovetop. A simple mesh splatter guard catches those droplets before they land on burners and surfaces. It's a small investment that dramatically cuts down cleaning time.
Mesh splatter guards are inexpensive and easy to use. They sit over your pan and allow steam to escape while blocking grease. After cooking, just rinse the guard in hot soapy water—no scrubbing the stove needed.
Choose The Right Size
Splatter guards come in various diameters. Pick one that's slightly larger than your pan to catch all splashes. Adjustable guards with handles fit multiple pan sizes and are easier to store.
Use With High Heat Foods
Foods that splatter most—like bacon, fried chicken, and fish—benefit most from a guard. Even when sautéing vegetables with oil, a guard keeps the stovetop cleaner. It's a simple habit that pays off.
Clean Immediately After Use
Grease hardens quickly on mesh. Rinse the guard right after cooking while residue is still soft. A quick scrub with a brush and dish soap keeps it ready for next time.
12. Line Drip Pans with Foil
Drip pans under your burners take a beating from spills and splatters. Scrubbing them clean is a pain, but there's a simple trick that saves you the elbow grease. Aluminum foil can be your best friend here.
By lining your drip pans with foil, you create a disposable barrier that catches all the mess. When the foil gets dirty, just peel it off and replace it with a fresh sheet. No scrubbing, no soaking, no harsh chemicals.
How To Line Drip Pans Properly
Start with clean, dry drip pans. Tear off a sheet of heavy-duty aluminum foil large enough to cover the pan with a bit of overhang. Press the foil firmly into the pan, molding it around the edges and the center hole.
Smooth out wrinkles so it sits flat. Trim any excess foil that extends beyond the pan's rim.
When To Replace The Foil
Check your foil liners every week or two. If you see grease buildup, burnt spots, or food debris, it's time for a swap. Don't wait until the foil is caked on—replace it before it starts to tear or leak.
This keeps your stove looking clean with minimal effort.
Important Safety Note
Never use foil to line the bottom of your oven or cover oven racks—it can block airflow and cause fire hazards. But for drip pans on electric and gas stoves, foil is perfectly safe as long as it doesn't touch the burner flame or heating element. Always leave the burner opening uncovered.
13. Clean Electric Coil Burners Carefully
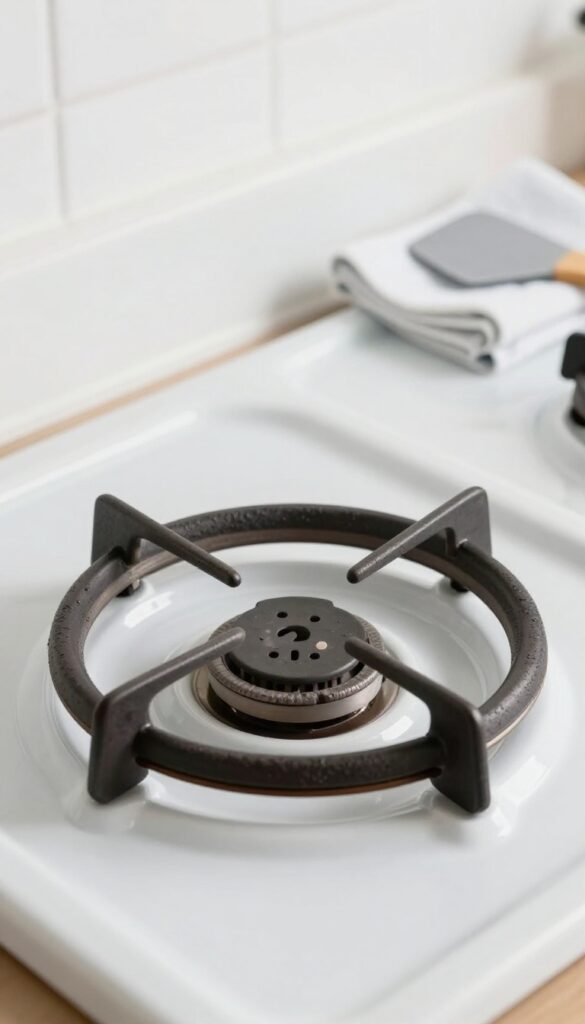
Electric coil burners need a different approach than gas or glass tops. They're durable but sensitive to moisture, so one wrong move can ruin them. Here's how to clean them safely without damaging the coils or the wiring.
Wait For Full Cool Down
Never attempt to clean a coil burner while it's still warm. Turn off the burner and unplug it from the socket. Let it cool completely—usually 30 minutes or more.
Cleaning a warm coil can cause burns or make the metal warp.
Wipe, Don't Soak
Use a damp cloth with a drop of mild dish soap. Gently wipe the coil surface to remove grease and food residue. Never submerge the coil in water or run it through the dishwasher—water inside the electrical housing can cause shorts or rust.
Dry Thoroughly Before Reconnecting
After wiping, dry the coil with a clean, soft towel. Let it air-dry for another 10 minutes to ensure no moisture remains. Plug it back in only when completely dry to avoid electrical issues.
Baked-on Burnt Food? Use A Plastic Scraper
For stubborn burnt bits, gently scrape with a plastic scraper or the edge of a credit card. Avoid metal tools or abrasive pads—they can scratch the coil surface and create hot spots. Follow up with a damp cloth wipe.
14. Use a Toothbrush for Crevices
An old toothbrush dipped in baking soda paste is perfect for scrubbing around knobs, edges, and other tight spots where grease hides. This simple tool reaches where sponges and cloths can't, making it a game-changer for detailed stove cleaning.
Why A Toothbrush Works So Well
The bristles are stiff enough to dislodge baked-on grease but gentle enough not to scratch surfaces. The narrow head fits into grooves around burner knobs, control panels, and the edges of drip pans. Plus, you can angle it precisely to target grime without spreading it around.
How To Make And Use Baking Soda Paste
Mix three parts baking soda with one part water to form a thick paste. Dip the toothbrush into the paste, then scrub the crevices in small circular motions. Let the paste sit for a few minutes on stubborn spots before rinsing with a damp cloth.
For extra tough buildup, add a drop of dish soap to the paste.
Best Areas To Target
Focus on the gaps around control knobs, the seams where the cooktop meets the counter, and the edges of burner grates. Don't forget the tiny spaces around ignition switches or the ridges on glass stovetops. A toothbrush also works wonders on the hinges and corners of oven doors.
15. Try a Commercial Degreaser for Tough Jobs
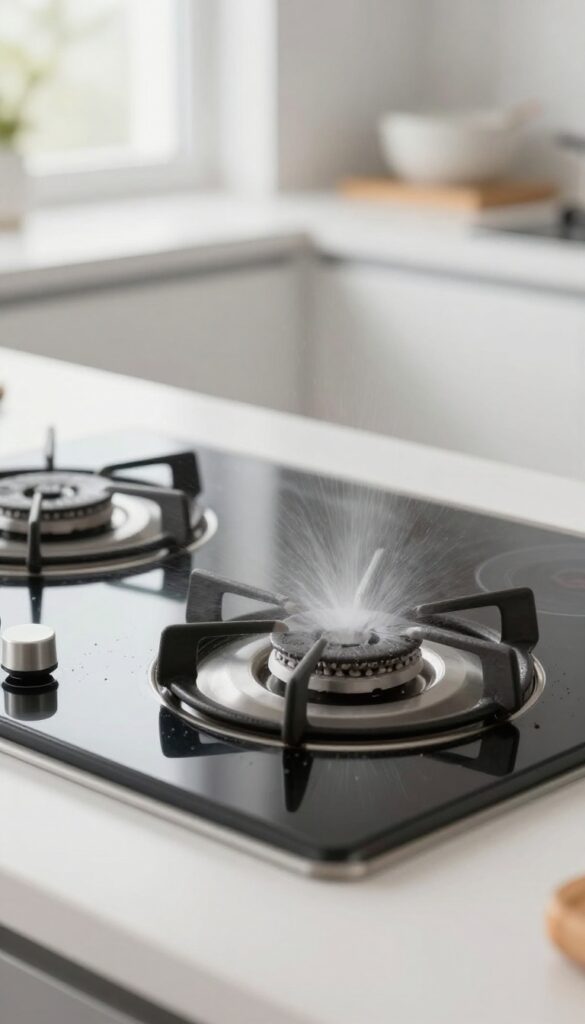
When baking soda and vinegar aren't cutting it, it's time to bring in the big guns. Commercial degreasers are specially formulated to dissolve baked-on grease and burnt food that household cleaners can't handle. They're a lifesaver for those neglected spots that have been building up for weeks.
For truly stubborn grease, a kitchen-specific degreaser can make the job almost effortless. These products are designed to break down tough, polymerized oils without damaging your stove's finish. Always follow the instructions: spray generously, let it sit for the recommended time (usually 5–10 minutes), then wipe away with a damp cloth.
For extra-sticky areas, a soft scrub brush can help. Just remember to test on an inconspicuous spot first, especially on glass or ceramic tops, to avoid etching or discoloration.
Choose The Right Product
Not all degreasers are created equal. Look for one labeled for kitchen use, like Krud Kutter or Simple Green. Avoid oven cleaners unless you're cleaning the oven itself—they're too harsh for stovetops.
If you have a glass cooktop, pick a degreaser that's safe for that surface.
Proper Application Matters
Don't just spray and wipe immediately. Let the degreaser sit to penetrate the grime. For vertical surfaces like the backsplash, use a thicker gel that won't drip.
Cover the area with plastic wrap to keep it moist and active longer.
Safety First
Work in a well-ventilated area—open a window or turn on the exhaust fan. Wear gloves to protect your hands from chemicals. Keep degreasers away from children and pets, and never mix them with other cleaners like bleach or ammonia.
16. Make a Hydrogen Peroxide Paste
Hydrogen peroxide is a mild bleach that works wonders on burnt stains, especially on white or light-colored ceramic cooktops. When mixed with baking soda, it creates a paste that lifts discoloration without scratching. This combo is affordable, non-toxic, and surprisingly effective.
To make the paste, combine three parts baking soda with one part hydrogen peroxide until it forms a spreadable consistency. Apply a thick layer over burnt-on spots and let it sit for 15–30 minutes until dry. Then, gently scrub with a soft sponge or microfiber cloth.
Rinse with water and buff dry for a streak-free shine. For extra tough stains, let the paste sit longer or cover with plastic wrap overnight.
Why It Works So Well
Hydrogen peroxide releases oxygen bubbles that help lift organic stains, while baking soda provides gentle abrasion. Together, they break down carbonized food without damaging the glass surface. Unlike harsh chemical cleaners, this paste is safe for food-contact areas and won't leave toxic residues.
Best Surfaces To Use It On
This paste is ideal for ceramic and glass stovetops, especially white or light-colored models where burnt marks stand out. It also works on stainless steel drip pans and enamel surfaces, but avoid using it on aluminum or copper as peroxide can cause discoloration. Always test a small hidden area first.
Pro Tips For Maximum Effect
For dried-on splatters, pre-wet the area with a spray of hydrogen peroxide before applying the paste. Use a plastic scraper to gently lift thick residue after the paste dries. To prevent streaks, finish with a glass cleaner and a clean cloth.
Store leftover paste in a sealed jar for up to a week.
17. Clean Stove Exhaust Filters Monthly
Your range hood works hard pulling grease and smoke out of the air, but that filter can only do its job when it's clean. A clogged filter not only reduces airflow but also becomes a fire hazard. Monthly cleaning keeps it working efficiently and prevents greasy buildup from recirculating into your kitchen.
Soak In Hot, Soapy Water
Remove the filter from your range hood—most slide out or have a simple latch. Fill your sink or a large basin with hot water and add a few squirts of degreasing dish soap. Submerge the filter completely and let it soak for at least 15 minutes.
The heat and soap loosen the trapped grease, making scrubbing much easier.
Scrub And Rinse Thoroughly
After soaking, use a soft brush or an old toothbrush to scrub both sides of the filter, paying extra attention to the mesh where grease collects. Rinse thoroughly with hot water to remove all soap residue. Shake off excess water and let the filter air dry completely on a dish rack or towel before reinstalling.
Don't Forget The Exhaust Fan Blades
While the filter is off, take a moment to wipe down the fan blades inside the hood. Use a damp cloth with a little degreaser to remove any accumulated grease. This step keeps the whole system running smoothly and prevents unpleasant odors from building up.
18. Use a Steam Cleaner for Deep Grime
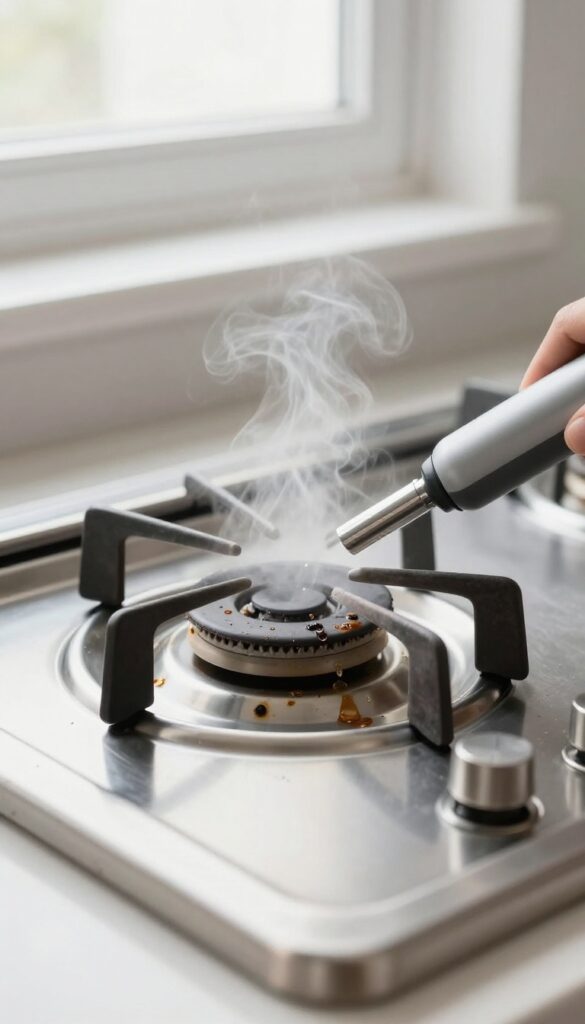
When scrubbing and soaking fail to cut through layers of baked-on grease, a steam cleaner can be your secret weapon. These handheld devices use pressurized steam to loosen stubborn grime without any chemicals. The high heat melts burnt food and grease on contact, making it easy to wipe away.
Steam cleaners are especially effective on gas burner grates, drip pans, and glass cooktops. The steam penetrates crevices that sponges can't reach, and the heat sanitizes the surface as you clean. It's a fast, eco-friendly method that reduces elbow grease significantly.
How Steam Cleaning Works
A handheld steam cleaner heats water to around 200°F and releases it as a concentrated jet of steam. Aim the nozzle at the greasy or burnt area for a few seconds, then wipe with a microfiber cloth. The steam lifts the grime without scratching surfaces.
Best Surfaces For Steam Cleaning
Steam is safe for sealed ceramic, glass, and metal surfaces. Avoid using it on unsealed grout or painted surfaces. For gas stoves, remove the grates and clean them separately with steam for best results.
Tips For Maximum Effectiveness
Work in small sections to prevent the steam from cooling too quickly. Use a nylon brush attachment for extra scrubbing power on tough spots. Always let the surface cool before wiping to avoid burns.
19. Polish Stainless Steel After Cleaning
You've scrubbed away the grease and burnt bits, but your stainless steel stove still looks dull or streaky. That final polish step makes all the difference between a clean stove and a truly gleaming one. A quick wipe with the right product not only restores that mirror-like shine but also creates a protective barrier that repels fingerprints and future splatters.
Why Polish Matters
Stainless steel naturally shows every smudge and water spot. Without a finishing step, even a deep clean can leave the surface looking cloudy or marked. A thin layer of oil or polish fills microscopic pores, smoothing the surface so light reflects evenly.
That's what gives you that professional, streak-free shine.
Olive Oil: The Pantry Hack
You don't need a fancy store-bought polish. A few drops of olive oil on a soft microfiber cloth work beautifully. Rub it into the grain of the steel (always follow the grain lines), then buff with a dry section of the cloth.
The oil adds a subtle sheen and helps repel new fingerprints. Just use a tiny amount—too much can feel greasy.
Dedicated Stainless Steel Cleaners
If you prefer a commercial product, look for cleaners specifically designed for stainless steel. Sprays like Weiman or Therapy Stainless Steel Cleaner and Polish are popular choices. They often contain solvents that cut any remaining grease while depositing a protective polymer.
Spray on, wipe with the grain, and buff dry for a long-lasting, fingerprint-resistant finish.
Buffing Technique For Best Results
The secret to a flawless polish is in the buffing. After applying your polish or oil, take a clean, dry microfiber cloth and buff the surface in small circular motions, then finish with long strokes following the grain. This removes any excess product and ensures an even, high-gloss shine.
Don't skip the buffing step—it's what eliminates streaks.
20. Establish a Weekly Deep-Clean Routine
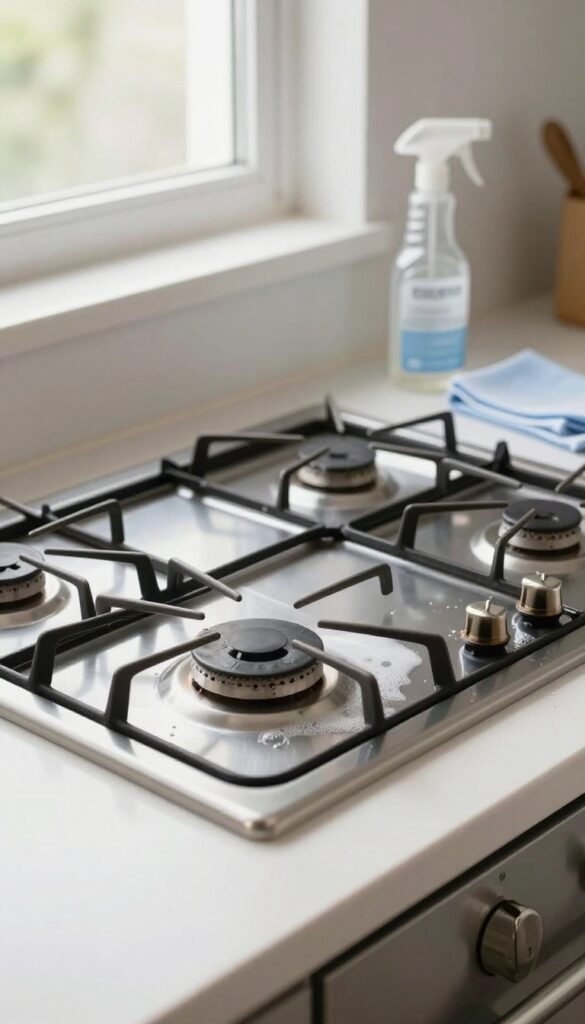
Consistency is the secret to a stove that always looks good. Instead of waiting for grease to harden or food to burn on, a short weekly deep-clean keeps everything manageable. You'll spend less time scrubbing overall and avoid the need for harsh chemicals.
Set aside just 15 minutes each week for a thorough cleaning. Remove the grates and burner caps, soak them in warm soapy water, and scrub away any residue. Wipe down the entire stovetop with a degreaser or vinegar solution, then dry and polish.
For gas stoves, use a toothbrush to clean burner ports. Reassemble everything, and you're done. This routine prevents buildup and makes daily wipe-downs more effective.
What To Tackle Each Week
Focus on the areas that collect the most grime: burner grates, drip pans, control knobs, and the stovetop surface. Remove any loose debris first, then apply your cleaner. A soft sponge or microfiber cloth works best to avoid scratches.
Quick Tips For Efficiency
Keep your cleaning supplies in a caddy under the sink for easy access. Use a timer to stay on track. If you have a ceramic cooktop, use a dedicated scraper for burnt-on bits.
For stainless steel, finish with a polish to restore shine and protect against fingerprints.
How To Stay Consistent
Pick a day and time that works for you, like Sunday evening or after your weekly grocery run. Add it to your calendar or set a phone reminder. Once it becomes a habit, you'll wonder how you ever managed without it.
FAQ
Can I use bleach to clean my stove?
Bleach is not recommended for most stoves as it can damage finishes and is harsh on skin. Stick to mild dish soap, vinegar, or baking soda.
How do I clean burnt food from a glass cooktop without scratching?
Use a baking soda paste or a dedicated glass cooktop cleaner with a soft sponge. Avoid abrasive pads. A razor scraper (used carefully) also works.
What's the best way to clean gas stove grates?
Remove grates and soak them in hot, soapy water for 30 minutes. Scrub with a stiff brush, rinse, and dry thoroughly before replacing.
How often should I deep clean my stove?
Aim for a deep clean once a week if you cook frequently. Daily quick wipes help reduce the need for heavy scrubbing.
Is it safe to use oven cleaner on the stovetop?
Oven cleaner is too strong for most stovetops and can damage surfaces. Use it only on oven interiors, not on burners or cooktops.
Conclusion
Keeping your stove clean doesn't have to be a battle. By using the right tools and a bit of know-how, you can tackle even the toughest grease and burnt-on food without harsh chemicals. Start with the tips that address your biggest pain point, whether it's daily splatters or stubborn stains.
A few minutes of regular care will save you hours of scrubbing later. Your stove will sparkle, and cooking will feel a lot more enjoyable.