How to Clean Shower Tile in 15 Soap Scum Steps Fast
Soap scum doesn't stand a chance when you follow a smart sequence—start dry, spray strategically, and scrub in circles for instant results. These 15 steps break down the process into quick, targeted actions that tackle grime without wearing you out.
From DIY vinegar solutions to magic erasers for hard water rings, each method is designed to save time and deliver visible shine. No harsh chemicals or endless scrubbing required—just a systematic approach that restores your shower tiles fast.
Ready to see your bathroom sparkle? Let's get cleaning.
1. Start with a Dry Surface for Maximum Product Adhesion
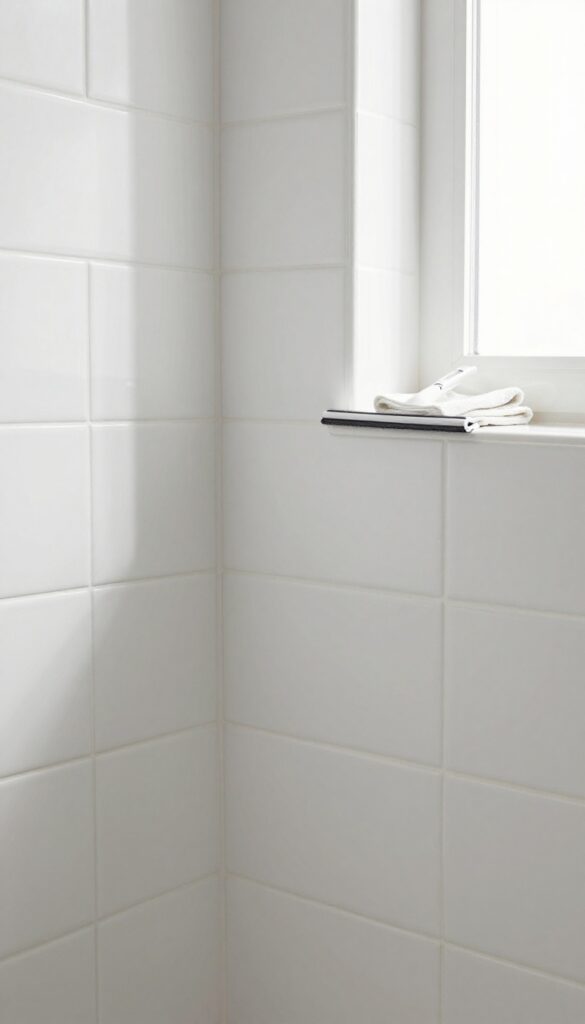
Before you spray anything, grab a squeegee or a microfiber cloth and wipe down the tiles until they're bone dry. This simple step makes a huge difference—cleaning solutions cling better to a dry surface, so they can penetrate soap scum more effectively instead of just sliding off. Plus, you'll avoid diluting your cleaner with leftover water, which means less product waste and faster results.
Starting dry also lets you see exactly where the grime is hiding. Wet tiles can look deceivingly clean, but once they're dry, those cloudy soap scum patches become obvious. This way, you can target your spray precisely and avoid scrubbing areas that don't need it.
It's a small habit that saves time and effort later.
Why A Dry Surface Works Better
Most cleaning products rely on direct contact with the dirt to break it down. When the tile is wet, a thin layer of water sits between the cleaner and the soap scum, reducing the cleaner's effectiveness. By drying first, you ensure the active ingredients hit the grime head-on, making each spray count.
The Best Tools For Drying
A squeegee is ideal for large wall areas—it removes water quickly without leaving streaks. For corners and grout lines, a microfiber cloth works better because it absorbs moisture and catches debris. Avoid using old towels that might leave lint behind.
When To Skip This Step
If you're using a cleaner that requires a wet surface (like some enzyme-based sprays), then skip the drying. But for most standard bathroom cleaners, degreasers, and DIY vinegar solutions, starting dry is the way to go. Check your product label if you're unsure.
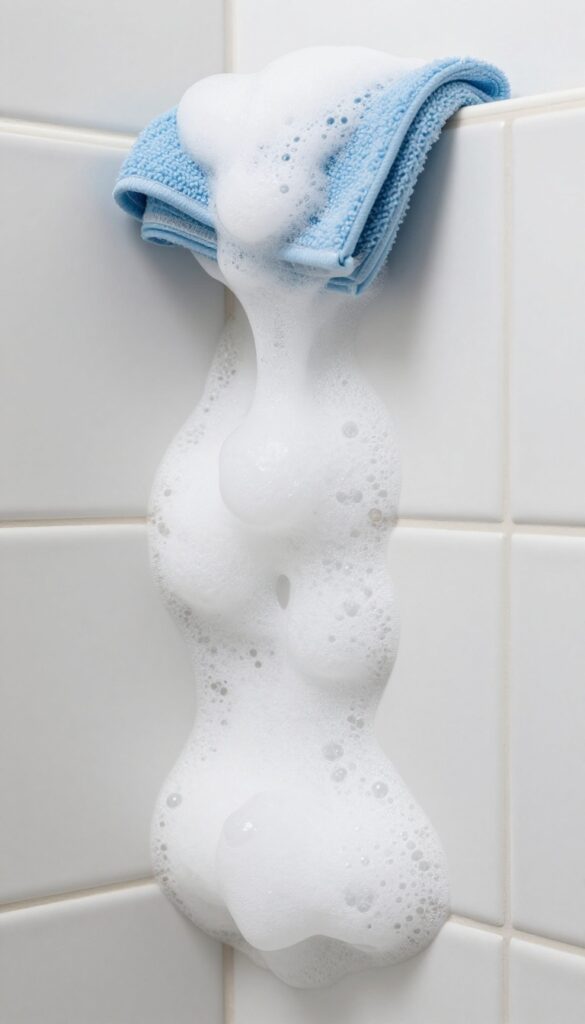
2. Mix a DIY Vinegar and Dish Soap Solution
Skip the expensive store-bought sprays and whip up a homemade cleaner that works just as well. All you need are two common kitchen staples: white vinegar and blue Dawn dish soap. The vinegar dissolves hard water deposits and soap scum, while the dish soap cuts through grease and grime.
Together, they form a powerful, non-toxic solution that leaves tiles sparkling without harsh fumes.
To make this cleaner, fill a spray bottle with equal parts white vinegar and blue Dawn dish soap. Shake gently to combine—avoid vigorous shaking to prevent too much foam. Spray the solution directly onto dry shower tiles, let it sit for 5 to 10 minutes to break down buildup, then scrub with a soft brush or sponge.
Rinse thoroughly with warm water and dry with a microfiber cloth to prevent streaks. For tough spots, apply the solution and let it sit longer before scrubbing.
Why Blue Dawn?
Blue Dawn is the classic choice because it's grease-cutting without being too harsh. Other dish soaps may work, but blue Dawn has a reputation for tackling soap scum effectively. Stick with the original formula—avoid versions with moisturizers or scents that could leave a residue.
Pro Tip: Heat The Vinegar
For extra stubborn mineral deposits, warm the vinegar in the microwave for 30 seconds before mixing. Warm vinegar penetrates grime faster, making scrubbing easier. Just be careful not to boil it, and let it cool slightly before adding to the spray bottle.
Safety Note For Natural Stone
Vinegar is acidic and can etch natural stone tiles like marble or travertine. If your shower has stone tiles, skip this DIY solution and use a pH-neutral stone cleaner instead. Test on an inconspicuous area first if you're unsure about your tile material.
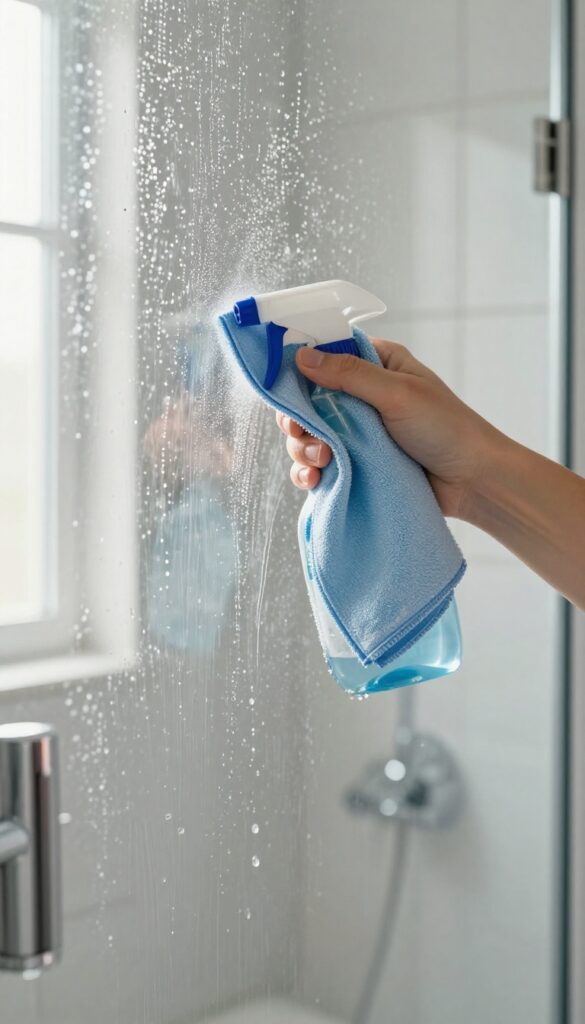
3. Spray Generously and Let It Sit for 5 Minutes
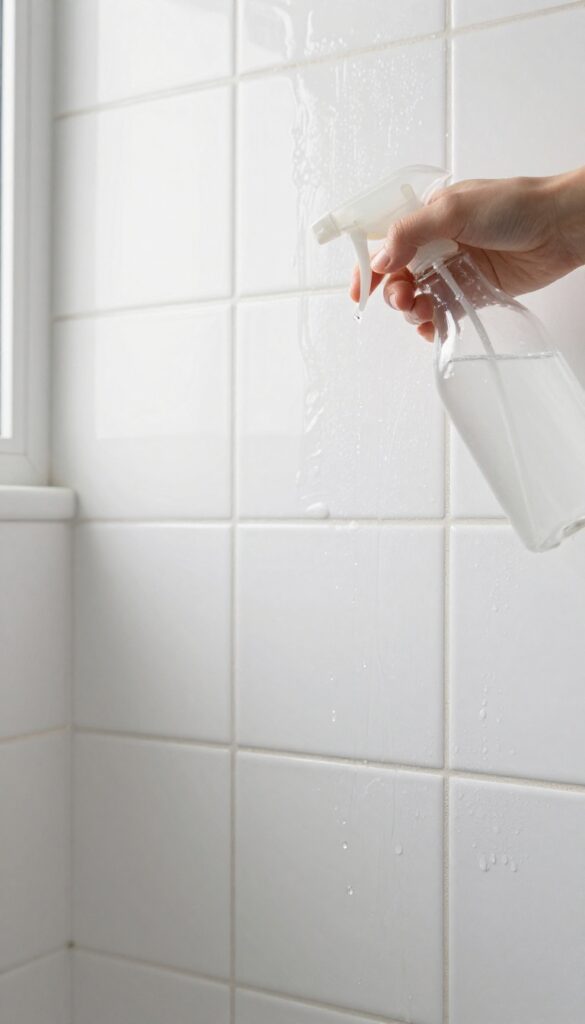
Now that your tiles are dry and your cleaner is mixed, it's time to apply it with a heavy hand. Don't be shy—soak the surface so every bit of soap scum gets drenched. The real secret here is patience: let the solution sit for a full five minutes.
That dwell time lets the vinegar or other active ingredients break down calcium deposits and greasy residue without you lifting a finger. You'll actually see the grime start to loosen, which makes the next steps almost effortless.
Grab your spray bottle and mist the tiles from top to bottom, making sure every inch is coated. Pay extra attention to corners and grout lines where scum likes to hide. If you're using a foaming cleaner, work it in with a soft sponge to get even coverage.
Then step back and set a timer. Five minutes is enough for the chemistry to do its job—any longer and the solution might dry out, especially in a warm bathroom. Keep the door open if possible to avoid inhaling fumes, and don't be tempted to scrub early.
Let the cleaner earn its keep.
Why The Wait Matters
Soap scum is mostly calcium stearate, a stubborn compound that needs time to dissolve. A quick spray-and-scrub only removes surface residue, leaving the hard stuff behind. By letting the solution sit, you give it a chance to penetrate and break down the bonds holding scum to the tile.
Think of it as soaking a dirty pan—the longer it sits, the easier it wipes clean. Five minutes is the sweet spot: effective but not wasteful.
Don't Let It Dry Out
If your bathroom is warm or the spray is too thin, the solution can evaporate before it finishes working. To prevent this, mist the tiles lightly with water after three minutes if they look dry. Or use a thicker cleaner like a gel or paste that stays put.
Another trick is to close the shower door or curtain to trap moisture and slow evaporation. Keep an eye on the clock—dried-on cleaner is just as hard to remove as soap scum.
4. Scrub with a Soft-Bristle Brush in Circular Motions
Once your cleaner has had a few minutes to break down the soap scum, it's time to get physical. But before you grab a scouring pad, reach for a soft-bristle brush instead. A dedicated tile brush or even an old toothbrush works perfectly for this step.
The key is to use gentle, circular motions that lift the grime without scratching the tile or damaging the grout.
Circular motions are more effective than back-and-forth scrubbing because they work the cleaner into every nook and cranny. Start with the grout lines, where soap scum tends to build up the most. Apply light pressure and let the bristles do the work.
For textured tiles, the circular motion helps dislodge scum from the surface without forcing it deeper into the pores. Work in small sections, about a square foot at a time, so the cleaner doesn't dry out before you scrub. Rinse your brush frequently to avoid redepositing dirt.
If you're using a toothbrush for tight corners, keep a separate one for grout lines to avoid cross-contamination. This method is especially effective on ceramic, porcelain, and natural stone tiles, but always check your tile manufacturer's recommendations to avoid abrasive damage.
Why Circular Motions Matter
Scrubbing in circles creates a gentle friction that loosens soap scum without scratching the tile surface. Unlike straight lines, which can leave streaks or miss spots, circular motions ensure even coverage. This technique also helps work the cleaner into porous grout, where scum loves to hide.
Choosing The Right Brush
Not all brushes are created equal. A dedicated tile brush with medium-soft bristles is ideal for large areas. For grout lines and corners, an old toothbrush offers precision.
Avoid metal brushes or stiff scrubbers, as they can etch tile surfaces. If you're cleaning natural stone, opt for a brush labeled safe for stone to prevent etching.
Work In Small Sections
Tackle one small area at a time—about a square foot. This prevents the cleaner from drying out and keeps your scrubbing effort focused. Rinse the brush after each section to avoid spreading loosened scum.
You'll see the grime lift away as you go, making it satisfying and efficient.
5. Rinse Thoroughly with Hot Water

Rinsing is where a lot of people cut corners, but it's actually a make-or-break step. Leftover cleaner residue can attract new grime and leave a dull film behind. Hot water is your best friend here—it melts away any lingering soap film and helps the tiles dry faster, so you get that streak-free shine without extra effort.
Use A Handheld Showerhead For Precision
If your shower has a detachable handheld sprayer, this is the time to use it. Aim the spray at the top of the tiled wall and work your way down in overlapping passes. The pressure helps dislodge any cleaner that's clinging to grout lines or textured tiles.
Make sure to hit corners and edges where suds tend to hide.
Bucket Rinse For Stubborn Residue
No handheld showerhead? No problem. Fill a bucket with the hottest tap water you can handle (wear rubber gloves if needed) and pour it over the tiles in sections.
Start at the top and let gravity do the work. For large showers, you might need two or three buckets to cover everything. This method is especially effective for removing thick cleaner buildup.
Check For Streaks Before You Finish
After rinsing, step back and look at the tiles from an angle. If you see any cloudy patches or soapy streaks, give those spots another rinse. A quick wipe with a clean, damp microfiber cloth can also pick up any missed residue.
Dry the tiles with a squeegee to prevent water spots and speed up the drying process.
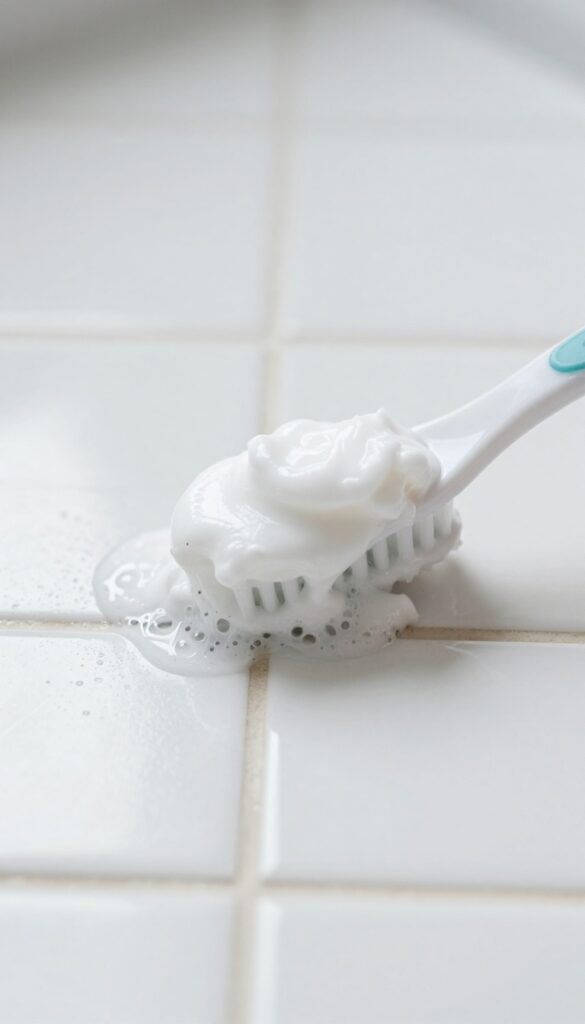
6. Tackle Stubborn Grout with a Baking Soda Paste
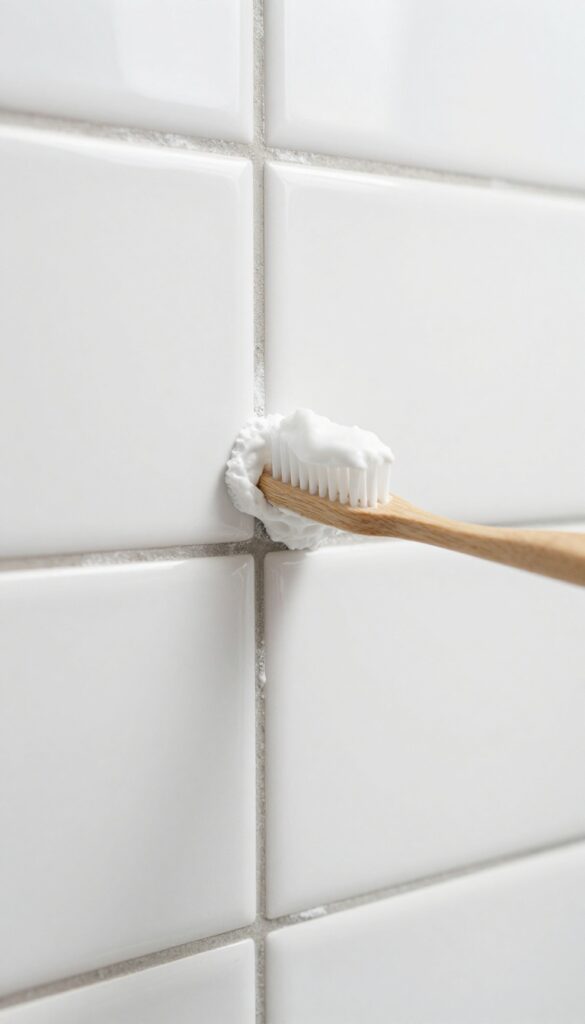
Grout lines are often the first place soap scum and mildew hide, turning your clean tiles into a patchy mess. A simple baking soda paste cuts through that grime without harsh chemicals. It’s cheap, non-toxic, and surprisingly effective.
Mix three parts baking soda with one part water to form a thick, spreadable paste. Apply it directly to grout lines using an old toothbrush or a small spatula, making sure to work it into the pores. Let it sit for 10 minutes to loosen embedded dirt, then scrub in small circles.
Rinse with warm water and wipe dry. For extra stubborn stains, add a splash of white vinegar to the paste—it will fizz and boost cleaning power.
Why Baking Soda Works So Well
Baking soda is mildly abrasive, so it scrubs away grime without scratching tile surfaces. Its alkaline nature helps dissolve soap scum and neutralize odors. When mixed with water, it forms a paste that clings to vertical grout lines, giving it time to break down buildup.
How To Apply The Paste Correctly
Use an old toothbrush or a grout brush to push the paste deep into the grooves. Work in small sections, about 2 square feet at a time. Let it sit for a full 10 minutes—don’t rush this step.
The longer dwell time lets the baking soda penetrate and loosen the grime.
Rinsing And Drying Tips
After scrubbing, rinse thoroughly with warm water. A handheld shower head works great for this. Wipe the tiles dry with a microfiber cloth to prevent new soap scum from forming.
If you see any white residue, it means you didn’t rinse enough—go over it again with plain water.
7. Use a Magic Eraser for Hard Water Rings
Hard water rings around faucets and showerheads can be stubborn. Instead of reaching for harsh chemicals, grab a melamine foam eraser—often sold as a magic eraser. Dampen it slightly and gently rub the circular stains.
The micro-abrasive foam lifts mineral deposits without scratching most tile surfaces. It's a quick, no-mess fix that works especially well on glossy tiles.
For tough, white mineral rings that resist vinegar and baking soda, a magic eraser is a game-changer. Its fine abrasive action physically removes the buildup without the need for soaking or scrubbing with liquid cleaners. Just wet the eraser, wring out excess water, and rub the stained area in small circles.
Rinse the tile afterward to remove any residue. This method is ideal for ceramic, porcelain, and glazed tiles, but avoid using it on unsealed natural stone or matte finishes, as it may dull the surface.
Why It Works So Well
Melamine foam acts like ultra-fine sandpaper. When damp, it creates a mild abrasive that breaks apart mineral crystals without the need for chemical reactions. It's also lint-free and leaves no soapy residue, so you can see results instantly.
Best Areas To Target
Focus on the base of faucets, around showerhead connections, and along the bottom edge of glass doors where water pools. These spots collect the heaviest hard water rings. For vertical surfaces, hold the eraser flat and apply even pressure.
Pro Tips For Best Results
Cut the eraser into smaller pieces to get more use. Work in a well-ventilated area and wear gloves if you have sensitive skin. After cleaning, wipe the area with a dry cloth to prevent new water spots from forming immediately.
8. Apply a Commercial Soap Scum Remover for Tough Buildup
When DIY mixes and elbow grease aren't cutting it, it's time to bring in the big guns. Commercial soap scum removers are formulated to dissolve stubborn, layered buildup that home remedies can't touch. These products save you from scrubbing yourself raw and deliver a deep clean in minutes.
For thick, layered scum, use a product specifically designed for soap scum. Spray on, wait as directed, then wipe away with a damp cloth. The key is to let the chemicals do the work—resist the urge to scrub immediately.
Follow the label's dwell time exactly, then wipe off with a damp cloth. Rinse thoroughly afterward to avoid residue.
Choose The Right Product
Look for a cleaner labeled 'soap scum remover' rather than a general bathroom cleaner. Brands like CLR, Scrubbing Bubbles, or Method have dedicated formulas. Avoid products with bleach if you have colored grout or natural stone, as they can cause discoloration.
Apply Evenly And Let It Sit
Spray the product onto dry tiles, covering the scum completely. Don't skimp—a generous layer ensures full contact. Let it sit for the recommended time (usually 5–10 minutes).
You'll see the scum start to loosen and bubble up.
Wipe Away And Rinse
Use a damp microfiber cloth or sponge to wipe the loosened scum off. Work in sections, rinsing your cloth frequently. After wiping, rinse the tiles with water to remove any chemical residue.
Dry with a clean towel to prevent water spots.
9. Clean Shower Door Tracks with a Toothbrush and Vinegar
Shower door tracks are a magnet for soap scum, mildew, and mystery gunk. Because they're narrow and hard to reach, a simple wipe-down won't cut it. You need something that can dig into those tight corners and flush out all the buildup.
Grab an old toothbrush and a bottle of undiluted white vinegar. Dip the bristles into the vinegar and scrub the tracks thoroughly, working the brush back and forth to loosen grime. Once you've covered the entire track, use a spray bottle filled with plain water to rinse away the vinegar and debris.
For extra stubborn spots, let the vinegar sit for 5 minutes before scrubbing.
Why Vinegar Works Best
White vinegar is acidic enough to dissolve soap scum and hard water deposits without damaging metal or plastic tracks. It's cheap, non-toxic, and safe for regular use—unlike harsh chemical cleaners that can corrode finishes over time.
Tools For The Job
An old toothbrush is perfect for reaching into track crevices. For wider tracks, a small scrub brush with stiff bristles works too. Keep a spray bottle handy for rinsing, and use a microfiber cloth to dry the tracks afterward to prevent new buildup.
Prevent Future Grime
After cleaning, spray the tracks with a mixture of equal parts vinegar and water once a week. This simple habit stops soap scum from accumulating and keeps your shower door sliding smoothly.
10. Polish Glass Doors with Rubbing Alcohol
Glass shower doors look great when they're clean, but streaks and water spots can ruin the effect. Rubbing alcohol cuts through residue and evaporates quickly, leaving a streak-free shine. This simple step takes just a minute and makes a huge difference in how your shower looks.
Mix equal parts rubbing alcohol and water in a spray bottle. Spray the solution onto the glass doors, covering all areas. Use a lint-free microfiber cloth to wipe in a zigzag pattern—this prevents streaks.
For stubborn spots, let the solution sit for 30 seconds before wiping. The alcohol disinfects and removes soap scum, while the water dilutes it for safe use. Repeat weekly to maintain clarity.
Why Rubbing Alcohol Works
Rubbing alcohol is a solvent that breaks down soap scum and hard water deposits. It evaporates quickly, so it doesn't leave streaks like water-based cleaners can. Plus, it's inexpensive and non-toxic when diluted, making it a safe choice for regular use.
How To Apply For Best Results
Always use a clean, lint-free cloth—old towels can leave fibers. Spray the solution evenly, then wipe in one direction to avoid redepositing grime. If you have heavy buildup, pre-clean with a vinegar spray before using alcohol.
Maintenance Tips
Keep a spray bottle of the alcohol mix in your shower and give the doors a quick spritz after each use. This prevents soap scum from building up and keeps the glass sparkling with minimal effort.
11. Prevent Future Scum with a Daily Spray Solution
The best way to deal with soap scum is to stop it before it starts. A simple DIY spray you use after every shower can make a huge difference. It takes just seconds to apply and saves you from deep scrubbing later.
Mix 1 cup water, 1 cup vinegar, and 1 tablespoon dish soap in a spray bottle. After your shower, spray the solution on all tile surfaces, then let it air dry. The vinegar cuts through fresh soap residue while the dish soap helps break down oils.
No rinsing needed—just spray and walk away.
Why This Works
Soap scum forms when soap mixes with hard water minerals and dries on tile. By applying this solution while the shower is still wet, you neutralize the minerals and keep the soap from bonding to the surface. It's like hitting the reset button after every use.
Tips For Best Results
Use a spray bottle with a fine mist setting for even coverage. If your water is very hard, increase the vinegar to 2 cups. Avoid using this on natural stone tiles like marble or travertine, as vinegar can etch them.
For those, use a pH-neutral daily spray instead.
12. Use a Squeegee After Every Shower
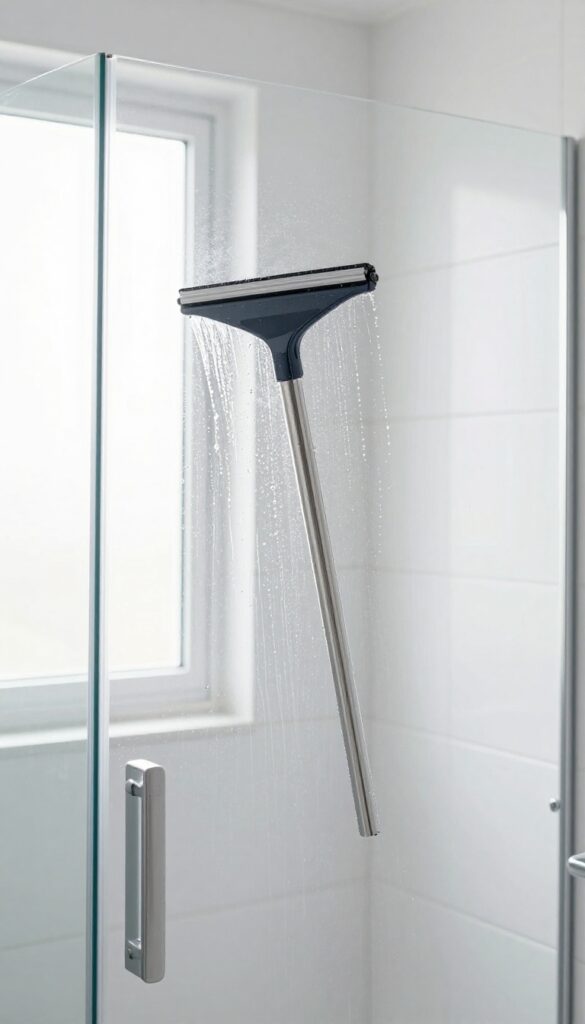
You've scrubbed and polished, but the real secret to keeping shower tile spotless is stopping soap scum before it forms. A squeegee is your simplest, most effective tool for this. Spending just 30 seconds after each shower can save you hours of deep cleaning later.
It's not about perfection—just a quick swipe across tiles and glass to remove water droplets. When water dries, it leaves behind minerals and soap residue. By wiping it away, you prevent those deposits from bonding to the surface.
Grab a squeegee with a rubber blade—silicone ones work great too—and keep it hooked inside the shower. After you turn off the water, start at the top corner of the tile or glass and pull down in overlapping strokes. Work from one side to the other, covering the entire surface.
Don't forget the edges and corners where water pools. For glass doors, use a horizontal motion across the width, then a few vertical passes to catch drips. If you have textured tiles, a microfiber cloth can replace the squeegee for those areas—just keep one handy.
The whole routine takes less than a minute. Make it a family habit. Place a small sign or use a command hook so everyone knows where the squeegee lives.
Over time, you'll notice less haze, fewer water spots, and a longer interval between deep cleans.
Why It Works So Well
Soap scum forms when the calcium and magnesium in hard water combine with fatty acids from soap. When water evaporates, these compounds are left behind as a stubborn film. By removing the water immediately, you're eliminating the medium that allows scum to form.
It's a simple chemical prevention strategy that requires no extra products.
Choosing The Right Squeegee
Not all squeegees are created equal. Look for one with a sturdy handle and a flexible, streak-free rubber blade. Stainless steel or plastic handles resist rust and mold.
A blade width of 10 to 12 inches covers more area quickly. Replace the blade every few months if it starts leaving streaks or skipping.
Quick Maintenance Tips
Rinse the squeegee blade after each use to remove soap residue, and hang it to dry. Once a week, wipe the blade with a bit of rubbing alcohol to keep it clean and prevent mildew. If you notice the rubber getting stiff, soak it in warm water for a few minutes to restore flexibility.
13. Deep Clean Grout with Hydrogen Peroxide and Baking Soda
Grout lines are often the first place soap scum and mildew take hold, turning white lines into gray or black streaks. A simple paste of hydrogen peroxide and baking soda can restore them without harsh chemicals. This method whitens, disinfects, and lifts grime in minutes.
Why This Combo Works
Hydrogen peroxide is a natural bleach and disinfectant that kills mold and bacteria. Baking soda is a mild abrasive that scrubs without scratching. Together, they create a fizzing action that loosens dirt deep in the porous grout.
How To Make And Apply The Paste
Mix 3 parts baking soda with 1 part hydrogen peroxide until it forms a thick paste. Spread it over the grout lines with a small brush or your finger. Let it sit for 5 minutes—it will bubble and fizz as it works.
Then scrub with a stiff grout brush or an old toothbrush, and rinse with warm water.
Tips For Stubborn Stains
For extra-tough spots, let the paste sit for 10 minutes or cover it with plastic wrap to keep it from drying out. You can also add a drop of dish soap for more grease-cutting power. Repeat weekly to keep grout bright.
14. Steam Clean for a Chemical-Free Deep Scrub
If you prefer to skip harsh chemicals, a steam cleaner is your best friend. The high heat does the heavy lifting—loosening soap scum, killing mold, and sanitizing grout without any sprays or fumes. It's especially handy for households with kids, pets, or anyone sensitive to strong cleaners.
How Steam Cleaning Works On Tile
Steam cleaners heat water to around 200°F, producing pressurized vapor that penetrates porous grout and softens stubborn scum. The heat alone breaks down mineral deposits and organic grime, so you don't need scrubbing pads or chemical agents. Plus, the steam kills up to 99.
9% of bacteria and mold spores on contact.
Best Steam Cleaner Attachments For Showers
For tile and grout, use a small brush attachment to concentrate steam on grout lines. A squeegee tool works well for clearing steam and residue off large tile surfaces. Some handheld steamers come with angled nozzles that reach corners and shower door tracks easily.
Step-by-step Steam Cleaning Routine
Start by wiping down loose debris with a dry microfiber cloth. Fill the steamer with water and let it heat up. Work in small sections: hold the steamer head against grout lines for 5–10 seconds, then wipe away loosened grime with a clean cloth.
For heavy buildup, repeat the process. Finish by drying tiles with a lint-free towel to prevent water spots.
15. Seal Grout Annually to Repel Dirt and Moisture
Once your grout is clean and dry, sealing it locks in that fresh look and keeps soap scum from clinging. Grout is porous—it soaks up water, dirt, and mildew like a sponge. A good sealer fills those tiny pores, creating a non-stick surface that repels grime.
This one step makes future cleanings much faster and keeps your shower looking newer for longer.
Sealing grout isn't complicated, but it does require a clean, dry surface to work properly. Start by making sure your grout is completely dry—wait at least 24 hours after deep cleaning. Apply the sealer with a small brush or applicator, working it into the grout lines.
Wipe away any excess from the tile surface before it dries. Most sealers need a couple of hours to cure, so avoid getting the shower wet during that time. Reapply annually or as recommended by the product instructions.
This simple habit can double the life of your grout and keep your shower looking pristine.
Why Annual Sealing Matters
Grout is naturally porous and absorbs moisture, which leads to mildew and discoloration. A sealer creates a hydrophobic barrier that repels water and dirt. Without it, even the best cleaning routine can't prevent gradual staining.
Annual sealing is like giving your grout a shield—it stays brighter and cleaner with less effort.
How To Choose The Right Sealer
Look for a penetrating sealer that soaks into the grout rather than sitting on top. Avoid film-forming sealers that can peel or yellow over time. For most bathroom grout, a water-based penetrating sealer works well and is easy to apply.
If your shower gets heavy use, consider a solvent-based sealer for extra durability.
Application Tips For Best Results
Work in small sections, applying the sealer with a foam brush or a grout sealer pen. Let it sit for the recommended time (usually 5–10 minutes), then wipe off any excess from the tile with a clean cloth. Be thorough—residue left on tiles can look cloudy.
After sealing, keep the shower dry for at least 24 hours to allow the sealer to cure fully.
FAQ
Can I use bleach to clean shower tile?
Yes, but bleach is harsh and can damage grout over time. It's better for mold removal than soap scum. Use it sparingly and always ventilate the area.
How often should I clean shower tile to prevent soap scum?
A quick daily spray and squeegee can keep buildup at bay. A deeper clean every one to two weeks is usually enough for most households.
What is the best homemade cleaner for soap scum?
A mix of equal parts white vinegar and blue Dawn dish soap is highly effective. The vinegar dissolves minerals while the soap cuts grease.
Why does my shower tile still look cloudy after cleaning?
Cloudiness is often caused by hard water deposits that vinegar can't fully remove. Try a commercial hard water remover or a pumice stone on porcelain tile.
Is it safe to mix vinegar and baking soda for cleaning tile?
Yes, but they neutralize each other, so the fizzing action is more about agitation than chemical power. Use them separately for best results.
Conclusion
By now your shower tile should be sparkling and free of soap scum in record time. The key is sticking with this 15-step system so buildup never gets a chance to return. A quick daily wipe-down and a weekly spray will keep your tile looking fresh without another full deep clean.
Pick your favorite steps and make them a habit. Your shower will stay cleaner with far less scrubbing going forward.