How to Clean a Shower Curtain in 10 Easy Wash Steps
That once-clear shower curtain now looks like a science experiment gone wrong. Soap scum, hard water deposits, and mildew have turned it into an eyesore. But you don't need to replace it—a deep clean can bring it back to life.
Most people toss their curtain in the washing machine and hope for the best. That often leads to ripped liners or lingering smells. A smarter approach uses a few simple steps that target grime without damaging the fabric or plastic.
Ready to see your shower curtain transform from dingy to dazzling? These 10 steps are easy, affordable, and use items you probably already have at home.
1. Check the Care Label
That tiny tag sewn into the corner of your shower curtain holds the secret to a successful wash. Ignoring it is the fastest way to ruin a curtain. A quick glance tells you exactly what your curtain can handle—machine wash, hand wash, or spot clean only.
Before you do anything, find the care label. It's usually stitched along the top edge or side seam. The label will specify the material—plastic, vinyl, or fabric—and give washing instructions.
Fabric curtains often tolerate machine washing, while plastic or vinyl may require gentle hand washing or wiping down. Knowing this prevents shrinking, tearing, or warping. If the label is missing or illegible, assume the curtain is delicate and hand wash it.
Why Material Matters
Plastic and vinyl curtains are waterproof but can crack or become brittle in hot water. Fabric curtains (polyester, cotton, or blends) are more durable but may shrink if washed in hot water or dried on high heat. The label tells you the exact material so you can adjust your cleaning method accordingly.
What To Do If The Label Is Missing
No tag? No problem. Do a quick spot test in an inconspicuous corner.
Dampen a cloth with warm water and mild detergent, then rub gently. If the color bleeds or the material puckers, hand wash only. If it holds up, you can proceed with a gentle machine cycle.
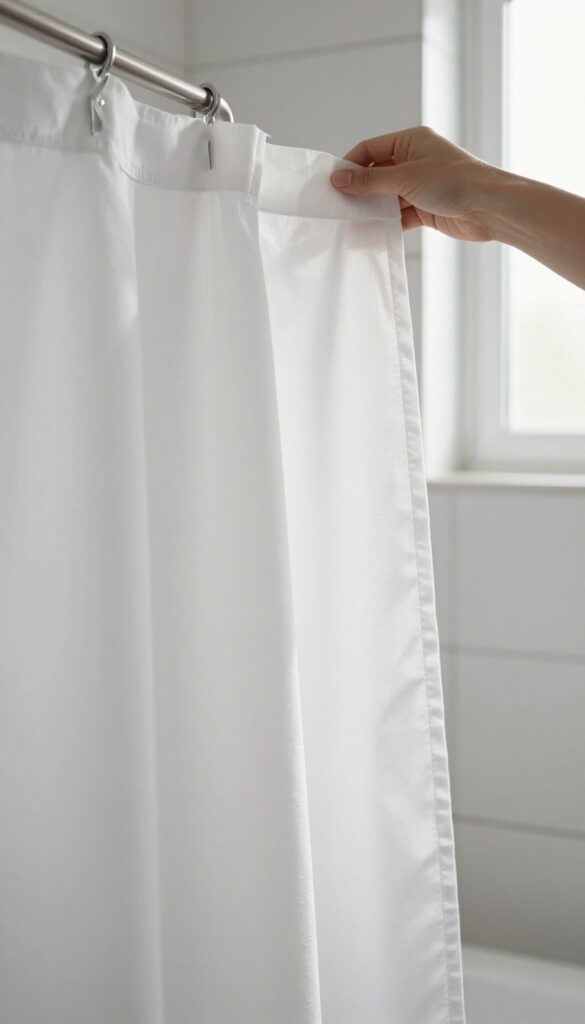
2. Remove Hooks and Rings
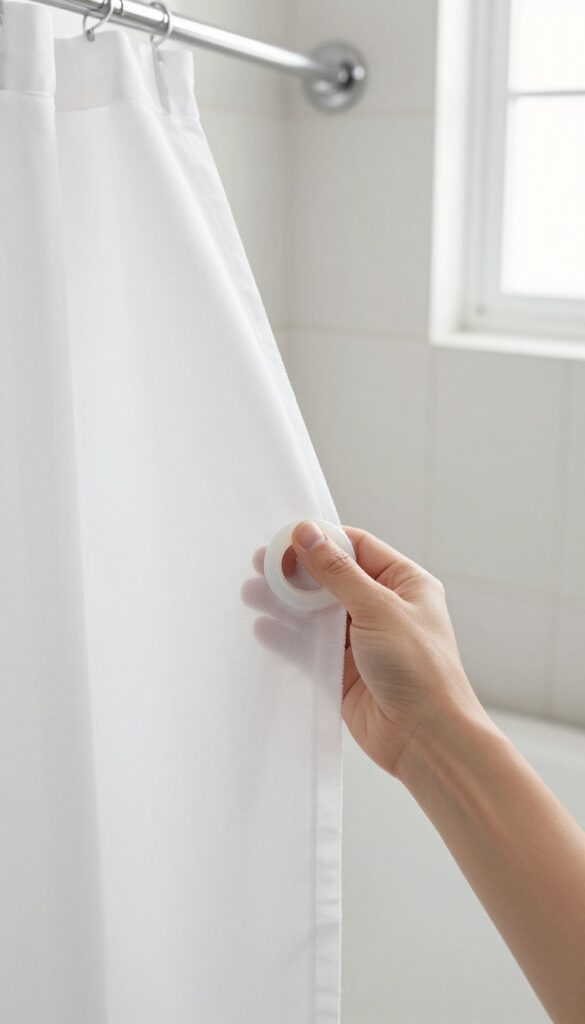
Before you toss that curtain into the wash, take a moment to strip it down. Those plastic rings or metal hooks might seem harmless, but they can cause snags, scratches, or even break during the spin cycle. Removing them also lets the fabric move freely, so detergent and water reach every inch of grime.
Plus, you get a chance to wipe down the hardware—something most people forget.
Start by unhooking the curtain from the rod. Lay it flat on the bathroom floor or over the edge of the tub. Then, slide off each ring or hook.
If they're plastic, check for cracks or mildew buildup. Metal hooks can rust, so inspect them too. Set the hardware aside in a small bowl or sink.
This takes less than a minute but makes a huge difference in wash quality.
Why Bother Removing Hardware?
Leaving rings on can trap soap scum and mildew right where the hook meets the fabric. Over time, that creates stubborn stains that won't wash out. Also, metal hooks can scratch the inside of your washing machine drum, especially during high-speed spins.
Plastic rings might snap off and clog the drain. A quick removal saves headaches later.
How To Clean The Hardware
While the curtain is washing, give those rings and hooks some attention. Soak plastic ones in a bowl of warm water with a squirt of dish soap and a splash of vinegar. Scrub with an old toothbrush to remove grime.
For metal hooks, wipe them down with a damp cloth and dry thoroughly to prevent rust. Let them air dry completely before reattaching.
3. Pre-Treat Stubborn Stains
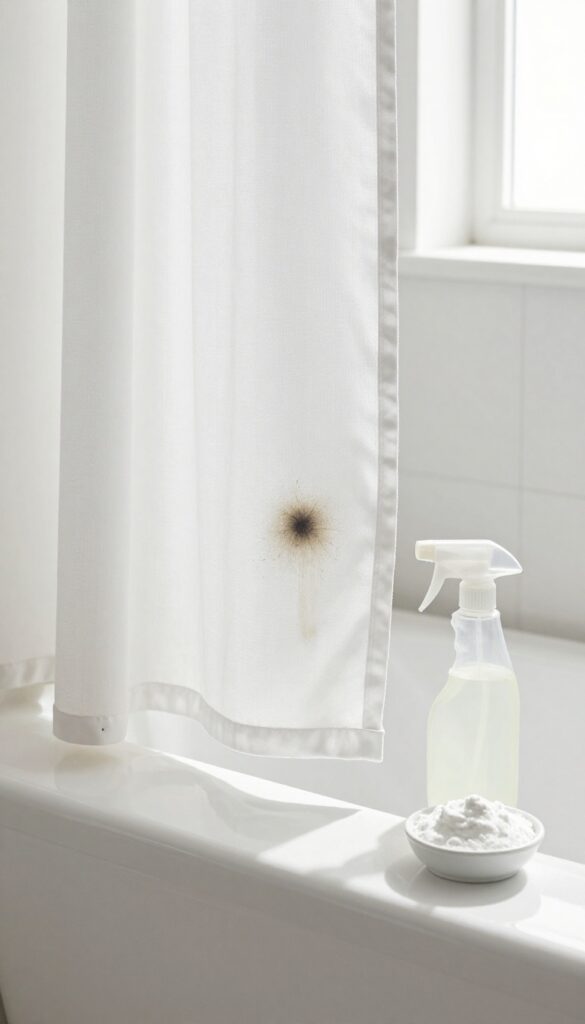
Not all stains come off with a simple wash. Mildew and soap scum often need a little extra attention before the main event. A quick pre-treatment loosens their grip, so your curtain comes out truly clean, not just damp.
Spray mildew spots and soap scum with a mix of white vinegar and water (1: 1). Let it sit for 10 minutes. For tough stains, make a paste of baking soda and water and scrub gently.
Why Vinegar Works
White vinegar is acidic enough to break down mineral deposits and kill mildew spores without harsh chemicals. It's safe for both fabric and plastic liners, and it won't leave a strong smell once rinsed.
Baking Soda Paste For Tough Areas
For crusty soap scum or dark mildew spots, mix baking soda with a little water to form a thick paste. Apply it with an old toothbrush or soft scrub brush, then let it sit for 5 minutes before rinsing.
Don't Forget The Bottom Edge
The hem of the curtain often traps the most grime because it sits in standing water. Give it an extra spray or scrub. This simple step prevents that line of grime from reappearing after washing.
4. Choose the Right Wash Cycle
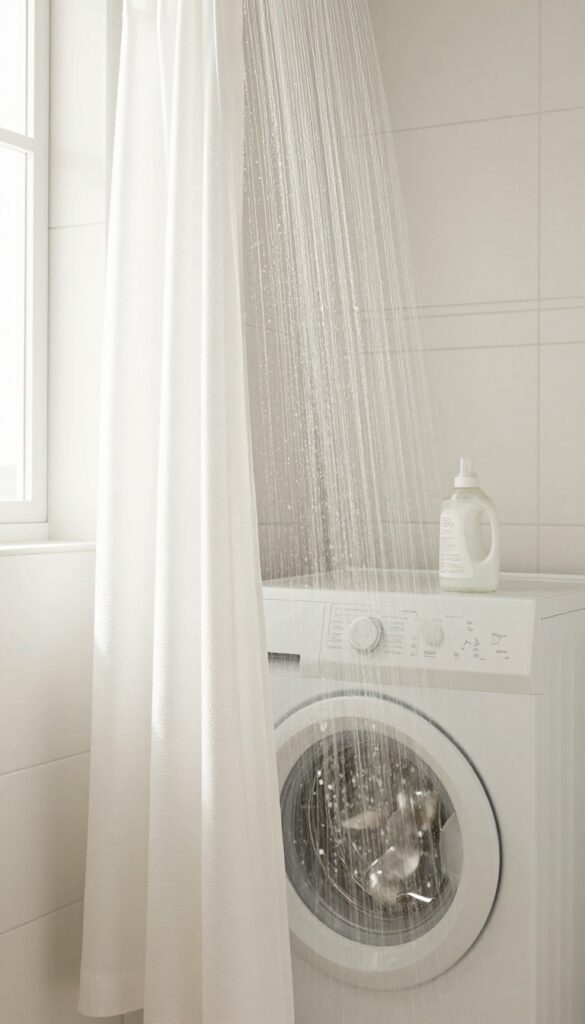
Your washing machine has a lot of settings, but not all of them are right for a shower curtain. Pick the wrong cycle, and you might end up with a warped liner or a curtain that still smells funky. Here's how to dial in the perfect wash.
Gentle Or Delicate Is Your Friend
Set your machine to a gentle or delicate cycle. This reduces agitation, which can stress the fabric or plastic. Hot water is tempting for killing germs, but it can warp plastic liners and set stains.
Stick with warm water—it dissolves detergent well without damaging the material.
Add An Extra Rinse For Good Measure
Detergent residue can leave your curtain feeling stiff or sticky. An extra rinse cycle flushes out all the soap, leaving it soft and fresh. If your machine has a "deep rinse" option, use that.
It makes a big difference, especially for fabric curtains that hold onto suds.
Skip The Spin Cycle? Not So Fast
A high-speed spin can wrinkle a fabric curtain or stress the grommets. But you don't want it soaking wet either. A low-speed spin is ideal—it removes excess water without causing damage.
If your machine lets you adjust spin speed, choose the lowest setting.
5. Add Cleaning Boosters
A regular wash cycle gets the curtain wet, but it takes a little extra firepower to dissolve stubborn soap scum and kill mold. That's where common pantry staples come in. Baking soda and white vinegar work together to deodorize, break down grime, and sanitize without harsh chemicals.
Pour 1/2 cup of baking soda directly into the drum to deodorize. Add 1 cup of white vinegar to the fabric softener dispenser. This combo cuts through grime and kills mold naturally.
Why Baking Soda Works
Baking soda is a mild alkali that helps dissolve fatty acids in soap scum. It also neutralizes odors, leaving your curtain smelling fresh. Sprinkling it directly on the curtain before the cycle starts gives it extra contact time.
The Vinegar Trick
White vinegar is acidic enough to break down hard water deposits and mildew. Adding it to the fabric softener dispenser ensures it's released during the rinse cycle, so it doesn't interfere with the detergent's cleaning power.
Never Mix Them Directly
Baking soda and vinegar fizz when combined, which can reduce their effectiveness. Keep them separate—one in the drum, one in the dispenser—so they work in sequence rather than canceling each other out.
6. Skip the Fabric Softener
Fabric softener might make your towels fluffy, but it's terrible for shower curtains. It leaves behind a waxy coating that traps soap scum and reduces water repellency. Over time, that coating also becomes a breeding ground for mildew.
The fix is simple: switch to vinegar as a natural softener.
When you skip fabric softener, your curtain stays cleaner longer. The vinegar not only softens the fabric but also helps dissolve any lingering soap residue. Plus, it neutralizes odors without leaving a strong smell once the curtain dries.
Why Fabric Softener Hurts Your Curtain
Fabric softener coats fibers with a thin layer of wax or oil. On a shower curtain, this coating traps soap scum and hard water minerals, making the curtain look dingy faster. It also clogs the pores of microfibers or polyester, reducing the curtain's ability to repel water.
The result? More mildew and a shorter lifespan for your curtain.
How To Use Vinegar As A Softener
Add 1/2 cup of white vinegar to the rinse cycle instead of fabric softener. The vinegar breaks down alkaline residues from soap and detergent, leaving the curtain soft and residue-free. Don't worry about the smell—it disappears once the curtain dries.
For extra freshness, you can add a few drops of essential oil to the vinegar.
A Bonus Tip For Plastic Liners
If you have a plastic or vinyl liner, skip the vinegar too. Instead, simply rinse with plain water and wipe down with a microfiber cloth. Plastic liners don't need softening, and vinegar can sometimes cause them to become brittle over time.
Stick to the washing machine's rinse cycle only.
7. Dry Properly
The final step is just as important as the wash itself. How you dry your shower curtain determines whether it comes out smooth and fresh or wrinkled and musty. A little care here goes a long way.
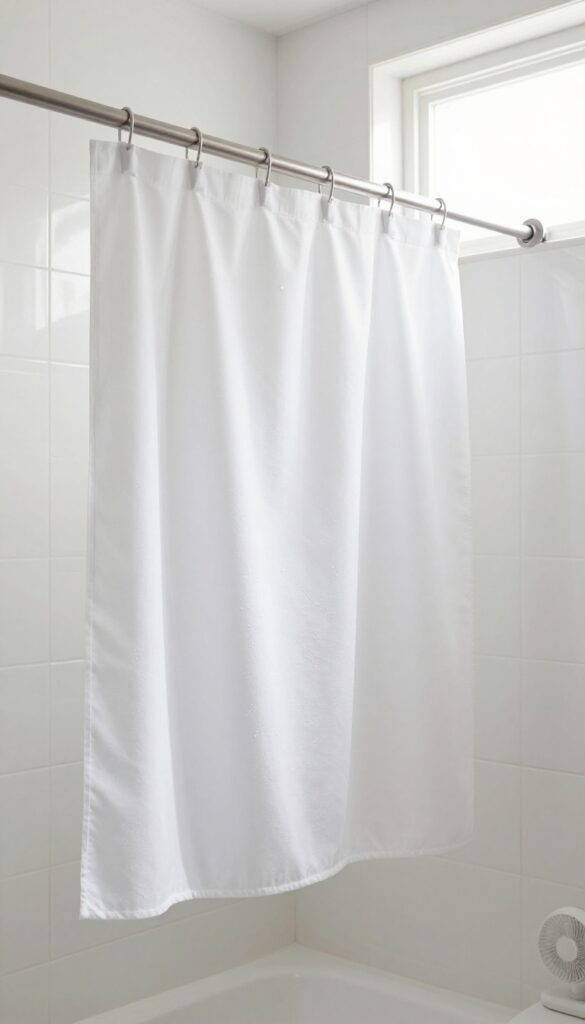
Hang Immediately
As soon as the wash cycle finishes, take the curtain out and hang it back on the rod. Don't let it sit in the machine or a laundry basket. Gravity will help pull out wrinkles, and air circulation will speed up drying.
For fabric curtains, give the rod a gentle shake to separate any folds.
Fabric Curtains: Tumble Dry On Low
If you have a fabric shower curtain, you can toss it in the dryer on a low heat setting. Add a couple of clean, dry towels to help fluff it and absorb moisture. Check every 10 minutes and remove while slightly damp to avoid over-drying.
Hang it up immediately to finish air drying.
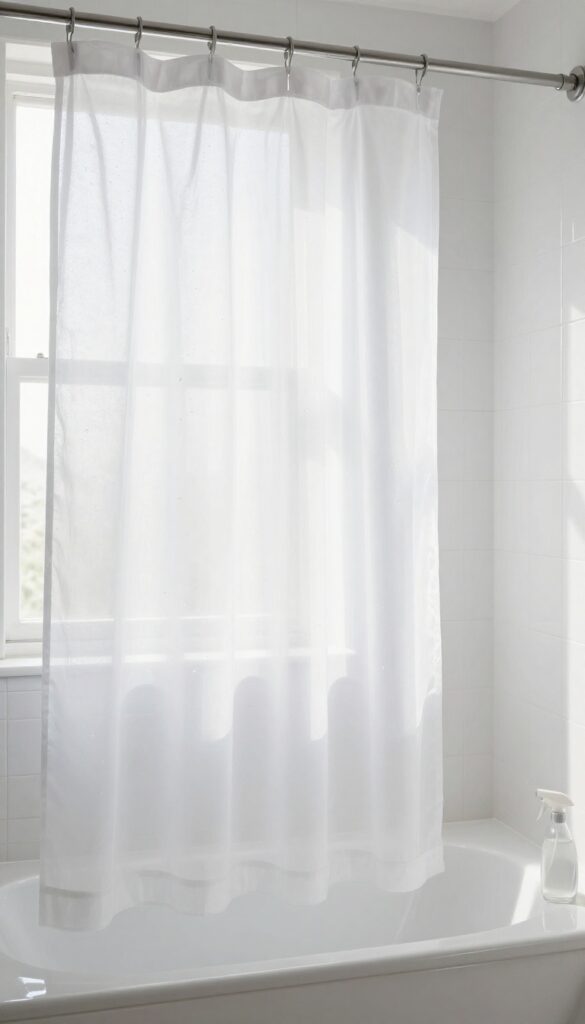
Plastic Liners: Air Dry Only
Never put a plastic or vinyl liner in the dryer—it will melt or warp. Instead, hang it back on the rod and let it air dry. Spread it out so it's not bunched up.
If you're in a hurry, use a fan or open a window to increase airflow. Drying completely prevents mildew from forming in hidden folds.
Smooth Out Wrinkles
Once the curtain is hanging, run your hands over it to smooth out any creases. For stubborn wrinkles on fabric curtains, a quick pass with a steamer or an iron on low heat works wonders. Plastic liners usually relax on their own after a few hours in a warm bathroom.
8. Clean the Shower Rod and Hooks
While your curtain is drying, don't let the rod and hooks become a hidden source of grime. Over time, soap scum and mildew build up there too, and if left untouched, they'll quickly transfer back onto your freshly cleaned curtain. A quick wipe-down now saves you from having to redo the whole process sooner than necessary.
Cleaning the rod and hooks is a small step that makes a big difference in how long your curtain stays fresh. It's also a chance to inspect for rust or damage. Here's how to do it efficiently.
What You'll Need
Grab a spray bottle filled with equal parts white vinegar and water. You'll also need a microfiber cloth or an old rag. For stubborn spots, a soft scrub brush or an old toothbrush works well.
If your hooks are plastic, they're easier to clean; metal hooks may need extra attention to prevent rust.
Wipe Down The Rod
Spray the vinegar solution directly onto the rod and let it sit for a minute to break down soap scum. Then wipe it clean with your cloth. For tension rods, pay extra attention to the ends where moisture collects.
If you see any rust, scrub gently with the brush and consider replacing the rod if the rust is extensive.
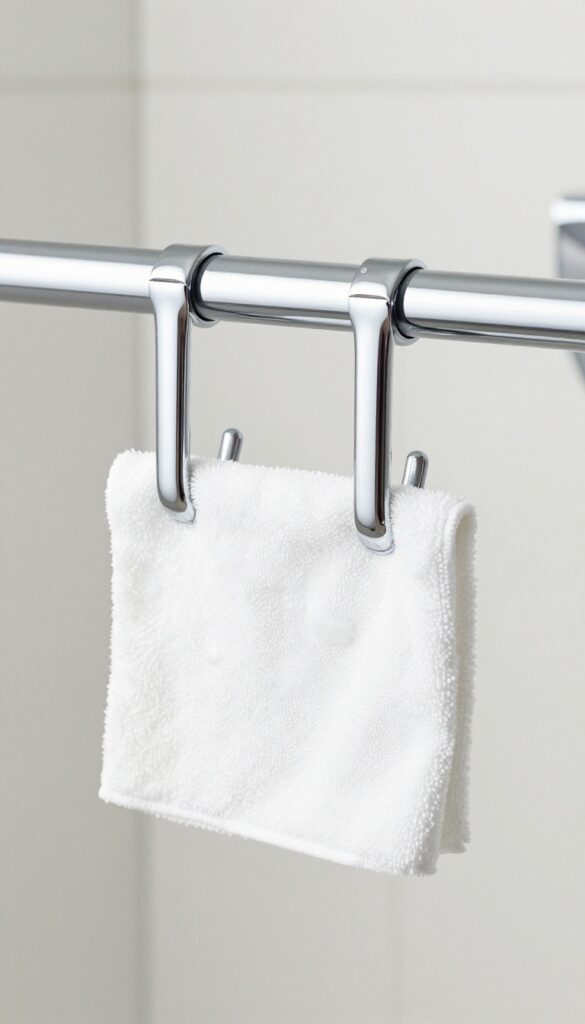
Don't Forget The Hooks
Remove each hook and soak them in a bowl of warm vinegar solution for about 10 minutes. Scrub with the toothbrush to remove any buildup, then rinse and dry thoroughly. This prevents mildew from hiding in the small crevices.
Once dry, reattach them to the rod.
Final Check
Before you hang the curtain back up, give the rod and hooks a final wipe with a dry cloth to remove any moisture. This step ensures no dampness remains to encourage new mold growth. A clean rod and hooks mean your curtain stays cleaner longer.
9. Maintain Between Washes
A deep clean every few weeks is great, but the real secret to a fresh curtain is what you do daily. A few simple habits can dramatically slow down soap scum and mildew buildup, making those full washes less frequent and less intense.
The two biggest enemies of a shower curtain are moisture and stagnation. By keeping the curtain dry and giving it a quick preventive spray, you can easily double or triple the time between deep cleans.
Spread It Out After Every Shower
After you step out, take two seconds to pull the curtain fully across the rod so it's stretched out flat. This allows air to circulate on both sides, letting water droplets evaporate instead of pooling in folds. If you have a fabric curtain, give it a gentle shake to release trapped water.
Close It Only When You Need To
Leaving the curtain bunched up on one side creates a dark, damp environment where mildew thrives. Keep it open and spread out unless you're actually showering. For plastic liners, this simple habit can prevent that stubborn pink ring from forming along the bottom edge.
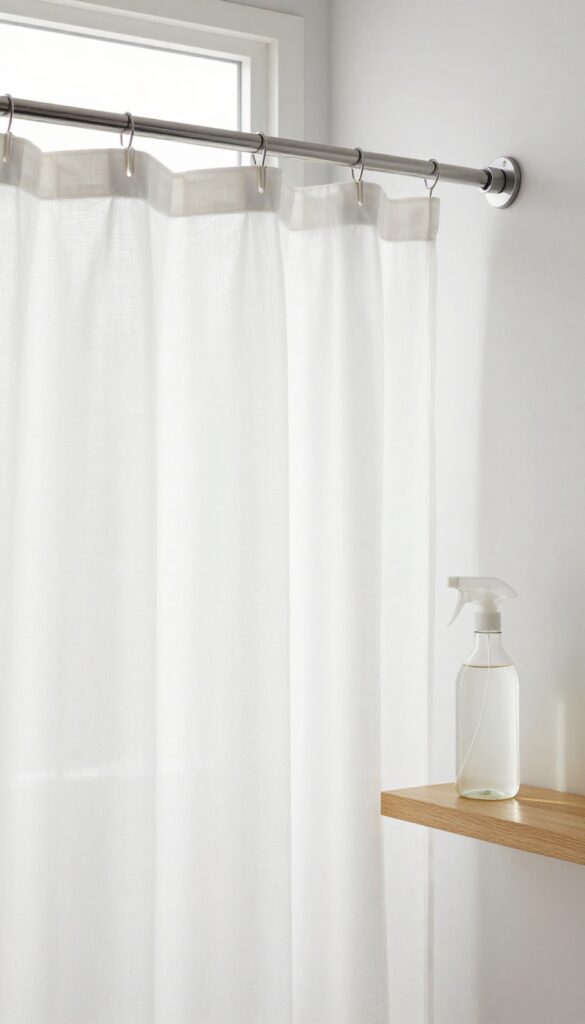
Daily Vinegar Spray
Mix equal parts white vinegar and water in a spray bottle. After your shower, give the curtain a light mist—focus on the bottom third and any folds. Vinegar is a natural disinfectant and deodorizer that kills mildew spores on contact.
No rinsing needed; just let it air dry.
10. Know When to Replace
Even the best cleaning routine can't make a shower curtain last forever. Over time, fabric breaks down, plastic becomes brittle, and mold finds tiny crevices to hide. Knowing when to let go is just as important as knowing how to clean.
No matter how diligent you are, shower curtains have a lifespan. Washing removes surface grime but can't fix structural damage or deep-set bacteria. If your curtain shows any of these signs, it's time to shop for a replacement.
Signs It's Time To Toss It
Persistent mildew that returns within days of cleaning is a red flag. So are tears, frayed edges, or a musty smell that lingers even after washing. Plastic liners often get cloudy or develop small holes that let water through.
How Long Should A Curtain Last?
Fabric curtains typically last 6 to 12 months with regular care. Plastic liners may need replacing every 3 to 6 months. If you live in a humid climate or have poor ventilation, expect to replace them more often.
Choosing A Replacement That Lasts
Look for machine-washable fabric curtains with a mildew-resistant coating. For liners, opt for heavy-gauge PEVA or polyester—they're more durable than vinyl and don't have that strong chemical smell. A good curtain now means less work later.
FAQ
Can I wash a plastic shower curtain in the washing machine?
Yes, but use a gentle cycle with warm water and add a few towels to prevent the plastic from sticking to the drum. Avoid hot water and high spin speeds.
How do I remove mildew from a shower curtain?
Pre-treat with a 1: 1 vinegar-water spray, let it sit for 10 minutes, then wash with baking soda and vinegar. For stubborn spots, use a paste of baking soda and hydrogen peroxide.
Can I use bleach on my shower curtain?
Bleach can damage plastic liners and fade fabric curtains. It's better to use vinegar and baking soda. If you must bleach, dilute it and test on a small area first.
How often should I clean my shower curtain?
Deep clean every 1 to 2 months. Spray with vinegar-water after each shower to prevent buildup. Replace the curtain every 6 to 12 months.
Why does my shower curtain smell even after washing?
Residual detergent or fabric softener can trap odors. Run an extra rinse cycle and add vinegar to the rinse. Also, make sure the curtain dries completely before folding.
Conclusion
Now your shower curtain is fresh, clean, and free of mildew. The trick is making this a quick monthly habit rather than a dreaded deep clean. A simple spray-down after each shower also helps keep grime from building up in the first place.
Your bathroom will look better, and you'll save yourself scrubbing time down the road. Enjoy that just-washed feel every time you step in.