How to Clean a Room Through 13 Start-to-Finish Steps
Cleaning a room can feel like a huge task, especially when you're short on time or energy. But breaking it down into small, manageable steps makes it doable for anyone. You don't need fancy products or hours of free time—just a clear plan and a little motivation.
This guide walks you through 13 start-to-finish steps that work for any room in your house. Whether you're tackling a messy bedroom or a cluttered living room, these steps keep you focused and efficient.
No fluff, no unnecessary tips—just practical actions that get your room clean and keep it that way. Let's get started.
1. Clear the Clutter First
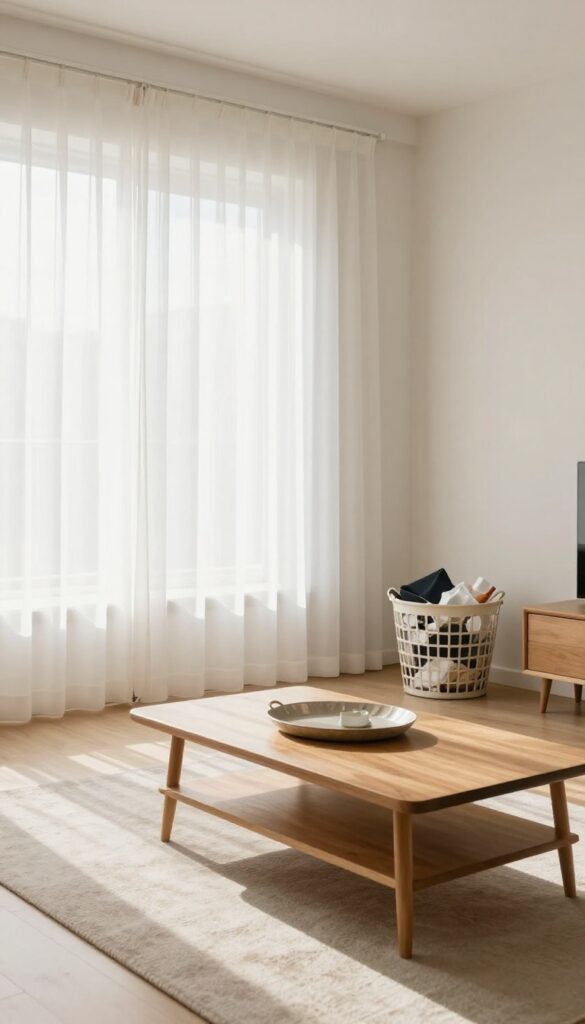
Before you can actually clean a room, you need to get the non-cleaning stuff out of the way. Clutter is the enemy of efficiency—it blocks surfaces, hides dirt, and makes the whole process feel heavier. By removing everything that doesn't belong, you set yourself up for a much faster and more satisfying clean.
Grab a laundry basket, a box, or even a trash bag and walk through the room. Pick up items that belong in other rooms—books, dishes, clothes, mail—and toss them in the container. Don't get sidetracked putting things away yet; just collect and move them to the doorway or hallway.
This single step instantly makes the room feel bigger and less overwhelming. You'll also expose dust, crumbs, and spots you couldn't see before. Once the clutter is gone, you can actually see what needs to be cleaned.
What Counts As Clutter?
Clutter is anything that isn't part of the room's permanent setup. Think of it as temporary stuff: yesterday's coffee cup, a stack of mail, shoes by the door, a jacket on the chair. If it's not furniture, decor, or something you use daily in that space, it's clutter.
Be honest with yourself—if you haven't touched it in a week, move it out.
Use A Sorting System
As you pick up items, sort them into three mental piles: put away, trash, and relocate. The 'put away' pile goes to another room; the 'trash' pile goes straight to the bin; 'relocate' means items that belong in this room but are out of place, like a book that should be on the shelf. This prevents you from just moving clutter from one spot to another.
Don't Overthink It
The goal here is speed, not perfection. You're not organizing or deep-cleaning yet—just clearing the decks. Spend no more than 5 to 10 minutes on this step.
If you start debating where each item goes, you'll lose momentum. Trust that you'll deal with the pile later. For now, just get the room bare.
2. Strip the Bed and Gather Linens
Your bed is usually the biggest soft surface in the room, and it collects dust, pet hair, and dead skin cells like crazy. Stripping it first does two things: it exposes the mattress and frame so you can clean them properly, and it gets those linens out of the way before they can catch any dust you stir up later. Plus, there’s something satisfying about seeing a bare mattress—it makes the room feel instantly cleaner.
Start by pulling off all pillowcases, sheets, blankets, duvet covers, and any decorative throws. Shake each item gently over a trash can or outside to loosen debris, then toss everything into a laundry basket or directly into the washing machine. Don’t forget to check under pillows for stray socks, phone chargers, or snack wrappers.
If you have a mattress protector, remove that too and add it to the pile. While the bed is bare, take a moment to vacuum the mattress surface with an upholstery attachment—this removes dust mites and allergens before you put fresh sheets on. Now grab any other fabric items in the room, like towels, bath mats, or pet beds, and add them to the laundry.
Moving all textiles out of the room prevents them from becoming dust magnets while you clean other surfaces.
Why Strip First?
Linens trap dust and dander from the air, so if you leave them on the bed while dusting or vacuuming, particles just resettle onto the fabric. By removing them early, you eliminate that problem. It also frees up floor space and makes the bed frame easier to access for wiping or dusting.
What About Decorative Pillows?
If you have throw pillows or cushions that can’t be machine washed, spot-clean them with a fabric cleaner or at least shake them outside. Set them aside in a clean area (like a chair) so they don’t get dusty again. You’ll fluff and replace them at the end.
Don’t Forget The Laundry Basket
Use a dedicated laundry basket or hamper for this step—don’t just pile linens on the floor. That keeps the room tidy and makes it easy to carry everything to the laundry room in one trip. If you’re short on baskets, a clean trash bag works as a temporary solution.
3. Dust from Top to Bottom
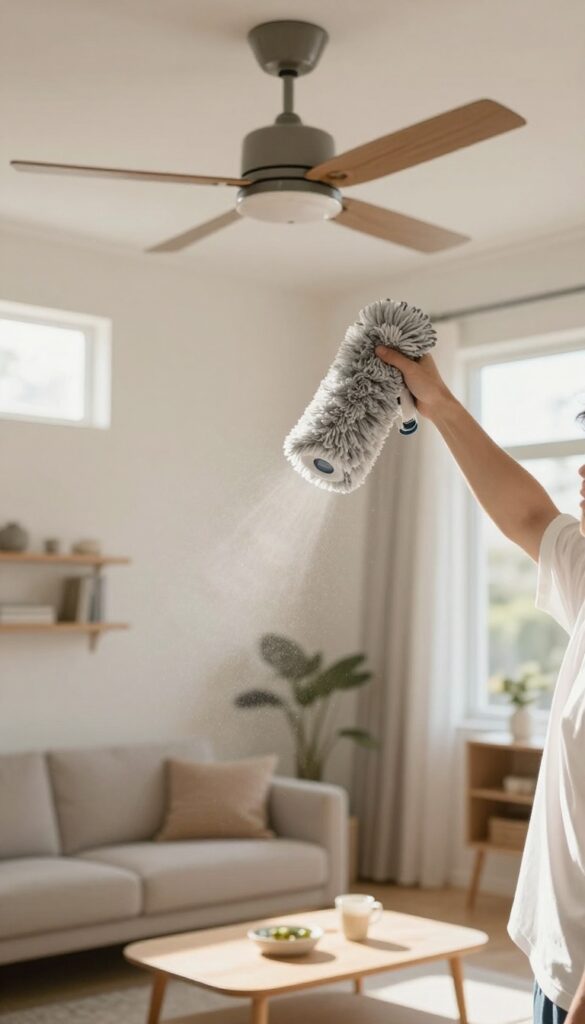
Dusting might seem straightforward, but doing it in the wrong order can undo your hard work. If you dust surfaces first and then tackle high shelves, you'll just knock dust down onto already-cleaned areas. The trick is to start high and work your way down, letting gravity do some of the work for you.
Begin with ceiling fans, light fixtures, and the tops of tall furniture. These spots collect the most dust and are easy to overlook. Use a microfiber cloth or an extendable duster to trap particles instead of sending them into the air.
Then move to mid-level surfaces like shelves, picture frames, and window sills. Finally, dust lower furniture, baseboards, and electronics. This top-down approach ensures you only clean each surface once.
Pick The Right Tool
Not all dusters are created equal. Feather dusters tend to scatter dust around, while microfiber cloths or electrostatic dusters trap it. For ceiling fans and high shelves, a telescoping duster with a microfiber head saves time and keeps you off a wobbly chair.
If you have sensitive allergies, consider wearing a mask while dusting.
Don't Forget Hidden Spots
Dust loves to hide on top of door frames, behind radiators, and on blinds. Take a moment to run a cloth along these less obvious areas. For blinds, close them flat and wipe each slat with a damp microfiber cloth or a special blind duster.
It adds a few minutes but makes a big difference in air quality.
Let Dust Settle Between Steps
After dusting, give the room a few minutes before moving on to vacuuming or wiping surfaces. This allows any airborne particles to settle onto the floor where they can be easily cleaned up. Use this time to swap out your dusting cloth or grab a fresh one for the next step.
4. Wipe Down All Surfaces
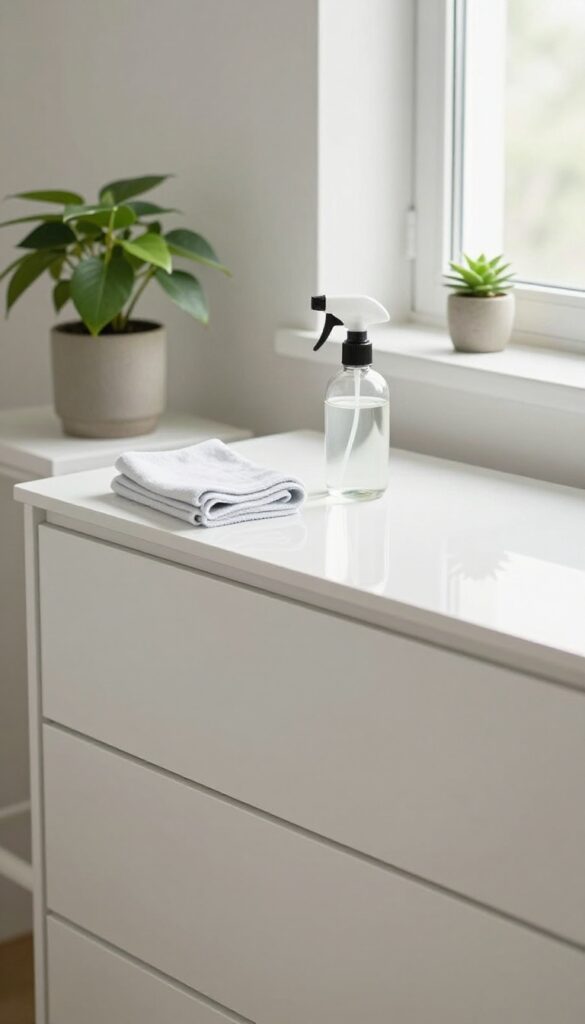
Once the dust has settled—literally—it's time to tackle the hard surfaces. Desks, nightstands, dressers, and shelves collect fingerprints, spills, and everyday grime. A quick wipe-down makes the whole room feel fresher instantly.
Choose Your Cleaner
An all-purpose spray works for most surfaces, but a DIY vinegar-water mix (1: 1 ratio) is just as effective and chemical-free. Test on a small area first if you're worried about finishes. For wood furniture, use a cleaner specifically designed for wood to avoid damage.
Don't Forget Electronics
Lamps, remote controls, and light switches are germ magnets. Use a microfiber cloth slightly dampened with water or a screen-safe cleaner for TVs and monitors. Never spray directly onto electronics—mist the cloth instead.
Work Top To Bottom
Start with higher surfaces like shelves and the top of dressers, then work your way down to desks and nightstands. This way, any dust or drips fall onto areas you haven't cleaned yet, saving you from redoing work.
5. Clean Mirrors and Glass
Mirrors and glass surfaces are magnets for fingerprints, smudges, and dust. When they're clean, the whole room feels brighter and more spacious. The trick is to avoid common mistakes like spraying cleaner directly on the surface, which can cause drips and streaks.
Instead, spray your glass cleaner onto a microfiber cloth—this gives you more control and prevents overspray on nearby surfaces.
Start with a dry microfiber cloth to remove loose dust from mirrors, windows, and picture frames. Then spray a small amount of glass cleaner onto a fresh microfiber cloth—don't saturate it, just a few spritzes. Wipe in a zigzag or S-pattern to avoid leaving streaks.
For stubborn spots, let the cleaner sit for a few seconds before wiping. Finish by buffing with a dry section of the cloth for a crystal-clear shine.
Pick The Right Cleaner
You don't need a fancy brand. A simple mix of equal parts water and white vinegar works wonders—just add a drop of dish soap to cut grease. Commercial glass cleaners are fine too, but avoid ammonia-based ones if you have tinted windows or certain mirror coatings.
Whatever you choose, always spray onto the cloth, not the glass.
Work From Top To Bottom
Start at the top of the mirror or window and work your way down. This way, any drips or dust that falls will be cleaned up as you go. For large windows, divide the surface into sections and tackle one at a time.
This keeps the cleaner from drying before you can wipe it off, which is a major cause of streaks.
Don't Forget The Frames
Picture frames and mirror frames collect dust and grime too. Wipe them with a slightly damp microfiber cloth after cleaning the glass. For ornate or wooden frames, use a gentle cleaner appropriate for the material.
This small step makes the whole piece look freshly cleaned.
6. Vacuum or Sweep the Floor
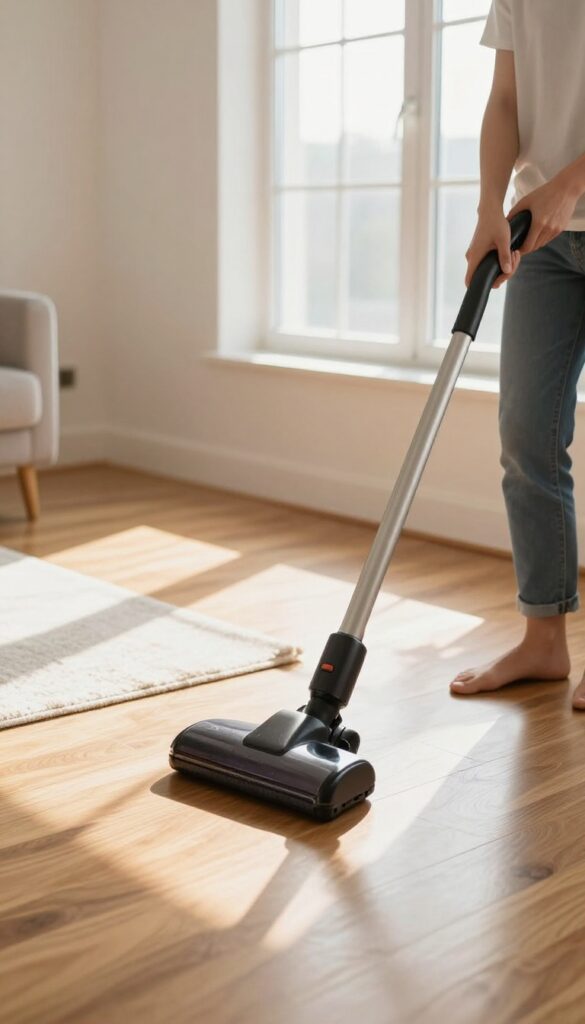
After all the dusting and wiping, the floor is where the real debris ends up. Whether you have carpet, hardwood, or tile, giving the floor a thorough clean is essential. This step picks up everything that settled during earlier cleaning and leaves the room feeling fresh.
Start by clearing the floor of any small items like shoes, toys, or cords. Then, for carpets, use a vacuum with a beater bar to lift dirt from deep fibers. Go slowly and overlap your passes to avoid missing spots.
For hard floors, a microfiber mop or a vacuum with a hard-floor setting works best. Don't forget to move small furniture like chairs or side tables to clean underneath. Use crevice tools along baseboards and corners.
If you have a robot vacuum, now is the time to run it—after decluttering but before you put everything back.
Choose The Right Tool
Match your cleaning tool to your floor type. Vacuum cleaners with adjustable height settings work well for both carpets and hard floors. For delicate hardwood, avoid vacuums with stiff bristles that can scratch.
A canister vacuum with a floor brush is a safe bet. If you're sweeping, use a soft-bristle broom for hard floors and a dustpan with a rubber edge to capture fine dust.
Tackle Edges And Corners
Dirt and dust love to hide along baseboards and in corners. Use a crevice tool or a small brush attachment to get into these tight spaces. For hard floors, a microfiber cloth wrapped around a putty knife can reach under low furniture.
Don't skip these areas—they make a big difference in the overall cleanliness of the room.
Don't Forget Under Furniture
Move lightweight furniture like chairs, nightstands, or ottomans to vacuum or sweep underneath. For heavy pieces, use a flat attachment or a long-handled duster to reach beneath. This is where a lot of dust and allergens accumulate, so taking the extra few minutes pays off.
7. Mop Hard Floors
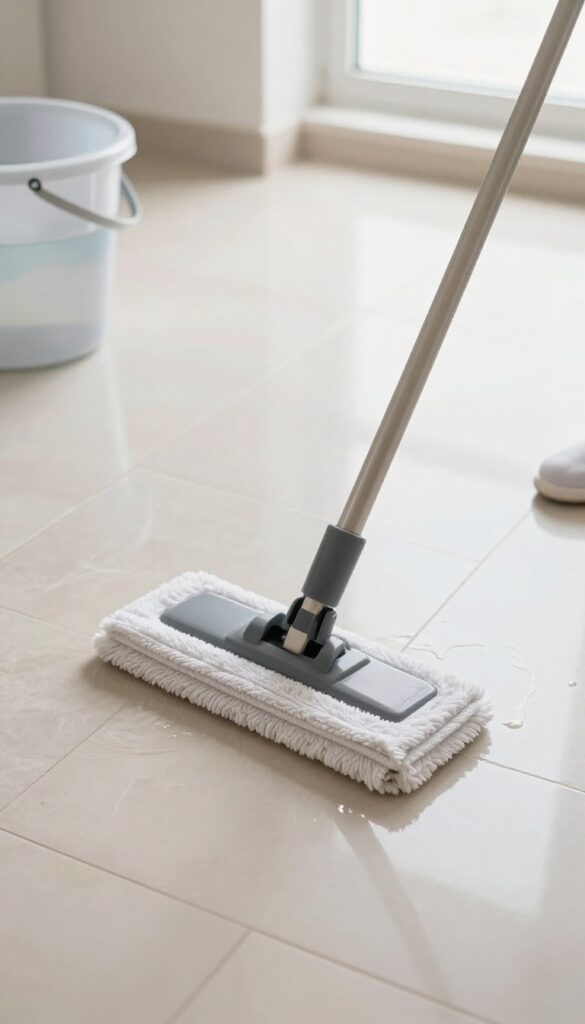
Hard floors take a beating, especially after you've swept or vacuumed up the loose dirt. Mopping is the final step that lifts stuck-on grime and leaves surfaces looking fresh. But there's a right way and a wrong way to do it—too much water or the wrong cleaner can do more harm than good.
Choose a mop that suits your floor type—a flat microfiber mop works well for most surfaces, while a sponge mop is better for tile. Use a cleaner formulated for your specific flooring: pH-neutral for wood and laminate, mild detergent for tile, and avoid vinegar or harsh chemicals on natural stone. Dip the mop, wring it out thoroughly, and work in sections from the farthest corner toward the door.
Rinse the mop head frequently to avoid spreading dirty water. Let the floor air dry completely before walking on it—this prevents streaks and water spots.
Choose The Right Cleaner
Not all floor cleaners are created equal. For hardwood or laminate, use a cleaner specifically labeled for those surfaces—often a pH-neutral formula. Tile and vinyl can handle a mild all-purpose cleaner, but avoid anything abrasive.
If you have natural stone like marble or slate, stick to a stone-safe cleaner to avoid etching. Always follow the manufacturer's instructions on the bottle.
Mop In The Right Pattern
Start at the far end of the room and work your way toward the exit. This way you won't step on wet spots. Use a figure-eight motion with a flat mop or a side-to-side sweep with a string mop.
Overlap each pass slightly to avoid missing areas. Change the water when it gets visibly dirty—especially in high-traffic zones.
Let It Dry Fully
Walking on a wet floor can leave footprints and re-deposit dirt. Open windows or turn on a fan to speed up drying. For wood floors, standing water is the enemy—use a barely damp mop and dry any puddles immediately.
Laminate can warp if moisture seeps into the seams, so keep it quick and dry.
8. Tackle Upholstery and Curtains
Your couch, chairs, and curtains might look clean, but they trap dust, pet dander, and allergens you can't see. This step focuses on refreshing those soft surfaces so your room feels truly clean. You don't need to deep-clean everything—just a quick vacuum and spot treatment makes a big difference.
Vacuum Upholstery With The Right Attachment
Switch to the upholstery brush attachment on your vacuum. Run it over the entire surface of couches, armchairs, and ottomans, including the backrest, seat cushions, and sides. Don't forget to lift cushions and vacuum underneath—that's where crumbs and dust bunnies hide.
For curtains, use the same attachment on a low suction setting to avoid pulling the fabric.
Spot Clean Stains Right Away
Check for visible stains on your upholstery and curtains. Use a fabric-safe stain remover or a mild soap solution. Blot the stain gently with a clean cloth—don't rub, or you'll spread it.
Test any cleaner on a hidden spot first to make sure it won't discolor the fabric. Let the area air dry completely before using the furniture or closing the curtains.
Freshen Up With Baking Soda (optional)
If your upholstery smells musty or just needs a refresh, sprinkle baking soda evenly over the fabric. Let it sit for 15–20 minutes to absorb odors, then vacuum it off with the upholstery attachment. This is a cheap, chemical-free way to deodorize your couch or curtains.
Skip this step if your fabric is delicate or has a warning against dry powders.
9. Organize Surfaces and Drawers
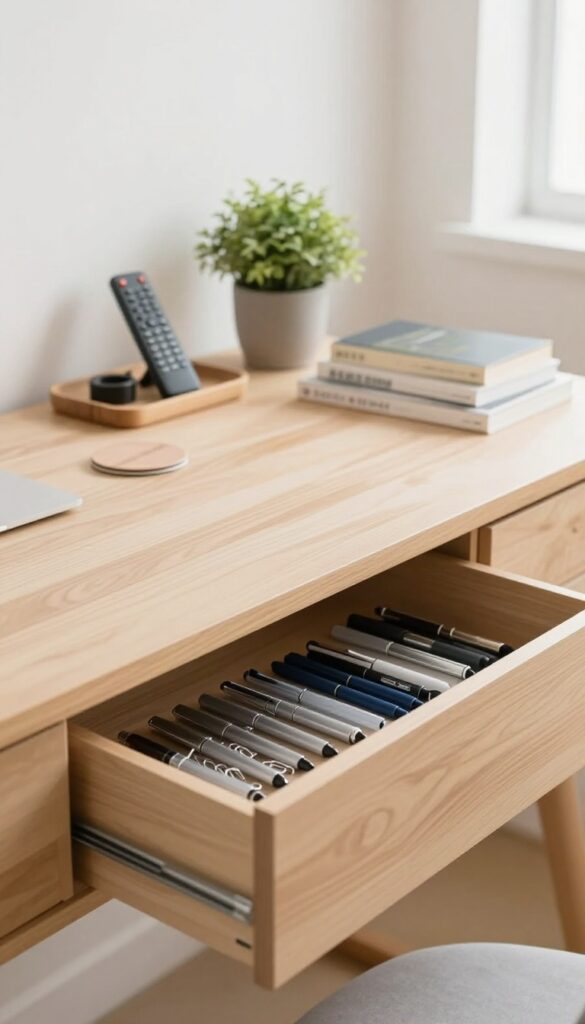
Now that everything is dusted and wiped down, it's time to put things back in a way that looks intentional. The goal here isn't just to stash stuff away—it's to create a system that keeps surfaces clear and drawers tidy. A little effort now saves you from future clutter buildup.
Start by sorting through the items you removed earlier. Keep only what belongs in the room and what you actually use. Donate or toss anything that doesn't serve a purpose.
Then, group similar items together—remotes, chargers, books, or decor pieces. Use trays, bins, or drawer dividers to corral small objects. Place frequently used items within easy reach and store seasonal or occasional items in less accessible spots.
The key is to leave some empty space on surfaces; a cluttered shelf or countertop feels messy even if it's clean. For drawers, fold items neatly or use inserts to prevent shifting. Labeling can help maintain the system long-term.
Once everything has a home, step back and enjoy the visual calm.
Declutter Before You Place
Before you start arranging, go through every item that was on the surfaces or inside the drawers. Ask yourself: Do I use this? Does it belong here?
If not, put it in a donate or relocate pile. This step prevents you from just reorganizing clutter instead of actually reducing it.
Use Trays And Bins For Small Items
Trays are great for grouping remote controls, coasters, or keys on a coffee table. Bins work well for charging cables, makeup, or office supplies in drawers. They keep items from sliding around and make it easy to grab what you need without creating a mess.
Arrange For Function And Looks
Place everyday items where you can reach them effortlessly, like a lamp on a nightstand or a pen holder on a desk. For decor, follow the rule of odd numbers and varying heights to create visual interest. Leave some negative space—empty areas make the room feel larger and more organized.
10. Refresh the Air
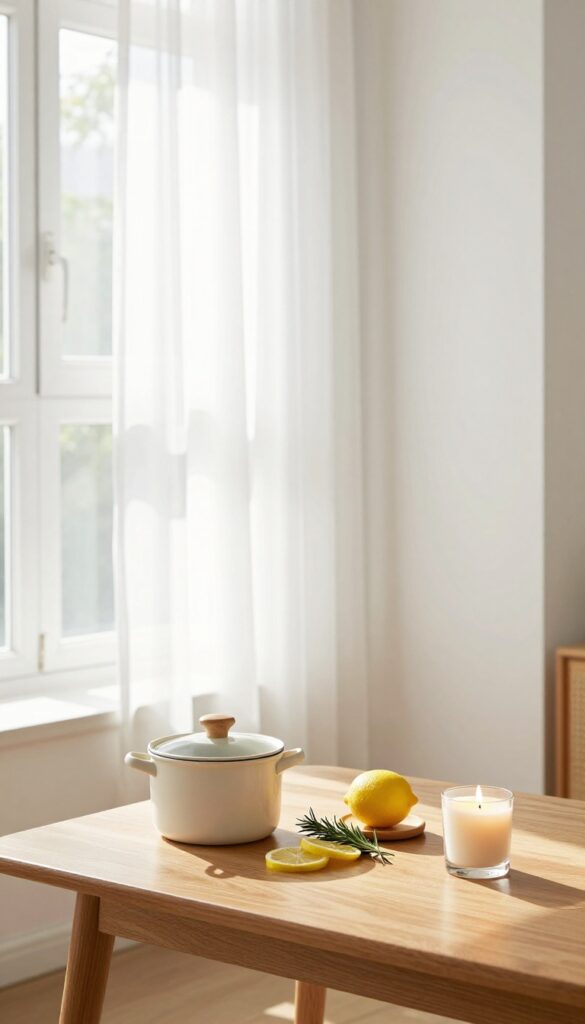
After all the scrubbing and dusting, the room might still feel stale. That's where refreshing the air comes in—it's the final touch that makes the space feel truly clean and inviting. A few simple steps can transform the atmosphere without harsh chemicals.
Once the surfaces are spotless and the floor is done, take a moment to improve the air quality. Open windows for a few minutes to let in fresh air and flush out any lingering dust or cleaning product fumes. If weather or allergies make that tricky, try a natural air freshener like a simmer pot with citrus peels and herbs, or light a candle.
Avoid artificial sprays that just mask odors—they often add more chemicals than they remove.
Open Windows For A Quick Air Exchange
Even five minutes of cross-ventilation can make a huge difference. Crack two windows on opposite sides of the room to create a breeze that pushes stale air out and pulls fresh air in. This simple step reduces indoor pollutants and gives the room a natural, oxygenated feel.
Try A Simmer Pot Instead Of Sprays
A simmer pot is an easy, all-natural way to scent your space. Fill a small pot with water, add slices of lemon or orange, a few sprigs of rosemary or cinnamon sticks, and let it simmer on low. The steam carries a gentle, clean aroma throughout the room without any synthetic ingredients.
Light A Candle For Ambiance And Freshness
A simple candle can do double duty: it adds a warm glow and a subtle fragrance. Choose soy or beeswax candles with essential oils for a cleaner burn. Keep it away from drafts and never leave it unattended.
The soft light also makes the room feel cozier after all your hard work.
11. Make the Bed
Once the clutter is cleared and surfaces are dusted, making the bed is the finishing touch that pulls the whole room together. It's a simple act that instantly transforms the space from chaotic to calm. Plus, it sets a positive tone for the rest of your day.
Making the bed is often overlooked, but it's one of the most impactful steps in room cleaning. A neatly made bed becomes the focal point, making the entire room look more organized and inviting. It also creates a sense of accomplishment that motivates you to keep the rest of the room tidy.
Start With Clean Sheets
If your sheets are due for a wash, now is the perfect time. Strip the bed and throw the linens in the laundry. While they're washing, you can finish other cleaning tasks.
Once the sheets are clean and dry, put them back on the bed. Fresh, crisp sheets not only look great but also improve your sleep quality.
The Right Way To Make A Bed
Start by fitting the bottom sheet snugly over the mattress corners. Then add the top sheet, leaving a few inches of overhang at the top to fold over the blanket. Place your duvet or comforter on top and smooth out any wrinkles.
Finally, fluff and arrange your pillows—two for sleeping and a couple of decorative ones for a polished look.
The Visual Impact
A made bed instantly makes the room look 50% cleaner. It's a small effort with a big visual payoff. Even if the rest of the room isn't perfect, a tidy bed creates an illusion of order.
It also makes the room feel more spacious and welcoming.
12. Do a Final Walk-Through
You've dusted, scrubbed, and organized, but the job isn't done until you've given the room a final once-over. This quick scan catches the little things that can make a clean room feel unfinished—like a stray smudge or a misplaced item. A few extra minutes here ensures your hard work really shines.
Check High And Low
Start at eye level and work your way down. Look for dust bunnies lurking under furniture, cobwebs in corners, or crumbs that escaped the vacuum. Don't forget the tops of picture frames, window sills, and baseboards.
A damp microfiber cloth is your best friend for wiping away these sneaky spots.
Tackle Smudges And Fingerprints
Light switches, door handles, and cabinet fronts are magnets for fingerprints. Give them a quick wipe with a damp cloth or a gentle cleaner. Also check mirrors and glass surfaces for streaks—a dry microfiber cloth can buff them to a shine without leaving lint.
Reset The Room
Make sure everything is in its proper place. Straighten throw pillows, align the rug, and fluff the cushions. Open curtains or blinds to let in natural light—it not only brightens the room but also helps you spot any missed dust.
Step back and take a moment to appreciate your work.
13. Maintain with a Daily Reset
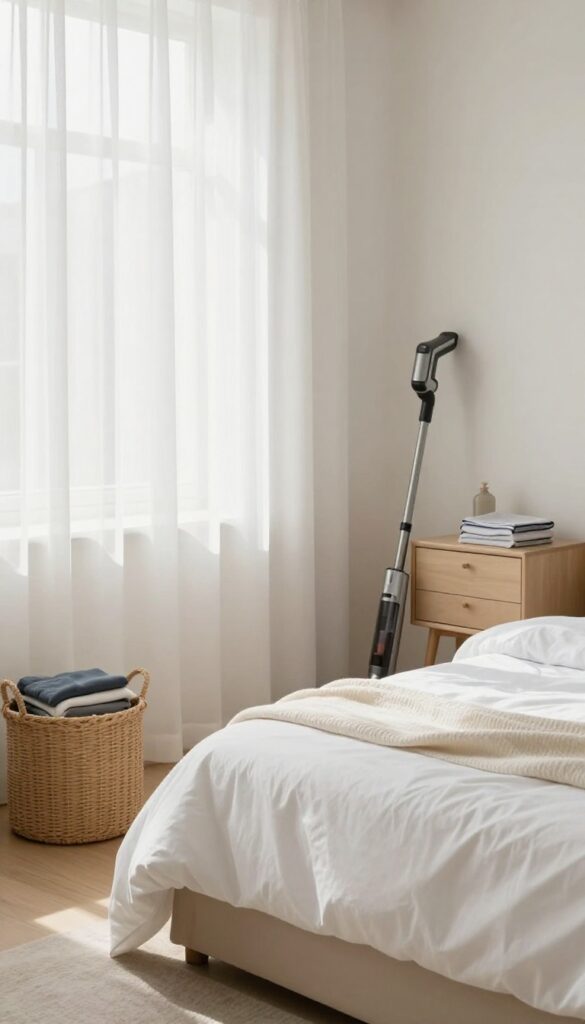
You've put in the work to get your room sparkling clean. Now the secret to keeping it that way is a simple daily reset. Spending just 5–10 minutes each day tidying up prevents clutter from snowballing and makes your next deep clean a breeze.
A daily reset is a short, consistent routine that keeps your room from sliding back into chaos. It's not a full clean—just a quick sweep to put things back in order. Think of it as closing the loop on your day: making the bed, putting away stray clothes, and wiping down counters.
These small actions add up to a room that always feels fresh.
Make The Bed First
Making your bed is the anchor of the daily reset. It instantly makes the room look neater and sets a productive tone for the day. It takes less than two minutes, and it's a small win that builds momentum.
Put Away Clothes And Items
Clothes left on chairs or floors are clutter magnets. Each evening, take a minute to hang up or fold clothes and return items to their designated spots. This habit stops piles from forming and keeps surfaces clear.
Wipe Down Surfaces
A quick wipe of nightstands, dressers, and other high-touch surfaces removes dust and spills before they settle. Use a microfiber cloth or a disinfecting wipe for a fast, effective clean. This step takes under a minute but keeps your room looking polished.
Do A 2-minute Floor Sweep
Before you call it a night, scan the floor for any debris, crumbs, or stray items. A quick sweep or a pass with a cordless vacuum handles the rest. This prevents dirt from accumulating and makes weekly vacuuming much easier.
FAQ
How often should I deep clean a room?
Aim for a deep clean every 1-3 months, depending on usage and traffic. High-traffic rooms like living rooms may need monthly attention, while guest rooms can go longer.
What's the best order to clean a room?
Always start from the top (ceiling, high shelves) and work down to the floor. This prevents dust from falling on already-cleaned surfaces. Declutter first, then dust, wipe, and vacuum.
Do I need expensive cleaning products?
Not at all. Basic supplies like microfiber cloths, vinegar, baking soda, and a good all-purpose cleaner are enough for most rooms. Save money by making your own solutions.
How can I make cleaning less overwhelming?
Break the room into zones (e. g. , one corner at a time) or set a timer for 15 minutes. Focus on one step at a time from this list. Music or a podcast can make it more enjoyable.
What's the fastest way to clean a room before guests arrive?
Focus on visible areas: declutter surfaces, make the bed, vacuum the floor, and freshen the air. Skip deep cleaning tasks like washing curtains or organizing drawers.
Conclusion
Cleaning a room doesn't have to be a dreaded chore. By following these 13 steps, you can transform any space from chaotic to calm in a logical, efficient way. The key is to stick to the order and not skip steps.
Remember, consistency beats perfection. A quick daily reset keeps your room tidy between deep cleans, saving you time and stress in the long run. Now go ahead—pick a room and start with step one.