10 How to Clean Window Tracks and Reach Every Tight Corner
Window tracks are the hidden culprits behind stubborn dust and grime that no amount of regular wiping seems to fix. You might not notice them until the sliding action gets rough or you catch a glimpse of that dark buildup. The good news?
You don't need professional tools or harsh chemicals to make them look brand new. With a few household items and a bit of patience, you can reach every tight corner and restore smooth, clean tracks.
These ten methods cover everything from quick maintenance to deep cleaning, so you can tackle the job at your own pace. Ready to give your windows the attention they deserve?
1. Start with a Dry Brush to Remove Loose Debris
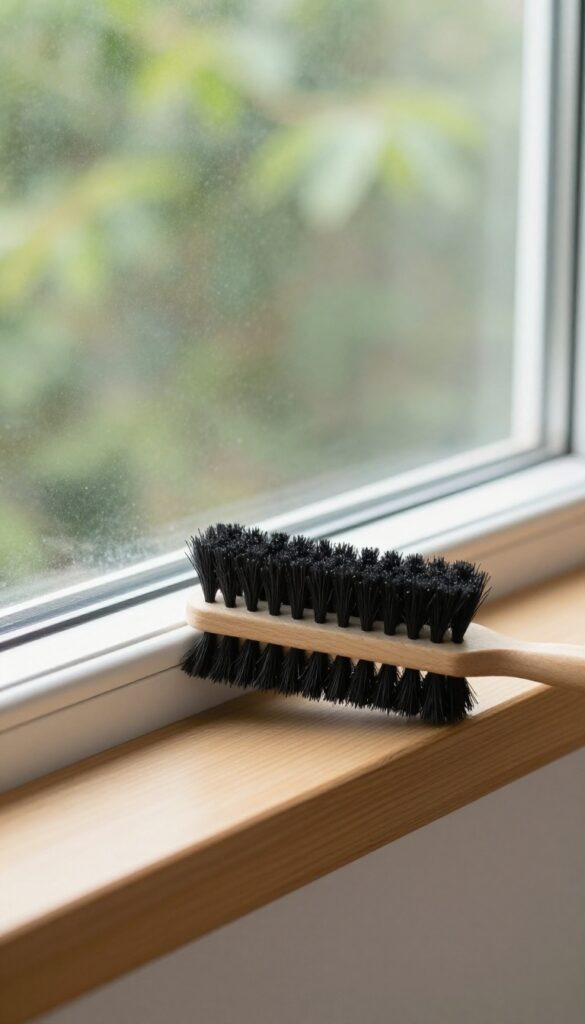
Before you bring any liquid near those tracks, grab a stiff brush or an old toothbrush and go to town on the loose dirt. This simple dry sweep is the unsung hero of window track cleaning. It clears out the gritty stuff that would otherwise turn into a muddy mess the second you add water.
Dry brushing is the first line of defense because it tackles the bulk of the debris without spreading it around. You'll be amazed at how much dust, pet hair, and tiny pebbles have settled in there. Plus, it makes the wet cleaning step far more effective, since you're not just pushing sludge from one corner to another.
Why Dry Brushing First Makes Sense
When you skip the dry brush and go straight for a wet cloth, you end up with a paste that's hard to remove and can even scratch the track. Dry brushing lifts the loose particles so they can be easily vacuumed or swept away. It also helps you see the areas that need extra attention, like stubborn spots that have been there for months.
Choosing The Right Brush For The Job
A stiff-bristled brush, like a scrub brush or a dedicated track cleaning brush, works best for larger tracks. For those tight corners and narrow grooves, an old toothbrush is perfect. You can also use a paintbrush with stiff bristles to get into the deepest crevices without scratching the surface.
How To Brush Effectively Without Spreading Dust
Work in one direction, from one end of the track to the other, and use short, firm strokes. This pushes the debris toward the edge where you can easily vacuum it up. If you have a handheld vacuum or a crevice attachment, use it right after brushing to suck up the loose dirt.
That way, you're not just moving it around.
2. Use a Vacuum with a Crevice Tool for Quick Pickup
Before you even think about water or cleaning solutions, let the vacuum do the heavy lifting. A crevice tool is narrow enough to slide right into the track, and it pulls out loose dirt, crumbs, and pet hair in seconds. It’s the fastest way to clear the bulk of the mess so you can focus on the stuck-on grime later.
Vacuuming is the first step in any deep clean, but it’s also great for quick touch-ups. You don’t need a fancy vacuum—any model with a crevice attachment will work. The key is to move slowly along the track so the suction has time to grab everything.
Start at one end and work your way to the other, tilting the tool slightly to get into the corners.
Why A Crevice Tool Works Best
Crevice tools are designed for tight spaces, so they fit perfectly into the narrow grooves of window tracks. They’re also gentle on the surface—no scratching like a metal tool might cause. Plus, they’re flexible enough to reach the far ends where dust bunnies love to hide.
If you don’t have a crevice tool, a narrow brush attachment can work in a pinch, but it won’t get as deep.
How To Vacuum Without Pushing Debris Further
One common mistake is pushing the vacuum too fast, which just shoves dirt deeper into the track. Instead, glide the crevice tool slowly along the bottom and sides. For stubborn crumbs, you can use a gentle back-and-forth motion to loosen them before the suction picks them up.
If you have a wet/dry vacuum, you can also suck up any loose moisture after cleaning.
When To Vacuum Vs. When To Skip It
Vacuuming is perfect for dry debris like sand, hair, and crumbs. But if your tracks are sticky or have caked-on grime, vacuuming alone won’t cut it—you’ll need to follow up with a cleaning solution. For routine maintenance, a quick vacuum every couple of weeks can prevent buildup from ever getting out of hand.
3. Create a DIY Cleaning Solution with Baking Soda and Vinegar
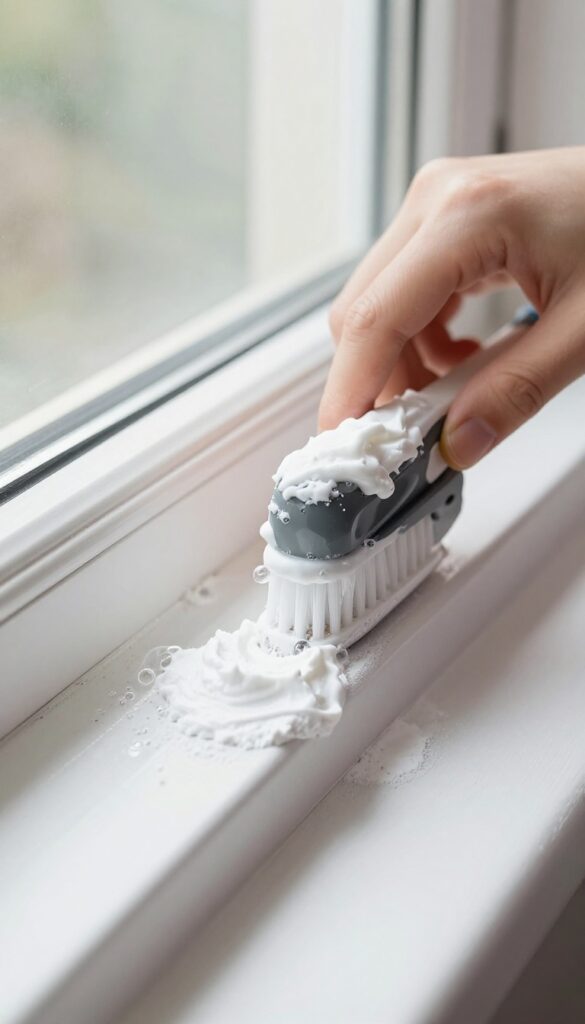
If you're looking for a cleaning solution that's both effective and gentle on your wallet, baking soda and vinegar are a match made in heaven. This dynamic duo creates a fizzing paste that breaks down stubborn grime without harsh chemicals. Plus, you probably already have both in your kitchen, so there's no need for a special trip to the store.
When you mix baking soda and vinegar, the chemical reaction produces carbon dioxide, which helps lift dirt and debris from the tracks. The paste is thick enough to cling to vertical surfaces and fill in narrow gaps, making it perfect for those hard-to-reach corners. After letting it sit for a few minutes, the fizzing action loosens the grime, so a simple scrub and wipe leaves the tracks looking fresh.
Why This Combo Works So Well
Baking soda is a mild abrasive that gently scrubs away buildup without scratching the metal or plastic surfaces of your window tracks. Vinegar, on the other hand, is a natural disinfectant and degreaser that cuts through sticky residue. When combined, they create a paste that's thick enough to stay put, yet reactive enough to bubble away dirt.
This makes the solution ideal for tackling years of accumulated grime without resorting to toxic cleaners.
Step-by-step Application Tips
Start by mixing equal parts baking soda and water to form a thick paste, then add a splash of vinegar just before application. Use an old toothbrush or a small spatula to spread the paste evenly along the tracks, making sure to push it into the corners. Let the mixture sit for 5–10 minutes to allow the fizzing to work its magic.
Then, scrub gently with the toothbrush, focusing on areas with heavy buildup. Finally, wipe away the residue with a damp cloth and dry the tracks thoroughly to prevent rust or mold.
Tackling Stubborn Spots With A Little Extra Effort
For particularly stubborn spots, you can increase the ratio of baking soda to make a thicker paste, or let the solution sit longer before scrubbing. If the tracks are extremely dirty, repeat the process a second time. For tight corners that are hard to reach, use a cotton swab or an old makeup brush dipped in the paste to get into every nook and cranny.
After cleaning, a quick rinse with plain water helps remove any leftover residue, leaving the tracks smooth and ready for use.
4. Use a Toothbrush for Detailed Scrubbing
Once the loose debris is gone, it's time to get into the nooks and crannies that larger tools simply can't reach. An old toothbrush is your best friend here, with bristles that slip into grooves and corners where grime loves to hide. It's a simple, low-cost tool that makes a huge difference in how clean your tracks end up.
Grab a toothbrush with firm bristles—one you no longer use for your teeth, of course. Dip it into your cleaning solution and scrub along the inner edges, corners, and any tight spots you can see. The bristles work the solution into the grime and loosen it without scratching the metal or plastic surfaces.
Work in small sections, and wipe away the loosened dirt with a cloth or paper towel as you go.
Why A Toothbrush Works Best
Toothbrushes are designed to navigate the tight spaces between teeth, which makes them perfect for window tracks. Their compact heads and angled bristles can reach into corners that cotton swabs or cloths might miss. Plus, the firm bristles provide just the right amount of scrubbing power to break up stubborn buildup without damaging the track.
Pair With Your Favorite Cleaner
You can use a toothbrush with any cleaning solution you prefer—store-bought or homemade. A simple mix of warm water and dish soap works wonders, or you can use a baking soda paste for tougher stains. Just dip the toothbrush into the solution and start scrubbing.
The bristles will help distribute the cleaner evenly and lift the dirt away.
Don't Forget The Sliding Mechanism
The sliding mechanism is often the most neglected part of the track. Use the toothbrush to clean the wheels and the channel where the window slides. This helps maintain smooth operation and prevents dirt from causing friction.
Regular attention here can extend the life of your windows.
5. Try a Cotton Swab for the Narrowest Gaps
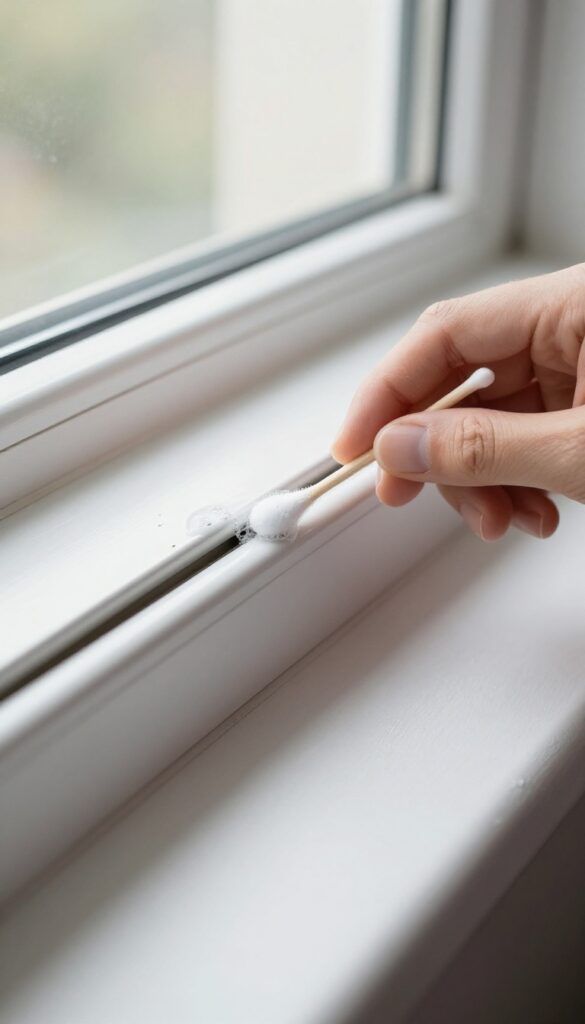
Cotton swabs might seem too small to make a difference, but they're perfect for the tightest spots where even a toothbrush can't fit. Those narrow gaps along the edges and corners collect a surprising amount of grime. With a little cleaning solution, you can swipe away the buildup and reveal a spotless track.
When you've tackled the wider areas, the fine details still need attention. Cotton swabs are ideal for precision cleaning, letting you target exactly where the dirt hides. They're disposable, so you can toss them after use, and they're gentle enough not to scratch the track surface.
Plus, they're cheap and easy to find, making them a no-brainer addition to your cleaning kit.
Why Cotton Swabs Work So Well
The secret is their size and absorbency. They can slide into grooves that are just a few millimeters wide, picking up dust and grime that larger tools miss. The cotton fibers trap particles effectively, and you can use both ends for double the cleaning power.
They're also great for applying cleaning solution precisely where you need it, avoiding excess liquid that can cause damage.
How To Use Them Effectively
Dip the swab in your cleaning solution—whether it's a commercial cleaner or a DIY mix—and gently run it along the narrow gaps. Use a back-and-forth motion to loosen the grime, then flip the swab to the dry side to wipe it away. For stubborn buildup, let the solution sit for a minute before scrubbing.
You can also use a pointed cotton swab (like those for makeup) for even more precision.
Creative Alternatives
If you run out of cotton swabs, you can use a toothpick wrapped in a small piece of microfiber cloth, or even a pipe cleaner. These DIY options work similarly and are just as effective. Just make sure whatever you use is soft enough not to scratch the track.
6. Use a Putty Knife or Old Credit Card to Scrape Stubborn Grime
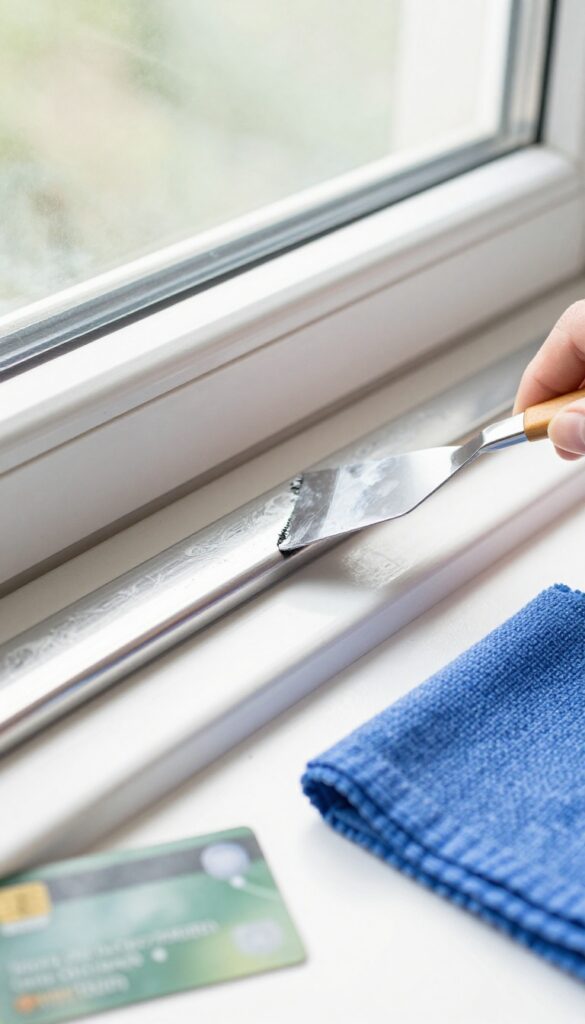
Sometimes, no amount of brushing or spraying will shift that crusty layer of dirt that's been baking in the track for months. That's when you need a scraper. A putty knife or an old credit card can get under that grime and lift it off without scratching the metal or plastic.
It's a simple trick that saves you from scrubbing until your arm aches.
When the track looks like it's been through a mud fight and lost, a scraper is your best friend. The flat edge slides right under the gunk and pops it off in one satisfying go. Just be gentle if your tracks are painted or coated—you don't want to chip the finish.
If you're worried about scratches, wrap the edge in a thin cloth. That gives you a bit of cushion while still letting you apply pressure.
Choose The Right Tool
A putty knife with a flexible blade works best for wider tracks, while an old credit card is perfect for narrow gaps. If you have a plastic scraper, even better—it's less likely to leave marks. Avoid metal tools with sharp edges, as they can gouge the track.
Test on a small spot first if you're unsure.
Scrape At An Angle
Hold the scraper at a low angle, almost flat against the track surface. This lets the edge get under the grime without digging into the material. Work in short, firm strokes, moving from one end to the other.
For corners, use the corner of the card or knife to scoop out the buildup.
Finish With A Damp Cloth
After scraping, you'll have loose crumbs and residue left behind. Wipe the track with a damp microfiber cloth to pick up the debris. Then go over it with a dry cloth to remove any moisture.
This leaves the track clean and ready for the next step, whether that's lubricating or just admiring your work.
7. Rinse and Wipe with a Microfiber Cloth
Scrubbing alone can leave behind a film of cleaner and loosened grime that dries into a dull residue. That's where the final rinse and wipe step comes in. It's the difference between tracks that look clean and tracks that actually feel clean.
After you've scrubbed every groove, it's time to flush out the mess. Grab a spray bottle filled with plain water (or a mild cleaner if your tracks are safe for it) and give the tracks a good spritz. The water will loosen any remaining particles and carry them to the surface, where you can easily wipe them away.
Then, take a clean, dry microfiber cloth—or a slightly damp one if needed—and run it along the entire length of the track. Press firmly into the corners and along the bottom edge where grime likes to hide. Microfiber is perfect for this because it grabs onto dirt and absorbs moisture without leaving streaks or lint behind.
Finish by wiping the surrounding window frame and sill. This prevents any drips from drying into new spots and gives the whole area a polished look. Once you're done, slide the window back and forth a few times to make sure everything moves smoothly.
Why Rinsing Matters
Skipping the rinse is like washing your car and leaving the soap on. The cleaning solution you used earlier has done its job, but if it's left to dry, it can attract more dust and leave a hazy film. A quick rinse with water neutralizes the cleaner and lifts away the last bits of grime, so your tracks stay cleaner for longer.
Choosing The Right Cloth
Not all cloths are created equal. Paper towels can shred and leave lint, while old rags might scratch delicate surfaces. Microfiber is the gold standard because it's soft, absorbent, and traps dirt in its fibers.
Keep one dedicated cloth for window tracks and wash it separately to avoid transferring oils or residues.
Drying For A Streak-free Finish
After rinsing, moisture left in the tracks can lead to rust or mildew over time. Use a dry microfiber cloth to soak up any remaining water, especially in the corners. If you're in a hurry, you can also use a hairdryer on a cool setting to speed up the drying process—just make sure not to overheat the window frame.
8. Use a Steam Cleaner for Deep Sanitization
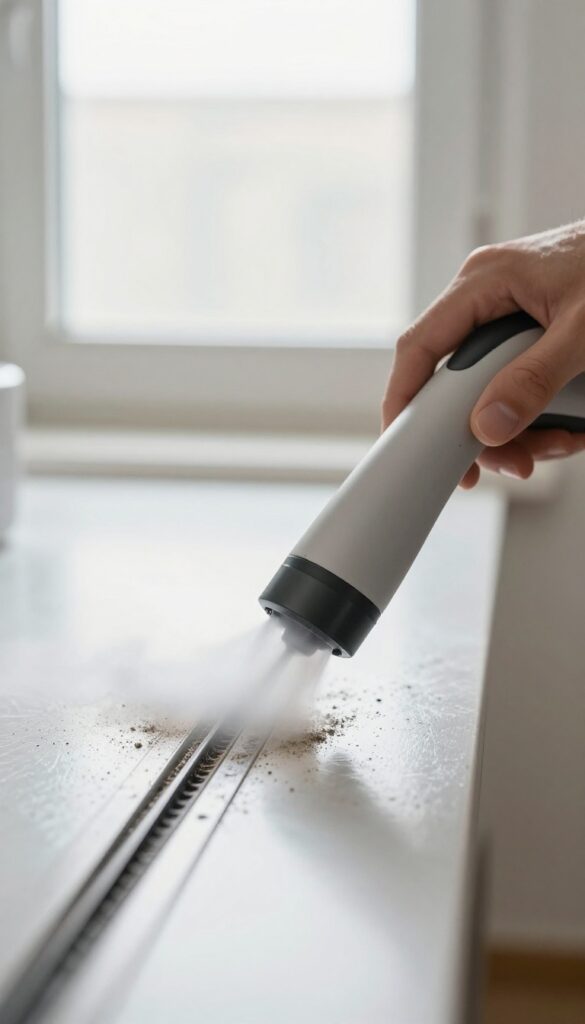
When scrubbing and spraying just aren't cutting it, a steam cleaner can be your secret weapon. The high-temperature steam loosens caked-on grime and kills bacteria without a single drop of chemical. It's especially handy for reaching into the narrowest gaps where brushes and cloths can't go.
Steam cleaning is a game-changer for window tracks, especially if you're dealing with years of buildup. The heat breaks down grease and dirt on contact, making it easy to wipe away. Plus, it's eco-friendly and safe for homes with kids or pets.
Why Steam Works So Well
Steam cleaners produce pressurized vapor that penetrates cracks and crevices. The heat melts away sticky residue, while the force of the steam dislodges dirt particles. Unlike chemical cleaners, steam leaves no residue behind, so tracks stay cleaner longer.
How To Use A Steam Cleaner On Tracks
Start by removing loose debris with a vacuum or brush. Then, attach the narrow nozzle to your steam cleaner and direct the steam along the track, moving slowly to let the heat work. Follow up with a microfiber cloth to wipe away the loosened grime.
For stubborn spots, hold the nozzle in place for a few seconds.
Safety And Maintenance Tips
Always test the steam cleaner on a small, hidden area first to ensure it doesn't damage the track material. Keep the nozzle moving to avoid overheating any one spot. After steaming, dry the track thoroughly to prevent rust or mold.
Regular steaming every few months can keep tracks looking new.
9. Apply a Silicone Lubricant After Cleaning
You've scrubbed, rinsed, and dried every inch of the track. The metal or plastic looks almost new again. But if you stop here, you're missing a crucial step that keeps the window moving smoothly and prevents future grime from sticking.
A thin layer of silicone lubricant acts like a shield. It reduces friction, so the window glides effortlessly. It also creates a slick surface that dirt and dust find harder to cling to.
This small extra step saves you time in the long run.
Silicone lubricant is the unsung hero of window maintenance. Unlike oil-based products, it doesn't attract dust or turn sticky over time. It's safe for most materials, including vinyl, aluminum, and wood.
Plus, it's affordable and easy to find at any hardware store. Applying it correctly is just as important as choosing the right product. You don't need to drench the track—a light, even coat is enough.
Focus on the areas where the window actually slides, not the entire track. This ensures smooth operation without leaving a greasy mess. Remember to let the lubricant dry or set for a few minutes before testing the window.
This prevents it from smearing or attracting debris right away. With a little patience, you'll enjoy a window that opens and closes like new.
Why Silicone Beats Oil-based Lubricants
Oil-based lubricants might seem like a quick fix, but they have a major downside: they attract and trap dust. Over time, this creates a sticky paste that's even harder to clean than the original grime. Silicone, on the other hand, dries to a smooth, non-sticky film that repels dirt.
It also lasts longer, so you won't need to reapply as often. Another advantage is that silicone won't harm rubber seals or plastic components. Oil can degrade these materials over time, leading to cracks and leaks.
By choosing silicone, you're protecting the entire window system, not just the sliding action.
How To Apply Silicone Lubricant To Window Tracks
Start with a clean, dry track. Any leftover moisture or cleaner residue can prevent the lubricant from bonding properly. Shake the can or bottle well, then apply a thin line of lubricant along the bottom and sides of the track where the window makes contact.
If you're using a spray, hold it about six inches away and use short bursts to avoid overspray. Use a cloth or your finger to spread the lubricant evenly, making sure you cover the entire sliding surface. Don't forget the corners and the top track if your window has one.
Wipe away any excess with a clean cloth—this prevents drips and keeps the area tidy.
When To Reapply And What To Avoid
How often you need to reapply depends on how often you use the window and your local climate. As a general rule, check the tracks every few months. If the window starts to feel rough or you notice the lubricant has worn off, it's time for a fresh coat.
You'll know it's working when the window slides smoothly and quietly. Avoid using WD-40 or similar multi-purpose oils. They're not designed for this job and can leave a residue that attracts dust.
Also, steer clear of graphite powder—it can stain and is messy to apply. Stick with a dedicated silicone spray or gel for the best results.
10. Maintain Regularly with a Quick Weekly Wipe
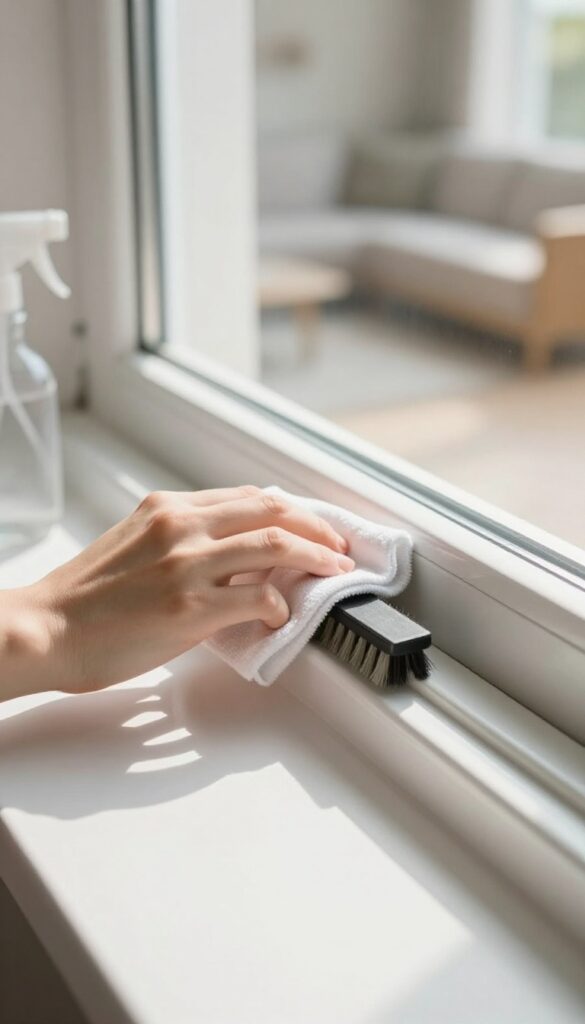
The best way to deal with window track grime is to never let it build up in the first place. A quick weekly wipe takes less than five minutes per window and saves you from the dreaded deep-clean marathon later. Think of it as a tiny habit that pays off in smooth sliding and a noticeably fresher home.
A weekly wipe is not about scrubbing—it's about staying ahead of the dust and dirt that settle into the tracks. You'll need a soft cloth or an old sock, a small brush (like an old toothbrush), and maybe a vacuum with a crevice tool. The goal is to remove loose debris before it gets ground in and becomes a sticky mess.
The 5-minute Routine
Start by vacuuming the track with a crevice attachment to pull up loose dust and pet hair. Then, take a damp microfiber cloth and run it along the bottom and sides of the track. For corners, wrap the cloth around a butter knife or use a cotton swab to catch the last bits.
Finish by wiping the track dry with a clean cloth to prevent moisture from attracting more dust.
What To Use For A Quick Wipe
You don't need special cleaners for weekly maintenance. A drop of dish soap in a spray bottle with water works fine. Spray the cloth, not the track, to avoid overspray on the glass.
If you prefer dry cleaning, a dryer sheet or a static duster can pick up dust without any liquid. Just make sure it's gentle enough not to scratch the track.
Staying Consistent Without Overdoing It
Set a recurring reminder on your phone or tie the task to another weekly chore, like taking out the trash or watering plants. If you have multiple windows, do one or two each week so it never feels like a big job. Consistency matters more than intensity—a light wipe every week beats a heavy scrub once a month.
FAQ
What is the best homemade cleaner for window tracks?
A paste made from baking soda and vinegar works wonders. It's natural, effective, and safe for most track materials.
Can I use a pressure washer on window tracks?
It's not recommended. High pressure can force water into the wall or damage the track. Stick to gentler methods like brushes and cloths.
How often should I clean window tracks?
Aim for a deep clean every 3-6 months, and a quick wipe weekly to keep them from getting too dirty.
What should I avoid when cleaning window tracks?
Avoid abrasive cleaners or tools that can scratch the surface. Also, don't use too much water, as it can seep into the frame and cause damage.
How do I get rid of mold in window tracks?
Use a solution of vinegar and water, or a commercial mold remover. Scrub with a toothbrush, then dry thoroughly to prevent regrowth.
Conclusion
Once you’ve got the right tools and a few tricks up your sleeve, those grimy tracks don’t stand a chance. Start with the method that fits your window type, and you’ll see the difference almost immediately.
A quick wipe-down every couple of weeks keeps the buildup from coming back, so you’re not stuck scrubbing for hours later. Give one of these approaches a try this weekend—your windows will slide smoother, and you’ll wonder why you put it off for so long.