How to Clean a Jetted Bathtub in 15 Simple Spa Steps
A jetted bathtub should feel like a personal spa, not a science experiment. But after a few uses, those jets can trap soap scum, mold, and mineral deposits. The result?
Murky water and a musty smell that kills the relaxation vibe. You don't need harsh chemicals or a professional to fix it.
With the right sequence and a few household staples, you can flush out the gunk and restore your tub to pristine condition. These 15 steps are designed to be thorough yet simple, so you can enjoy a truly clean soak every time.
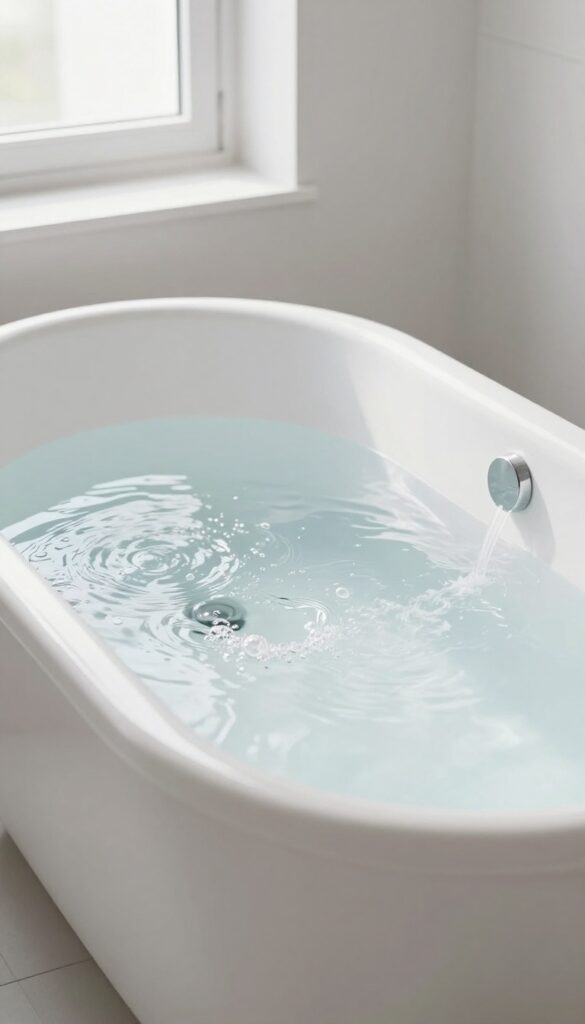
1. Fill the Tub with Hot Water
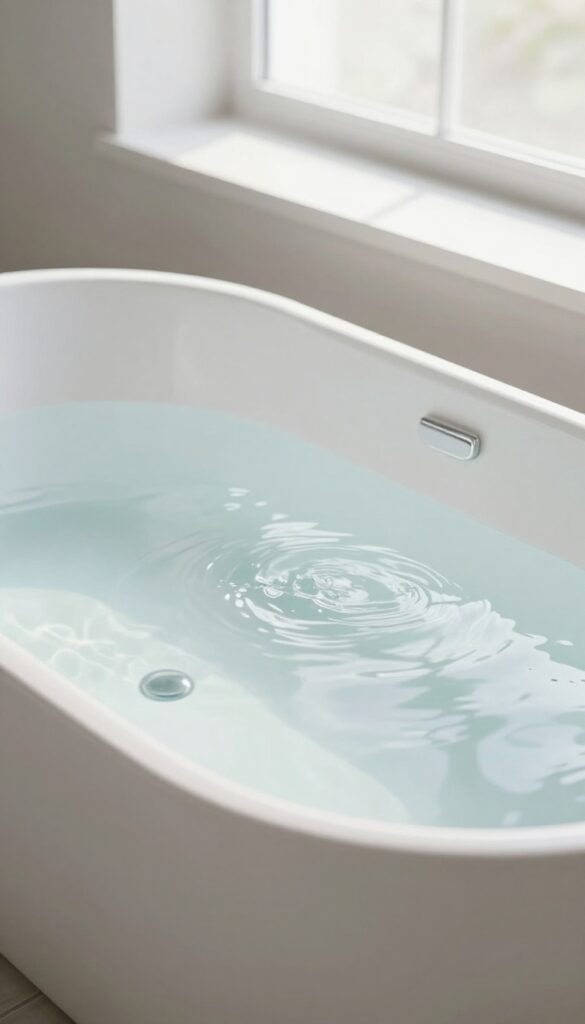
Before you can scrub away the grime, you need to get the water hot. Really hot. The heat is what loosens the gunk hiding inside the jet pipes, making the next steps far more effective.
Don't skimp on the temperature or the water level.
Why Hot Water Works
Hot water dissolves soap scum, body oils, and mineral deposits better than warm or cold water. It also helps kill mold and bacteria that thrive in damp jet lines. The goal is to get the water hot enough to break down buildup without damaging your tub's finish.
How High To Fill
Fill the tub so the water sits about 4 to 6 inches above the highest jet. This ensures every jet is fully submerged and water circulates through the entire system. If you have jets at different heights, go with the tallest one as your guide.
A Note On Water Heaters
If your tap water doesn't get very hot, boil a kettle and add it to the tub. Just be careful not to splash. The hotter the water, the better the clean—but never use boiling water directly on acrylic tubs, as it can cause damage.
2. Add a Cleaning Agent
Once the water is hot and at the right level, it's time to introduce the cleaning agent. This is where you decide what kind of cleaning power you want. The key is to choose something that cleans effectively without creating a foam party inside your tub.
Why Low-sudsing Detergent Works Best
Low-sudsing detergents are formulated to clean without excessive foam. They break down soap scum and oils without overwhelming the jets. Automatic dishwasher detergent is a popular choice because it's designed to be low-sudsing and contains enzymes that cut through grease.
Just a tablespoon or two is enough for a standard tub.
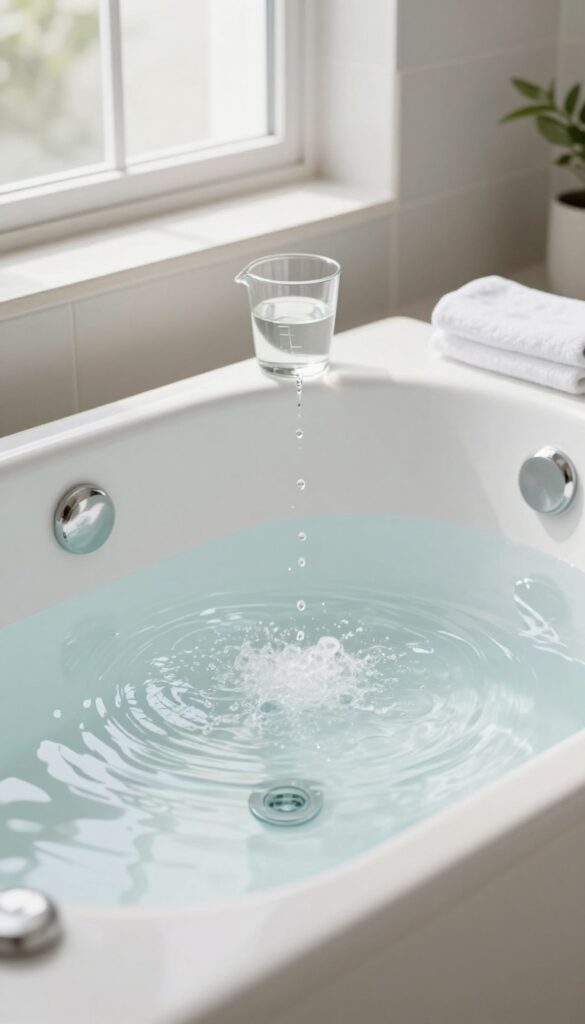
The Vinegar Solution For Mineral Buildup
White vinegar is a natural descaler and disinfectant. It's especially effective if you have hard water, which leaves mineral deposits that can clog jets. Pour in two cups of white vinegar along with the hot water.
The acetic acid dissolves calcium and lime scale without harsh fumes. Plus, it's safe for most tub materials.
What To Avoid At All Costs
Bubble bath, dish soap, and laundry detergent are not your friends here. They create mountains of suds that can overflow the tub and even damage the pump mechanism. The jets will aerate the water, turning a small amount of soap into a massive foam explosion.
Stick to products specifically designed for jetted tubs or plain vinegar.
3. Run the Jets for 10–15 Minutes
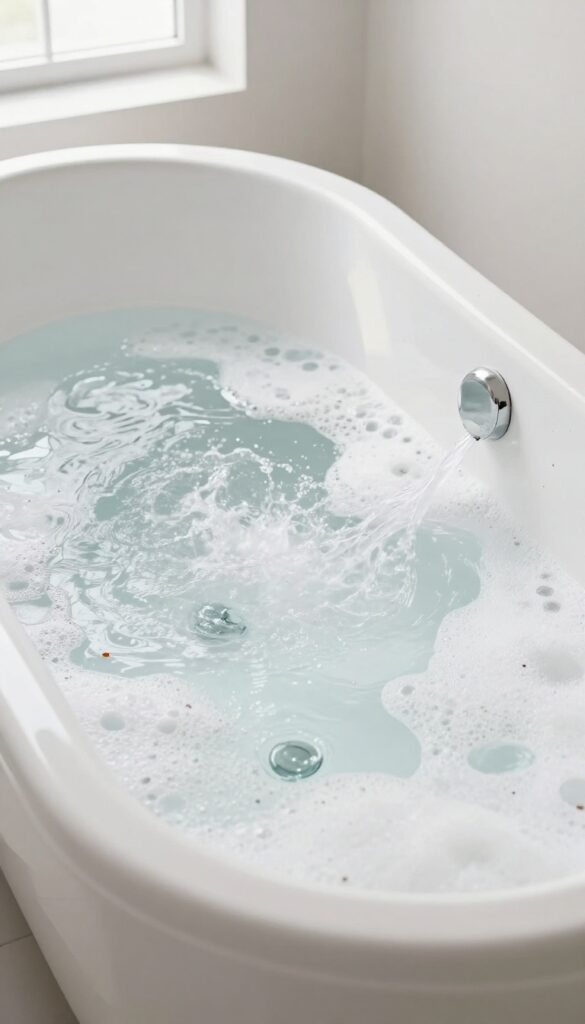
Now that your tub is filled with hot, soapy water, it's time to let the jets do the heavy lifting. Turning them on for a full cycle circulates the cleaning solution through every pipe and nozzle, dislodging buildup you can't see. This step is crucial—skipping it or cutting it short leaves debris trapped inside, which is why the musty smell often returns.
Why A Full Cycle Matters
The internal plumbing of a jetted tub is a maze of narrow tubes. A short burst won't push water through the entire system. Running the jets for 10–15 minutes ensures the hot, soapy mixture scours every inch, breaking down biofilm and mineral deposits.
You'll see foam and particles start to surface—that's the gunk being flushed out.
What To Watch For
As the jets run, keep an eye on the water. You might notice discoloration, floating debris, or a funky odor. That's normal and means the cleaning is working.
If the water looks particularly dirty, you can let the jets run a few extra minutes. Just don't let the water cool down too much—hot water is more effective at dissolving grime.
Safety Tip: Keep The Lid Off
Leave the tub cover off while the jets are running. Trapping steam and cleaning fumes under a lid can damage the cover's material or create a slipping hazard. Plus, you want to monitor the water level and foam.
If suds get too high, pause the jets and let them settle before resuming.
4. Drain and Rinse the Tub
After the jets have run their cycle, the dirty water needs to go. Draining and rinsing properly ensures no cleaning residue remains to cloud your next bath. This step is quick but essential for a truly fresh tub.
Let The Dirty Water Out
Pull the drain stopper and let all the soapy, grimy water flow out. If your tub has a slow drain, you can speed things up by gently pushing water toward the drain with a cup or your hand. Once empty, inspect the water for any remaining debris.
Give It A Fresh Rinse
Fill the tub with cold water—just enough to cover the jets. Run the jets for 2-3 minutes to flush out any leftover cleaner from the internal pipes. Then drain again.
This extra rinse prevents residue from clinging to surfaces.
Check For Leftover Gunk
After the final drain, look around the jet openings and the tub floor. If you see any foam or particles, do a quick spot rinse with a handheld showerhead or a cup of water. A clean tub is your goal before moving on.
5. Refill with Cold Water and Vinegar
Now that the soapy hot water has done its initial work, it's time for a second soak. This round uses cold water and plain white vinegar to target what hot water alone can't dissolve. Cold water is key here — it prevents minerals from baking onto the jet surfaces as the vinegar breaks down scale and residue.
This step is simple but essential for a truly deep clean.
Drain the soapy water completely, then refill the tub with cold water until the jets are covered by about 2 inches. Add 2 cups of white vinegar directly into the water. Stir gently with your hand to mix.
Let the jets run on high for 10–15 minutes. The vinegar will dissolve mineral deposits and sanitize the internal plumbing without harsh fumes.
Why Cold Water Matters
Hot water encourages mineral deposits to cling to surfaces. Cold water keeps those minerals suspended so the vinegar can break them down effectively. It also prevents any leftover soap residue from re-adhering.
How Much Vinegar To Use
For a standard jetted tub, 2 cups of white vinegar is plenty. If your tub is larger or has heavy buildup, you can increase to 3 cups. Avoid using apple cider vinegar — it can leave a sticky residue.
Let The Jets Do The Work
Run the jets at full power for a full 10–15 minutes. This forces the vinegar solution through every inch of the jet system. You might see small particles or cloudiness — that's the gunk being flushed out.
6. Run Jets Again for 10 Minutes
After draining the soapy water and refilling, it's time for a targeted vinegar treatment. This step is crucial for dissolving hard water scale and any lingering soap scum hiding inside the jet system. Let the hot water and vinegar circulate through every nook and cranny, breaking down deposits that scrubbing alone can't reach.
Why Vinegar Works
White vinegar is mildly acidic, which makes it excellent at dissolving mineral deposits (calcium and lime) and cutting through soap scum. Unlike harsh chemicals, it's safe for your tub's pipes and jets, and it won't leave behind toxic residue. Plus, it's cheap and you probably already have it in your pantry.
Setting The Cycle
Fill the tub with hot water again, this time stopping a few inches above the highest jet. Add 2 cups of white vinegar directly to the water. Turn on the jets and let them run for a full 10 minutes.
You'll notice the water may look cloudy or have some floating debris—that's the gunk being flushed out.
What To Watch For
If you see a lot of particles or the water turns murky quickly, your jets needed this deep clean. Don't be alarmed—it's working. Keep the jets running the entire time.
If your tub has an automatic timer, you may need to restart it to reach the full 10 minutes.
After The Cycle
Once the 10 minutes are up, turn off the jets and let the water sit for a few minutes so any loosened debris settles. Then drain the tub completely. You'll be amazed at how much cleaner the water looks compared to the first drain.
This step sets you up for a final rinse that leaves your jets sparkling.
7. Drain and Wipe Down the Tub Surface
Once the vinegar soak has done its job, it's time to let all that dirty water go. Draining is straightforward, but the real payoff comes when you wipe down the surfaces. This step removes any loosened grime before it settles again, leaving your tub fresh and ready for the final rinse.
Pull the drain plug and let the vinegar water flow out completely. While the tub is still warm and damp, grab a soft sponge or microfiber cloth. Work from the top down, wiping the walls, floor, and any ledges.
Pay extra attention to the waterline where soap scum tends to cling. This quick pass lifts away residue that the jets couldn't flush out.
Why Wiping Matters After Draining
Even after a thorough jet flush, some loosened debris can settle on the tub surface as the water drains. Wiping immediately prevents that grime from drying and re-adhering. It also gives you a chance to spot any stubborn spots that may need a second touch.
Best Tools For The Job
A soft microfiber cloth is ideal because it traps particles without scratching acrylic or fiberglass. Avoid abrasive scrubbers or steel wool, which can dull the finish. For corners and jets, an old toothbrush or a soft detailing brush works wonders.
Don't Forget The Overflow Drain
The overflow drain often collects hair and gunk. While the tub is empty, remove the overflow cover if possible and wipe inside with a cloth or pipe cleaner. This prevents odors and keeps future water flowing freely.
8. Clean the Jets Individually
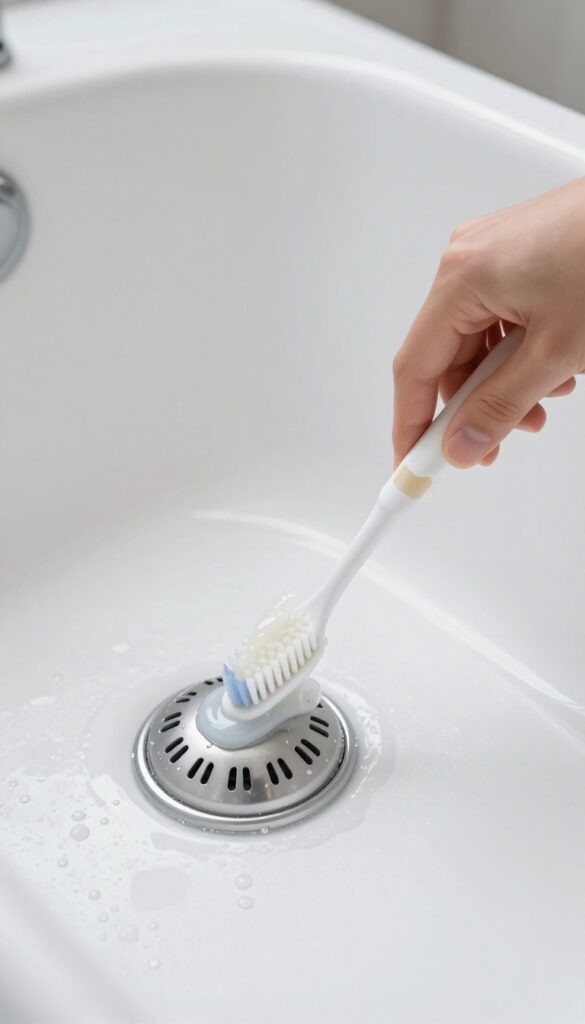
After the vinegar soak has loosened the grime, it's time for some hands-on work. The jets themselves can harbor buildup that a simple soak won't fully dislodge. A little elbow grease with the right tool will get them sparkling.
Grab a small brush—an old toothbrush works perfectly—and dip it in undiluted white vinegar. Scrub around each jet opening, focusing on any visible gunk or mineral deposits. For stubborn residue, let the vinegar sit on the area for a minute before scrubbing again.
Rinse the brush frequently to avoid redepositing dirt. Once you've done all the jets, wipe away any loosened debris with a damp cloth.
Why Vinegar Works Best
Vinegar is mildly acidic, making it effective at dissolving soap scum, hard water deposits, and mild mold. It's safe for most jet materials and won't leave harsh chemical residues. Plus, it's cheap and non-toxic.
Choosing The Right Brush
A soft-bristled brush prevents scratching the jet surfaces. An old toothbrush is ideal because its small head can reach into tight spaces around the jet nozzles. Avoid metal brushes or abrasive pads.
Don't Forget The Air Inlet
Some jetted tubs have an air inlet on the tub rim or a separate control. Use the same vinegar-dipped brush to gently clean that opening too, as it can also trap debris and affect jet performance.
9. Tackle Stubborn Stains with Baking Soda
Even after a thorough vinegar soak, some stains just won't budge. Mineral rings around the waterline or dark spots near the jets need a little extra attention. Baking soda is your gentle but effective scrub for these tough spots.
Mix a thick paste using three parts baking soda to one part water. Apply it directly to the stains or mineral rings, and let it sit for about 10 minutes. This gives the baking soda time to break down the deposits without you having to scrub hard.
Why Baking Soda Works
Baking soda is mildly abrasive, so it lifts grime without scratching acrylic or fiberglass surfaces. It also deodorizes, which helps if your tub has any lingering musty smells.
Scrubbing Technique
Use a non-abrasive pad or a soft sponge to gently scrub the paste in circular motions. Focus on the waterline and around each jet opening. Rinse thoroughly with warm water to remove all residue.
Tough Spot Touch-ups
For extra stubborn stains, let the paste sit for 20 minutes instead of 10. You can also add a splash of white vinegar to the paste for a fizzing action that helps lift deeper grime.
10. Sanitize with Bleach or Hydrogen Peroxide

Vinegar and baking soda are great for cutting through grime, but they don't fully kill mold, bacteria, or biofilm lurking deep inside the jets. That's where a proper sanitizer comes in. Bleach or hydrogen peroxide will zap any remaining microbes and leave your tub truly clean.
Just be careful which one you choose—bleach is stronger, but hydrogen peroxide is gentler on the environment and your pipes.
Fill the tub with hot water until the jets are covered by at least 2 inches. Add 1/2 cup of bleach (or 1 cup of 3% hydrogen peroxide) and run the jets for 10 minutes. The hot water activates the sanitizer, pushing it through every pipe and nozzle.
After that, drain the tub and rinse thoroughly with fresh water. Run the jets again with cold water for a few minutes to flush out any residue. Never mix bleach with vinegar or other cleaners—it creates toxic chlorine gas.
Stick to one sanitizer per session.
Why Sanitize After Cleaning?
Even after a deep vinegar soak, some pathogens survive. Soap scum and mineral deposits create a protective layer that shields bacteria from mild cleaners. A sanitizing step ensures that any hidden colonies are eliminated, especially if the tub has been unused for a while or if you notice a lingering musty smell.
Bleach Vs. Hydrogen Peroxide: Which To Pick?
Bleach is a powerhouse—it kills almost everything quickly and is cheap. But it can damage rubber seals and plastic parts over time, and its fumes are strong. Hydrogen peroxide is a safer alternative: it breaks down into water and oxygen, so it's eco-friendly and less harsh on your tub.
It takes a bit longer to work, but it's the better choice for frequent use or if you have sensitive skin.
Safety First: Ventilation And Rinsing
Always run the bathroom fan or open a window when using bleach. The fumes can be overwhelming in a small space. After the sanitizing cycle, drain and refill with cold water, then run the jets for another 5 minutes to remove all traces of the chemical.
A thorough rinse prevents any residue from irritating your skin during your next soak.
11. Clean the Tub's Exterior and Trim
The exterior of your jetted tub is the first thing you see, and it deserves just as much attention as the jets. Dust, fingerprints, and hard water spots can dull the finish over time. A quick wipe-down keeps it looking sleek and spa-like.
Choose The Right Cleaner
For most acrylic or fiberglass tubs, a mild dish soap and warm water solution works perfectly. Avoid abrasive cleaners or scrub pads that can scratch the surface. If you have a stone or marble surround, use a pH-neutral stone cleaner to prevent etching.
Wipe Down All Surfaces
Use a soft microfiber cloth to wipe the outer shell, faucet, handles, and any trim. Pay special attention to crevices where dust collects. For chrome fixtures, a little white vinegar on a cloth can remove water spots and restore shine.
Don't Forget The Trim And Seals
Caulking and trim around the tub can harbor mold and mildew. Wipe them with a diluted bleach solution (1 part bleach to 10 parts water) or a mildew spray. Rinse thoroughly and dry to prevent future growth.
12. Remove and Clean the Filter (If Applicable)
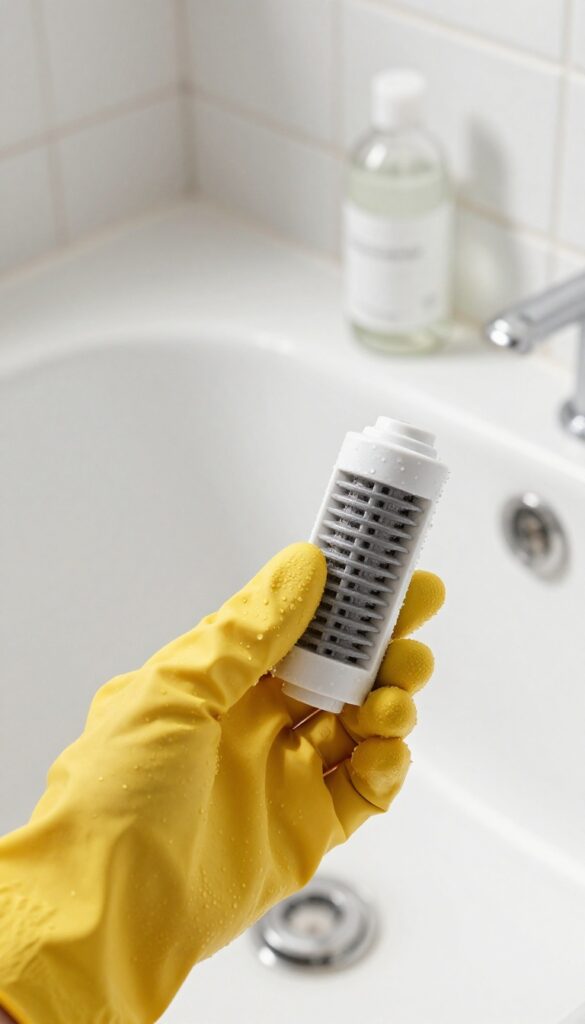
Some jetted tubs come with a removable filter that traps debris and keeps the water clean. Over time, this filter can get clogged with hair, soap scum, and mineral deposits, which reduces water flow and puts extra strain on the pump. Cleaning it regularly is a quick task that makes a big difference in performance.
Not all jetted tubs have a removable filter, so check your owner's manual first. If yours does, locate the filter housing—usually near the top of the tub or behind a small access panel. Turn off the power to the tub before removing anything.
Gently twist or pull the filter out, being careful not to damage the surrounding seals.
Rinse And Scrub
Take the filter to a sink or use a garden hose. Rinse it under warm running water to remove loose debris. For stubborn buildup, use a soft-bristled brush (an old toothbrush works great) to gently scrub the pleats.
Avoid harsh chemicals or pressure washers, as they can damage the filter material.
Soak If Needed
If the filter is still grimy after scrubbing, soak it in a mixture of warm water and white vinegar (1: 1 ratio) for 30 minutes. This helps dissolve mineral deposits and soap residue. Rinse thoroughly afterward to remove any vinegar smell.
Dry And Reinstall
Let the filter air dry completely before putting it back. A wet filter can promote mold growth. Once dry, reinsert it into the housing and secure it properly.
Make sure it's seated correctly so no water bypasses the filter.
13. Dry the Tub Thoroughly
Once every surface is clean and rinsed, it's tempting to just close the cover and walk away. But moisture is the enemy of a fresh tub. Lingering water droplets in the jets or around the seals can become a breeding ground for mold and mildew within hours.
A quick drying routine takes only a minute and keeps your spa-smelling results lasting longer.
Tackle The Big Surfaces First
Start with a large, clean microfiber towel to dry the tub basin and walls. Work from top to bottom so drips don't re-wet already dried areas. Pay special attention to the rim and any flat surfaces where water pools.
Don't Forget The Jets
Use a smaller cloth or a cotton swab to gently wick moisture from each jet opening. If your jets have removable inserts, take them out and dry them separately. A few seconds per jet prevents hidden damp spots.
Let Air Do The Rest
After towel drying, leave the tub cover open or partially ajar for an hour. This allows any residual moisture in hard-to-reach crevices to evaporate naturally. A dry tub is a happy tub.
14. Run a Final Fresh Water Flush
You've scrubbed, soaked, and rinsed, but there's one last step to guarantee your tub is truly ready for relaxation. A final flush with cold water clears out any lingering vinegar, baking soda, or cleaning solution from the pipes and jets. Without this step, your next bath could start with a whiff of cleaning residue instead of pure relaxation.
This quick flush is the finishing touch that ensures your jetted tub is completely free of cleaning agents. Cold water is recommended because it doesn't react with any remaining deposits and helps solidify any loose particles so they drain away easily. It's a simple step that makes a big difference in the quality of your next soak.
Why Cold Water Works Best
Cold water is less likely to cause any leftover cleaning solution to foam or react. It also helps flush out mineral deposits that hot water might leave behind. Plus, it's gentler on the tub's seals and components, extending the life of your jets.
How To Perform The Final Flush
Fill the tub with cold water until the jets are fully submerged. Turn on the jets and let them run for a full 5 minutes. This circulates water through every pipe and nozzle, pushing out any residue.
After 5 minutes, drain the tub completely. You're done!
When To Skip This Step
If you used a commercial jetted tub cleaner that doesn't require a final rinse, follow the product instructions instead. But for most DIY methods with vinegar or baking soda, this cold water flush is essential for a residue-free tub.
15. Schedule Monthly Maintenance
You've put in the work to get your jetted tub sparkling clean. Now the trick is keeping it that way without having to repeat a marathon cleaning session every time. A little consistency goes a long way.
Setting a monthly reminder for this full cleaning routine prevents buildup from getting a foothold, so each soak stays fresh and inviting.
Monthly maintenance is the secret to extending the life of your jetted tub and avoiding those deep-cleaning marathons. When you clean regularly, you prevent soap scum, mold, and mineral deposits from hardening inside the jets and plumbing. That means less elbow grease and no surprise musty odors.
Plus, a well-maintained tub runs more efficiently, saving you money on repairs and energy bills. Think of it as a small investment that pays off in pure relaxation.
Set A Recurring Reminder
Life gets busy, and it's easy to let tub cleaning slide. Pick a day that works for you—maybe the first Sunday of every month—and set a reminder on your phone or calendar. Treat it like any other appointment.
Consistency is the key to making this habit stick, and after a couple of months, it'll feel automatic.
Keep A Cleaning Kit Handy
Store your cleaning supplies—vinegar, baking soda, a soft brush, microfiber cloths, and an old toothbrush—in a caddy near the tub. When the reminder goes off, everything you need is right there. No hunting for supplies, no excuses.
A dedicated kit makes the whole process faster and more likely to happen.
Inspect For Early Signs Of Trouble
During each monthly clean, take a moment to check the jets, seals, and caulking for any cracks, mildew spots, or loose parts. Catching small issues early can prevent bigger problems down the road. A quick visual inspection adds only a minute but can save you from costly repairs or a full replacement.
FAQ
How often should I clean my jetted bathtub?
For regular use, clean the jets monthly. If you use the tub less often, a quarterly deep clean is sufficient. Always flush the jets after each use with a quick rinse cycle.
Can I use bleach in my jetted tub?
Yes, but only occasionally for deep sanitation. Bleach can degrade rubber seals over time, so limit its use to every few months and always rinse thoroughly.
Why does my jetted tub smell musty?
Musty odors usually come from mold or bacteria growing inside the jet pipes. A thorough cleaning with vinegar and a sanitizing flush should eliminate the smell.
What should I avoid putting in a jetted tub?
Avoid bubble bath, bath oils, bath bombs, and any product with heavy fragrances or dyes. These can clog jets, create excess suds, and damage the pump.
Do I need to clean the jets if I don't use them?
Yes, even unused jets can accumulate dust and moisture, leading to mold. Run the jets with a cleaning solution at least once every few months to keep them fresh.
Conclusion
Now your jetted bathtub is running clean, with no hidden gunk lurking in the jets. The visible payoff is water that stays clear and a spa-like soak every time. Make this 15-step routine a monthly habit, and you'll keep mineral deposits and biofilm from building up again.
Your tub will thank you with powerful, clean jets and a fresh bathroom. Enjoy your next bubble bath with total peace of mind.