How to Clean Walls: 13 Gentle Ways to Lift Tough Scuffs
You finally notice it: a dark scuff mark on the hallway wall, right where the kids’ backpacks swing every day. Maybe it’s a black streak from a shoe or a gray smudge from furniture.
Whatever the source, that mark makes the whole room feel a little less clean. The good news is you don’t need harsh chemicals or a fresh coat of paint to fix it.
With the right technique, you can lift even stubborn scuffs without damaging the finish. Here are 13 gentle ways to clean walls and erase those eyesores for good.
1. Magic Eraser (Melamine Sponge)
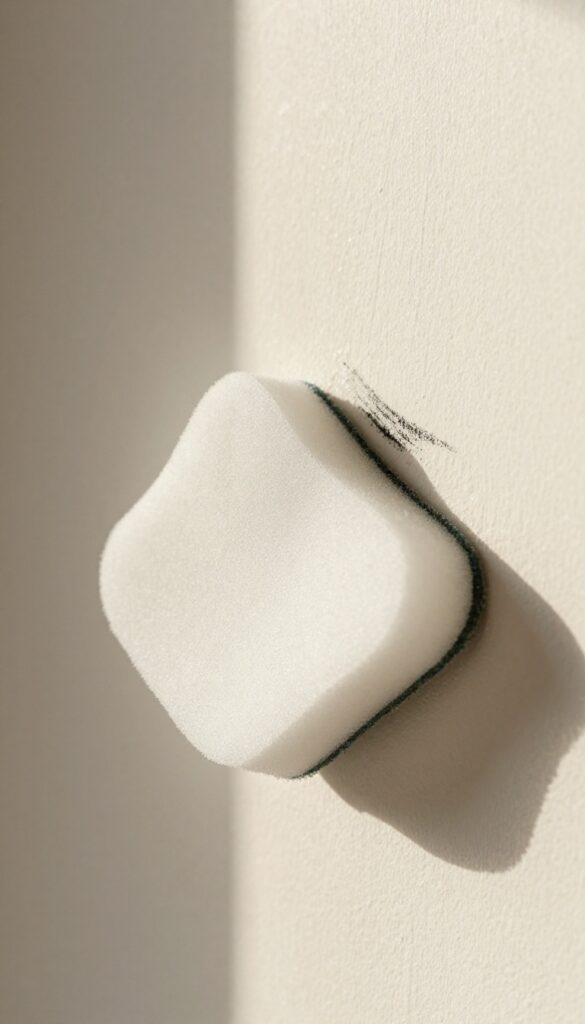
If you haven’t tried a melamine sponge yet, you’re in for a treat. These white blocks look unassuming, but they work like a gentle sandpaper to lift scuffs without any liquid cleaners. Just wet the sponge, squeeze out excess water, and rub the mark lightly.
The foam breaks down as you go, exposing fresh abrasive surface. No soap, no spray, no waiting.
The magic eraser is a go‑to for scuffs on painted walls, baseboards, and even doors. It’s especially good for marks that are slightly raised or waxy. The sponge’s micro‑abrasive action polishes the top layer of the scuff away without damaging the paint underneath—as long as you use light pressure.
Always test on an inconspicuous spot first, especially if your walls have a matte or flat finish. For glossy or semi‑gloss paint, the eraser works even better because the surface can handle a bit of friction. Just remember that the sponge will crumble as you use it; that’s normal.
Rinse and squeeze it periodically to keep it effective.
Why It Works So Well
Melamine foam is actually a micro‑porous material that acts like extremely fine sandpaper. When dampened, it creates a mild abrasive action that lifts dirt and scuff marks from the surface. Unlike liquid cleaners, it doesn’t rely on chemicals—just friction and water.
That makes it safe for most wall finishes and eliminates the risk of drips or residue.
Best Practices For Best Results
Always start with a clean, damp sponge and wring it out until it’s just moist, not dripping. Rub the scuff in a circular motion with light to medium pressure. You’ll see the mark fade quickly.
If the sponge gets dirty, rinse it and continue. Once the sponge starts to crumble or lose its shape, cut off the worn part or grab a fresh one. Avoid using it on unsealed wood, wallpaper, or delicate textured walls.
When To Skip This Method
If your walls have a flat or matte finish, the magic eraser can sometimes create a shiny spot if you rub too hard. Always test in a hidden area first. Also, avoid using it on walls with a lot of texture—the sponge may catch and tear the surface.
For those cases, stick to a liquid cleaner or a paste solution.
2. Baking Soda Paste
Baking soda is a gentle abrasive that can scrub away scuffs without scratching paint. When mixed with a little water, it forms a paste that targets tough marks. This method is especially good for flat or matte finishes where you want to avoid shine or damage.
How To Make The Paste
In a small bowl, combine three parts baking soda with one part water. Stir until it forms a thick, spreadable paste. Add water a drop at a time if it's too dry, or more baking soda if it's too runny.
The consistency should be similar to toothpaste.
Application And Wipe
Use a soft cloth or sponge to dab the paste onto the scuff. Let it sit for about a minute so the baking soda can work on the mark. Then gently rub in a circular motion.
Wipe away the residue with a damp cloth, and dry the area with a clean towel.
When To Use This Method
Baking soda paste is ideal for light to moderate scuffs on painted walls, especially in high-traffic areas like hallways or kids' rooms. Avoid using it on delicate surfaces like wallpaper or unsealed wood, as the abrasiveness could cause damage.
3. White Vinegar Solution
White vinegar is a household staple that pulls double duty as a gentle cleaner. Its mild acidity cuts through grease and grime without the harsh fumes of chemical products. For painted walls, it's a safe bet—just avoid using it on unsealed or porous surfaces where it could cause damage.
Mixing The Right Ratio
Combine equal parts white vinegar and warm water in a spray bottle or bowl. Warm water helps the vinegar work faster, but room temperature is fine too. Shake or stir gently to mix.
No need to add soap—vinegar alone is strong enough for most scuffs.
Application Technique
Dip a soft, clean cloth into the solution and wring it out well. You want it damp, not dripping. Gently rub the scuff mark in a circular motion.
The vinegar breaks down the residue, so you should see the mark lift after a few passes. For stubborn spots, let the solution sit on the mark for 30 seconds before wiping.
Rinsing And Drying
After the scuff is gone, wipe the area with a damp cloth to remove any vinegar residue. Vinegar has a strong smell that fades as it dries, but rinsing speeds up the process. Pat the wall dry with a clean towel to prevent moisture from seeping into the paint.
4. Dish Soap and Warm Water
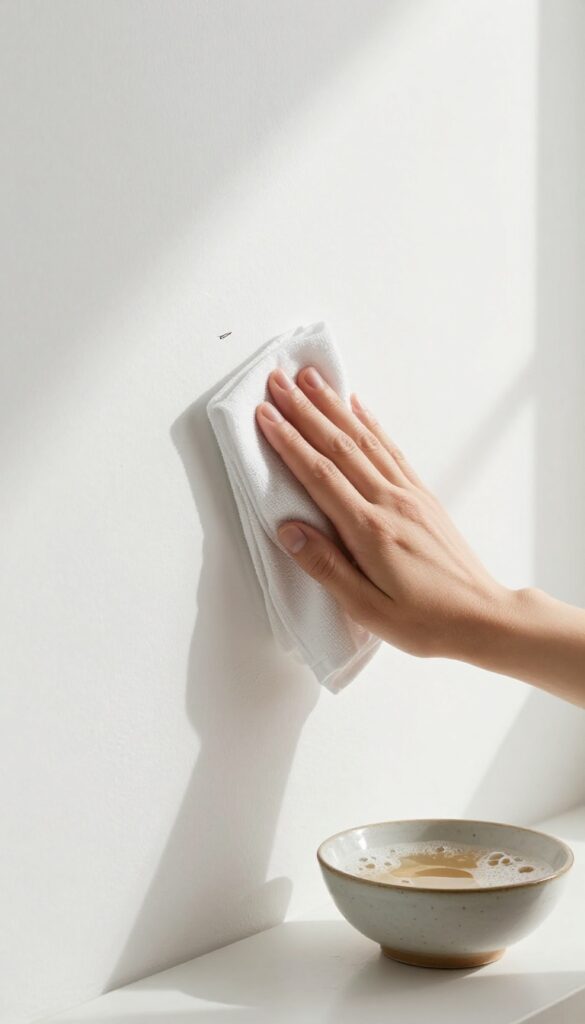
Sometimes the simplest solution is the best. A few drops of mild dish soap in warm water creates a gentle cleaner that can tackle many wall scuffs without any harsh chemicals. This method is especially safe for painted walls, wallpaper, and even some textured surfaces.
Plus, you probably already have everything you need in your kitchen.
Why It Works
Dish soap is designed to cut through grease and grime, which makes it effective at breaking down the oils and waxes that often bind scuffs to the wall. Warm water helps dissolve the soap and loosens the mark, so a gentle wipe is all it takes.
How To Do It Right
Mix a few drops of mild dish soap into a bowl of warm water. Dip a microfiber cloth into the solution, wring it out until it's damp (not dripping), then gently dab and rub the scuff. Use a light circular motion and avoid scrubbing too hard, which can damage the paint.
Rinse the cloth with clean water and wipe the area to remove any soap residue.
When To Use This Method
This method is ideal for light to moderate scuffs on latex or satin paint finishes. It's also safe for most wallpapers, but always test an inconspicuous spot first. Avoid using it on flat or matte paint, as the moisture can leave a noticeable sheen.
5. Rubbing Alcohol (Isopropyl)
Rubbing alcohol is a surprisingly effective scuff remover that works on a wide range of marks. It dissolves the oils and binders in many scuffs, making them wipe away with minimal effort. Plus, it evaporates quickly, so you don't have to worry about soaking the wall.
Before you go all in, test the alcohol on a hidden spot to make sure it doesn't affect your paint finish. Once you're good, dampen a cotton ball or soft cloth with a small amount of rubbing alcohol. Gently rub the scuff mark in a circular motion—you should see it start to dissolve almost immediately.
Wipe the area with a clean, damp cloth afterward to remove any residue.
Why It Works
Rubbing alcohol is a solvent that breaks down the chemical bonds in many types of scuffs, especially those from rubber soles, crayons, or sticky residues. It's gentle enough for most painted walls but strong enough to lift marks that water alone can't touch.
Best For Small, Stubborn Marks
This method is ideal for isolated scuffs rather than large areas. It's particularly good for marks that have been sitting for a while or that other methods haven't budged. Just remember to use a light touch—rubbing too hard can remove paint along with the scuff.
Safety And Ventilation
Rubbing alcohol has a strong smell and is flammable, so make sure the room is well-ventilated while you work. Keep it away from open flames and avoid using it near electrical outlets or switches. Wear gloves if you have sensitive skin.
6. Toothpaste (Non-Gel, White)
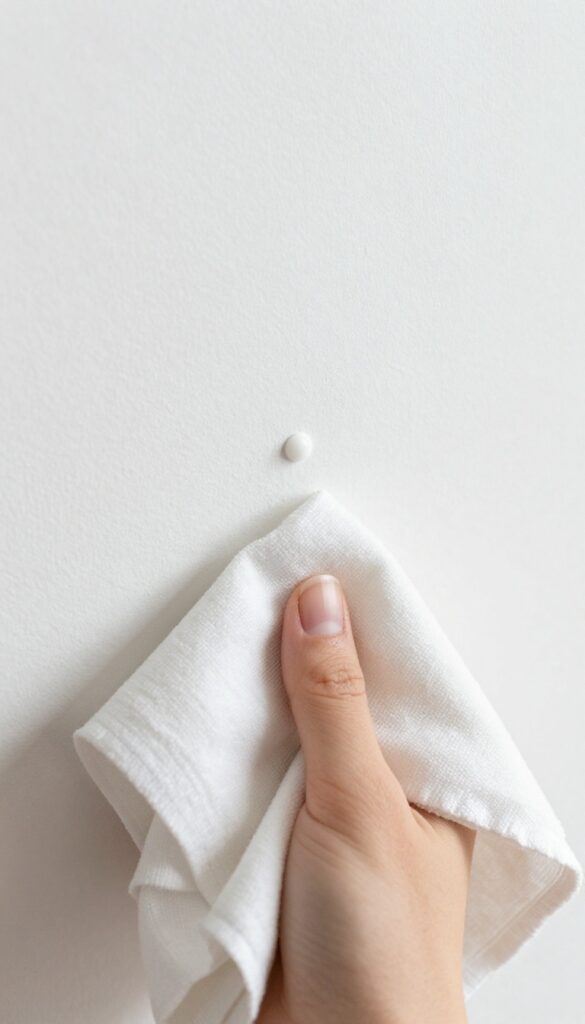
You probably already have this one in your bathroom cabinet. Plain white toothpaste (not gel or whitening) contains mild abrasives that can buff away scuffs without damaging the paint. It’s a quick fix that works especially well on small, fresh marks.
Toothpaste is a surprisingly effective scuff remover for walls, but only if you use the right kind. Stick with non-gel, white toothpaste—avoid anything with stripes, beads, or whitening agents, as those can leave residue or be too harsh. Apply a pea-sized dab to a soft, dry cloth and rub the scuff in gentle circular motions.
The abrasives lift the mark while the cloth prevents scratching. Wipe away any excess with a damp cloth and let the area dry. This method works best on semi-gloss or satin finishes; on flat paint, test in an inconspicuous spot first to avoid dulling the sheen.
Why White Toothpaste Works
White toothpaste contains calcium carbonate or silica, both mild abrasives that physically scrub off dirt and scuffs without chemicals. The paste also has a slight thickening agent that helps it cling to vertical surfaces, so you can work it into the mark without dripping.
Best Scuffs For This Method
Toothpaste is ideal for light to medium scuffs from shoes, furniture, or backpacks. It’s less effective on greasy marks or deep scratches. For stubborn spots, let the toothpaste sit for a minute before rubbing.
What To Avoid
Never use gel toothpaste, whitening toothpaste, or any product with microbeads—they can leave streaks or scratch the paint. Also avoid toothpaste with baking soda if your wall is flat paint, as it may be too abrasive.
7. Hair Dryer and Eraser
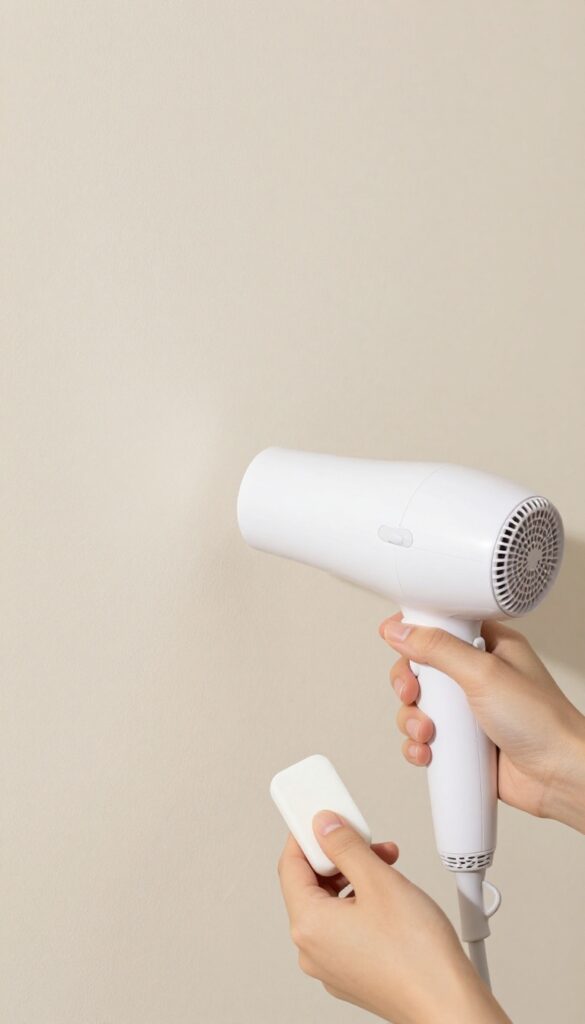
Heat can be your secret weapon against stubborn scuffs. A hair dryer softens the mark, making it easier to lift without scrubbing hard. Pair it with a clean eraser or cloth, and you'll see results fast.
Why Heat Works
Scuffs from rubber soles or plastic furniture often bond to the wall's surface. A few seconds of gentle heat relaxes that bond, so the mark comes off with minimal effort. Just keep the dryer moving to avoid overheating the paint.
Step-by-step
Set your hair dryer to low heat and hold it a few inches from the scuff. Warm the area for about 10 seconds, then test with a clean eraser or soft cloth. If the mark lifts, wipe away any residue.
For tougher scuffs, repeat the heat step once more.
Best For Delicate Walls
This method is especially gentle on flat or matte paint, where abrasive cleaners can leave shiny patches. The eraser won't damage the finish, and the heat is mild enough for most wall surfaces. Always test on an inconspicuous spot first.
8. WD-40 (Test First)
You might know WD-40 as the go-to for squeaky hinges, but it's also a surprisingly effective scuff remover. The lubricant breaks down the rubbery or sticky residue left by shoe marks and furniture bumps without damaging the paint underneath. Just use it sparingly and always test in an inconspicuous spot first, especially on flat or matte finishes where it could leave a slight sheen.
Spray a small amount onto a clean cloth, never directly onto the wall. Gently rub the scuff in a circular motion—the mark should start to lift almost immediately. Once the scuff is gone, wipe the area with a cloth dampened with mild soapy water to remove any oily residue.
Finally, dry with a soft towel. This method works best on gloss or semi-gloss paints; avoid using it on unsealed or porous surfaces.
Why It Works
WD-40 contains solvents that dissolve the sticky compounds in many scuffs, especially those from rubber soles or plastic furniture. It's also water-displacing, which helps lift the mark without soaking the wall.
Best Practices
Always test on a hidden area first. Use a white cloth to avoid transferring dye. Don't oversaturate—a little goes a long way.
For stubborn marks, let the WD-40 sit for 30 seconds before rubbing.
What To Avoid
Do not use WD-40 on wallpaper, textured walls, or unsealed paint. It can also leave a greasy film if not wiped off properly, so the soapy water step is essential.
9. Baby Wipes
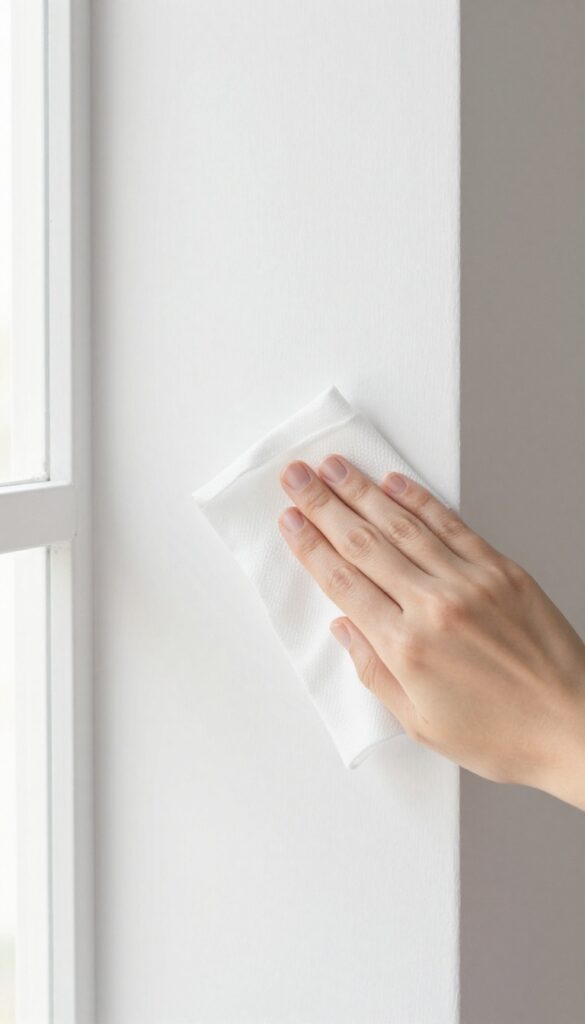
Unscented baby wipes are pre-moistened with mild cleansers that can tackle light scuffs without damaging paint. They're gentle enough for everyday use and convenient since you probably already have a pack nearby. Just grab one and give the mark a quick wipe—it's that simple.
Why They Work
Baby wipes contain mild surfactants and moisturizers that break down dirt and scuffs without stripping paint. The pre-moistened texture also helps lift grime rather than grinding it into the wall.
Best For Light Marks
These wipes shine on fresh, light scuffs from shoes, bags, or furniture. For older or heavier marks, you might need a stronger method, but baby wipes are a great first try.
How To Use
Simply pull out a wipe and gently rub the scuff in a circular motion. No need to rinse—just let the wall air dry. Test on an inconspicuous area first to ensure compatibility with your paint finish.
10. Dry Sponge (Chemical Sponge)
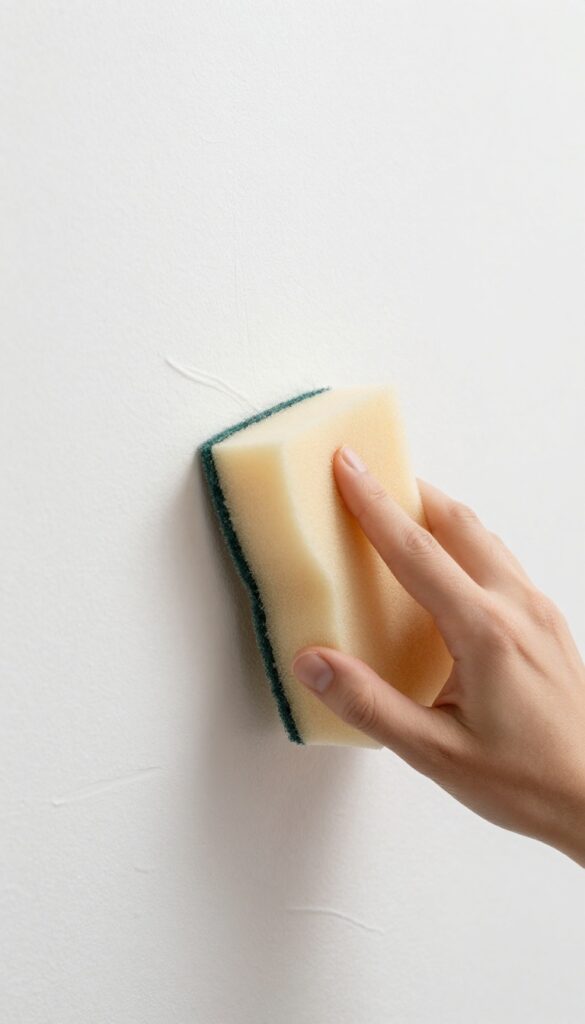
Not all wall marks need water or liquid cleaners. Some are best tackled completely dry. A dry chemical sponge, often called a soot sponge, is a block of natural rubber that lifts dry particles without smearing or wetting the surface.
It's a fantastic tool for pencil marks, light dust, and certain scuffs that are more about loose pigment than embedded grime.
The magic of a dry sponge lies in its porous structure. As you rub it gently over the mark, the sponge absorbs and traps the dry particles, lifting them away from the paint. It's particularly effective on flat or matte finishes, where liquids can leave shiny spots or streaks.
Use it on scuffs that look like they're sitting on top of the paint rather than ground into it.
How To Use A Dry Sponge
Simply take the sponge and rub it lightly over the scuff in a back-and-forth motion. No water, no pressure. The sponge will gradually pick up the mark.
As the sponge gets dirty, cut off the soiled layer with a utility knife to expose a fresh surface. Continue until the mark is gone.
When To Choose This Method
This method shines on delicate wall surfaces like flat paint or textured walls where you want to avoid moisture. It's also great for quick touch-ups on pencil marks or light scuffs from shoes. If the mark is greasy or waxy, a dry sponge won't work—you'll need a different approach.
Where To Find Dry Sponges
You can buy chemical sponges online or at hardware stores. They're inexpensive and last a long time if you keep cutting off the dirty layers. Keep one in your cleaning caddy for those dry marks that appear out of nowhere.
11. Mr. Clean Magic Eraser (Alternative Brands)
You've probably seen the name-brand magic eraser at the store, but the generic melamine sponges work just as well—and cost a fraction of the price. These foam blocks are essentially super-fine sandpaper that gently abrades scuffs away without damaging most painted walls.
Melamine sponges are a go-to for tough scuffs because they require no cleaning solution—just water. They're especially effective on marks from shoes, furniture, and toys. The key is to use them sparingly and gently, as over-scrubbing can remove paint sheen.
Cut Them Down To Size
Instead of using a whole sponge, cut it into smaller pieces—like 1-inch cubes. This lets you tackle just the scuff without wasting material. You'll get more uses out of a single sponge, and it's easier to control pressure on small marks.
Dampen, Don't Soak
Wet the sponge until it's damp but not dripping. Squeeze out excess water. Too much water can drip down the wall and cause streaks or damage.
A damp sponge is all you need to activate the melamine's micro-abrasive texture.
Test First In An Inconspicuous Spot
Always test on a hidden area, like behind a door or inside a closet. Some paints, especially flat or matte finishes, can be buffed to a sheen or even have the color lifted. If the test spot looks fine, proceed with confidence.
Use Light Pressure And Rinse Often
Gently rub the scuff in a circular motion. The sponge will start to wear down and release the dirt. Rinse the sponge frequently to avoid redepositing grime.
Stop as soon as the mark is gone—over-scrubbing can damage the paint.
12. Cream of Tartar Paste
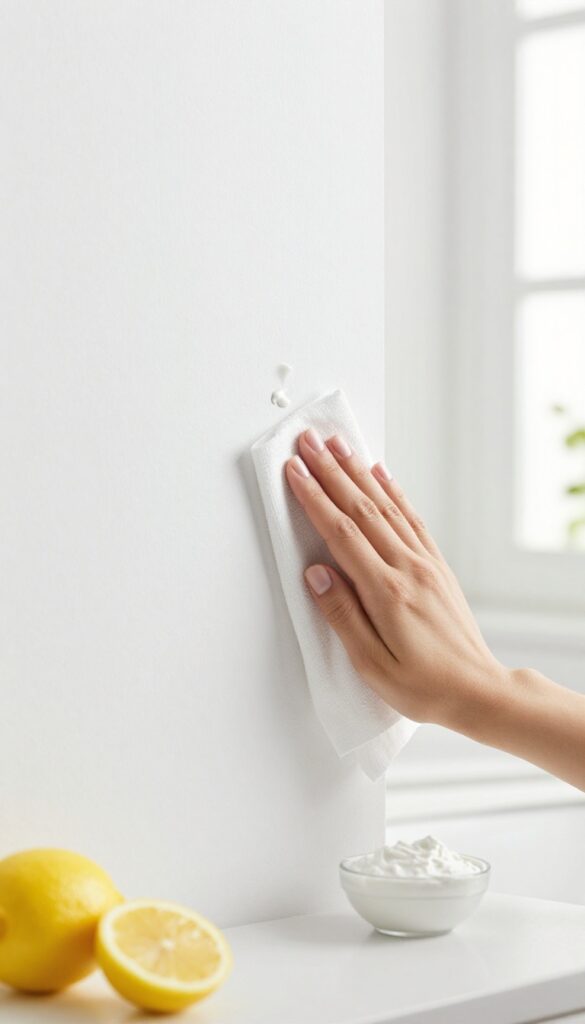
Cream of tartar isn't just for baking—it makes a surprisingly effective cleaning paste. When mixed with a little lemon juice or water, it turns into a gentle abrasive that lifts light scuffs without scratching paint. This method is especially handy for walls in kitchens or dining areas where you want to avoid harsh chemicals.
How To Make The Paste
Combine 1 tablespoon of cream of tartar with a few drops of lemon juice or water. Stir until it forms a thick, spreadable paste. Lemon juice adds mild acidity that helps break down marks, but water works fine too.
Application Tips
Use a soft cloth or sponge to dab the paste onto the scuff. Let it sit for 5–10 minutes so it can work on the mark. Gently rub in a circular motion, then wipe away with a damp cloth.
No need to rinse—just let the wall air dry.
Best Uses And Limitations
This paste is ideal for light scuffs, fingerprints, and small smudges on flat or satin paint. It's not strong enough for heavy, greasy marks or deep scratches. Always test on an inconspicuous spot first to ensure it doesn't affect the paint finish.
13. Touch-Up Paint (Last Resort)
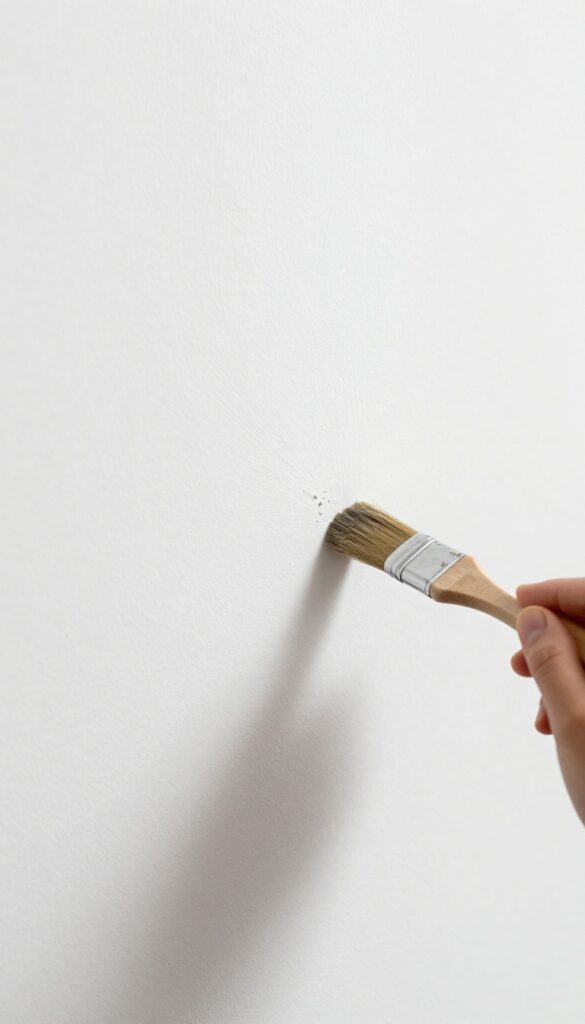
Sometimes a scuff just won't budge, no matter how gentle you are. That's when you bring out the big guns—or rather, the tiny brush. Touch-up paint is your final safety net, a way to erase the mark completely without repainting the whole wall.
When To Use This Method
Only reach for paint after you've tried every other trick on this list. If the scuff is still visible and the wall's finish is intact, a dab of paint can cover it like magic. This works best on flat or matte finishes, where the patch blends easily.
How To Apply It Right
Grab a fine artist's brush—not a big wall brush. Dip just the tip into leftover paint (or a color-matched sample). Dab a tiny amount directly onto the scuff, then feather the edges outward with light strokes.
Let it dry fully before judging. One thin coat is usually enough.
Blending Tips For A Seamless Finish
If the touch-up spot looks too shiny or dark, lightly buff it with a dry microfiber cloth once dry. For textured walls, use a stippling motion to mimic the pattern. And always keep a small container of leftover paint for future fixes.
FAQ
Can I use bleach to clean scuffs off walls?
Bleach is too harsh for most painted walls and can strip color or damage the finish. Stick to gentle methods like baking soda or dish soap.
Will these methods work on wallpaper?
Some methods are safe for washable wallpaper, but always test in an inconspicuous area first. Avoid excessive moisture and abrasive sponges.
How do I remove scuffs from flat paint?
Flat paint is delicate. Use the gentlest method first: a dry sponge or a barely damp microfiber cloth. Rubbing too hard can create shiny spots.
What if the scuff is from a permanent marker?
Rubbing alcohol or a magic eraser often works on permanent marker. Test first, and apply with light pressure to avoid damaging the paint.
How can I prevent future scuffs on walls?
Place furniture pads, use doorstops, and encourage kids to take off backpacks before entering. Regular dusting also reduces buildup that can trap marks.
Conclusion
Scuffs on walls don’t have to be permanent eyesores. With these 13 gentle methods, you can tackle marks from everyday life without damaging your paint or wallpaper. Start with the mildest option and work your way up if needed.
Your walls will look fresh and clean again, and you’ll save time and money on repainting. Keep a magic eraser or baking soda on hand for quick touch-ups, and enjoy a home that always looks its best.