15 How to Clean and Season Cast Iron for Lasting Care
A well-seasoned cast iron skillet is the pride of any kitchen. It sears steaks perfectly, bakes cornbread with a golden crust, and lasts for generations.
But that performance depends on how you clean and care for it. Many people shy away from cast iron because they think it's high-maintenance.
The truth is, with a few simple habits, you can keep your pan in peak condition without any fuss. Whether you're a new owner or reviving a rusty heirloom, these 15 tips will help you clean and season your cast iron for lasting care.
1. Scrub with Salt and Oil for Stuck-On Food
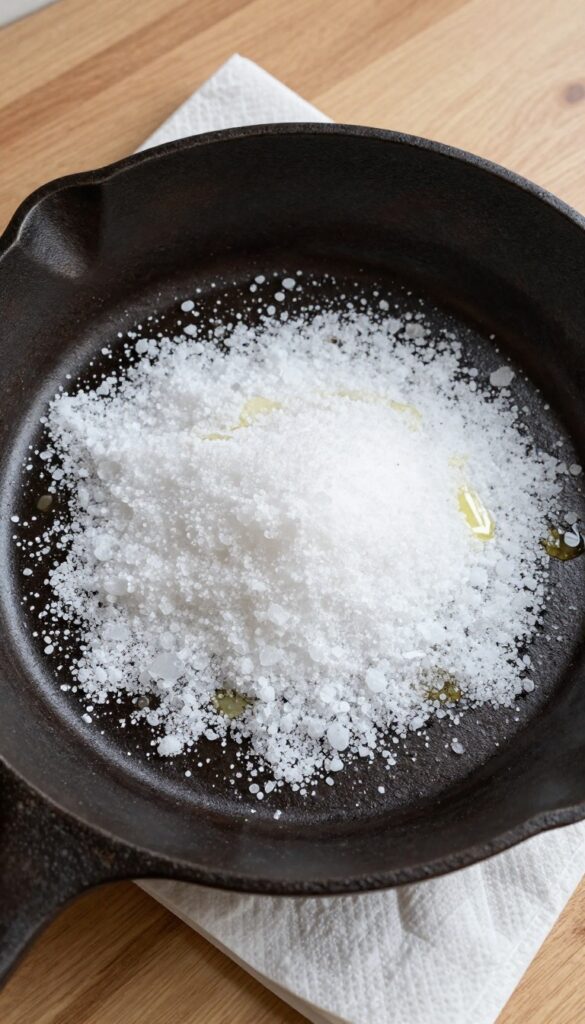
Stubborn food bits stuck to your cast iron can be frustrating, but you don't need harsh soaps or steel wool to remove them. A simple mix of coarse salt and a little oil works as a gentle abrasive that lifts residue without damaging the seasoning.
When food sticks, reach for kosher or sea salt and a splash of neutral oil like vegetable or canola. Sprinkle a generous amount of salt onto the pan, add a teaspoon of oil, and use a paper towel or soft cloth to scrub in circular motions. The salt crystals scrape away stuck bits while the oil lubricates and protects the seasoning.
Rinse with hot water and dry immediately.
Why Salt And Oil Work
Salt is hard enough to dislodge food but soft enough not to scratch the seasoned layer. Oil helps the salt glide and prevents it from absorbing too much moisture. Together, they create a scrub that's effective yet gentle.
When To Use This Method
Use this technique for everyday stuck-on food after cooking. It's perfect for scrambled eggs that cling, seared meat residue, or baked-on cheese. Avoid using it on a pan that's already well-seasoned and just needs a quick wipe.
Tips For Best Results
Use a generous amount of salt—about 2 tablespoons per 10-inch pan. Scrub while the pan is still warm (not hot) for easier removal. Rinse with hot water and dry thoroughly, then apply a thin layer of oil to maintain the seasoning.
2. Avoid Soap Unless Absolutely Necessary
There's an old rule that soap never touches cast iron. While modern dish soaps are milder than the lye-based ones your grandmother used, they can still strip seasoning over time. Reserve soap only for those rare, greasy messes that won't budge with other methods.
When Soap Is Actually Okay
If you've cooked something especially sticky—like a sugary glaze or a fish fillet that left a stubborn residue—a drop of mild dish soap won't ruin your pan. Use it sparingly, rinse thoroughly, and dry immediately. The key is to avoid making soap a habit.
Better Alternatives For Daily Cleaning
For most meals, hot water and a stiff brush are all you need. A chainmail scrubber works wonders on stuck-on bits without damaging the seasoning. Salt makes an excellent gentle abrasive: pour in a tablespoon, scrub with a paper towel, and rinse.
Why Over-soaping Weakens Seasoning
Seasoning is a thin layer of polymerized oil bonded to the iron. Soap, even mild formulas, gradually breaks down that bond. Frequent washing with soap leaves your pan vulnerable to rust and requires more frequent re-seasoning.
3. Dry Immediately to Prevent Rust
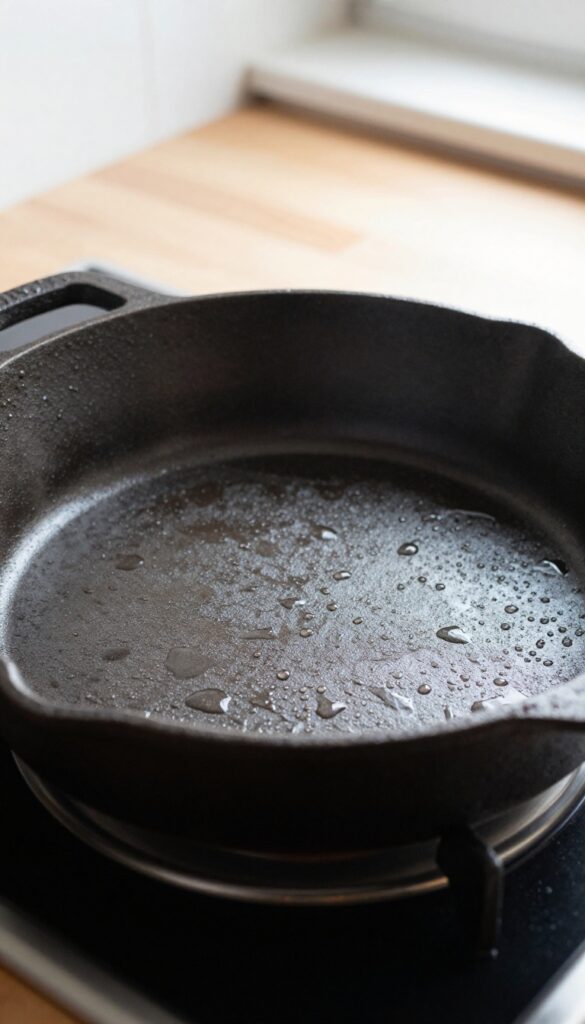
Moisture is cast iron's worst enemy. Even a few drops left on the surface can lead to rust spots overnight. That's why drying your pan right after washing is non-negotiable.
A two-step drying method ensures every bit of water is gone before you store it.
Start With A Towel
Use a clean, lint-free cloth or paper towel to thoroughly dry the pan. Pay extra attention to the handle and the rim, where water likes to hide. Don't just pat it dry—rub the entire surface until it feels completely dry to the touch.
Finish On The Stove
Even after toweling, microscopic moisture can linger. Place the pan on a burner over low heat for a minute or two. You'll see the last traces of steam rise off.
This step also helps open the pores of the iron for the next seasoning layer.
Cool Before Storing
Let the pan cool down completely on the stove or a trivet before putting it away. Storing a warm pan in a closed cabinet can trap humidity, which defeats the purpose. A fully dry, cool pan is ready for its next use.
4. Apply a Thin Layer of Oil After Each Use
Keeping your cast iron well-oiled is the secret to a non-stick surface that only gets better with time. This quick step after each use locks in the seasoning and protects against rust. It takes just a few seconds, but it makes all the difference.
After cleaning and drying your pan, it’s time to oil it while it’s still warm. The warmth helps the oil spread evenly and soak into the pores of the iron. Use a high-smoke-point oil like vegetable, canola, or grapeseed oil.
Flaxseed oil also works well but can be pricier. Avoid olive oil or butter—they can turn sticky or rancid. Just a teaspoon is enough; you don’t want a greasy pan.
Rub the oil all over the cooking surface with a paper towel or a lint-free cloth, then wipe away any excess. The pan should look almost dry, with just a faint sheen. This thin layer polymerizes during the next use, building up the seasoning gradually.
Which Oil To Choose
Not all oils are created equal for cast iron seasoning. You want an oil with a high smoke point, ideally above 400°F, so it bonds to the iron without burning. Vegetable oil, canola oil, and grapeseed oil are affordable and reliable.
Flaxseed oil creates a hard, durable coating but can flake if applied too thick. Avoid low-smoke-point oils like extra virgin olive oil or butter, which can become gummy. If you’re unsure, stick with vegetable oil—it’s the classic choice for a reason.
How Much Oil Is Just Right
The golden rule is less is more. You want a microscopic layer, not a slick coat. After applying oil, grab a clean paper towel and try to wipe it all off.
That might sound counterintuitive, but it leaves behind just enough to protect and season. If your pan feels sticky or looks greasy, you used too much. Next time, use less oil and wipe more thoroughly.
A properly oiled pan should feel smooth and dry to the touch.
When To Oil And When To Skip
Oil after every use, but only if the pan is clean and dry. If you cooked something acidic like tomatoes or wine, the seasoning may have been stripped—in that case, you might need a full stovetop seasoning session instead. Also, if your pan feels sticky or has a gummy residue, skip the oil and scrub it down before reapplying.
Regular oiling after normal cooking keeps the seasoning healthy and prevents rust.
5. Use the Right Oil for Seasoning
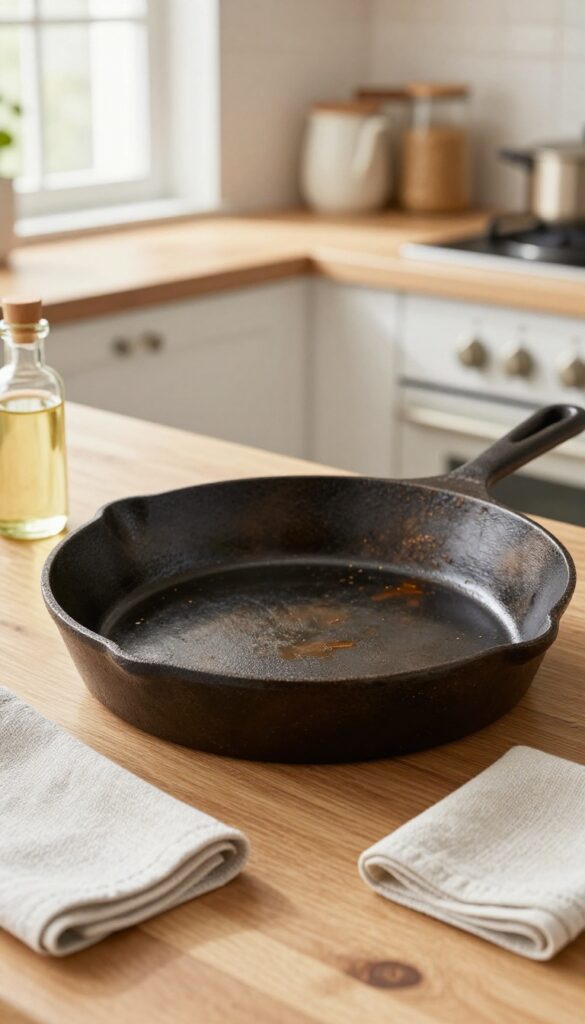
Not all oils are created equal when it comes to seasoning. The key is to pick one with a high smoke point, so it polymerizes into a hard, non-stick layer instead of burning off. Flaxseed oil is a favorite for its ability to create a tough, slick coating, but it can be pricey.
Grapeseed and canola oils are more affordable and still deliver great results. Avoid low-smoke-point oils like butter or olive oil—they'll leave your pan sticky and prone to flaking.
Why Smoke Point Matters
When you heat oil past its smoke point, it breaks down and forms a hard, plastic-like polymer that bonds to the iron. This is what creates that coveted non-stick surface. Oils with low smoke points burn too quickly, leaving a gummy residue instead of a durable layer.
Stick to oils with smoke points above 400°F for best results.
Top Oil Choices For Seasoning
Flaxseed oil is the gold standard—it polymerizes beautifully but can be expensive and has a short shelf life. Grapeseed oil is a great all-rounder with a smoke point around 420°F. Canola oil is cheap, widely available, and works reliably.
Vegetable oil and sunflower oil are also solid options. Avoid extra-virgin olive oil, coconut oil, and butter.
How To Apply Oil For Seasoning
Use a thin, even layer—too much oil will pool and create a sticky, uneven finish. After cleaning, dry the pan completely, then apply a small amount of oil to a lint-free cloth. Rub it all over the pan, inside and out, then buff off any excess.
The pan should look almost dry. Then bake it upside down in a 450°F oven for an hour to set the seasoning.
6. Season in the Oven for a Deep, Even Coat
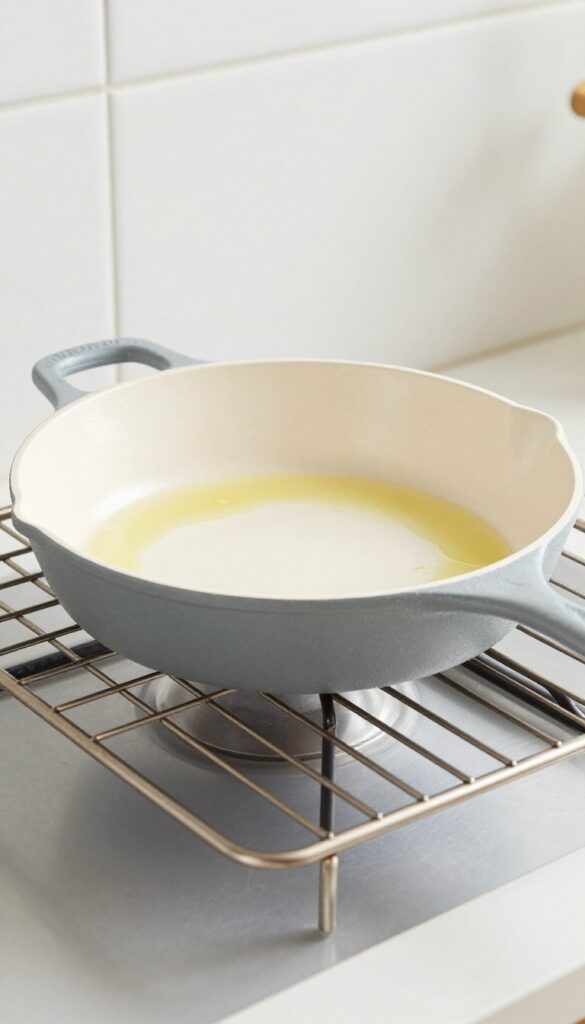
Stovetop seasoning works in a pinch, but oven seasoning is the gold standard for building a durable, non-stick layer. The even, consistent heat of the oven polymerizes the oil into a hard, slick surface that lasts through many cooks. It's the method professional chefs and cast iron enthusiasts swear by.
Why Oven Seasoning Beats Stovetop
Oven seasoning gives you full control over temperature and time. The entire pan heats evenly, so the oil polymerizes uniformly without hot spots. Stovetop seasoning can leave patchy areas or burn the oil before it bonds.
For a pan that feels like Teflon but lasts forever, the oven is your best friend.
Step-by-step: How To Season In The Oven
Start by preheating your oven to 450°F. Wash and dry the pan thoroughly, then apply a thin layer of oil—flaxseed, grapeseed, or vegetable oil work well. Use a paper towel to wipe off any excess; the layer should be so thin it looks dry.
Place the pan upside down on the middle rack with a baking sheet on the lower rack to catch drips. Bake for one hour, then turn off the oven and let the pan cool inside. Repeat 2-3 times for an extra tough finish.
How Often Should You Oven-season?
You don't need to oven-season after every use. Do it when the pan looks dry, develops rust spots, or food starts sticking. For most home cooks, once or twice a year is enough.
Between oven seasons, maintain the seasoning with stovetop touch-ups and regular cooking with oil.
7. Remove Rust with Steel Wool or a Chainmail Scrubber
Rust happens. Maybe you left your skillet in the sink too long, or it sat in a damp basement. Don't panic—rust is almost always fixable.
The key is to remove it without damaging the underlying metal, then reseason right after. Here's how to handle both light and heavy rust.
Light Rust: Fine Steel Wool Does The Trick
For surface rust that looks like orange dust or small spots, grab some fine-grade steel wool (0000 works best). Scrub the rusty area in a circular motion with a little warm water and mild dish soap. The soap helps lift the rust particles.
Rinse thoroughly, dry immediately, and apply a thin layer of oil to prevent new rust from forming before you season.
Heavy Rust: Bring Out The Chainmail Scrubber
If rust has formed a rough, flaky layer, steel wool alone might take forever. A chainmail scrubber is more aggressive and gets into the pores of the cast iron. Scrub with warm water and a bit of dish soap, using firm pressure.
Rinse and dry completely. For stubborn spots, you can also make a paste of coarse salt and a little water—it acts as a gentle abrasive.
Vinegar Soak For Stubborn Rust
When rust is deep or covers a large area, a vinegar soak works wonders. Mix equal parts white vinegar and water, and submerge the pan for 30 minutes to an hour. Check every 15 minutes—vinegar can etch the iron if left too long.
After soaking, scrub with steel wool or a chainmail scrubber, rinse well, dry immediately, and proceed to reseason.
8. Strip Old Seasoning with Oven Cleaner or Vinegar
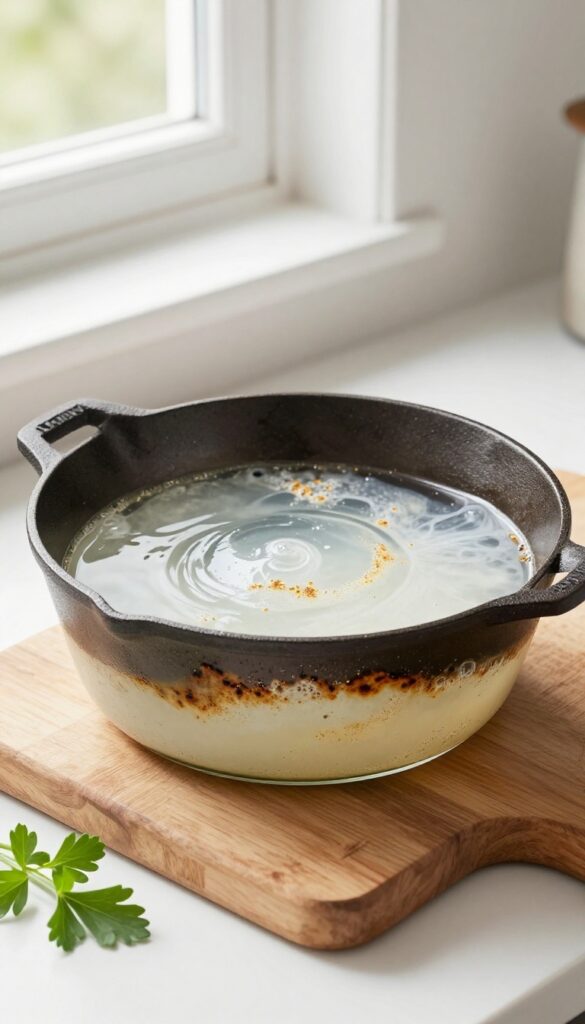
Sometimes your cast iron pan's seasoning goes bad — it flakes, turns sticky, or develops a patchy look. When that happens, the best fix is to strip it down to bare metal and start fresh. Two methods work well: a spray-on oven cleaner (like Easy-Off) or a simple vinegar soak.
Both are effective, but they work differently.
Stripping seasoning removes all old oil layers so you can build a new, even coating. It's a bit of work, but it's the only way to fix a truly ruined pan. Here's how to do it right.
Oven Cleaner Method (fast & Easy)
Spray the entire pan with oven cleaner containing sodium hydroxide. Place it in a plastic bag, seal it, and let it sit for 24 hours. The chemicals break down the polymerized oil.
After that, rinse thoroughly with water and scrub gently with a nylon brush. Repeat if needed. Wear gloves and work in a well-ventilated area.
Vinegar Soak (for Rust & Light Seasoning)
Mix equal parts white vinegar and water in a container large enough to submerge the pan. Soak for 30-minute intervals, checking frequently. Vinegar dissolves rust and weakens seasoning, but it can also etch the iron if left too long.
After soaking, scrub with a stiff brush and rinse well. Dry immediately.
After Stripping: Re-season Right Away
Once stripped, the bare iron will rust quickly. Dry the pan thoroughly, then apply a thin layer of oil and bake at 450°F for an hour. Repeat 2-3 times for a solid base.
Your pan is now ready for years of good cooking.
9. Re-Season After Every Major Cleaning
Whenever you strip the pan or scrub off rust, you're left with bare iron that needs protection. That's when re-seasoning becomes non-negotiable. A few thin coats of oil will rebuild the protective layer and keep your pan ready for action.
Re-seasoning after a deep clean is like giving your pan a fresh start. It only takes a few minutes and ensures the iron stays rust-free and non-stick.
Why Re-seasoning Matters
Bare iron is highly reactive. Without seasoning, it will rust quickly and food will stick. Re-seasoning seals the surface, creating a durable barrier that improves with each use.
How To Re-season Properly
After drying the pan, apply a very thin layer of oil (like flaxseed or grapeseed) all over, inside and out. Wipe off as much as possible—you want a microscopically thin coat. Then bake it upside down in a 450°F oven for an hour.
Let it cool in the oven. Repeat 2-3 times for best results.
When To Re-season
Do it immediately after any major cleaning that removes seasoning: stripping with lye, scrubbing off rust, or after a dishwasher mishap. Also re-season if you notice bare spots or a dull, gray appearance.
10. Store with a Paper Towel Inside to Absorb Moisture
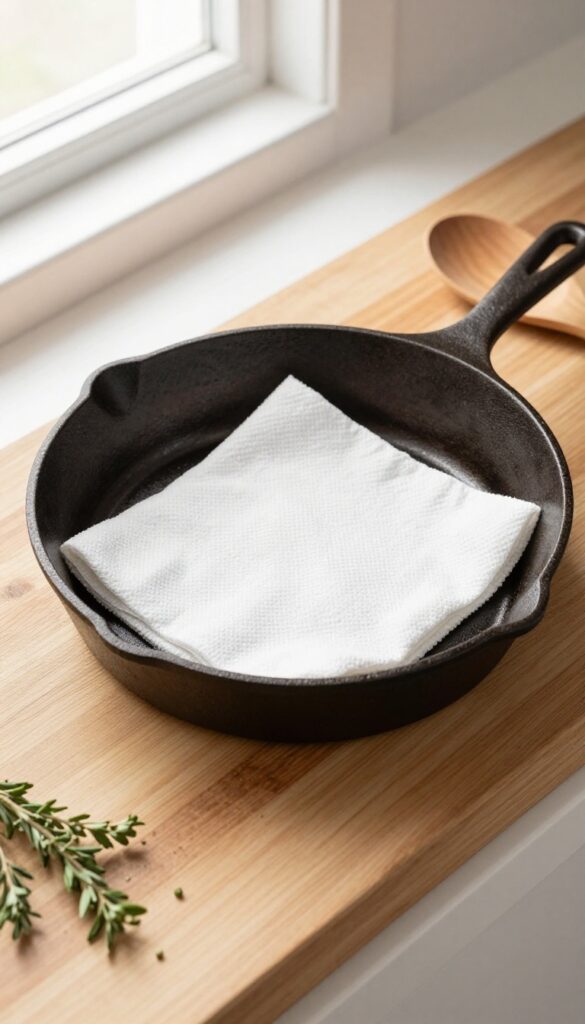
You've cleaned and seasoned your pan perfectly, but how you store it matters just as much. Moisture is the enemy of cast iron, and even a little humidity in the air can trigger rust. A simple trick is to place a folded paper towel inside the pan before putting it away.
It acts like a sponge, wicking away any dampness and keeping the interior bone dry.
This low-effort habit can save you from having to re-season your pan. Just swap out the paper towel every few weeks or after washing the pan. Make sure the pan is completely cool and dry before adding the towel.
Store it in a dry cabinet or on a rack, not in a damp basement or near a sink. For extra protection, you can also place a paper towel between stacked pans to prevent scratches and moisture buildup.
Why A Paper Towel Works
Cast iron is porous and can trap tiny amounts of moisture even after drying. A paper towel absorbs that residual humidity, preventing rust from forming. It also creates a slight barrier that keeps dust and grease from settling on the cooking surface.
How To Store With A Paper Towel
After your pan is clean, dry, and cool, fold a plain white paper towel (no prints or dyes) and place it flat inside. If you're stacking pans, put a towel between each one. Store the pan with the lid off or slightly ajar to allow airflow.
Check the towel periodically and replace it if it feels damp.
When To Skip This Step
If your pan has a fresh seasoning that's still curing, skip the paper towel for the first day or two. The seasoning needs to fully harden, and trapping a towel inside could trap moisture against the new layer. After that, it's safe to use.
11. Avoid Cooking Acidic Foods in a New Pan
It's tempting to deglaze your skillet with a splash of wine or simmer a tomato sauce, but if your pan is new or lightly seasoned, hold off. Acidic foods like tomatoes, vinegar, and citrus can react with bare iron, pulling out metallic flavors and stripping away that precious seasoning layer. Give your pan time to build up a robust, dark patina before introducing acidic ingredients.
Patience pays off when it comes to cast iron. A well-seasoned pan can handle acidic foods just fine, but a new one needs protection. Stick to cooking neutral or fatty foods—like bacon, fried chicken, or sautéed vegetables—for the first several uses.
Once your pan looks glossy and dark, you can gradually introduce acidic ingredients. If you do cook something acidic and notice a metallic taste or patchy seasoning, simply clean, dry, and apply a thin layer of oil before storing.
Why Acid Strips Seasoning
Seasoning is a layer of polymerized oil, not a permanent coating. Acidic molecules break down that polymer, especially when the layer is thin or young. This exposes the bare iron, which can rust and also leach into your food, giving it an off flavor.
How To Know When It's Ready
A well-seasoned pan looks almost black and feels smooth and slightly shiny. If your pan still looks brownish or feels rough, it's not ready for acidic foods. A good test: fry an egg—if it slides around easily, your seasoning is strong enough.
What To Do If You Accidentally Cook Acid
Don't panic. Remove the food immediately, wash the pan with mild soap and water, dry it thoroughly, and rub a thin layer of oil all over. Then heat it on the stove until it just starts to smoke.
This reseals the surface and prevents rust.
12. Use Metal Utensils to Your Advantage
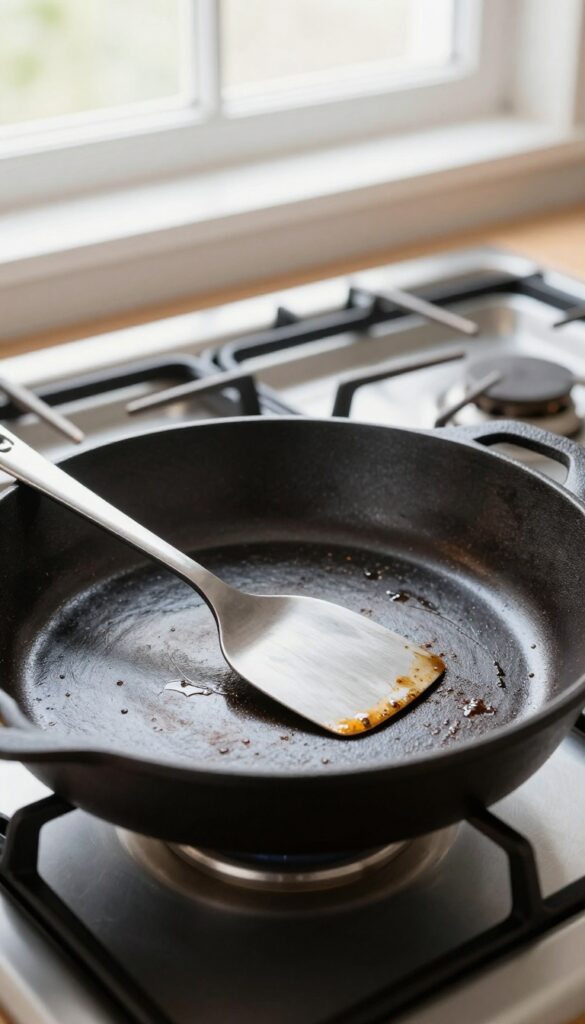
If you've been babying your cast iron with only silicone or wooden utensils, you might be missing out. Unlike non-stick pans, cast iron can handle metal spatulas and spoons without scratching the surface. In fact, those metal edges can actually help smooth and reinforce the seasoning over time.
Metal utensils aren't just safe for cast iron—they're beneficial. The gentle scraping action of a metal spatula can press down any loose seasoning particles and distribute oil evenly across the pan. This helps build a more uniform, durable non-stick layer.
Plus, metal tools give you better control when flipping pancakes, searing meat, or scraping up browned bits for deglazing.
Why Metal Works
Cast iron's seasoning is a polymerized oil layer that bonds to the metal. A metal spatula won't chip it like it would on a non-stick coating. Instead, the edge glides over the surface, smoothing out any tiny bumps.
Over time, this creates a glass-like finish that's actually more non-stick.
Best Metal Tools To Use
Look for thin, flexible metal spatulas with a straight edge—the kind used for flipping burgers. A fish spatula is also great for delicate items. Avoid serrated knives or sharp metal scrubbers, which can gouge the seasoning.
A good metal spatula will become your go-to tool for everyday cooking.
A Tip For New Pans
If your pan is freshly seasoned or has a thin seasoning layer, start with a metal spatula that has slightly rounded corners. Use it gently at first, then increase pressure as the seasoning builds. Within a few weeks, you'll notice the surface becoming smoother and more non-stick.
13. Don't Soak Your Pan in Water
It's tempting to leave your cast iron pan in the sink to soak overnight, especially after a sticky meal. But that's one of the fastest ways to ruin your seasoning and invite rust. Water and cast iron are not friends for long periods.
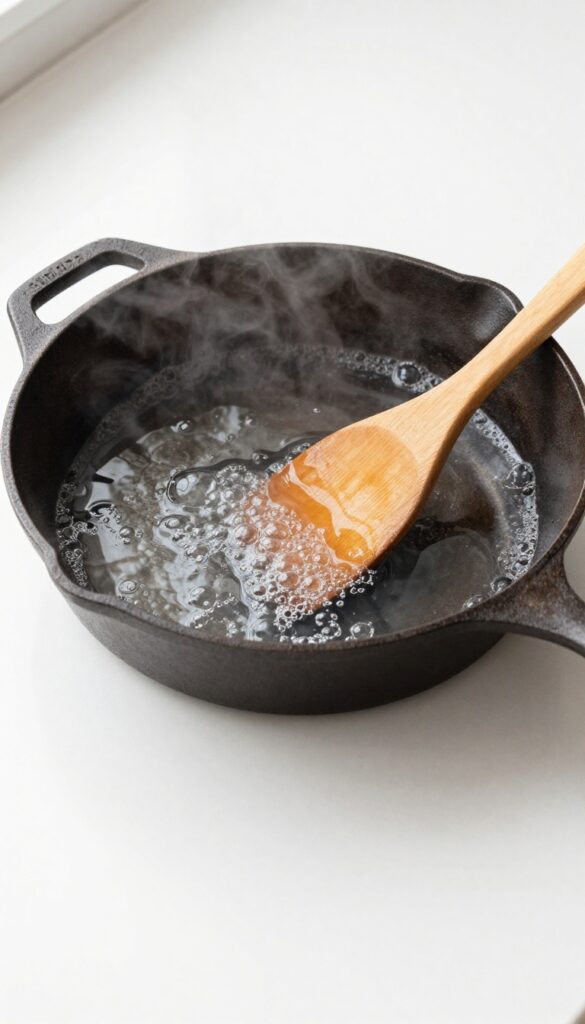
Soaking can cause the seasoning to lift and expose bare iron, which quickly rusts. Instead of soaking, fill the pan with water and bring it to a boil on the stove. The heat loosens stuck-on food without damaging the seasoning.
After boiling, scrub with a stiff brush or chainmail scrubber, rinse, and dry immediately. This method is faster and safer for your pan's long-term health.
Why Soaking Is Risky
Cast iron is porous, and prolonged water exposure seeps into the seasoning layer, causing it to bubble, flake, or rust. Even a few hours of soaking can start the damage. The high heat of boiling water, on the other hand, cleans without soaking.
How To Boil-clean Properly
Add about an inch of water to the pan and bring it to a boil. Use a spatula to scrape any stubborn bits as the water bubbles. Let it boil for 2–3 minutes, then pour off the water and scrub while the pan is still warm.
Dry thoroughly with a towel and place on low heat for a minute to evaporate any remaining moisture.
14. Heat Your Pan Gradually to Avoid Warping
Cast iron is tough, but it does have one weakness: sudden temperature changes. Slamming a cold pan onto a blazing burner can cause it to warp or even crack. That's a permanent problem no amount of seasoning can fix.
The good news is, avoiding it is dead simple.
Always start your cast iron on low heat, even if you plan to sear something at high temperature. Give it a few minutes to warm up evenly across the surface. Then you can crank the heat up gradually.
This gentle approach lets the metal expand slowly and evenly, preventing stress points that lead to warping. It also helps your seasoning bond better over time, since the oil polymerizes more evenly.
Why Low Heat Matters
Cast iron is a poor conductor of heat, so it develops hot spots when you rush it. A cold pan placed on high heat will expand unevenly, creating a permanent wobble. That means oil pools to one side and food cooks inconsistently.
Low heat gives the pan time to equalize, so the whole surface heats together.
The Right Way To Preheat
Set your burner to low or medium-low and let the pan sit for 5 to 10 minutes, depending on size. You'll know it's ready when you hold your hand a few inches above the surface and feel steady warmth. For oven preheating, always put the pan in a cold oven and let it heat up with the appliance.
Never place a cold pan into a hot oven.
What About Induction Cooktops?
Induction heats faster and more intensely, so it's even more important to start low. Use a heat diffuser if your pan is thin or old. Some cast iron pans warp on induction because the magnetic field heats only the contact area.
A gradual ramp-up reduces that risk significantly.
15. Know When to Start Over
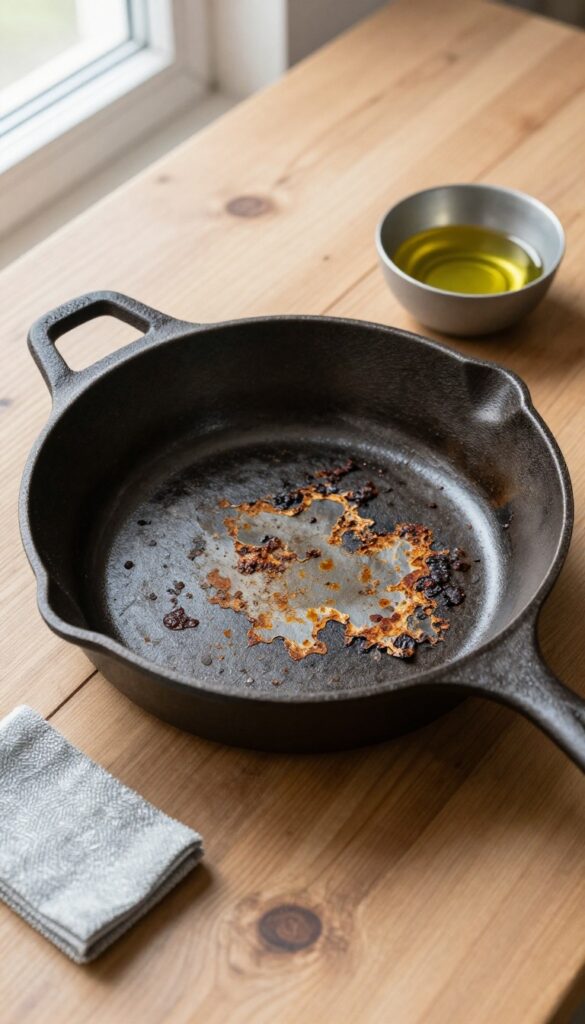
Even with the best care, sometimes a cast iron pan crosses a line and needs a fresh start. Persistent rust that won't scrub off, seasoning that flakes into your food, or a rancid, oily smell are all signs it's time to strip and re-season. Don't worry—this isn't a funeral for your skillet.
It's a resurrection, and it's easier than you think.
Stripping and re-seasoning sounds intimidating, but it's a straightforward process that can save a pan that seems beyond repair. The key is to remove all old seasoning and rust down to bare metal, then build a fresh layer from scratch. This gives you total control over the seasoning quality and ensures a smooth, non-stick surface for years to come.
How To Spot A Lost Cause
Not every flaw means starting over. Surface rust can often be scrubbed off with steel wool and re-seasoned. But if you see deep pitting from rust, large areas of seasoning peeling off like paint, or a smell like old gym socks even after washing, those are clear signs the seasoning has broken down chemically.
Also, if your pan has been used for soap or acidic foods repeatedly and the seasoning is patchy, stripping gives you a clean slate.
The Easiest Stripping Method
Skip the sandblasting and harsh chemicals. The easiest way is to use the oven's self-cleaning cycle. Place the pan upside down on the middle rack, run the cycle, and let it cool completely.
The extreme heat turns all organic matter to ash, which wipes off easily. Alternatively, you can spray the pan with oven cleaner (containing lye), seal it in a plastic bag for 24 hours, then scrub off the residue. Both methods are safe for cast iron and leave you with bare metal.
Re-seasoning Like New
Once stripped, wash the pan with soap and water to remove any residue, then dry it thoroughly. Apply a very thin layer of high-smoke-point oil (like grapeseed or flaxseed) all over, inside and out. Wipe off as much as you can—you want a microscopic layer.
Place it upside down in a cold oven, then set the oven to 450-500°F. Bake for one hour, then let it cool in the oven. Repeat this process 3-4 times for a durable, shiny seasoning that will outperform your old one.
FAQ
Can I use soap on cast iron?
Yes, but sparingly. Modern dish soaps are mild enough for occasional use, but frequent washing with soap can strip the seasoning. Stick to salt scrubs for daily cleaning.
How often should I season my cast iron?
After every use, apply a thin layer of oil. A full oven seasoning is needed only when the pan looks dry, patchy, or after stripping rust.
What oil is best for seasoning cast iron?
Oils with high smoke points like flaxseed, grapeseed, canola, or vegetable oil work best. Avoid butter or olive oil for seasoning as they burn easily.
How do I remove rust from cast iron?
Scrub with fine steel wool or a chainmail scrubber. For stubborn rust, soak in equal parts vinegar and water for 30 minutes, then scrub and re-season immediately.
Why does my cast iron food taste metallic?
This usually happens with new or stripped pans. The metallic taste fades as the seasoning builds. Avoid cooking acidic foods until the pan is well-seasoned.
Conclusion
Caring for cast iron doesn't have to be complicated. With these 15 tips, you can keep your skillet non-stick, rust-free, and ready for anything. The key is consistency: dry it well, oil it lightly, and don't be afraid to use it.
Your pan will reward you with years of excellent cooking. So go ahead, fry that chicken, bake that cornbread, and pass your skillet down to the next generation. It's easier than you think.