11 Space-Saving Kitchen Coffee Station Ideas That Add Function and Personality
Coffee corners often get squeezed out when counter space is tight. But a dedicated station doesn't need a sprawling footprint—just a smart spot where your machine, mugs, and beans can live together.
The trick is to work with the space you have, whether that's a slim cart, a wall nook, or even the side of a cabinet. These 11 ideas turn awkward gaps and unused corners into a functional, personality-packed coffee zone.
Each one is designed to save space while keeping your morning routine smooth and enjoyable.
1. Rolling Cart Coffee Station
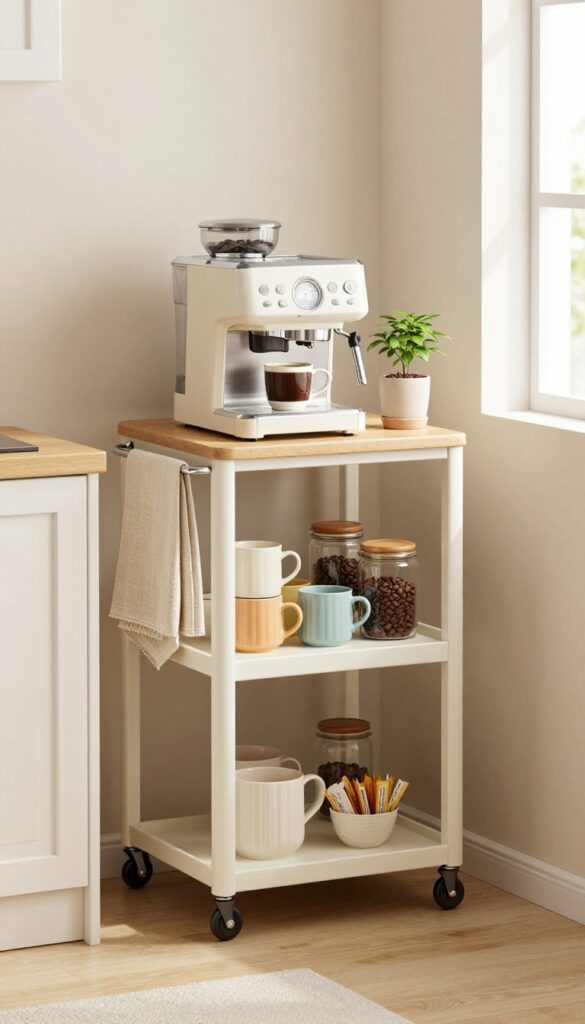
A rolling cart is the ultimate space-saver because it moves with you. Tuck it into a corner when you're done, or roll it next to the table when you're hosting brunch. It's like having a coffee bar that shrinks and grows based on your needs.
The beauty of a rolling cart is its flexibility. You can load it up with your espresso machine, a stack of mugs, and a canister of beans, then wheel it out of the way when you need the floor space. Look for a cart with two sturdy shelves and maybe a towel bar on the side for hanging dishcloths or small tools.
Casters with brakes keep it steady while you're pulling shots.
Pick The Right Cart
Not all carts are created equal. Choose one with a solid top that can handle the weight of a machine and a lower shelf for storage. Wire shelves look airy but can wobble with heavy gear.
A wooden or metal cart with a lip on the edges keeps mugs from sliding off.
Style It Smart
Use the top shelf for your main equipment and the bottom for extras like filters, syrups, or a small trash bin. Add a few hooks on the side for measuring spoons or a reusable straw. A small tray on the top corrals loose items like sugar packets or stir sticks.
Where To Park It
Roll the cart next to your main kitchen counter when you're prepping, then tuck it into a pantry, hallway, or even a closet when you need it out of sight. If your kitchen has an unused corner, that's a perfect spot. Just make sure there's an outlet nearby for your machine.
2. Wall-Mounted Shelf Coffee Bar
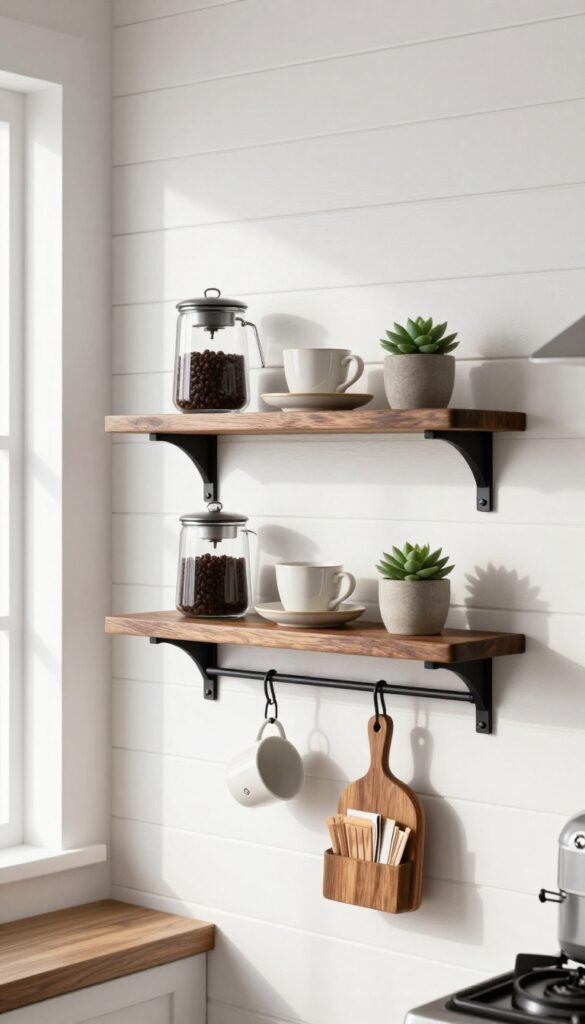
When floor space is at a premium, the walls become your best friend. A wall-mounted shelf coffee bar lifts your setup off the counter and turns an empty vertical stretch into a charming station. It’s a simple DIY that works in kitchens of any size, especially narrow ones where every inch counts.
Choose a sturdy shelf that can handle the weight of your machine and mugs. If you’re mounting above a counter, leave enough clearance for making coffee without bumping your head. Use decorative brackets that match your kitchen’s style—black iron for industrial, brass for a touch of warmth, or wood for a farmhouse feel.
Picking The Right Shelf
Go for a solid wood or metal shelf rated for at least 50 pounds. Measure the depth of your coffee maker and mugs so everything fits comfortably. A 12-inch deep shelf works for most machines, but if yours is bulkier, look for a 16-inch option.
Floating shelves look sleek, but brackets add extra support for heavy items.
Styling Your Wall Bar
Arrange your mugs on a small rack or hang them from hooks underneath the shelf. Use airtight canisters for beans, sugar, and grounds to keep everything fresh and tidy. Add a small tray to corral the essentials—sweetener packets, stir sticks, and a favorite spoon.
A tiny plant or framed print on the top shelf adds personality without taking up useful space.
Installation Tips For Safety
Find the studs before you drill—this is non-negotiable for a shelf holding heavy gear. Use a level to ensure the shelf sits straight, and double-check the height so you can easily reach everything. If you’re renting, consider a damage-free adhesive shelf for lighter setups, though it won’t support a full machine.
3. Under-Cabinet Coffee Nook
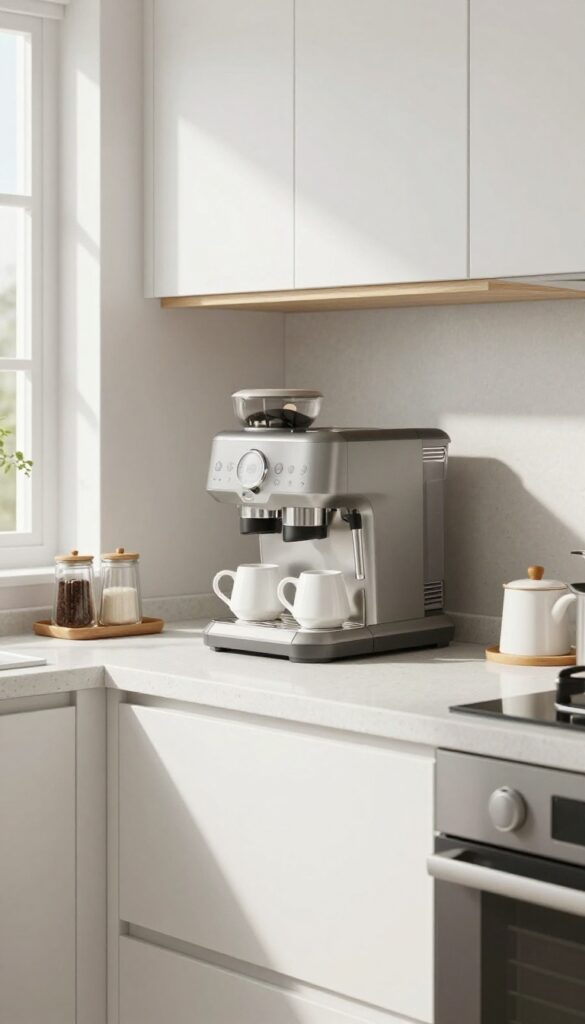
Wasted vertical space under your upper cabinets is prime real estate for a coffee station. By mounting a slim shelf or a compact coffee maker directly beneath the cabinets, you free up precious counter space while keeping your daily essentials within arm's reach. It's a tidy, out-of-the-way solution that works especially well in galley kitchens or any spot where counter space is scarce.
An under-cabinet coffee nook turns unused wall space into a highly functional zone. You can mount a dedicated shelf for your machine, or install a rail system to hold mugs and accessories. The key is to keep everything accessible without cluttering the counter below.
Measure And Mount
Start by measuring the clearance between your countertop and the bottom of the upper cabinets. You'll need at least 15 to 18 inches for most coffee makers to fit comfortably. Use a sturdy shelf bracket rated for the weight of your machine, and make sure it's anchored into studs for safety.
If you're renting, consider a no-drill adhesive shelf that can hold up to 30 pounds.
Keep It Organized
Once your shelf is up, organize it like a mini station. Place the coffee maker on the shelf, then use small baskets or canisters for pods, sugar, and stirrers. Install a mug rack underneath the cabinet to store cups upside down, which saves space and keeps them dust-free.
A slim tray underneath the machine catches drips and keeps the shelf clean.
Light It Up
Under-cabinet lighting makes your coffee nook feel intentional and helps you see what you're doing early in the morning. Stick-on LED puck lights are easy to install and run on batteries, so you don't need an electrician. Position them to illuminate the shelf and your mugs for a warm, welcoming glow.
4. Over-the-Sink Coffee Station
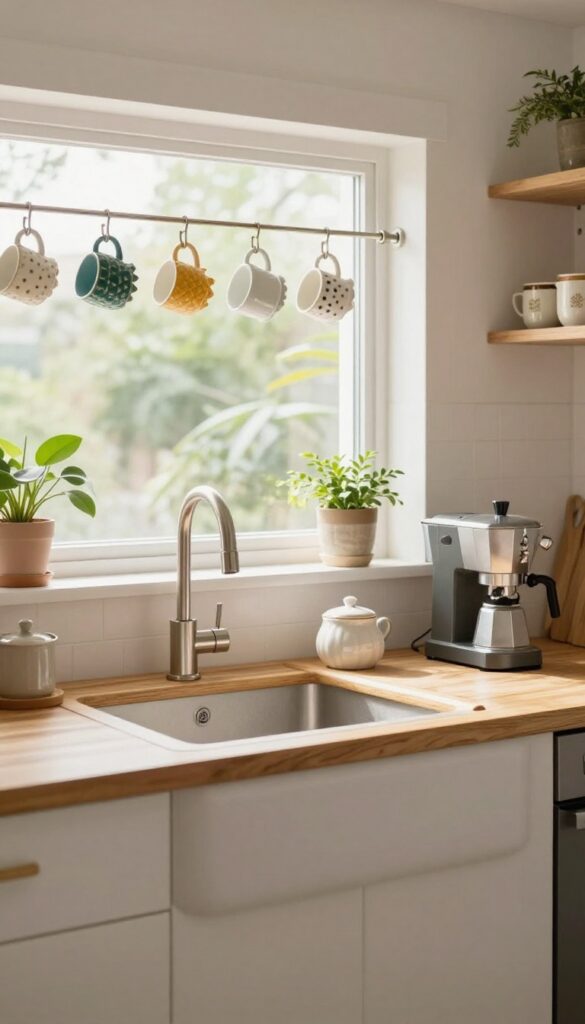
The area above your sink is often nothing more than a spot for a dish rack or a few drying cups. But that vertical stretch can pull double duty as a compact coffee zone. With a small shelf or a tension rod, you can turn this overlooked space into a functional and charming station.
An over-the-sink coffee station works best when you keep it minimal. A slim shelf mounted above the faucet can hold your machine, while a tension rod across the window or cabinet opening gives mugs a home. This setup frees up counter space and keeps everything within reach while you're prepping your morning brew.
Choose The Right Shelf
Look for a shelf that's sturdy enough to support your coffee maker but narrow enough to leave room for sink access. A bamboo or metal shelf with a lip on the edge prevents spills from dripping onto your dishes. Measure the width of your sink area first, and pick a shelf that fits without blocking the faucet.
Hang Mugs With A Tension Rod
A tension rod installed horizontally across the sink window or between cabinet sides is a simple way to hang mugs with S-hooks. This keeps your favorite cups visible and within easy reach. Just make sure the rod is secure and can handle the weight of your mugs.
Keep It Dry And Tidy
Since this area is near water, use a waterproof tray or mat under your machine and accessories. A small caddy for sugar, stirrers, and pods can sit on the shelf, and a hook on the side can hold a towel. This keeps everything organized and prevents clutter from building up.
5. Corner Cabinet Coffee Corner
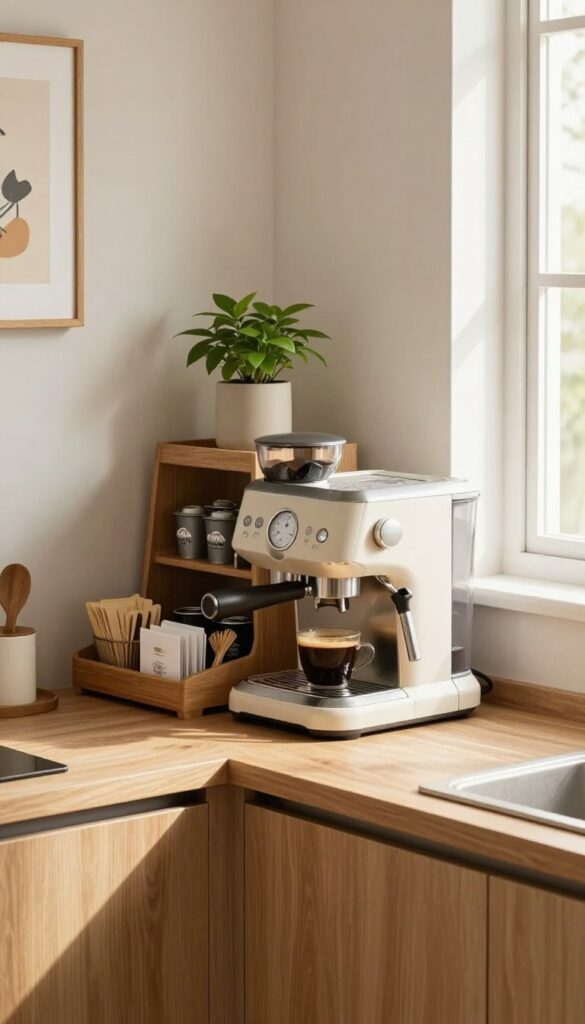
Corners often become dead zones in the kitchen, but they hold hidden potential. A corner cabinet, especially one that's hard to reach, can be transformed into a clever coffee station that keeps everything in one place. It's a smart way to reclaim awkward space and add a personal touch to your morning routine.
Start by clearing out the corner cabinet and giving it a good wipe-down. Measure the interior to see what you're working with—you might have more room than you think. A lazy Susan is a game-changer here because it lets you spin supplies into reach without digging around.
Place your coffee machine on a sturdy shelf or the countertop right next to the cabinet, and use the cabinet for mugs, beans, syrups, and other essentials.
Maximize Every Inch With A Lazy Susan
A lazy Susan turns the deep, dark corner into a functional carousel. Put your most-used items—like coffee pods, sugar packets, and stirrers—on it. You can also add a second tier for smaller jars and spices.
This simple addition saves you from the frustration of rummaging through a cramped cabinet.
Install A Shelf For Your Machine
If your corner cabinet has open shelving below, use that space for your coffee maker. A dedicated shelf keeps the machine stable and within easy reach. Add a small tray underneath to catch drips and keep the area tidy.
You can also mount a power strip inside the cabinet to keep cords hidden and outlets accessible.
Add A Personal Touch
Make the corner your own with a few decorative touches. Hang a small piece of art on the inside door, add a chalkboard label for your coffee blends, or place a small plant nearby. These little details make the station feel intentional and welcoming, even in a tight spot.
6. Pegboard Coffee Wall
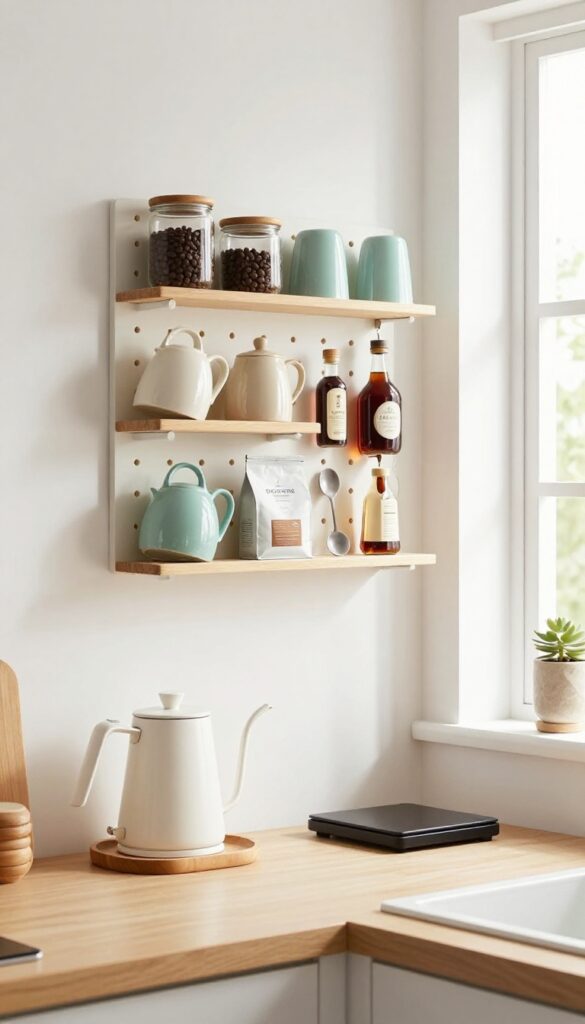
If you have a blank wall that's just collecting dust, a pegboard turns it into the most flexible coffee station you'll ever own. You can rearrange the layout whenever you want, and everything stays out in the open where you can actually see it. It's a project that takes an afternoon but pays off every single morning.
A pegboard coffee wall isn't just about storage—it's about making your coffee routine feel effortless. You can hang your favorite mugs, store your pour-over gear, and even add small shelves for your beans and syrups. The beauty is that you can tweak the arrangement as your coffee habits change, without committing to a permanent setup.
What To Hang On Your Pegboard
Start with the essentials: mugs, a scale, and your go-to brewing tools. Use pegboard hooks for items with holes, and add small baskets or bins for filters, stirrers, and coffee bags. For heavier gear like a kettle or grinder, screw on a sturdy shelf—pegboards can hold a surprising amount of weight if you use the right anchors.
Designing A Layout That Works
Think about your workflow: place the most-used items at eye level, and keep the less frequent stuff higher or lower. If you have a small machine, consider setting it on a shelf attached to the pegboard, with mugs hanging right above. Leave some empty space so the board doesn't feel cluttered, and use a mix of hooks, shelves, and containers for visual interest.
Installation Tips For A Secure Setup
Use a solid backing like 1/2-inch plywood or a metal pegboard panel, and mount it with screws into wall studs. If you're drilling into tile or drywall, use appropriate anchors. Keep the board at least a few inches from the counter so mugs and shelves have clearance.
And don't forget to paint or stain the pegboard to match your kitchen—it's a small touch that makes a big difference.
7. Slim Pull-Out Coffee Drawer
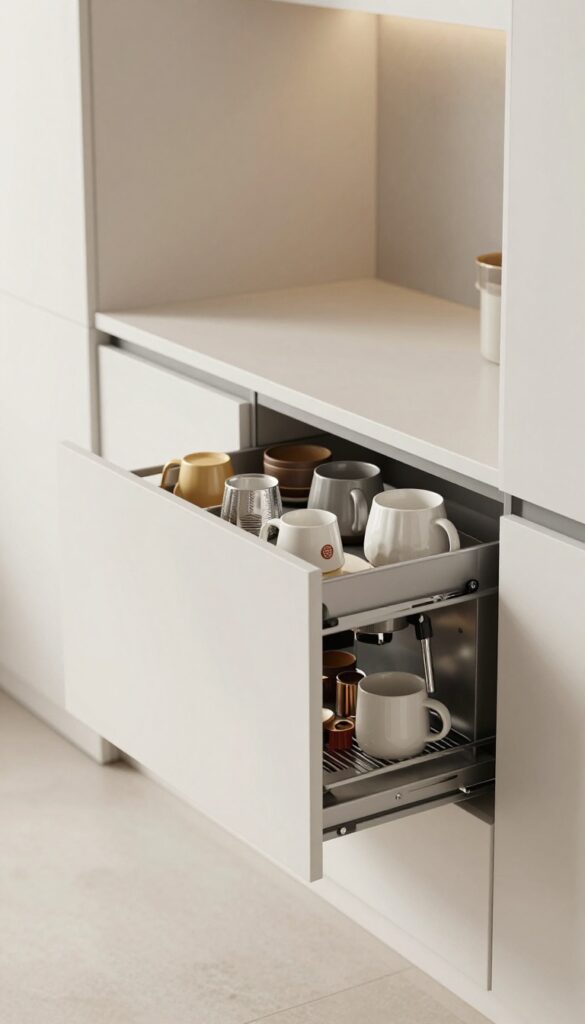
If you’ve got a narrow gap in your cabinetry—maybe next to the fridge or between base cabinets—a pull-out drawer can turn that dead space into a coffee command center. It’s a clever solution that hides everything away when you’re done, keeping your counters clutter-free. Plus, it adds a fun, hidden surprise for guests who open the wrong drawer first.
A slim pull-out coffee drawer is all about maximizing every inch. You can fit a compact espresso machine, a few mugs, and your favorite pods or beans in a drawer that’s only a few inches wide. The beauty is that it slides out smoothly, giving you a dedicated workspace, then tucks back in to disappear completely.
It’s perfect for small kitchens or anyone who wants a clean, streamlined look.
What To Store Inside
Think vertically. Use small bins or dividers to keep pods, filters, and sweeteners organized. Stack mugs on a low-profile rack or use the drawer’s depth to store a compact machine.
If you have a little extra room, add a small drawer liner to keep everything from sliding around when you open and close it.
Installation Tips
You’ll need a cabinet drawer that’s at least 6 inches deep to fit most coffee makers. If you’re handy, you can retrofit an existing drawer with a pull-out slide. For a custom look, work with a carpenter to build a drawer that matches your cabinetry.
Make sure the drawer is rated to hold the weight of your machine and supplies.
Power And Ventilation
Don’t forget about electricity. If you’re placing a coffee maker in the drawer, you’ll need a power outlet inside the cabinet or a nearby plug. Also, ensure there’s enough ventilation to let heat escape—some machines generate a lot of warmth.
You can add a small vent or leave the drawer slightly open when brewing.
8. Repurposed Furniture Coffee Station
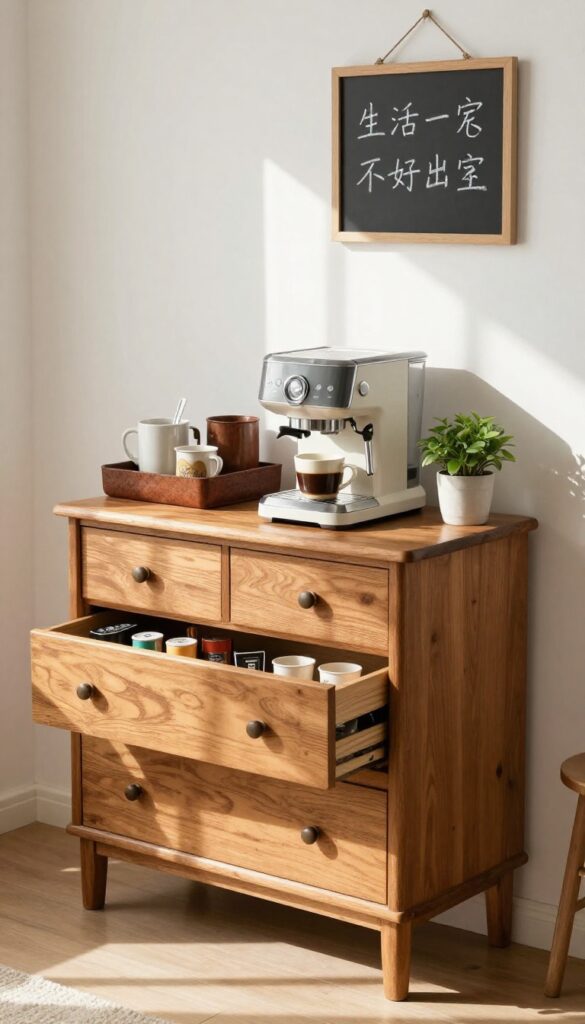
A vintage dresser, a sideboard, or even an old console table can become the heart of your coffee corner. Not only does it add instant character, but it also offers hidden storage for all your coffee gear. This is a great way to repurpose a piece you already own or find a bargain at a thrift store.
The beauty of repurposed furniture is that it brings warmth and personality to your kitchen. You can choose a piece that matches your style, from a rustic farmhouse dresser to a sleek mid-century console. The extra drawers and cabinets keep your coffee supplies organized and out of sight, while the top surface gives you room for your machine and mugs.
Choosing The Right Piece
Look for a piece with a flat, sturdy top that can support your coffee maker. A dresser with drawers is ideal for storing pods, filters, and stirrers. A sideboard or buffet often has cabinets that can hide larger items like a grinder or extra mugs.
Consider the height – you want it to be comfortable to use, so a standard table height (around 30 inches) usually works best.
Styling And Function
Once you've found your piece, give it a fresh coat of paint if needed, or leave it as is for a shabby-chic look. Use the top to display your coffee machine, a tray with mugs, and a few decorative items like a plant or a sign. Inside, use drawer dividers to keep everything tidy.
You can also add hooks on the sides for hanging cups or towels.
Space-saving Placement
Even if you're short on floor space, a repurposed piece can fit into a corner, along a wall, or even in a dining area adjacent to the kitchen. If you're really tight on space, consider a slim console table that's only a few inches deep. You can also use a small desk or a nightstand – the options are endless.
9. Over-the-Door Coffee Organizer
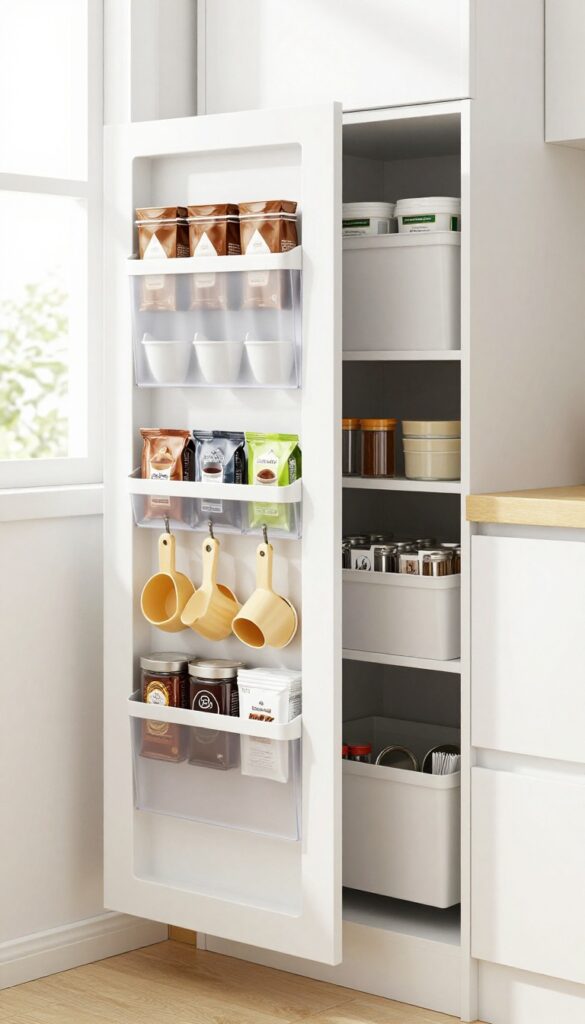
That pantry door is doing nothing but holding a few aprons. An over-the-door organizer can turn it into a zero-footprint coffee station that hides away when you're done. It's a clever workaround for rentals or kitchens where drilling into walls isn't an option.
Over-the-door organizers come in all shapes, from clear pocket versions to wire racks with hooks. The key is to choose one with deep enough pockets or sturdy shelves to hold coffee bags, mugs, and your go-to accessories. Hang it on the inside of a pantry door, a cabinet door, or even a closet door near the kitchen.
You'll have everything within arm's reach without sacrificing a single inch of counter space.
What To Store And How
Reserve the top pockets for coffee bags or canisters, keeping them sealed and away from light. Use lower pockets for mugs, and add small hooks on the sides for measuring scoops or a reusable filter. If you have a wire organizer, attach small bins to corral sweeteners, stirrers, or tea bags.
The goal is to see everything at a glance so your morning routine stays quick.
Picking The Right Organizer
Look for one with adjustable hooks or a design that fits your door thickness. Clear pockets make it easy to spot what you need, while fabric versions add a softer look. If you're storing heavy items like a bag of beans, choose a sturdy metal frame with reinforced stitching.
Measure your door first—some organizers are too wide for standard pantry doors.
Pro Tips For A Tidy Setup
Keep the most-used items at eye level, and reserve the bottom for backups or things you rarely grab. Use small baskets or bins inside the pockets to group similar items. If the door swings into a tight space, consider a slim over-door rack that doesn't protrude too much.
And don't forget to check the weight limit—overloading can damage the door or the organizer.
10. Fold-Down Coffee Table
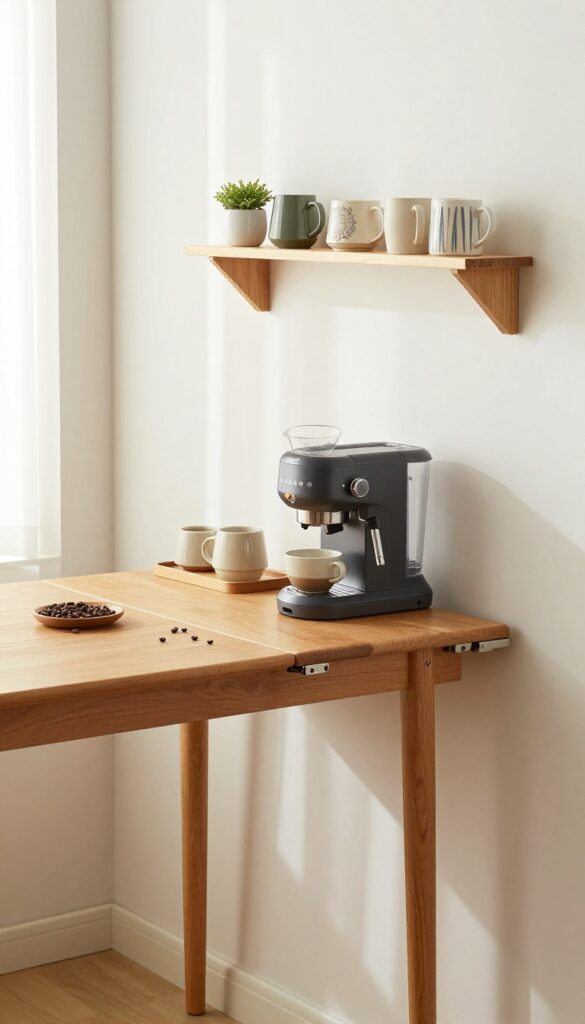
When every square inch counts, a fold-down table is a game-changer. Mount a sturdy board to the wall, and you've got an instant coffee station that disappears when you're done. It's the ultimate space-saving hack for tiny kitchens or breakfast nooks.
A fold-down coffee table gives you a dedicated brewing surface without permanently sacrificing floor space. Whether you're in a studio apartment or just need extra counter room for guests, this clever solution folds flat against the wall when not in use, keeping your kitchen open and uncluttered.
How To Choose The Right Fold-down Table
Look for a table that can support the weight of your coffee maker and supplies. Solid wood or metal options are best. Consider the depth—you want enough space for your machine and a mug, but not so deep that it feels bulky when folded down.
Also, check the mounting hardware; it should be sturdy enough for daily use.
Styling Your Fold-down Station
When the table is down, make it look intentional. Add a small shelf above for mugs and beans, or hang a cute sign. Use a tray to corral your essentials, so setup and takedown are quick.
Choose a finish that matches your kitchen—maybe a butcher block top for warmth or a sleek white for a modern vibe.
Installation Tips For A Secure Fit
Mount the table into wall studs for maximum stability. If you can't find studs, use heavy-duty toggle bolts. Make sure the hinges are rated for the weight and that the table locks securely in the up position.
Test it with a few heavy books before you trust it with your espresso machine.
11. Coffee Station on a Tray
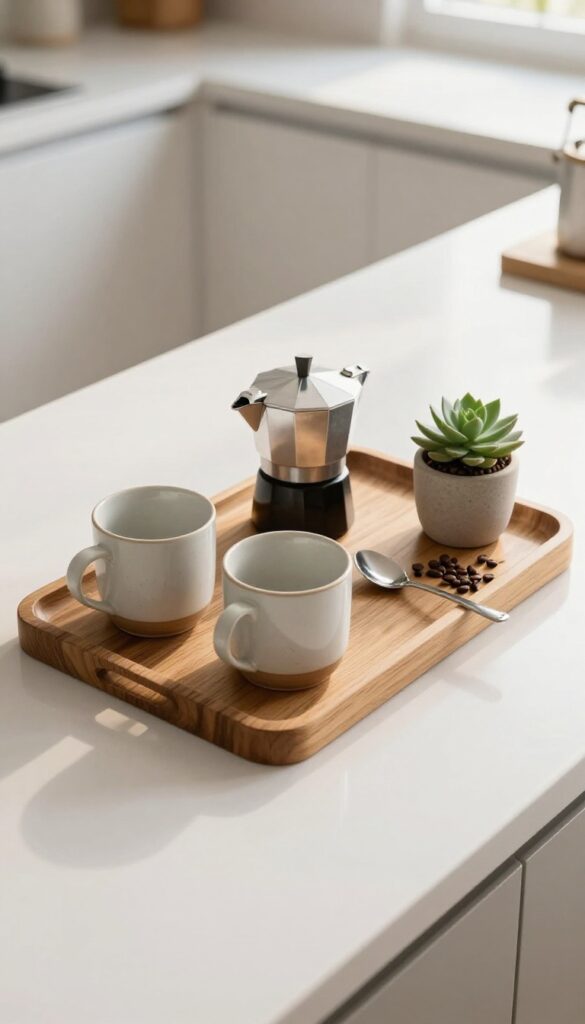
Sometimes the best way to save space is to make your coffee setup portable. A tray corrals everything you need into one neat, movable unit that can live on a counter, a shelf, or even a cart. It’s a simple idea that adds instant organization and a touch of style.
A tray-based coffee station is all about flexibility. You can keep it on a kitchen counter when you need it, then tuck it away or move it to a dining table for brunch. It’s also a breeze to clean—just lift the tray and wipe down the surface underneath.
Plus, it defines the coffee zone visually, so even a small corner looks intentional.
Pick The Right Tray
Choose a tray with raised edges to keep spills contained. A wooden or bamboo tray adds warmth, while a metal or acrylic one feels modern. Make sure it’s large enough to hold your essentials without feeling crowded—about 18 to 24 inches long works well for most setups.
What To Keep On The Tray
Stick to the daily essentials: your coffee maker (if it’s small), a couple of mugs, a jar of beans, and a spoon. If you have room, add a small sugar bowl or a tiny plant for personality. Avoid overloading—leave some breathing space so the tray looks tidy and inviting.
Where To Place It
A tray works on any flat surface: a countertop, a shelf, a rolling cart, or even a windowsill. If you’re short on counter space, keep the tray on a shelf and bring it down when you need it. It’s also perfect for small apartments or rented spaces where you can’t install permanent fixtures.
Style It Your Way
The tray itself can be a style statement. Pick one that matches your kitchen’s vibe—rustic wood, sleek marble, or bright enamel. Add a small canister for sugar, a stack of napkins, or a tiny sign.
The goal is to make it look curated, not cluttered.
FAQ
How much counter space do I need for a coffee station?
You can create a coffee station in as little as 12 inches of counter space. Use vertical storage and compact equipment to make the most of a small area.
What are the best space-saving coffee makers?
Look for slim espresso machines, single-serve pod brewers, or manual pour-over setups. These take up minimal space and are perfect for compact stations.
Can I build a coffee station without drilling holes?
Yes, use freestanding furniture like a cart or a console table, or opt for adhesive hooks and tension rods. These options are renter-friendly and easy to remove.
How do I keep my coffee station organized?
Use canisters for beans and sugar, a mug tree or hooks for cups, and small trays for accessories. Regularly declutter to keep the area functional and inviting.
What should I include in a coffee station?
Essentials include a coffee maker, mugs, coffee beans or pods, a grinder if needed, and stirrers. Add personal touches like a small plant or artwork for style.
Conclusion
A great coffee station doesn't need a huge footprint—just a little planning and some clever use of vertical space. Start with the corner that annoys you most, and try one or two of these ideas to see what clicks. You'll likely find that a small nook becomes your favorite spot in the kitchen.
Once you've got the setup working, add a few personal touches like a favorite mug or a small plant. That's all it takes to make your morning routine feel a bit more special without sacrificing counter space.