11 Pretty Kitchen Upper Cabinets Ideas to Refresh Your Cooking Space
Upper cabinets often get the short end of the design stick—they're just storage, right? But they actually sit right at eye level, which means they're one of the first things you notice when you walk into a kitchen.
That makes them a prime spot for adding character and charm. Whether you're planning a full remodel or just want a quick weekend update, there are plenty of ways to make your upper cabinets stand out.
From swapping doors to adding open shelving, these ideas are practical, pretty, and totally doable. Let's walk through 11 fresh approaches that can turn your upper cabinets from purely functional to genuinely beautiful.
1. Glass-Front Cabinets for a Light and Airy Feel
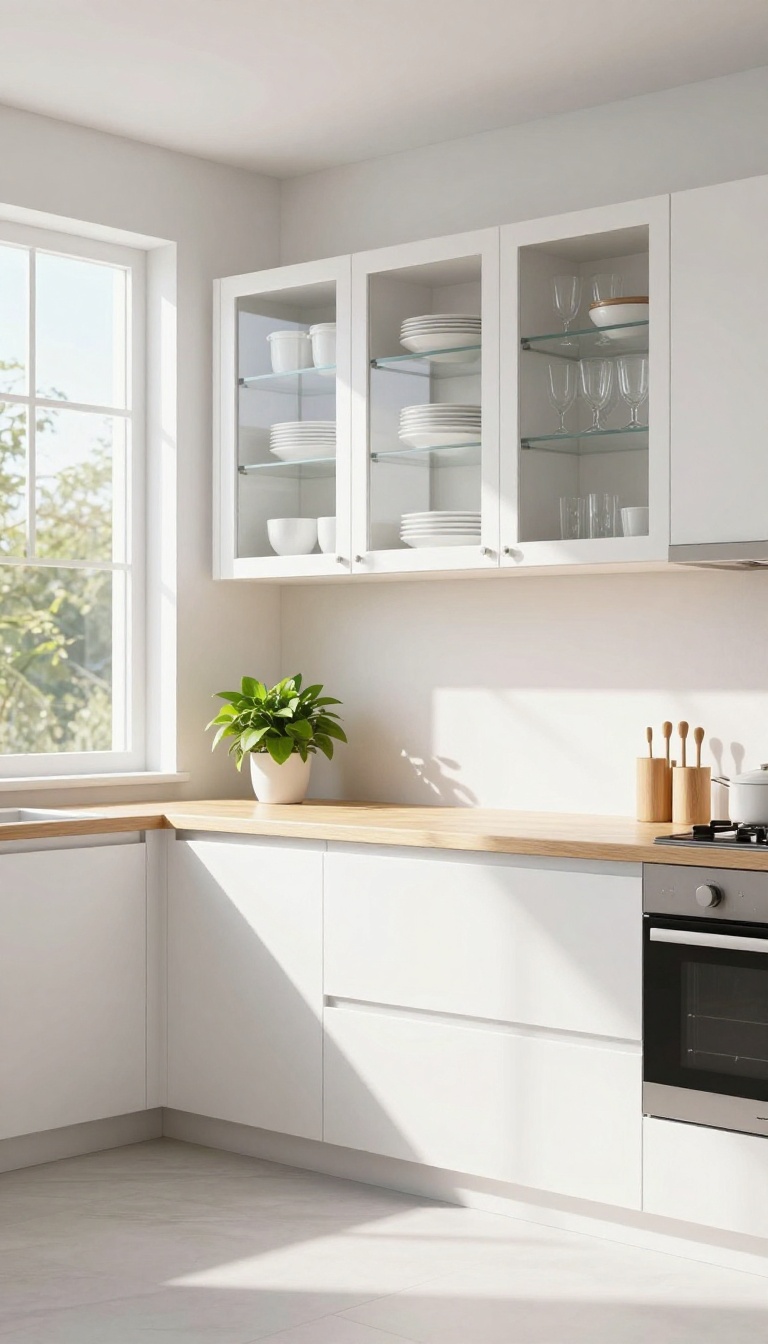
If your kitchen feels a bit boxed in, swapping some solid upper doors for glass can work wonders. Glass-front cabinets let light travel through the space, making the whole room feel bigger and brighter. Plus, they give you a chance to show off your favorite dishes, glasses, or even a tidy collection of cookbooks.
Glass-front cabinets are a classic way to open up a kitchen without removing cabinets entirely. They work in almost any style—from modern to farmhouse—and you can customize the glass to fit your taste. Clear glass shows everything, frosted glass softens the view, and textured glass adds a subtle pattern.
The key is to keep what's inside neat and intentional, because it becomes part of your decor.
Choosing The Right Glass
Not all glass is created equal. Clear glass is great if you have matching dishware or a color-coordinated collection. Frosted glass hides clutter while still letting light through.
Textured or seeded glass adds a vintage feel and breaks up the view. Think about how much you want to see and how much you want to hide.
Styling The Shelves Inside
What you put on the shelves matters as much as the glass itself. Stack plates neatly, group glasses by color, or add a few decorative pieces like vases or jars. Leave some breathing room—overcrowding defeats the airy effect.
You can also add under-shelf lighting to make the contents glow.
Mixing Glass And Solid Doors
You don't have to replace every door. Mixing glass-front uppers with solid lowers or a few solid uppers on the ends creates a balanced look. It's also a budget-friendly way to get the effect without a full overhaul.
Try glass on just the upper cabinets above the sink or range for a focal point.
2. Open Shelving to Showcase Everyday Essentials
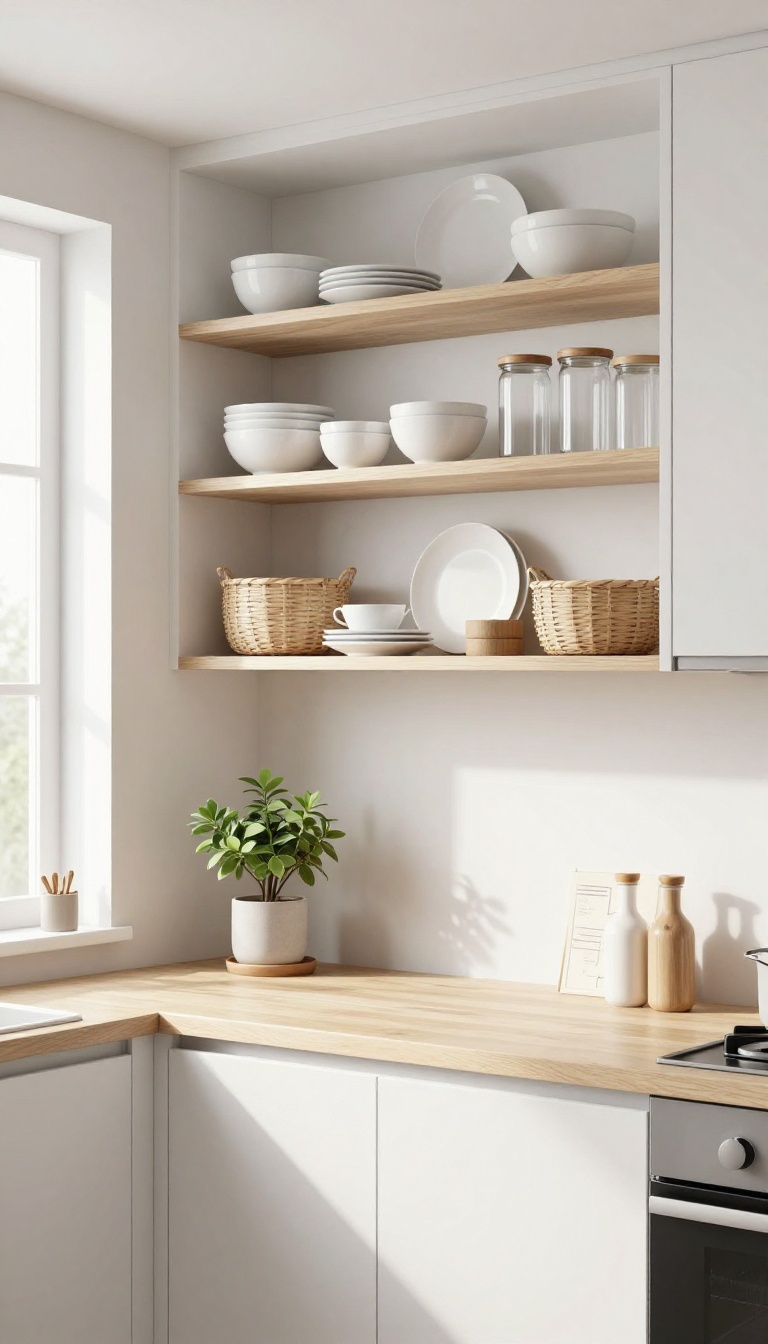
Tired of staring at closed doors? Pulling off the upper cabinet doors entirely can instantly change the whole mood of your kitchen. It’s a simple DIY that makes the room feel more open and inviting, especially if your kitchen is on the smaller side.
Open shelving isn't just about showing off pretty dishes—it's about making your daily routine easier and adding a personal touch. When everything you use most is within arm's reach and on display, the kitchen feels less like a storage closet and more like a lived-in space. Plus, it forces you to keep things tidy, which is a good thing in the long run.
Mix And Match For Visual Interest
You don't have to go all-in with open shelves. A popular approach is to remove doors from just one or two upper cabinets, leaving the rest closed. This creates a nice balance between open and hidden storage.
On the open shelves, arrange a mix of everyday plates, bowls, and glasses, and tuck in a few plants or cookbooks for color. The contrast between the open and closed sections keeps the eye moving and adds depth to the room.
Keep It Practical With Baskets And Bins
Open shelves can look cluttered if you're not careful. That's where baskets and bins come in handy. Use them to corral smaller items like spices, tea bags, or snacks.
Woven baskets add warmth, while clear glass jars keep things visible and easy to grab. Grouping similar items together not only looks neat but also makes it super easy to find what you need when you're in the middle of cooking.
Style It Like A Pro
Styling open shelves is an art, but you don't need to be a designer to get it right. A simple trick is to follow the rule of thirds: place taller items like vases or jars on one side, then layer in shorter items like stacks of plates or small bowls. Leave some breathing room between objects so the shelf doesn't feel overcrowded.
And don't be afraid to change things up with the seasons—swap in a festive mug or a small plant for a quick refresh.
3. Two-Tone Upper and Lower Cabinets for Visual Interest
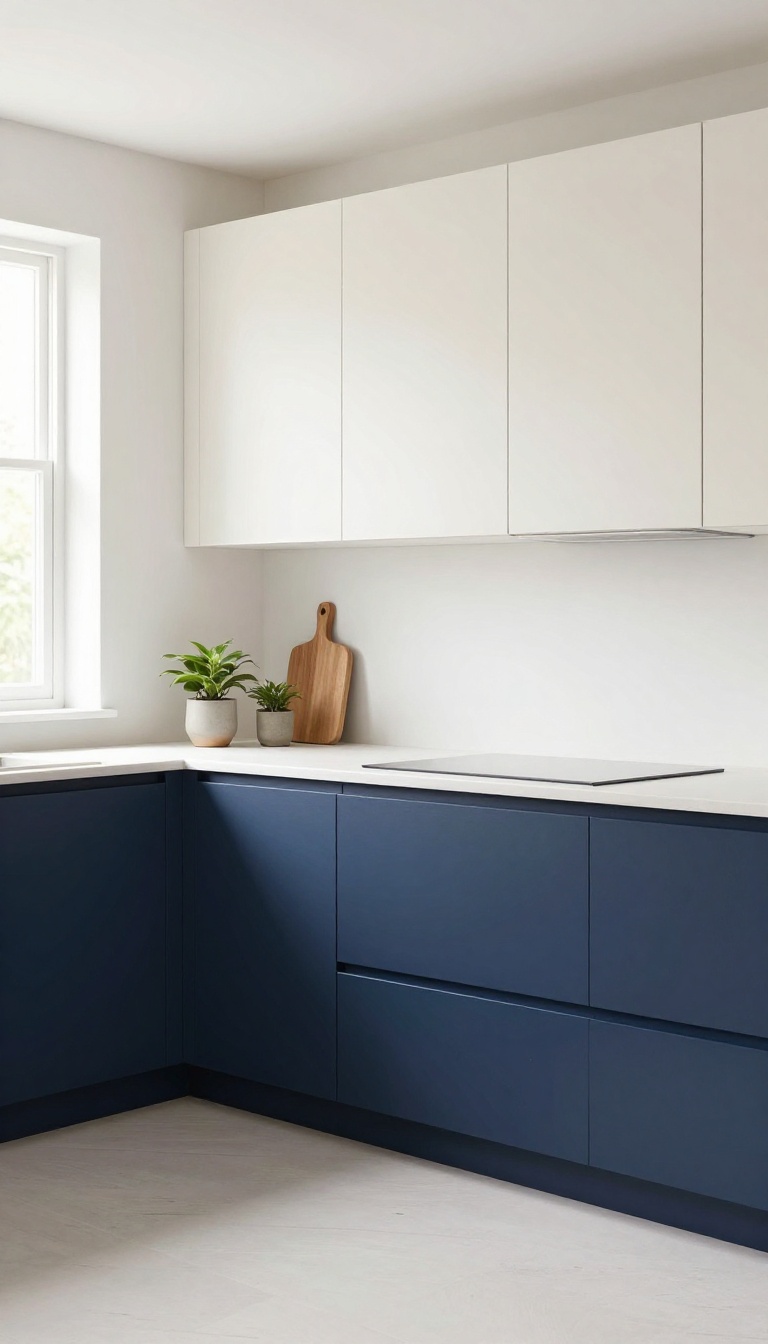
Color blocking isn't just for fashion. In the kitchen, painting your upper cabinets a lighter shade than the lowers can completely change the room's personality. It's a simple trick that adds depth and makes the space feel taller and more open.
The idea is straightforward: choose a lighter color for the upper cabinets and a darker one for the lowers. This contrast draws the eye upward, creating an illusion of height. It also breaks up the monotony of a single color, making the kitchen feel more dynamic and custom.
You can go subtle with off-white uppers and navy lowers, or make a bolder statement with pale sage above and charcoal below. Either way, you'll add visual interest without a full renovation.
Why It Works
Lighter colors reflect more light, so upper cabinets in a pale shade make the ceiling feel higher and the room brighter. Darker lowers ground the space and hide dirt and wear better. The contrast also gives the eye a natural focal point, making the kitchen feel more designed and intentional.
Color Pairing Ideas
Classic combos include white uppers with navy or forest green lowers, or soft gray uppers with black lower cabinets. For a warmer feel, try cream uppers with deep brown or terracotta lowers. If you're feeling brave, pastel uppers like blush or mint with darker wood lowers can add a playful touch.
Practical Tips
Before committing, test paint samples in your kitchen's lighting. Remember that upper cabinets are more visible, so pick a color you won't tire of. Also, consider the style of your kitchen—modern spaces handle bold contrast well, while traditional kitchens might prefer softer transitions.
And don't forget to use high-quality paint that can withstand grease and moisture.
4. Glass-Front with Interior Lighting for a Warm Glow
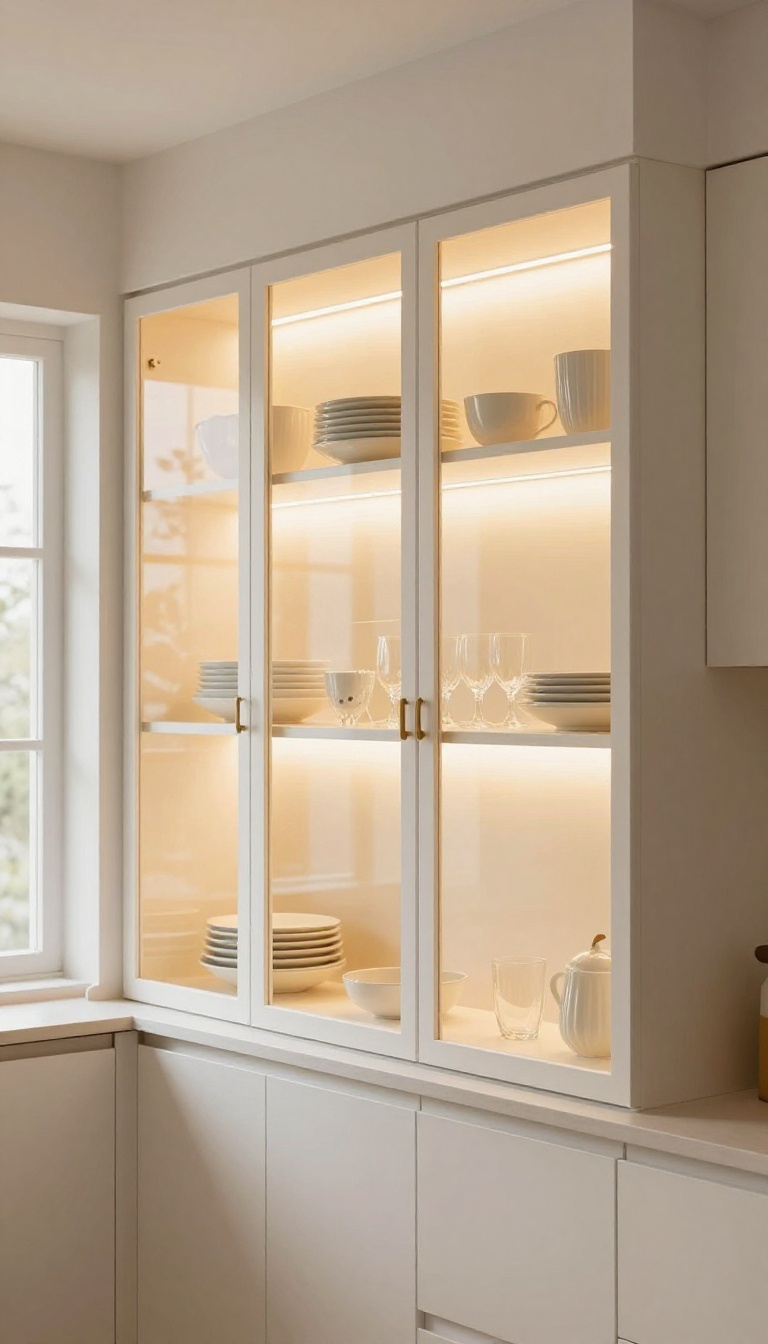
Glass-front cabinets already add a touch of elegance, but when you tuck LED strip lights inside, they transform into a glowing showcase. The soft illumination highlights your best dishware and creates a warm, inviting atmosphere that’s perfect for evening entertaining. It’s a simple upgrade that makes your kitchen feel more polished and cozy, even when the rest of the room is dim.
Lighting inside cabinets isn’t just about visibility—it’s about setting a mood. With the right placement and color temperature, you can turn ordinary glass-front cabinets into a focal point. Here’s how to get the most out of this idea.
Choosing The Right Led Strips
Look for LED strips with a warm white color temperature (around 2700K to 3000K) to create that inviting glow. Avoid cool whites, which can feel clinical. Also, consider strips with a high CRI (Color Rendering Index) to make your dishes look their best.
Adhesive-backed strips are easy to install, but make sure they’re rated for use in kitchens—some are more resistant to heat and humidity.
Placement And Installation Tips
Mount the strips near the front edge of the shelf, facing upward, so the light washes over the items without creating harsh shadows. You can also install them on the top or bottom of the cabinet frame for a more subtle effect. For a professional look, use aluminum channels to diffuse the light and hide the diodes.
If you’re not comfortable with wiring, many plug-in options with remote controls are available.
Styling Your Glass Shelves
Once the lights are in, curate what you display. Group items by color or material, and leave some breathing room between pieces. A mix of everyday glasses, colorful plates, and a few decorative pieces can create visual interest.
Avoid overcrowding—the light needs space to shine through and make everything look airy.
5. Beadboard Inserts for a Cozy Cottage Vibe
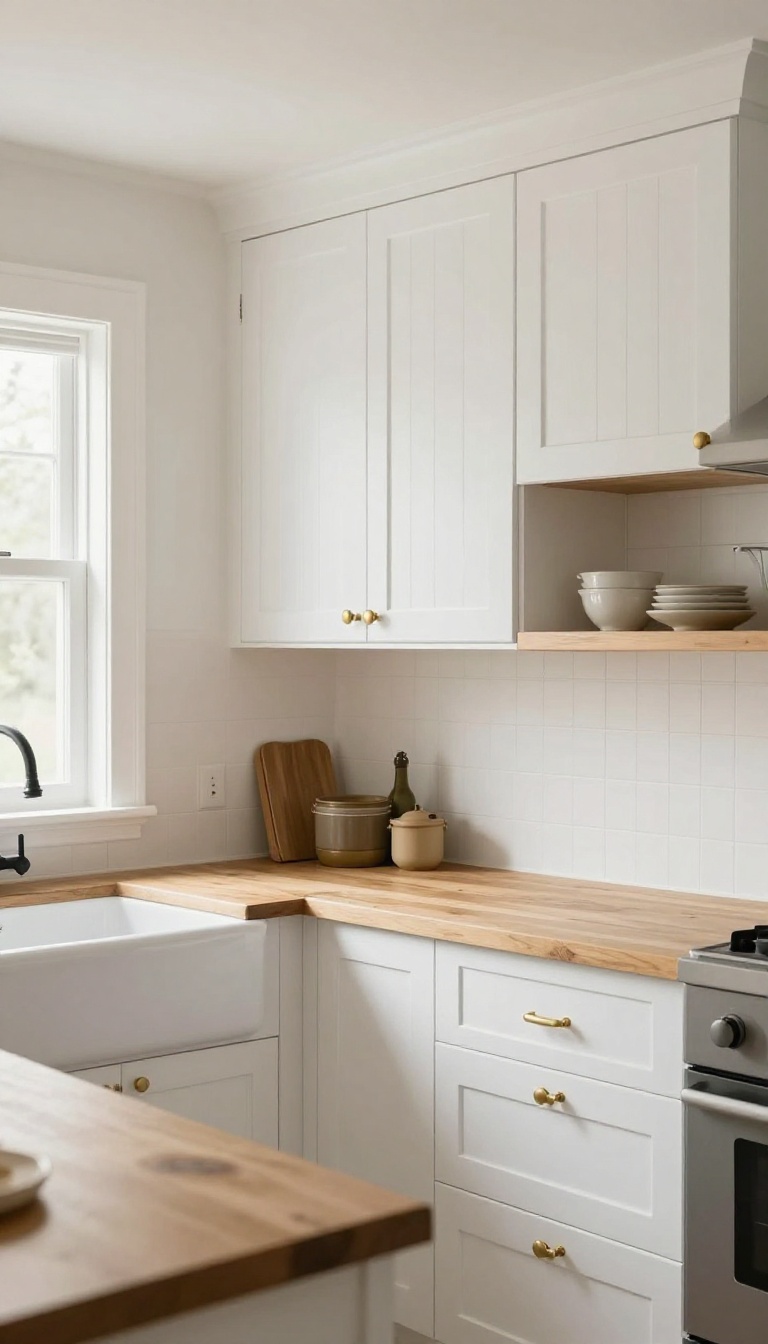
If your kitchen feels a bit too sleek or modern, beadboard inserts can soften things up in a hurry. These grooved panels add instant texture and a classic cottage feel that’s hard to beat. They pair beautifully with farmhouse sinks, butcher block counters, and even simple brass hardware.
Beadboard is essentially wood paneling with vertical grooves, and it’s been a staple in cottage-style homes for ages. When you use it on upper cabinet doors, it breaks up large flat surfaces and adds a subtle rhythm to the room. It’s a simple swap that can make your kitchen feel warmer and more inviting without a full renovation.
Which Cabinet Style Works Best?
Beadboard inserts look great on both shaker and flat-panel doors, but they shine on cabinets with a bit of recessed detail. If your doors are flat, you can add beadboard as an insert by routing out a groove or using a ready-made panel. For a true cottage look, go with white or off-white paint and let the grooves do the talking.
Diy Or Hire A Pro?
You can tackle this as a weekend DIY if you’re comfortable with basic woodworking. You’ll need beadboard panels, a saw, and some adhesive or brad nails. If you’re not into cutting your own, many home improvement stores sell pre-cut beadboard inserts.
For a flawless finish, a cabinet maker can do it in a day, but it’ll cost more.
Styling Around The Texture
Once your beadboard cabinets are in, keep the rest of the kitchen simple. Let the texture be the star. Use open shelving for a few dishes, add a farmhouse sink, and choose matte black or oil-rubbed bronze hardware.
For a pop of color, paint the island a soft sage or pale blue, but keep the uppers light to maintain that airy feel.
6. Open Upper Cabinets with Baskets for Flexible Storage
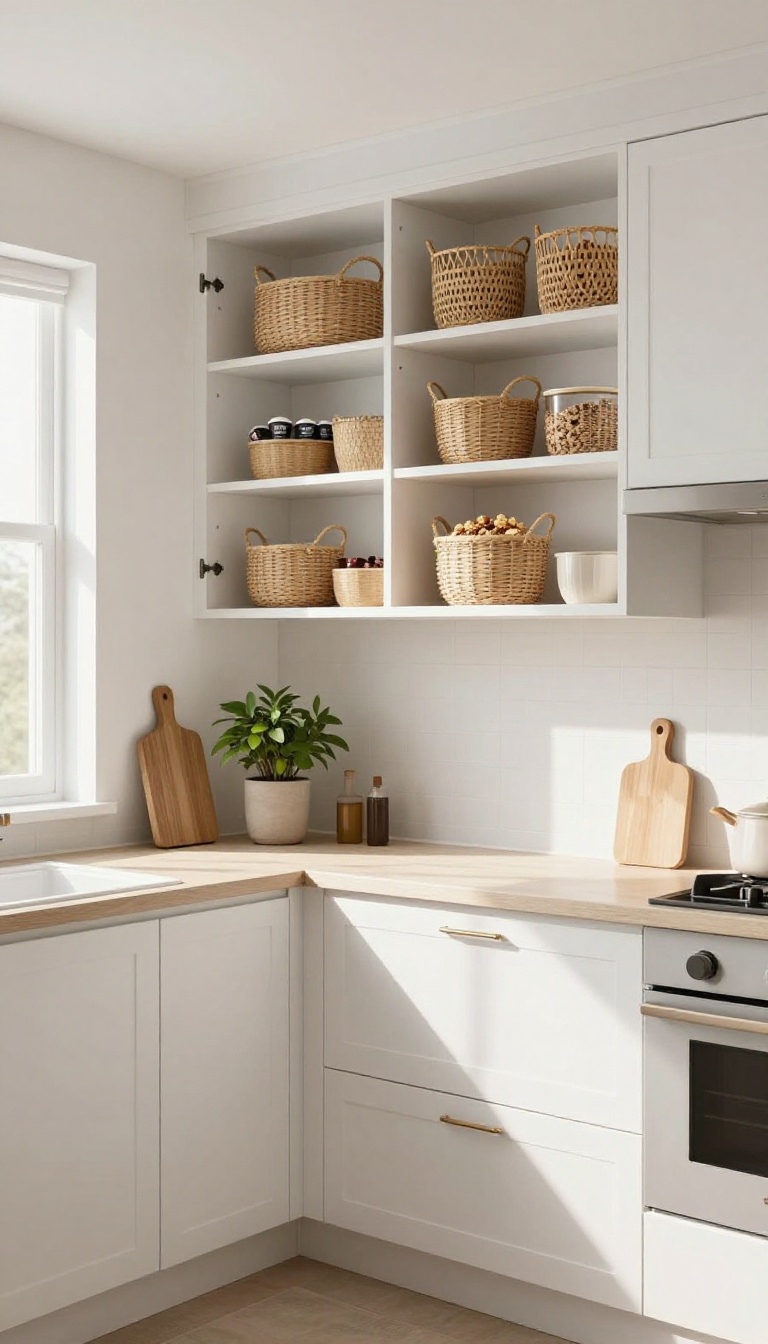
Open shelving can feel refreshing, but it also invites clutter. Baskets give you that same airy vibe while keeping everything neatly tucked away. It's a smart compromise that works in almost any kitchen style.
Woven baskets inside open upper cabinets add texture and warmth, making the space feel intentional rather than chaotic. They're also incredibly practical—you can grab a basket when you need something and slide it back without fuss. Plus, they hide the mismatched containers and odd-shaped items that would otherwise ruin the look.
Pick The Right Basket Size And Shape
Measure your cabinet depth and height before buying. Rectangular baskets maximize shelf space, while round ones work well for corners or smaller gaps. Opt for baskets with handles—they're easier to pull out, especially from higher shelves.
Natural materials like seagrass or rattan add organic texture, but if you prefer a cleaner look, choose neutral-toned fabric bins.
Group Items By Use And Frequency
Store everyday items like coffee pods or cereal in baskets that are easy to reach. Less-used things—like festive serving bowls or extra baking pans—can go on higher shelves. Labeling baskets with chalkboard tags or woven labels helps everyone in the household find things quickly.
This system keeps your kitchen both pretty and efficient.
Mix Open And Closed Storage
You don't have to open every cabinet. Pair open upper cabinets with baskets on one side and solid doors on the other. This creates visual rhythm and lets you display a few pretty items on open shelves while hiding the rest.
It's a flexible approach that adapts to your storage needs and personal style.
7. Upper Cabinets with Glass Sides for a Showcase Effect
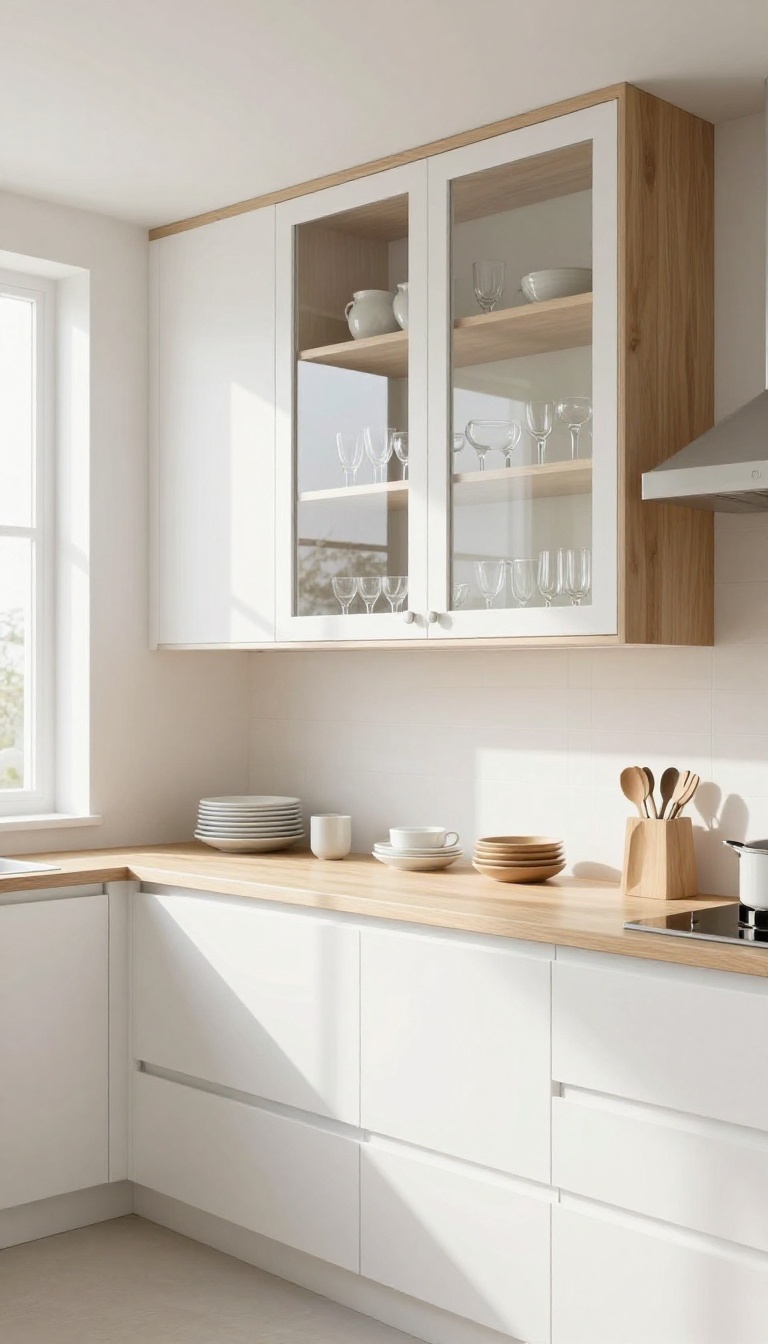
Glass fronts are a classic way to dress up upper cabinets, but have you considered glass on the sides? This clever twist turns a standard cabinet into a floating display case, letting light filter through and making the whole unit feel airier. It's especially striking for corner cabinets or any spot where you want to break up a solid wall of wood.
Adding glass panels to the sides of your upper cabinets is a simple swap that changes the entire look of your kitchen. It's a great way to show off pretty dishware or glassware without committing to full open shelving. Plus, it can make a small kitchen feel more open by allowing light to pass from one side to another.
Why Glass Sides Work So Well
The main advantage is the sense of openness. Glass sides let light travel through the cabinet, reducing visual heaviness. They also create a nice display opportunity from multiple angles, so you can arrange items to look good from both the front and the side.
In a corner cabinet, this can turn an awkward dead zone into a focal point.
Best Spots To Use Glass Sides
Corner cabinets are a natural fit because they often have a visible side that faces the room. End cabinets on a peninsula or island also benefit, as the glass side becomes a feature. Even a standard upper cabinet between two windows can work well, letting light pass through and brighten the space.
How To Style The Inside
Keep the inside tidy and intentional since it will be on display. Use matching glassware, stack plates neatly, or add a few decorative pieces like vases or cookbooks. Consider adding under-shelf lighting to highlight the contents, but avoid clutter—less is more when it comes to a showcase effect.
8. Mixed Materials: Wood and Metal Accents
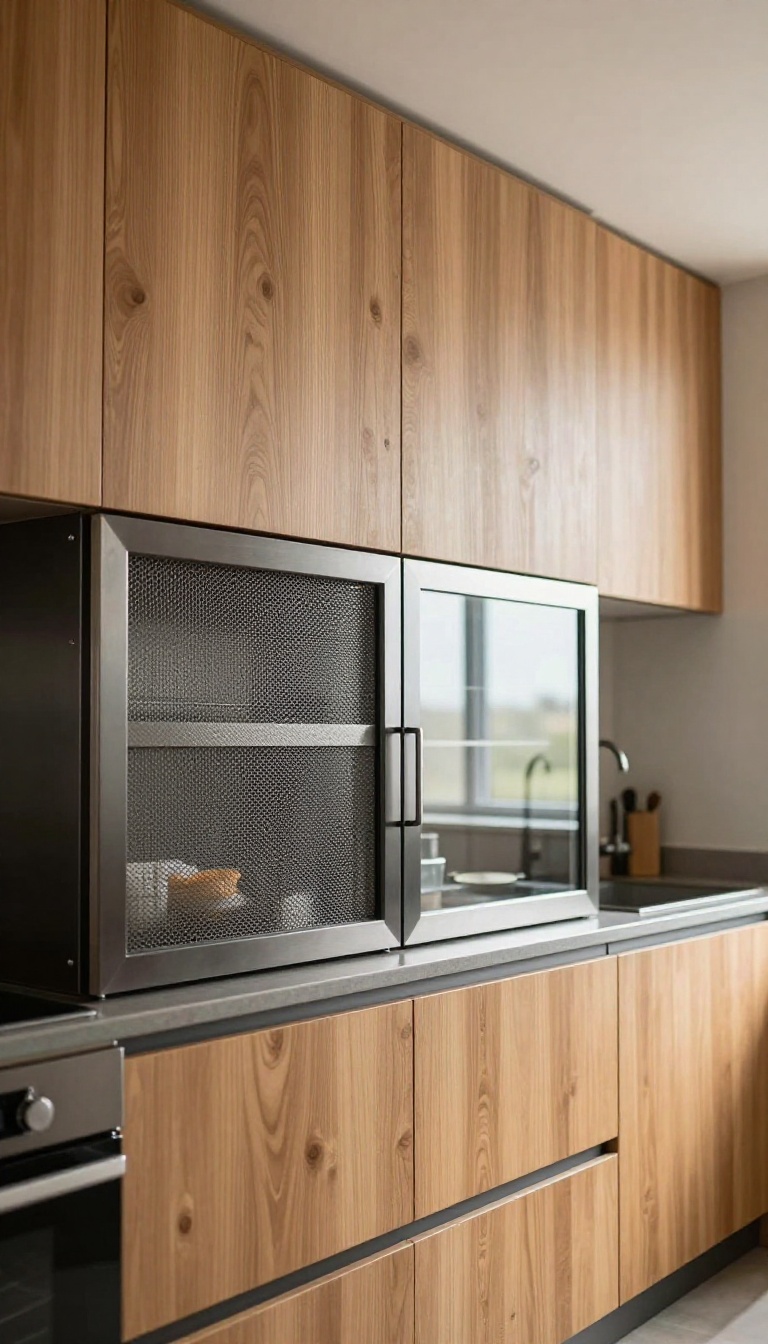
If your kitchen feels a little too uniform, mixing materials can break up the monotony. Pairing warm wood cabinets with cool metal accents adds an instant layer of depth. This combination works especially well in upper cabinets, where the contrast is right at eye level.
Think of it as adding a subtle industrial edge without going full warehouse. You get texture, visual interest, and a custom look that feels intentional. And the best part?
You don't have to replace your entire cabinet setup to pull it off.
The idea is to blend the natural warmth of wood with the sleekness of metal. This could mean metal mesh inserts on cabinet doors, wire panels, or even metal frames around glass. The key is balance—too much metal can feel cold, while too much wood can feel heavy.
A thoughtful mix keeps the space inviting and stylish. One of the easiest ways to try this is by swapping out a few door fronts or adding metal mesh to existing frames. It’s a weekend project that can completely change the vibe of your kitchen.
Plus, the metal accents catch light and add a subtle shimmer that plain wood doesn't have.
Why It Works
Wood brings warmth and a natural feel, while metal adds a crisp, modern contrast. This pairing creates a balanced look that’s both inviting and current. It also breaks up large expanses of cabinetry, making the space feel more dynamic and less monotonous.
How To Pull It Off
Start with a few upper cabinets—maybe the ones above the sink or stove. Replace the center panel with a metal mesh insert or add a metal frame around a glass door. Keep the rest of the cabinets wood to maintain cohesion.
You can also mix metal handles and hinges to tie the look together.
Style Variations
For a rustic-industrial vibe, use dark wood with black metal. For a lighter, Scandinavian feel, pair pale wood with brass or copper accents. You can also go for a more polished look with chrome or stainless steel.
The possibilities are endless, so pick a direction that matches your overall kitchen style.
9. Upper Cabinets with Decorative Molding for a Custom Look
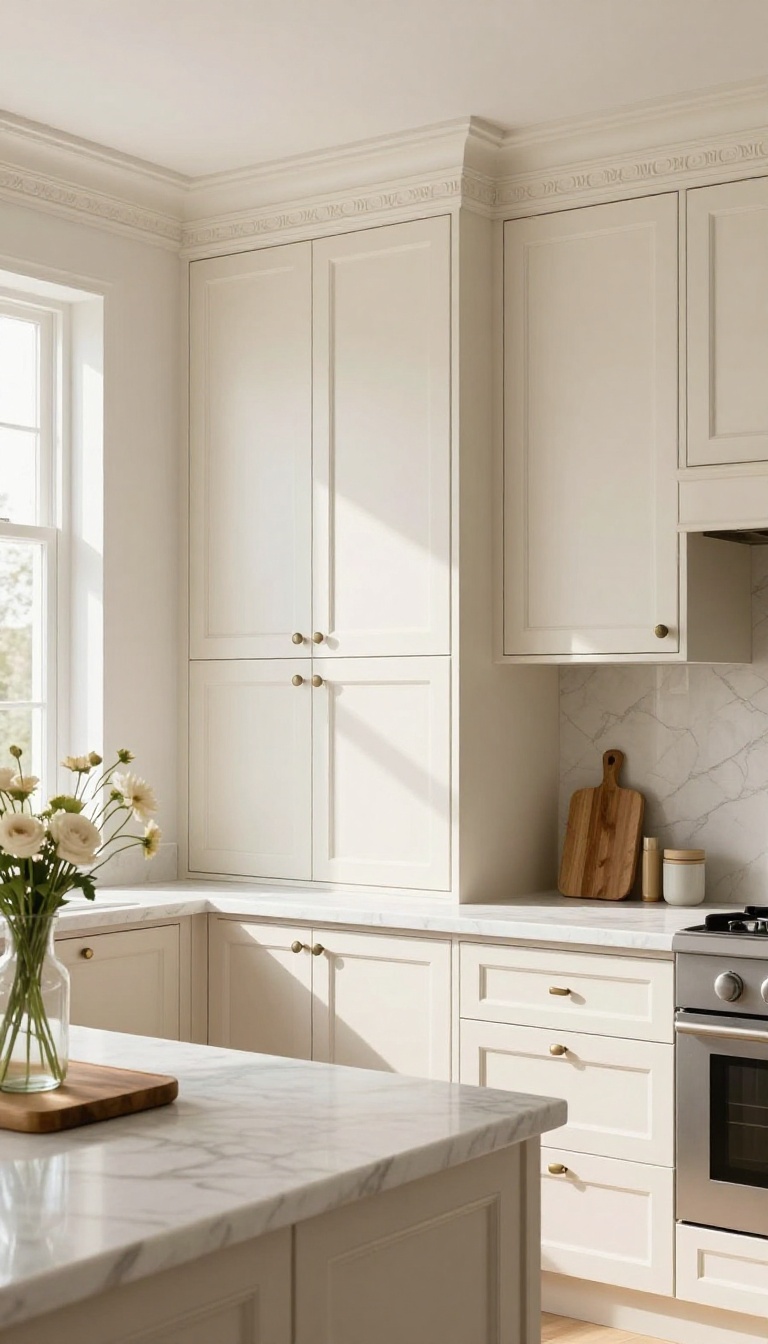
Sometimes the smallest details make the biggest difference. Adding decorative molding to your upper cabinets can instantly elevate them from basic to bespoke. It’s a classic trick that gives your kitchen a built-in, high-end feel without a full renovation.
Crown molding at the top of your cabinets draws the eye upward, making the ceiling feel higher and the space more polished. You can also add trim along the bottom or between cabinets for extra character. This works especially well in traditional kitchens, but with the right profile, it can fit modern spaces too.
Decorative molding is all about creating that custom, furniture-like appearance. Instead of boxy cabinets that stop abruptly at the ceiling, molding bridges the gap and adds a graceful transition. It’s a detail that feels intentional and expensive, even if you’re working with stock cabinets.
The best part? You don’t need to be a master carpenter to pull it off. Pre-formed crown molding and corner blocks make installation straightforward.
You can paint it to match your cabinets for a seamless look or choose a contrasting color to make the molding pop. If your cabinets don’t reach the ceiling, you can add a soffit or filler piece above them, then crown mold the top for a built-in effect. This also eliminates that awkward gap where dust collects.
For a more ornate touch, consider adding dentil molding or rope trim for extra detail. Lighting can further enhance the effect. Install small LED puck lights on top of the cabinets to cast a warm glow upward, highlighting the molding and creating a soft ambiance in the evening.
It’s a simple addition that makes the whole kitchen feel cozier.
Choosing The Right Molding Profile
The molding profile sets the tone. For a traditional kitchen, go with a classic crown molding with a gentle curve and a small lip. For a more formal look, consider dentil molding—it has a row of small blocks that add texture.
If your kitchen leans modern, a simple, clean-edged profile with minimal ornamentation works best. Don’t be afraid to mix profiles: use a larger crown on top and a thinner trim below for balance.
Installation Tips For A Flawless Finish
Measure carefully and cut at 45-degree angles for corners. Use a miter saw for precision. Attach the molding with finishing nails and wood glue, then fill the nail holes with wood filler.
Sand everything smooth before painting. If you’re not comfortable with cutting angles, pre-made corner blocks can simplify the job—they join two pieces of molding cleanly without miter cuts. Paint the molding separately or after installation for a seamless finish.
Painting And Staining Ideas
Matching your molding to the cabinet color creates a unified, built-in look. For a subtle contrast, paint the molding white while the cabinets are a soft gray or navy. In a kitchen with wood cabinets, you can stain the molding to match or choose a slightly darker tone for depth.
If you want a touch of glamour, try a metallic finish like brushed gold or bronze—it adds a hint of luxury without overwhelming the space.
10. Upper Cabinets with a Pop of Color on the Inside
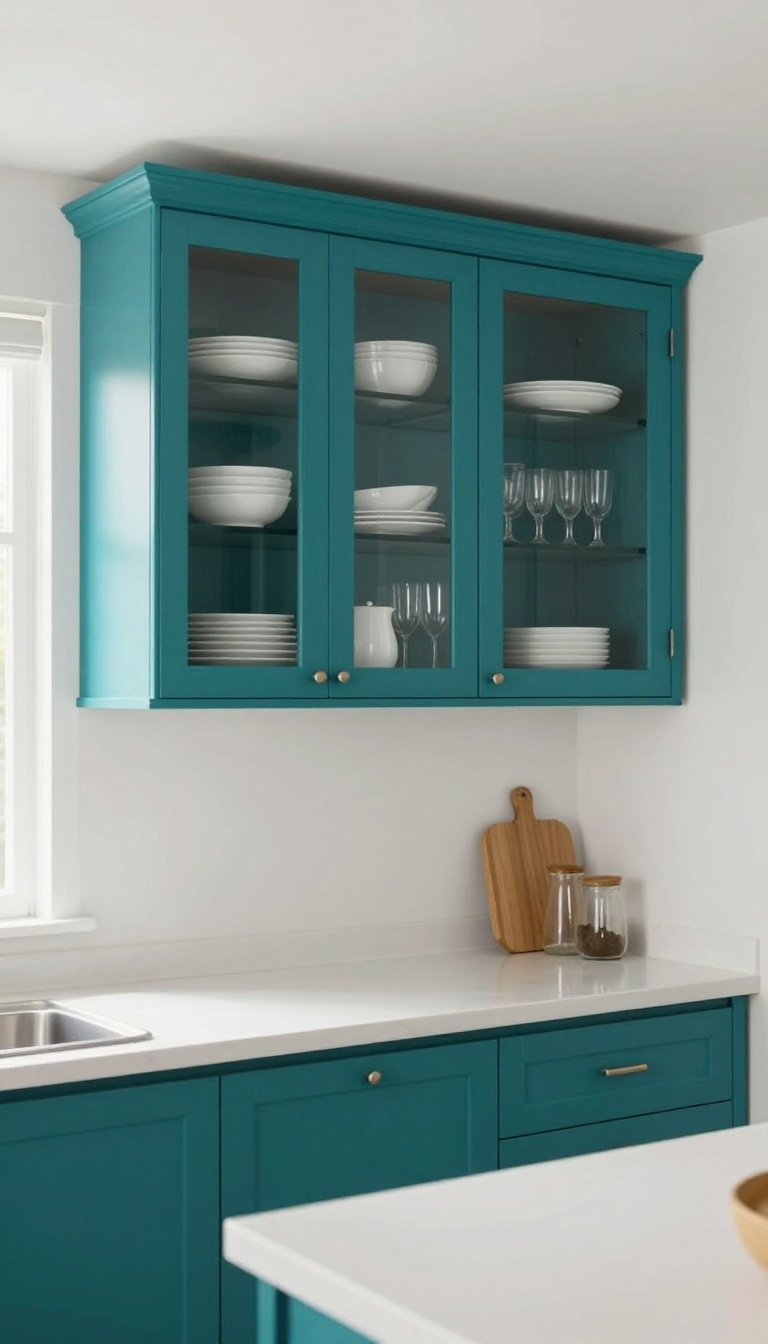
A surprise burst of color can completely change how your kitchen feels, and the inside of your upper cabinets is the perfect spot for it. When you have glass-front doors or open shelving, that interior becomes part of your daily view, so why not make it exciting? Painting the inside a bold shade adds depth and personality, making your dishes and glassware stand out beautifully.
It's an unexpected detail that guests will notice and you'll love every time you reach for a mug.
This trick works best with cabinets that have glass fronts or no doors at all, because the color is actually visible. If your upper cabinets are solid, you can still do this on the inside of the doors themselves—every time you open them, you'll get that pop. Choose a hue that complements your kitchen's palette, whether it's a deep teal, a sunny yellow, or even a classic black for drama.
The key is to pick a shade that contrasts with your dishes so they really stand out. You can also use this as a chance to tie in other accents, like a colorful backsplash or a patterned rug, creating a cohesive look that feels intentional.
Choosing The Right Shade
Think about the mood you want to create. Soft pastels like sage green or dusty blue add a calm, airy feel, while jewel tones like emerald or sapphire bring richness and depth. If you're unsure, start with a color that already appears in your kitchen—maybe in your backsplash tile or a piece of art—and use a slightly deeper or brighter version.
That way, the pop feels connected to the rest of the space. Don't be afraid to go bold; the interior of a cabinet is a small area, so a daring color won't overwhelm the room.
Painting Tips For A Flawless Finish
Prep is everything. Remove the doors and hardware, and clean the surfaces thoroughly to get rid of grease and dust. Lightly sand the interior to help the paint adhere, then apply a primer designed for cabinets.
Use a high-quality paint with a satin or semi-gloss finish—it's more durable and easier to wipe clean. You'll likely need two coats, letting each dry completely. For the doors, paint the inside panels the same color so the effect is consistent when they're open.
Use a small roller for smooth surfaces and a brush for corners.
Styling The Shelves Inside
Once your cabinets get their new color, it's time to style the contents. Arrange your dishes and glassware so they show off the contrast. Group items by color or size, and leave a little breathing room so the painted backdrop isn't hidden.
Add a few decorative pieces like a stack of colorful bowls or a vase in a complementary tone. If you have open shelving, consider using baskets or bins that match the cabinet interior for a tidy, coordinated look. The goal is to make the inside as pretty as the outside.
11. Upper Cabinets with Sliding Barn Doors for Rustic Charm
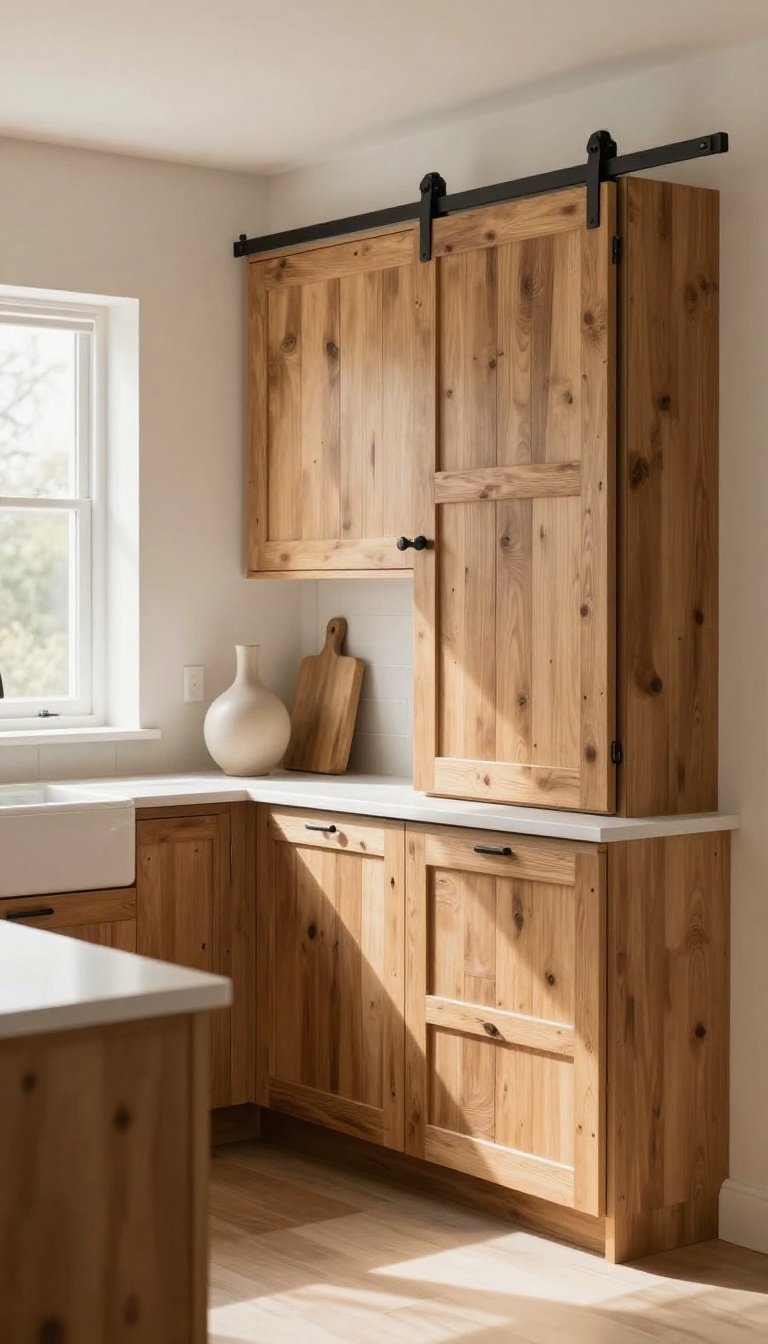
Barn doors aren't just for the living room or bedroom anymore—they're making a stylish entrance in kitchens too. Swapping your standard cabinet doors for sliding barn doors can instantly give your upper cabinets a rustic, farmhouse feel while saving space. It's a bold move that turns a functional storage area into a design statement.
Sliding barn doors on upper cabinets work best when you have a long run of cabinets without too many interruptions. They glide along a track mounted above the cabinets, so you don't have to worry about doors swinging open into your walking space. This makes them especially handy in narrow kitchens or galley layouts where every inch counts.
You can choose from a variety of materials and finishes—reclaimed wood for that true rustic vibe, or a painted finish that matches your cabinetry. The hardware itself can be a focal point, with options ranging from matte black to brushed nickel. Just make sure the track is sturdy enough to support the weight of the doors and that it's installed securely, as these doors will be used daily.
Why Sliding Barn Doors Work In Kitchens
Sliding barn doors are a smart choice for upper cabinets because they don't require clearance for swinging open. This is a game-changer in tight spaces where every inch matters. Plus, the sliding motion adds a smooth, satisfying feel that's both practical and charming.
They also hide clutter effectively—just slide them closed and your kitchen instantly looks tidier.
Choosing The Right Wood And Finish
The material you pick sets the tone. Reclaimed wood brings warmth and history, perfect for a farmhouse or cottage style. If you prefer a more polished look, consider smooth plywood with a painted finish in a soft cream or sage green.
You can also mix materials—for instance, using a whitewashed wood for a beachy feel. Whatever you choose, make sure it complements your countertops and backsplash.
Installation Tips For A Smooth Sliding Action
Proper installation is key. Use a sturdy metal track that can handle the weight of the doors. Mount it securely to the wall or cabinet frame, and ensure the doors are level.
Add soft-close mechanisms to prevent slamming, and consider a floor guide if the doors are tall. If you're not handy, hire a professional—it's worth the investment for a smooth, safe operation.
FAQ
What is the best way to update upper cabinets without replacing them?
Painting is the most cost-effective way. You can also swap out doors, add molding, or change hardware for a fresh look.
Conclusion
Your upper cabinets don't have to be an afterthought. With a little creativity, they can become a standout feature that makes your kitchen feel more inviting and personal. Pick the idea that fits your style and budget, and start small if you need to.
Even a simple change like adding glass fronts or painting the interior can make a big difference. Enjoy the process and the fresh look you create!