20 Cleaning Pots and Pans Bottoms Tips for Burnt Marks
You pull out your favorite saucepan only to find the bottom caked with black, crusty residue. That burnt-on mess seems impossible, but it's not. With the right technique, you can make your cookware look almost new again.
Burnt marks happen to everyone—a forgotten pot, too-high heat, or a spill that carbonized. The good news is you don't need harsh chemicals or expensive cleaners. Most solutions are already in your pantry.
These 20 tips cover everything from quick fixes to deep-cleaning methods. Each one is tested and practical, so you can pick the approach that fits your cookware and your patience level.
1. Baking Soda Paste for Light Burns
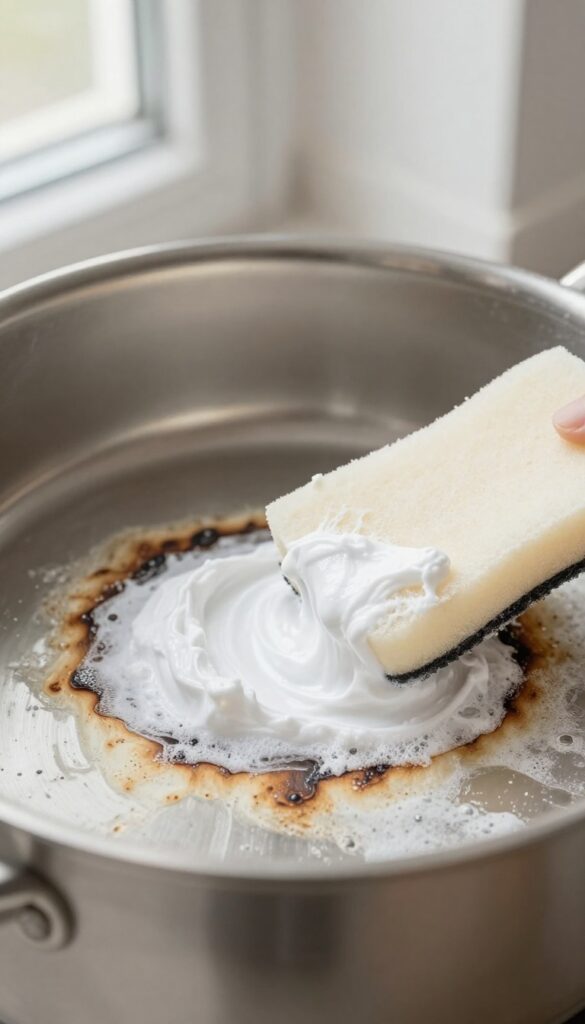
Baking soda is a gentle abrasive that lifts burnt residue without scratching your pans. It's perfect for those light to moderate marks that look stubborn but aren't deeply carbonized. This method is quick, cheap, and uses ingredients you already have.
Mix three parts baking soda with one part water to form a thick, spreadable paste. Apply it generously over the burnt area and let it sit for 15 minutes. The paste will start to break down the burnt-on food.
Then, scrub gently with a non-abrasive sponge or soft brush. Rinse with warm water and repeat if needed. For extra stubborn spots, add a squeeze of lemon juice or a drop of dish soap to the paste.
Why Baking Soda Works
Baking soda is mildly alkaline, which helps dissolve carbonized food particles. Its fine crystalline structure provides gentle scrubbing power that won't scratch stainless steel, enamel, or non-stick coatings. It's also non-toxic, so you don't have to worry about chemical residues.
When To Use This Method
This paste is best for light to moderate burns—the kind that look like a thin brown or black film. It's not strong enough for thick, crusty layers that have built up over time. For those, you'll need a stronger approach later in this list.
Pro Tips For Best Results
Let the paste sit longer—up to 30 minutes—for slightly tougher marks. If the paste dries out, spritz a little water on it. Always test on a small hidden area first if you're unsure about your pan's finish.
Avoid using metal scrubbers with this method; they can scratch.
2. Vinegar and Baking Soda Combo
When burnt-on grime laughs at your scrubbing, it's time to bring out the heavy hitters from your pantry. White vinegar and baking soda create a chemical reaction that loosens even the most stubborn carbonized layers. This classic duo works wonders on stainless steel and enameled cookware.
Start by filling your pan with equal parts water and white vinegar—enough to cover the burnt area. Bring it to a boil and let it bubble for about 5 minutes. The acid in the vinegar breaks down the burnt residue, softening it for removal.
After boiling, remove the pan from heat and add a generous sprinkle of baking soda. The fizzing reaction lifts the loosened grime away from the surface. Let the mixture cool completely, then scrub with a non-abrasive sponge.
Rinse thoroughly and dry. For extra stubborn spots, repeat the process or let the baking soda paste sit for a few minutes before scrubbing.
Why This Combo Works So Well
Vinegar is acidic, which dissolves mineral deposits and carbonized food. Baking soda is alkaline and acts as a gentle abrasive. When combined, they create carbon dioxide gas bubbles that physically lift debris from the pan's surface.
This chemical reaction is powerful yet safe for most cookware finishes.
Best Pans For This Method
This technique is ideal for stainless steel, enameled cast iron, and ceramic non-stick pans. Avoid using it on raw cast iron or aluminum, as vinegar can damage the seasoning or cause pitting. For those materials, stick to gentler methods like baking soda paste alone.
Pro Tip For Maximum Fizz
For an extra fizzy reaction, add the baking soda while the vinegar-water mixture is still hot (but not boiling). The heat accelerates the reaction, creating more bubbles and lifting more grime. Just be careful of splashing—add the baking soda slowly and stand back.
3. Dishwasher Tablet Soak
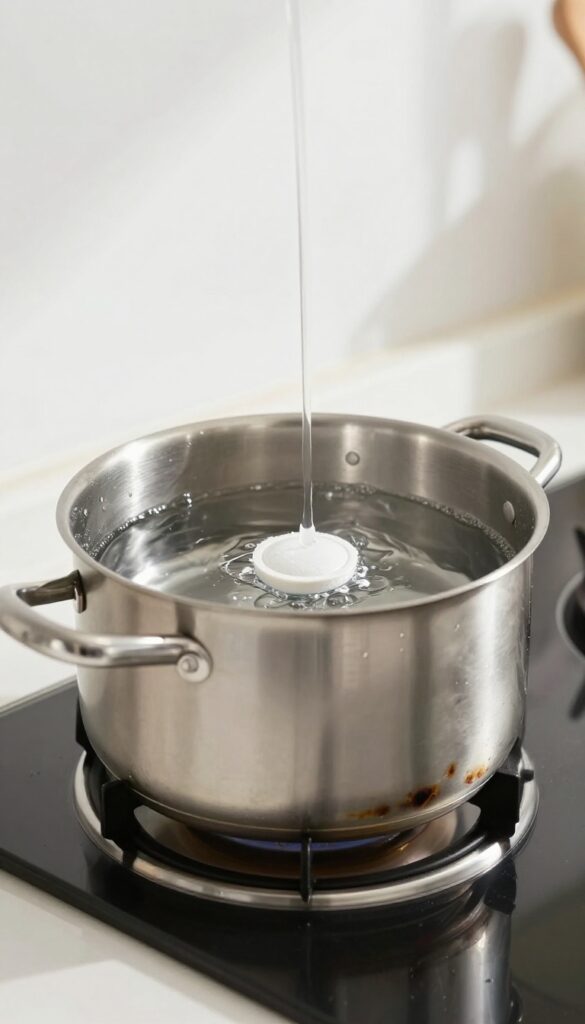
Dishwasher tablets are designed to blast through baked-on food in your machine, so why not let them work on your pots? Drop one tablet into the burnt pot, cover it with hot water, and walk away. The enzymes and surfactants get busy breaking down carbon bonds while you sleep.
This method is almost effortless. You just need one dishwasher tablet, hot water, and patience. It works especially well on stainless steel and enameled cast iron, but avoid it on aluminum or nonstick surfaces—the chemicals can be too harsh.
In the morning, pour out the water, give the pot a quick rinse, and wipe away the softened residue with a sponge. For extra-stubborn spots, a gentle scrub with a nylon brush finishes the job.
Why It Works
Dishwasher tablets contain powerful enzymes, bleaching agents, and surfactants that target proteins and starches. When dissolved in hot water, they create a chemical bath that penetrates burnt layers and lifts them from the surface. The long soak gives these ingredients time to work, so you don't have to scrub.
Best Practices
Use one tablet per pot—more isn't better. Fill the pot with enough hot water to cover the burnt area completely. Let it sit for at least 6 hours or overnight.
After soaking, wear gloves when handling the water; the solution can irritate skin. Rinse thoroughly before using the pot again.
What To Avoid
Never use this method on aluminum, copper, or nonstick coatings. The chemicals can discolor or damage these materials. Also, avoid boiling the water with the tablet inside—it can create excessive foam and potentially damage your stovetop.
Stick to a cold or warm soak.
4. Lemon and Salt Scrub
Sometimes the simplest kitchen ingredients do the heaviest lifting. A lemon and some coarse salt can turn a frustrating burnt pan into a sparkling surface in minutes. The natural acidity of lemon breaks down carbonized food while the salt acts as a gentle abrasive—no elbow grease required.
This method is best for stainless steel, enamel, and ceramic cookware. Avoid it on aluminum or non-stick pans, as the acid can damage the finish or scratch the coating. For best results, use a lemon that's still firm and juicy, and pick a coarse salt like kosher or sea salt—table salt is too fine and dissolves too quickly.
How To Do It
Cut a lemon in half and sprinkle the cut side generously with coarse salt. Scrub the burnt area in a circular motion, applying moderate pressure. The salt will create a gritty paste that lifts the burnt residue.
Rinse the pan with warm water and check your progress. Repeat if needed—stubborn spots may require a second round.
Why It Works
Lemon juice contains citric acid, a mild organic acid that helps dissolve mineral deposits and carbonized food. Coarse salt provides physical abrasion without scratching most surfaces. Together, they create a chemical-mechanical cleaning action that's both effective and safe.
When To Use This Method
This scrub is ideal for light to moderate burnt marks—the kind that come from a forgotten pot of rice or a slightly overheated sauce. For thick, blackened crusts, you may need to pair it with a longer soak or a more aggressive cleaner first.
5. Cream of Tartar Solution
Cream of tartar isn't just for stabilizing egg whites or making snickerdoodles. It's also a surprisingly effective cleaner for burnt pans, especially aluminum ones. The mild acid in cream of tartar helps break down carbonized food without the harsh scrubbing that can damage softer metals.
This method is straightforward and uses ingredients you likely have on hand. It's particularly good for aluminum cookware because it won't cause discoloration like some other cleaners might. The paste clings to vertical surfaces, making it ideal for the sides of pots as well as the bottom.
How To Make The Paste
In a small bowl, combine 2 tablespoons of cream of tartar with just enough water to form a thick paste. You want it spreadable but not runny. If it's too thin, add a little more cream of tartar.
Too thick, add a drop of water. The consistency should be similar to toothpaste.
Application And Wait Time
Spread the paste evenly over the burnt areas on the bottom of the pan. Use a spatula or your fingers (wearing gloves if you prefer). Let it sit for 20 minutes.
During this time, the acid works to loosen the burnt residue. You might see the paste darken as it absorbs the grime.
Scrubbing And Rinsing
After 20 minutes, scrub gently with a non-abrasive sponge or soft brush. The burnt marks should lift off easily. For stubborn spots, let the paste sit longer or add a little more cream of tartar.
Rinse thoroughly with warm water and dry immediately. Your pan should look noticeably cleaner.
6. Boiling Water with Baking Soda
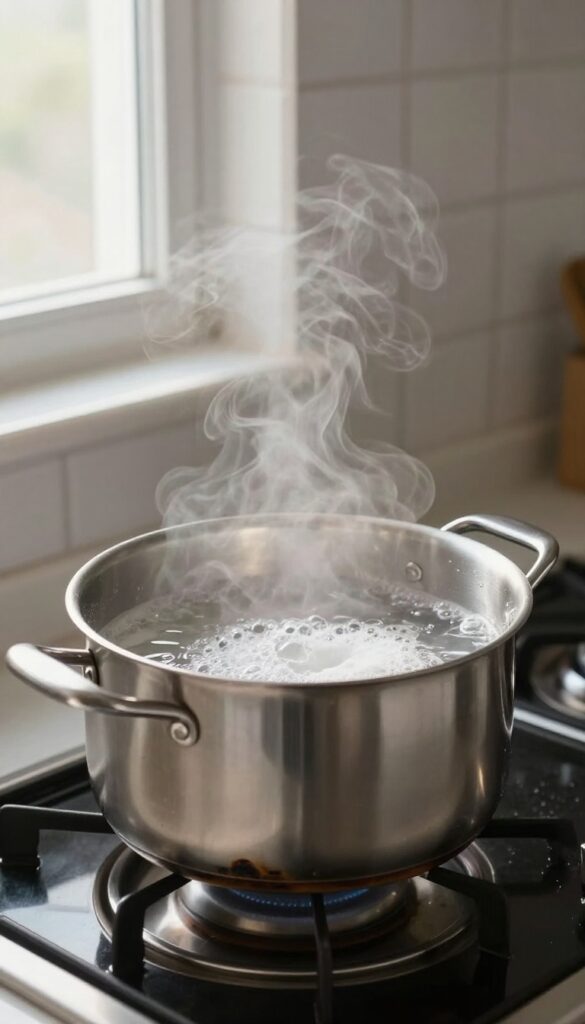
If you've got a pot with a thick, blackened bottom that refuses to budge, boiling water with baking soda is your go-to. This method uses gentle heat and alkalinity to break down carbonized food without harsh scrubbing. It's especially effective for stainless steel and enameled cookware.
Why It Works So Well
Baking soda is mildly alkaline, which helps dissolve burnt-on grease and food particles. The boiling water provides constant heat and agitation, loosening the bond between the burnt layer and the pan surface. This combination softens even the most stubborn crusts, making them easy to wipe away.
Step-by-step Instructions
Fill the burnt pot with enough water to cover the stained area. Add 3 tablespoons of baking soda and stir to dissolve. Bring the water to a boil, then reduce to a simmer for 10 minutes.
Turn off the heat and let the water cool completely. Once cool, pour out the water and scrub the bottom with a non-abrasive sponge or brush. Most of the burnt residue should come off easily.
When To Use This Method
This technique is ideal for moderate to heavy burnt marks on stainless steel, enamel, or ceramic cookware. Avoid using it on non-stick pans, as the boiling process can damage the coating. For aluminum pots, be cautious—prolonged boiling with baking soda can cause discoloration.
7. Ketchup or Tomato Paste
Ketchup isn't just for fries—it's a surprisingly effective cleaner for burnt pot bottoms. The acidity in tomatoes helps break down carbonized residue without harsh scrubbing. It's a gentle method that works especially well on stainless steel and enameled cookware.
Spread a thin layer of ketchup or tomato paste over the burnt bottom. Let it sit for 30 minutes. The acidity helps dissolve carbon.
Wipe off and wash normally.
Why It Works
Tomatoes contain natural acids like citric and malic acid that react with burnt-on carbon, loosening it from the surface. This chemical action does the heavy lifting, so you don't have to scrub aggressively.
Best Cookware For This Method
This trick works wonders on stainless steel, enameled cast iron, and ceramic-coated pans. Avoid using it on raw cast iron or aluminum, as the acid can damage the seasoning or cause discoloration.
Step-by-step Instructions
First, let the pot cool completely. Squeeze a generous layer of ketchup or tomato paste over the burnt area, spreading it evenly. Let it sit for 20–30 minutes.
Then, wipe off with a damp sponge—most of the residue should come away easily. Rinse and wash with dish soap. For stubborn spots, repeat or add a gentle scrub with baking soda.
8. Dryer Sheet Soak
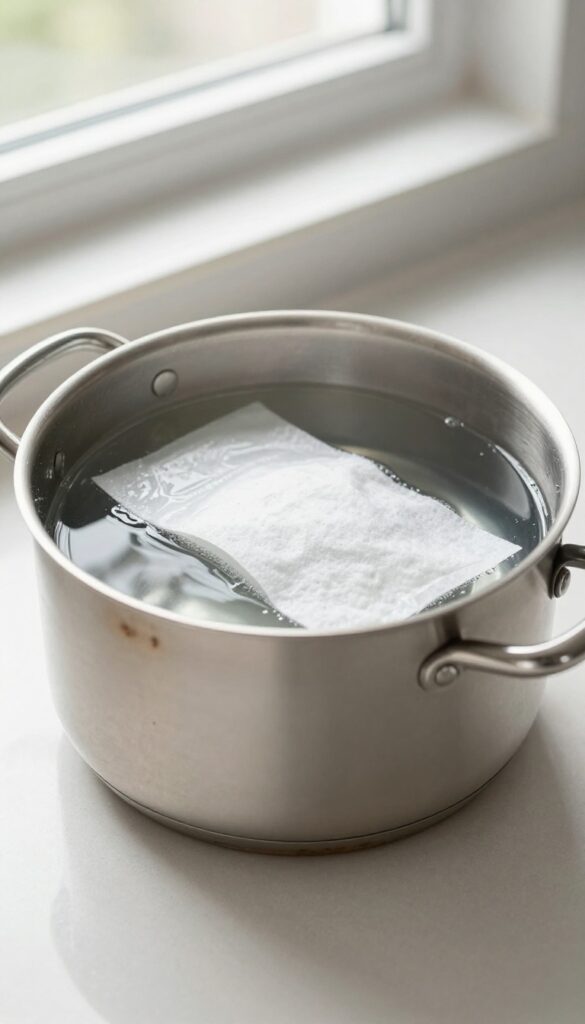
Fabric softener sheets are great for more than just laundry. They contain surfactants that help loosen burnt-on gunk from your pots and pans. This method is especially handy when you need a gentle, low-effort soak that doesn't involve harsh chemicals.
Drop a fresh or used dryer sheet into the burnt pot. Fill it with warm water until the burnt area is covered. Let it soak for an hour—or longer for stubborn marks.
The fabric softener works to break down the carbonized residue. After soaking, pour out the water, remove the sheet, and scrub with a sponge. Most of the burnt bits should come off easily.
If not, repeat or follow up with a gentle abrasive cleaner.
Why It Works
Dryer sheets contain cationic surfactants that reduce surface tension and help lift burnt food particles. The heat from the warm water activates these agents, making the residue easier to remove without heavy scrubbing.
Best For Light To Moderate Burns
This soak is ideal for pots with a thin layer of burnt residue. For thick, charred crusts, you may need a stronger method first. But as a maintenance trick after each use, it keeps bottoms clean with minimal effort.
Tips For Best Results
Use the hottest tap water you can. If the burn is stubborn, let it soak overnight. You can also add a squirt of dish soap for extra grease-cutting power.
Avoid this method on non-stick pans with damaged coatings, as the heat and chemicals might cause peeling.
9. Bar Keepers Friend Powder
Bar Keepers Friend is a household name for a reason. This gentle abrasive powder cuts through burnt-on residue without scratching your stainless steel pots and pans. It's a reliable go-to when other methods fall short.
Sprinkle Bar Keepers Friend on the damp burnt area, let it sit for 1-2 minutes, then scrub with a soft sponge. Rinse well. It's a gentle abrasive that works on stainless steel.
How It Works
Bar Keepers Friend contains oxalic acid, which breaks down burnt carbon and discoloration. The fine powder provides just enough abrasion to lift stains without damaging the metal surface.
Best Used On
This method is ideal for stainless steel cookware. Avoid using it on non-stick, aluminum, or copper surfaces, as it can cause damage. Always test on a small area first.
Pro Tips
For stubborn spots, make a paste with a little water and let it sit for 5-10 minutes before scrubbing. Rinse thoroughly and dry immediately to prevent water spots. Wear gloves to protect your hands.
10. Salt and Ice Cubes
This trick is almost too simple to believe, but it works like magic on burnt-on gunk. Coarse salt acts as a gentle abrasive, while ice cubes provide a cold scrub that helps lift residue without scratching. It's especially kind to non-stick surfaces.
Start by sprinkling a generous layer of coarse salt over the burnt area. Drop a few ice cubes on top and let them sit for a minute. Then, using a sponge or soft brush, scrub in circular motions.
The ice slowly melts, creating a slushy mixture that buffs away the burnt marks. Rinse and repeat if needed. This method is quick, requires no soaking, and leaves your pan bottom smooth.
Why Salt And Ice Work Together
Salt provides the grit needed to physically dislodge carbonized food without being as harsh as steel wool. The ice adds a cooling effect that contracts the burnt layer, making it easier to break apart. As the ice melts, it creates a thin layer of water that helps the salt glide, preventing scratches.
Best Cookware For This Method
This technique is ideal for non-stick pans and delicate stainless steel. Avoid using it on cast iron or bare aluminum, as salt can be too abrasive and ice might cause thermal shock. For those surfaces, stick to gentler methods like boiling baking soda.
Step-by-step Quick Guide
Let your pan cool completely. Sprinkle a thick layer of coarse salt over the burnt spots. Add 3–4 ice cubes directly on the salt.
Wait 30 seconds, then scrub with a non-abrasive sponge. Rinse with warm water and dry immediately. If marks persist, repeat with fresh salt and ice.
11. Hydrogen Peroxide and Baking Soda
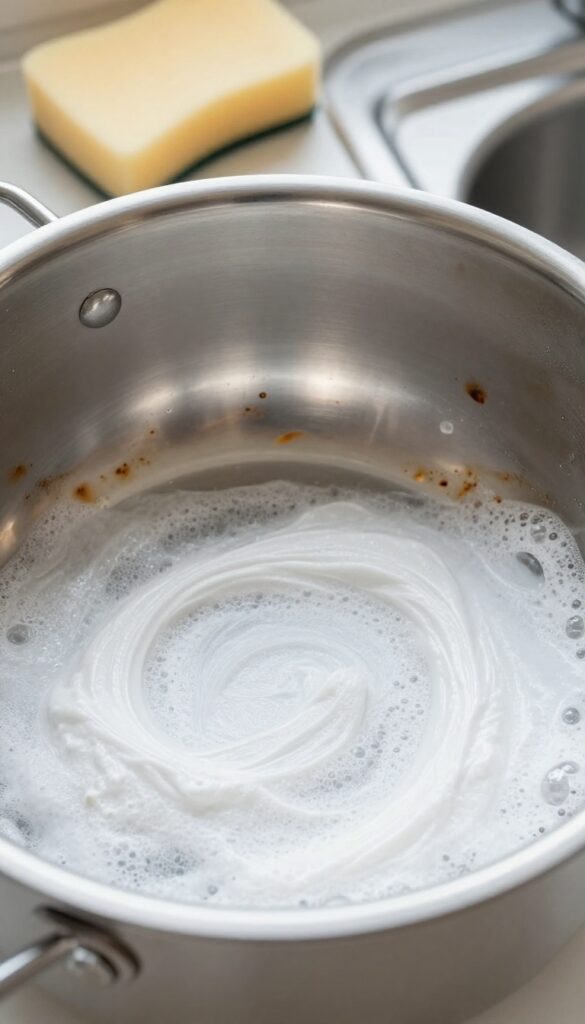
When burnt marks refuse to budge, hydrogen peroxide and baking soda make a powerful team. The peroxide lifts and loosens carbonized residue while the baking soda provides gentle abrasion. Together, they create a fizzing action that penetrates stubborn stains without scratching your pots.
This combo is especially effective on aluminum cookware, which can develop dark, uneven stains from high heat. The peroxide helps whiten the metal, restoring a cleaner appearance. It's also safe for stainless steel and enameled surfaces, making it a versatile option for many kitchen staples.
How To Make The Paste
Mix equal parts hydrogen peroxide (3% solution) and baking soda in a small bowl until it forms a thick, spreadable paste. You'll need about two tablespoons of each for a standard-sized pot bottom. Adjust the ratio if needed—add more baking soda for a thicker paste or more peroxide for a runnier consistency.
Application And Wait Time
Apply the paste directly to the burnt marks, covering them completely. Let it sit for at least 30 minutes—longer for heavy buildup. The paste will start to bubble and fizz as the peroxide reacts with the grime.
For extra stubborn spots, cover the paste with plastic wrap to keep it from drying out.
Scrubbing And Rinsing
After the wait, scrub the area with a non-abrasive sponge or soft brush. The burnt residue should lift off easily. Rinse thoroughly with warm water and dry immediately.
If any marks remain, repeat the process or follow up with a gentle metal polish.
12. Oven Cleaner Spray
When burnt-on gunk has turned into a thick, stubborn crust, oven cleaner can be your secret weapon. The same spray that cuts through baked-on grease in your oven works wonders on pot bottoms. Just be sure to use it safely.
Oven cleaner is formulated to break down carbonized residue, making it ideal for heavily burnt cookware. The active chemicals soften the burnt layer so you can wipe it away with minimal scrubbing. This method works best for stainless steel and enameled cast iron, but avoid using it on aluminum or nonstick surfaces, as the chemicals can cause damage.
How To Apply Safely
Work in a well-ventilated area and wear rubber gloves to protect your skin. Place the pot bottom-up on a layer of newspaper or an old towel. Spray a generous coat of oven cleaner directly onto the burnt area, making sure it's fully covered.
Let it sit for 15–20 minutes—or follow the product's recommended time—then wipe off with a damp cloth or sponge. For extra thick buildup, you can let it soak longer, but check periodically to avoid drying.
Rinse Thoroughly
After wiping off the cleaner, rinse the pot bottom with warm water and dish soap to remove any chemical residue. Dry it completely before storing. If any burnt marks remain, repeat the process or follow up with a gentle scrub using baking soda paste.
13. Boiling Vinegar and Salt
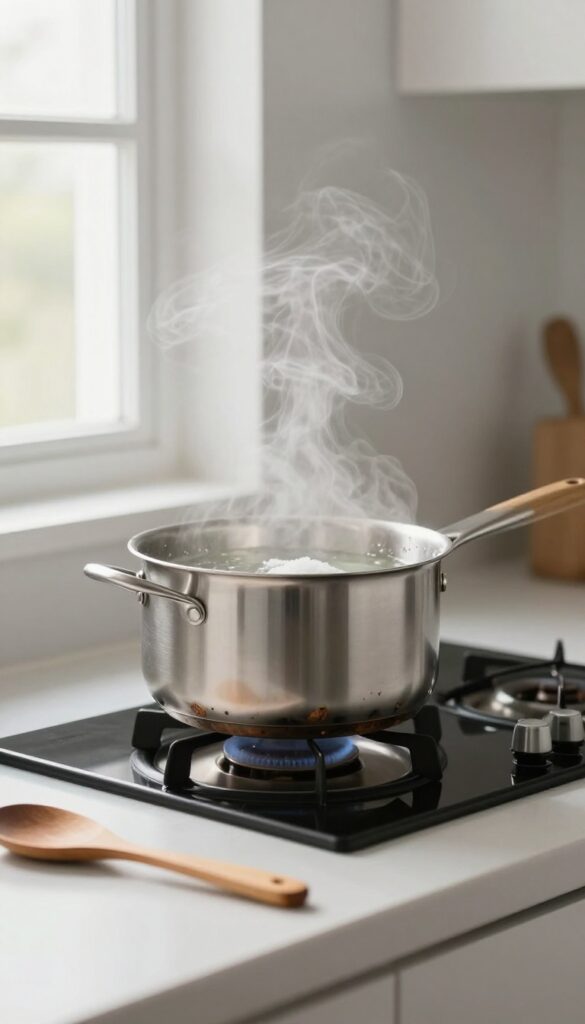
When heat and time have fused burnt food to your pan's bottom, a simple simmer can break that bond. Vinegar's acidity dissolves carbonized residue while salt provides gentle abrasion. This one-two punch works especially well on stainless steel and enameled cookware.
Start by adding 1 cup of white vinegar, 2 tablespoons of salt, and enough water to cover the burnt area to your pot or pan. Bring the mixture to a boil, then reduce to a simmer. Let it bubble away for about 10 minutes.
The steam will help loosen stubborn bits, and the salt will act as a scrubber once you start cleaning. After simmering, pour out the liquid (careful—it's hot) and let the pan cool slightly. Use a non-scratch sponge or brush to scrub away the softened residue.
For extra stubborn spots, sprinkle a little more salt directly on the mark and scrub with a damp sponge. Rinse thoroughly and dry. This method is cheap, non-toxic, and surprisingly effective.
Why This Combo Works
Vinegar is a mild acid that breaks down the chemical bonds in burnt food, making it easier to lift away. Salt adds texture without scratching most surfaces. Together, they create a gentle yet powerful cleaning paste that tackles even baked-on grime.
Best Cookware For This Method
Stainless steel, enameled cast iron, and ceramic-coated pans handle this simmer well. Avoid using it on uncoated aluminum or non-stick pans, as the acid can damage the finish or cause discoloration.
Pro Tip For Extra Tough Burnt Marks
If the first simmer doesn't remove everything, repeat the process. For really stubborn spots, let the pan soak in the vinegar-salt solution for an hour before boiling. The extended soak time gives the acid more opportunity to penetrate the burnt layer.
14. Pumice Stone for Stubborn Marks
For those burnt-on marks that laugh at baking soda and vinegar, a pumice stone can be your final answer. This porous volcanic rock is abrasive enough to scrub away carbonized residue but gentle when used correctly. It works best on smooth, non-porous surfaces like ceramic and glass cookware.
Pumice stones are a go-to for tough stains on ceramic and glass stovetops, and they work just as well on pot and pan bottoms. The key is to keep everything wet—the stone, the pan, and the surface. Dry friction will scratch, but wet abrasion lifts burnt gunk safely.
How To Use A Pumice Stone
Start by soaking the pumice stone in water for a few minutes—it becomes softer and less likely to scratch. Wet the burnt area on your pan as well. Gently rub the stone over the marks in small circular motions, applying light pressure.
Rinse and check progress often. The stone will slowly wear down, exposing fresh abrasive surface.
Which Cookware Works Best
Pumice stones are ideal for ceramic, glass, and enameled cookware. They can also be used on stainless steel, but test on a small area first. Avoid using them on non-stick coatings, aluminum, or copper—the abrasion will damage the surface.
For cast iron, stick to chainmail scrubbers or salt instead.
Pro Tips For Best Results
Keep a spray bottle of water handy to re-wet the pan and stone as you work. If the stone starts to feel dry, dip it in water again. Work in a well-lit area so you can see the marks disappearing.
After scrubbing, wash the pan with soap and water to remove any stone grit. Your pan should look noticeably cleaner.
15. Coca-Cola Soak
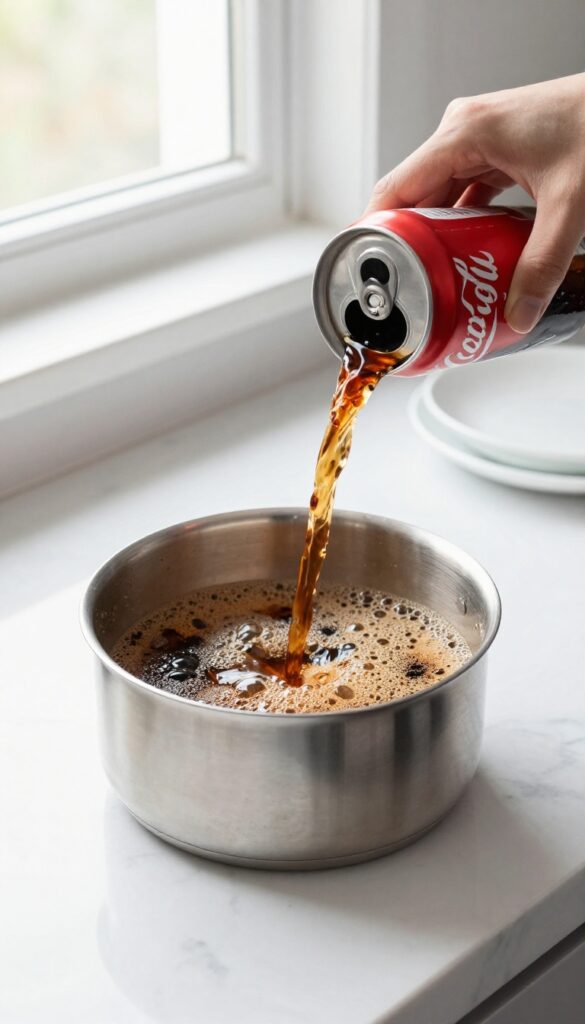
You might think soda is just for drinking, but Coca-Cola is surprisingly effective at breaking down burnt residue. The phosphoric acid in the drink works as a mild cleaning agent, helping to loosen carbonized food without harsh scrubbing. It's a low-effort method that can salvage even crusty pans.
This method is ideal for stainless steel or enamel pots with stubborn burnt marks. The acid gently dissolves the bond between the burnt layer and the metal, making cleanup much easier. It won't work miracles on heavily pitted or nonstick surfaces, but for standard cookware, it's a solid option.
How To Do It
Pour a full can of Coca-Cola into the pot, covering the burnt area completely. Let it soak for at least an hour—longer for tougher residue. The soda will fizz and gradually break down the burnt layer.
After soaking, pour out the soda and scrub with a non-abrasive sponge and dish soap. Rinse thoroughly.
Why It Works
Coca-Cola contains phosphoric acid, which is a mild acid that reacts with burnt-on food residues. This reaction helps dissolve the carbonized particles, making them easier to wash away. The carbonation also aids in lifting debris from the surface.
Tips For Best Results
Use a full can to ensure enough liquid coverage. For extra stubborn marks, bring the soda to a simmer on the stove for a few minutes before soaking. Avoid using this method on aluminum or copper cookware, as the acid can damage the finish.
Always wash thoroughly after to remove any sugary residue.
16. Dish Soap and Baking Soda Scrub
Sometimes the simplest combo works best. Baking soda and dish soap together create a gentle but effective scrub that cuts through grease and lifts carbon without scratching your pans. This method is perfect for light to moderate burnt marks and works on stainless steel, ceramic, and non-stick surfaces.
Start by sprinkling a generous layer of baking soda over the burnt bottom. Add a few drops of liquid dish soap—Dawn or any grease-fighting brand works well. Using a damp sponge or soft scrub brush, work the mixture into a paste and scrub in circular motions.
The baking soda provides mild abrasion while the soap breaks down the burnt oils. Rinse thoroughly and repeat if needed. For stubborn spots, let the paste sit for 10–15 minutes before scrubbing.
Why This Combo Works
Baking soda is a mild alkali that reacts with acids and helps loosen burnt food. Dish soap contains surfactants that lift grease. Together, they create a paste that physically abrades the burnt layer while chemically breaking it down.
Unlike harsh scouring powders, this mixture won't scratch most surfaces.
Best Practices For Different Pans
For stainless steel, use a non-abrasive sponge to avoid micro-scratches. On non-stick pans, opt for a soft cloth or silicone brush—never steel wool. For cast iron, this method is fine as long as you dry and re-season the pan afterward.
Avoid using too much water on cast iron to prevent rust.
When To Use This Method
This scrub is ideal for fresh burnt marks or thin carbon layers. It's a quick, no-fuss solution when you don't want to wait for soaking or boiling. If the burnt layer is thick and hard, try a longer soak or a different method first, then finish with this scrub.
17. Boiling Water with Dishwasher Detergent
Dishwasher detergent isn't just for machines. It contains powerful enzymes that break down food proteins and starches, making it surprisingly effective on burnt pan bottoms. This method is especially good for stainless steel and enameled cookware.
Fill the burnt pot with water and add one tablespoon of dishwasher detergent (powder or gel works). Bring it to a boil and let it simmer for about 10 minutes. The enzymes in the detergent will start dissolving the burnt-on food.
After boiling, let the water cool completely—don't pour it out hot, as the steam can carry chemicals. Once cool, scrub with a non-abrasive sponge. Most of the burnt residue should lift away easily.
Why It Works
Dishwasher detergents contain enzymes like proteases and amylases that target protein and starch-based stains. These enzymes chemically break down the burnt food, turning a tough crust into something you can wipe off with minimal elbow grease.
Safety First
Always let the water cool before handling. Never use this method on nonstick or aluminum cookware, as the detergent can damage the coating or cause discoloration. Rinse thoroughly after scrubbing to remove any detergent residue.
When To Use This Method
This technique works best on fresh-ish burnt marks that haven't been baked on for weeks. If the burnt layer is extremely thick or old, you may need to repeat the process or combine it with a baking soda scrub afterward.
18. Magic Eraser Sponge
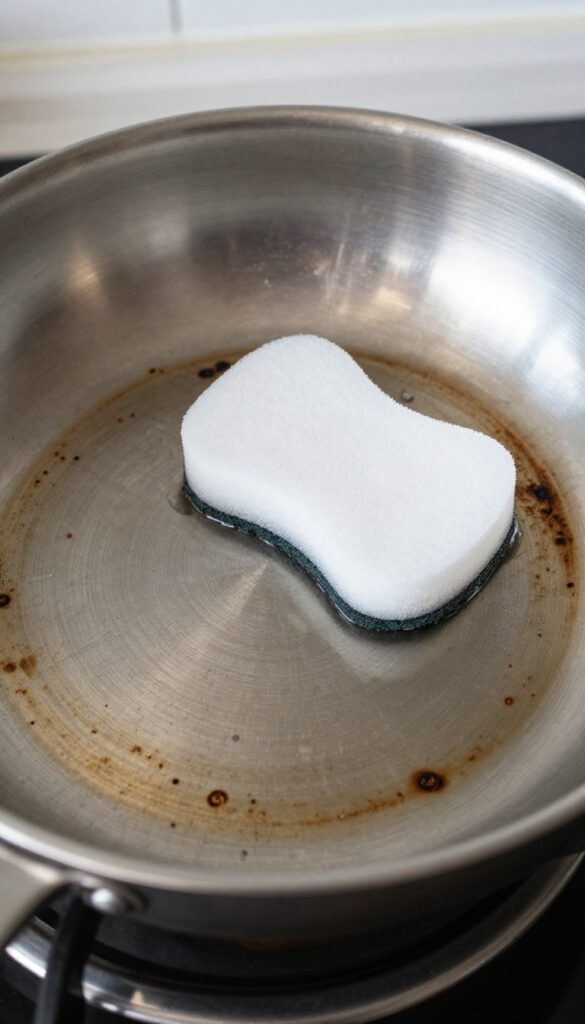
Melamine foam sponges, often sold as Magic Erasers, are surprisingly effective on burnt pan bottoms. They work like a super-fine sandpaper, lifting carbon without scratching most surfaces. Keep one in your kitchen for quick touch-ups.
Dampen the sponge until it's wet but not dripping, then gently rub the burnt area in small circles. The foam will start to break down as it cleans—that's normal. Rinse the sponge frequently to avoid redepositing grime.
For stubborn spots, apply a little pressure, but start light to test the finish.
How It Works
Melamine foam is microporous and acts as an abrasive at a microscopic level. When dampened, it creates a mild scrubbing action that lifts burnt residue without the need for harsh chemicals. It's especially good on stainless steel and ceramic cookware.
Best Practices
Always test on a small, inconspicuous area first, especially on non-stick or enameled surfaces. Use a gentle touch—the sponge is abrasive enough to dull glossy finishes if you scrub too hard. Replace the sponge once it starts to crumble.
19. Boiling Lemon Slices
Lemon's natural acidity is a powerhouse for breaking down burnt-on grime. This method uses steam and acid together to soften stubborn residue without scrubbing yourself into exhaustion. It's especially effective for stainless steel and enamel pots.
Slice 2 lemons, place them in the pot with water, and boil for 15 minutes. The steam and acid loosen burnt residue. Let cool, then scrub with a sponge.
Why It Works
Citric acid in lemons reacts with carbonized food, breaking it down chemically. The steam helps lift particles from the surface. Together, they make scrubbing much easier.
Step-by-step
Fill the pot with enough water to cover the burnt area. Add lemon slices (or lemon juice if you're out of fresh lemons). Bring to a boil, then let it simmer for 15 minutes.
Turn off the heat and let the water cool slightly. Discard the liquid and scrub with a non-abrasive sponge.
Tips For Best Results
Use fresh lemons for maximum acid. If the burnt layer is thick, scrape off loose debris before boiling. For extra stubborn spots, add a tablespoon of salt or baking soda after boiling and scrub gently.
20. Professional Polishing for Copper or Brass
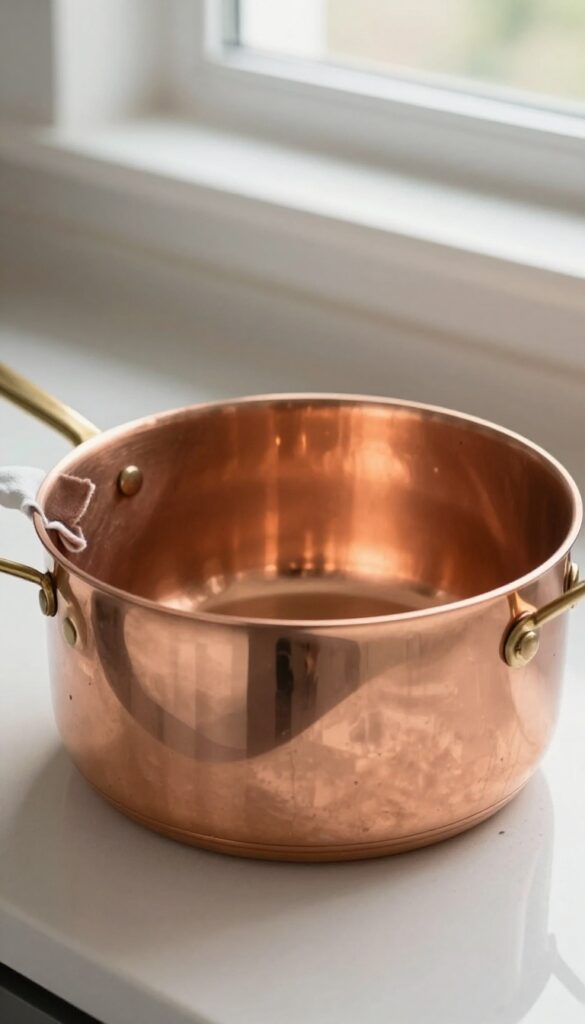
Copper and brass bottoms add a touch of elegance to cookware, but they require special care. The wrong cleaner can scratch or dull their shine. A dedicated metal polish is your best bet for restoring that mirror-like finish without damaging the surface.
When you invest in copper or brass pots, you want them to stay beautiful. Burnt marks on these metals can be stubborn, but a good polish makes them disappear. Just remember: gentle is the name of the game.
Choose The Right Polish
Look for a polish specifically formulated for copper or brass. Avoid generic metal polishes that contain abrasives. Brands like Wright's or Brasso work well.
Test on a small area first to ensure compatibility.
Application Technique
Apply a small amount of polish to a soft, lint-free cloth. Rub gently in circular motions over the burnt area. Let the polish sit for a minute or two to break down the residue.
Buff with a clean part of the cloth until the shine returns.
Rinse And Dry Thoroughly
After polishing, rinse the bottom with warm water and mild soap. Dry immediately with a soft towel to prevent water spots. Any leftover polish residue can affect cooking performance, so be thorough.
Avoid Common Mistakes
Never use steel wool, abrasive sponges, or harsh scouring powders on copper or brass. They will scratch the surface permanently. Also, don't use acidic cleaners like vinegar or lemon juice; they can etch the metal.
FAQ
Can I use steel wool on burnt pans?
Steel wool can scratch stainless steel and non-stick surfaces. Use it only on cast iron or raw aluminum, and even then, opt for fine-grade wool to minimize damage.
How do I prevent burnt marks on pots and pans?
Use medium or low heat for most cooking, avoid leaving empty pans on a hot burner, and clean spills promptly. Also, ensure the pan bottom is dry before placing on heat.
Is it safe to use oven cleaner on cookware?
Oven cleaner is effective but harsh. Use it only on stainless steel or enameled cookware, and rinse thoroughly. Avoid on non-stick, aluminum, or copper surfaces.
What is the best method for non-stick pans?
Gentle methods like baking soda paste, salt and ice, or a soft sponge with dish soap are best. Avoid abrasive scrubs or metal tools that can damage the coating.
How long should I soak burnt pans?
Soaking times vary from 15 minutes for light marks to overnight for heavy buildup. Check periodically and scrub gently to avoid damaging the surface.
Conclusion
Burnt marks don't have to mean the end of your cookware. With a little patience and the right technique, you can restore your pots and pans to their former glory. Start with the gentlest method and work your way up if needed.
Remember, prevention is always easier than cure. Keep an eye on your cooking, use appropriate heat levels, and clean spills as they happen. Your cookware will thank you with years of reliable service.