23 Gas Stove Cleaning Ideas for Burners Grates and Tops
Your gas stove works hard every day, but all that cooking leaves behind baked-on grease and stubborn grime. The burners sputter, the grates look crusty, and the top seems to attract every spill.
It doesn't have to be a losing battle. With the right approach, you can restore that glossy, like-new shine without spending hours scrubbing.
These 23 ideas cover every part of your stove, using common household items and a few clever tricks. Whether you're dealing with a recent spill or years of buildup, there's a solution here that fits your schedule and supplies.
1. The Baking Soda Paste Power Move
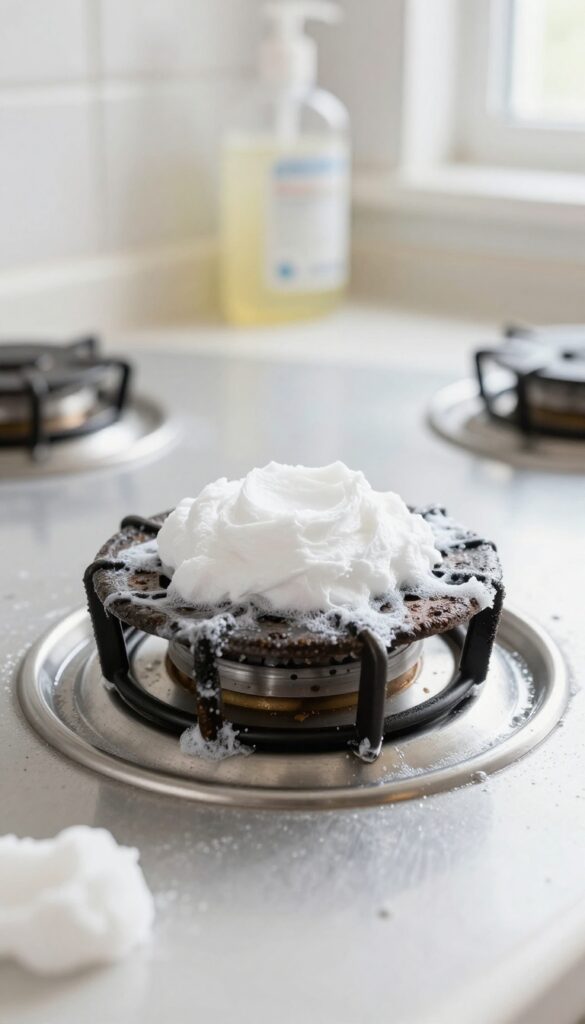
Baking soda is a gentle abrasive that cuts through grease without scratching metal or enamel. When mixed with water, it forms a paste that clings to vertical surfaces and fills in crevices on burner caps and grates. This simple combo breaks down carbon deposits and baked-on food, making scrubbing surprisingly easy.
Start by removing burner caps and grates from the stove. Rinse them briefly under warm water to loosen any loose debris. In a small bowl, combine three parts baking soda with one part water, stirring until you get a thick, spreadable paste.
Apply the paste generously to all surfaces of the caps and grates, paying extra attention to caked-on spots. Let the paste sit for 15 minutes – this gives the baking soda time to penetrate and soften the grime. After the wait, take a damp non-abrasive sponge or cloth and scrub in circular motions.
You'll see the residue lift away easily. Rinse thoroughly with warm water and dry completely before putting them back on the stove.
Why It Works So Well
Baking soda has a pH of around 8, which makes it mildly alkaline. That alkalinity helps break down acidic grease and food residues. Its fine crystalline structure provides gentle friction that scrubs away stuck-on gunk without scratching the surface.
And unlike harsh chemical cleaners, it's safe to use around food and won't release toxic fumes.
Pro Tips For Better Results
For extra stubborn buildup, add a few drops of dish soap to the paste – the soap helps emulsify grease. If your grates are especially crusty, let the paste sit for 30 minutes instead of 15. You can also use an old toothbrush to work the paste into tight corners and between grate bars.
Always rinse thoroughly, because any leftover baking soda can leave a white residue when the stove heats up.
When To Skip This Method
Avoid baking soda paste on aluminum grates unless you're sure they're anodized – the abrasive can dull the finish. For cast-iron grates, this method is fine, but dry them immediately after rinsing to prevent rust. If your burner caps have painted or decorative coatings, test the paste on a small hidden area first to make sure it doesn't scratch.
2. Vinegar Spray for Grease Cutter
White vinegar is a powerhouse when it comes to cutting through everyday grease and grime on your gas stove. It's cheap, non-toxic, and safe to use on most cooktop surfaces. The mild acidity breaks down oils without the need for harsh chemicals, making it a go-to for quick daily cleanups.
To make this spray, simply combine equal parts white vinegar and water in a clean spray bottle. Shake gently to mix. Spritz the solution generously over the cooktop, focusing on greasy areas.
Let it sit for about five minutes to loosen the grime, then wipe clean with a soft cloth or sponge. For stubborn spots, a second application may be needed. This method works best for light to moderate buildup and is perfect for maintaining a clean stove between deeper cleans.
Best Surfaces For Vinegar
Vinegar spray is safe for ceramic, glass, and enamel cooktops, as well as stainless steel. Avoid using it on unsealed cast iron or aluminum, as the acid can damage the finish. If you have a painted or coated surface, test a small area first.
Boosting Cleaning Power
For extra grease-cutting strength, add a few drops of dish soap to the vinegar mixture. The soap helps emulsify the grease, making it easier to wipe away. Just be sure to rinse the surface with water afterward to avoid any residue.
Daily Maintenance Routine
Keep a spray bottle of vinegar solution under your sink and give your cooktop a quick spritz after each use. Wipe it down with a microfiber cloth while the surface is still warm (but not hot). This simple habit prevents grease from baking on and keeps your stove looking spotless.
3. Dish Soap and Hot Water Soak for Grates
Grates take the brunt of high heat and direct flame contact, so they tend to develop a tough, baked-on crust. Scrubbing them dry is a waste of elbow grease. A simple soak in hot, soapy water loosens the grime without harsh chemicals.
This method works best for enameled or cast-iron grates that are not rusted. Just remove the grates, fill your sink or a large basin with the hottest tap water, add a generous squirt of dish soap, and let them sit for 30 minutes. The heat and detergent break down grease, making the next step much easier.
After soaking, the baked-on residue should be soft enough to scrub away with a non-abrasive brush or sponge. A stiff nylon brush works well on textured surfaces, while a soft sponge is safer for enamel coatings. Rinse each grate thoroughly under running water to remove all soap residue, then dry them completely with a clean towel.
Let them air-dry for another 10 minutes before placing them back on the stove. This prevents water spots and ensures no moisture gets into the burner ports. For extra-stubborn spots, add a quarter cup of baking soda to the soak water.
Why Hot Water Works Best
Hot water is a natural solvent for grease. When combined with dish soap, which contains surfactants that lift oil, the soak penetrates layers of baked-on food. The heat keeps the soap active and softens carbon deposits.
Cold water won't give you the same results, so always use the hottest tap water you can safely handle.
Choosing The Right Brush
A non-abrasive brush is key to preserving the grate's finish. For cast-iron grates, a stiff-bristled brush is fine, but avoid metal scouring pads that can scratch enamel. A plastic scrub brush or a sponge with a scrubby side works well.
If your grates have intricate patterns, a soft toothbrush can reach into crevices.
Drying Tips To Prevent Rust
Moisture is the enemy of metal grates. After rinsing, pat each grate dry with a microfiber cloth, then let them sit on a dish rack for at least 15 minutes. For cast-iron grates, you can place them in a warm oven (200°F) for 5 minutes to evaporate any remaining moisture.
Never reassemble wet grates, as trapped water can cause rust or clog burner holes.
4. Lemon Juice and Salt Scrub
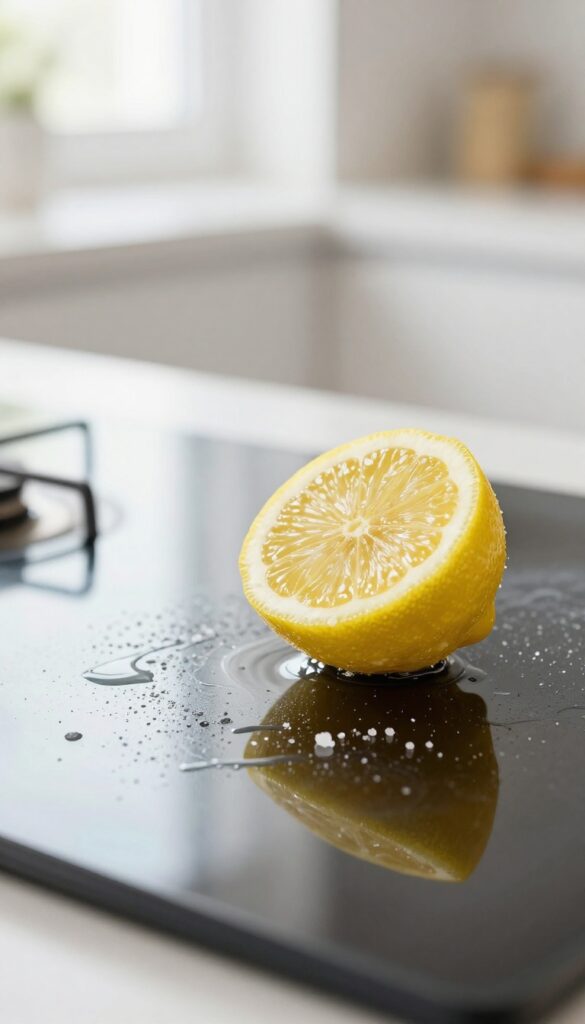
Sometimes the best cleaners are already sitting in your kitchen. A lemon and some salt can tackle greasy, stuck-on messes without any harsh chemicals. The natural acidity of the lemon cuts through grease, while the salt acts as a gentle scrubber.
It’s a quick, fresh-smelling solution that works especially well on glass or ceramic cooktops.
This method is simple: cut a lemon in half, dip the cut side into a small dish of salt, and scrub the cooktop in circular motions. The lemon juice dissolves grime, and the salt provides just enough abrasion to lift baked-on bits without scratching. Rinse with a damp cloth and dry.
It’s best for light to moderate grease and daily maintenance. Avoid using on porous surfaces like unsealed stone.
Why It Works So Well
Lemon juice contains citric acid, a natural degreaser that breaks down oily residues. Salt is a mild abrasive—coarser than baking soda but still safe for most stovetop finishes. Together, they create a paste-like scrub that’s effective and non-toxic.
Plus, the lemon leaves behind a clean, citrusy scent.
Best Surfaces And When To Use It
This scrub shines on glass, ceramic, and enamel cooktops. It’s also fine for stainless steel, but test a small area first. Use it after cooking when spills are still fresh, or for weekly light cleaning.
For heavy, baked-on messes, let the lemon-salt mixture sit for a few minutes before scrubbing.
Pro Tips For Best Results
Use coarse kosher or sea salt—table salt is too fine and dissolves too quickly. Roll the lemon on the counter before cutting to release more juice. After scrubbing, wipe away residue with a damp microfiber cloth, then buff dry to avoid streaks.
5. Ammonia Fumes Trick for Burner Heads
This method uses the power of ammonia fumes to loosen caked-on carbon and grease from burner heads without any scrubbing. It’s a set-it-and-forget-it approach that works wonders on even the most neglected burner parts. Just be sure to work in a well-ventilated area or outdoors, and keep the bag sealed tight.
Ammonia fumes are surprisingly effective at breaking down burnt-on residue because the gas penetrates every nook and cranny of the burner head. The overnight soak in a sealed bag lets the fumes do the heavy lifting, so you barely have to scrub afterward. This trick is especially useful for burner heads with small gas ports that are hard to clean with a brush.
What You’ll Need
Grab a gallon-sized zip-top plastic bag, 1/4 cup of clear household ammonia (not the sudsy kind), and your burner heads. You’ll also want a pair of rubber gloves and access to an outdoor space or a very well-ventilated room. A soft scrub brush or old toothbrush will help with any final residue.
Step-by-step Instructions
Place the burner heads inside the plastic bag. Pour the 1/4 cup of ammonia into the bag, being careful not to let it touch the plastic directly—it’s best to pour it into a corner. Seal the bag almost completely, then gently squeeze out excess air before sealing it fully.
Lay the bag flat on a surface outdoors or in a ventilated area (like a garage with the door open) and let it sit overnight, at least 8 to 12 hours. The next day, wearing gloves, remove the burner heads and rinse them thoroughly with water. Scrub lightly with a brush to remove any loosened debris, then rinse again and dry completely before reinstalling.
Safety Precautions
Ammonia fumes are strong and can irritate your eyes, nose, and throat. Always work outdoors or in a space with excellent airflow. Never mix ammonia with bleach or any other cleaner—this creates toxic chloramine gas.
Keep the bag sealed during the soak and dispose of the ammonia solution by flushing it down the sink with plenty of water.
6. Toothbrush Detail for Burner Ports
Those tiny holes around the burner ring are easy to ignore, but they're the reason your flame looks uneven or weak. Clogged ports happen when food bits and grease bake into the openings over time. A simple toothbrush and a little baking soda paste can bring them back to life.
An old toothbrush is the perfect tool for this job because its bristles are small enough to reach into each port without damaging the metal. Dip the brush into a paste made from baking soda and water, then scrub each opening in a circular motion. The paste lifts the gunk, and the bristles push it out.
Why Ports Get Clogged
Every time you cook, tiny particles of food and grease spray up into the burner. Over time, these particles carbonize from the heat and harden inside the ports. Even a few blocked holes can make the flame sputter or burn yellow instead of blue.
How To Make The Paste
Mix three parts baking soda with one part water in a small bowl. Stir until it forms a thick, spreadable paste. If it's too runny, add more baking soda.
The paste should cling to the brush and not drip everywhere.
Scrubbing Technique
Work on one burner at a time. Dip the toothbrush into the paste and scrub each port firmly but gently. Focus on the ones that look darkest or most clogged.
After scrubbing all ports, wipe the burner with a damp cloth to remove residue. Let it dry completely before reassembling.
7. Hydrogen Peroxide and Baking Soda Fizz
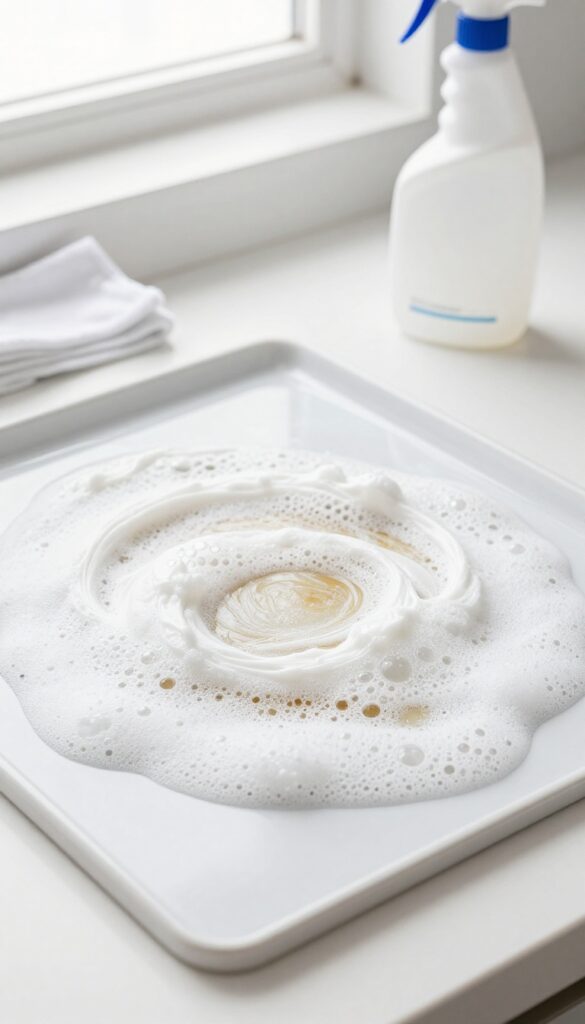
When you need a little extra muscle against stubborn stains, the fizzy duo of hydrogen peroxide and baking soda delivers. This combination creates a gentle abrasive paste that lifts grime without harsh chemicals. It's especially effective on baked-on spills that have been sitting for a while.
Start by covering the stained area with a generous layer of baking soda. Then spray hydrogen peroxide directly over the powder until it forms a thick, bubbling paste. Let it sit for about 10 minutes—the fizzing action helps loosen debris.
Finally, wipe everything away with a damp cloth. For extra stubborn spots, use a soft sponge or non-scratch scrubber. Rinse with water and dry with a clean towel.
Why This Combo Works
Hydrogen peroxide is a mild bleach and disinfectant that reacts with baking soda's alkalinity to produce oxygen bubbles. Those bubbles physically lift dirt and grease from the surface, making it easier to wipe away. It's safe for most cooktop materials, including porcelain and stainless steel.
Best Uses On Your Stove
This method shines on the flat cooktop surface where spills tend to bake on. It's also great for removing dark stains around burner caps. Avoid using it on aluminum or unsealed cast iron, as peroxide can cause discoloration.
Always test a small hidden spot first.
Pro Tips For Best Results
Use 3% hydrogen peroxide from the drugstore—higher concentrations may be too strong. If the paste dries before you wipe, re-spray with a little water. For extra cleaning power, add a drop of dish soap to the peroxide before spraying.
Rinse thoroughly to avoid any residue.
8. Steam Cleaning with a Pot of Water
Steam is a fantastic, chemical-free way to loosen baked-on grime. You don't need a fancy steamer—just a pot of water and your stove's own heat. The steam softens grease and food residue on the cooktop and grates, making them much easier to wipe away.
Fill a large pot with water and bring it to a rolling boil on the stove. Let it boil for about 10 minutes with the lid on, then turn off the heat. The steam will have condensed on the cooktop and grates, softening any stuck-on mess.
Let everything cool completely, then wipe down with a damp cloth. For extra stubborn spots, add a splash of vinegar to the water before boiling.
Why It Works
The heat and moisture from steam penetrate and loosen dried-on food and grease without harsh scrubbing. It's especially effective on glass cooktops and porcelain-coated grates, where abrasive cleaners can cause scratches.
Best Practices
Use a pot that covers most of the burner area to maximize steam coverage. Keep the lid on to trap steam. After boiling, let the stove cool for at least 15 minutes before wiping to avoid burns.
For heavy buildup, repeat the process or follow up with a gentle scrub.
Safety Tips
Never leave boiling water unattended. Make sure the pot is stable and not too full to prevent boiling over. Allow the stove to cool completely before cleaning to avoid steam burns.
9. Cream of Tartar for Stubborn Spots
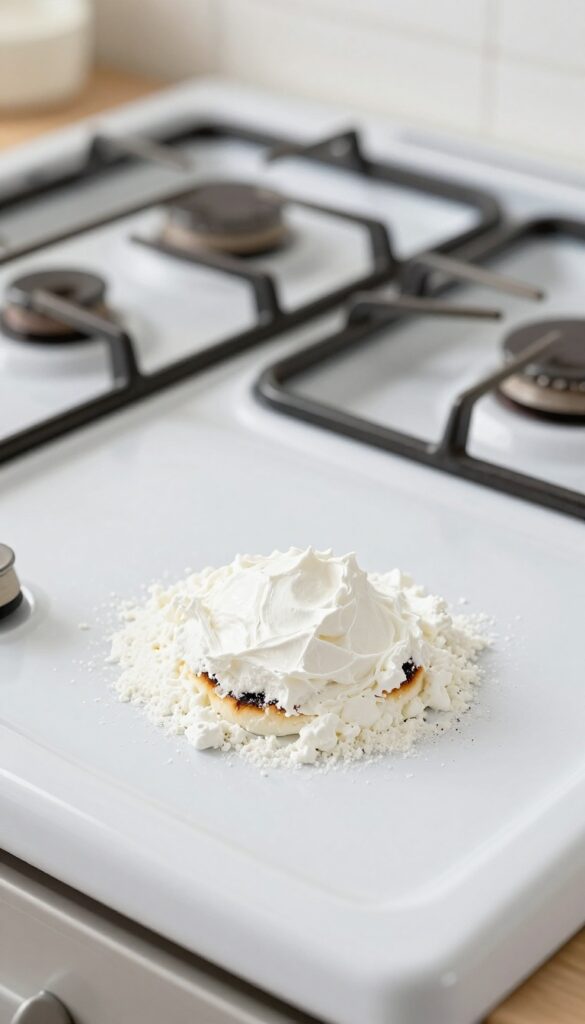
Cream of tartar is one of those kitchen staples that pulls double duty. It's not just for baking—it also makes a gentle but effective cleaner for burnt-on spots on your stove top or grates. When mixed into a paste, it creates a mild abrasive that lifts stains without scratching the surface.
To make the paste, combine cream of tartar with just enough water to form a thick, spreadable consistency. Apply it directly to the stubborn spots and let it sit for about 20 minutes. The cream of tartar works to break down the burnt residue during that time.
After the wait, take a soft sponge or cloth and scrub gently in circular motions. Rinse with water and wipe dry. For extra tough spots, you can add a few drops of lemon juice to the paste for a little more acidity.
Why Cream Of Tartar Works
Cream of tartar is a powdered acid (potassium bitartrate) that reacts with water to create a mild acidic solution. This acidity helps dissolve mineral deposits and burnt-on food, while the fine powder provides gentle abrasion. It's safe on most stove surfaces, including glass, ceramic, and enamel, but always test a small hidden area first.
Best Spots To Use It
This method excels on small, localized burnt-on spots that won't budge with regular cleaners. Think dried-on sauce splatters, scorched milk rings, or crusty edges around burner caps. It's also great for cleaning the porcelain-coated grates without worrying about harsh chemicals.
Tips For Best Results
Let the paste sit the full 20 minutes—don't rush it. If the paste dries out, spritz a little water on it to keep it moist. For really stubborn spots, you can repeat the process or let it sit longer.
Always rinse thoroughly to avoid any powdery residue.
10. Bar Keepers Friend for Stainless Steel Tops
Stainless steel cooktops look sleek, but they show every fingerprint and water spot. Bar Keepers Friend is a classic cleaner that cuts through grease and restores that brushed-metal finish without harsh scrubbing. It's especially good on baked-on spills that regular soap won't touch.
Sprinkle a small amount of Bar Keepers Friend powder directly onto a damp sponge or soft cloth. Work it into a gentle paste and rub it onto the cooktop in the direction of the grain. Focus on stained or discolored areas, but avoid letting the paste dry on the surface.
Rinse thoroughly with a clean wet cloth, then dry immediately with a microfiber towel to prevent streaks. For extra stubborn spots, let the paste sit for one minute before scrubbing. Always test on a hidden area first, and never use it on painted, ceramic, or glass surfaces.
Why It Works So Well
Bar Keepers Friend contains oxalic acid, which breaks down mineral deposits and oxidized stains without being overly abrasive. The fine powder provides just enough grit to lift grime without scratching stainless steel when used correctly.
How To Avoid Streaks
The key is rinsing and drying. Any leftover residue will leave cloudy marks. Use a dedicated microfiber cloth for drying and buff the surface in the direction of the grain.
If streaks appear, wipe with a tiny amount of white vinegar on a soft cloth, then dry again.
When To Skip This Method
Avoid Bar Keepers Friend on cooktops with a protective coating, like some fingerprint-resistant finishes. It's also not suitable for ceramic glass, enamel, or painted surfaces. Stick to the manufacturer's recommendations for those materials.
11. Dishwasher Tablets for Grates
Dishwasher tablets aren't just for your dishwasher. Drop one into a sink full of hot water, and you've got a powerful degreasing soak that works wonders on burner grates. The enzymes and surfactants in the tablet break down baked-on grease without harsh scrubbing.
Just let the grates sit for 30 minutes, then give them a quick scrub and rinse. They'll come out looking nearly new.
This method is perfect for when you want to avoid heavy chemicals or elbow grease. The tablet dissolves and releases active cleaning agents that lift grease and food residue. It's especially effective on cast-iron or enameled grates that have layers of grime.
Just make sure the water is hot—not boiling—to activate the enzymes properly.
How To Do It
Fill your sink or a large basin with hot water. Drop in one dishwasher tablet and let it dissolve completely. Submerge the grates and let them soak for 30 minutes.
After soaking, scrub with a soft brush or sponge. Rinse thoroughly with clean water and dry immediately to prevent rust.
Why It Works
Dishwasher tablets contain enzymes that target proteins and starches, plus surfactants that break down grease. The hot water activates these ingredients, making them more effective than plain soap. This combination loosens stubborn buildup so you can wipe it away with minimal effort.
Tips For Best Results
Use this method only for removable grates—never for the stovetop surface itself. For extra-heavy buildup, let the grates soak for up to an hour. If you have aluminum grates, check for discoloration first; the enzymes are generally safe, but test on a small area.
Always dry grates completely to avoid water spots or rust.
12. Rubbing Alcohol for Streak-Free Shine
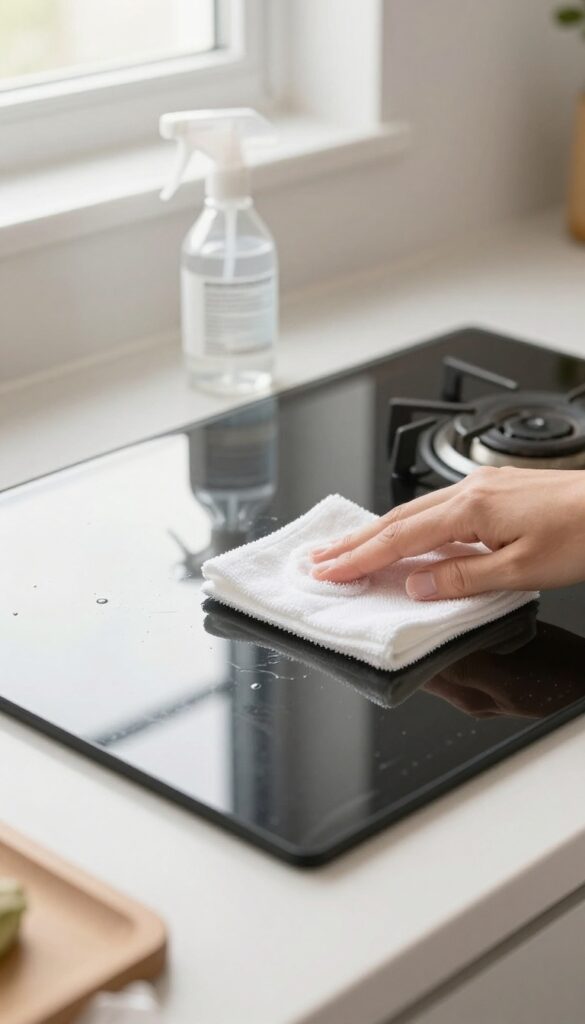
Rubbing alcohol isn't just for first aid. It's a fantastic glass and surface cleaner that evaporates fast and leaves zero streaks. On a glass or ceramic cooktop, it cuts through light grease and smudges without the haze that some sprays leave behind.
Grab a microfiber cloth and dampen it with rubbing alcohol. Wipe down the entire cooktop, focusing on spots where fingerprints and dried splatters linger. The alcohol dissolves residue and evaporates almost instantly, so you don't have to buff or wait for it to dry.
For stubborn stuck-on bits, let the alcohol sit for a minute before wiping.
Why It Works So Well
Rubbing alcohol is a solvent that breaks down oils and grease without leaving a film. Because it evaporates quickly, there's no time for water spots or streaks to form. It's also safe on most cooktop surfaces, including glass, ceramic, and stainless steel.
Best Uses And Tips
Use 70% or higher isopropyl alcohol for best results. Avoid pouring it directly on the stove; always dampen the cloth first. This method is perfect for daily touch-ups after cooking, especially if you want a polished look without extra effort.
For heavy grease, pair it with a degreasing dish soap first.
13. Oven Cleaner for Heavy-Duty Grime
Sometimes the grime on your stove is so stubborn that gentle cleaners just won't cut it. That's when you bring out the big guns: oven cleaner. The same stuff that eats through baked-on spills inside your oven works wonders on burner caps and grates.
Oven cleaner is a heavy-duty degreaser that can dissolve even the most caked-on residue. It's perfect for those times when you've let things go a bit too long. Just be sure to use it safely and only on parts that can handle the strong chemicals.
How To Apply Oven Cleaner To Stove Parts
Start by removing the grates and burner caps from your stove. Place them in a well-ventilated area or outdoors. Spray the oven cleaner generously over all surfaces, making sure to coat the grime completely.
Let it sit for about 15 minutes. The chemicals need time to break down the grease. After the wait, scrub each piece with a stiff brush or scouring pad.
Rinse thoroughly with water and dry before putting them back.
Safety First: Gloves And Ventilation
Oven cleaner contains strong chemicals like sodium hydroxide, which can irritate skin and lungs. Always wear rubber gloves and work in a well-ventilated space. If you're sensitive to fumes, consider wearing a mask.
Keep the cleaner away from aluminum parts, as it can cause discoloration. Never use oven cleaner on the stove top itself, as it may damage the finish.
When Oven Cleaner Is The Right Choice
This method is best for heavy, baked-on grease that won't budge with regular dish soap or baking soda. It's a time-saver for deep cleaning sessions. But for routine maintenance, stick to gentler options.
Oven cleaner is a powerful tool, not an everyday cleaner. Use it sparingly to keep your stove parts in good shape.
14. Ketchup for Copper or Brass Burners
Copper and brass burner parts look beautiful when polished, but they tarnish quickly with heat and use. Before you buy a specialty metal polish, check your fridge. Ketchup contains vinegar and tomato acid, both of which break down tarnish without harsh scrubbing.
It's a cheap, food-safe trick that works surprisingly well.
Squeeze a generous amount of ketchup directly onto the tarnished burner parts. Spread it evenly to cover all discolored areas. Let it sit for 10 minutes—the acidity needs time to react with the oxidized metal.
Then wipe off with a damp cloth. For stubborn spots, rub gently with a soft sponge. Rinse thoroughly and dry immediately to prevent water spots.
The result is a bright, like-new shine without any chemical fumes.
Why Ketchup Works
Ketchup's main ingredients—vinegar and tomato paste—create a mild acid that dissolves copper oxide and brass tarnish. The thick texture keeps the acid in contact with the metal, so you don't need to scrub. It's the same chemistry as commercial tarnish removers, but much gentler and cheaper.
Best Practices For Best Results
For heavy tarnish, let the ketchup sit up to 15 minutes. If parts are heavily soiled with grease, wash them with dish soap first. Always rinse with warm water after treatment.
Dry with a soft cloth to avoid new tarnish forming. Avoid using this method on painted or coated burners—it can strip the finish.
15. Baby Oil for Polishing Stainless Steel
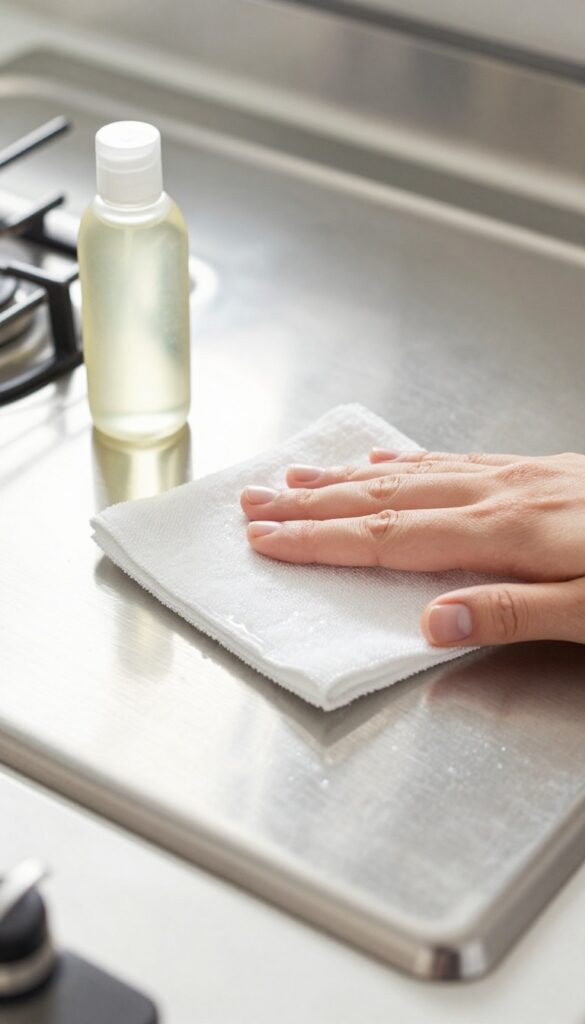
After you've scrubbed and rinsed your stainless steel stove top, you might notice it still looks a little dull or streaky. That's where baby oil comes in. A tiny amount applied with a soft cloth can transform the surface, giving it a brilliant shine and creating a protective barrier against future smudges.
Baby oil is mostly mineral oil, which is gentle on stainless steel and safe for kitchen surfaces. It fills in microscopic scratches that catch light and make the metal look hazy. The oil also repels water and fingerprints, so your stove stays cleaner longer.
Best of all, it costs pennies per use and won't leave a greasy residue if you buff it properly.
How To Apply Baby Oil
Start with a clean, dry stainless steel surface. Put a few drops of baby oil onto a microfiber cloth—you don't need much, just enough to lightly dampen a small area. Rub the oil onto the stove top in a circular motion, covering one section at a time.
Then, using a clean part of the cloth, buff the area until it shines. The surface should feel smooth and look streak-free.
Where to Use It
Baby oil works best on flat stainless steel surfaces like the stove top, backsplash, or hood. Avoid using it on painted or coated parts, as it may discolor them. It's also not recommended for burner grates or drip pans, since those get too hot and the oil could smoke.
Stick to the areas that need a cosmetic boost.
Why It Beats Commercial Polishes
Many stainless steel polishes contain harsh chemicals or leave a sticky film. Baby oil is fragrance-free, hypoallergenic, and non-toxic—safe to use around food. It's also cheaper and lasts longer because you use so little.
A single bottle can last months, even with weekly polishing.
16. Pumice Stone for Ceramic Cooktops
Ceramic cooktops are sleek but prone to burnt-on spills that resist regular cleaners. A pumice stone offers a gentle abrasive solution that won't scratch when used correctly. The key is keeping the surface wet to let the stone glide smoothly.
How To Use A Pumice Stone Safely
Wet both the cooktop and the pumice stone thoroughly. Rub the stone gently over the burnt area in small circles. Rinse frequently and re-wet the surface to prevent scratching.
The stone gradually wears down to expose fresh abrasive grit.
What To Avoid
Never use a dry pumice stone on a ceramic cooktop—it will scratch. Avoid pressing hard; let the stone do the work. Test on an inconspicuous spot first if your cooktop has a coating.
Skip this method on glass stovetops with a textured finish.
Aftercare And Final Shine
Once the residue is gone, wipe the cooktop with a damp cloth to remove stone dust. Follow up with a glass cooktop cleaner and a microfiber cloth to restore the shine. The surface will look smooth and streak-free.
17. Club Soda for Fresh Spills
Club soda isn't just a mixer for your drinks—it's a surprisingly effective cleaner for your gas stove. The carbonation helps lift fresh spills right off the cooktop, making cleanup almost effortless. Keep a bottle handy for those inevitable splatters.
When you spill something on the stove, don't let it sit. Grab a bottle of club soda and pour a small amount directly over the fresh spill. The bubbles will work to loosen the residue, carrying it away from the surface.
Let it fizz for about 30 seconds, then wipe with a soft cloth. For sticky spills, you can repeat the process. This method works best on glass or ceramic cooktops but is also safe for stainless steel and enamel surfaces.
Why Club Soda Works
Club soda contains carbonic acid, which creates a mild fizzing action. This effervescence helps physically lift particles from the surface without harsh scrubbing. The bubbles get under the spill and push it away, making it easy to wipe clean.
Best For Recent Messes
This trick is most effective on fresh spills that haven't had time to bake on. Sauces, soups, and even greasy splatters come off quickly. For dried or burnt-on stains, you might need a stronger cleaner, but club soda is a great first line of defense.
No Residue Left Behind
Unlike some commercial cleaners, club soda leaves no chemical residue or streaks. It's safe for food contact surfaces and won't affect the taste of your next meal. Just wipe dry with a clean cloth for a spotless finish.
18. Dryer Sheets for Baked-On Grease
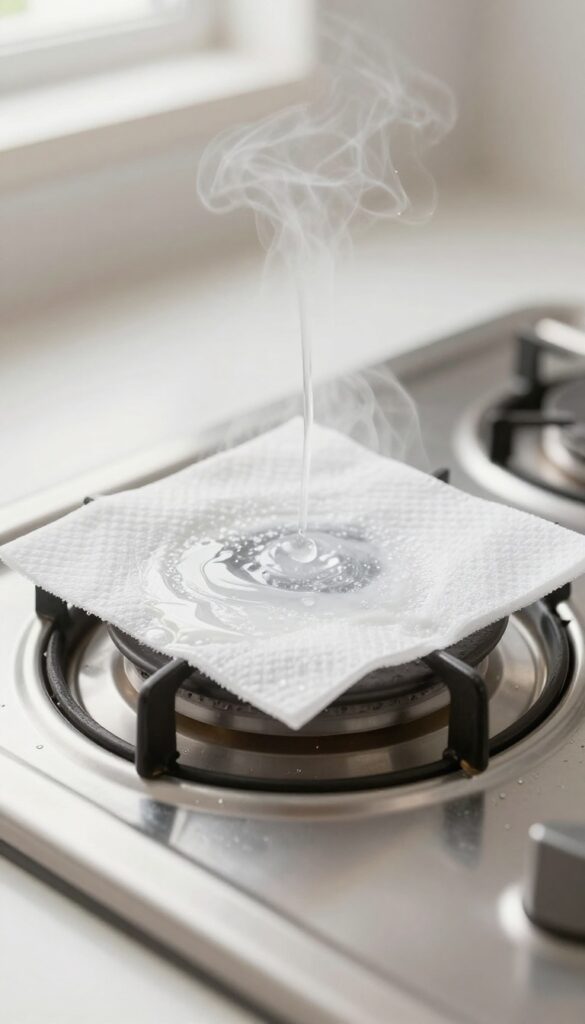
You know that stubborn, crusty grease that just won't budge? A humble dryer sheet can be your secret weapon. The fabric softener contains surfactants that help break down baked-on grime without harsh scrubbing.
It's a surprisingly effective trick for those tough spots on burner grates or the stovetop surface.
This method works best on fresh to moderate baked-on grease, not years of buildup. The key is letting the dryer sheet soak long enough for the softeners to penetrate the grime. For extra-stubborn spots, add a drop of dish soap to the water.
How To Use Dryer Sheets On Grease
Place a used or new dryer sheet directly over the greasy area. Pour warm water over it until the sheet is fully saturated. Let it sit for 20 minutes—the longer the better for tough spots.
After soaking, remove the sheet and wipe the area with a damp cloth. The grease should lift off easily. If any residue remains, a quick scrub with a soft sponge finishes the job.
Best Surfaces For This Trick
Dryer sheets work well on enameled burner grates, stainless steel tops, and glass cooktops. Avoid using them on unsealed cast iron or aluminum, as the chemicals may cause discoloration. Always test on a small, hidden area first if you're unsure.
Why It Works
Fabric softeners contain cationic surfactants that reduce surface tension, helping water and cleaning agents penetrate grease. They also contain mild solvents that dissolve oils. Combined with the warmth of the water, this creates a gentle but effective degreasing action.
19. Magic Eraser for Scuff Marks
Scuff marks and light stains on your cooktop can be surprisingly stubborn. A Magic Eraser is a simple, effective way to erase those marks without heavy scrubbing or harsh chemicals. Just dampen it and gently rub the affected area—it works like a charm on most smooth surfaces.
A Magic Eraser is essentially melamine foam, which acts as a fine abrasive that lifts dirt and marks without scratching. It's perfect for gas stove tops, especially around burners where shoes or pots can leave dark scuffs. Always test on a small hidden area first, and rinse thoroughly after use to remove any residue.
How To Use It
Wet the Magic Eraser until it's damp but not dripping. Gently rub the scuff mark in a circular motion. You'll see the mark lift away almost instantly.
Wipe the area with a clean damp cloth to remove any foam particles, then dry with a soft towel.
Where It Works Best
This method is ideal for ceramic, glass, and enamel cooktops. It's also great for stainless steel, but avoid using it on polished or mirrored finishes as it can dull the shine. Stick to light scuffs and stains—heavy baked-on grease may need a degreaser first.
A Few Precautions
Don't use a dry Magic Eraser—it can scratch. Also, avoid abrasive scrubbing; let the foam do the work. Rinse the cooktop well after use to prevent any white residue from drying on the surface.
Store the eraser in a dry place so it lasts longer.
20. Boiling Vinegar for Clogged Burners
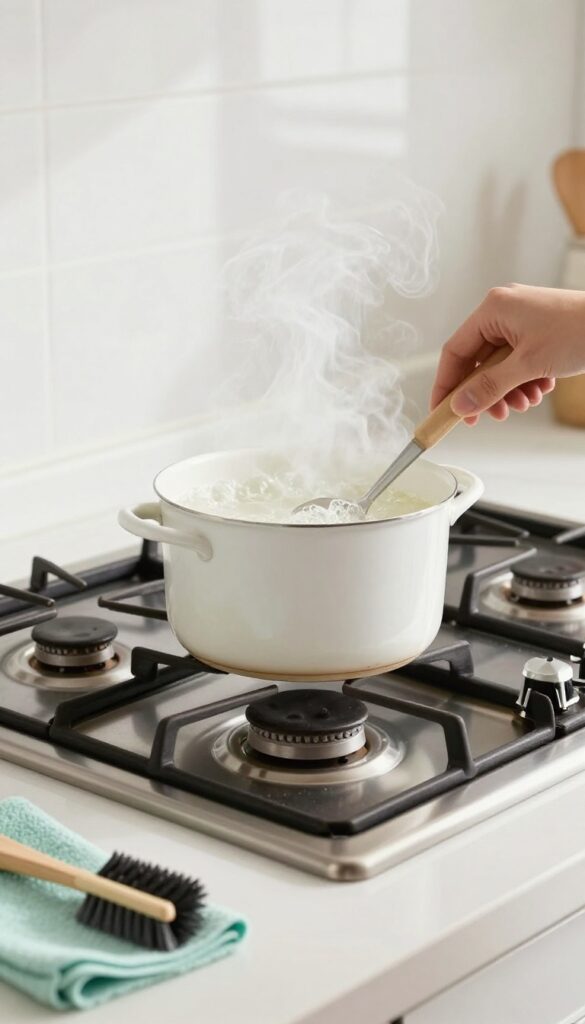
Clogged burner ports are a common headache. They cause uneven flames, yellow tips, or no flame at all. The culprit is usually food debris or grease that's baked into the tiny holes over time.
You don't need specialty tools or solvents—just plain white vinegar and a pot big enough to hold your burner heads.
Submerge the burner heads in a pot of white vinegar, making sure they're fully covered. Bring the vinegar to a boil, then turn off the heat and let it cool completely. Once cool, remove the burners and scrub them with a stiff brush or an old toothbrush.
The boiling vinegar loosens and dissolves the gunk, while the scrubbing clears the ports. Rinse well with water and dry thoroughly before reinstalling.
Why Vinegar Works
Vinegar is mildly acidic, which breaks down mineral deposits and grease without harsh chemicals. The heat from boiling helps the vinegar penetrate deep into the clogged ports, softening stubborn buildup. It's a natural, food-safe method that won't damage your burner heads.
Step-by-step Process
Start by removing the burner heads from your stove. Place them in a pot and pour in enough white vinegar to submerge them completely. Bring to a boil, then let the vinegar cool.
After cooling, scrub each burner with a brush, focusing on the ports. Rinse under running water and dry with a clean towel. Let them air-dry fully before putting them back on the stove.
Tips For Best Results
Use a pot that's large enough to hold all burner heads without crowding. If the vinegar doesn't cover them completely, add more or work in batches. For extra-stubborn clogs, let the burners soak in the cooled vinegar for an hour before scrubbing.
Always dry the burners thoroughly to prevent rust.
21. Cornstarch for Grease Absorption
Grease splatters are inevitable, but they don't have to be a pain to clean up. Cornstarch, a pantry staple, works like a charm for lifting fresh grease without scrubbing. It's a simple trick that saves time and elbow grease.
Cornstarch is a natural absorbent, making it perfect for soaking up oily residues on your stove top. When you sprinkle it on a greasy spot, it binds to the oil, turning it into a powdery paste that wipes away easily. This method works best on fresh spills, but it can also help loosen older grime if you let it sit longer.
After using cornstarch, follow up with your regular cleaner for a spotless finish.
How To Apply Cornstarch
First, make sure the stove is cool. Sprinkle a generous layer of cornstarch directly onto the greasy area. Let it sit for about 10 minutes—you'll see it start to clump as it absorbs the oil.
Then, use a dry cloth or paper towel to wipe away the cornstarch. For stubborn spots, gently rub with a soft sponge.
Why It Works So Well
Cornstarch has a fine, porous texture that acts like a magnet for grease molecules. Unlike harsh chemicals, it doesn't create fumes or leave a residue. It's also safe for all stove surfaces, including ceramic, glass, and stainless steel.
Plus, it's cheap and non-toxic.
When To Use This Method
This trick is ideal for fresh splatters and light grease buildup. For heavy, baked-on grease, you might need to combine it with a degreaser or let the cornstarch sit longer. It's also great for cleaning burner grates—just dust them with cornstarch, let it sit, then scrub gently.
22. Toothpaste for Minor Scratches
Stainless steel cooktops look sleek, but they're prone to fine scratches from pans and scrubbing pads. Before you resign yourself to a dull surface, try this surprising fix. Plain white toothpaste can buff out those light marks and restore a uniform shine.
Why It Works
Toothpaste contains mild abrasives like calcium carbonate or silica, which gently polish metal without causing further damage. It's the same principle as specialized metal polish, but much cheaper and always on hand.
How To Apply
Squeeze a pea-sized amount of non-gel, non-whitening toothpaste onto a soft, lint-free cloth. Rub it into the scratch in a circular motion for about 30 seconds. Use light to medium pressure—you're polishing, not scrubbing.
Wipe away the residue with a damp cloth, then buff dry.
When To Skip This Method
Deep gouges or scratches that catch your fingernail won't be fixed by toothpaste. For those, you might need a stainless steel repair kit or professional refinishing. Also, avoid gel or whitening toothpastes, as they can contain harsh peroxides or larger particles that may etch the surface.
23. Regular Wipe-Down Routine
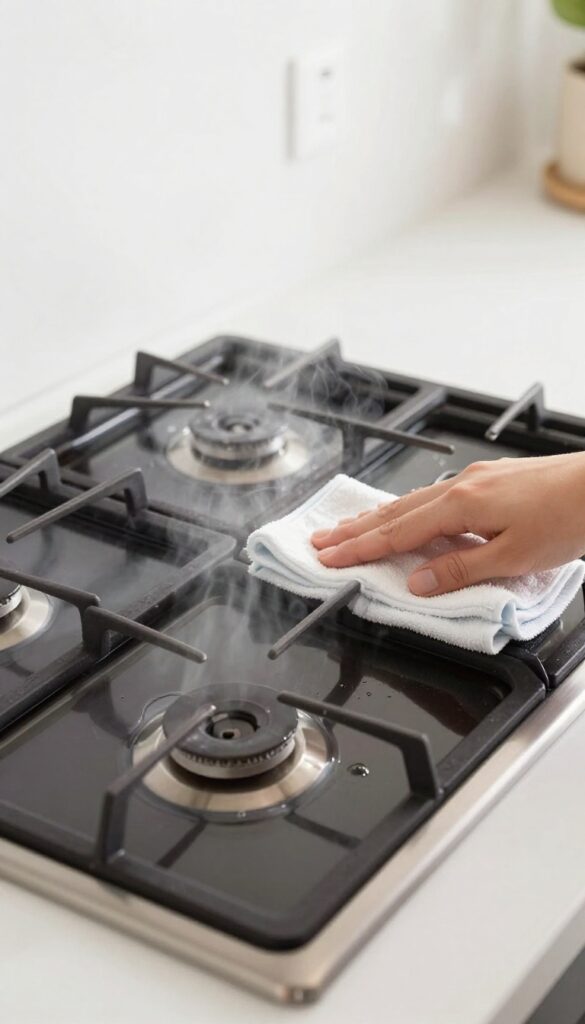
A quick post-cooking wipe-down is the simplest way to keep your gas stove looking clean. It takes less than a minute and stops grease and food particles from hardening into stubborn messes. This habit alone can cut your deep-cleaning frequency in half.
Make it a habit to wipe the cooktop after every use. Let the surface cool slightly, then use a damp microfiber cloth with a drop of mild dish soap. Focus on the area around the burners and any visible spills.
A dry cloth afterward removes streaks and prevents water spots.
What You'll Need
Keep a spray bottle filled with water and a squirt of dish soap near your stove. Microfiber cloths are ideal because they trap grease without scratching. Avoid abrasive sponges or harsh cleaners that can damage the finish.
Best Timing
Wipe down right after you finish cooking, while the stove is still warm but not hot. Warm grease wipes off easily; cold grease turns sticky. If you wait too long, you'll need more elbow grease later.
Bonus Tip
For extra shine on stainless steel, follow up with a tiny drop of olive oil on a dry cloth. Buff gently for a streak-free, like-new look. This also creates a light protective barrier against future spills.
FAQ
How often should I deep clean my gas stove?
Aim for a deep clean every 1-2 months, depending on usage. Wipe down the cooktop after each use to minimize buildup.
Can I use bleach on my gas stove?
Bleach is too harsh and can damage finishes. Stick to mild cleaners like baking soda, vinegar, or dish soap.
How do I clean clogged burner ports?
Use a toothbrush or a pin to gently clear the ports. Soaking in vinegar or ammonia can also help dissolve blockages.
Is it safe to put gas stove grates in the dishwasher?
Check the manufacturer's instructions. Some grates are dishwasher-safe, but others may discolor or rust. Hand washing is often safer.
What's the best way to remove burnt-on food from a ceramic cooktop?
Use a pumice stone or a ceramic cooktop scraper while the surface is wet. Avoid abrasive pads that can scratch.
Conclusion
Keeping your gas stove clean doesn't require expensive products or hours of scrubbing. With these 23 ideas, you can tackle any mess using items you probably already have at home. From quick daily wipes to occasional deep soaks, there's a method for every level of grime.
Pick a few that fit your routine and watch your stove transform. A clean stove not only looks better but also performs more efficiently. So next time you face a stubborn stain, you'll know exactly what to do.