How to Deep Clean Your Room with 15 Total Reset Tasks
A deep clean doesn't have to mean spending your whole weekend scrubbing. With the right reset tasks, you can transform your room in a focused, manageable way. This guide breaks down 15 specific steps that target every corner, from the dust on your blinds to the clutter under your bed.
Each task is designed to build on the last, so you work efficiently without backtracking. You'll start by stripping the bed and clearing surfaces, then move through dusting, washing, and organizing in a logical flow.
The result is a space that not only looks clean but feels truly refreshed. No need for special products or endless hours—just a clear plan and a bit of music.
1. Strip the Bed and Start the Laundry
Your bed is the largest surface in the room, so clearing it off instantly makes the space feel bigger. Pull off all sheets, pillowcases, blankets, and any decorative pillows. Toss everything into the laundry basket and start a load right away—hot water for sheets, cold for delicates.
This single action gives you a clean slate and a visible win within minutes.
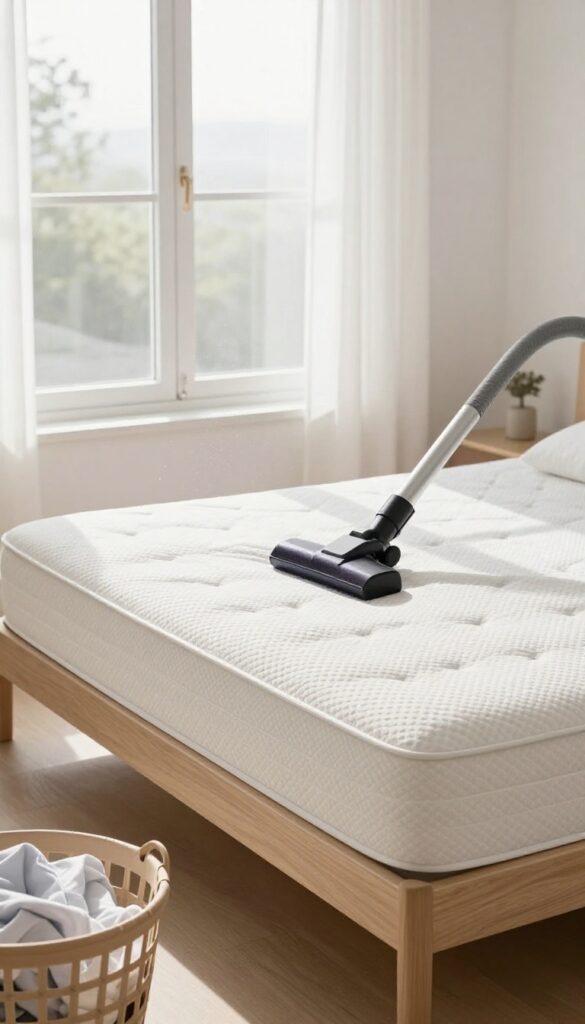
Once the bed is bare, you'll notice how much dust and debris collects on the mattress. Take a moment to vacuum the mattress surface with the upholstery attachment, especially along the seams and edges. This removes dust mites, dead skin cells, and any stray crumbs.
If your mattress has a removable cover, wash that too. While the laundry runs, you can move on to other tasks without feeling like you're losing momentum.
Sort And Pre-treat
Before starting the wash, separate your bedding by color and fabric type. Check for stains on pillowcases or fitted sheets and pre-treat them with a dab of laundry detergent or a stain remover. This ensures everything comes out fresh and bright.
Don't Forget The Pillows
Pillows collect sweat and oils over time. If your pillows are machine washable, toss them in with the sheets. Use a gentle cycle and an extra rinse to remove all soap residue.
Fluff them in the dryer with a couple of tennis balls to restore their shape.
Make The Bed Later
Resist the urge to remake the bed immediately. Let the mattress air out for at least an hour while you work on other tasks. This helps reduce moisture and odors.
You'll put fresh sheets on at the very end, so the bed feels crisp and inviting.
2. Clear All Surfaces
Clutter is the enemy of deep cleaning. Before you can wipe down desks, nightstands, dressers, or shelves, you need to get everything off them. Pile items on the floor or toss them into a bin temporarily.
This gives you full access to every inch of the surface and forces you to deal with each object later.
Start With The Largest Surface
Your desk or vanity is probably the most cluttered spot. Move everything—laptops, papers, makeup, knickknacks—onto the floor or into a laundry basket. Don't sort yet; just clear.
Then spray a microfiber cloth with all-purpose cleaner and wipe the entire surface, including edges and corners. Let it air dry while you move to the next spot.
Don't Forget Nightstands And Dressers
Nightstands collect glasses, books, phone chargers, and random odds. Clear them off completely, dust the surface, and wipe down any sticky rings. For dressers, remove decorative items, lamps, and jewelry trays.
Wipe the top and the front edges where dust settles. While you're at it, give the drawer pulls a quick wipe.
Shelves And Window Sills
Shelves often get ignored because they're above eye level. Take down all books, frames, and decor. Dust the shelf with a microfiber cloth or a duster, then wipe with a damp cloth if needed.
Window sills collect dust and pollen—clear them, wipe, and don't forget the tracks. Use an old toothbrush for stubborn grime.
Sort And Return With Intention
Now that your surfaces are clean, you have a pile of stuff on the floor. This is your chance to declutter. Put back only what belongs there.
Trash obvious garbage, relocate items that belong elsewhere, and consider if you really need that stack of old receipts. When you return items, group similar things together and use trays or small bins to keep them organized.
3. Sort and Declutter
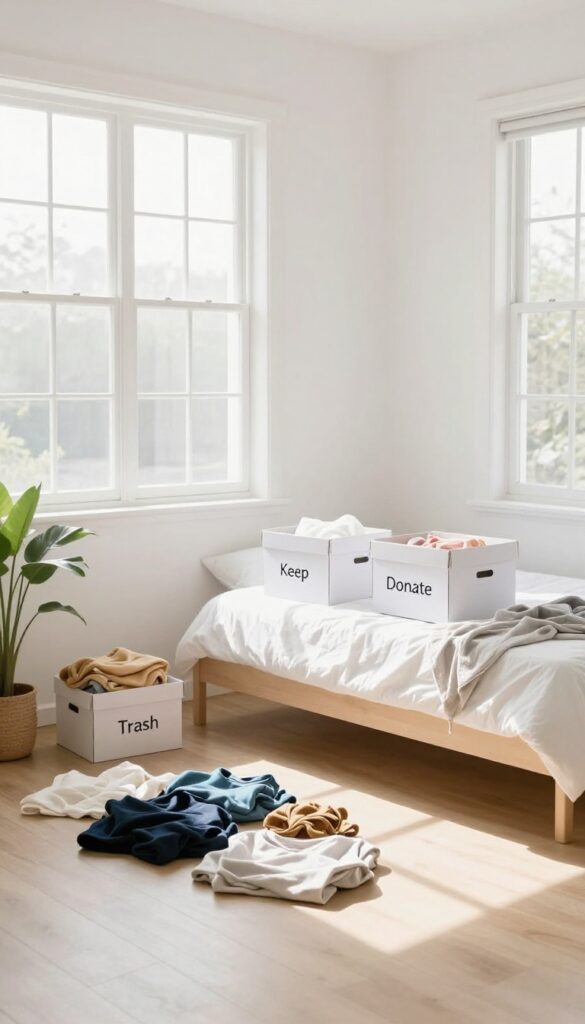
Now that everything is out in the open, it's time to make decisions. This step is about separating the keepers from the clutter. Be honest with yourself—if you haven't used something in months, it's probably not coming back.
Give yourself permission to let go.
Create Three Piles
Grab three boxes or bags and label them: Keep, Donate, and Trash. As you go through each item, place it in the appropriate pile. This system keeps you moving and prevents second-guessing.
If you're unsure about something, put it in a maybe box and revisit it at the end.
The One-year Rule
For clothes, accessories, and gadgets, apply the one-year rule: if you haven't used or worn it in the past year, it's a candidate for donation or trash. Exceptions exist for seasonal items or sentimental keepsakes, but be strict with the rest. You'll be surprised how much you can part with.
Sentimental Items
Sentimental items are the hardest to declutter. Instead of keeping everything, choose a few meaningful pieces that truly spark joy. Take photos of the rest before letting them go—you'll still have the memory without the physical clutter.
Limit yourself to one box or drawer for keepsakes.
Final Check
Once you've sorted everything, take a final look at your keep pile. Ask yourself: does each item have a home? If not, consider whether it really belongs.
Then immediately move the donate and trash piles out of your room to prevent second thoughts.
4. Dust from Top to Bottom
Dust settles everywhere, but if you start low and work up, you'll just end up re-dusting everything. Instead, begin at the highest points—ceiling fans and light fixtures—and gradually move down to blinds, shelves, and baseboards. This top-down approach ensures that any dust knocked loose falls onto areas you haven't cleaned yet, so you only have to dust each surface once.
Tackle Ceiling Fixtures First
Ceiling fans and light fixtures collect a surprising amount of dust. Use a microfiber cloth or a duster with an extendable handle to gently wipe fan blades and light covers. For stubborn grime on light fixtures, a slightly damp cloth works wonders.
Don't forget to clean the pull chains and any decorative elements—they can get grimy too.
Work Down Through Blinds And Shelves
Next, move to window blinds and high shelves. Close the blinds flat and wipe each slat with a microfiber cloth or a blind duster. For shelves, take everything off, dust the surface, and wipe down each item before putting it back.
This is also a good time to declutter—if you haven't used something in months, consider donating it.
Finish With Baseboards And Floors
After handling all elevated surfaces, it's time for baseboards and floors. Use a microfiber cloth or a vacuum with a brush attachment to remove dust from baseboards. Then vacuum or sweep the floor, and mop if needed.
By now, any dust that fell from above has been collected, leaving your room truly clean.
5. Wipe Down All Surfaces
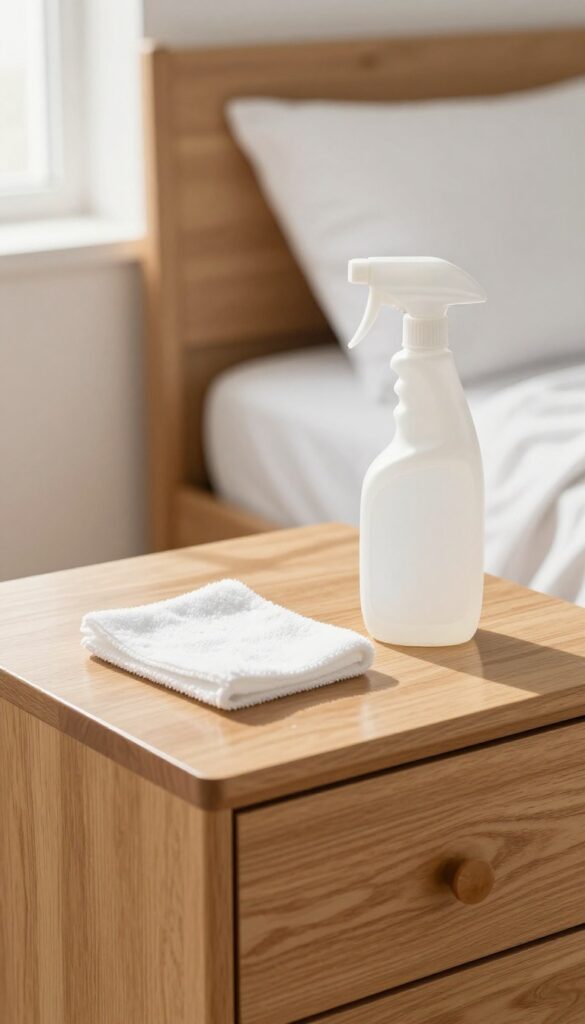
Once the dust has settled, it's time to tackle the surfaces that collect fingerprints, spills, and everyday grime. Desks, nightstands, dressers, and windowsills all need a good wipe-down to feel truly clean. Don't forget the small but high-touch areas like handles, light switches, and remote controls—they're often overlooked but harbor the most germs.
Grab an all-purpose cleaner and a microfiber cloth. Work from top to bottom on each piece of furniture, so any drips land on areas you haven't cleaned yet. For electronics like remote controls, use a slightly damp cloth or a disinfectant wipe—just avoid getting moisture into any openings.
Pay extra attention to corners and edges where dust bunnies love to hide. Once you've wiped everything down, go back with a dry cloth to buff away streaks and leave a shine. This step alone makes the whole room feel fresher instantly.
Start With The Largest Surfaces
Begin with your desk, dresser, and nightstand. Clear off any items, then spray the cleaner directly onto the cloth (not the surface) to avoid overspray. Wipe in long, even strokes, overlapping slightly to avoid missing spots.
For wooden furniture, use a cleaner that's safe for wood or a gentle soap solution. Don't rush—let the cleaner sit for a minute if the surface is greasy or sticky.
Don't Skip The Details
Now move to the small but mighty surfaces: windowsills, baseboards, and any shelves. Use a smaller cloth or even a cotton swab for tight corners. Light switches and door handles are germ magnets—wipe them thoroughly.
Remote controls and phone chargers? Give them a quick pass too. These details make a huge difference in how clean the room feels.
Finish With A Dry Buff
After all surfaces are wiped, take a dry microfiber cloth and go over everything again. This removes any remaining cleaner residue and prevents dust from sticking to damp surfaces. You'll notice a streak-free finish that makes the room look polished.
Open a window for a few minutes to let any cleaner fumes dissipate and enjoy the fresh scent.
6. Clean Mirrors and Glass
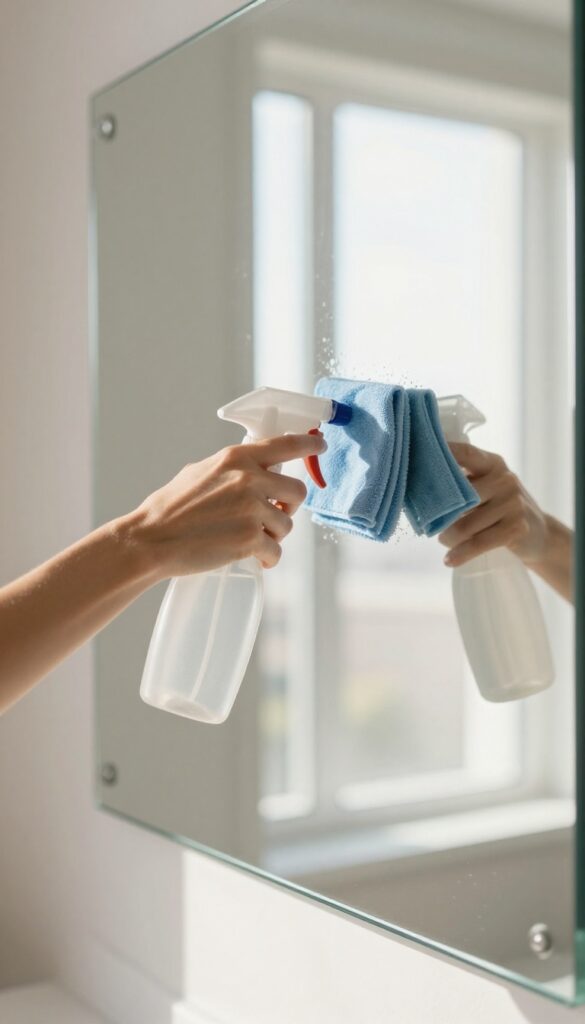
Mirrors and glass surfaces are the finishing touches that make a room look polished. But if they're smudged or streaky, they can ruin the whole effect. This step is quick and satisfying, especially when you see your reflection in a crystal-clear glass.
Spray glass cleaner on a microfiber cloth (not directly on the mirror) to avoid streaks. Wipe in a zigzag pattern for a crystal-clear finish.
Choose The Right Cloth
Microfiber is your best friend here. Lint-free cloths or newspaper also work well. Avoid paper towels—they leave fibers and streaks.
A clean, dry microfiber cloth picks up dust and polish without scratching.
Spray Smart, Not Hard
Always spray the cleaner onto the cloth, not the glass. This prevents drips that can streak or damage frames. Use just enough to dampen the cloth—too much liquid creates more work.
The Zigzag Method
Start at the top corner and wipe in a continuous S or zigzag pattern across the entire surface. This prevents streaks from forming at the edges. Flip the cloth to a dry section for the final pass to buff away any remaining moisture.
7. Vacuum or Sweep the Floor
After all that dusting and wiping, the floor is where the real debris ends up. This step is about more than just a quick pass—it's about getting into every crevice and under every piece of furniture. You'll be surprised how much dirt, hair, and crumbs have been hiding.
Start With Furniture Shifting
Before you vacuum or sweep, move smaller furniture like chairs, nightstands, and wastebaskets out of the way. For larger pieces like beds and dressers, slide them out if possible, or at least reach under with the vacuum attachment. This ensures you're not just cleaning the visible areas.
Carpet Deep Clean
If you have carpet, use the appropriate height setting on your vacuum. Go over high-traffic areas multiple times, and don't forget to use the crevice tool along baseboards and in corners. For a deeper clean, consider renting a carpet cleaner or using a carpet powder before vacuuming.
Hard Floor Sweep And Mop
For hard floors, sweep thoroughly first to remove loose dirt and debris. Pay extra attention to corners and under furniture. Then mop with a suitable cleaner—avoid soaking the floor, as excess water can damage wood or laminate.
Let it air dry completely before moving furniture back.
Don't Forget The Details
Use a handheld vacuum or a small brush to clean along baseboards, under the bed, and in tight corners. If you have a pet, check under furniture for fur clumps. This final pass makes the whole room feel freshly cleaned.
8. Tackle Under the Bed
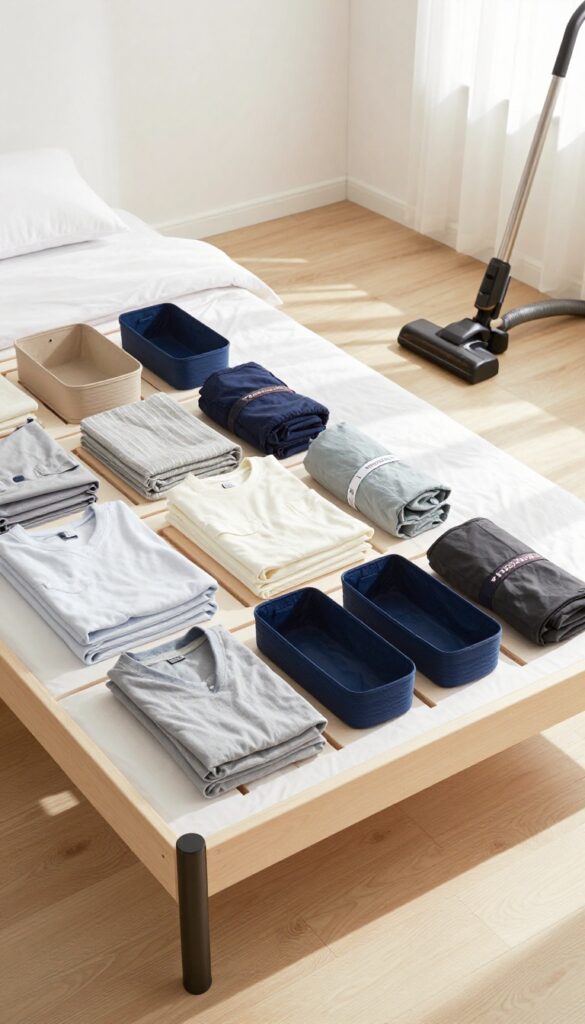
That dark space under your bed often becomes a black hole for forgotten items and dust bunnies. It's time to pull everything out and give it the attention it deserves. This task will not only make your room feel bigger but also improve your air quality.
Start by sliding out every bin, box, and stray item from under the bed. You might be surprised by what you find—old shoes, dusty books, or that missing charger. Once the area is clear, grab your vacuum with a crevice tool and go over the floor thoroughly.
Don't forget to wipe down the bed frame slats or base with a damp cloth to remove settled dust. Now, the key step: only put back items you actually use or need. Donate, toss, or relocate anything that doesn't belong.
Use clear bins or labeled containers to keep things organized and easy to access later.
Empty Everything Out
Pull out all storage bins, suitcases, or random items from under the bed. Sort them into piles: keep, donate, relocate, or toss. This is your chance to declutter a space that's easy to ignore.
Deep Clean The Floor And Frame
Vacuum the floor thoroughly, using a crevice tool to reach the edges. Wipe down the bed frame, slats, or any risers with a damp microfiber cloth. This removes dust mites and allergens that accumulate over time.
Organize What You Keep
Only return items you genuinely need—seasonal clothes, extra bedding, or shoes. Use uniform bins or vacuum-sealed bags to maximize space. Label everything so you can find it without pulling everything out again.
9. Organize Closet and Drawers
Your closet and drawers are where chaos hides in plain sight. Once the surfaces are clean, it's time to tackle the spots where clothes pile up and nothing seems to have a home. This step turns that jumble into a system that actually works for you.
Start by taking everything out of your closet and drawers. Yes, everything. Pile it on your bed or a clean section of floor.
As you go, sort into three piles: keep, donate, and trash. Be honest with yourself—if you haven't worn it in a year or it doesn't fit, it's time to let it go. Wipe down the empty shelves and drawer bottoms with a damp cloth, then start putting things back with intention.
Fold Or Hang With Purpose
Hang items that wrinkle easily—dress shirts, blouses, jackets. Fold sweaters, jeans, and t-shirts. Use matching hangers for a uniform look.
Group similar items together: all work shirts in one section, casual tees in another. This makes getting dressed faster and keeps your closet looking tidy.
Drawer Dividers Are Game Changers
Small items like socks, underwear, and accessories turn into a tangled mess without boundaries. Pick up a set of adjustable drawer dividers or use small boxes to create compartments. Fold socks into pairs, roll belts, and separate categories.
Now you can grab what you need without digging.
Donate Without Guilt
That pile of clothes you never wear? Bag it up and put it in your car or by the door. Schedule a drop-off at a local charity or thrift store within the week.
Letting go of unused items frees up space and makes your closet feel lighter. Plus, someone else might love that sweater you forgot you owned.
10. Deep Clean Upholstery and Curtains
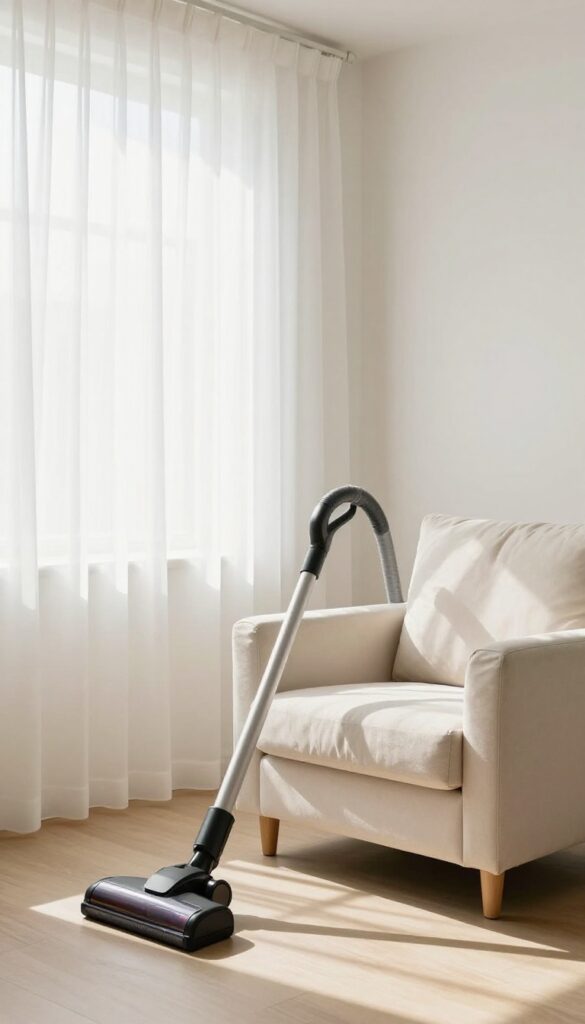
Upholstered furniture and curtains are magnets for dust, allergens, and odors. They often get overlooked during routine cleaning, but a deep reset makes a huge difference in how fresh your room feels. This task targets the soft surfaces that trap the most hidden grime.
Start by vacuuming all upholstered pieces—chairs, headboards, ottomans, and even fabric lampshades—using the brush attachment. Work slowly in overlapping strokes to lift embedded dust. For curtains, remove them if possible and vacuum both sides, or use a lint roller for quick refresh.
Then spot-clean any visible stains with a fabric cleaner appropriate for the material. Test in an inconspicuous area first. Finish by fluffing cushions and reshaping curtains for a crisp look.
Vacuum Every Surface
Use the upholstery brush attachment on your vacuum to go over chairs, headboards, and fabric lampshades. Pay extra attention to crevices and seams where dust collects. For curtains, vacuum from top to bottom with the brush, or use a handheld steamer to kill dust mites and refresh fabric.
Spot-clean Stains
Mix a gentle fabric cleaner or use a store-bought upholstery spray. Dab stains—don't rub—to avoid spreading. For curtains, check the care label; many can be machine washed on gentle cycle, but steaming is often safer.
Let everything air dry completely before putting cushions back or rehanging curtains.
11. Sanitize High-Touch Areas
You've dusted the surfaces and scrubbed the floors, but there are a few spots that often fly under the radar. Light switches, doorknobs, phone chargers, and your phone screen are touched constantly yet rarely get a proper wipe-down. These high-touch areas can harbor germs and grime, making your freshly cleaned room feel less fresh.
It's time to give them the attention they deserve.
Grab a microfiber cloth and a gentle disinfectant spray or a 70% isopropyl alcohol solution. Avoid harsh chemicals that could damage finishes or electronics. Work methodically around the room, starting with the most frequently touched items.
Don't forget the little things like remote controls, lamp switches, and drawer pulls. A quick sanitizing pass makes a big difference in how clean your room truly feels.
Light Switches And Doorknobs
These are the most touched surfaces in any room. Use a slightly damp cloth with disinfectant to wipe each switch plate and knob. For textured or decorative knobs, use a soft brush to get into crevices.
Dry them with a clean cloth to prevent streaks or moisture damage.
Phone Chargers And Electronics
Your phone charger cable and plug collect dust and oils from your hands. Unplug them and wipe down the cable with a dry cloth, then use a disinfectant wipe on the plug and any charging bricks. For your phone screen, use a screen-safe wipe or a microfiber cloth slightly dampened with water.
Avoid spraying liquid directly onto electronics.
Other Frequently Missed Spots
Think about the things you touch without thinking: the edge of your desk, the handle of your dresser, the top of your nightstand. Also, sanitize your TV remote, gaming controller, or any other handheld devices. A final pass over these items ensures no germ is left behind.
12. Refresh the Air
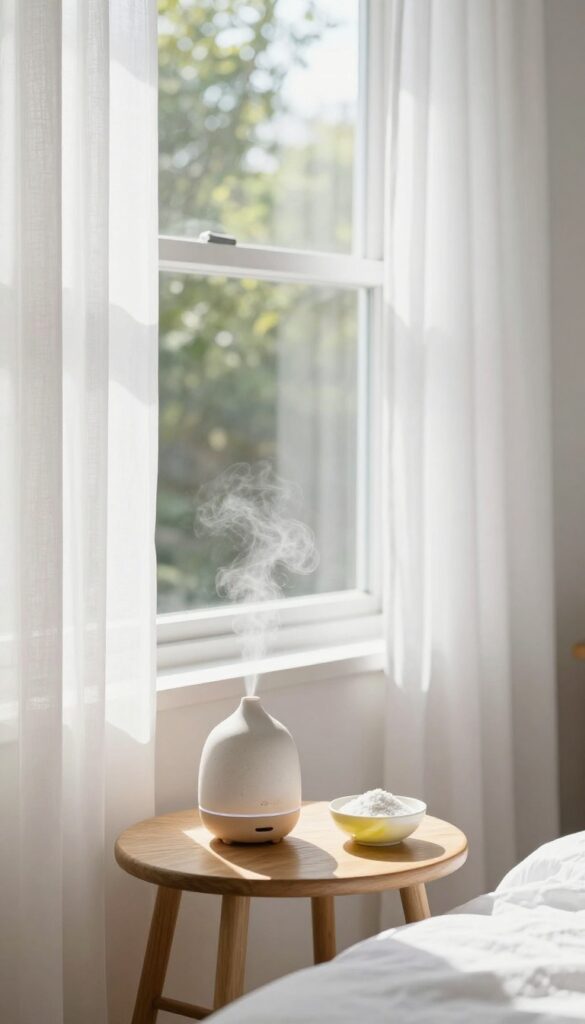
After all that scrubbing and dusting, the air in your room might still feel stale. Deep cleaning isn't just about surfaces—it's about the invisible stuff you breathe. A quick air refresh is the final touch that makes your space smell and feel truly clean.
Open The Windows
Crack them open for at least 15 minutes. Even in cold weather, a short burst of fresh air flushes out dust, cleaning product fumes, and stale odors. Cross-ventilation works best—open two windows on opposite sides if you can.
Set Up A Natural Deodorizer
Place a bowl of baking soda in a corner to absorb lingering smells. For a light scent, add a few drops of essential oil to the baking soda. Lavender or lemon are great choices.
Replace the baking soda every month for ongoing freshness.
Use An Essential Oil Diffuser
If you prefer a continuous gentle fragrance, run a diffuser with water and a few drops of your favorite oil. It's a chemical-free alternative to aerosol sprays. Just remember to clean the diffuser regularly to prevent mold.
13. Organize Cables and Electronics
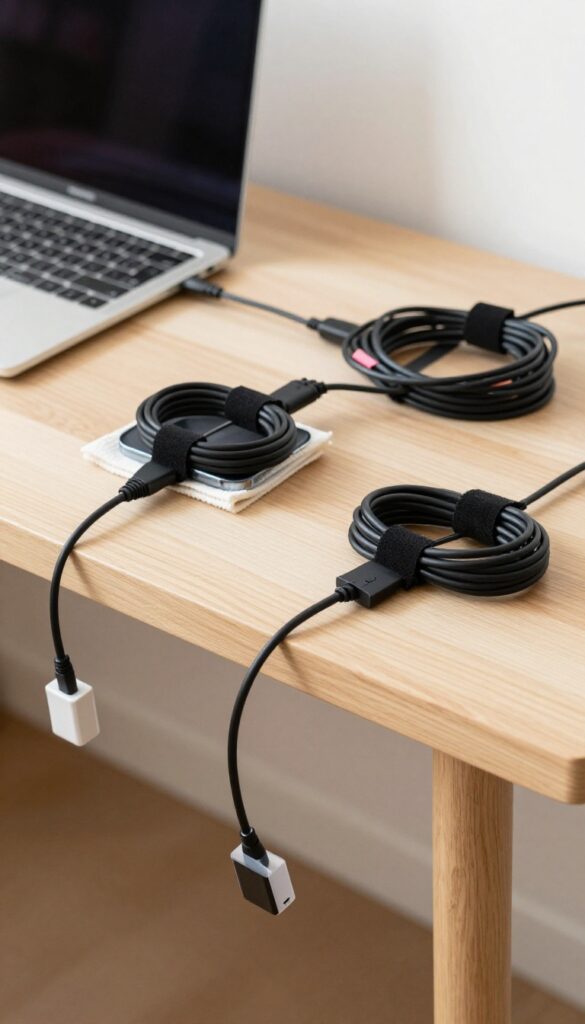
Cables have a way of multiplying when you're not looking. Before you know it, there's a tangled mess behind your desk or nightstand. Sorting them out not only looks better but also makes it easier to find the right charger when you need it.
Start by unplugging everything and pulling out the cable clutter. Untangle each cord, then group them by device. Use zip ties or Velcro straps to bundle cables together, and if you have multiple similar cords, label them with small tags or washi tape.
While you're at it, wipe down your electronics with a dry microfiber cloth—no liquids near outlets or ports. Finally, route cables neatly along desk legs or behind furniture using adhesive clips.
Untangle And Group
Pull out every cable from behind your desk, TV stand, or nightstand. Untangle them one by one, and group them by the device they belong to (phone charger, laptop cord, lamp cable, etc. ). This makes it easy to see what you actually need versus what's just taking up space.
Bundle And Label
Use zip ties, Velcro straps, or even twist ties to bundle each group of cables. If you have multiple black cords that look identical, add a small label or a piece of colored tape to each one so you know which is which. This step saves you from future frustration.
Wipe Down Electronics
Grab a dry microfiber cloth and gently dust your monitor, laptop, keyboard, router, and any other electronics. Avoid using water or cleaning sprays directly on devices—moisten the cloth slightly if needed, but keep it away from openings. This removes dust that can cause overheating and makes everything look fresh.
Route And Secure
Use adhesive cable clips or cable sleeves to run cords along the edges of your desk or behind furniture. This keeps them out of sight and prevents tripping hazards. Plug everything back in, making sure each cable has a little slack so it's not pulling on the device.
14. Add Final Touches
After all that scrubbing, dusting, and organizing, your room is almost there. The final touches are what make the space feel intentional and inviting rather than just clean. This step is about bringing a sense of warmth and personality back into the room.
Make The Bed
Start with the bed—it's the focal point of the room. Put on fresh, clean sheets and smooth out any wrinkles. Fluff the pillows and arrange them neatly.
A well-made bed instantly makes the whole room look more put together.
Add A Decorative Element
Place a small plant on your nightstand or a candle on your dresser. These simple additions bring life and a cozy vibe. If you have a favorite photo or a small sculpture, now's the time to display it.
Just don't overdo it—keep it minimal to maintain the clean feel.
Lighting And Scent
Turn on a soft lamp or open the curtains to let in natural light. Light a scented candle or use a room spray with a calming fragrance like lavender or eucalyptus. This final sensory layer makes the room feel fresh and relaxing.
15. Maintain the Reset
You've put in the work, and your room looks amazing. Now the goal is to keep it that way without another massive cleaning session. A little daily maintenance goes a long way in preserving that fresh, organized feeling.
Think of it as a 5- to 10-minute habit that stops clutter from piling up again. By doing small tasks consistently, you avoid the need for another deep clean anytime soon.
The key to maintaining your reset is consistency, not intensity. A few minutes each day can prevent mess from accumulating. Focus on high-impact areas: make your bed first thing in the morning, put away any items that have migrated out of place, and give surfaces a quick wipe.
This routine keeps your room looking tidy with minimal effort.
The Daily 5-minute Tidy
Set a timer for five minutes each evening. Walk through your room and put everything back where it belongs. Return books to shelves, toss clothes in the hamper, and clear off your desk.
This short burst prevents clutter from building up and makes your morning easier.
Make Your Bed Every Morning
It sounds simple, but making your bed instantly makes the room look neater. It also sets a productive tone for the day. Plus, it takes less than two minutes.
Once the bed is done, you're more likely to keep other areas tidy.
Quick Surface Wipe
Keep a microfiber cloth or disinfecting wipe handy. Each day, do a quick pass over your nightstand, dresser, and desk. This removes dust and spills before they become stubborn.
It also keeps your space feeling fresh without a deep clean.
FAQ
How long does it take to deep clean a room?
Depending on the size and mess level, expect 2 to 4 hours. Breaking it into the 15 tasks helps you stay focused and efficient.
What supplies do I need?
Microfiber cloths, all-purpose cleaner, glass cleaner, vacuum or broom, mop, trash bags, and storage bins for sorting. Optional: fabric cleaner and cable ties.
How often should I deep clean my room?
Aim for a deep clean every 1 to 3 months. Weekly maintenance (like making the bed and quick dusting) keeps it manageable.
What's the best order to clean a room?
Start from top to bottom and dry to wet. Clear clutter first, then dust, wipe surfaces, and finish with floors. This prevents re-dusting.
How do I stay motivated during a deep clean?
Play upbeat music, set a timer for each task, and reward yourself after completing all 15 steps. The visual progress is motivating on its own.
Conclusion
Once you finish these 15 tasks, your room won't just look clean—it'll feel like a completely different space. The deep reset is worth the effort because it clears both clutter and mental fog.
Keep a few of these steps as a weekly habit, and you'll never need another full deep clean again.