23 Cleaning a Microwave Steps for Odor and Splatter
Microwave odors and splatters can make reheating leftovers a real chore. A quick wipe after each use helps, but stuck-on grime and lingering smells need more than a damp cloth. These 23 steps tackle everything from burnt popcorn to mystery stains using common kitchen staples.
No harsh chemicals or expensive sprays required—just practical methods that actually work. Each tip targets a specific problem, so you can mix and match based on what your microwave needs right now.
Ready to get that appliance sparkling and smelling fresh again? Let's jump in.
1. Start with a Quick Wipe After Each Use
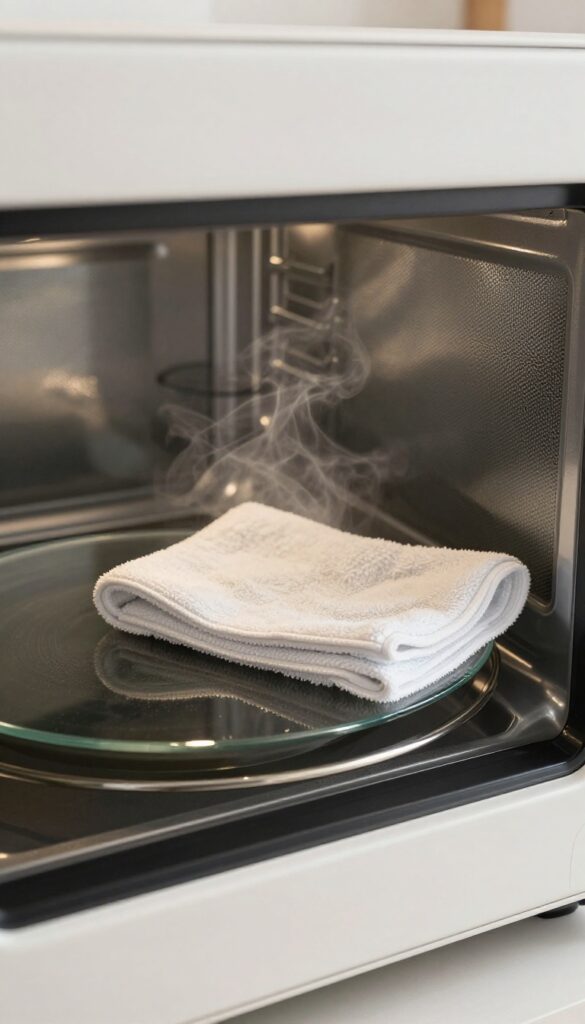
The easiest way to keep your microwave fresh is to wipe it down right after you use it. Steam and heat make food particles easier to remove, so a quick pass with a damp cloth can prevent dried-on splatters and odors from taking hold. This simple habit takes less than a minute and saves you from deep cleaning later.
Grab a soft cloth or sponge, dampen it with warm water, and wipe the interior walls, ceiling, and turntable. Focus on any visible spills or splatters while they're still wet. If you're short on time, just hit the high spots—every little bit helps.
For stubborn bits, let the cloth sit on the spot for a few seconds to loosen it before wiping again. Doing this after every use keeps your microwave looking clean and smelling neutral without any extra effort.
Why Timing Matters
Wiping while the interior is still warm makes a huge difference. Heat softens dried food, so you don't have to scrub. If you wait until the microwave cools, those same spots can harden and become a pain to remove.
A quick post-use wipe is your best defense against buildup.
What To Use For The Wipe
A microfiber cloth works great because it picks up grease without leaving lint. Avoid abrasive scrubbers that can scratch the surface. Plain water is usually enough, but if you need a little extra cleaning power, add a drop of dish soap to your damp cloth.
Don't Forget The Door And Seal
Splatters often end up on the door and around the rubber seal. Wipe these areas too, especially the crevices where food can hide. A clean seal helps the microwave close properly and prevents odors from escaping into your kitchen.
2. Steam Clean with Lemon Water
Lemons aren't just for lemonade—they're a powerhouse for cutting through microwave grime and neutralizing stubborn smells. The combination of steam and citric acid loosens baked-on food particles while leaving behind a fresh, clean scent. This method is especially useful after cooking fish, popcorn, or anything that leaves a lingering odor.
Best of all, it requires minimal effort and no scrubbing.
This simple steam treatment works wonders on both fresh splatters and set-in stains. The heat creates moisture that softens dried food, making it easy to wipe away. Lemon's natural acidity breaks down grease and deodorizes without leaving chemical residues.
It's a safe, food-friendly way to clean your microwave in minutes.
How To Do It
Fill a microwave-safe bowl with one cup of water. Slice a fresh lemon into rounds and drop them into the water—you can also squeeze the juice in for extra power. Place the bowl in the microwave and run it on high for 3 to 5 minutes.
The water should be boiling and the window steamy. Let it sit for 2 minutes after the timer ends so the steam can continue working on tough spots.
Wipe Down After Steaming
Carefully remove the hot bowl using oven mitts—it will be very hot. Take a damp microfiber cloth or sponge and wipe down the interior walls, ceiling, and turntable. The loosened grime should come off with almost no effort.
For stubborn spots, dip your cloth in the warm lemon water for extra cleaning power. Rinse and dry the surfaces with a clean towel.
Bonus: Freshen The Whole Kitchen
Leave the microwave door open for a few minutes after cleaning to let the citrus scent circulate. The steam also helps deodorize the surrounding area, so your whole kitchen smells brighter. If you have a particularly strong odor, repeat the process with a fresh lemon or add a teaspoon of baking soda to the water for extra odor absorption.
3. Use Vinegar Steam for Tough Odors
When your microwave smells like last week's fish or burnt popcorn, a simple wipe won't cut it. Vinegar steam is a powerhouse for neutralizing stubborn odors and loosening baked-on splatter. It's cheap, natural, and works in minutes.
Mix equal parts water and white vinegar in a microwave-safe bowl. Microwave on high for 5 minutes, then let it sit for 2 minutes before opening the door. The steam will soften grime and absorb odors, making wiping effortless.
Why Vinegar Works So Well
White vinegar is acidic, which breaks down alkaline residues from food splatters and neutralizes odor molecules. The steam carries vinegar particles into every corner of the microwave, reaching areas you can't easily scrub.
Step-by-step Vinegar Steam Method
Use a 2-cup microwave-safe bowl. Add 1 cup water and 1 cup white vinegar. Microwave on high for 5 minutes.
Let it rest for 2 minutes to allow steam to settle. Carefully remove the bowl (it will be hot) and wipe down the interior with a damp cloth. Rinse the cloth frequently.
When To Use This Method
This technique is ideal for strong odors like fish, garlic, or burnt food. It also works well for heavy splatter that has hardened. For daily maintenance, a quick lemon steam is gentler, but vinegar is your go-to for tough jobs.
Safety Tips
Never microwave vinegar alone—always mix with water. Use a bowl that's microwave-safe and large enough to prevent boiling over. Open the door carefully to avoid steam burns.
Ventilate the kitchen afterward if the vinegar smell is strong; it fades quickly.
4. Baking Soda Paste for Stubborn Stains
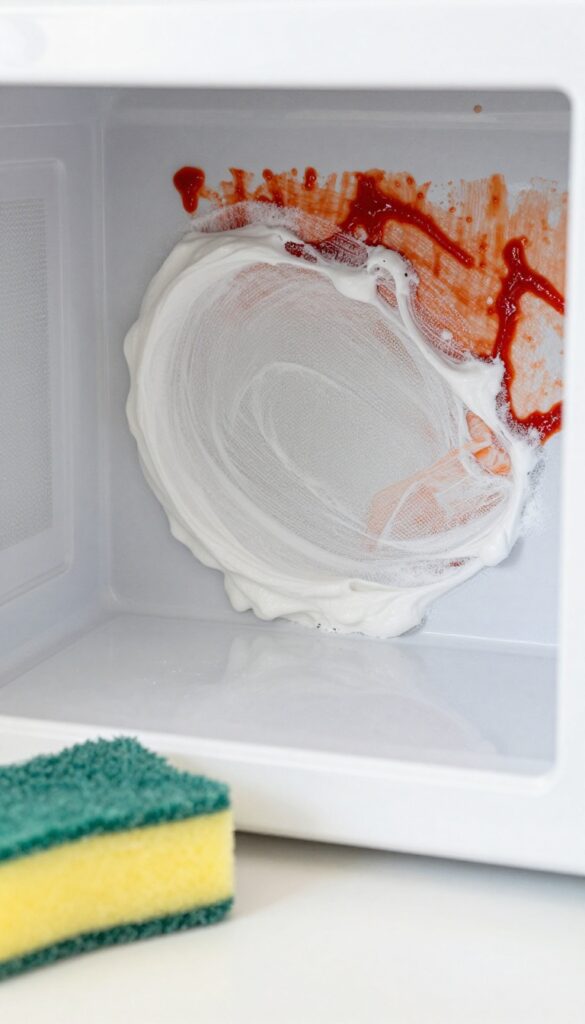
Some messes just won't budge with a simple wipe. Dried-on spaghetti sauce or hardened cheese can feel like they're part of the microwave now. That's where a humble baking soda paste steps in—it's gentle enough for the interior but tough on grime.
Mix about two tablespoons of baking soda with just enough water to form a thick paste. Spread it over the stubborn spots and let it sit for 10 to 15 minutes. The paste loosens the gunk without scratching the surface.
After the wait, scrub gently with a soft sponge or cloth. Rinse with a damp cloth and dry. For extra-tough spots, add a few drops of dish soap to the paste.
Why Baking Soda Works
Baking soda is mildly abrasive, so it physically scrubs away stuck-on food without scratching. It also neutralizes odors, which is a bonus if the stain came from something smelly. Plus, it's non-toxic—safe to use around food.
Best Tools For Scrubbing
Use a non-scratch sponge or a microfiber cloth. Avoid steel wool or abrasive pads—they can damage the microwave's interior coating. An old toothbrush works great for getting into corners and around the turntable.
When To Repeat
If the stain is really baked on, you might need a second application. Just reapply the paste and let it sit longer—up to 30 minutes. Rinse and check.
Repeat until the surface feels smooth.
5. Remove the Turntable for a Deep Clean
The glass turntable and roller ring are magnets for drips and crumbs. Over time, that hidden grime can start to smell. Taking them out for a proper wash makes a big difference.
Lift the glass plate straight up and pull out the roller ring. Wash both in warm, soapy water—dish soap works great. For stuck-on bits, let them soak for a few minutes before scrubbing with a soft sponge.
Rinse and dry thoroughly before putting them back. This simple step removes the source of many odors and leaves your microwave looking cleaner.
Soak Away Stubborn Stains
If the turntable has baked-on splatters, fill the sink with hot water and a squirt of dish soap. Let the plate and ring soak for 10–15 minutes. The heat and soap loosen the grime, so a gentle scrub will slide it right off.
Don't Forget The Underside
The bottom of the turntable often collects grease drips. Flip it over and wash that side too. A quick wipe with a soapy cloth prevents residue from building up and causing smells.
Dry Completely Before Reassembling
Moisture trapped under the turntable can lead to mold or mildew. Use a clean towel to dry the plate, ring, and the microwave floor. Make sure everything is bone dry before placing the turntable back.
6. Clean the Door Seals with a Toothbrush
The rubber gasket around your microwave door is a prime hiding spot for food particles and odors. Over time, crumbs and grease build up in that narrow crevice, and a simple wipe won't reach it. A toothbrush is the perfect tool to dig into the seal and scrub away the grime without damaging the rubber.
Why The Door Seal Gets So Gross
Every time you open the microwave, steam and tiny food particles escape and settle on the gasket. The rubber surface is slightly tacky, so it grabs onto grease and dust. Over weeks, that buildup turns into a dark, sticky film that can start to smell.
What You'll Need
Grab an old toothbrush (or a soft-bristled brush), a small bowl of warm water, and a few drops of dish soap. You can also use a 50/50 vinegar and water solution if the odor is stubborn. Avoid harsh scrub brushes or abrasive pads—they can tear the rubber.
Step-by-step Scrubbing
Dip the toothbrush into the soapy water and gently scrub along the entire length of the gasket. Focus on the inner lip where the door meets the microwave body. Work the bristles into the crevice to dislodge any hidden debris.
Wipe away the loosened grime with a damp cloth, then dry the seal with a soft towel.
Don't Forget The Door Edge
The flat edge of the door that presses against the gasket also collects splatter. Give it a quick scrub with the toothbrush, too. Rinse with a clean damp cloth and dry thoroughly.
This simple step prevents odors from lingering and helps the door seal properly.
7. Wipe the Ceiling with a Sponge
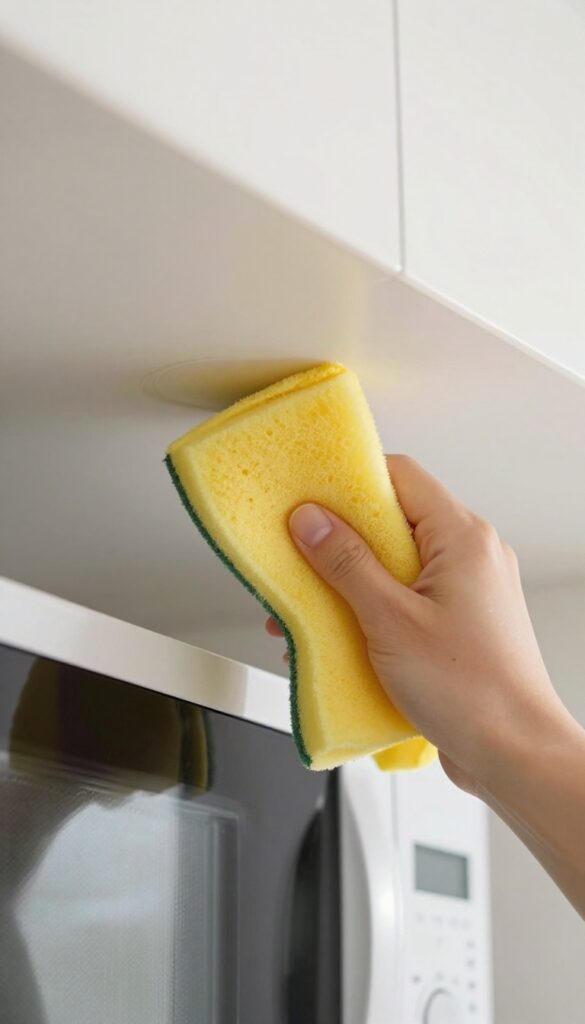
The microwave ceiling is a magnet for splatters that bubble up and stick. Since it's out of direct sight, it often gets ignored until you notice a mysterious crust forming overhead. A quick ceiling wipe can prevent that buildup and keep odors in check.
Grab a sponge or microfiber cloth and dampen it with warm, soapy water. Reach up and wipe the entire ceiling in a circular motion, focusing on any visible spots. For stubborn residue, let the sponge sit on the area for a minute to soften it before wiping again.
Rinse the sponge frequently to avoid spreading grime.
Why The Ceiling Matters
Steam and grease rise during heating, so the ceiling collects more than you'd think. Over time, that layer can burn and create a stale, smoky smell. Keeping it clean prevents odors from embedding into the microwave's interior.
Best Tools For The Job
A soft sponge or microfiber cloth works best—avoid abrasive pads that can scratch the surface. For extra reach, use a long-handled sponge or wrap a cloth around a spatula. A vinegar-water solution (1: 1) helps cut grease without leaving residue.
Quick Maintenance Tip
After each heavy use, quickly wipe the ceiling with a damp paper towel. This takes seconds and prevents buildup. If you notice drips running down the sides, that means the ceiling was overdue for a clean.
8. Deodorize with Coffee Grounds
Coffee grounds aren't just for your morning cup—they're natural odor absorbers. If your microwave smells like last night's fish or garlic, used coffee grounds can soak up those stubborn smells overnight. It's a zero-effort trick that leaves your appliance smelling neutral, not like a coffee shop.
Place a bowl of fresh (or used, dried) coffee grounds inside the microwave. Leave the door closed overnight. The grounds trap odor molecules, so by morning your microwave smells clean.
No scrubbing, no sprays—just dump the grounds afterward.
Why Coffee Grounds Work
Coffee grounds have a large surface area and porous structure that traps odor molecules. They don't just mask smells—they absorb them. Used grounds work almost as well as fresh ones, so save your morning filter for this task.
How To Do It Right
Spread a thin layer of grounds in a shallow bowl—more surface area means better absorption. Leave the microwave closed for at least 8 hours. For extra-stubborn smells, leave them in for 24 hours.
Then toss the grounds in the trash or compost.
When To Use This Method
This trick is perfect after cooking fish, garlic, or broccoli. It's also great for removing burnt popcorn smell. Avoid using it right after a deep clean—the grounds can leave a fine dust.
Wipe the interior first if it's greasy.
9. Use Vanilla Extract for a Fresh Scent
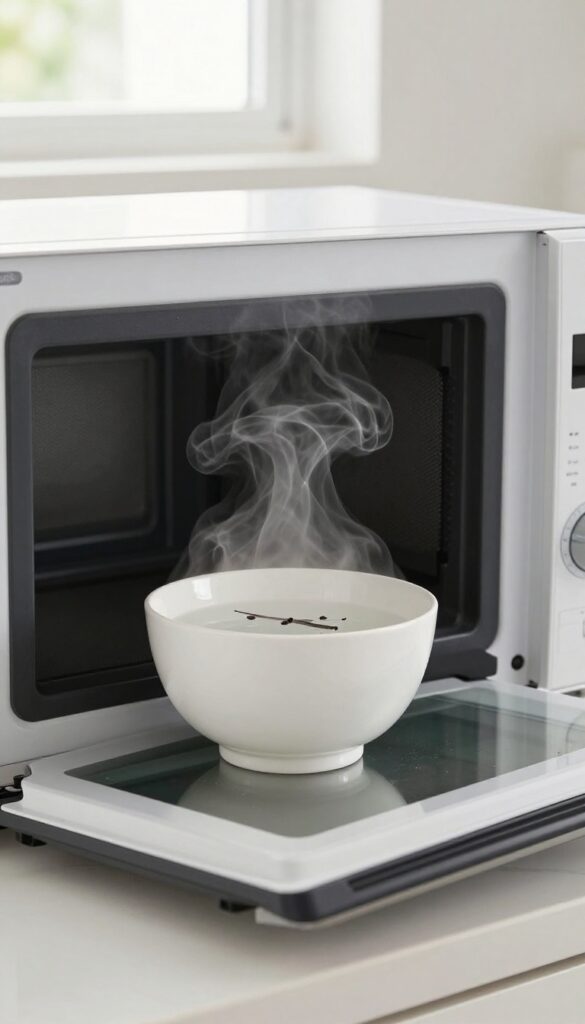
If you want your microwave to smell as good as your baked goods, vanilla extract is your secret weapon. It's a simple trick that takes just a minute and leaves a warm, inviting scent behind. Plus, it helps loosen any stuck-on food particles while it works.
How It Works
The steam from the hot water carries the vanilla aroma throughout the microwave, neutralizing odors. The heat also softens any dried-on splatters, making them easier to wipe away. It's a two-in-one solution.
Step-by-step
Fill a microwave-safe bowl with 1 cup of water. Add 5-6 drops of pure vanilla extract (not imitation, which can leave a chemical smell). Microwave on high for 1-2 minutes until the water is steaming.
Leave the door closed for another minute to let the steam settle, then open and wipe down the interior with a soft cloth.
Tips For Best Results
Use a deep bowl to prevent splashing. If your microwave is particularly smelly, add a tablespoon of lemon juice along with the vanilla. You can reuse the same bowl of water for a second round if needed.
10. Scrub the Vents with a Damp Cloth
Most people forget the vents, but they're a major source of that funky microwave smell. Grease and dust build up in the narrow slats, and every time you run the microwave, the heat bakes those particles, releasing stale odors. A quick wipe-down makes a big difference.
You don't need any special tools—just a damp microfiber cloth and a little elbow grease. For stubborn grime, a mild degreaser or a drop of dish soap works wonders. This step takes less than two minutes and keeps your microwave smelling fresh.
The vents are usually located on the top, back, or sides of the microwave, depending on the model. They're designed to let heat escape, but they also trap airborne grease and dust. Over time, this buildup can restrict airflow and cause the microwave to overheat, not to mention the unpleasant smells.
Cleaning them regularly prevents both issues. Start by unplugging the microwave for safety. Dip a microfiber cloth in warm water with a tiny bit of dish soap, wring it out well so it's damp, not dripping, and wipe along the vent slats.
For tight spaces, use a cotton swab or an old toothbrush. If you see heavy grease, spray a little degreaser on the cloth first. Wipe dry with a clean cloth to prevent moisture from seeping inside.
Make this a monthly habit, especially if you cook greasy foods often. It's a small effort that keeps your microwave running efficiently and odor-free.
Why Vents Get Smelly
Every time you microwave something greasy—like bacon, pizza, or buttered popcorn—tiny droplets of oil become airborne. They settle on the vent slats, mix with dust, and then get reheated during subsequent uses. That's the stale, burnt smell you notice.
It's basically baked-on grease odor.
Best Tools For The Job
A microfiber cloth is ideal because it traps grease without leaving lint. For narrow vents, a soft-bristle toothbrush or a cotton swab can reach inside the slats. If you have a vent cover that pops off, remove it and soak it in warm soapy water for a few minutes before wiping.
How Often To Clean
Aim for once a month if you use your microwave daily. If you notice a smell even after cleaning the interior, check the vents. They're often the hidden culprit.
After cleaning, run a cup of water with lemon slices for two minutes to freshen up the whole unit.
11. Tackle Burnt-On Food with a Plastic Scraper
Sometimes a sponge just won't cut it. When food has baked onto the microwave walls, you need something that can scrape it off without damaging the surface. That's where a plastic scraper comes in handy.
It's gentle enough for the interior coating but firm enough to remove stubborn residue.
Start by unplugging the microwave for safety. Hold the scraper at a low angle and gently push it under the burnt-on bits. Work in one direction to avoid spreading the mess.
For extra-sticky spots, let a damp cloth sit on the area for a minute to soften it first. Once the big chunks are off, wipe down the interior with a mild cleaner or soapy water. Avoid metal scrapers or abrasive pads—they'll leave scratches that trap more grime later.
Why Plastic Works Best
Plastic scrapers are non-abrasive, so they won't scratch the microwave's enamel or paint. They're flexible enough to conform to curved surfaces, making it easier to reach corners and the ceiling. Plus, they're inexpensive and easy to clean—just rinse them off after use.
Where To Get One
You can find plastic scrapers at kitchen supply stores, hardware stores, or online. Look for ones labeled for non-stick cookware or auto detailing—they're the same gentle material. If you don't have one, an old plastic gift card or a spatula with a straight edge can work in a pinch.
After You Scrape
Once the burnt food is removed, give the microwave a thorough wipe-down. Mix equal parts water and white vinegar in a bowl, microwave it for two minutes, then wipe the interior. This will remove any lingering odors and leave a streak-free shine.
12. Use a Dish Soap and Water Spray
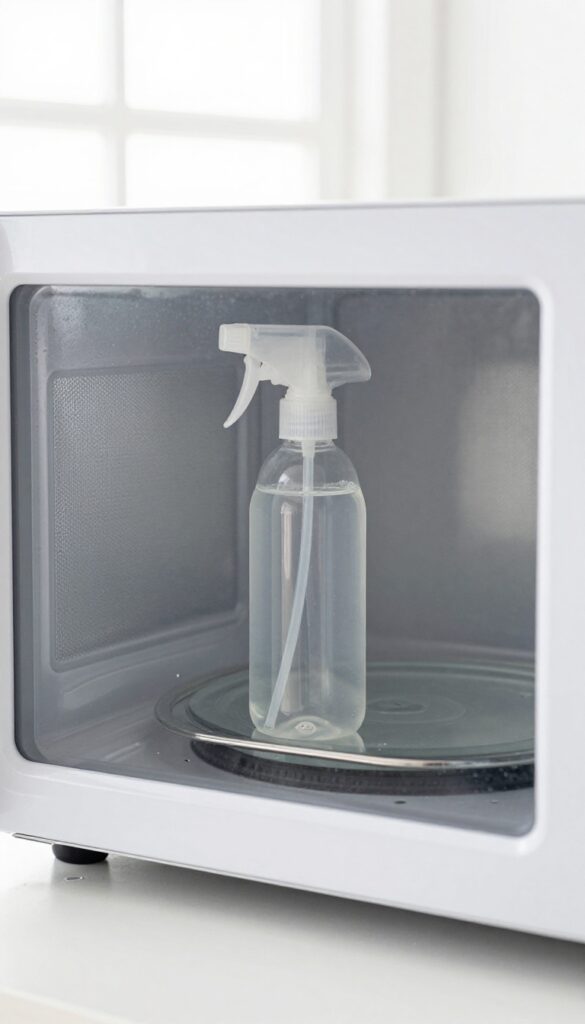
Sometimes the simplest solution is the most effective. A mixture of dish soap and water cuts through grease and loosens dried-on food without any harsh chemicals. This spray is gentle enough for daily use but strong enough to tackle week-old splatters.
Mix a few drops of dish soap with water in a spray bottle. Spray inside, let sit, then wipe clean.
Why It Works
Dish soap is designed to break down grease and food residue. When diluted with water, it creates a gentle yet effective cleaning solution that lifts grime without scratching the microwave's interior. The spray allows you to target specific spots without soaking the entire cavity.
How To Make The Spray
Fill a spray bottle with warm water and add 3–4 drops of liquid dish soap. Swirl gently to mix—don't shake, or you'll create too many suds. For extra cleaning power, add a tablespoon of white vinegar.
Label the bottle so you know it's for microwave use only.
Application Tips
Spray the solution onto a soft cloth or directly onto the microwave walls, ceiling, and turntable. Avoid spraying the control panel or vents. Let it sit for 2–3 minutes to dissolve stuck-on food.
Wipe with a damp cloth, then dry with a microfiber towel to prevent streaks.
13. Steam Clean with Baking Soda Solution
Baking soda isn't just for deodorizing your fridge—it's a powerhouse for cutting through microwave grime. When combined with steam, it loosens dried-on food and neutralizes odors without scrubbing. This method is especially handy for those days when you just want to set it and forget it.
Grab a microwave-safe bowl (a glass measuring cup works great) and add 1 cup of water. Stir in 1 tablespoon of baking soda until it dissolves. Place the bowl in the center of the microwave and run it on high for 3 minutes.
The steam will condense on the walls, ceiling, and turntable, softening any stuck-on bits. Let it sit for 2 minutes after the timer ends so the steam can really work. Then carefully remove the bowl (it'll be hot! ) and wipe down all interior surfaces with a damp cloth or sponge.
For stubborn spots, use a soft scrub brush or the rough side of a sponge—the baking soda residue acts as a mild abrasive. This method also tackles lingering smells from fish, popcorn, or burnt food.
Why Baking Soda Works So Well
Baking soda is alkaline, which helps break down acidic food residues like tomato sauce or citrus. When heated, it releases carbon dioxide bubbles that help lift gunk from surfaces. Plus, it's a natural deodorizer, so it absorbs and neutralizes odors instead of just masking them.
Tips For Best Results
Use a bowl that's at least twice the volume of the water to prevent boiling over. If your microwave has a rotating turntable, make sure the bowl is centered. For extra tough stains, add a splash of white vinegar to the water—just be aware it'll create a bit of foam.
Always let the bowl cool before handling, and never use this method on a microwave with exposed metal or damaged interior paint.
14. Clean the Control Panel Gently
The control panel is the brain of your microwave, but it's also a magnet for fingerprints and food splatters. Unlike the interior, you can't just scrub it with abrasive cleaners. A gentle touch keeps the buttons responsive and the display clear.
Start by unplugging the microwave or turning off the circuit breaker to avoid accidental activation. Dampen a soft microfiber cloth with water—just barely moist, not wet. Wipe each button and the display area with light pressure, focusing on crevices where grime collects.
For stubborn spots, add a drop of mild dish soap to the cloth. Never spray liquid directly onto the panel; moisture can seep into the electronics and cause damage. Dry immediately with a separate dry cloth to prevent streaks and protect the sensitive components.
Why Gentle Cleaning Matters
Microwave control panels are often membrane switches or touchpads sealed against moisture, but they're not waterproof. Excess liquid can short-circuit the electronics or cause buttons to stick. Using harsh chemicals like bleach or ammonia can also degrade the plastic and fade labels over time.
What To Use And What To Avoid
Stick with a microfiber cloth—it's non-abrasive and traps dirt without scratching. Avoid paper towels, which can leave lint, and never use scouring pads or abrasive powders. For disinfecting, use a 50/50 water and white vinegar solution on the cloth, not directly on the panel.
Quick Maintenance Tips
Wipe the control panel weekly as part of your routine microwave cleaning. If you notice sticky residue, use a cotton swab dipped in diluted vinegar to clean around buttons. Always finish with a dry cloth to keep the display streak-free and easy to read.
15. Use a Lemon and Salt Scrub
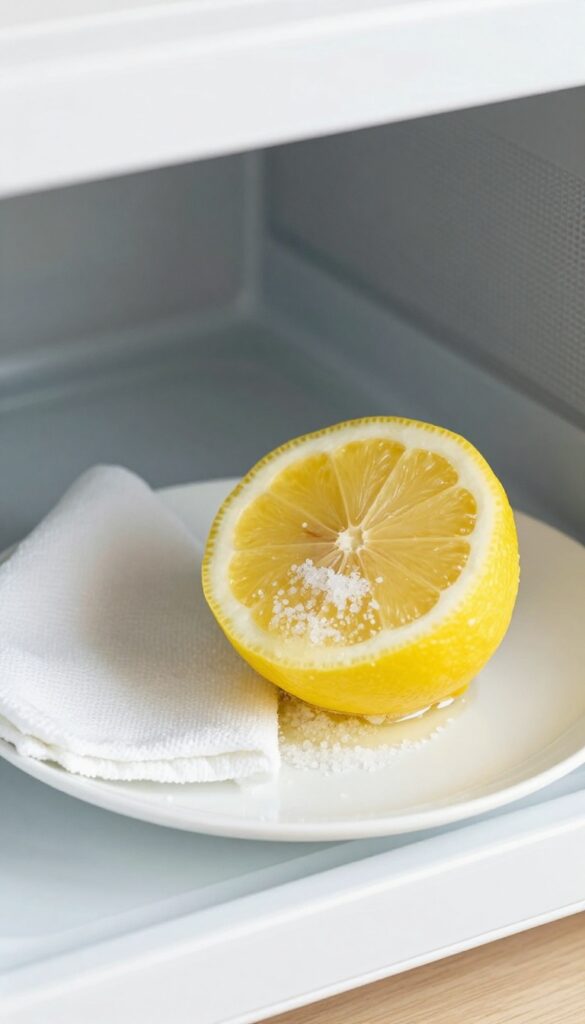
When you need a scrub that cuts through grease without scratching, reach for a lemon and some salt. The natural acid in lemon breaks down baked-on food, while salt provides gentle abrasion to lift grime. This combo is especially good for those stubborn spots that won't budge with just a wipe.
Cut a lemon in half and dip the cut side into a small dish of salt. Scrub the interior of the microwave in circular motions, focusing on any stuck-on food or greasy patches. The lemon juice will start dissolving the mess, and the salt will help scrape it away.
Let it sit for a minute, then wipe clean with a damp cloth. Rinse the cloth and give it one more pass to remove any salt residue. Your microwave will smell fresh and look spotless.
Why It Works So Well
Lemon contains citric acid, which is a natural degreaser. It breaks down the bonds in grease and food particles, making them easier to remove. Salt is a mild abrasive that doesn't scratch the microwave's interior like steel wool might.
Together, they create a powerful yet safe scrub.
Best Uses For This Method
This scrub is ideal for dried-on spaghetti sauce, cheese splatters, or any greasy residue. It's also great for freshening up the microwave after cooking fish or broccoli. Avoid using it on the control panel or any painted surfaces, as the acid could damage the finish.
A Quick Tip For Extra Cleaning Power
If you have really tough buildup, microwave the lemon halves for 20 seconds before scrubbing. The heat releases more citrus oils and softens the grime even further. Just let them cool enough to handle before you start scrubbing.
16. Microwave a Bowl of Water and Cinnamon
Cinnamon isn't just for baking—it's a natural deodorizer that leaves your microwave smelling like a cozy kitchen. Pair it with steam, and you get a double win: the steam loosens dried-on food while the cinnamon scent neutralizes odors. This trick takes two minutes and uses ingredients you probably already have in your pantry.
This method is perfect for everyday freshening after cooking something pungent like fish or curry. The steam softens any splatters, making them easier to wipe away, while the cinnamon replaces stubborn smells with a warm, inviting aroma. It's a simple, chemical-free way to keep your microwave clean and pleasant.
Why Cinnamon Works
Cinnamon contains essential oils that naturally absorb and neutralize odors instead of just masking them. When heated, the steam carries the scent throughout the microwave, coating surfaces and leaving a lasting fresh smell. Plus, it's a natural antimicrobial, so it helps reduce bacteria that can cause smells.
How To Do It Right
Fill a microwave-safe bowl with 1 cup of water. Drop in a cinnamon stick or 1 teaspoon of ground cinnamon (stir well). Microwave on high for 2 minutes.
Let it sit for another minute without opening the door so the steam can work. Then carefully remove the bowl—it will be hot—and wipe down the interior with a cloth.
When To Use This Trick
Use this method weekly as a maintenance freshener, or anytime you notice a lingering smell. It's especially effective after cooking strong-smelling foods like garlic, onions, or fish. You can also swap cinnamon for other spices like cloves or nutmeg for variety.
17. Remove Odors with Activated Charcoal
Stubborn smells that linger even after a deep clean call for a different approach. Activated charcoal is a natural odor absorber that works silently overnight. Unlike baking soda or vinegar, it doesn't mask smells—it traps them at the molecular level.
A small bowl of these black granules can transform your microwave from musty to fresh without any scrubbing.
Activated charcoal is highly porous, which gives it a massive surface area for trapping odor molecules. It's the same stuff used in air purifiers and water filters. For your microwave, you don't need a fancy product—just food-grade activated charcoal capsules or loose granules.
Pour about half a cup into a shallow bowl and place it inside the microwave. Close the door and leave it overnight. By morning, most odors will be gone.
Replace the charcoal every few weeks if you use the microwave daily. This method is especially effective for fish, burnt popcorn, or any smell that seems to have soaked into the plastic or paint.
Why Charcoal Works Best For Lingering Smells
Baking soda and vinegar neutralize odors chemically, but they can leave a residue or require rinsing. Activated charcoal doesn't react with anything—it simply adsorbs (not absorbs) volatile compounds. The difference matters: adsorption means molecules stick to the surface of the charcoal, locking them away.
This makes charcoal ideal for odors that have penetrated the microwave's interior surfaces, like the turntable or vent grille.
How To Use Activated Charcoal Safely
Always use food-grade activated charcoal, not the kind meant for grills or aquariums. Place it in a heatproof bowl—glass or ceramic works well. Never turn the microwave on with charcoal inside; it's for cold deodorizing only.
If the charcoal gets damp, spread it on a baking sheet and dry it in a low oven (200°F) for an hour to reactivate it. You can reuse the same batch several times until it stops absorbing smells.
Combining Charcoal With Other Odor Fighters
For extra stubborn smells, pair charcoal with a quick steam clean. First, run a bowl of water with lemon slices for 3 minutes to loosen grime. Wipe down the interior, then place the charcoal bowl inside overnight.
This two-step approach handles both surface residue and deep-set odors. You can also add a few drops of essential oil to the charcoal for a light scent, but avoid oils that might stain the microwave.
18. Clean the Exterior with a Degreaser
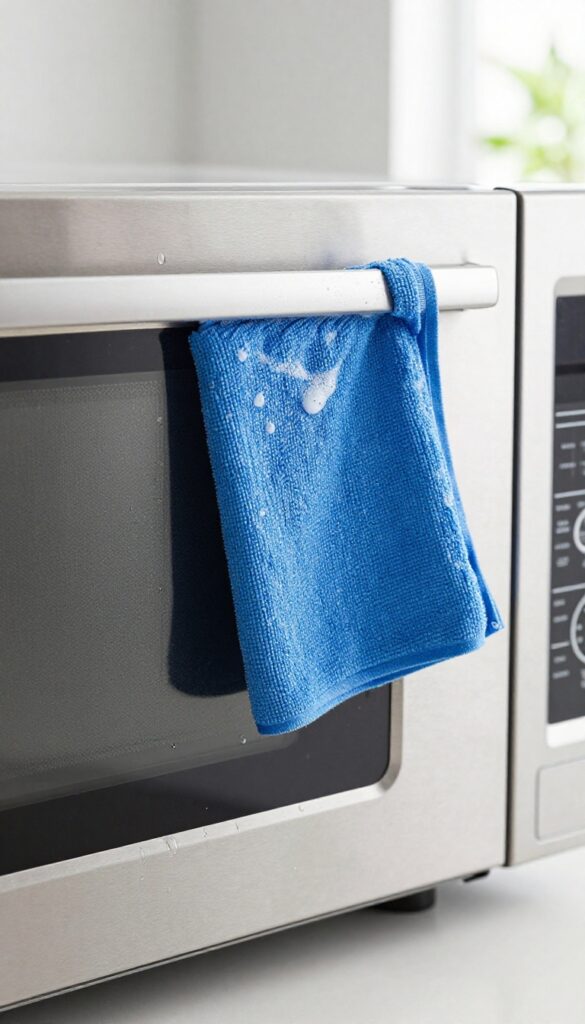
The outside of your microwave collects just as much grease and grime as the inside. Fingerprints, cooking splatters, and dust can make it look dull. A simple degreaser or soapy water will restore its shine without damaging the surface.
Why Degreaser Works Best
Kitchen grease bonds to surfaces differently than dust. A mild degreaser breaks down that oily film quickly, while dish soap lifts fingerprints and food residue. Avoid abrasive cleaners that can scratch stainless steel or plastic.
What You'll Need
Grab a spray bottle with a 50/50 mix of white vinegar and water, or a few drops of dish soap in warm water. A microfiber cloth is ideal—paper towels can leave lint. For stubborn spots, add a pinch of baking soda to your cloth.
Step-by-step Wipe Down
Spray the cloth, not the microwave, to avoid moisture seeping into vents. Wipe in straight lines from top to bottom. For the handle and control panel, use a slightly damp cloth to prevent liquid from dripping inside.
Finish with a dry cloth for a streak-free shine.
19. Use a Toothpick for Crevices
Even after a thorough wipe-down, tiny food particles can hide in the narrow gaps around the microwave door. These bits not only look unsightly but can also trap odors over time. A simple toothpick is the perfect tool to reach those tight spaces without damaging the seal.
Wrap It For Gentle Scrubbing
Take a wooden toothpick and wrap a thin layer of soft cloth or a piece of paper towel around the tip. Dampen it slightly with water or a mild cleaner. Gently run it along the crevices where the door meets the frame.
The cloth prevents scratches while the toothpick's point digs out grime.
Dry Pick For Stubborn Bits
For dried-on food that won't budge, use the toothpick bare. Carefully scrape along the groove to loosen the debris. Work slowly to avoid snapping the toothpick or scratching the plastic.
Once dislodged, vacuum or wipe away the crumbs.
Finish With A Damp Q-tip
After the toothpick does the heavy lifting, follow up with a cotton swab dipped in a 50/50 vinegar-water solution. Swipe it through the same crevices to sanitize and remove any remaining residue. This two-step method ensures no hidden spots are missed.
20. Steam Clean with Orange Peels
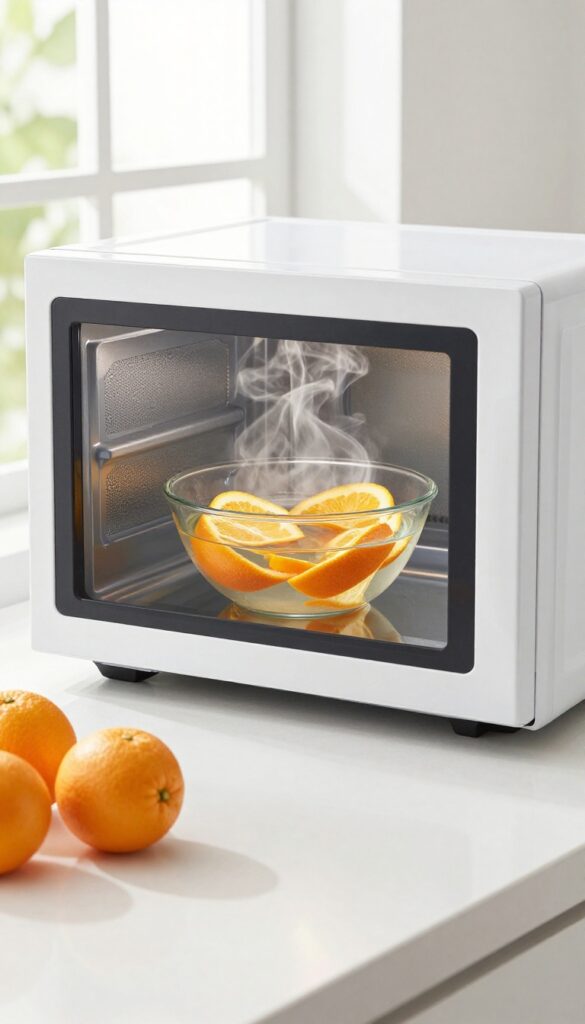
Before you toss those orange peels, put them to work. Citrus peels contain natural oils that break down grease and leave behind a fresh, clean scent. This method is almost effortless—just drop the peels in water and let the microwave do the heavy lifting.
Why Orange Peels Work
Orange peels are rich in d-limonene, a natural solvent that cuts through grease and grime. When heated, the steam carries these oils into the air, loosening stuck-on food and neutralizing odors. Plus, the citrus scent is far more pleasant than chemical cleaners.
How To Do It
Place the peels from one or two oranges in a microwave-safe bowl. Add about a cup of water. Microwave on high for 3 minutes, then let the bowl sit inside for another 2 minutes without opening the door.
The steam will soften any splatters and infuse the interior with a fresh orange aroma.
After The Steam
Carefully remove the bowl (it will be hot). Wipe down the interior with a damp cloth or sponge. The loosened grime should come off easily.
For stubborn spots, use the peel itself as a scrubber—the rough texture helps without scratching.
21. Dry the Interior Thoroughly After Cleaning
You've scrubbed, rinsed, and deodorized—now don't let all that effort go to waste. A damp microwave interior is a breeding ground for mold and musty smells, especially if you close the door right away. Giving it a chance to air out fully is a simple final step that keeps your microwave fresh longer.
Why Drying Matters
Moisture trapped inside a closed microwave creates a humid environment where bacteria and mold thrive. Even if you've just cleaned with vinegar or lemon, leftover dampness can cause new odors within hours. A dry interior also prevents water spots and streaks on glass surfaces.
How To Dry Properly
After wiping down all surfaces, use a clean microfiber cloth to absorb any remaining moisture. Pay special attention to the door seal, corners, and the turntable. Then prop the door open with a dish towel or leave it ajar for at least 10–15 minutes.
This allows air to circulate and evaporate hidden moisture.
Quick Tip For Faster Drying
If you're in a hurry, microwave a dry paper towel for 20 seconds. The heat will help evaporate residual moisture, and the towel will absorb condensation. Just be careful not to overheat—paper towels can scorch if left too long.
22. Use a Commercial Microwave Cleaner for Heavy Duty
Sometimes natural solutions just don't cut it. When you're dealing with layers of baked-on grease or stubborn stains that resist vinegar and baking soda, a commercial microwave cleaner can be the heavy lifter you need. These products are formulated to dissolve tough grime without damaging the appliance's interior.
Commercial microwave cleaners come in sprays, gels, or foams. They work quickly and require minimal scrubbing. Always follow the manufacturer's instructions and ensure proper ventilation.
After cleaning, run a cycle with a bowl of water to remove any chemical residue.
Choose The Right Product
Look for a cleaner specifically labeled for microwave use. Avoid abrasive cleaners that can scratch the surface. Popular options include Easy-Off Professional Microwave Cleaner and Affresh Microwave Cleaner.
Read reviews to find one that works well for your model.
Application Tips
Spray the cleaner onto a soft cloth or sponge, not directly onto the microwave surfaces, to avoid overspray into vents. Let it sit for the recommended time—usually a few minutes—then wipe clean. For tough spots, use a non-abrasive scrub pad.
Safety First
Wear gloves and work in a well-ventilated area. Avoid getting cleaner on the microwave's control panel or electrical components. After cleaning, wipe down all surfaces with a damp cloth and dry thoroughly before using the microwave again.
23. Maintain a Weekly Cleaning Schedule
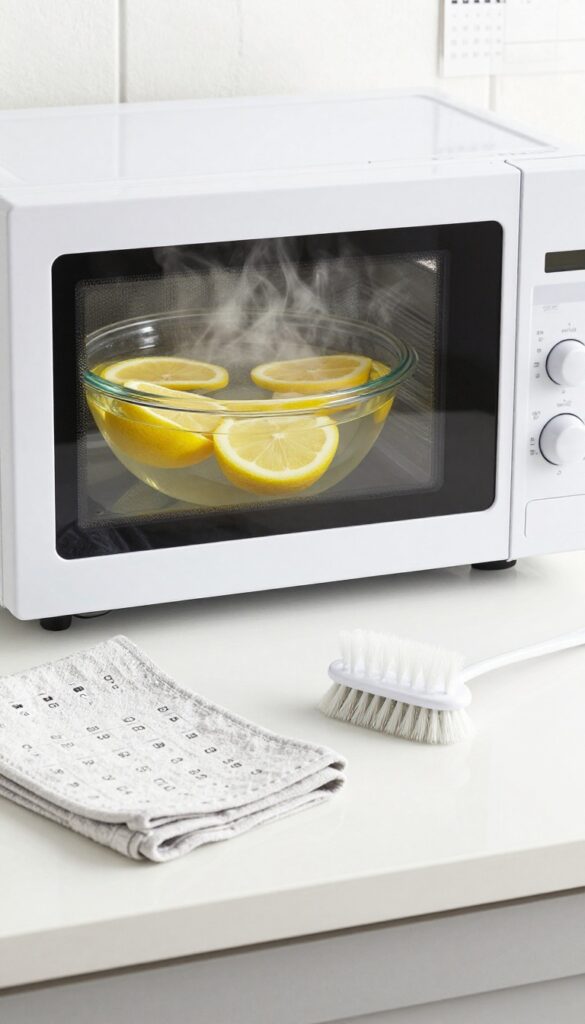
Consistency beats intensity when it comes to microwave upkeep. A quick weekly routine stops odors from setting in and prevents splatters from baking into stubborn crust. You'll spend less time scrubbing later and enjoy a fresh-smelling microwave every day.
Set a recurring reminder on your phone or calendar—same day, same time each week. This simple habit transforms cleaning from a dreaded chore into a quick, painless task. Over time, you'll notice less buildup and fewer lingering smells.
Pick Your Day
Choose a day that works with your routine, like Sunday evening after meal prep or Friday before the weekend. Consistency is key—the same day each week helps the habit stick. Mark it on your calendar or set a phone reminder so you don't forget.
Gather Supplies In Advance
Keep a microwave-safe bowl, white vinegar or lemon juice, a microfiber cloth, and a small brush in an easily accessible spot. Having everything ready makes the process under five minutes. Store these items near the microwave or in a designated cleaning caddy.
Do A Quick Steam And Wipe
Fill the bowl with water and a splash of vinegar or lemon juice. Microwave on high for 3–5 minutes, then let it sit for two minutes with the door closed. The steam loosens fresh splatters and deodorizes.
Wipe down the interior with a damp cloth—no scrubbing needed.
Check The Turntable And Vents
Remove the turntable and wash it in warm soapy water weekly. Use a damp cloth or a small brush to clean the vent openings on the top or back of the microwave. This prevents grease buildup and keeps the appliance running efficiently.
FAQ
Can I use bleach to clean my microwave?
It's not recommended. Bleach can damage the interior and leave harmful residues. Stick to mild cleaners like vinegar, baking soda, or dish soap.
How often should I clean my microwave?
For best results, wipe it down after each use and do a deeper clean once a week. This prevents odors and buildup.
Will lemon juice damage my microwave?
No, lemon juice is safe. Just avoid getting it on the control panel or electrical components. Wipe down afterward.
What if the smell doesn't go away after cleaning?
Try leaving a bowl of baking soda or activated charcoal inside overnight. If the odor persists, check for hidden spills in vents or seals.
Can I put metal in the microwave to clean it?
Never put metal in a microwave. It can cause sparks and damage. Use only microwave-safe bowls and utensils.
Conclusion
Microwave odors and splatters don't have to be a daily hassle. By using these 23 steps, you can keep your appliance fresh and clean with minimal effort. Whether you tackle a quick wipe-down after each use or a deeper clean weekly, consistency makes all the difference.
Start with the methods that address your biggest frustrations—maybe the lemon steam for odors or the baking soda scrub for stubborn stains. A little routine goes a long way, and your microwave will thank you with better performance and fewer lingering smells.