15 Cleaning Grout on Tile Floors Tips for Bright Lines
Grout lines can turn from bright white to dingy gray faster than you'd expect. That's because grout is porous and traps dirt, soap scum, and moisture deep inside. Scrubbing harder doesn't always fix it—you need the right approach.
Most people reach for bleach or harsh chemicals, but those can damage grout over time. The good news is you can restore those lines with simple household items and a little technique.
Whether your floors are in the kitchen, bathroom, or entryway, these tips will help you get bright, clean grout without the elbow grease. Let's dive into 15 practical methods that actually work.
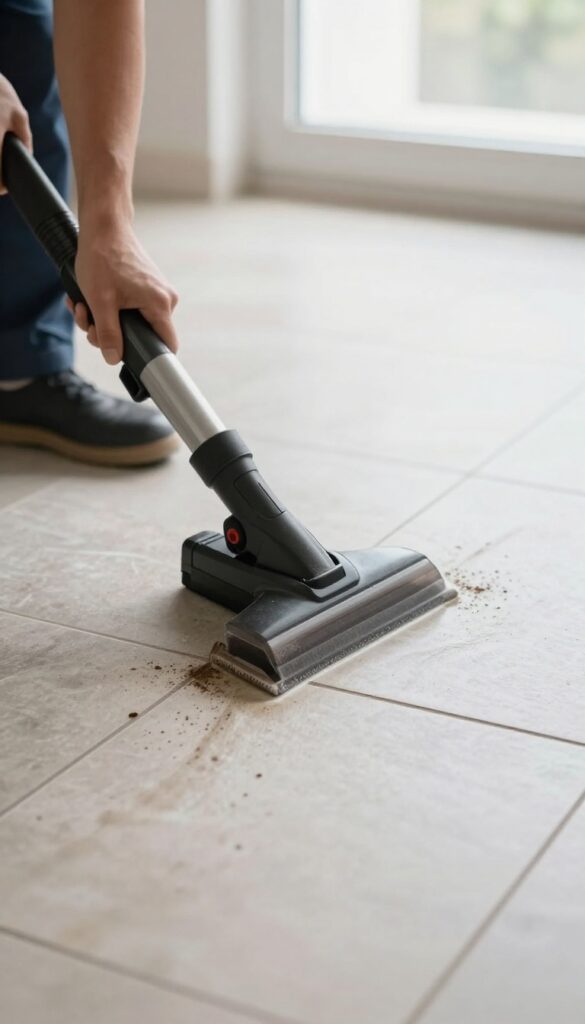
1. Start with a Dry Sweep
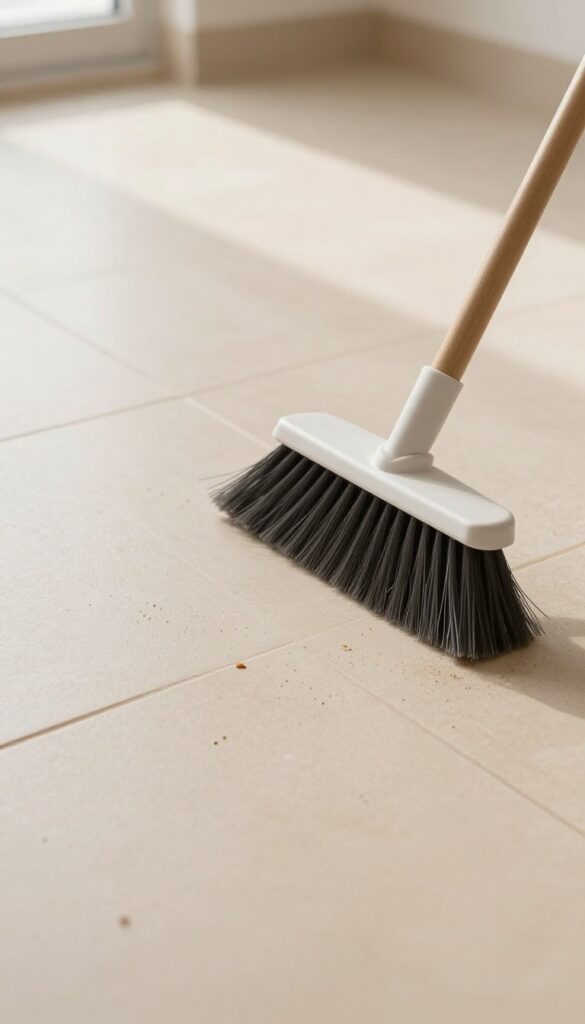
You might be tempted to go straight for the scrub brush, but that's a mistake. Grout is porous, and when you add water to loose dirt, you're basically creating mud that gets pushed deeper into those tiny crevices. A quick dry sweep removes the surface grit so your wet cleaning can actually lift stains instead of grinding them in.
Dry sweeping is the simplest step, yet it's often skipped. Use a soft-bristle broom or a microfiber dust mop to collect dust, hair, and crumbs from the tile surface and grout lines. Pay extra attention to corners and edges where debris tends to hide.
If you have a vacuum with a brush attachment, that works even better—it pulls particles out of the grout grooves without scattering them. This five-minute prep makes every following step more effective.
Why Dry Matters
Water activates dirt. When loose particles mix with your cleaning solution, they turn into a gritty paste that can scratch tile glaze and lodge deeper into grout pores. Dry sweeping first eliminates that risk and leaves you with a clean slate for the real work.
Best Tools For The Job
A standard broom works, but a microfiber dust mop grabs finer particles. For deep grout lines, a stiff-bristle dust brush or a vacuum with a crevice tool is ideal. Avoid using a wet mop at this stage—mopping before sweeping just pushes wet debris around.
When To Sweep
Make dry sweeping a regular habit. Do it before any deep cleaning session, and ideally once a week as maintenance. In high-traffic areas like entryways or kitchen floors, a quick daily sweep keeps grout looking brighter longer.
2. Use a Baking Soda Paste
Baking soda is a gentle abrasive that lifts grime without scratching tile or damaging grout. When mixed with water, it forms a paste that clings to vertical surfaces and seeps into porous grout lines. This method works best for light to moderate dirt and is safe for all tile types.
To make the paste, combine three parts baking soda with one part water in a small bowl. Stir until it reaches a thick, spreadable consistency. Apply it directly to the grout lines using an old toothbrush, a grout brush, or even your finger.
Let the paste sit for 10–15 minutes so it can loosen embedded dirt. Then scrub gently with a damp brush or sponge. Rinse with clean water and dry with a microfiber cloth.
For extra cleaning power, add a splash of white vinegar to the paste, but test on a hidden area first since vinegar can etch certain stone tiles.
Why Baking Soda Works
Baking soda is mildly alkaline, which helps break down acidic soil like grease and soap scum. Its fine crystalline structure provides gentle abrasion that scrubs away grime without damaging the grout or tile surface. Plus, it's non-toxic and safe for homes with kids and pets.
How To Apply The Paste
Mix the paste fresh each time. Use a small brush to work it into the grout lines, making sure to fill the grooves completely. Let it sit for at least 10 minutes—longer for stubborn stains.
Scrub in a circular motion, then rinse thoroughly. Wipe away any residue to prevent a white film.
When To Add Vinegar
For tough stains, add a teaspoon of white vinegar to the paste. The fizzing action helps lift dirt. But avoid vinegar on natural stone tiles like marble or travertine, as the acid can dull the surface.
Always test in an inconspicuous spot first.
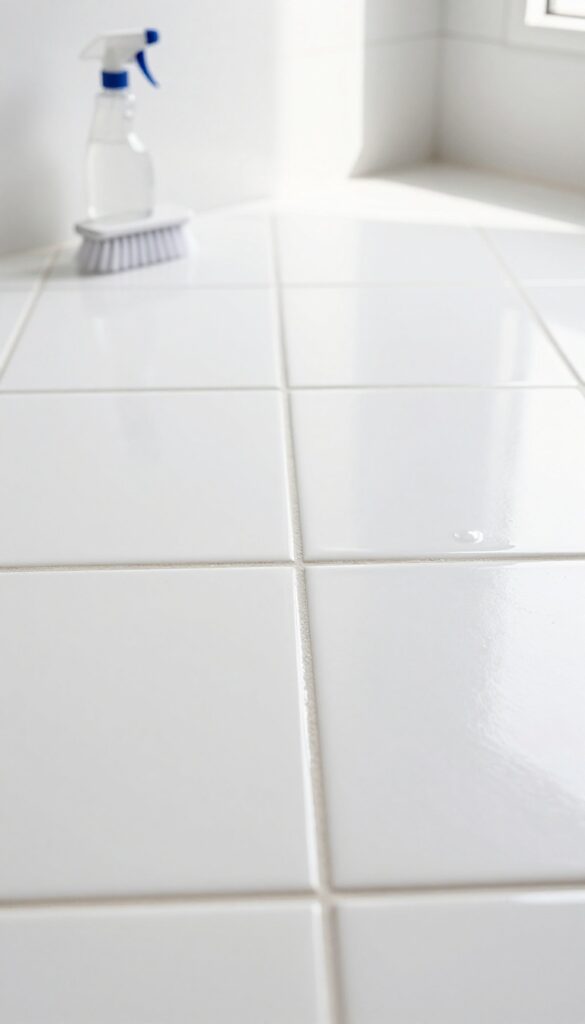
3. Vinegar and Water Solution
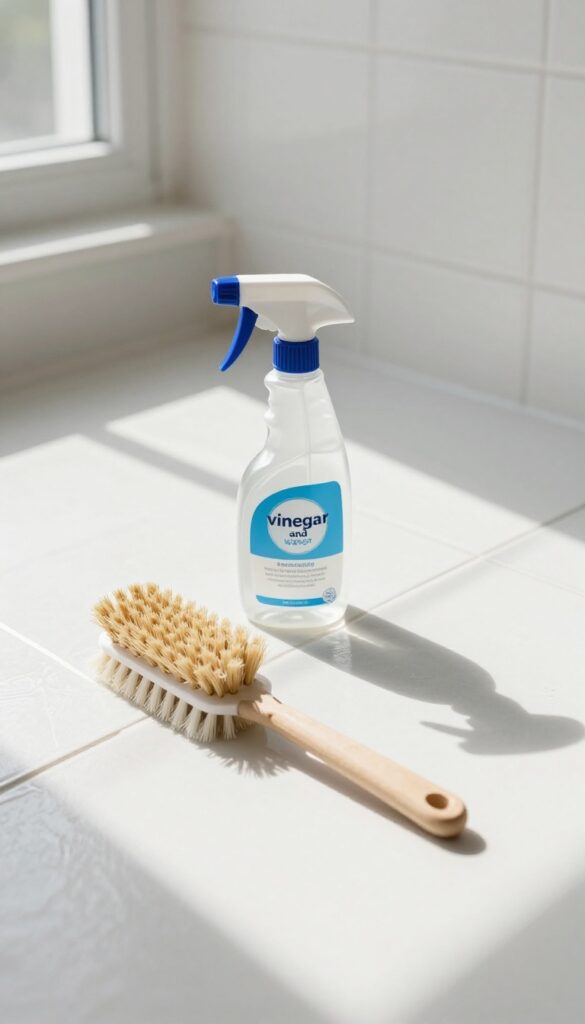
White vinegar is a natural cleaner that cuts through grime without harsh fumes. Mixed with water, it creates a mild acid that breaks down soap scum and dirt trapped in grout. This method is safe for most tile types and won't damage the grout when used correctly.
For light to moderate grout stains, a simple vinegar and water solution often does the trick. The acidity helps dissolve mineral deposits and soap residue, while the water dilutes it enough to avoid etching tile surfaces. Always test on a small hidden area first, especially if you have natural stone tiles like marble or travertine.
How To Mix And Apply
Combine equal parts white vinegar and warm water in a spray bottle. Shake gently to mix. Spray the solution directly onto the grout lines until they are damp but not soaking wet.
Let it sit for about 5 minutes to allow the vinegar to break down the grime. Do not let it dry completely, as that can leave a residue.
Scrubbing Technique
Use a stiff-bristled brush, like a grout brush or an old toothbrush, to scrub along the grout lines. Apply firm pressure and work in small circular motions. For larger areas, a scrub brush with a handle can save your knees and back.
Rinse the area with clean water and wipe dry with a microfiber cloth to remove any loosened dirt.
When To Avoid This Method
Do not use vinegar on unsealed grout, as the acid can weaken it over time. Also avoid it on natural stone tiles like limestone or slate, because the acid can etch the surface. If your grout is already damaged or crumbling, skip this method and consider regrouting instead.
4. Hydrogen Peroxide for Stubborn Stains
Some stains just won't budge with gentle cleaners. That's where hydrogen peroxide comes in. It's a mild bleach that breaks down organic gunk without the harsh fumes of chlorine bleach.
Plus, it's safe for most grout colors.
Hydrogen peroxide works by releasing oxygen bubbles that lift dirt from deep within the grout pores. It's especially effective on coffee, wine, or food spills that have set in. Just pour it directly on the stain, let it fizz for a few minutes, then scrub with a stiff brush and rinse.
How It Works
Hydrogen peroxide is a natural oxidizer. When it contacts organic matter, it releases oxygen that breaks down the stain molecules. The bubbling action helps dislodge debris from the grout's porous surface, making it easier to rinse away.
Best Uses
This method works wonders on dark, set-in stains that resist baking soda or vinegar. It's also great for whitening light-colored grout. Avoid using it on dark grout, as it may lighten the color unevenly.
Step-by-step Application
First, sweep or vacuum the floor to remove loose dirt. Pour 3% hydrogen peroxide directly onto the stained grout lines. Let it sit for 5–10 minutes until bubbling stops.
Scrub with a stiff grout brush, then wipe clean with a damp cloth. Repeat if needed.
5. Steam Cleaning Magic
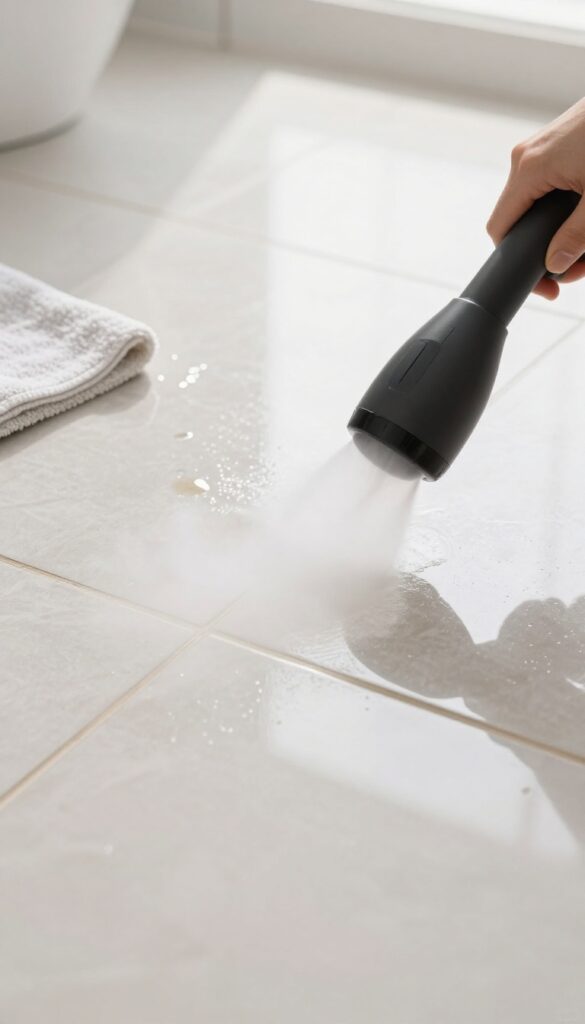
If you've never tried a steam cleaner on your grout, you're missing out on one of the fastest ways to get bright lines. The high-temperature steam loosens embedded dirt and kills bacteria without any chemicals. It's especially great for large tiled areas where scrubbing by hand would take forever.
Steam cleaning works by forcing hot vapor into the porous grout, which expands and releases trapped grime. The heat also sanitizes the surface, so you get a deep clean without scrubbing. Just make sure your tile is sealed properly—steam can seep into unsealed grout and cause damage over time.
Choosing The Right Steamer
Not all steam cleaners are created equal. For grout, look for one with a brush attachment and a high-pressure setting. Handheld steamers work well for small bathrooms, while a full-size unit with a floor mop head is better for kitchens or hallways.
Avoid models that only produce low-pressure steam—they won't have enough force to clean deep grout lines.
Technique Matters
Start by vacuuming the floor to remove loose dirt. Then, work in small sections: hold the steamer head over the grout line for a few seconds, then move it slowly along the joint. The steam will soften the grime, and the brush attachment will lift it away.
Wipe up the loosened residue with a microfiber cloth before it dries. For stubborn spots, repeat the process.
When To Skip Steam
Steam cleaning isn't for every situation. If your grout is cracked or crumbling, the moisture can worsen the damage. Also, avoid steam on natural stone tiles like marble or limestone—the heat and moisture can cause etching or discoloration.
Stick to steam only on ceramic, porcelain, or well-sealed grout.
6. The Toothbrush Technique
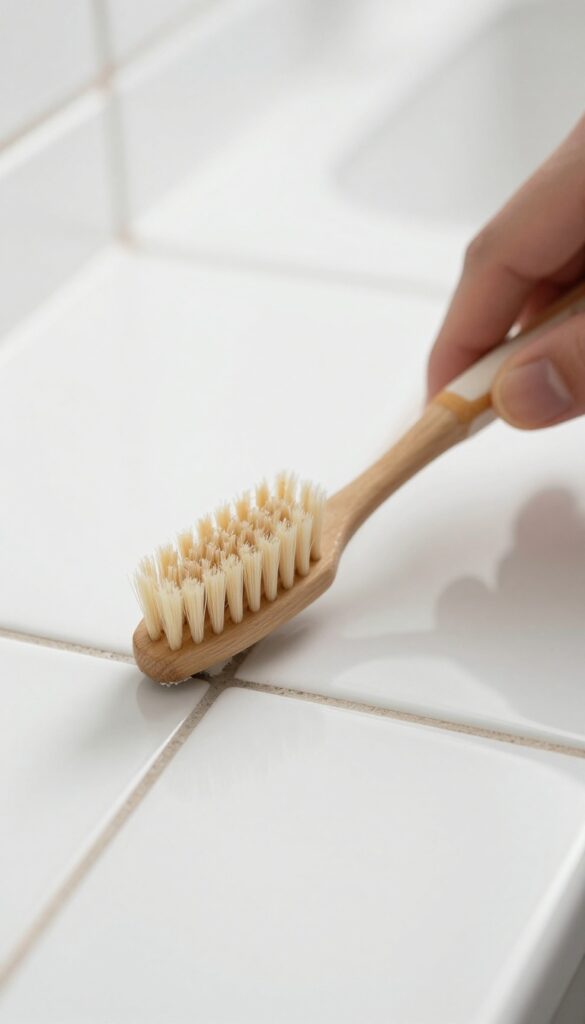
An old toothbrush reaches tight corners and gives you precise control for spot cleaning. It's perfect for targeting small stains without disturbing the surrounding tile. Plus, it's a great way to repurpose something you'd otherwise throw away.
Why A Toothbrush Works Best
The bristles are firm enough to scrub grout but soft enough not to scratch tile. The small head lets you get into narrow grout lines and around edges where larger brushes can't reach. You can apply just the right amount of pressure to lift grime without damaging the grout.
How To Use It Effectively
Dip the toothbrush in your cleaning solution (baking soda and water paste works great). Scrub in a circular motion along the grout line, focusing on stained areas. Rinse the brush frequently and reapply cleaner as needed.
For tough spots, let the paste sit for a few minutes before scrubbing.
Pro Tip: Label Your Brush
Keep a designated toothbrush for cleaning grout. Mark it with a permanent marker or store it separately so no one accidentally uses it for brushing teeth. This saves you from hunting for a brush each time and keeps your cleaning kit organized.
7. Grout Brush with Extendable Handle
Kneeling on hard tile while scrubbing grout is tough on your knees and back. A grout brush with an extendable handle lets you stand upright and still apply serious pressure. It's a simple tool that makes cleaning feel much less like a chore.
A long-handled grout brush gives you leverage and reach without sacrificing scrubbing power. The stiff bristles are designed to dig into grout lines, and the handle lets you use your body weight instead of just arm strength. This means less fatigue and better results in less time.
Why An Extendable Handle Matters
Standard scrub brushes force you to bend or kneel, which can strain your back and knees. An extendable handle keeps you upright, reducing physical stress. You can also adjust the length to match your height, making the tool comfortable for anyone in the house.
Choosing The Right Brush Head
Look for a brush with stiff, angled bristles that can reach deep into grout lines. Some models come with interchangeable heads—one for grout and one for general tile cleaning. A brush with a built-in reservoir for cleaner can also save time by dispensing solution as you scrub.
Best Practices For Using A Long-handled Brush
Apply your cleaning solution first and let it sit for a few minutes. Then scrub in a back-and-forth motion along the grout lines, using firm pressure. Rinse with water and wipe away residue.
For tough stains, dip the brush in a paste of baking soda and water before scrubbing.
8. Oxygen Bleach Soak
Oxygen bleach is a gentler alternative to chlorine bleach that still packs a punch against grout stains. It works by releasing oxygen bubbles that lift dirt and grime from deep within the porous grout. This method is especially effective for whitening dingy lines without damaging the tile or grout.
Oxygen bleach is a gentler alternative to chlorine bleach that still packs a punch against grout stains. It works by releasing oxygen bubbles that lift dirt and grime from deep within the porous grout. This method is especially effective for whitening dingy lines without damaging the tile or grout.
To use it, mix oxygen bleach powder with warm water according to package directions—usually about 1/4 cup per gallon. Apply the solution generously to the grout lines using a spray bottle or sponge. Let it sit for 15 minutes so the bubbles can penetrate and break down the grime.
Then scrub with a stiff brush and rinse thoroughly with clean water. For stubborn stains, you can let the solution sit longer or repeat the process.
Why Oxygen Bleach Works
Unlike chlorine bleach, which can weaken grout over time, oxygen bleach is non-toxic and safe for most surfaces. It's also color-safe, so it won't fade your tile. The oxygen bubbles actively lift dirt rather than just bleaching it away, giving you a deeper clean.
Best Way To Apply The Soak
For best results, saturate the grout lines completely and avoid letting the solution dry out. You can cover the area with plastic wrap to keep it moist during the 15-minute soak. This prevents the bleach from evaporating and ensures maximum stain-lifting power.
When To Use This Method
Oxygen bleach soak is ideal for general brightening and for removing organic stains like food, mold, or mildew. It's less effective on set-in grease or wax, but for most everyday grout grime, it's a safe and reliable go-to.
9. Commercial Grout Cleaner
Sometimes DIY solutions just don't cut it, especially if the grout is deeply stained or sealed with a tough coating. That's when a commercial grout cleaner can save the day. These products are formulated specifically for grout, so they penetrate deeper and lift grime that homemade mixes might leave behind.
When you buy a commercial cleaner, look for one labeled pH-neutral. Acidic or alkaline cleaners can etch tile or discolor grout, especially on natural stone. A pH-neutral formula is safe for most surfaces and still powerful enough to break down soap scum, mildew, and ground-in dirt.
Always test on a small hidden area first, and follow the instructions carefully—some need to sit for a few minutes, others require scrubbing. Rinse thoroughly with water afterward to remove any residue that could attract more dirt.
How To Choose The Right Product
Not all grout cleaners are the same. Check the label for compatibility with your tile type. For ceramic or porcelain, most pH-neutral cleaners work fine.
For natural stone like marble or travertine, avoid anything with acids or abrasives. Also consider whether you need a spray, foam, or gel—sprays are good for light cleaning, while gels cling to vertical surfaces and stay wet longer for deep stains.
Application Tips For Best Results
Start by sweeping or vacuuming loose dirt. Apply the cleaner along the grout lines, not all over the tile. Let it sit for the recommended time—usually 5 to 10 minutes—then scrub with a stiff brush.
A grout brush or an old toothbrush works well. Rinse with clean water and wipe dry with a microfiber cloth. If stains remain, repeat the process or try a slightly stronger cleaner.
Safety And Ventilation
Even pH-neutral cleaners can have strong fumes. Open windows or turn on a fan while you work. Wear gloves to protect your hands, and avoid mixing different cleaners together.
Keep children and pets away until the area is dry and rinsed.
10. Seal Grout After Cleaning
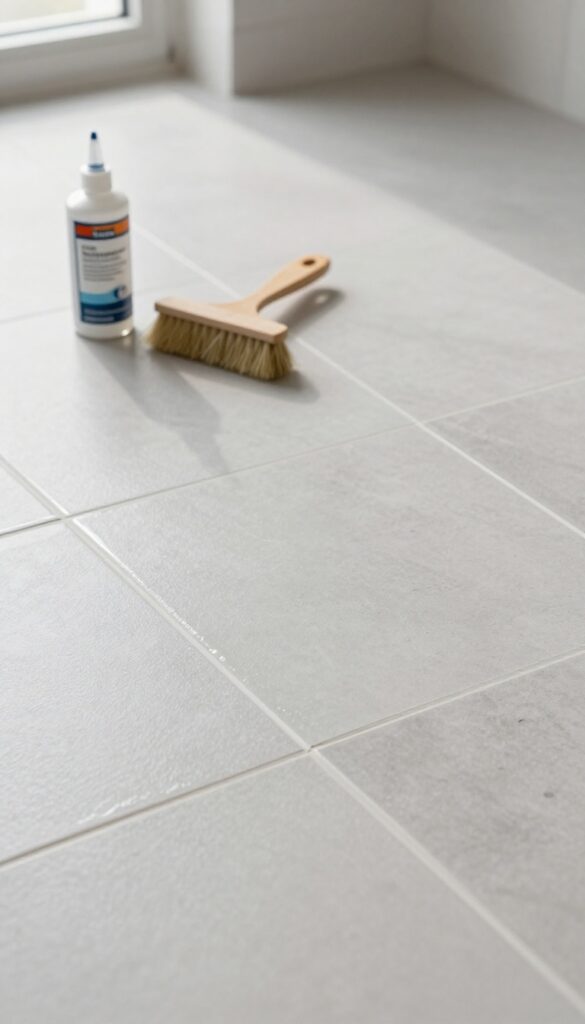
You've put in the work to get your grout lines looking fresh again. Now you want them to stay that way as long as possible. Sealing grout is the best way to lock in that clean look and make future maintenance much easier.
A good sealer acts like a shield, keeping dirt, moisture, and stains from penetrating the porous surface.
Sealing grout after a deep clean is a smart move that pays off over time. It creates a protective barrier that repels liquids and dirt, so spills and grime stay on the surface where they can be wiped away easily. Without sealer, grout acts like a sponge, soaking up everything that touches it.
With sealer, you get a much longer window between deep cleans.
Choose The Right Sealer
Not all sealers are the same. For tile floors, a penetrating sealer is usually the best choice. It soaks into the grout and bonds from within, so it doesn't change the look or texture.
Avoid topical sealers that can peel or yellow over time. Look for a product specifically labeled for grout and tile, and check if it's suitable for your type of grout—sanded or unsanded.
Apply Sealer Correctly
Before applying, make sure the grout is completely clean and dry. Any moisture or residue can trap dirt under the sealer. Use a small brush or applicator bottle to apply the sealer directly to the grout lines, being careful not to get it on the tile surface.
Let it penetrate for the time recommended on the label, then wipe away any excess from the tile with a clean cloth. Work in small sections to avoid the sealer drying on the tile.
When To Reseal
Sealer isn't permanent. Over time, it wears away from foot traffic and cleaning. How often you need to reseal depends on the type of sealer and how much use the floor gets.
A good rule of thumb is to reseal once a year. You can test if your grout needs resealing by sprinkling a few drops of water on it. If the water beads up, the sealer is still working.
If it soaks in and darkens the grout, it's time to reseal.
11. Use a Magic Eraser
Melamine foam sponges, often sold as Magic Erasers, are surprisingly effective on grout. They work like ultra-fine sandpaper, lifting dirt and stains without scratching the tile surface. All you need is water—no extra cleaners required.
This method is quick and mess-free. Just dampen the sponge, wring it out so it's not dripping, and gently rub along the grout lines. The foam will break down as you scrub, revealing clean grout underneath.
It's perfect for light to moderate buildup.
Why It Works So Well
The melamine foam's micro-abrasive structure acts like a gentle eraser on grout's porous surface. It physically lifts grime without the need for harsh chemicals, making it a safe choice for sealed and unsealed grout alike.
Best Practices For Best Results
Always test on an inconspicuous area first. Use light pressure—let the sponge do the work. Cut the sponge into smaller pieces to reach tight corners.
Replace the sponge once it starts to crumble or becomes dirty.
When To Avoid This Method
Avoid using melamine sponges on unglazed or textured tiles, as the abrasive action could dull the finish. Also, don't use them on antique or delicate tiles. Stick to glazed ceramic or porcelain for best results.
12. Try a Grout Pen for Touch-Ups
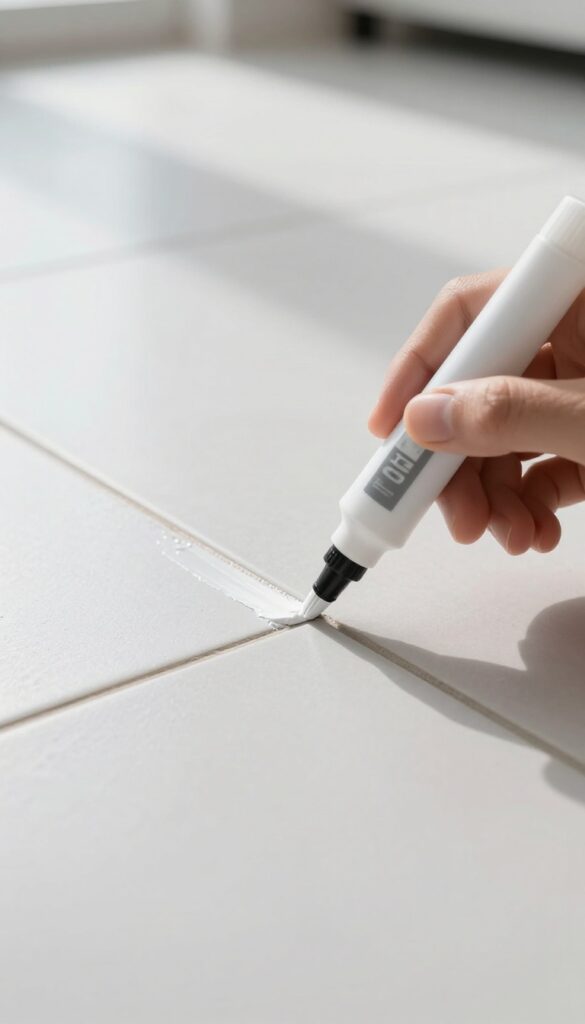
Once you've scrubbed and cleaned your grout lines, you might still notice faded or uneven color. That's where a grout pen comes in handy. It's a quick, low-effort way to refresh the look of your tile floors without a full regrouting job.
How Grout Pens Work
A grout pen is essentially a marker filled with water-based grout colorant. You simply run the pen tip along the grout lines, and it deposits a thin layer of color that dries to a matte finish. Most pens are designed to resist water and scrubbing once cured.
When To Use A Grout Pen
Grout pens work best on clean, dry grout that's structurally sound but has lost its color. They're ideal for small areas like bathroom floors or kitchen backsplashes. Avoid using them on cracked or crumbling grout, as the pen won't fix underlying damage.
Tips For A Neat Application
Before you start, tape off the tile edges if you're worried about stray marks. Apply steady, even pressure and wipe away any excess immediately with a damp cloth. Let the pen dry for at least 24 hours before exposing the floor to moisture.
13. Avoid Abrasive Tools

It’s tempting to grab a steel wool pad or a stiff wire brush when grout stains won’t budge. But those abrasive tools can do more harm than good. They scratch the surface of your tiles and wear away the protective layer of your grout, making future cleaning even harder.
Scratched tile not only looks dull but also becomes a magnet for dirt and grime. Once the glazed finish is damaged, stains set in deeper and are nearly impossible to remove. Similarly, rough brushes can scrape grout lines, leaving them rough and porous.
Over time, this weakens the grout and can lead to cracks or crumbling. Stick to soft-bristle brushes, nylon scrub pads, or microfiber cloths instead. They clean effectively without the risk of permanent damage.
If you need extra scrubbing power, pair a soft brush with a gentle cleaning solution like baking soda paste or oxygen bleach.
Why Steel Wool Is A Bad Idea
Steel wool might seem like a quick fix, but it leaves behind tiny metal fibers that can rust and stain your grout. The abrasive action also scratches tile surfaces, especially glossy ceramic or porcelain. Once scratched, those marks are permanent.
For tough stains, let a cleaning solution sit longer instead of resorting to harsh scrubbing.
The Problem With Wire Brushes
Wire brushes are even more aggressive. They can gouge soft grout and chip tile edges. If your grout is already aging or cracked, a wire brush will accelerate damage.
Always choose a brush with nylon bristles—they’re firm enough to scrub but gentle on surfaces.
Better Alternatives For Tough Stains
For stubborn spots, use a grout brush with stiff nylon bristles or an old toothbrush. For larger areas, attach a soft scrub pad to a drill brush kit. These tools provide controlled pressure without scratching.
Pair with a paste of baking soda and water or a commercial oxygen bleach cleaner for best results.
14. Regular Maintenance Routine
Keeping grout bright isn't just about deep cleaning—it's about stopping dirt before it settles in. A simple weekly sweep and quick spot-cleaning can make a huge difference over time. Think of it as a few minutes of prevention that saves you hours of scrubbing later.
A regular maintenance routine is the easiest way to keep your grout lines looking fresh. By sweeping or vacuuming weekly and wiping up spills immediately, you prevent dirt and moisture from penetrating the porous grout. This habit stops grout from darkening gradually, so you won't need heavy-duty cleaning as often.
Weekly Sweeping
Sweep or vacuum tile floors at least once a week. Use a soft-bristle broom or a vacuum with a hard floor setting to avoid scratching tiles. This removes loose dirt and grit that can grind into grout lines over time.
Immediate Spot Cleaning
When spills happen, clean them right away. Blot liquids with a cloth, then wipe with a mild cleaner. Don't let spills sit—especially acidic ones like juice or vinegar, which can etch grout.
A quick response prevents stains from setting.
Gentle Daily Wipes
For high-traffic areas, a quick daily wipe with a damp microfiber mop can keep grout from accumulating grime. Avoid soaking the floor; just a light dampness is enough to pick up surface dust. This extra step keeps grout lines looking crisp.
15. Call a Professional for Deep Stains
Sometimes, no matter how hard you scrub, those grout lines refuse to brighten up. Deep-set stains from years of neglect or mold growth can be stubborn. When DIY methods fall short, it's time to bring in the pros.
When To Wave The White Flag
If you've tried multiple cleaning methods and the grout still looks dark or patchy, professional intervention can save you time and frustration. Pros have industrial-grade steam cleaners and specialized solutions that penetrate deep into porous grout.
Steam Cleaning Vs. Grout Replacement
Steam cleaning uses high-temperature vapor to loosen and extract embedded dirt without chemicals. It's great for restoring original color. For grout that's cracked, crumbling, or heavily stained, replacement may be the only permanent fix.
What To Expect From A Pro
A good contractor will assess the condition, give you a quote, and explain the process. After cleaning or replacement, they often apply a sealer to protect against future stains. It's an investment that can make your floors look brand new.
FAQ
Can I use bleach to clean grout?
Bleach can lighten grout but may weaken it over time and cause yellowing. It's better to use oxygen bleach or natural alternatives.
How often should I clean grout?
For maintenance, clean grout every 2-4 weeks. Deep clean every 3-6 months depending on traffic and spills.
Does vinegar damage grout?
Vinegar is acidic and can etch unsealed grout if used too often. Dilute it with water and rinse thoroughly.
What's the best tool for scrubbing grout?
A stiff-bristled grout brush or an old toothbrush works well. For larger areas, a steam cleaner is effective.
How do I prevent grout from getting dirty?
Seal grout after cleaning and reapply sealer annually. Wipe spills quickly and sweep regularly to reduce dirt buildup.
Conclusion
Bright grout lines don't have to be a distant memory. Pick two or three of these tips that fit your cleaning style and grout type, then make them part of your routine. A quick weekly wipe-down with a gentle cleaner will prevent stains from setting in.
Consistency is what keeps those lines looking fresh and sharp. You'll save yourself from heavy scrubbing sessions down the road, and your tile floors will stay crisp and clean with minimal effort.