23 Sink Cleaning Hacks for Drains Faucets and Shine
That dull film on your faucet and slow-draining sink aren't just annoying—they're signs of mineral buildup and trapped grime. But you don't need a plumber or expensive cleaners to restore shine and flow.
These 23 hacks use everyday items like baking soda, vinegar, and even a wire hanger to tackle clogs, polish fixtures, and leave your sink sparkling. From a fizzy volcano that clears drains to a lemon peel that freshens your disposal, each trick targets a specific problem without harsh chemicals.
Ready to make your sink look and work like new? Let's dive into the smartest ways to clean every part of your sink setup.
1. Baking Soda and Vinegar Volcano for Clogs
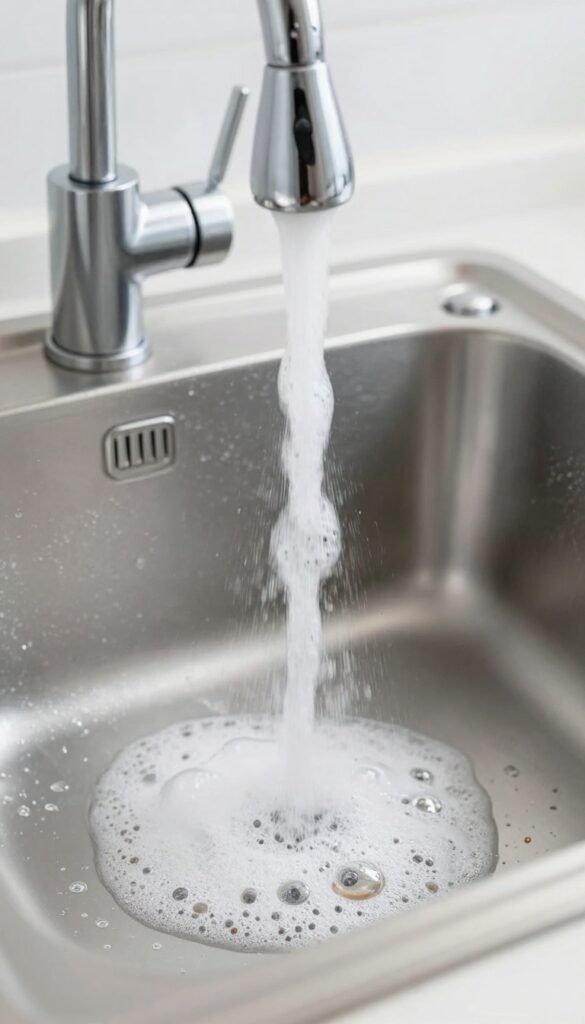
Few things beat the classic baking soda and vinegar combo when your sink starts draining slowly. The fizzy reaction creates pressure that helps dislodge grease, soap scum, and other gunk without any harsh chemicals. It's cheap, non-toxic, and you probably already have both ingredients in your kitchen.
Start by removing any standing water from the sink. Pour 1/2 cup of baking soda directly down the drain, then immediately follow with 1/2 cup of white vinegar. You'll see a fizzy reaction almost instantly.
Cover the drain opening with a plug or a damp cloth to trap the foam inside the pipe. Let it sit for 15 minutes so the bubbling action can break up clogs and buildup. Finally, flush the drain with a pot of boiling water (or very hot tap water if you have PVC pipes) to wash away the loosened debris.
Repeat if needed for stubborn clogs.
Why It Works
Baking soda is a mild alkali that reacts with the acid in vinegar to produce carbon dioxide gas. The fizzing creates pressure that helps physically push clogs apart, while the alkaline and acidic properties work together to dissolve soap scum, grease, and organic matter.
When To Use This Method
This hack works best for slow drains caused by everyday buildup—think hair, soap, and food particles. It's not a substitute for a plumber's snake on solid blockages, but it's a great first step before trying anything more aggressive.
Pro Tips For Best Results
Use boiling water if your pipes are metal; hot tap water is safer for PVC. For extra cleaning power, add a few drops of dish soap to the baking soda before pouring in the vinegar. If the drain still runs slow after one round, wait an hour and try again.
2. Boiling Water Flush for Grease Buildup
Grease might seem harmless when it's still liquid, but once it cools down inside your pipes, it turns into a sticky trap for food scraps and soap scum. Over time, that buildup narrows the pipe and leads to slow drains or even clogs. A simple kettle of boiling water can break down that grease before it hardens.
It's the easiest maintenance trick you can do—no chemicals, no scrubbing, just hot water.
Why Grease Is A Drain's Worst Enemy
When you pour cooking oil or bacon fat down the sink, it coats the inside of your pipes. As it cools, it solidifies and catches other debris. This creates a thick, sticky layer that traps hair and food particles, eventually blocking water flow.
Boiling water melts the grease while it's still soft, flushing it away before it can cause trouble.
How To Do The Boiling Water Flush
Fill your kettle and bring it to a full boil. Then, slowly pour the entire kettle down the drain in two or three stages, pausing a few seconds between each pour. This gives the hot water time to work on the grease.
Do this once a week, especially if you cook with oil or butter often.
When Not To Use Boiling Water
If you have PVC pipes (common in newer homes), boiling water can soften or damage the joints. In that case, use hot tap water instead—run it for a full minute at the hottest setting. Also, never pour boiling water into a completely clogged drain; it could cause pressure buildup or even pipe damage.
3. Salt and Ice Cube Garbage Disposal Scrub
Your garbage disposal works hard, but it can get pretty funky. Food particles get trapped, smells develop, and grime builds up on the blades. A simple scrub with salt and ice cubes is a game-changer.
It’s quick, chemical-free, and leaves your disposal fresh and clean.
Drop a handful of ice cubes and a cup of coarse salt into the disposal. Run cold water and turn it on. The ice knocks off grime from the blades and walls, while the salt scrubs away residue and deodorizes.
The cold water keeps any grease solid so it gets flushed out. Let it run for about 30 seconds, then turn it off and run cold water for another 10 seconds. That’s it—your disposal is clean and fresh.
Why Ice And Salt Work
Ice cubes are hard enough to dislodge stuck-on gunk without damaging the blades. As they get crushed, they scrape the interior surfaces. Coarse salt acts as an abrasive scrubber and also absorbs odors.
Together, they create a powerful cleaning combo that’s safe for your disposal.
When To Do This
Do this scrub once a week to keep smells away and prevent buildup. It’s especially good after grinding up strong-smelling foods like fish or onion peels. You can also do it anytime you notice a dull odor coming from the sink.
Extra Tips For Best Results
Use coarse salt like kosher or rock salt—table salt is too fine and won’t scrub as well. Add a few lemon or orange peels along with the ice for a fresh citrus scent. Never use bleach or harsh chemicals in your disposal; they can damage the rubber seals and blades.
4. Lemon Peel Freshener for Disposal
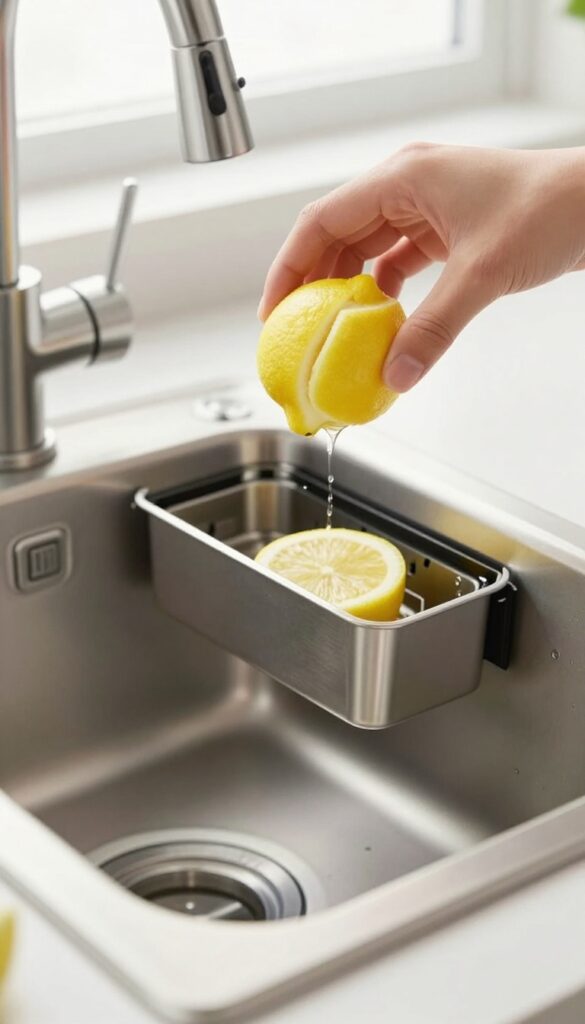
Your garbage disposal works hard, but it can get pretty funky. Instead of reaching for chemical deodorizers, grab a leftover lemon or orange peel. Citrus peels contain natural oils that cut through grease and leave behind a bright, clean scent.
Tossing citrus peels into the disposal is one of the simplest ways to freshen things up. The oils help break down grime while the abrasive texture scrubs the blades and interior walls. Plus, it's a great way to use up peels before they end up in the trash.
How To Do It Right
Cut a lemon or orange into wedges or strips. Drop a few pieces into the disposal, turn on cold water, and run the disposal for 15–30 seconds. The cold water keeps oils solid so they can scrub, and the citrus scent will fill your kitchen.
Why Cold Water Matters
Hot water can liquefy the citrus oils before they have a chance to clean. Cold water keeps the oils and peel firm, maximizing the scrubbing action. It also prevents any grease in the disposal from melting and sticking to the blades.
Extra Tips For Best Results
For a deeper clean, toss in a handful of ice cubes along with the peels. The ice helps knock off stubborn residue. Avoid using too many peels at once—stick to a few wedges per session to prevent clogs.
5. Wire Hanger Drain Snake for Hair Clogs
When your bathroom sink drains slower than molasses, hair is usually the culprit. Before you reach for harsh chemical drain cleaners, try this zero-cost trick that works like a charm. A simple wire coat hanger can become a precision tool to fish out the gunk that's blocking your pipes.
Straighten a wire coat hanger and bend a small hook at one end. Remove the drain stopper if possible, then gently insert the hooked end into the drain. Twist and pull to snag hair and debris.
It's surprisingly effective and saves you a call to the plumber.
How To Make The Hook
Use pliers to straighten the hanger completely, then bend about half an inch at the tip into a tiny J-shape. Make sure the hook is small enough to fit through the drain openings but sturdy enough to grab hair.
Step-by-step Fishing
Push the hook down slowly, twisting as you go. When you feel resistance, gently pull up. You'll likely pull out a slimy clump of hair.
Repeat until the water drains freely. Rinse the hanger between tries.
When To Call A Pro
If the wire hanger doesn't improve drainage or you hit a solid blockage, stop. You might have a deeper clog that needs a plumber's snake or professional help. This hack works best for surface-level hair clogs near the drain opening.
6. Plunger Trick for Stubborn Sink Clogs
When baking soda and vinegar aren't cutting it, reach for a plunger. That rubber cup isn't just for toilets—it's a powerful tool for sink clogs. The key is creating a tight seal and using the right technique.
Start by sealing the overflow hole with duct tape. This prevents air from escaping and directs all the pressure down the drain. Fill the sink with enough water to cover the plunger's cup, then place it over the drain and plunge vigorously up and down.
The pressure forces the blockage loose without any chemicals.
Why The Overflow Hole Matters
Many sinks have an overflow opening near the rim. If you plunge without sealing it, air escapes and you lose most of the force. A few strips of duct tape do the trick—just peel it off when you're done.
Plunger Types And Technique
A standard cup plunger works best for flat sink drains. Avoid using a flange plunger (the one with an extra rubber flap) meant for toilets. Keep a steady rhythm—rapid, forceful pumps for about 20 seconds, then check if water drains.
When To Call It A Win
If water starts draining freely, you've cleared the clog. Run hot water for a minute to flush away any remaining debris. If nothing moves, the blockage may be deeper, and you might need a drain snake or professional help.
7. Dish Soap and Hot Water Degreaser
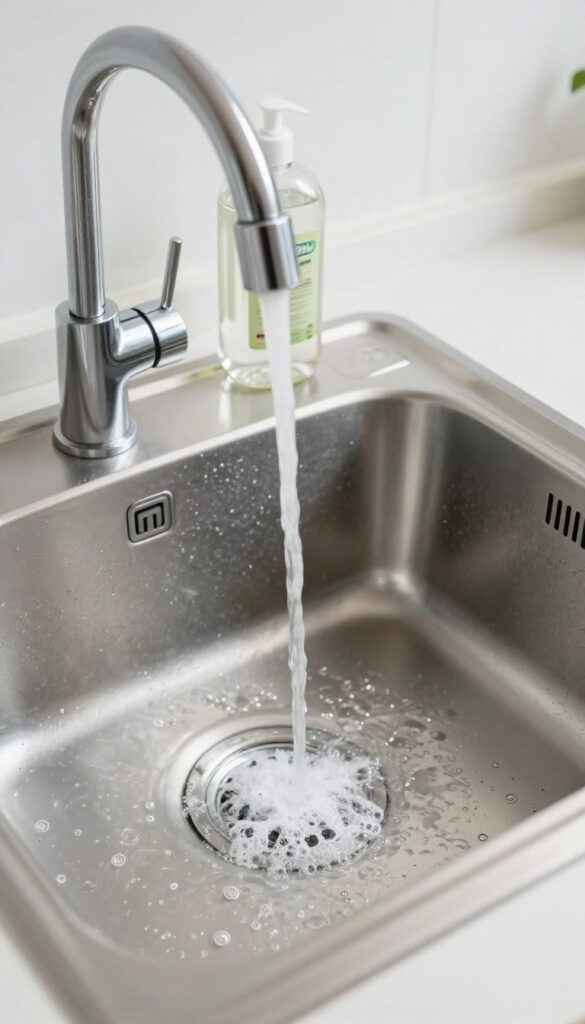
Kitchen sinks take a beating from cooking oils, butter, and greasy pan drippings. That slick residue doesn't just sit on the surface—it coats your drain pipes and can lead to stubborn clogs. This hack is almost too simple: dish soap and boiling water.
It's the same degreasing power you use on dishes, but applied directly to your drain for a deep clean.
Squirt a generous amount of dish soap directly into the drain—about a tablespoon or two. Then boil a kettle of water and pour it down the sink in two or three stages, letting the hot water work for a few seconds between pours. The soap breaks down grease on contact, and the hot water flushes it away before it can resolidify.
This trick works best on slow drains caused by grease buildup, not hair or hard clogs. For maintenance, do this once a week to keep your kitchen drain flowing freely and smelling fresh.
Why It Works So Well
Dish soap is designed to surround and lift grease molecules, making them rinse away with water. Hot water keeps grease in a liquid state so it can't cling to pipe walls. Together, they create a one-two punch that clears out the oily film that cold water just can't budge.
When To Use This Method
This is perfect for kitchen sinks after cooking heavy meals—think fried chicken, bacon, or roasted veggies. If you notice water draining slower than usual, try this before grabbing a chemical drain cleaner. It's also a great weekly maintenance step to prevent grease buildup in the first place.
A Few Precautions
Make sure your pipes are metal or high-temperature PVC before pouring boiling water. If you have older plastic pipes, use hot tap water instead. Also, avoid this method if you've recently used a chemical drain cleaner, as mixing can cause fumes or splashing.
8. Wet/Dry Vacuum for Deep Clogs
Sometimes a plunger or a snake just won't cut it, especially with stubborn clogs deep in the pipe. That's where a wet/dry vacuum comes in—it's like giving your drain a powerful straw. This method works wonders on hair, soap scum, and even small objects that have fallen down the drain.
Set your vacuum to wet mode and remove any filters that could get damaged. Create a tight seal over the drain opening using a rag or an old towel to block air leaks. Turn on the vacuum and let it suck for about 30 seconds.
You'll hear the gurgle as the clog breaks free. For double sinks, plug the other drain to maximize suction. This technique is especially effective for bathroom sinks and shower drains where hair is the main culprit.
Why It Works
Unlike a plunger that pushes air, a wet/dry vacuum pulls directly on the water and debris. The strong suction can dislodge clogs that are tightly packed or several feet down the pipe. It's also safer for pipes than chemical drain cleaners, which can corrode old plumbing.
Step-by-step
First, remove the drain cover and clear any visible debris. Set your vacuum to wet mode and attach the hose. Wrap a rag around the hose end to create a better seal.
Press the hose firmly over the drain and turn the vacuum on high. Hold it for 20–30 seconds, then turn off and check if water drains freely. Repeat if needed.
Pro Tips
If you have a shop vac, use the smallest hose attachment for better seal. For kitchen sinks, remove the strainer basket first. Always wear gloves and eye protection—debris can fly out.
After vacuuming, flush the drain with hot water to clear any remaining residue.
9. Vinegar and Baking Soda Paste for Faucet Shine
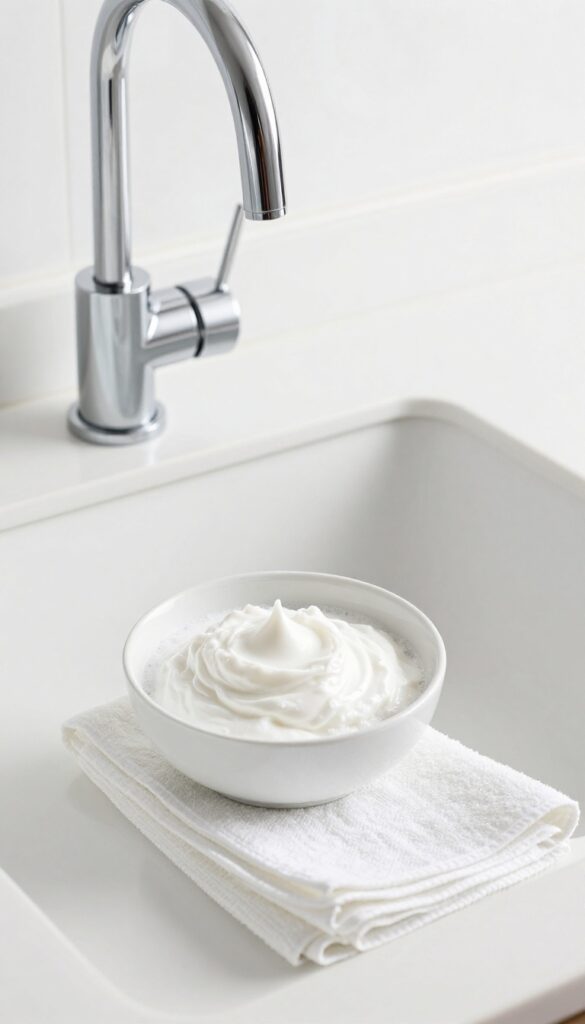
Water spots and grime can make even a brand-new faucet look dull and dated. But you don't need a specialty polish—just two kitchen staples: vinegar and baking soda. Mixed into a paste, they create a gentle abrasive that cuts through mineral deposits and restores that factory-fresh gleam.
This simple paste works because the acidity of vinegar dissolves hard water minerals while the baking soda provides mild scrubbing power. It's safe for most faucet finishes, including chrome, stainless steel, and brushed nickel. For best results, use a soft microfiber cloth to avoid scratching the surface.
How To Make And Apply The Paste
In a small bowl, mix two tablespoons of baking soda with just enough white vinegar to form a thick paste—about one tablespoon. It should be spreadable but not runny. Using your fingers or a soft cloth, apply the paste evenly over the faucet, covering the base, handles, and spout.
Let it sit for 10 minutes to break down the grime.
Scrubbing And Rinsing
After 10 minutes, gently scrub the faucet with a damp, soft cloth or a non-abrasive sponge. Use circular motions to lift away water spots and residue. Rinse thoroughly with warm water, making sure no paste remains in crevices.
Dry immediately with a clean, dry cloth to prevent new water spots.
Extra Shine For Stubborn Spots
For tough mineral deposits, add a few drops of lemon juice to the paste for extra acidity. Or, after rinsing, buff the faucet with a tiny dab of olive oil on a soft cloth to add a brilliant shine and a protective layer against future buildup.
10. Toothbrush Detail for Faucet Crevices
Faucets look clean from a distance, but up close, grime hides in tiny crevices around the base and handles. A soft cloth can't reach those tight spots, and sprays just rinse over them. That's where an old toothbrush becomes your best tool—it's small, firm, and perfect for detail work.
Dip a clean toothbrush in white vinegar and scrub around the faucet base, handles, and any ridges. The vinegar dissolves mineral deposits and soap scum while the bristles dig into narrow gaps. Rinse with water and buff dry with a microfiber cloth for a streak-free finish.
Why The Toothbrush Works Best
Regular sponges are too bulky to fit under the faucet neck or around lever handles. A toothbrush's angled head and compact size slip into those areas easily. The stiff bristles also provide enough friction to lift stubborn grime without scratching metal finishes.
Best Cleaning Solution For The Job
White vinegar is a natural disinfectant and descaler, ideal for faucets. For extra tough buildup, make a paste of baking soda and vinegar. Apply it with the toothbrush and let it sit for a minute before scrubbing.
This combo works wonders on hard water stains around the spout.
Don't Forget The Aerator
The aerator at the tip of your faucet collects mineral deposits that reduce water flow. Unscrew it (check your manual if needed), then scrub it with the toothbrush dipped in vinegar. Rinse thoroughly and reattach.
You'll notice a stronger, cleaner stream immediately.
Final Polish For Lasting Shine
After scrubbing, wipe the entire faucet with a damp cloth to remove any vinegar residue. Then dry with a soft, lint-free cloth to prevent water spots. A quick buff with a tiny drop of olive oil on a cloth can add extra shine and help repel future grime.
11. Lemon Juice and Salt for Brass Faucets
Brass faucets add a warm, classic look to any sink, but they can quickly lose their luster when tarnish and water spots set in. Instead of reaching for harsh chemical polishes, try a simple duo from your kitchen: lemon juice and salt. This natural combination cuts through grime and restores that golden glow without damaging the metal.
The acid in lemon juice breaks down tarnish and mineral deposits, while the salt acts as a gentle abrasive to buff away dullness. Together, they create a paste that polishes brass effectively. Best of all, this method is non-toxic and leaves your faucet smelling fresh.
How To Make The Lemon-salt Polish
Cut a fresh lemon in half and sprinkle a generous amount of table salt onto the cut surface. You can also mix lemon juice with salt in a small bowl to form a thick paste. Apply directly to the brass faucet, rubbing in circular motions.
Focus on tarnished areas and let the mixture sit for a minute or two.
Rinsing And Buffing For Maximum Shine
After scrubbing, rinse the faucet thoroughly with warm water to remove all residue. Dry immediately with a soft, lint-free cloth to prevent water spots. For extra shine, buff the surface with a dry microfiber cloth until it gleams.
Repeat weekly to maintain that like-new look.
When To Avoid This Method
This polish works best on solid brass or brass-plated fixtures with a clear lacquer coating. If your faucet has a painted or antique patina finish, test on an inconspicuous area first. For heavily tarnished brass, you may need to repeat the process or use a specialized brass cleaner.
12. Olive Oil Buff for Stainless Steel Faucets
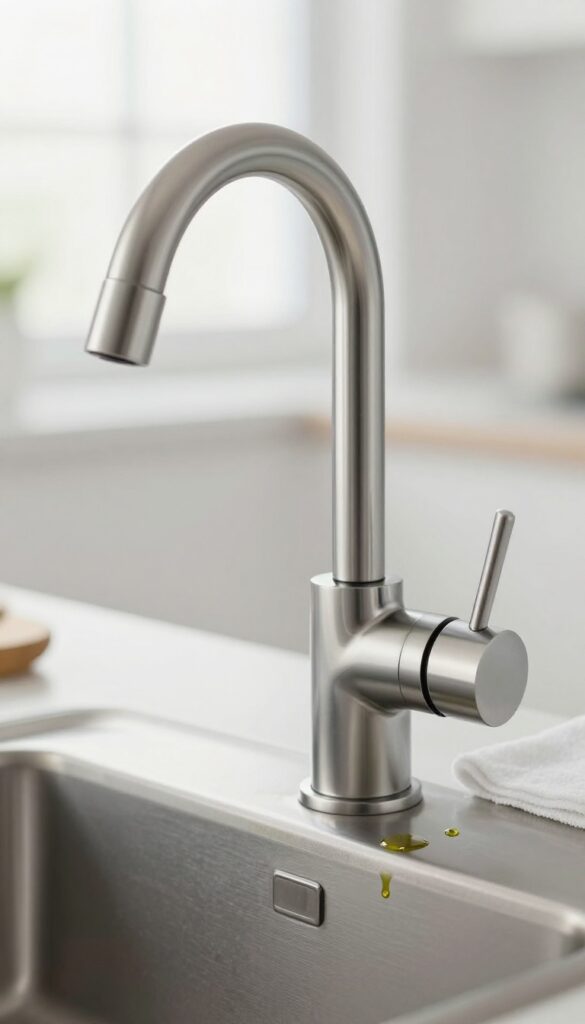
Stainless steel faucets look great when they're clean, but they're notorious for showing every fingerprint, water spot, and smudge. Commercial polishes can work, but they often contain chemicals you might not want around your sink. A simple kitchen staple—olive oil—can give you that mirror-like shine without the fuss.
Just a drop of olive oil on a soft, lint-free cloth is all you need. Buff the faucet in small circular motions, covering the entire surface. The oil fills in microscopic scratches and repels water, which helps prevent new spots from forming.
Wipe away any excess with a clean part of the cloth, and you'll be left with a streak-free, brilliant shine that lasts for days.
Why Olive Oil Works So Well
Olive oil is a natural moisturizer, but on metal, it acts as a protective barrier. It fills tiny imperfections in the stainless steel, making the surface smoother and more reflective. This not only enhances shine but also makes it harder for water minerals and grime to cling to the faucet.
Plus, it's food-safe, so you don't have to worry about residue near your dishes.
How To Apply It Right
Start with a clean faucet—wipe away any loose dirt or soap scum first. Put a single drop of olive oil on a microfiber cloth (avoid paper towels, which can leave lint). Rub the oil onto the faucet in small circles, covering all areas including the base and handles.
Let it sit for a minute, then buff with a dry section of the cloth until the shine appears. Use a second clean cloth for a final polish if needed.
Tips For Best Results
Less is more—too much oil can leave a greasy film. Stick to one drop for a standard faucet. For hard water spots that won't buff out, first remove them with a vinegar solution (equal parts water and white vinegar), then apply the oil.
Reapply every week or two to maintain the shine. Avoid using olive oil on faucets with a matte or brushed finish, as it may alter the texture.
13. Rubbing Alcohol for Water Spot Removal
Hard water spots can make your faucet look cloudy and neglected, even if you just wiped it down. The minerals in tap water leave behind stubborn deposits that regular cleaning often misses. Rubbing alcohol cuts through that film instantly, restoring a brilliant shine without any scrubbing.
Rubbing alcohol is a surprisingly effective cleaner for metal fixtures. Its low surface tension lets it seep into microscopic deposits, dissolving minerals on contact. Plus, it evaporates quickly, so there's no need to dry or buff—just wipe and walk away.
Why It Works So Well
Isopropyl alcohol breaks down the calcium and magnesium salts that cause water spots. Unlike vinegar, it won't dull finishes or leave a smell. It's also safe for most faucet materials, including chrome, stainless steel, and brushed nickel.
How To Apply It
Dampen a soft microfiber cloth with rubbing alcohol (70% or higher). Wipe the faucet from top to bottom, covering all surfaces. Let it air dry—within seconds, spots disappear and the metal gleams.
For tough buildup, let the alcohol sit for 30 seconds before wiping.
Extra Tips For Best Results
Use a clean section of cloth for each pass to avoid redepositing minerals. For intricate areas around the base or handles, use a cotton swab dipped in alcohol. Follow up with a dry cloth if you prefer extra polish, though it's rarely needed.
14. Microfiber Cloth for Streak-Free Drying
You've scrubbed and polished, but the moment the faucet dries, water spots appear. That's because air-drying leaves mineral deposits behind. A simple swap to a microfiber cloth makes all the difference.
Microfiber cloths are designed to trap dust and absorb water without leaving lint or streaks. Unlike paper towels or cotton rags, they don't just push water around—they lift it off the surface. This is key for keeping chrome, stainless steel, and brushed nickel finishes looking their best.
Why Microfiber Works Best
Microfiber has split fibers that create a large surface area, grabbing onto water molecules and minerals. It's also non-abrasive, so it won't scratch delicate finishes. Use a fresh, dry cloth for the final wipe to avoid redepositing oils or dirt.
How To Use It For A Flawless Finish
After cleaning, rinse the faucet with filtered water to reduce mineral content. Then, immediately buff dry with a clean microfiber cloth in a circular motion. For extra shine, follow up with a second dry cloth.
This two-step process prevents spots and gives a mirror-like gleam.
Keeping Your Microfiber Cloths Effective
Wash microfiber cloths separately from linty fabrics like towels. Use mild detergent and skip fabric softener, which clogs the fibers. Air dry or tumble on low heat.
When they stop absorbing well, it's time for replacements.
15. Cream of Tartar for Stubborn Stains
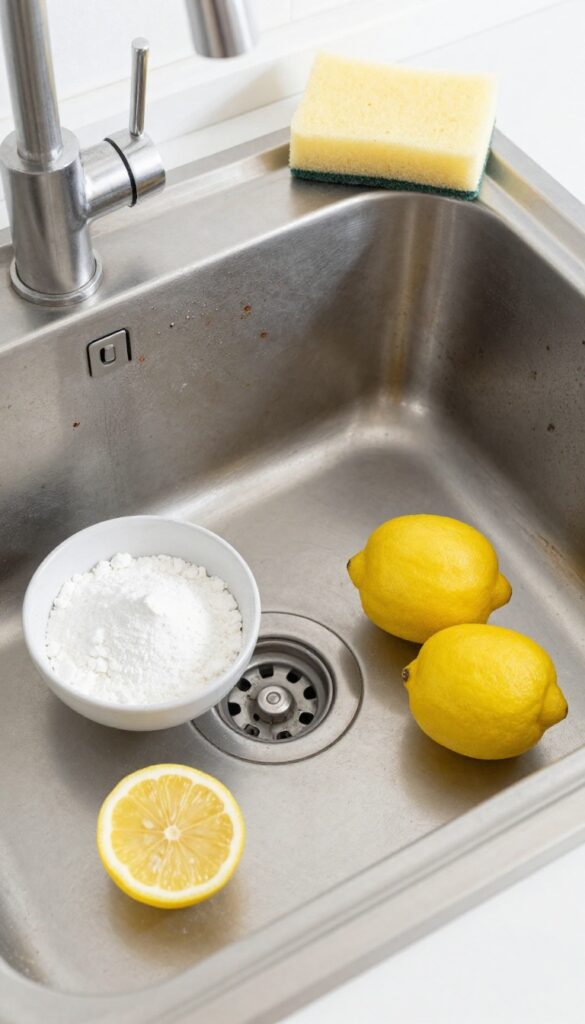
Some stains on stainless steel sinks just won't budge with regular soap. Rust spots, dark discoloration, and mineral deposits can make a clean sink look old and grimy. Cream of tartar, a common baking ingredient, teams up with lemon juice to tackle these tough stains without scratching the surface.
Mix cream of tartar with enough lemon juice to form a thick paste. Apply it directly to stains on your stainless steel sink, let it sit for about 10 minutes, then scrub gently with a soft sponge or cloth. Rinse thoroughly and dry.
The mild acidity lifts rust and mineral buildup while the cream of tartar acts as a gentle abrasive. This combo is especially effective on older stains that have set in.
Why This Works
Cream of tartar is a mild acid (potassium bitartrate) that dissolves mineral deposits and rust without damaging stainless steel. Lemon juice adds extra acidity and a fresh scent. Together, they create a non-toxic, scratch-free cleaner that's safe for daily use.
Pro Tips For Best Results
For extra stubborn stains, let the paste sit for 20 minutes instead of 10. Use a soft-bristled toothbrush to work the paste into crevices around the drain or faucet base. Always rinse with warm water and dry immediately to prevent new water spots.
When To Avoid This Hack
Don't use this paste on sinks made of enamel, porcelain, or other delicate surfaces—the acidity can etch or dull them. Stick to stainless steel only. Also, avoid letting the paste dry completely on the surface, as it can leave a residue.
16. Hydrogen Peroxide and Baking Soda Whitener
If your white porcelain or ceramic sink has started looking a little gray or dingy, this simple combo can bring back its original brightness. Hydrogen peroxide and baking soda work together to lift stains and kill bacteria without harsh bleach fumes. It's a gentle but effective whitening treatment you can use weekly.
Why It Works
Baking soda is a mild abrasive that scrubs away surface stains, while hydrogen peroxide acts as an oxidizing agent that breaks down organic discoloration. When mixed, they create a fizzy reaction that helps lift grime from pores. The peroxide also disinfects, killing germs that cause odors.
How To Apply
Start by sprinkling a generous layer of baking soda over the entire sink basin. Then spray or drizzle 3% hydrogen peroxide directly onto the baking soda until it forms a thick paste. Let it sit for about 5 minutes—you'll see it bubble and fizz.
Scrub with a soft sponge or brush, working the paste into stained areas. Rinse thoroughly with warm water and dry with a microfiber cloth for a streak-free shine.
Tips For Best Results
For stubborn stains, let the paste sit for up to 15 minutes before scrubbing. Avoid using on colored or antique sinks, as peroxide may lighten the finish. Test a small hidden area first.
For extra whitening power, add a squeeze of lemon juice to the mix, but don't let it sit too long—acid can etch certain finishes.
17. Club Soda for Instant Shine
Sometimes the simplest solutions are hiding in your fridge. Club soda isn't just for mixing drinks—it's a surprisingly effective cleaner that can make your sink and fixtures gleam in seconds. The carbonation helps lift dirt and residue, while the mild acidity cuts through grease without damaging surfaces.
Best of all, there's no harsh chemical smell or residue left behind.
Why Club Soda Works
The magic is in the bubbles. Carbonated water contains carbonic acid, a weak acid that helps break down mineral deposits and grime. The fizz also provides a gentle scrubbing action that loosens dirt without scratching.
Unlike tap water, club soda leaves fewer spots because it doesn't contain the same minerals that cause water spots.
How To Use It
Pour a small amount of club soda directly onto a clean, dry sink surface or spray it from a bottle. Let it sit for about 30 seconds to let the bubbles work. Then wipe with a soft microfiber cloth in circular motions.
For faucets, dip a cloth in club soda and wipe down the metal, then buff dry with a separate clean cloth for extra shine.
Best Surfaces For This Hack
Club soda is safe for stainless steel, chrome, porcelain, and ceramic sinks. Avoid using it on unsealed natural stone like marble or granite, as the acid can dull the finish over time. For those surfaces, stick to a pH-neutral cleaner instead.
18. Baby Oil for Stainless Steel Streaks
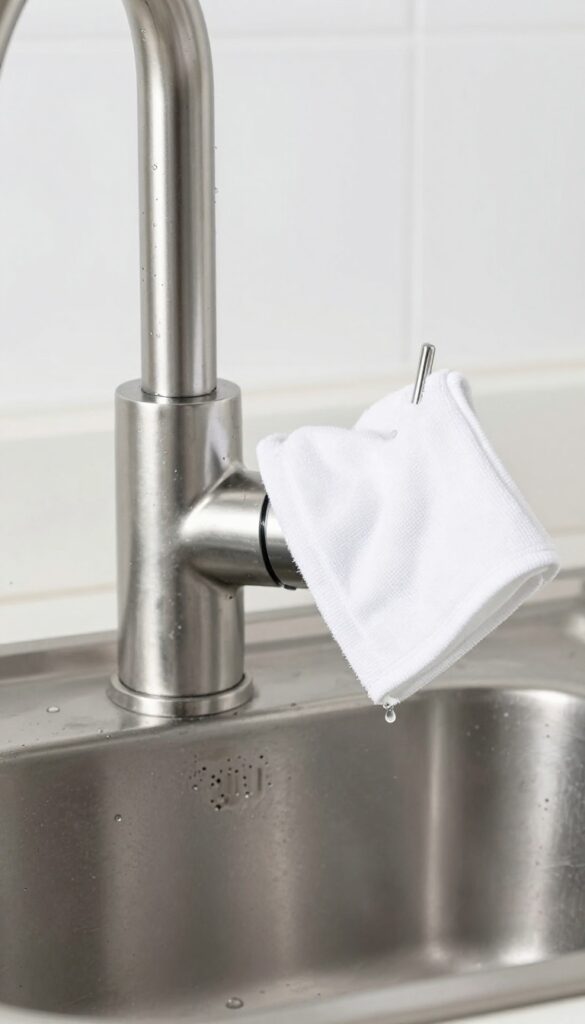
You've scrubbed and polished, but the moment the faucet dries, water spots appear. Stainless steel sinks are notorious for showing every fingerprint and streak, leaving them looking dull no matter how hard you try. The fix might be sitting in your baby's nursery.
Baby oil isn't just for delicate skin—it's a secret weapon for stainless steel. A few drops on a soft cloth, buffed gently across the surface, create a thin protective barrier that repels water and fingerprints. The oil fills microscopic pores, preventing minerals from bonding and causing those stubborn white streaks.
Plus, it leaves behind a brilliant, mirror-like shine without any harsh chemicals or fumes.
Why Baby Oil Works
Baby oil is mineral oil, which is non-drying and non-reactive. It doesn't evaporate quickly, so it stays on the surface longer than water-based polishes. The oil's low viscosity lets it seep into tiny scratches and imperfections, smoothing out the metal's surface and reducing light scatter.
That's what gives you that streak-free, glossy finish.
How To Apply It Right
Start with a clean, dry sink. Put 3-4 drops of baby oil on a microfiber cloth. Rub it into the stainless steel in the direction of the grain—not in circles.
Let it sit for 30 seconds, then buff with a clean, dry part of the cloth. For extra shine, repeat with a fresh cloth. Avoid using too much oil; a little goes a long way.
When To Skip This Hack
Don't use baby oil on sinks with a matte or brushed finish that you want to keep looking raw. The oil will darken the metal slightly and make it look polished, which might not match your aesthetic. Also, avoid it on sinks that come into contact with food prep areas unless you wash the surface with soap afterward—oil can leave a residue.
19. Bleach Gel for Grout and Edges
Grout lines around your sink and along the counter edges can trap soap scum, hard water stains, and even mold over time. A bleach gel cleaner—the kind that stays put and doesn't run—is a targeted solution for those stubborn gray or black lines. It whitens, disinfects, and restores a fresh look without scrubbing for hours.
Bleach gel is thicker than regular bleach, so it clings to vertical surfaces and porous grout without dripping. This makes it ideal for the edges where your sink meets the counter or backsplash. The gel breaks down organic stains and kills mold spores at the source, leaving behind a clean, bright finish.
How To Apply Bleach Gel
Squeeze a thin, even bead of bleach gel directly along the grout lines or the seam between sink and counter. Let it sit for 10 minutes—don't let it dry completely. Use an old toothbrush to gently scrub the area, working the gel into any discolored spots.
Rinse thoroughly with warm water and wipe dry with a microfiber cloth.
Safety Tips For Best Results
Always wear gloves and ensure the room is well-ventilated when using bleach gel. Avoid contact with metal fixtures, as bleach can cause pitting or discoloration. Test on an inconspicuous area first, especially if your grout is colored or sealed.
Never mix bleach with ammonia or vinegar—it creates toxic fumes.
When To Use This Hack
This method works best for white or light-colored grout that has lost its brightness. If you notice black spots or a musty smell around the sink edges, mold is likely present. Bleach gel kills mold effectively, but for deep-set stains, you may need to repeat the process or use a grout pen afterward for a uniform look.
20. Pumice Stone for Hard Water Rings
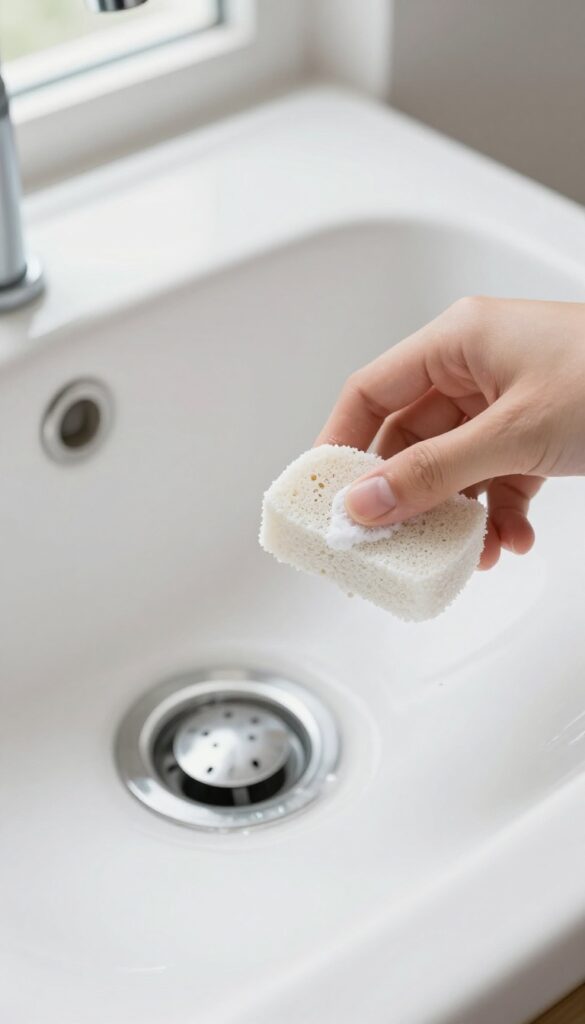
Hard water rings on porcelain sinks can look stubborn, but a pumice stone makes quick work of them. This natural volcanic rock is abrasive enough to scrub away mineral deposits without scratching the surface when used correctly. It's a go-to trick for restoring that bright, clean look to your sink.
A pumice stone is a gentle abrasive tool that lifts hard water rings and mineral buildup from porcelain surfaces. The key is to keep it wet while you work—dry rubbing can cause scratches. As you glide the stone over the stain, it wears down the deposit without damaging the sink's finish.
Rinse frequently to check your progress and remove debris. This method is especially effective for stubborn rings that regular cleaners leave behind.
Why Pumice Works On Porcelain
Porcelain is a hard, non-porous surface that can handle light abrasion. Pumice is softer than porcelain but harder than mineral deposits, so it selectively removes buildup. Always wet both the stone and the sink before starting.
The water acts as a lubricant, reducing friction and preventing scratches.
Step-by-step: How To Use A Pumice Stone
First, soak the pumice stone in water for a few minutes. Then, wet the stained area of the sink. Gently rub the stone back and forth over the hard water ring using light pressure.
Rinse the stone and sink often to see your progress and remove loosened deposits. Continue until the ring disappears. Finally, wipe the sink clean with a damp cloth.
When Not To Use A Pumice Stone
Avoid pumice on enameled cast iron, fiberglass, acrylic, or any sink with a glossy coating—it can scratch those surfaces. Stick to genuine porcelain or ceramic sinks. If you're unsure, test a small hidden area first.
For delicate surfaces, try a non-abrasive cleaner or vinegar instead.
21. Magic Eraser for Scuff Marks
Those mysterious dark scuffs on your sink—from pots, pans, or even shoes—can make a clean sink look dirty. A melamine sponge (like a Magic Eraser) is your secret weapon for erasing them without harsh scrubbing.
Just dampen the sponge slightly, then gently rub the scuff mark. The micro-abrasive foam lifts the mark without scratching most surfaces. It works beautifully on stainless steel, porcelain, and enamel sinks.
Rinse the area after and enjoy a spotless finish.
How To Use It Right
Don't soak the sponge—wring it out so it's damp, not dripping. Rub lightly in a circular motion. For tough marks, apply a little more pressure, but always test on an inconspicuous spot first.
Rinse the sponge frequently to avoid spreading grime.
Where It Works Best
This trick is perfect for stainless steel sinks where scuffs from cookware are common, and for white porcelain sinks that show every dark mark. It also works on enameled cast iron sinks. Avoid using it on glossy or delicate finishes like acrylic or marble.
Pro Tip For Stubborn Marks
If a scuff doesn't come off easily, let the damp sponge sit on the mark for a minute before rubbing. The moisture softens the residue. For extra stubborn marks, add a tiny drop of dish soap to the sponge.
22. Weekly Lemon and Salt Scrub Maintenance
A bright, fresh-smelling sink doesn't have to come from a spray bottle. One citrus fruit and some table salt are all you need for a quick weekly refresh that cuts through grime and leaves behind a natural shine.
This simple scrub combines the mild acidity of lemon with the abrasiveness of salt. The lemon helps dissolve soap scum and mineral deposits while the salt provides gentle scrubbing power. Together, they lift dirt without scratching stainless steel, porcelain, or enamel sinks.
It's also a great way to use up lemons that are past their prime.
Why It Works
Lemon juice contains citric acid, which breaks down hard water stains and soap residue. Salt acts as a mild abrasive that physically lifts grime without damaging the sink surface. The combination also neutralizes odors, leaving your sink smelling clean and fresh.
How To Do It
Cut a lemon in half crosswise. Sprinkle a generous amount of coarse salt onto the cut surface. Scrub the entire sink basin, faucet base, and drain area in circular motions.
Focus on spots with visible buildup. Let the mixture sit for a minute, then rinse thoroughly with warm water. Wipe dry with a soft cloth for extra shine.
Pro Tips For Best Results
Use coarse salt like kosher or sea salt for better scrubbing. For stubborn stains, let the lemon-salt paste sit for 5 minutes before rinsing. Avoid this method on natural stone sinks like marble or granite, as the acid can etch the surface.
For stainless steel, always scrub in the direction of the grain to avoid swirl marks.
23. Dry with a Squeegee for Lasting Shine
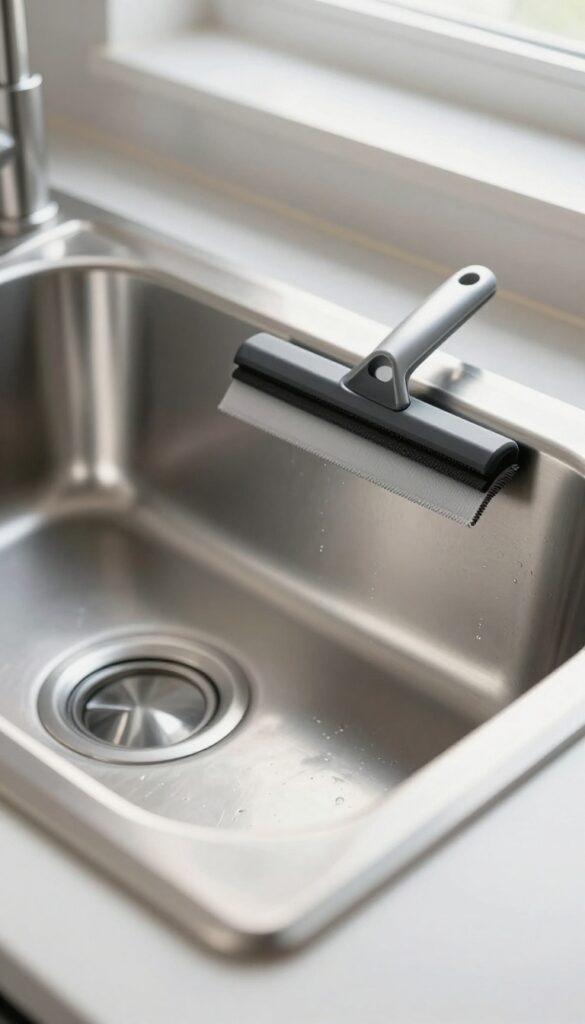
You've scrubbed and polished, but the moment the faucet dries, water spots appear. Hard water minerals and residue from cleaning solutions can leave a dull film if you let the sink air dry. That's where a simple squeegee comes in—it's the final step that locks in that mirror-like finish.
After you've cleaned and rinsed the sink, grab a small squeegee (the kind you'd use on windows or shower doors works perfectly). Starting at one edge, pull it across the surface in smooth, overlapping strokes. The rubber blade wicks away every last drop of water, along with any lingering minerals or soap residue.
Pay extra attention to the area around the drain and the back of the faucet base where water tends to pool. This method works on stainless steel, porcelain, and even stone sinks—just make sure the blade is clean and free of grit to avoid scratching. For best results, keep a dedicated squeegee near the sink and make it part of your cleaning routine.
You'll notice the shine lasts much longer, and you won't have to polish as often. It's a small habit that makes a big difference.
Why Air Drying Fails
When you let a sink air dry, water droplets evaporate and leave behind mineral deposits—those white spots or cloudy streaks. Even if you've used a high-quality cleaner, the minerals in your tap water can re-deposit on the surface. A squeegee removes the water entirely, so there's nothing left to evaporate.
Choosing The Right Squeegee
Look for a small squeegee with a soft rubber blade, about 4 to 6 inches wide. Avoid metal or hard plastic frames that could scratch the sink. A squeegee with a comfortable handle makes the job easier.
You can find them at any hardware store or online for a few dollars.
Tips For A Streak-free Finish
Make sure the squeegee blade is clean and dry before each use. Rinse it with water after every few strokes to remove any trapped grime. Work in one direction—left to right or top to bottom—to avoid missing spots.
For curved sinks, use short, overlapping strokes to follow the contour.
FAQ
How often should I clean my sink drain?
For maintenance, flush with boiling water weekly and do a baking soda/vinegar treatment monthly. If you notice slow drainage, address it immediately.
Can I use bleach on stainless steel sinks?
Avoid bleach on stainless steel as it can cause pitting and discoloration. Use gentler options like baking soda or hydrogen peroxide instead.
What's the best way to remove hard water stains from a faucet?
Soak a cloth in white vinegar and wrap it around the faucet for 15 minutes, then scrub with a toothbrush. Rinse and dry thoroughly.
How do I get rid of a bad smell from the garbage disposal?
Grind lemon peels and ice cubes, then flush with cold water. You can also pour baking soda and vinegar down the disposal, let fizz, then rinse.
Is it safe to use a pumice stone on a porcelain sink?
Yes, but keep the stone wet and use gentle pressure. Test on a small area first to ensure it doesn't scratch.
Conclusion
You don't need a pro to get that sparkling sink—just a few smart tricks and everyday items. Pick two or three hacks from this list that fit your routine, like the baking soda scrub or the vinegar soak, and start with those.
Your drains will run faster, your faucets will gleam, and your sink will look like new without harsh chemicals. A little consistency goes a long way, so try one new method this week and build from there.