17 Cleaning Wood Furniture Tips for Dust and Warm Shine
Your wood furniture deserves more than a quick swipe with a feather duster. Over time, dust buildup and harsh cleaners can strip the finish, leaving surfaces dull and lifeless.
The right approach keeps wood looking rich and warm for years. A good cleaning routine isn't complicated—it just requires the right tools and a bit of know-how.
Whether you're dealing with antique heirlooms or modern pieces, these tips will help you remove dust without scratching and add a glow that feels natural, not greasy. Let's get your furniture looking its best with simple, effective methods that protect the wood and make maintenance easy.
1. Dust with a Microfiber Cloth First
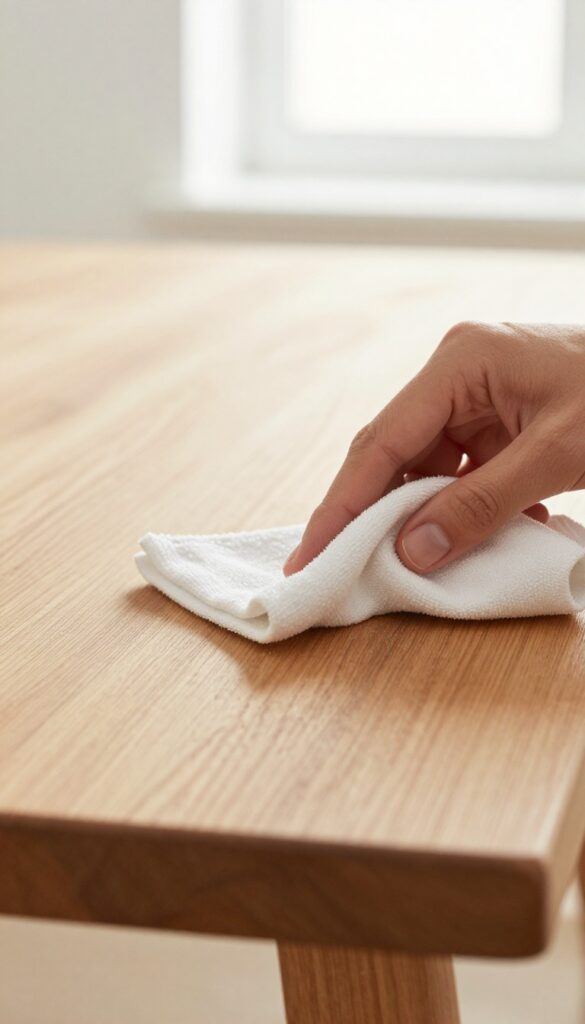
Dusting might seem like the easiest part of furniture care, but doing it wrong can do more harm than good. A dry dusting method that scratches the finish or leaves behind residue will make your wood look dull over time. That's why starting with the right cloth matters so much.
Microfiber is the unsung hero here. Its fine fibers grab dust particles instead of pushing them around, and it's soft enough to avoid scratching even delicate finishes. You don't need any polish or spray for this step—just a clean, dry cloth and a gentle hand.
Grab a high-quality microfiber cloth—the kind with split fibers works best. Avoid old t-shirts or paper towels, which can be abrasive or leave lint. Run the cloth lightly over the surface in long, straight strokes, following the grain of the wood.
This lifts dust without grinding it into the finish. For carved details or tight corners, fold the cloth into a small pad and use your fingertip to reach into crevices. Don't press hard; let the microfiber do the work.
If the cloth gets dusty, shake it out or switch to a clean section. Reusing a loaded cloth just redistributes dirt. Once you've dusted the entire piece, you're ready for the next step—polishing or conditioning.
But never skip this initial dusting. Applying polish over a dusty surface creates a muddy, grimy layer that's hard to remove later.
Why Microfiber Beats Feather Dusters
Feather dusters look elegant but they're terrible for wood. They just scatter dust into the air, where it settles right back down. Microfiber traps and holds dust, removing it from the surface entirely.
Plus, feathers can have sharp quills that scratch the finish. Stick with microfiber for a truly clean start.
The Right Technique For Dusting
Always dust in the direction of the wood grain. This prevents tiny scratches that can appear over time. Use light pressure—you're not scrubbing, just lifting dust.
For large flat surfaces like tabletops, work in overlapping passes to ensure you don't miss any spots.
When To Wash Your Microfiber Cloths
Dirty microfiber loses its effectiveness. Wash cloths after each use in warm water with a mild detergent—no fabric softener, which clogs the fibers. Air dry or tumble dry on low heat.
A clean cloth picks up dust much better than one that's loaded with old grime.
2. Use a Soft Paintbrush for Carved Details
Intricate carvings and crevices are dust magnets. A regular cloth can't reach into those tight spaces, leaving grime to build up over time. A soft paintbrush or makeup brush is the perfect tool for the job.
Choose a brush with soft, natural bristles—synthetic ones can be too stiff and may scratch the finish. Gently sweep the brush along the grooves, working the dust out rather than pushing it deeper. For stubborn dust, hold a vacuum nozzle nearby to catch the particles as you brush.
Why A Brush Works Best
A brush's fine bristles can get into every nook without damaging the wood. Unlike cotton swabs, which can leave fibers behind, a brush releases dust easily. It's also gentler than compressed air, which can blow dust into other crevices.
Choosing The Right Brush
Look for a 1- to 2-inch wide paintbrush with soft natural bristles (like hog hair). Alternatively, a large makeup powder brush works wonders. Avoid brushes with stiff synthetic bristles that might scratch.
Keep the brush clean by washing it with mild soap and letting it dry completely.
Technique For Best Results
Work from the top of the furniture downward so dust falls onto already cleaned areas. Use short, gentle strokes, and angle the brush to follow the grain. For deep crevices, tap the brush handle lightly to dislodge dust, then sweep it out.
3. Dampen Cloth Slightly for Stubborn Dust
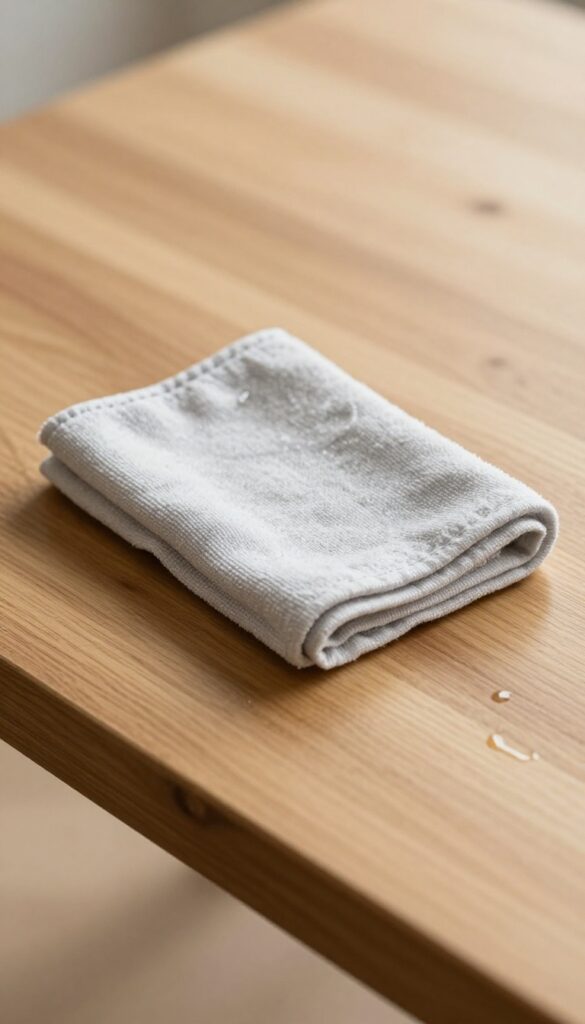
Sometimes dust settles in and refuses to budge with a dry cloth. That's when a little moisture can help—but you have to be careful. Water and wood don't always mix well, so the trick is to use just enough dampness to lift the dust without soaking the surface.
For caked-on dust, lightly dampen a microfiber cloth with water. Wring it out well—damp, not wet—to avoid water stains.
Why Dry Cloths Fall Short
Dry dusting can push dust into fine scratches or wood grain, making it harder to remove later. A slightly damp cloth creates a gentle static charge that grabs particles instead of scattering them. This is especially helpful for flat surfaces like tabletops and shelves where dust tends to cling.
The Right Dampness Test
After wetting the cloth, wring it until no water drips when you squeeze. Then press it against your palm—if it leaves a faint moisture mark, it's too wet. The ideal dampness feels cool and slightly moist but leaves no visible water behind.
Microfiber works best because it holds moisture evenly without dripping.
Dusting Motion Matters
Always wipe in the direction of the wood grain to prevent micro-scratches. Use long, gentle strokes and flip the cloth frequently to avoid redepositing dust. For stubborn spots, let the damp cloth sit for a few seconds to loosen the grime, then wipe away.
Never scrub hard—if the dust doesn't come off, the cloth may be too dry.
4. Choose a Gentle Wood Cleaner
Not all cleaners are safe for wood. Many all-purpose sprays contain harsh chemicals that can strip the finish and leave residue. For deeper cleaning—when dust alone won't cut it—you need something gentle yet effective.
A pH-balanced wood cleaner or a simple homemade solution works best.
When dust has settled into grime, it's time for a proper clean. But grab the wrong bottle and you could do lasting damage. pH-balanced wood cleaners are formulated to lift dirt without harming the finish. If you prefer a DIY route, mix a few drops of mild dish soap into a bowl of warm water.
That's it—no vinegar, no ammonia, no bleach. Dip a soft cloth, wring it nearly dry, and wipe with the grain. Follow immediately with a dry cloth to remove excess moisture.
Never soak the wood or let water sit on the surface. This method is safe for most sealed wood furniture and leaves no dulling residue.
Why Ph Matters
Wood finishes are sensitive to extreme pH levels. Alkaline cleaners (like many all-purpose sprays) can etch the surface, while acidic ones (like vinegar) can dull the finish over time. A neutral pH cleaner—typically around 7—is gentle enough for regular use.
It lifts dirt without reacting with the finish, preserving the wood's natural warmth.
The Right Way To Wipe
Technique matters as much as the cleaner. Always use a soft, lint-free cloth—microfiber works great. Dampen it, then wring until barely moist.
Wipe in the direction of the wood grain, not in circles. This prevents streaks and helps the cleaner penetrate crevices without pooling. Work in small sections, and dry each area immediately with a separate soft cloth.
When To Deep Clean
You don't need to deep clean every week. Aim for a gentle cleaning every few months, or whenever you notice a sticky film or visible grime. Over-cleaning can wear down the finish, so let the furniture tell you when it's time.
Between deep cleans, regular dusting and occasional polishing are enough to keep things looking great.
5. Test Cleaners on a Hidden Spot
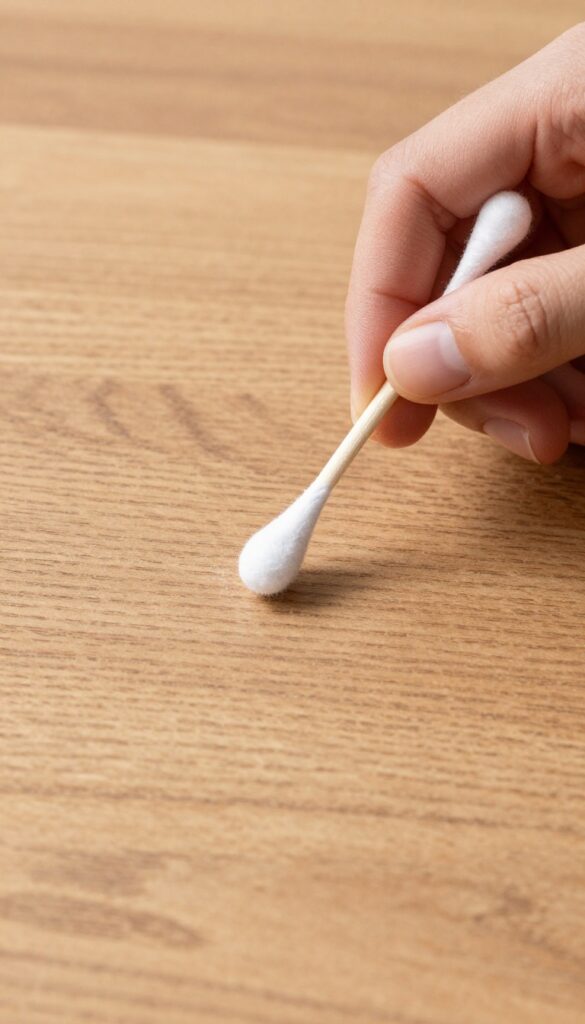
You might be tempted to grab a spray and go, but that's a gamble. Different wood finishes react differently to cleaners, and what works on one table could ruin another. A quick test on a hidden spot saves you from heartbreak.
Testing is simple and takes just a minute. Dab your cleaner on a cotton swab or soft cloth and rub it on an inconspicuous area—under the table, inside a drawer, or behind a leg. Wait a few minutes, then check for discoloration, stickiness, or dullness.
If the wood looks fine, you're good to go. If not, switch to a gentler option.
Why Hidden Spots Matter
Finishes like lacquer, shellac, varnish, and wax each have their own personalities. A cleaner that's safe for polyurethane might strip wax or cloud shellac. Testing on a hidden spot lets you see how the finish reacts without risking a visible area.
How To Test Properly
Use a white cloth to avoid dye transfer. Apply the cleaner to the cloth, not directly to the wood. Rub gently in a small circle, then wait.
If the cloth picks up color from the wood, that's a red flag—stop immediately.
What To Look For
After testing, check for changes in sheen, color, or texture. A good cleaner should leave the wood looking clean and unchanged. If you see a white haze, streaks, or a sticky residue, that cleaner is not for your furniture.
6. Wipe with the Grain
You've probably heard this before, but it's worth repeating: always wipe in the direction of the wood grain. Wood has a natural pattern, and going against it can trap dust and create fine scratches that dull the finish over time. Following the grain keeps the surface smooth and the shine even.
It's a small habit that makes a big difference, especially when you're polishing or applying any product.
Why The Grain Matters
Wood grain isn't just decorative—it's the actual structure of the wood. The fibers run in one direction, and when you wipe across them, you risk lifting tiny splinters or pushing dirt into the pores. Over time, this can make the finish look cloudy or scratched.
Wiping with the grain lets the cloth glide smoothly and pick up dust without resistance.
How To Find The Grain
On most furniture, the grain runs lengthwise—along the top of a table, up the legs, or across the front of a drawer. If you're unsure, look at the surface from an angle under good light. The grain will appear as parallel lines.
You can also run your hand gently over the wood; it will feel smoother in one direction. That's your grain direction.
The Right Motion
Use long, straight strokes from one end to the other, overlapping slightly as you go. Avoid circular motions or back-and-forth scrubbing, which can create swirl marks. For large surfaces like tabletops, work in sections, always moving in the same direction.
For carved details, use a soft brush or a cloth wrapped around your finger, still following the grain as much as possible.
7. Make a Natural Polish with Olive Oil and Vinegar
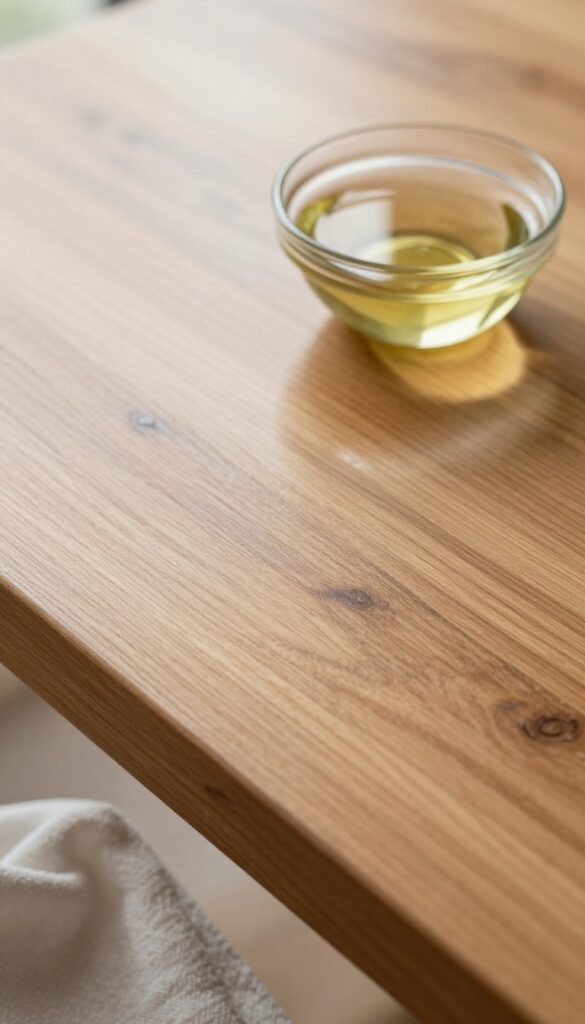
Store-bought polishes often contain chemicals you don't really need. A simple mix of olive oil and white vinegar works just as well and costs pennies. This combo cleans, conditions, and adds a soft shine without leaving a heavy buildup.
Mix one part olive oil with one part white vinegar in a small bowl. Shake or stir well before each use. Apply a tiny amount to a soft cloth—less is more.
Rub it gently into the wood, then buff with a clean dry cloth. The vinegar cuts through grime while the oil moisturizes the finish. Avoid soaking the wood; too much oil can turn sticky.
Test on an inconspicuous spot first, especially on antique or lacquered pieces. This polish is best for unfinished or oiled wood, but use caution on high-gloss surfaces.
Why This Combo Works
Vinegar is a mild acid that dissolves dirt and grease without harsh chemicals. Olive oil penetrates the wood to restore moisture and enhance the grain. Together they create a gentle polish that's safe for most finished woods.
Application Tips
Use a lint-free cloth like an old t-shirt or microfiber. Dampen it slightly with the mixture, then wipe along the grain. Let it sit for a minute, then buff with a dry section of the cloth.
For extra shine, follow up with a dry cloth in circular motions.
Storage And Shelf Life
Make only what you need for each use. The mixture doesn't store well—vinegar can turn rancid over time. If you must keep leftovers, store in a sealed glass jar in a cool, dark place for up to a week.
Shake vigorously before each use.
8. Use Lemon Oil for a Fresh Scent and Shine
Lemon oil does double duty: it cleans away grime while leaving behind a pleasant citrus scent. Unlike some polishes that just sit on the surface, lemon oil penetrates the wood, nourishing it from within. The result is a natural glow that doesn't look greasy or artificial.
Just a few drops go a long way, so you don't need to drench the furniture. Apply it sparingly with a soft cloth, and you'll get a clean, conditioned finish that smells as good as it looks.
Lemon oil is a natural cleaner and conditioner that works well on finished wood. It helps remove light dirt and fingerprints while adding moisture to prevent drying and cracking. The fresh scent is a bonus, but the real benefit is the subtle, warm shine it leaves behind.
Always use pure lemon oil or a high-quality furniture-grade blend—avoid products with added silicones or waxes that can build up over time.
How To Apply Lemon Oil Correctly
Never pour lemon oil directly onto the furniture. Instead, put a few drops on a soft, lint-free cloth—microfiber works great. Wipe the cloth over the surface in the direction of the wood grain.
Let the oil sit for a minute or two, then buff with a clean dry cloth. This method prevents pooling and ensures an even, streak-free finish.
How Often Should You Use It?
Lemon oil is not for daily use. Once every month or two is plenty for most pieces. Over-oiling can make the wood feel sticky and attract more dust.
If your furniture gets heavy use or is in a dry environment, you can bump it up to every three weeks. Always test on a hidden spot first, especially on antique or delicate finishes.
Which Lemon Oil To Choose
Look for pure lemon oil or a simple blend of mineral oil and lemon extract. Avoid products with long chemical names or synthetic fragrances—they can leave a residue. Brands like Howard Feed-N-Wax or Old English are popular, but even a small bottle of pure lemon oil from a health food store works.
Just shake well before use, as natural oils can separate.
9. Buff with a Soft, Dry Cloth After Polishing
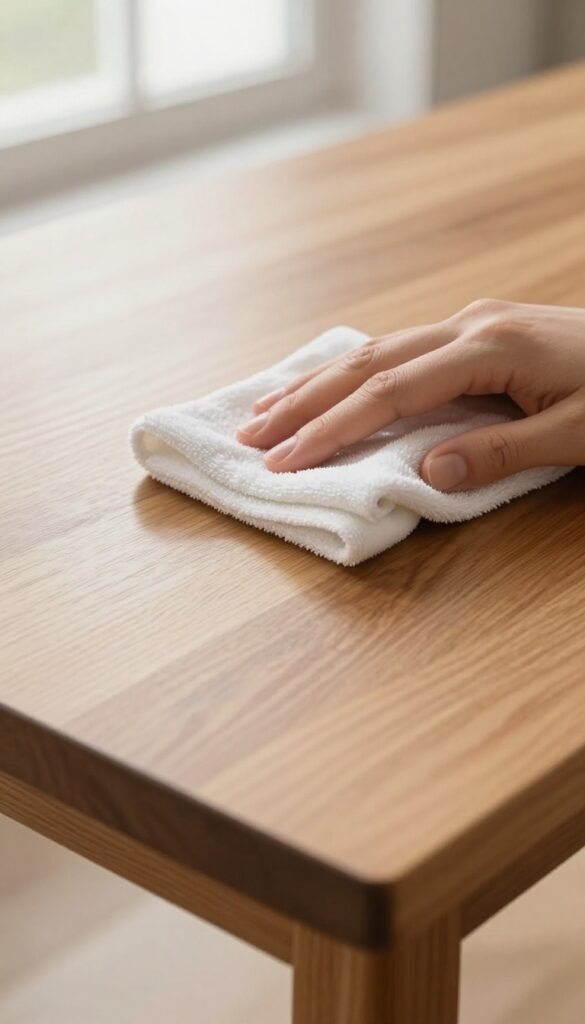
You've applied the polish or oil, and the wood looks wet and glossy. But don't stop there—buffing is the step that turns that temporary shine into a lasting, warm glow. Skipping the buff leaves behind a sticky residue that attracts dust like a magnet.
A quick once-over with a clean, dry cloth makes all the difference.
Buffing removes excess product that hasn't soaked into the wood, preventing buildup that can look cloudy or feel tacky. It also distributes the remaining polish evenly, filling microscopic scratches and enhancing the natural grain. The result is a smooth, satiny finish that feels as good as it looks.
Always use a soft, lint-free cloth—microfiber works best—and apply gentle pressure in circular motions, then finish with straight strokes along the grain for a professional touch.
Why Buffing Matters
Polishes and oils contain solvents that need to evaporate or absorb. Buffing helps this process by spreading the product thin and removing excess. Without it, the finish can remain greasy, and dust particles stick to the surface, dulling the shine within days.
A good buff also stimulates the wood's natural luster, making it look richer without additional product.
The Right Cloth Makes A Difference
Not all cloths are created equal. Old t-shirts may seem soft but can have rough seams or lint that leaves fuzz behind. Microfiber cloths are ideal because they trap dust and polish residue without scratching.
Cotton flannel or cheesecloth also work well. Avoid paper towels—they're abrasive and can leave tiny scratches on the finish.
Buffing Technique For Best Results
Start by folding your cloth into a clean, flat pad. Apply light to moderate pressure—you're not scrubbing, just smoothing. Work in small sections, using circular motions first to distribute any remaining polish, then switch to long, straight strokes along the grain.
This two-step method ensures even coverage and a streak-free shine. Flip or fold the cloth frequently to keep a clean surface against the wood.
When To Buff Again
If you notice a hazy or sticky spot after the first buff, don't panic. Simply take a fresh dry cloth and buff that area again. Sometimes product settles unevenly, especially on carved or detailed surfaces.
A second light buff usually fixes it. Once the wood feels smooth and looks uniformly glossy, you're done. Your furniture will stay dust-resistant and beautiful for weeks.
10. Avoid Silicone-Based Polishes
That spray polish promising an instant mirror-like shine? It's probably loaded with silicone. While it looks great for a few hours, silicone creates a plastic-like coating on your wood that attracts dust like a magnet.
Over time, that buildup gets sticky and makes future refinishing a nightmare.
Silicone polishes are tempting because they deliver immediate results. But that shine is superficial. The silicone doesn't nourish the wood—it just sits on top, sealing the surface.
When you eventually want to apply a new finish or even just a good wax, the silicone layer repels it, causing uneven application and peeling. Many professional refinishers charge extra to strip silicone buildup because it's so stubborn. Stick to products labeled "silicone-free" or make your own simple polish with olive oil and vinegar.
The Dust Magnet Effect
Silicone's static charge attracts dust particles, so your furniture will need dusting more often. That glossy look fades quickly, leaving a dull, grimy surface. You end up polishing more frequently, which only adds more silicone layers.
Refinishing Nightmares
If you ever plan to sand and refinish a piece, silicone is your enemy. It penetrates into the wood grain and resists new finishes, causing fish-eye defects and peeling. Even after sanding, traces can remain, ruining your hard work.
Safer Alternatives
Look for carnauba wax, beeswax, or natural oil polishes. They condition the wood, provide a subtle sheen, and don't create a plastic barrier. A simple mix of 2 parts olive oil to 1 part white vinegar works wonders and leaves no harmful residue.
11. Remove Water Rings with Mayonnaise or Toothpaste
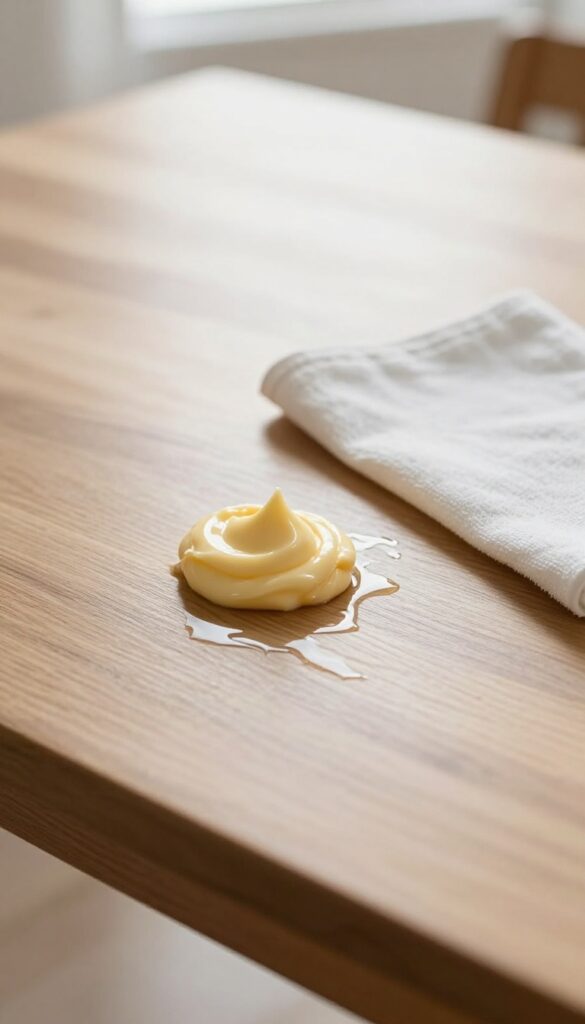
White water rings from cold glasses or hot mugs can make any wood table look worn. Before you panic, grab a common kitchen ingredient—mayonnaise or non-gel toothpaste. These household staples can lift the mark without damaging the finish, saving you from costly refinishing.
Water rings form when moisture gets trapped in the finish, creating a cloudy white stain. The oils in mayonnaise help displace that moisture, while the mild abrasives in toothpaste gently buff away the residue. Both methods are gentle enough for most sealed wood surfaces.
How Mayonnaise Works
Apply a small dollop of full-fat mayonnaise directly onto the water ring. Spread it evenly with your finger or a soft cloth, then let it sit for at least 15 minutes. The oils slowly penetrate the finish, pushing out the trapped moisture.
Wipe away the mayonnaise with a clean, dry cloth and buff the area. If the ring is stubborn, leave it on for up to an hour.
Using Toothpaste As An Alternative
Choose a white, non-gel toothpaste—avoid whitening or gel varieties, as they can be too abrasive. Squeeze a pea-sized amount onto a soft, damp cloth and gently rub the water ring in a circular motion. Use light pressure; you don't want to scrub through the finish.
After a minute or two, wipe the area with a clean damp cloth and dry it thoroughly.
Tips For Best Results
Always test a small, hidden area first to make sure the finish doesn't react poorly. For deep or dark rings, you may need to repeat the process a few times. Once the ring is gone, apply a thin layer of furniture wax or polish to restore the shine.
These tricks work best on sealed wood; unsealed or antique pieces may need professional care.
12. Use a Hairdryer for Sticky Residue
Sticky residue from stickers, labels, or tape can be a real eyesore on an otherwise beautiful wood surface. Before you reach for harsh solvents, try a gentler method that uses heat to loosen the adhesive. A hairdryer on low heat can soften the glue just enough to wipe it away without damaging the finish.
How It Works
Heat softens the adhesive bond between the sticker and the wood. By warming the area, you make the glue pliable so it releases easily. This method is safe for most finished wood surfaces, but always test on an inconspicuous spot first.
Step-by-step
Set your hairdryer to low heat and hold it a few inches away from the sticky spot. Move it back and forth for about 30 seconds until the residue feels warm. Then, gently wipe with a soft cloth or your fingertip.
The residue should come off without scraping.
What To Avoid
Don't use high heat, as it can blister the finish or cause cracking. Also, avoid metal tools or abrasive pads—they'll scratch the wood. If a bit of residue remains, dab a little olive oil on a cloth and rub gently.
13. Dust Weekly, Polish Monthly
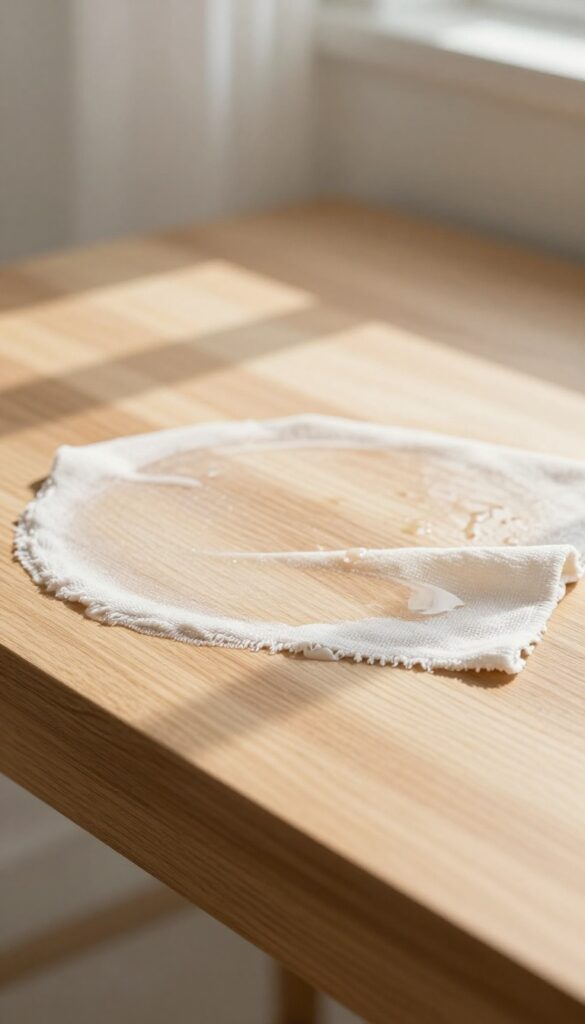
Sticking to a simple schedule keeps wood looking its best without overdoing it. Dusting once a week prevents grit from building up and scratching the finish. Polish only once a month—too much product can leave a cloudy residue and dull the natural beauty.
The Right Way To Dust
Use a soft microfiber cloth or a lambswool duster—feather dusters just move dust around. Lightly dampen the cloth with water (or a drop of vinegar) to trap dust, not scatter it. Always wipe in the direction of the wood grain to avoid micro-scratches.
Why Monthly Polish Works Best
Polish isn't a cleaner—it's a conditioner. Applying it weekly leads to buildup that attracts more dust and makes the surface look greasy. Once a month is enough to replenish oils and restore a soft sheen.
Choose a polish with natural waxes or oils, and always test on an inconspicuous spot first.
Signs You're Overpolishing
If the wood feels tacky or looks hazy, you're using too much polish. A cloudy finish means product residue has built up. Strip it with a mild soap-and-water wipe, then let it dry completely before starting fresh with a lighter hand.
14. Keep Furniture Out of Direct Sunlight
Sunlight might make a room feel bright and airy, but it's tough on wood furniture. Those UV rays can fade the color and dry out the finish over time, leaving pieces looking tired and worn. You don't have to live in a dark cave.
A few simple adjustments can protect your furniture while still letting in natural light.
Why Sunlight Damages Wood
Prolonged exposure to direct sunlight breaks down the lignin in wood, which is the natural binder that gives it strength and color. This causes fading, discoloration, and a brittle surface. The heat from sunlight also dries out the wood, leading to cracks and warping.
Simple Ways To Shield Your Furniture
Position your wood pieces away from south- or west-facing windows where sunlight is strongest. Use curtains, blinds, or UV-filtering window film to block harmful rays. Sheer curtains can diffuse light without darkening the room too much.
Rotate And Rearrange
If you can't avoid placing a piece near a window, rotate it every few months so all sides get equal exposure. This helps the wood age evenly. You can also move furniture around seasonally to minimize sun damage during peak summer months.
15. Use Coasters and Placemats
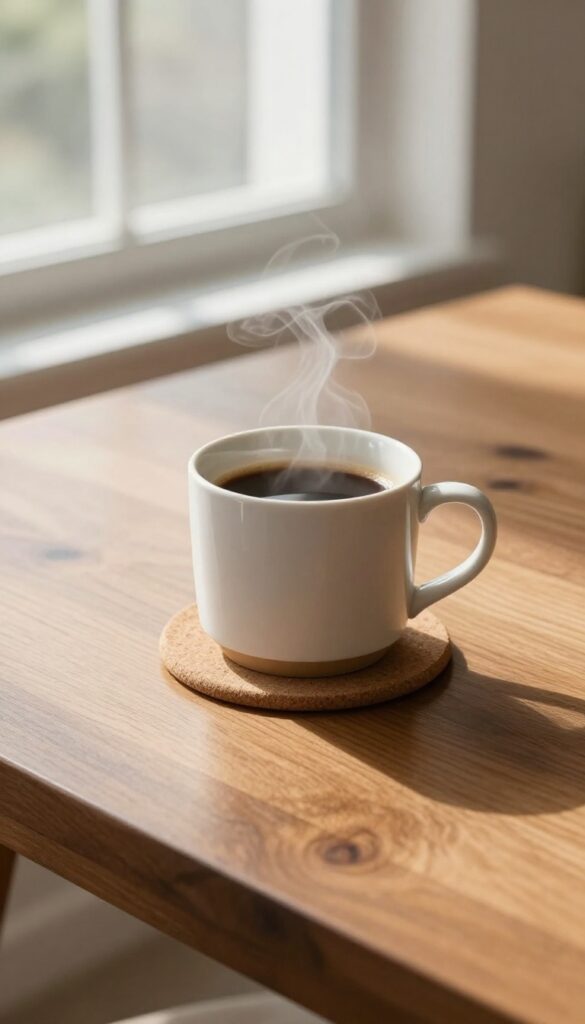
A cold glass sweating on a hot day or a steaming mug of coffee can leave an ugly ring on your wood table in minutes. These marks aren't just surface stains—they often penetrate the finish and require serious effort to remove. The simplest fix is prevention, and it costs almost nothing.
Coasters and placemats create a barrier between your furniture and whatever you set down. They catch condensation, heat, and spills before they ever touch the wood. This one habit saves you from having to refinish or aggressively scrub your table later on.
It's not about being overly cautious—it's about respecting the wood. A good set of coasters or placemats can be stylish too, adding a pop of color or texture to your decor while protecting your investment.
Choose The Right Material
Not all coasters are created equal. Avoid felt-backed coasters that trap moisture against the wood. Instead, go for cork, bamboo, or stone coasters that absorb condensation without scratching.
For placemats, look for heat-resistant materials like silicone or woven fabric with a waterproof backing. Test a new coaster by placing it on a wet glass for a few hours—if the bottom feels damp, it's not doing its job.
Make It A Habit
The hardest part is remembering to use them. Keep coasters in visible spots—on the coffee table, end tables, and nightstands. Store placemats near the dining table so they're easy to grab.
Train yourself and your family to set drinks and hot dishes on coasters or placemats automatically. After a week, it becomes second nature.
Clean Coasters And Placemats Regularly
Coasters and placemats can collect crumbs, spills, and grime that transfer back to your furniture. Wipe them down weekly with a damp cloth and mild soap. Let them dry completely before using again.
For fabric placemats, check the care label—many are machine washable. Keeping them clean ensures they protect your wood, not dirty it.
16. Apply Paste Wax for Extra Protection
Once your wood furniture is clean and dust-free, adding a protective layer can make a big difference. Paste wax, like beeswax or carnauba wax, creates a barrier that guards against moisture and minor scratches while giving the surface a warm, natural shine. It's a simple step that extends the life of your furniture and keeps it looking cared for.
Paste wax is a classic finish for wood furniture that adds both protection and luster. Unlike liquid polishes that can leave a sticky residue, paste wax dries to a hard, clear film that buffs to a soft glow. It fills tiny pores in the wood, creating a smooth surface that repels dust and makes future cleaning easier.
Best of all, it's forgiving—you can apply it yourself without special tools or skills.
Choosing The Right Wax
Look for a high-quality paste wax made specifically for furniture. Beeswax and carnauba wax blends are popular because they're natural and provide a durable finish. Avoid products with silicone or petroleum distillates, which can damage the wood over time and make refinishing difficult.
A small tin goes a long way, so invest in a reputable brand.
How To Apply It
Start with a clean, dry surface. Dip a soft cloth or a wax applicator into the wax and rub it onto the wood in a thin, even layer, following the grain. Let it dry for about 15 to 20 minutes—it should look hazy, not wet.
Then buff gently with a clean, soft cloth using circular motions until the surface feels smooth and looks softly polished. Less is more; a thin coat is all you need.
When To Reapply
Paste wax isn't a one-time fix. Depending on how much use the piece gets, you might need to reapply every six months to a year. Signs it's time: water no longer beads on the surface, the wood looks dull, or dust sticks easily.
A fresh coat restores the shine and protection without any heavy lifting.
17. Know When to Call a Professional
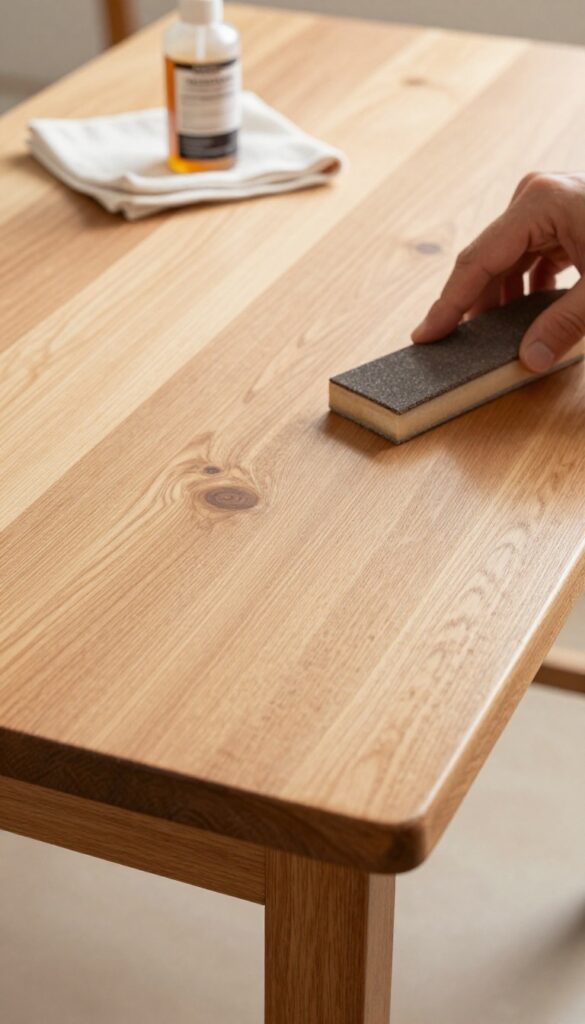
Not every wood furniture problem has a DIY fix. Antique pieces, valuable heirlooms, or furniture with extensive damage—like deep scratches, water stains that won't lift, or peeling veneer—often need a trained hand. A professional refinisher has the tools and experience to restore the wood without making things worse.
Knowing when to step back and call an expert can save you money and heartache in the long run.
Some damage looks fixable but is actually tricky. For example, a white water ring might come off with mayonnaise, but a dark black ring means moisture has penetrated the finish and stained the wood. That's a refinishing job.
Similarly, trying to sand out a deep scratch on a veneered piece can sand right through the thin wood layer, ruining the piece. Professionals know how to assess the damage and choose the right restoration method, whether it's spot refinishing, color matching, or full stripping and refinishing. They also have access to commercial-grade products and equipment that produce better results than store-bought kits.
If your furniture has sentimental or monetary value, the cost of professional help is worth the peace of mind.
Signs You Need A Pro
Look for these red flags: large areas of chipped or peeling finish, deep gouges that go into the wood, warped or cracked wood, extensive water damage, or loose joints that won't tighten. If you've tried a few DIY fixes and the problem persists or looks worse, it's time to call someone.
How To Find A Good Refinisher
Ask for recommendations from local antique shops, furniture restorers, or hardware stores. Check online reviews and ask to see before-and-after photos of their work. A reputable professional will give you a clear estimate and explain the process.
Avoid anyone who promises a quick fix for serious damage—good restoration takes time.
FAQ
Can I use vinegar directly on wood furniture?
It's best to dilute vinegar with water or oil. Straight vinegar can damage the finish over time. Always test on a hidden area first.
How often should I dust wood furniture?
Dust at least once a week to prevent buildup. Use a microfiber cloth or soft brush for best results.
What's the best natural polish for wood?
A mixture of olive oil and white vinegar (1: 1) works well. Lemon oil is another good option. Apply sparingly and buff thoroughly.
How do I remove sticky residue from wood?
Gently warm the residue with a hairdryer on low, then wipe with a soft cloth. You can also use a dab of mayonnaise or peanut oil.
Can I use furniture polish on antique wood?
Be cautious. Many commercial polishes contain silicones or waxes that can harm antiques. Stick to gentle cleaning with a damp cloth and consult a professional if needed.
Conclusion
Your wood furniture doesn't need a cabinet full of polishes to glow. Focus on dusting first, then choose one or two conditioning methods that match your finish. A consistent weekly routine—just a few minutes—keeps the warm shine alive without buildup or residue.
Start with the tip that solves your biggest issue, whether it's sticky surfaces or dull spots. Your furniture will reward you with a lasting, natural luster that feels as good as it looks.