17 Baking Soda Oven Cleaning Hacks for Grease and Grime
You open the oven door and a cloud of smoke hits you. That burnt smell lingers for hours, and the blackened spills on the bottom look like a science experiment gone wrong. It doesn't have to be this way.
A clean oven isn't just about looks—it prevents smoke, improves cooking performance, and saves you from scrubbing marathons. With the right approach, you can tackle even the toughest baked-on mess.
These 17 tips cover everything from quick daily wipes to deep-cleaning hacks. No matter how dirty your oven is, there's a solution here that fits your schedule and supplies.
1. Classic Baking Soda Paste for General Grime
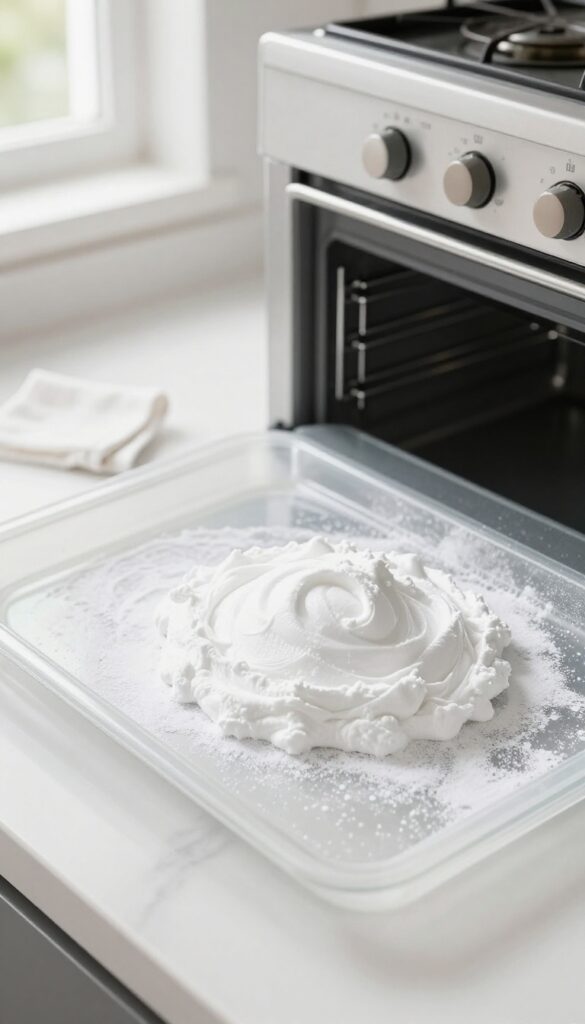
Before you reach for harsh chemicals, try the simplest solution: baking soda and water. This gentle paste cuts through grease without scratching surfaces or leaving toxic fumes. It's the go-to method for a reason—it works on everything from dried-on spills to sticky residue.
Mix ½ cup baking soda with 2 to 3 tablespoons of water until you get a thick, spreadable paste. Remove oven racks and loose debris first. Apply the paste to all interior surfaces, avoiding heating elements.
Let it sit overnight—at least 12 hours—so the baking soda can break down the grime. The next day, wipe away the paste with a damp cloth. For stubborn spots, spray a little vinegar on the paste to create a fizzing reaction that lifts the gunk.
Rinse thoroughly with a clean damp cloth and dry with a microfiber towel.
Why Overnight Works Best
Baking soda needs time to penetrate tough grease. A short soak might loosen light spills, but for baked-on grime, patience pays off. The longer the paste sits, the less elbow grease you'll need.
If you're in a hurry, try a 2-hour soak with a warm oven (turned off) to speed up the process.
Where Not To Apply The Paste
Avoid getting the paste on heating elements, gas burner openings, or the oven door's glass seal. These areas are sensitive to moisture and can get damaged. Use a toothbrush for tight corners and around the door hinge.
For the glass door, use a separate baking soda paste—just be gentle to avoid scratches.
Rinsing Without Residue
Leftover baking soda can leave white streaks or affect the taste of your food. After wiping, go over the interior with a clean damp cloth several times. Change the water frequently.
A final wipe with a vinegar-water solution (1: 1) neutralizes any remaining baking soda and leaves the oven streak-free.
2. Vinegar Spray to Activate the Fizz
Baking soda paste does a lot of the heavy lifting, but it really shines when you add vinegar. The moment those two meet, a fizzy reaction kicks in that helps lift burnt-on grease and grime. It's like giving your oven a gentle, chemical-free power wash.
You don't need anything fancy—just a spray bottle filled with white vinegar. After you've let the baking soda paste sit, a quick spritz is all it takes. The bubbles do the scrubbing for you, so you can wipe away messes with minimal effort.
The fizzing action is more than just fun to watch. It creates carbon dioxide bubbles that physically push against stuck-on residue, loosening it from the surface. This makes the final wipe-down much easier, even on stubborn spots that have been baked on for weeks.
For best results, let the vinegar sit for a minute or two after spraying. You'll see the paste start to bubble and foam. Then, use a damp cloth or sponge to wipe everything away.
Rinse the cloth frequently to avoid spreading grease back onto the oven walls.
Why The Fizz Works
The chemical reaction between baking soda (a base) and vinegar (an acid) produces carbon dioxide gas. Those tiny bubbles expand and push against the grime, helping to break the bond between the residue and the oven surface. It's a gentle but effective way to loosen burnt-on food without harsh scrubbing.
How To Apply It Right
After your baking soda paste has sat for at least 12 hours or overnight, fill a spray bottle with undiluted white vinegar. Mist the paste generously, focusing on areas with heavy buildup. You'll see immediate fizzing.
Let it work for a few minutes, then wipe with a damp cloth. For extra stubborn spots, spray again and scrub gently with a non-abrasive sponge.
Pro Tip For Stubborn Spots
If you have a particularly tough patch of baked-on grease, make a thicker paste and apply a second layer before spraying vinegar. Let it sit for another 30 minutes. The repeated fizzing action can break through even the most stubborn crust.
Just be patient—it's worth the wait.
3. Lemon Juice Boost for Extra Degreasing
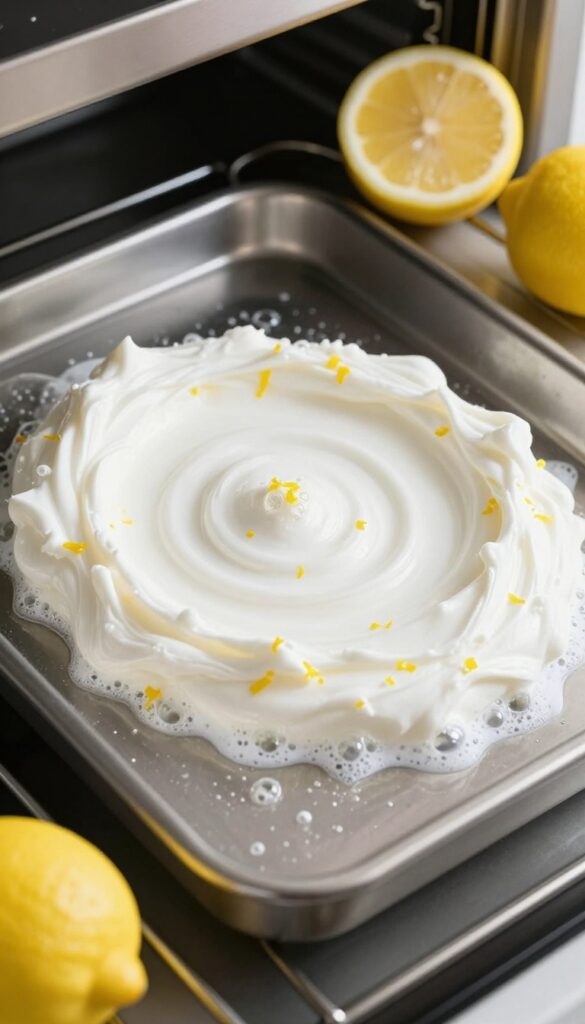
Baking soda paste does a lot of the heavy lifting, but it really shines when you add vinegar. If you want even more grease-fighting power, reach for a lemon. The natural acidity in lemon juice cuts through stubborn, baked-on grease like a dream.
Plus, it leaves your kitchen smelling fresh and clean, not like a chemistry lab.
Lemon juice is a natural degreaser that works wonders on oven grime. When combined with baking soda, the acid reacts to create a gentle fizzing action that helps lift dirt. This combo is especially effective on greasy spots that have been baked on for months.
And the best part? You probably already have lemons in your fridge.
Why Lemon Juice Works
Lemon juice contains citric acid, which breaks down grease molecules. It's a mild acid, so it won't damage your oven's enamel or metal surfaces. The acidity also helps neutralize odors, leaving your oven smelling citrusy fresh.
Unlike harsh chemical cleaners, lemon juice is safe to use around food and won't leave toxic residues.
How To Make Lemon Baking Soda Paste
Mix ½ cup of baking soda with the juice of one lemon. Stir until you get a spreadable paste. If it's too thick, add a little water.
If it's too thin, add more baking soda. Apply the paste to greasy areas inside your oven, avoiding heating elements. Let it sit for at least 15 minutes—longer for tough spots.
The paste will start to bubble slightly as the acid reacts.
Scrubbing And Rinsing Tips
After the paste has done its work, use a damp sponge or cloth to wipe it away. For stubborn spots, scrub gently with a non-abrasive pad. Rinse thoroughly with a clean, wet cloth to remove any residue.
If you see streaks, wipe with a cloth dipped in plain water. Finally, dry the interior with a soft towel to prevent water spots.
Bonus: Lemon Steam Clean
For a deeper clean, fill an oven-safe bowl with water and add lemon slices or lemon juice. Place the bowl in the oven and heat at 250°F for 20 minutes. The steam will loosen grime, and the lemon scent will permeate the oven.
After cooling, wipe down the interior easily. This method is great for maintenance cleaning between major scrubs.
4. Dish Soap Addition for Stubborn Spots
Sometimes plain baking soda paste needs a little backup. A squirt of liquid dish soap turns your paste into a degreasing powerhouse. The soap breaks down grease molecules, making it much easier to lift those crusty, baked-on drips that refuse to budge.
This simple addition works wonders on oven racks, glass doors, and the bottom panel. The soap doesn't just add bubbles—it helps the paste cling to vertical surfaces longer, giving it more time to work. For really stubborn spots, let the paste sit for an extra 15 minutes before scrubbing.
Why Dish Soap Works
Dish soap is designed to cut through grease on plates, so it does the same in your oven. The surfactants in the soap surround grease particles and lift them away. Combined with the gentle abrasiveness of baking soda, you get a one-two punch against tough grime.
How To Mix It
Start with your standard baking soda paste: about 1/2 cup baking soda and 2-3 tablespoons water. Add one squirt (about a teaspoon) of liquid dish soap. Stir until it forms a thick, spreadable paste.
If it's too runny, add more baking soda; if too thick, add a few more drops of water.
Application Tips
Apply the paste generously to the stained areas. For vertical surfaces like the oven door, spread it thickly so it doesn't drip. Let it sit for at least 20 minutes, longer for heavy buildup.
Scrub with a non-abrasive sponge or nylon brush, then wipe clean with a damp cloth.
5. Steam Clean with Baking Soda and Water
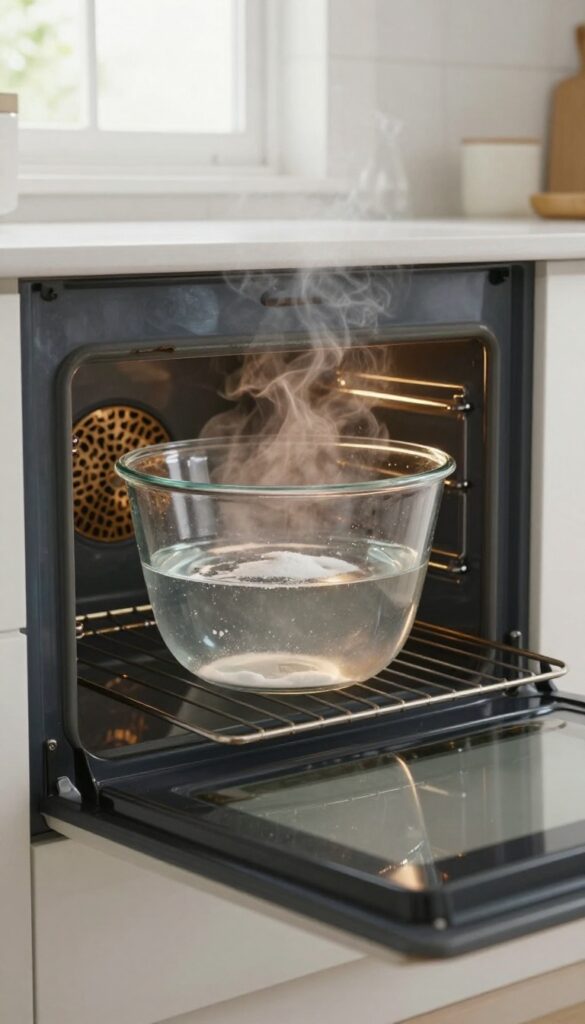
Steam is a powerful ally when it comes to loosening stubborn, baked-on grease. By combining the gentle abrasiveness of baking soda with the softening power of steam, you can make even the grimiest oven surrender without elbow grease. This method is especially great for those spots that have been neglected for weeks or months.
This hack uses the heat of your oven to create steam that penetrates and softens grime. It's a low-effort, high-reward technique that works best on moderately dirty ovens. For heavily soiled ovens, you may need to repeat the process or follow up with a paste scrub.
How To Set Up The Steam
Preheat your oven to 350°F (175°C). While it's heating, fill an oven-safe bowl with about 2 cups of water and stir in 3 tablespoons of baking soda. Place the bowl on the bottom rack.
Close the door and let the steam work for 20-30 minutes. The baking soda helps boost the steam's cleaning power.
Wipe Away The Grime
After the time is up, turn off the oven and let it cool slightly—just enough so you can safely touch the interior. Open the door and use a damp microfiber cloth or sponge to wipe down the walls, floor, and door. The softened grime should come off easily.
For stubborn spots, use a non-abrasive scrubber.
When To Use This Method
This steam technique is ideal for routine maintenance or when you notice light to moderate buildup. It's also a great first step before applying a baking soda paste for deeper cleaning. Avoid using this method on self-cleaning ovens that lock during high heat, as the steam could interfere with the mechanism.
6. Baking Soda Scrub for Oven Racks
Oven racks often take the brunt of spills and grease, but they're also the easiest part to clean outside the oven. Instead of scrubbing them while they're still inside, pop them out and give them a dedicated treatment. This method uses baking soda paste to break down grime without harsh chemicals, and it works on even the most neglected racks.
Start by removing the racks and laying them on a protected surface like old newspapers or a tarp. Mix a thick paste of baking soda and water—about 3 parts baking soda to 1 part water—and spread it generously over the entire rack. Let the paste sit for at least 15–20 minutes, or longer if the buildup is heavy.
For really stubborn spots, you can let it sit overnight. Then, scrub with a stiff brush or steel wool, rinse thoroughly, and dry. Your racks will look almost new.
Why This Works So Well
Baking soda is mildly abrasive, so it physically scrubs away grease without scratching the metal. It also reacts with acidic grime to help lift it off. The paste consistency keeps it in place, allowing it to work on vertical surfaces like rack bars.
Pro Tips For Stubborn Racks
If your racks have years of buildup, place them in a large trash bag with the paste, seal it, and let them sit in the sun. The heat helps activate the baking soda. For extra tough spots, sprinkle a little vinegar on the paste to create fizzing action before scrubbing.
7. Dry Baking Soda for Freshly Spilled Grease
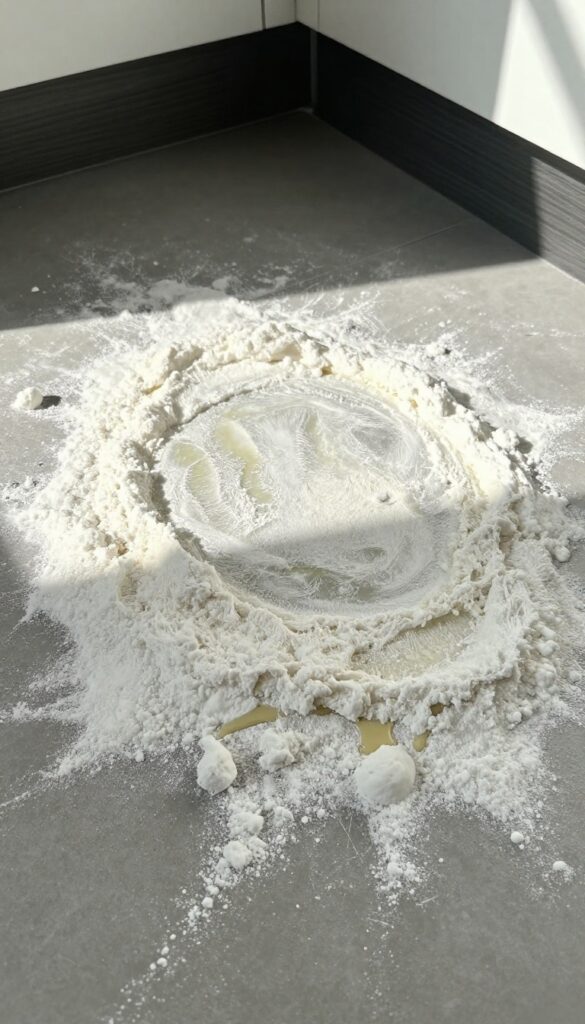
Caught a spill while it's still wet? Don't wait. Grab the baking soda and sprinkle it directly on the grease before it has a chance to bake on.
This simple trick turns a future scrubbing session into a quick wipe-up.
When grease spills in a hot oven, it can carbonize into a stubborn black crust within minutes. Dry baking soda acts like an absorbent sponge, soaking up the oil before it bonds to the oven surface. The best part?
You don't need to mix anything or wait for a paste to form. Just sprinkle, let it sit, and wipe away later.
Why Dry Works Best On Fresh Spills
Baking soda's fine, porous texture gives it a high surface area, which helps it absorb liquid grease quickly. Unlike a wet paste, dry baking soda won't spread the grease around—it pulls it up and holds it. This makes cleanup faster and prevents the spill from spreading across the oven floor.
How To Apply It Right
As soon as you notice a spill, turn off the oven and let it cool slightly—but not completely. Sprinkle a generous layer of baking soda directly over the grease, covering it entirely. Let it sit for 10–15 minutes.
The baking soda will clump as it absorbs the oil. Then, use a paper towel or a damp cloth to scoop up the clumps. For any residue left behind, a quick wipe with a damp sponge is all you need.
When Not To Use This Method
This hack works best on fresh, liquid spills. If the grease has already baked into a hard, black crust, dry baking soda won't absorb it—you'll need a paste or a different approach. Also, avoid using this on self-cleaning oven liners or non-stick surfaces, as the abrasive texture could cause scratches.
8. Baking Soda and Hydrogen Peroxide for Tough Burns
Some burnt-on spots laugh at plain baking soda paste. They've been cooked on so long they've practically fused with the enamel. That's when you need to level up your paste game.
Hydrogen peroxide turns ordinary baking soda into a powerful oxidizer. The chemical reaction helps break down carbonized food without harsh fumes or endless scrubbing. You'll still need some elbow grease, but the peroxide does the heavy lifting.
Why Peroxide Works Better Than Water
Water just dissolves baking soda. Hydrogen peroxide adds oxygen bubbles that physically lift burnt particles. It's like giving your paste a mild bleach boost that targets only the charred bits, not your oven's finish.
How To Make And Apply The Paste
Mix ½ cup baking soda with enough hydrogen peroxide (3% is fine) to form a spreadable paste. Smear it thickly over the burnt areas and let it sit for at least 30 minutes—longer for really stubborn spots. The paste will bubble slightly as it works.
Wiping Away The Mess
After the wait, spray the area with white vinegar to reactivate the fizz. Wipe with a damp sponge, rinsing frequently. For extra stubborn bits, use a plastic scraper or a non-scratch scrub pad.
Repeat if needed—the paste won't damage your oven.
9. Overnight Soak for Oven Door Glass
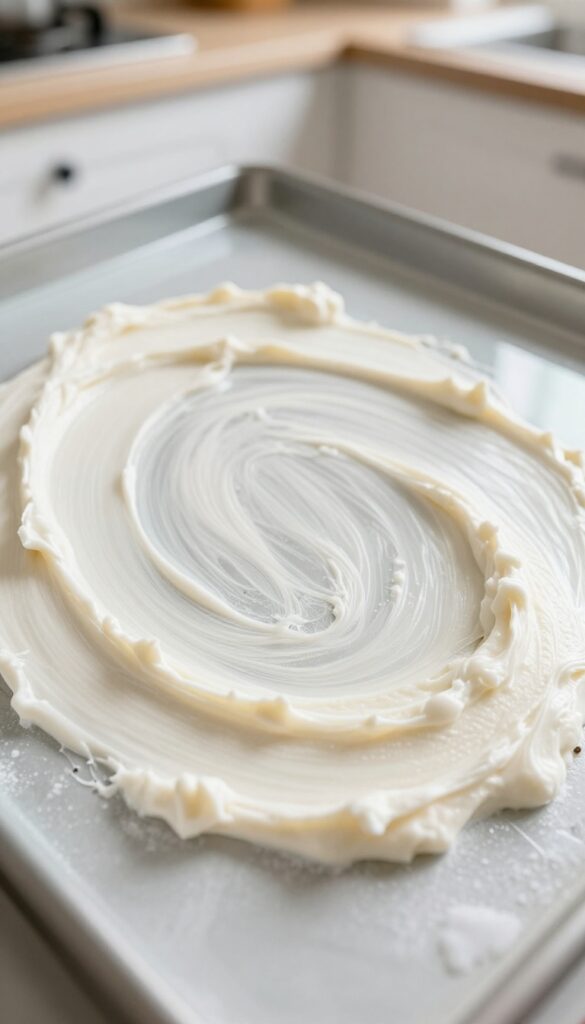
Grease splatters and baked-on grime on the oven door glass can make your kitchen look messier than it is. You scrub and scrub, but streaks and hazy spots just won't budge. That's where an overnight soak comes in—minimal effort, maximum payoff.
By letting a thick paste sit on the glass for hours, you break down stubborn residue without any elbow grease. Come morning, a quick wipe reveals crystal-clear glass that makes your whole oven look brand new.
Why An Overnight Soak Works
Baking soda is mildly abrasive and alkaline, which helps dissolve grease and food particles. When you give it time—eight to twelve hours—it penetrates deep into baked-on layers, softening them so they lift off easily. No harsh chemicals, no fumes, just patience.
How To Apply The Paste
Mix baking soda with just enough water to form a thick, spreadable paste—think peanut butter consistency. Use a sponge or your fingers (wear gloves if you prefer) to coat the entire glass surface evenly. Don't skimp on the corners and edges where grime hides.
The Morning Reveal
After the paste has dried overnight, spray or wipe it with a damp cloth to rehydrate. Then gently scrub in circles with a non-abrasive sponge. Rinse with clean water and dry with a microfiber cloth for a streak-free shine.
If any residue remains, repeat the process on those spots.
10. Baking Soda and Cream of Tartar for Stains
Discoloration and mineral deposits on oven surfaces can be stubborn, but a simple duo—baking soda and cream of tartar—works wonders. Cream of tartar is a mild acid that boosts the cleaning power of baking soda, making it especially effective on those cloudy, white mineral spots that plain baking soda leaves behind. This combination is gentle enough for enamel and glass but tough on stains.
To use this method, mix equal parts baking soda and cream of tartar (about 2 tablespoons each) with just enough water to form a thick paste. Apply the paste to stained areas—focus on the oven floor, door, and any spots with mineral buildup. Let it sit for 15–20 minutes, then scrub with a damp sponge or soft brush.
Rinse thoroughly with water. For extra stubborn stains, let the paste sit longer or add a splash of vinegar to reactivate the fizzing action. This hack is especially useful for ovens with hard water stains or baked-on food residue that leaves a white film.
Why Cream Of Tartar Works
Cream of tartar is a byproduct of winemaking and is chemically known as potassium bitartrate. It's a mild acid that helps break down alkaline mineral deposits and discoloration. When combined with baking soda (a base), it creates a gentle chemical reaction that lifts stains without harsh scrubbing.
This makes it ideal for delicate surfaces like glass oven doors or ceramic cooktops.
How To Apply The Paste
Start with a clean, cool oven. Mix 2 tablespoons each of baking soda and cream of tartar in a small bowl. Add water a teaspoon at a time until you get a spreadable paste.
Apply it to stained areas using a spatula or your fingers (wear gloves). Let it sit for 15–20 minutes—longer for tough spots. Scrub gently with a non-abrasive sponge, then wipe away residue with a damp cloth.
Rinse well to avoid any powdery film.
Best Uses For This Combo
This paste is perfect for tackling discoloration on oven floors, especially from spilled fruit juices or tomato sauces. It also works well on mineral deposits from hard water that appear as white spots on glass doors. For burnt-on grease, you may need to add a little more water or let it sit longer.
Avoid using on self-cleaning oven liners or aluminum surfaces, as the acid can cause discoloration.
11. Baking Soda Paste with Essential Oils for Scent
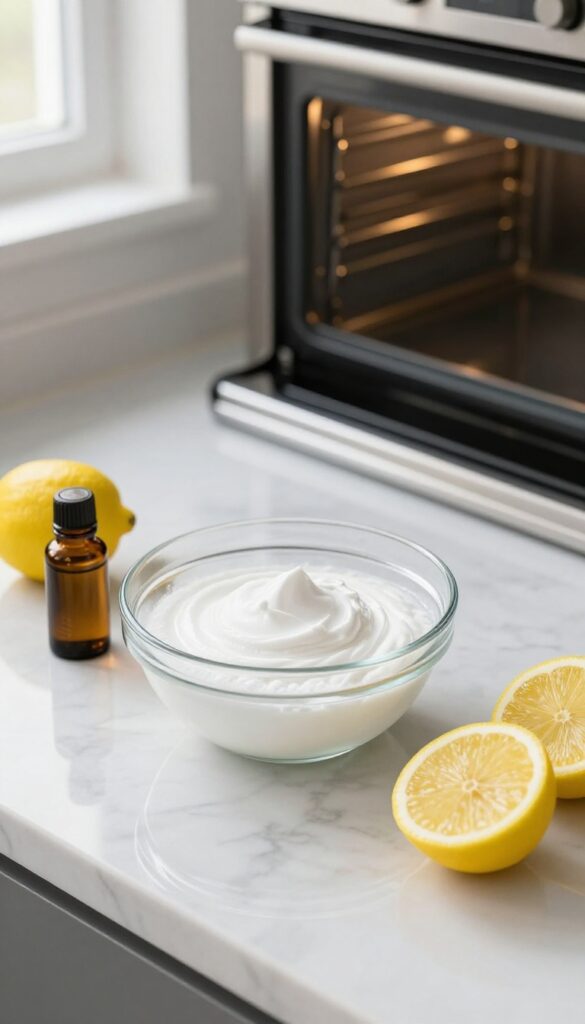
Standard baking soda paste does the job, but it can leave behind a faint, chalky smell. A few drops of essential oil change that completely. Lemon oil cuts through grease with a fresh, citrusy scent, while tea tree oil adds antimicrobial power.
Your oven ends up clean and smells like a spa.
Essential oils do more than mask odors—they actively help break down grime and inhibit bacteria. Lemon oil is a natural degreaser, making it a perfect match for oven cleaning. Tea tree oil is known for its antimicrobial and antifungal properties, which is great for tackling hidden germs in baked-on spills.
Just a few drops per batch of paste are enough to make a difference. To make scented paste, mix 1/2 cup baking soda with 2–3 tablespoons water until it forms a spreadable consistency. Add 5–10 drops of your chosen essential oil and stir well.
Apply the paste to oven surfaces, let it sit for 15–20 minutes, then scrub and wipe clean. The oil scent will linger pleasantly after rinsing. Always use high-quality, pure essential oils—not fragrance oils—to avoid chemical residues.
Test a small area first if you're worried about staining, though baking soda and essential oils are generally safe for enamel and glass surfaces.
Best Oils For Oven Cleaning
Lemon, tea tree, and orange oils are top choices. Lemon and orange cut grease, while tea tree fights germs. Avoid thick oils like cinnamon or clove, which can leave residue.
How To Mix And Apply
Combine 1/2 cup baking soda with water until paste forms, then stir in 5–10 drops of oil. Spread evenly, let sit 15–20 minutes, scrub, and rinse. The scent lasts through the next use.
Safety Tips
Use pure essential oils only—no synthetic fragrances. Test on a small spot first. Keep oils away from heating elements to avoid smoke or flare-ups.
12. Baking Soda and Salt for Abrasive Scrubbing
Sometimes a paste of baking soda and water just doesn't have enough grit to tackle those stubborn, burnt-on bits. That's where a little coarse salt comes in. Salt adds texture and scrubbing power without scratching your oven's interior, making it perfect for tough jobs.
To make this abrasive cleaner, mix three parts baking soda with one part coarse salt (like kosher or sea salt). Add just enough water to form a thick paste. Apply it to the stubborn spots and let it sit for 10–15 minutes to soften the grime.
Then scrub with a damp sponge or a non-abrasive scrub pad. The salt crystals break down the burnt-on food while the baking soda lifts grease and neutralizes odors. Rinse thoroughly with a clean damp cloth.
This method works especially well on the oven floor and on oven racks.
Why Salt Works So Well
Coarse salt is a natural abrasive that's harder than baking soda but softer than metal. It provides the extra friction needed to dislodge carbonized food without leaving scratches. Plus, salt is water-soluble, so it rinses away cleanly without residue.
Best Spots For This Hack
Use this mixture on areas with heavy buildup, like the bottom of the oven where spills have baked into a dark crust. It's also great for oven racks: spread the paste, let it sit, then scrub and rinse. Avoid using salt on glass oven doors, as the crystals could cause micro-scratches.
Pro Tips For Best Results
Don't use too much water—you want a thick paste that clings to vertical surfaces. For extra stubborn spots, add a drop of dish soap to the mixture. Always test a small hidden area first if you're worried about scratching.
And remember, a little elbow grease goes a long way, but the salt does most of the heavy lifting.
13. Baking Soda and Vinegar Foam for Vertical Surfaces
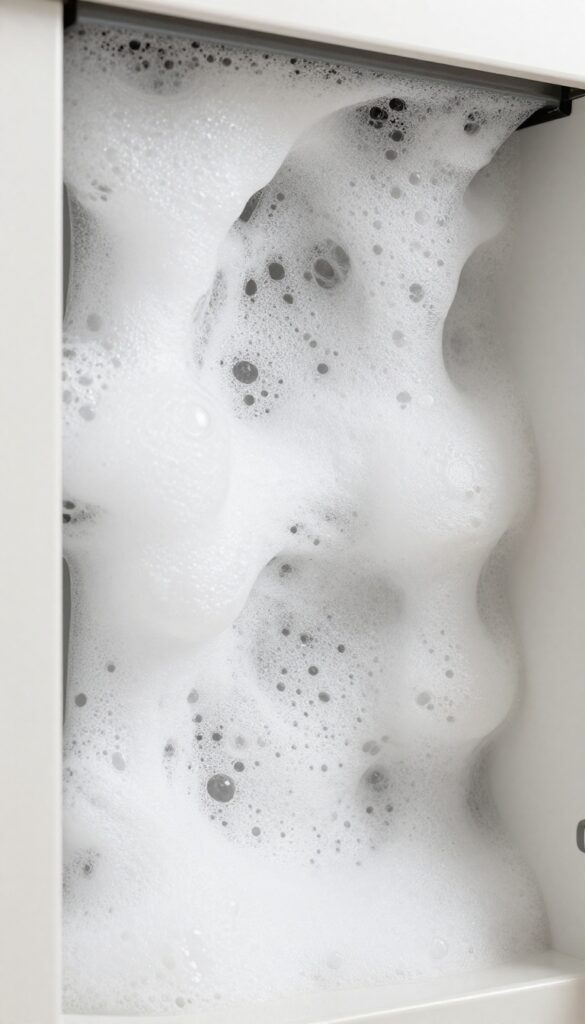
Vertical oven walls are notoriously tricky—paste slides off before it can work, and sprays drip down into puddles. The solution? Turn your baking soda paste into a foam that clings like a champ.
When vinegar hits the paste, it creates a fizzy reaction that expands and sticks to surfaces, giving you even coverage without the mess.
This method is perfect for the sides and back of your oven where gravity usually wins. The foam holds its ground, breaks down grease, and rinses off easily. Here’s how to make it work for you.
Why Foam Beats Paste On Walls
Paste slides, foam stays. The carbon dioxide bubbles from the vinegar reaction create a lightweight, airy texture that adheres to vertical surfaces. It also lifts grime as it fizzes, loosening baked-on grease without heavy scrubbing.
Step-by-step: Making The Foam
Mix 1/2 cup baking soda with 2-3 tablespoons water to form a thick paste. Spread it generously on the oven walls. Fill a spray bottle with white vinegar and mist the paste until it starts foaming.
Let it sit for 15-20 minutes, then wipe clean with a damp cloth.
Pro Tips For Best Results
Work in sections to prevent the foam from drying out. For extra stubborn spots, let the foam sit longer—up to 30 minutes. Use a microfiber cloth for wiping to avoid streaks.
Avoid spraying vinegar directly on heating elements.
14. Baking Soda Soak for Removable Parts
Knobs, drip pans, and racks often collect the worst grime because they're exposed to direct heat and spills. A simple soak can dissolve that buildup without elbow grease. Baking soda and hot water create a powerful cleaning solution that loosens grease and carbonized food.
Just submerge the parts and let chemistry do the work.
This method is perfect for small, removable parts that are tough to scrub by hand. The hot water activates the baking soda, helping it penetrate and lift baked-on residue. For best results, use the hottest tap water you can and a generous amount of baking soda—about half a cup per gallon of water.
Let everything soak for at least 30 minutes, or overnight for heavily soiled items. After soaking, a quick rinse and gentle scrub with a soft sponge should leave them sparkling.
Which Parts Can You Soak?
Most metal and heat-resistant plastic parts are safe to soak. This includes oven knobs, burner grates, drip pans, and oven racks (if they fit in your sink or a large tub). Avoid soaking electrical components or parts with non-stick coatings that may peel.
Check your oven manual if you're unsure.
Step-by-step Soaking Process
Fill a large container or sink with hot water and stir in 1/2 cup of baking soda until dissolved. Submerge the parts completely, making sure no air pockets trap grime. Let them sit for 30 minutes to an hour.
For stubborn spots, scrub with a non-abrasive pad or an old toothbrush. Rinse thoroughly with clean water and dry before reinstalling.
When To Add Vinegar
If parts have a greasy film after soaking, a quick vinegar rinse can help. Mix equal parts white vinegar and water, then dip or spray the parts. The vinegar reacts with any remaining baking soda residue, cutting through grease and leaving a streak-free finish.
Rinse again with water afterward to avoid any lingering smell.
15. Baking Soda and Cornstarch for a Thicker Paste
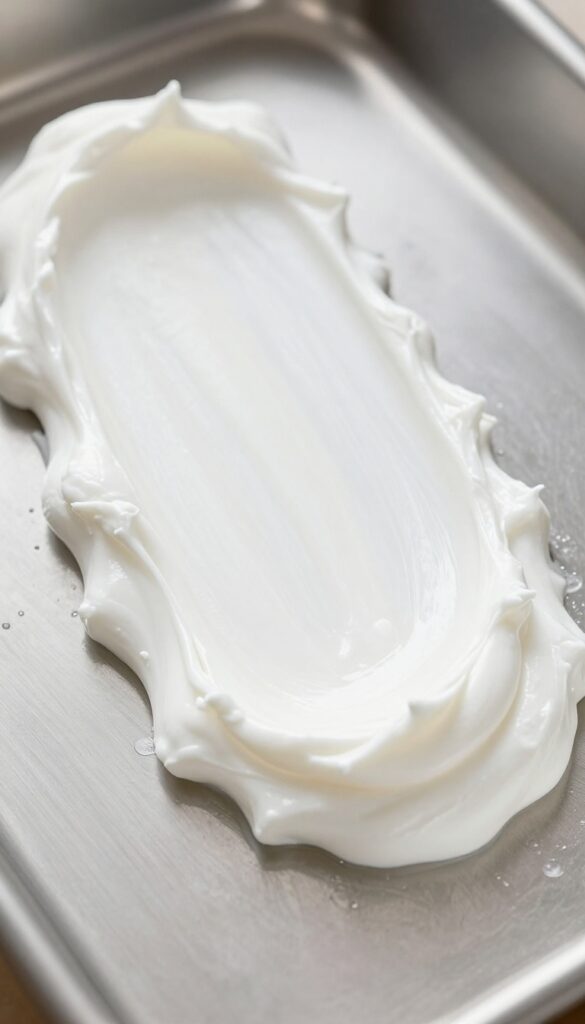
Standard baking soda paste works fine on flat surfaces, but gravity has other plans when you try to coat the back wall or the top of the oven. The mixture drips, slides, and ends up in a puddle on the floor. A simple pantry staple—cornstarch—fixes that problem in seconds.
Adding a spoonful of cornstarch to your baking soda paste gives it a thicker, almost frosting-like consistency that clings to vertical surfaces without running. It stays put for hours, giving the baking soda plenty of time to break down grease and grime.
Cornstarch acts as a natural thickener. When mixed with water and baking soda, it creates a paste that holds its shape even on slick oven walls. This hack is especially useful for cleaning the top interior of the oven, where grease splatters accumulate but are hard to reach with sprays.
The paste won't drip onto heating elements or pool at the bottom, so you can apply it precisely where needed. Plus, cornstarch is non-toxic and rinses away easily, leaving no sticky residue behind.
How To Make The Thick Paste
Combine ½ cup baking soda, 2 tablespoons cornstarch, and about 3 tablespoons water in a small bowl. Stir until it forms a thick, spreadable paste. If it's too runny, add more cornstarch a teaspoon at a time.
If it's too stiff, add water drop by drop. The final texture should be similar to peanut butter—smooth but firm enough to hold a peak.
Application Tips For Vertical Surfaces
Use a spatula or a gloved hand to apply the paste in a thick layer—about ¼ inch thick. Press it firmly onto the oven wall so it adheres. Let it sit for at least 30 minutes, or overnight for heavy buildup.
The cornstarch helps the paste stay hydrated, so it won't dry out and crumble off. After soaking, spray with vinegar to activate the fizz, then wipe away with a damp cloth.
Why This Beats Store-bought Cleaners
Commercial oven sprays often contain harsh chemicals like sodium hydroxide that can irritate your lungs and skin. This cornstarch-baking soda paste is completely safe—no fumes, no gloves required. It's also cheaper than any store-bought option and uses ingredients you already have in your kitchen.
The thick consistency means less waste, since the paste stays where you put it and doesn't drip away.
16. Baking Soda and Borax for Heavy-Duty Cleaning
When years of grease and grime have built up into a thick, stubborn crust, standard baking soda paste might not cut it. That's when you need to bring in reinforcements. Borax, a naturally occurring mineral, boosts the cleaning power of baking soda without adding harsh chemicals.
Together, they form a heavy-duty cleaner that can tackle even the most neglected oven surfaces.
Mixing baking soda with borax creates a more abrasive and alkaline paste that breaks down tough carbonized grease. The combination is still non-toxic and safe for home use, making it ideal for deep cleaning sessions. You'll need to let it sit longer than a regular paste, but the results are worth the wait.
The Perfect Ratio
Combine equal parts baking soda and borax in a bowl. Add just enough water to form a thick, spreadable paste. For a standard oven, start with 1/2 cup of each.
This mixture is thicker and grittier than baking soda alone, so it stays put on vertical surfaces better.
Application And Wait Time
Spread the paste generously over the grimy areas, focusing on the bottom and corners where buildup is worst. Let it sit for at least 30 minutes, but for heavy-duty cleaning, leave it on for up to 2 hours. The longer it sits, the more it loosens the crust.
Avoid letting it dry completely—if it starts to crack, spritz with water.
Scrubbing And Rinsing
After the wait time, scrub with a non-scratch sponge or a nylon brush. The borax adds grit that helps dislodge burnt-on bits without scratching the enamel. Wipe away the residue with a damp cloth, then do a final rinse with a vinegar-water solution (1: 1) to neutralize any alkaline residue.
Your oven will look noticeably cleaner.
17. Baking Soda and Club Soda for Sparkling Finish
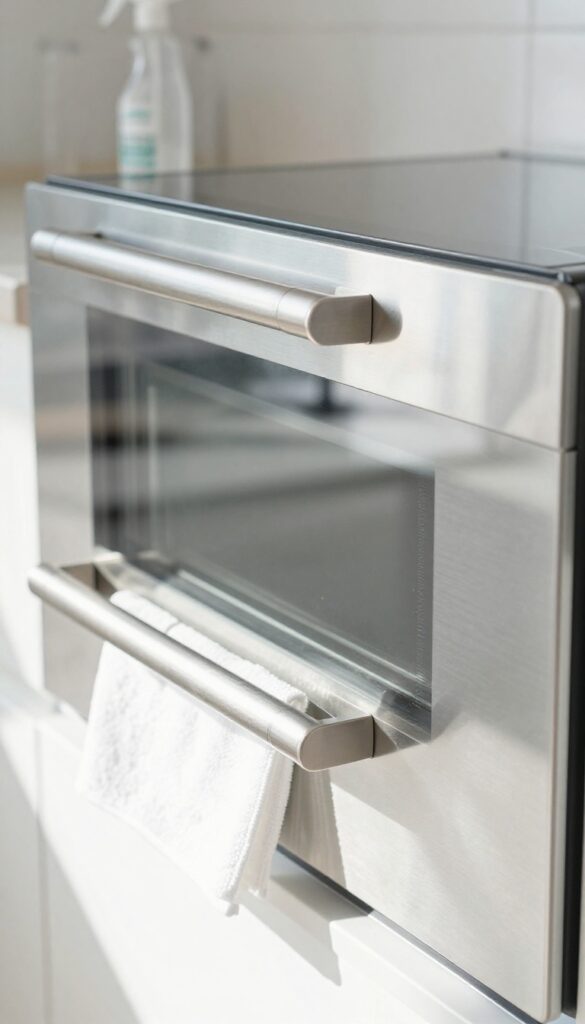
You've scrubbed, rinsed, and dried, but that dull film just won't go away. Sometimes the last step makes all the difference. Swapping plain water for club soda in your final wipe-down gives your oven a streak-free, mirror-like shine.
Club soda's carbonation and mild acidity help lift any remaining baking soda residue without extra scrubbing. The bubbles get into tiny crevices and push out leftover grit, while the minerals in the water act as a gentle polishing agent. This trick works especially well on glass oven doors and stainless steel surfaces, leaving them spotless and gleaming.
Why Club Soda Works
Regular tap water can leave behind mineral deposits that create a hazy look. Club soda contains carbonic acid and sodium bicarbonate, which together break down any lingering grease molecules and prevent water spots. The fizz also helps dislodge particles stuck in textured surfaces or around hinges.
How To Use It
After your main cleaning is done, spray or wipe the surface with club soda. Let it sit for 30 seconds, then buff dry with a microfiber cloth. For extra shine on the oven door, use a crumpled piece of newspaper instead of a cloth—it won't leave lint and adds a brilliant polish.
When To Skip This Hack
Avoid club soda on unsealed cast iron or raw aluminum parts, as the mild acidity may cause discoloration. Stick to plain water for those surfaces. Also, don't use it on hot surfaces—the carbonation can cause splattering.
Let the oven cool completely first.
FAQ
Can I use baking soda on a self-cleaning oven?
Yes, but avoid using it during the self-cleaning cycle. Apply baking soda paste only when the oven is cool and off.
Will baking soda scratch my oven surface?
Baking soda is mildly abrasive but generally safe for enamel and glass. Test on a small area first if concerned.
Can I mix baking soda with bleach?
No, avoid mixing baking soda with bleach or ammonia. Stick to vinegar, lemon juice, or hydrogen peroxide.
How do I rinse baking soda residue from the oven?
Wipe with a damp cloth, then do a final rinse with water and vinegar to remove any white residue.
Conclusion
Baking soda is the unsung hero of oven cleaning—gentle enough for everyday use but tough on baked-on grease. Try one or two of these hacks this weekend, and you'll see how much easier tackling grime can be. The key is consistency: a quick paste after each messy meal prevents buildup and saves you from heavy scrubbing later.
You've got everything you need right in your pantry, so pick your favorite methods and make them part of your routine. Your oven will thank you with better performance and a sparkling interior.