15 Cleaning Coffee Maker with Vinegar Tips for Fresh Brews
Your morning coffee deserves a clean start. Over time, mineral deposits and coffee oils build up inside your coffee maker, affecting both flavor and performance. Vinegar is a natural, inexpensive solution that cuts through grime without harsh chemicals.
Descaling with vinegar isn't just about taste—it also helps your machine run efficiently. A clean coffee maker heats water faster and lasts longer. Plus, it's an eco-friendly alternative to commercial descalers.
In this guide, you'll find 15 practical tips for using vinegar to clean every part of your coffee maker. From simple maintenance to deep cleaning, these steps will keep your brews fresh and your machine happy.
1. Start with a Daily Rinse to Prevent Buildup
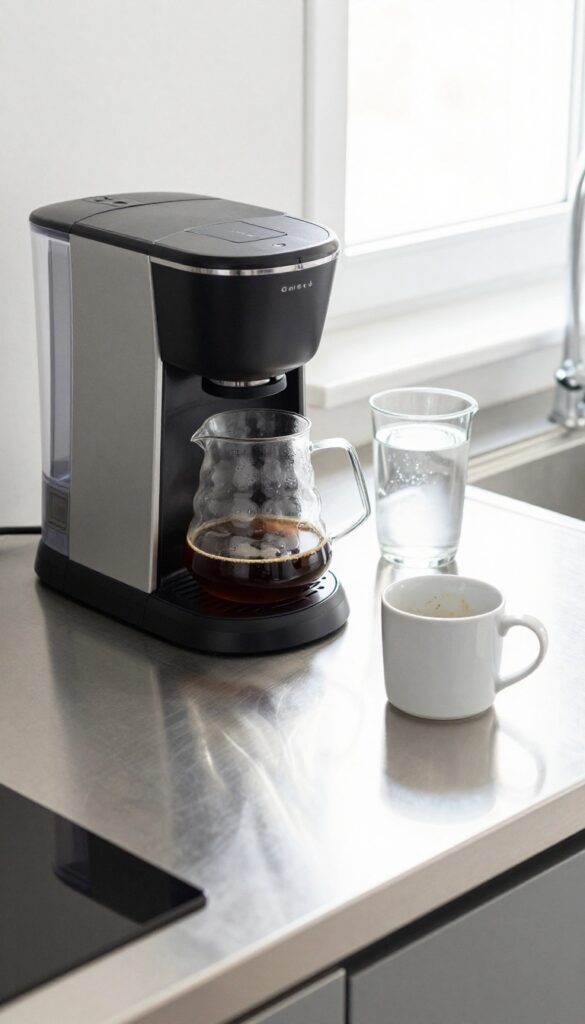
Getting into the habit of a quick rinse after each brew is the easiest way to keep your coffee maker clean. It takes just a few minutes and stops old coffee oils and mineral deposits from hardening inside the machine. Think of it as a daily refresher that makes deep cleaning sessions less frequent.
A daily rinse is simple: after your morning coffee, empty the carafe and fill the reservoir with fresh water. Run a full brew cycle without any coffee grounds. This flushes out residual oils and loose particles before they can stick.
Let the machine cool, then discard the water. Doing this every day keeps the internal parts free from buildup and ensures your next cup tastes clean.
Why A Daily Rinse Matters
Coffee oils are sticky and can turn rancid over time, leaving a bitter film inside your brewer. A rinse removes these oils before they accumulate. It also helps prevent mineral scale from forming, especially in areas with hard water.
This small habit extends the life of your machine and maintains optimal brewing temperature.
How To Do It Right
Always use fresh, cold water for the rinse cycle. After brewing, let the machine cool for a few minutes before starting the rinse to avoid thermal shock. Run the cycle without a filter or coffee.
Once done, empty the carafe and leave the lid open to air dry. For best results, do this after every use.
When To Skip The Rinse
If you use a descaling solution or vinegar soak, skip the daily rinse that day and follow the deep cleaning steps instead. Also, if your machine has a self-cleaning cycle, refer to the manual—some models require a specific process. Otherwise, daily rinsing is safe for all drip coffee makers.
2. Mix the Perfect Vinegar-to-Water Ratio
Getting the ratio right is the secret to effective descaling without damaging your machine. Too much vinegar can leave a strong aftertaste, while too little won't cut through stubborn buildup. The standard 1: 1 mix of white vinegar and water works for most drip coffee makers and single-serve machines.
For standard cleaning, combine equal parts distilled white vinegar and cold water. If you have hard water or haven't descaled in months, bump up the vinegar slightly—try a 2: 1 ratio of vinegar to water. Always use white vinegar; apple cider or other varieties can leave residues or stain your machine.
Why 1:1 Works Best
A 50/50 blend is strong enough to dissolve mineral deposits but gentle on internal components. It's the sweet spot for most machines, including popular brands like Mr. Coffee and Cuisinart.
This ratio also rinses out easily, so you won't taste vinegar in your next brew.
Adjusting For Hard Water
If you notice white flakes in your coffee or your machine takes longer to brew, hard water buildup is likely. Increase the vinegar ratio to 2: 1 or even 3: 1 for a deep clean. Run the solution through a full cycle, then follow with two plain water cycles to flush thoroughly.
Measuring Made Simple
Use the water reservoir markings to measure. For a 12-cup machine, fill the reservoir halfway with vinegar (6 cups) and top off with water. For single-serve brewers, fill the water tank with 1 part vinegar and 1 part water.
Avoid overfilling—leave room for the solution to circulate.
3. Run a Full Descaling Cycle with Vinegar

Once your vinegar solution is mixed and ready, it's time to put it to work. Running a full brew cycle with the vinegar mixture is the most effective way to reach every internal part of your coffee maker. This step targets mineral buildup in the water lines, heating element, and brew basket, ensuring your next pot of coffee tastes as fresh as it should.
Let the vinegar solution complete a full cycle, then turn off the machine and let it sit for 30 minutes. This pause allows the vinegar to break down stubborn deposits. After the wait, finish the cycle and follow with two to three fresh water cycles to rinse thoroughly.
Why A Full Cycle Matters
A full brew cycle ensures the vinegar reaches every nook and cranny, including the one-way valve and spray head. Partial cleaning leaves deposits behind, which can recontaminate your coffee. Running the entire cycle mimics normal operation, so the solution flows through the system just like water does during brewing.
The 30-minute Soak
After the vinegar cycle finishes, let the machine sit with the solution inside for 30 minutes. This soak time is crucial for dissolving scale that has hardened over time. For heavily scaled machines, you can extend the soak to an hour, but don't let it sit longer than that to avoid any potential damage to rubber seals.
Rinsing Thoroughly
After the soak, run two to three full cycles with fresh water to flush out any remaining vinegar taste or smell. If you still detect vinegar in the next brew, run one more rinse cycle. A clean coffee maker should produce water that tastes neutral—if it doesn't, keep rinsing.
4. Don't Forget the Carafe – Soak It in Vinegar
The carafe often gets overlooked, but it's a magnet for coffee stains and oily residue. A simple soak in vinegar works wonders for restoring its clarity. Here's how to give your carafe the attention it deserves.
Start by filling the carafe with equal parts white vinegar and hot water. Let it sit for about an hour—this gives the vinegar time to break down stubborn stains and mineral deposits. After the soak, pour out the solution and scrub the inside with a non-abrasive sponge or bottle brush.
For tough spots, add a tablespoon of salt as a gentle abrasive. Rinse thoroughly with warm water. Your carafe will look like new, and you won't have any lingering vinegar taste in your next brew.
Why The Carafe Needs Special Attention
Coffee oils and minerals cling to glass, creating a film that dulls the shine and affects flavor. A quick rinse isn't enough—a deep soak is necessary to lift that buildup.
Step-by-step Soaking Method
Mix equal parts vinegar and hot water directly in the carafe. Let it sit for one hour. For extra-stubborn stains, extend the soak to two hours.
Then scrub with a soft sponge and rinse well.
Dealing With Stubborn Stains
If stains remain after soaking, make a paste of baking soda and water. Apply it to the stains with a damp sponge and scrub gently. Rinse thoroughly.
This combo is safe for glass and won't scratch.
5. Clean the Filter Basket Thoroughly
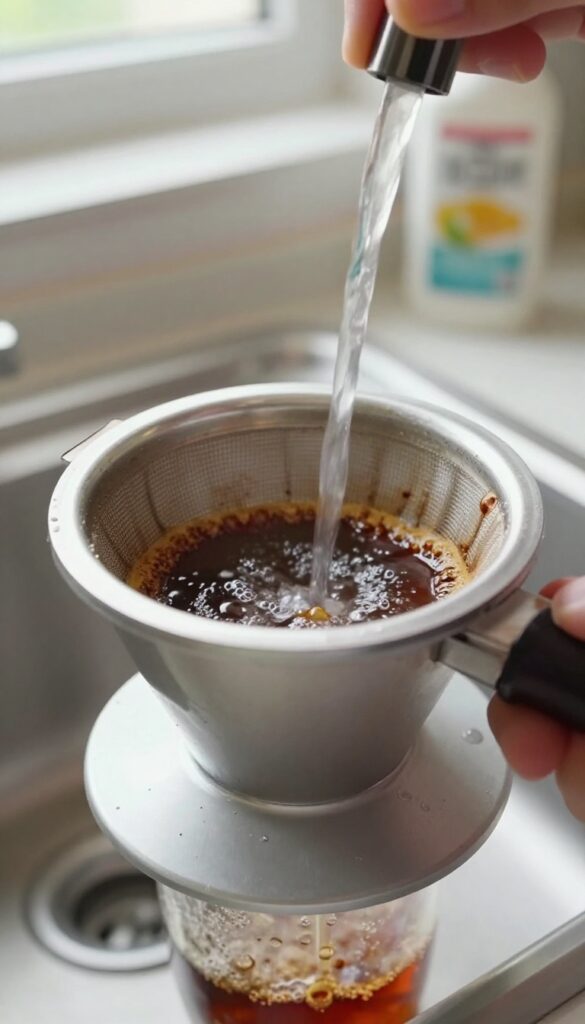
The filter basket holds the coffee grounds during brewing, so it's no surprise that oils and residue accumulate there. Over time, these leftovers can clog the basket and affect your coffee's taste. A thorough cleaning ensures every brew is as fresh as possible.
Start by removing the filter basket from your coffee maker. Rinse it under warm water to loosen any loose grounds. Then, fill a bowl with equal parts white vinegar and warm water—enough to fully submerge the basket.
Let it soak for 15 to 20 minutes. This helps break down stubborn oils and mineral deposits. After soaking, use a soft brush, like a bottle brush or an old toothbrush, to gently scrub the basket's mesh and corners.
Pay special attention to the small holes where water flows through, as they can easily get clogged. Rinse thoroughly with clean water and let it air dry before placing it back in the machine.
Why The Filter Basket Gets Dirty
Every time you brew, coffee oils and fine particles cling to the basket's surface. Over weeks of use, these residues build up and can turn rancid, giving your coffee a bitter or stale flavor. Regular cleaning prevents this buildup and keeps your coffee tasting fresh.
The Soaking Method
Soaking in vinegar water is the most effective way to dissolve the oils and minerals without harsh scrubbing. The vinegar's acidity cuts through the grime, making it easy to wipe away. For extra stubborn buildup, let it soak for up to 30 minutes.
Brushing Technique
After soaking, use a soft brush to dislodge any remaining particles. A gentle circular motion works best. Avoid using metal brushes or abrasive pads, as they can scratch the basket's surface and create hiding spots for bacteria.
6. Wipe Down the Warming Plate with Vinegar
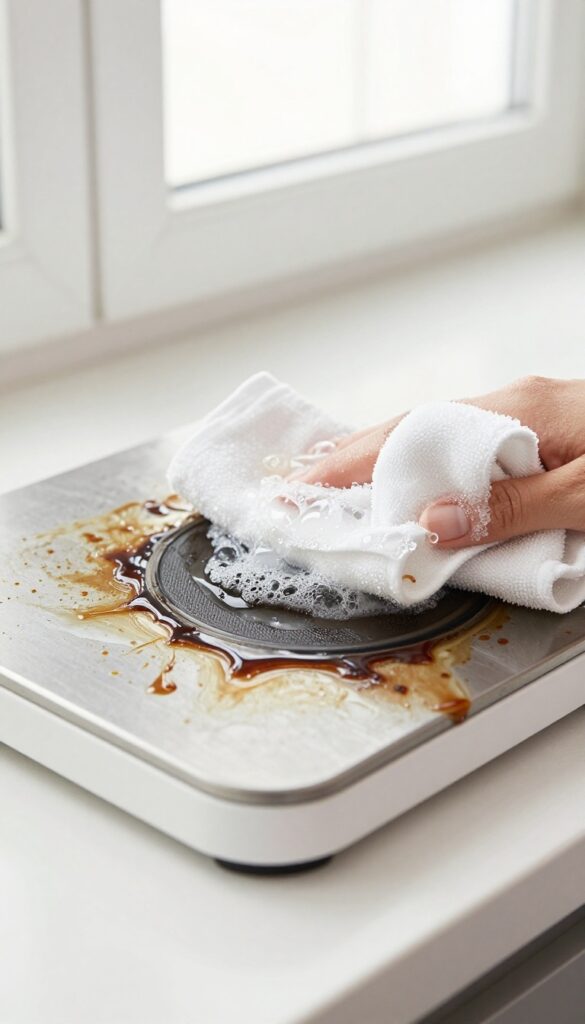
The warming plate on your coffee maker takes a beating from spills and splatters. Over time, burnt-on coffee creates a sticky, dark residue that can smell stale and even affect the taste of your next cup. Vinegar cuts through that grime effortlessly, leaving the surface clean and shiny.
A quick wipe with vinegar does more than just improve looks—it prevents buildup from baking on further during future use. This simple step takes less than a minute and can be done as part of your regular cleaning routine. Always follow with a damp cloth to remove any vinegar residue.
Why The Warming Plate Gets So Grimy
Every time a drop of coffee spills onto the hot plate, it instantly caramelizes and hardens. Over weeks, these layers build into a stubborn crust that's tough to scrub off. Vinegar's acidity breaks down those burnt sugars and oils, making cleanup a breeze.
The Right Way To Wipe
Let the warming plate cool completely first. Dip a soft cloth in undiluted white vinegar and wring it out so it's damp, not dripping. Gently wipe the entire surface, focusing on any dark spots.
The vinegar will start dissolving the residue on contact.
Rinsing Is Non-negotiable
After wiping with vinegar, go over the plate with a clean, damp cloth to remove any lingering vinegar. This prevents a sour smell the next time you brew. Dry with a soft towel to avoid water spots.
7. Use Vinegar to Clean the Water Reservoir
The water reservoir is where mineral deposits love to hide. If yours is removable, you're in luck—it's easy to give it a thorough soak. For fixed reservoirs, you'll need a slightly different approach, but it's just as effective.
A clean reservoir means every drop of water that goes into your brew is fresh and free of scale. Vinegar breaks down those stubborn deposits without scrubbing. Here's how to tackle both types.
For Removable Reservoirs
Take the reservoir off and fill it with a 50/50 mix of white vinegar and water. Let it soak for at least 30 minutes—longer if you see heavy scaling. Then scrub gently with a bottle brush, rinse thoroughly with fresh water, and let it air dry.
For Fixed Reservoirs
If your reservoir is built-in, fill it with the same vinegar solution. Run a brew cycle without coffee grounds, then let the machine sit for 30 minutes. Finish by running two or three cycles of plain water to rinse away any vinegar taste.
Don't Forget The Lid
The reservoir lid often gets missed, but it can trap coffee oils and mold. Wipe it down with a vinegar-soaked cloth or soak it if it's removable. Rinse well and dry before reattaching.
8. Descale the Internal Pipes with a Vinegar Soak
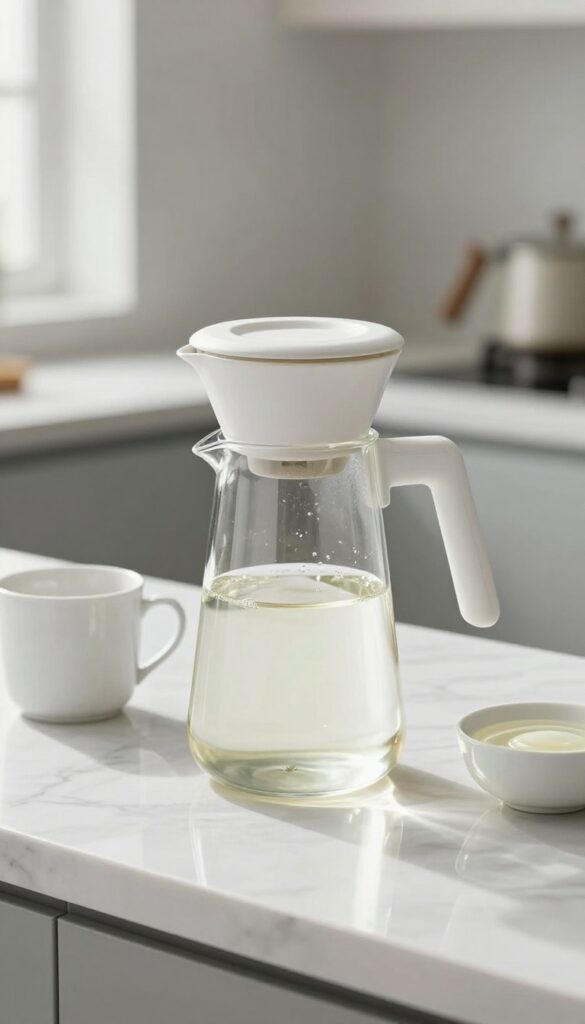
Running a vinegar cycle is a good start, but letting the solution sit inside the machine takes descaling to the next level. The internal pipes and heating element are where stubborn scale really clings. A longer soak gives the vinegar time to dissolve those deposits completely.
After you've run a full brew cycle with a vinegar-water mixture (typically a 1: 1 ratio), don't just empty the carafe and rinse. Instead, let the vinegar solution remain in the reservoir and internal tubing for 30 to 60 minutes. This extended contact breaks down mineral buildup that a quick cycle might miss.
For heavily scaled machines, you can even let it soak overnight. Just make sure to follow up with several fresh water cycles to remove any lingering vinegar taste.
Why A Soak Works Better
A simple cycle passes vinegar through quickly, but scale needs time to soften. A soak allows the acetic acid to penetrate thick layers of calcium and lime. This is especially effective for machines with complex internal pathways, like programmable drip models or single-serve pod brewers.
How To Do A Vinegar Soak Safely
Mix equal parts white vinegar and water, then fill the reservoir. Run a brew cycle until half the solution has passed through, then turn off the machine. Let it sit for 30–60 minutes.
After soaking, resume the cycle to push the rest through. Finish with two or three cycles of fresh water.
When To Repeat The Soak
If your coffee maker hasn't been descaled in months, one soak might not be enough. Check for visible scale in the carafe or on the heating plate. If you still see flakes or your brew is slow, repeat the soak process.
Regular maintenance every 1–3 months prevents heavy buildup.
9. Rinse Thoroughly with Fresh Water Cycles
After you've let the vinegar solution work its magic, don't rush to brew your next cup. That lingering vinegar taste or smell can ruin an otherwise perfect coffee. The key is to flush out every trace of vinegar with plain water cycles.
Skipping the rinse step is a common mistake. Even a faint vinegar residue can alter coffee flavor and leave a sharp aftertaste. By running multiple water-only cycles, you ensure your coffee maker is completely free of any cleaning solution, so your next brew tastes clean and fresh.
Why Two Cycles Are Better Than One
One water cycle often isn't enough to remove all vinegar residue, especially if your machine has a complex water path. Running two full cycles gives the water time to reach every nook and cranny, flushing out any remaining solution from the reservoir, tubing, and heating element.
How To Run A Proper Rinse Cycle
Fill the water reservoir with fresh, cold water to the max line. Start a brew cycle without coffee grounds. Once it finishes, discard the water in the carafe.
Repeat the process with a second full reservoir. For extra assurance, you can run a third cycle if you still detect any vinegar smell.
Check For Lingering Odors
After the final rinse, open the lid and sniff the water reservoir and filter basket. If you catch even a hint of vinegar, run another cycle. You can also wipe down the carafe and lid with a damp cloth to remove any residual scent.
Your coffee maker should smell neutral before you brew.
10. Tackle Stubborn Mineral Deposits with a Vinegar Paste
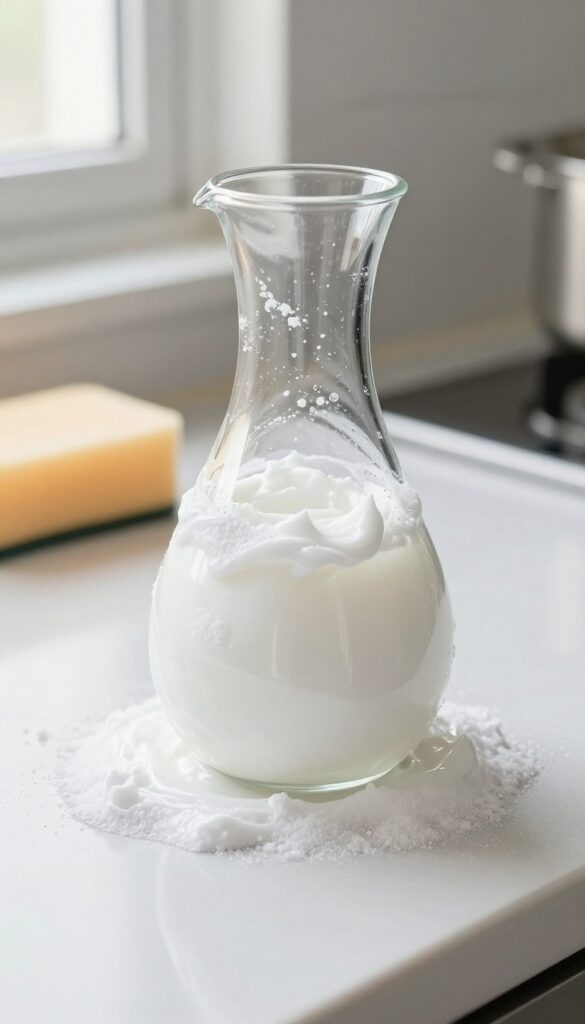
Sometimes a simple vinegar rinse isn't enough to break through thick, crusty mineral deposits. That's where a vinegar paste comes in. By mixing vinegar with baking soda, you create a thick, abrasive paste that clings to tough spots and works on contact.
This method is perfect for the carafe, warming plate, or any area where buildup has hardened.
To make the paste, combine equal parts white vinegar and baking soda in a small bowl. Stir until it forms a spreadable consistency—add more baking soda if it's too runny. Apply the paste directly to the mineral deposits using a sponge or your fingers (wear gloves if you prefer).
Let it sit for 15–20 minutes so the vinegar can dissolve the minerals while the baking soda gently scrubs. After the wait, scrub the area with a non-abrasive sponge or brush. Rinse thoroughly with water and dry with a soft cloth.
For extra-stubborn spots, you can let the paste sit longer or repeat the process. This method is especially effective on glass carafes and stainless steel warming plates, restoring their shine without scratching.
Why A Paste Works Better
Liquid vinegar runs off vertical surfaces and evaporates quickly, limiting its contact time with deposits. A paste stays put, allowing the acetic acid to work longer on the scale. The baking soda adds mild abrasion to physically lift the grime without damaging the surface.
Best Spots To Use The Paste
Focus on areas where buildup is thickest: the bottom of the glass carafe, the warming plate, and around the water level markings. Avoid using the paste on rubber seals or plastic parts with cracks, as prolonged contact could cause damage. Stick to glass, ceramic, and metal surfaces.
Rinsing And Final Touch
After scrubbing, rinse the area with warm water to remove all paste residue. For the carafe, fill it with water and swish it around a few times. Wipe the warming plate with a damp cloth.
Dry everything completely before using the coffee maker again to prevent any leftover vinegar smell.
11. Clean the Spray Head and Shower Screen
The spray head and shower screen are often overlooked, but they play a big role in how evenly your coffee gets saturated. When these parts get clogged with mineral deposits, water can't flow properly, leading to weak or uneven extraction. A simple vinegar scrub can restore them in minutes.
Why It Matters
If you notice your coffee tasting off or the brew cycle taking longer than usual, a clogged spray head could be the culprit. Mineral buildup restricts water flow, which means some coffee grounds get more water than others. This leads to inconsistent flavor and wasted coffee.
Cleaning this part ensures every brew starts with balanced water distribution.
How To Clean
First, remove the spray head or shower screen if possible. Many machines have a snap-off or screw-off design. Dip a soft toothbrush in undiluted white vinegar and gently scrub the holes and surface.
Focus on any visible white or tan deposits. Rinse thoroughly with water before reattaching. For fixed spray heads, use a brush to scrub in place while the machine is off.
When To Do It
Aim to clean the spray head every time you descale your coffee maker. If you live in a hard water area, check it monthly. A quick visual inspection—look for any crusty buildup around the holes—will tell you if it's time.
Regular cleaning keeps the water flowing freely and your coffee tasting fresh.
12. Freshen the Coffee Maker's Exterior with Vinegar
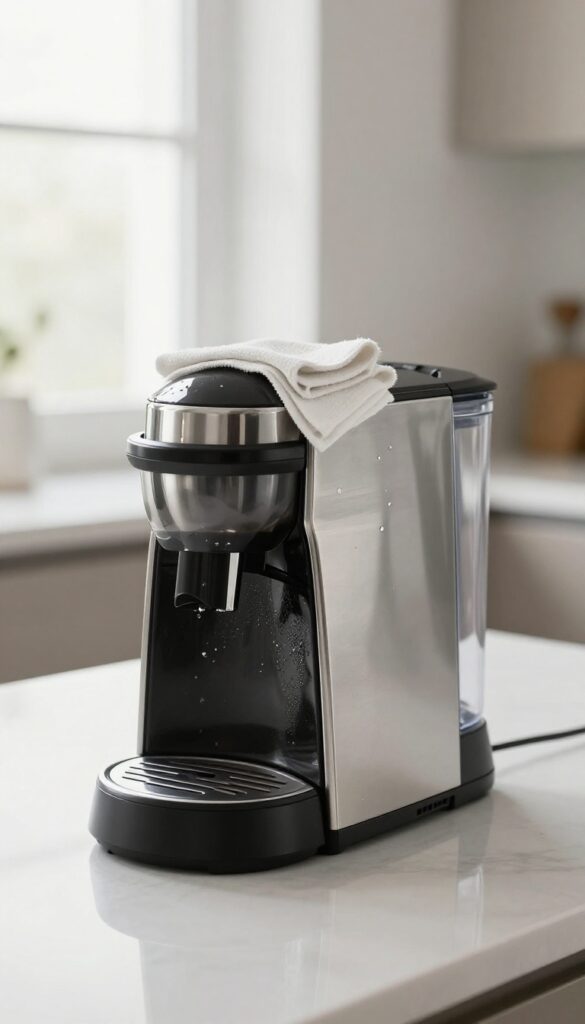
Your coffee maker's exterior takes a daily beating from coffee splatters, fingerprints, and dust. While the inside gets all the attention, the outside deserves some love too. A quick wipe with vinegar not only removes sticky residue but also leaves a streak-free shine without harsh chemicals.
Don't let a grimy exterior ruin the look of your clean machine. A simple vinegar solution can tackle everyday messes and restore that like-new appearance. Here's how to do it right.
The Right Way To Wipe
Mix equal parts white vinegar and water in a bowl. Dip a soft cloth or microfiber towel into the solution and wring it out well—you want it damp, not dripping. Gently wipe down all exterior surfaces, including the top, sides, and front.
For stubborn spots, let the cloth sit on the area for a minute before wiping.
Avoid These Common Mistakes
Never spray vinegar directly onto the coffee maker, especially near vents or buttons. Liquid can seep inside and damage electronics. Always apply the solution to the cloth first.
Also, skip abrasive sponges or paper towels that can scratch the finish. Stick with soft cloths for best results.
Finishing Touches For A Streak-free Shine
After wiping with vinegar, go over the surfaces with a dry microfiber cloth to buff away any streaks. Pay extra attention to the water reservoir lid and drip tray area where fingerprints collect. Your coffee maker will look as good as it works.
13. Use Vinegar to Clean a Single-Serve Machine
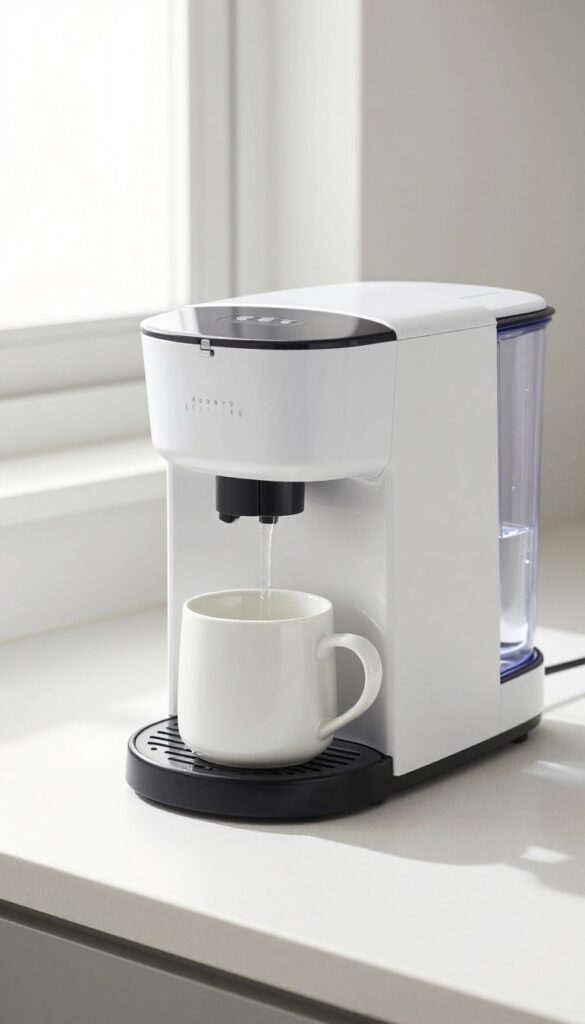
Single-serve coffee makers like Keurig or Nespresso are convenient, but they need regular descaling to keep them working well. Mineral buildup can clog the internal tubing and affect water flow. Vinegar is a simple, effective way to flush out those deposits without taking the machine apart.
Running a vinegar cycle through a pod machine is straightforward. Start by filling the water reservoir with equal parts white vinegar and water. Place a large mug on the drip tray and run a brew cycle without a pod.
Repeat until the reservoir is empty. Let the machine sit for 30 minutes to allow the vinegar to break down scale inside the heating element and lines. Then, fill the reservoir with fresh water and run several brew cycles to rinse thoroughly.
You may need to repeat the rinse until you no longer smell vinegar. This process restores flow and ensures your coffee tastes clean.
Why Pod Machines Need Vinegar Cleaning
Single-serve machines heat water quickly, which can accelerate mineral buildup. Over time, scale restricts water flow, leading to slower brewing and weaker coffee. Vinegar dissolves calcium and lime deposits, keeping the internal components clear.
Regular cleaning also prevents clogs that can cause the machine to stop working.
Step-by-step Vinegar Cycle
Mix equal parts white vinegar and water in the reservoir. Run a brew cycle without a pod, discarding the hot liquid. Repeat until the reservoir is empty.
Let the machine sit for 30 minutes. Then, fill with fresh water and run multiple cycles to rinse. For stubborn buildup, use full-strength vinegar instead of a 50/50 mix.
How Often To Clean
Descaling frequency depends on water hardness and usage. For most households, a vinegar cycle every 3 months is enough. If you notice slow brewing or a change in taste, clean sooner.
Some machines have a descaling indicator light—use that as your cue.
14. Schedule Regular Deep Cleans Every Month
Consistency is key when it comes to keeping your coffee maker in top shape. Setting a monthly deep clean with vinegar prevents mineral scale from building up and ensures every cup tastes fresh. Think of it as a routine tune-up for your machine.
Monthly descaling with vinegar is the single most effective habit you can adopt. It removes limescale, coffee oils, and any lingering residues that daily rinses miss. A clean machine also heats water more efficiently, which means better extraction and richer flavor.
Pick A Date And Stick To It
Choose a specific day each month—like the first Sunday—and set a reminder on your phone. Consistency makes it a no-brainer habit. If you use your coffee maker heavily, consider twice-monthly descaling instead.
The One-hour Vinegar Soak Method
Fill the reservoir with equal parts white vinegar and water, then run a full brew cycle without coffee. Let the solution sit in the carafe for 30 minutes, then run another cycle. Finish with two cycles of plain water to rinse thoroughly.
Track Your Machine's Performance
Pay attention to brewing time and taste. If your coffee starts tasting bitter or the brew cycle takes longer than usual, it's time for an extra clean. Monthly maintenance catches problems early and extends your machine's lifespan.
15. Combine Vinegar with Other Natural Cleaners
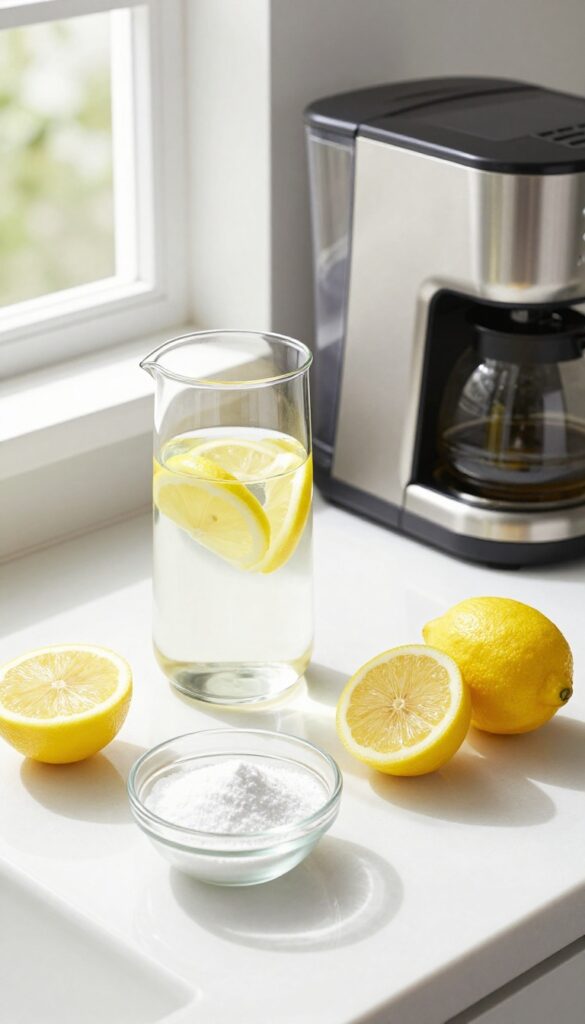
Vinegar is a powerhouse on its own, but pairing it with other natural cleaners can take your descaling game to the next level. Different acids target different types of mineral buildup, so alternating or combining them ensures a more thorough clean. Lemon juice and citric acid are two excellent partners that work well with vinegar without introducing harsh chemicals.
Why Mix Acids?
Not all mineral deposits are the same. Calcium carbonate scale responds well to acetic acid (vinegar), but stubborn limescale often needs a stronger acid like citric or ascorbic. By alternating vinegar with lemon juice or citric acid, you hit scale from multiple angles, leaving your coffee maker spotless.
Plus, lemon juice leaves a fresh scent that masks vinegar's odor.
How To Alternate Cycles
Start with a standard vinegar descaling cycle (1 part vinegar to 2 parts water). After rinsing, run a cycle with lemon juice (equal parts lemon juice and water) or a citric acid solution (1 tablespoon citric acid per 32 ounces of water). Finish with two plain water cycles to remove any residue.
This method is safe for most coffee makers, but check your manual first.
Safety And Precautions
Never mix vinegar and lemon juice directly in the reservoir—they can react and create a mess. Always run separate cycles. Also, avoid using this combo on aluminum parts, as acids can corrode the metal.
Stick to plastic, glass, or stainless steel components. If your machine has a charcoal filter, remove it before cleaning.
FAQ
How often should I clean my coffee maker with vinegar?
For best results, descale every 1–3 months depending on water hardness and usage. Monthly cleaning is ideal for heavy use.
Can I use apple cider vinegar instead of white vinegar?
White vinegar is recommended because it's clear and won't stain. Apple cider vinegar can work but may leave a slight residue or odor.
Will vinegar damage my coffee maker?
No, vinegar is safe for most coffee makers when used correctly. Always rinse thoroughly afterward to prevent any acidic residue.
How do I get rid of the vinegar smell after cleaning?
Run two or three cycles with fresh water. Adding a slice of lemon to the water can also help neutralize the odor.
Can I clean a Keurig with vinegar?
Yes, vinegar is effective for Keurig machines. Run a vinegar solution through the water reservoir, then several rinse cycles.
Conclusion
Keeping your coffee maker clean with vinegar is simple, affordable, and effective. Regular descaling not only improves the taste of your coffee but also extends the life of your machine. By following these 15 tips, you'll enjoy fresh, great-tasting brews every morning.
Make vinegar cleaning a regular part of your kitchen routine. Your coffee maker will thank you, and so will your taste buds. Start with one tip today and build from there—your perfect cup awaits.