25 Kitchen Cleaning Supplies Every Busy Home Should Keep
Your kitchen works hard, but a cluttered caddy of mismatched sponges and half-empty bottles won't cut it. Busy homes need a streamlined set of cleaning supplies that handle everything from greasy stovetops to crusted baking dishes without extra effort.
The right tools save time, money, and sanity. This list covers 25 essentials—from all-purpose sprays to rubber gloves—that keep your kitchen sparkling with minimal fuss.
No fluff, just practical picks that actually earn their spot under your sink.
1. All-Purpose Spray Cleaner
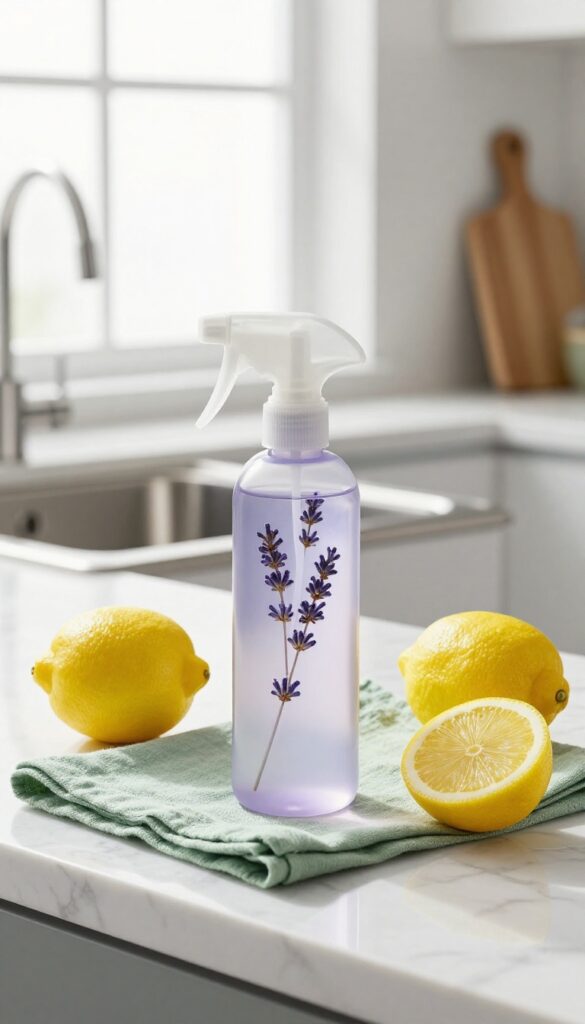
Every busy kitchen needs a reliable all-purpose cleaner that can handle multiple surfaces without requiring a cabinet full of specialized products. A good all-purpose spray cuts through grease on stovetops, wipes down countertops, and freshens up cabinet fronts—all in one go. The key is choosing one that's effective but gentle enough for daily use.
An all-purpose spray cleaner is the workhorse of any kitchen cleaning routine. Look for a formula that balances grease-cutting power with a non-toxic profile, especially if you have kids or pets. Many brands now offer concentrated options that you dilute at home, which saves money and reduces plastic waste.
Keep a bottle within arm's reach of your main prep area so you can quickly spray and wipe as you cook.
What To Look For
When shopping for an all-purpose cleaner, check that it's safe for sealed stone, stainless steel, and laminate. Avoid harsh chemicals like bleach or ammonia if you want a versatile daily cleaner. A pleasant, non-overpowering scent is a bonus—citrus or lavender can make cleaning feel less like a chore.
Best Uses
Use your all-purpose spray on countertops after meal prep, on stovetops to dissolve splattered grease, and on the exterior of appliances to remove fingerprints. It's also great for quick wipe-downs of cabinet doors and handles. For tough, baked-on messes, let the spray sit for a minute before wiping.
Storage Tip
Store your all-purpose spray under the sink or in a caddy that you can grab easily. Avoid leaving it in direct sunlight or near heat sources, as some ingredients can degrade. Label the bottle clearly if you decant into a reusable sprayer.
2. Microfiber Cloths
Microfiber cloths are the unsung heroes of kitchen cleaning. These reusable, lint-free wonders pick up dust, grease, and grime without leaving streaks or scratches. Keep a stack of them in a drawer or caddy for quick wipe-downs after every meal prep.
Microfiber cloths outperform paper towels and sponges in nearly every way. They trap dirt in their fibers, require only water for most jobs, and can be washed hundreds of times. A good set of 10–12 cloths in different colors helps you separate tasks—one for counters, another for glass, and a third for floors.
Why Microfiber Wins
Microfiber is made of ultra-fine polyester and polyamide fibers that create a static charge, attracting dust like a magnet. Unlike cotton cloths, they don't push dirt around—they lift and hold it. Plus, they dry quickly, resisting mildew and odors.
How To Use And Care For Them
Use a dry microfiber cloth for dusting and a damp one for wiping surfaces. For stubborn grease, a little dish soap works wonders. Wash them separately in warm water with mild detergent—never use fabric softener, which clogs the fibers.
Air dry or tumble on low heat.
Where To Keep Them
Store a few folded cloths in a drawer near the sink or hang a small hook inside a cabinet door for easy access. Keep a dedicated set under the sink for floor spills. Having them visible and within arm's reach encourages quick cleanups.
3. Dish Soap
Not all dish soaps are created equal, especially when you're short on time. A high-quality, grease-cutting formula can mean the difference between scrubbing for five minutes versus thirty seconds. Look for a concentrated option that works well with just a drop—it'll last longer and clean better.
Plus, the right dish soap doubles as a base for DIY sprays and spot cleaners, making it a true multitasker.
Dish soap is the MVP of kitchen cleaning. It tackles greasy pans, stuck-on food, and even works as a gentle hand wash. For busy homes, a few smart choices can make it even more effective.
Choose A Grease-cutting Formula
Not all dish soaps handle grease equally. Look for brands that specifically mention grease-fighting power. Concentrated formulas are best because a tiny amount creates plenty of suds.
This means one bottle lasts longer and cleans more dishes per drop.
Use It For More Than Dishes
Dish soap is a great base for homemade cleaners. Mix a few drops with water in a spray bottle for an all-purpose cleaner that cuts through countertop grime. Add baking soda for a paste that scrubs sinks and stovetops without scratching.
Keep A Sink-side Dispenser
A pump dispenser next to the sink makes it easy to get just the right amount. No more fumbling with a slippery bottle. Refill it from a bulk container to save money and reduce plastic waste.
4. Scrub Sponges with Scratch-Free Side
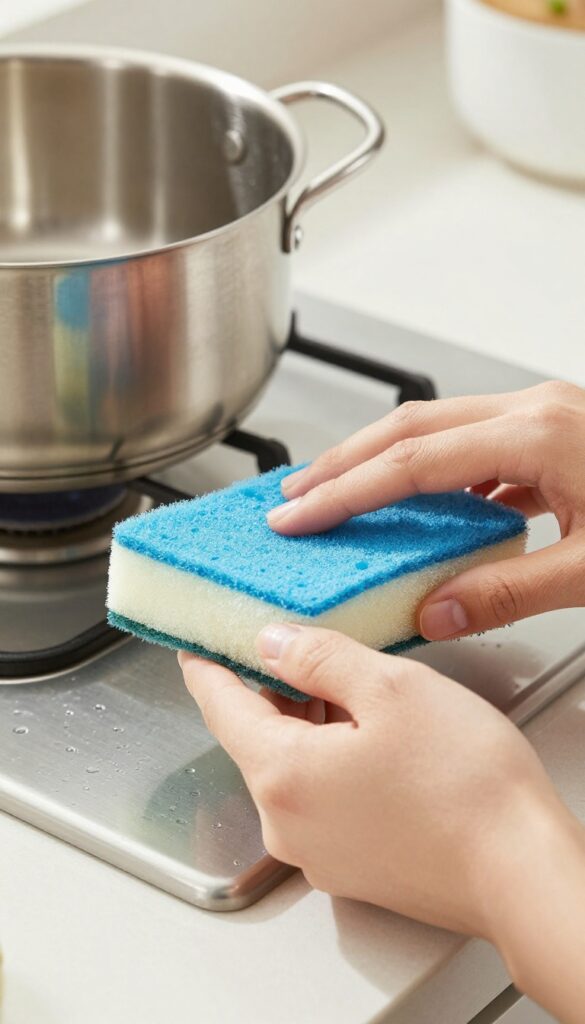
Tackling baked-on lasagna or a scorched saucepan usually means pulling out the heavy-duty scrubber—and hoping you don't ruin your cookware. That's where a two-sided sponge with a gentle yet effective abrasive side shines. It lifts stuck-on food without scratching nonstick coatings, ceramic, or stainless steel surfaces.
For busy households, this sponge is a lifesaver: it cuts down on soaking time and keeps your pans looking new.
Why Scratch-free Matters
Nonstick pans are expensive, and once scratched, their coating can flake into your food. A scrub sponge with a non-scratch abrasive side lets you apply real elbow grease without fear. It also works on delicate surfaces like glass stovetops and enameled cast iron, so you don't need a separate sponge for each material.
What To Look For
Choose sponges with a dense, fine-grit scrub layer—often made from polyester or melamine foam. Avoid anything labeled "heavy duty" or "metal" if you want to protect nonstick. Look for sponges that hold their shape after repeated use and resist odors better than standard cellulose sponges.
How To Make Them Last
Rinse sponges thoroughly after each use and squeeze out excess water. Store them in a dry holder with drainage, not sitting in a puddle. Microwave damp sponges for one minute to kill bacteria (only if they're free of metal scrubbers).
Replace every two weeks or sooner if they start to smell.
5. Baking Soda
You probably already have a box of baking soda tucked away in your pantry, but it deserves a permanent spot in your cleaning caddy. This humble powder is a gentle abrasive that deodorizes and scrubs away stains without scratching surfaces. It’s cheap, non-toxic, and versatile enough to tackle sinks, ovens, and stubborn odors.
Baking soda is a powerhouse for busy kitchens because it works on multiple problems at once. Sprinkle it on a damp sponge to scrub away dried food from countertops, or make a paste with water to tackle baked-on grease in oven interiors. It neutralizes smells naturally, so you can leave an open box in the fridge or sprinkle it in the trash can.
For tough stains on stainless steel sinks, a baking soda scrub followed by a vinegar rinse leaves them sparkling.
Deodorizing Fridge And Trash
Keep an open box of baking soda in your fridge to absorb odors without masking them. For trash cans, sprinkle a thin layer at the bottom before adding a new bag. This simple habit keeps your kitchen smelling fresh with zero effort.
Scrubbing Sinks And Cookware
Make a thick paste of baking soda and water, then apply it to your sink or stained pots. Let it sit for 10 minutes, then scrub gently with a sponge. It lifts coffee stains, tea residue, and food particles without scratching porcelain or stainless steel.
Oven Cleaning Made Easy
Sprinkle baking soda over greasy oven surfaces, spray with water until damp, and let it sit overnight. The next day, wipe away the grime with a damp cloth. This method avoids harsh fumes and is safe for self-cleaning ovens.
6. White Vinegar
White vinegar is a powerhouse cleaner that costs pennies per use. It cuts through grease, dissolves mineral deposits, and deodorizes naturally without harsh fumes. Keep a large bottle under your sink and you'll reach for it more often than you expect.
White vinegar is a natural disinfectant and descaler that works wonders on glass, coffee makers, and garbage disposals. Its acidity breaks down grime and hard water stains, making it a versatile go-to for busy kitchens.
Glass And Mirror Cleaner
Mix equal parts white vinegar and water in a spray bottle for a streak-free glass cleaner. Spray on windows, mirrors, and glass stove tops, then wipe with a microfiber cloth. No chemicals, no residue.
Descaling Coffee Makers And Kettles
Run a cycle of equal parts vinegar and water through your coffee maker or kettle to remove mineral buildup. Follow with two cycles of plain water to rinse. Your morning brew will taste better.
Garbage Disposal Freshener
Pour half a cup of white vinegar down the disposal, let it sit for 10 minutes, then flush with hot water. It neutralizes odors and helps break down food particles without damaging the blades.
7. Glass Cleaner
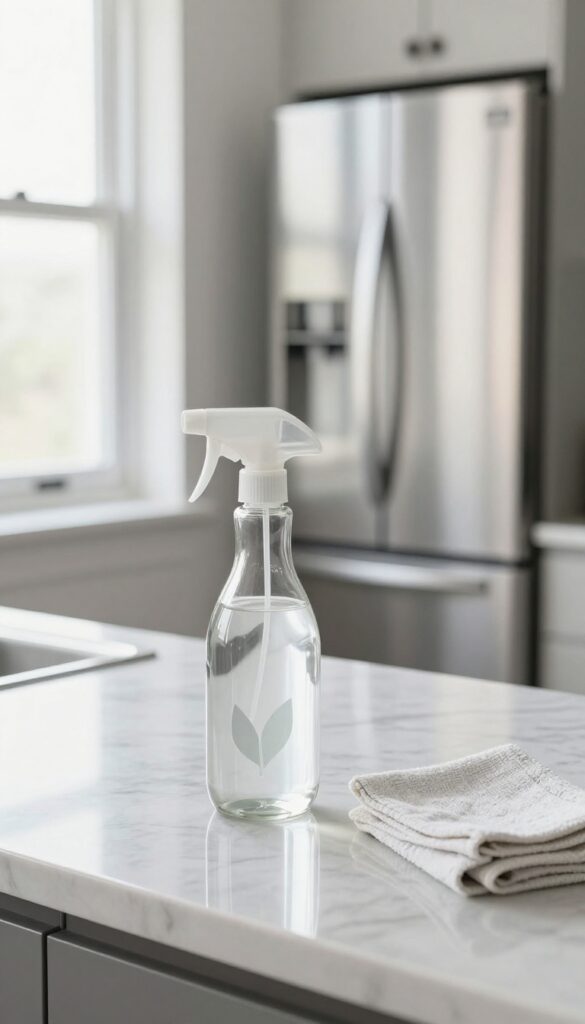
Windows, glass cooktops, and stainless steel appliances all demand a cleaner that doesn't leave streaks or residue. A dedicated glass spray cuts through grease, fingerprints, and water spots fast, making your kitchen look polished with minimal effort. Busy homes can't afford to wipe twice—this is the one-and-done solution.
A good glass cleaner isn't just for windows. It's a multitasker that handles glass stovetops, microwave doors, oven fronts, and stainless steel surfaces. The key is a formula that evaporates quickly without smearing.
Ammonia-free options are safer for food-prep areas, and a microfiber cloth (or newspaper) takes it to the next level. Keep a bottle under the sink and grab it whenever you need a quick shine.
Streak-free Windows And Doors
Spray directly onto glass, then wipe with a dry microfiber cloth in a zigzag pattern. This prevents streaks and catches every bit of grime. For tough spots like bird droppings or sticky residue, let the cleaner sit for 30 seconds before wiping.
Glass Cooktop Care
After cooking, let the cooktop cool, then spray lightly and wipe with a soft cloth. Avoid soaking the surface—excess liquid can seep into edges. A dedicated glass cleaner keeps the cooktop looking new and prevents baked-on stains from forming.
Stainless Steel Shine
Surprisingly, glass cleaner works wonders on stainless steel appliances. Spray onto a cloth (not directly on the surface) and wipe in the direction of the grain. It removes fingerprints and smudges without leaving a greasy residue.
Finish with a dry buff for extra luster.
8. Stainless Steel Cleaner & Polish
Stainless steel appliances look gorgeous when they're clean, but they show every fingerprint, smudge, and water spot. A dedicated stainless steel cleaner and polish is the secret to keeping that showroom shine without spending all day buffing. A small bottle goes a long way, and the right formula protects the surface from future marks.
Why Dedicated Cleaner Beats Diy
You might be tempted to use vinegar or glass cleaner on your fridge or dishwasher. Don't. Those can strip the protective coating and leave streaks or even cause discoloration over time.
A quality stainless steel cleaner is formulated to clean, polish, and add a thin protective layer that repels fingerprints and dust.
How To Use It For Best Results
Spray a small amount onto a microfiber cloth—never directly on the appliance. Wipe in the direction of the grain (the subtle lines in the metal) to avoid streaks. Buff gently with a dry part of the cloth for a mirror-like finish.
Do this once a week, and your kitchen will look professionally maintained.
What To Look For In A Product
Choose a cleaner that's non-toxic, streak-free, and safe for food surfaces. Avoid aerosol sprays that can overspray onto countertops. A pump spray or squeeze bottle gives you better control.
Some products also work on other metals like chrome or copper, adding versatility.
9. Dishwasher Detergent
Your dishwasher works hard, but it's only as good as the detergent you feed it. The wrong formula can leave dishes cloudy, spotty, or still greasy. A quality detergent tackles stuck-on food, fights hard water spots, and leaves glassware sparkling without extra rinsing.
Choosing the right dishwasher detergent makes a noticeable difference in your kitchen routine. Pods offer convenience and pre-measured doses, while powders give you control over the amount and often cost less. Look for options with enzymes that break down protein and starch, and a rinse aid built in or added separately to prevent water spots.
Avoid detergents with phosphates if you're eco-conscious, and store them in a cool, dry place to maintain effectiveness.
Pods Vs. Powder: Which Wins?
Pods are the hands-down favorite for busy households—just toss one in and go. They're pre-measured, dissolve quickly, and often include rinse aid and glass protection. Powder gives you flexibility to adjust the amount for light or heavy loads, and it's usually cheaper per load.
The downside? Powder can clump in humid conditions and may not dissolve fully in shorter cycles. For most busy homes, pods are the hassle-free choice.
Key Features To Look For
Enzymes like protease and amylase are your best friends—they break down food residues without harsh scrubbing. A built-in rinse aid helps water sheet off dishes, reducing spots and improving drying. If you have hard water, choose a detergent with water softeners or add a separate rinse aid.
Also consider fragrance-free options if you're sensitive to scents.
Storage Tips For Longevity
Keep detergent in its original container, sealed tight, and stored in a cool, dry place—not under the sink where humidity can sneak in. Pods can stick together if exposed to moisture, and powder can turn into a hard block. A pantry shelf or a cabinet away from the dishwasher's steam works perfectly.
10. Degreaser
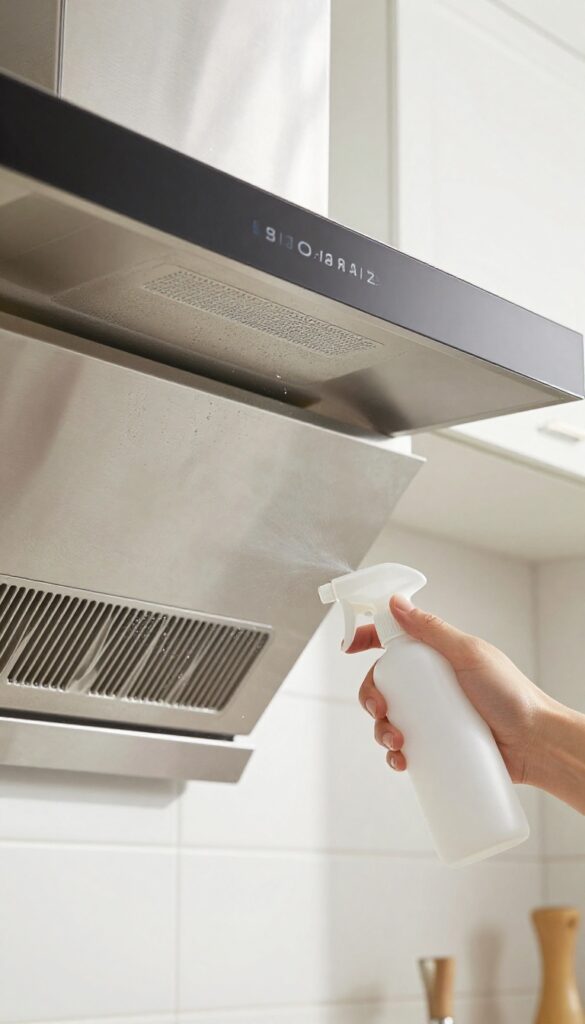
A good degreaser is the heavy lifter of kitchen cleaning. It tackles the stubborn, baked-on grease that builds up on range hoods, stovetops, and oven doors. With a powerful spray, you can cut through grime without harsh scrubbing, saving time and elbow grease.
Degreasers are formulated to break down fat and oil molecules, making them essential for high-heat cooking areas. Look for one that's strong enough for commercial kitchens but safe for home use. Spray it on, let it sit for a minute, then wipe away—no scrubbing required.
Where to Use It
Focus on the greasiest spots: range hood filters, stovetop burners, oven doors, and backsplashes near the cooktop. It also works on microwave interiors and countertops that have accumulated cooking residue.
What To Look For
Choose a degreaser with a non-toxic formula if you prefer eco-friendly options. Some come in trigger sprays for easy application, while others are concentrated and need dilution. Avoid harsh fumes by picking one with low VOCs.
Pro Tips
Always test on a small area first, especially on painted or delicate surfaces. For extra stubborn grease, let the spray sit for 5 minutes. Wipe with a microfiber cloth for a streak-free finish.
11. Scrub Brushes
Not every mess wipes away with a sponge. Stuck-on grime in grout lines, sink corners, and around stovetop knobs needs something with more backbone. A stiff-bristled scrub brush tackles those tough spots without making you scrub until your hand cramps.
Look for one with a comfortable, non-slip handle so you can apply real pressure without discomfort.
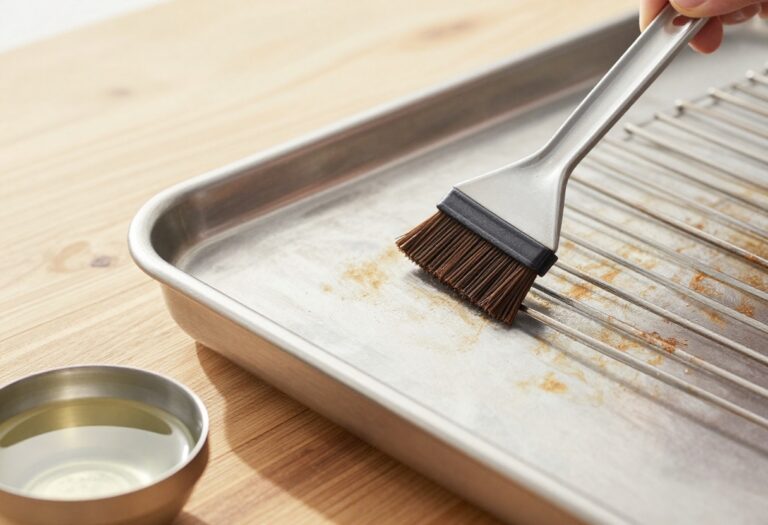
A dedicated scrub brush is a game-changer for deep cleaning. Unlike sponges that wear out quickly on rough surfaces, a quality brush lasts for months and reaches into crevices sponges can't. Use it for weekly grout scrubbing, cleaning the garbage disposal flange, or attacking baked-on residue inside oven racks.
Rinse it well after each use and hang it to dry to prevent bacteria buildup.
Bristle Types Matter
Choose nylon bristles for most kitchen surfaces—they're tough enough for grout and tile but won't scratch stainless steel or enamel. For extra-stubborn jobs like carbonized grease on cast iron, a brass-bristle brush works better, but reserve it for heavy-duty use only. Avoid steel wool brushes on nonstick cookware or ceramic tops.
Handle Design And Storage
Ergonomic handles with rubber grips reduce hand fatigue during prolonged scrubbing. Look for a brush with a hole in the handle so you can hang it on a hook under the sink or inside a cabinet door. This keeps it dry and accessible, extending its life and keeping your cleaning caddy organized.
Two-brush Strategy
Keep one brush dedicated to food-contact areas like the sink and another for non-food surfaces like the stovetop and floor grout. This prevents cross-contamination and ensures you always have a clean brush ready for dishes. Color-code them (e. g. , blue for sink, green for floors) to avoid mix-ups.
12. Rubber Gloves
Your hands take a beating during kitchen cleaning—hot water, harsh chemicals, and abrasive scrubbing can leave them dry, cracked, or worse. A sturdy pair of rubber gloves changes the game entirely. They protect your skin while giving you a better grip on slippery dishes and greasy pans, making every task feel safer and more efficient.
Plus, they let you use hotter water for better sanitation without discomfort.
Why Gloves Matter More Than You Think
Many people skip gloves because they feel clumsy or bulky, but modern designs are thin, flexible, and textured for dexterity. The real win is protection: dish soap strips natural oils, and degreasers can irritate skin over time. Gloves also prevent cuts from hidden sharp edges in sink water or broken glass.
Once you get used to them, you won't want to wash a single dish without them.
Choosing The Right Pair For Your Kitchen
Look for gloves with a cotton lining inside—they absorb sweat and make slipping them on and off easy. Thicker rubber (like 14-mil or more) lasts longer and resists punctures, while shorter cuffs are fine for quick rinses. For heavy-duty jobs, go with elbow-length gloves that keep water from running down your arms.
And always check the grip pattern: raised dots or diamond textures work best on wet surfaces.
Care Tips To Make Them Last
Rinse your gloves inside and out after each use, then hang them upside down to dry completely. Store them away from direct sunlight and heat sources, which can degrade the rubber. Replace them at the first sign of a tear or hole—even a tiny leak lets chemicals reach your skin.
A good pair can last months if you treat them right, saving you money and hassle.
13. Trash Bags (Strong, Leak-Proof)
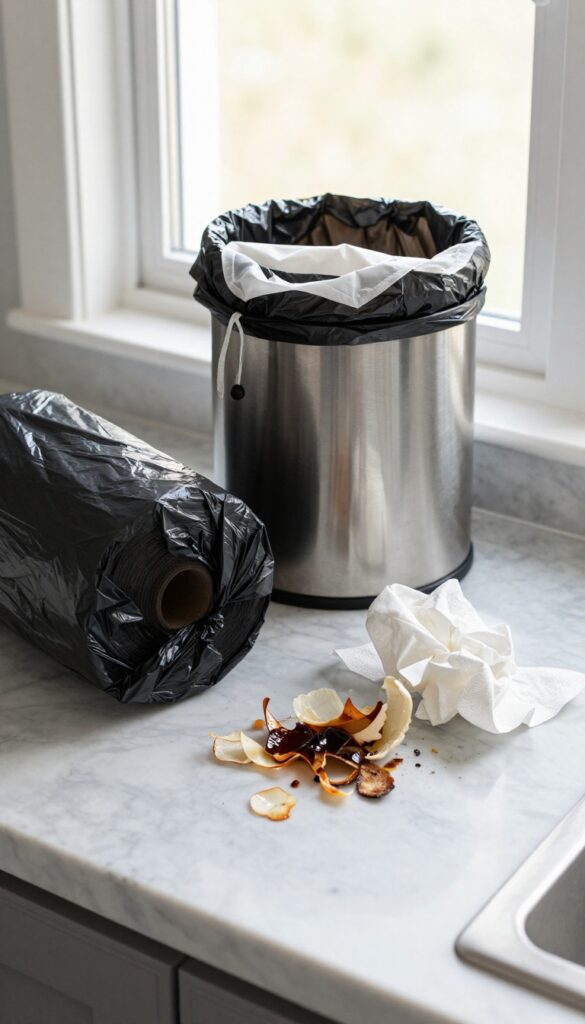
A trash bag that splits under a wet coffee ground or leaks tomato sauce onto your floor is worse than no bag at all. Busy kitchens generate messy, heavy waste—think vegetable peels, leftover soup, and greasy paper towels—so flimsy bags just create extra cleanup. Investing in strong, leak-proof trash bags means you can toss without worry and take out the trash without a second thought.
Heavy-duty trash bags are a kitchen essential that often gets overlooked. They handle food scraps and wet waste without tearing, and scented options help control odors between changes. Look for bags with a thickness of at least 1.
5 mils and reinforced seams to prevent leaks. Drawstring closures make tying and carrying easy, even when your hands are full.
Why Strength Matters
Kitchen trash is heavier and wetter than other household waste. A weak bag can rupture under the weight of a half-full can, spilling smelly contents onto your floor. Strong bags (2 mils or more) resist punctures from sharp items like broken glass or bones, and they hold up to moist trash without disintegrating.
This saves you from messy cleanups and keeps your kitchen more sanitary.
Leak-proof Technology
Leak-proof bags often feature a liquid-tight layer or a special bottom seal that prevents drips. Some brands use a double-layer construction or a reinforced gusset to stop leaks at the seams. For extra protection, choose bags with a leak-guard strip or a leak-proof guarantee.
This is especially useful for disposing of leftovers, expired dairy, or other wet waste that can pool at the bottom.
Scented Vs. Unscented
Scented trash bags can mask odors from food scraps, but some people find the fragrance overpowering or artificial. If you prefer unscented, look for odor-neutralizing bags that use activated charcoal or a baking soda layer. Alternatively, you can add a few drops of essential oil to a cotton ball and toss it in the can.
For busy homes, scented bags offer a quick fix to keep the kitchen smelling fresh between trash runs.
14. Paper Towels
Let's be real—paper towels are the unsung heroes of any busy kitchen. They handle everything from wiping up a coffee spill to drying your hands when the dish towel is already soaked. The key is choosing rolls that are both absorbent and strong, so you use less per mess and cut down on waste.
Paper towels are a staple for quick cleanups, but not all are created equal. Look for rolls labeled "select-a-size" so you can tear off just what you need, and opt for thicker, multi-ply sheets that can handle greasy stovetops without disintegrating. Brands like Bounty or Viva offer durability, but store brands can be just as good if you check the ply count.
Keep a roll near the stove for splatters and another by the sink for hand drying. A dedicated holder mounted under a cabinet keeps them accessible without taking up counter space. And when you're done, compost the used towels if they're free of harsh chemicals—it's a small step toward a greener kitchen.
What To Look For
Absorbency and strength are non-negotiable. Look for paper towels with a high ply count (2 or 3) and a textured surface that grabs liquid fast. Select-a-size sheets let you tear smaller pieces for minor spills, reducing waste.
Also consider unbleached or recycled options if you're eco-conscious.
Where To Store Them
Keep paper towels within arm's reach of your main work zones. Under-cabinet mounts save counter space and keep rolls clean. If you have a deep drawer, a horizontal roll holder works great.
Avoid storing them near the sink where they can get splashed—a damp roll is a useless roll.
How To Use Less
One paper towel can often handle multiple tasks. After wiping a spill, use the same sheet to dry your hands or wipe down a counter. For greasy messes, let the towel sit for a second to absorb before wiping—it'll soak up more oil with less scrubbing.
And always tear off only what you need.
15. Spray Bottles (Empty)
Refillable spray bottles are the unsung heroes of a streamlined cleaning routine. They let you mix your own solutions, dilute concentrates to save money, and avoid the clutter of single-use products. A few well-labeled bottles under the sink can replace a dozen branded sprays.
Why Empty Bottles Beat Pre-filled Ones
Pre-filled sprays lock you into one formula and often cost more per ounce. Empty bottles give you control—use a vinegar-water mix for windows, a diluted degreaser for stovetops, or a bleach solution for disinfecting. You can also adjust strength based on the mess.
Choosing The Right Bottle
Look for bottles with adjustable nozzles that switch from stream to mist. A 24-ounce size is versatile for most tasks. Clear bottles let you see the liquid level; opaque ones protect light-sensitive solutions like hydrogen peroxide.
Avoid cheap triggers that drip or jam.
Labeling Is Non-negotiable
A clear label prevents dangerous mix-ups—like mistaking bleach spray for window cleaner. Use a permanent marker or printable labels. Include the solution name and date mixed.
For safety, never reuse a bottle that held chemicals without thorough washing.
16. Lemon Juice
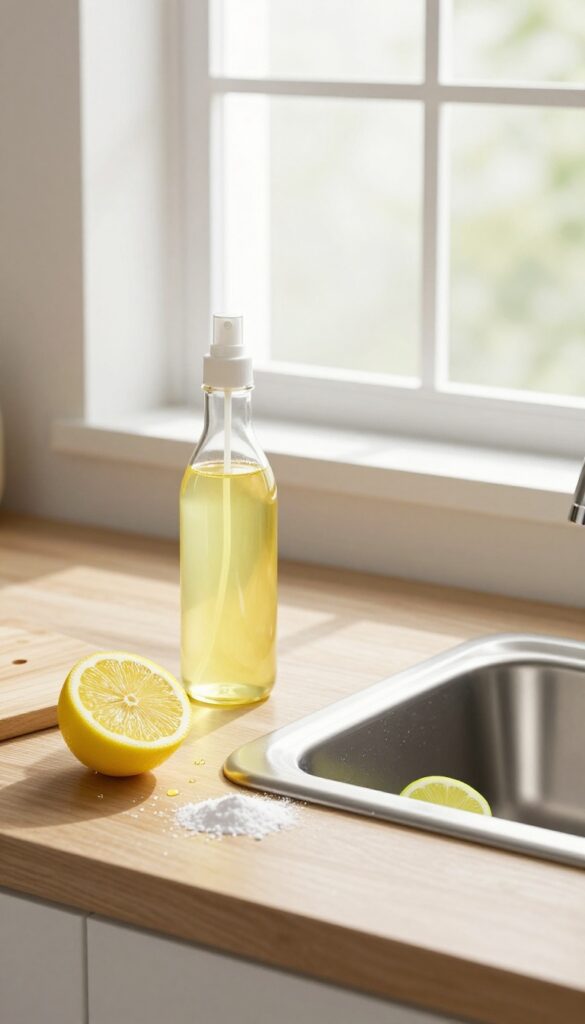
Lemons aren't just for lemonade. Their natural acidity cuts through grease and grime like a champ, leaving surfaces shiny and smelling fresh. Plus, it's cheap and non-toxic, so you can clean without worrying about harsh chemicals around food prep areas.
Degreaser For Stovetops And Counters
Mix equal parts lemon juice and water in a spray bottle. Spritz onto greasy stovetops or countertops, let sit for a minute, then wipe clean. The acid breaks down oil fast, and the citrus scent neutralizes cooking odors.
Brighten Cutting Boards And Sinks
Rub half a lemon directly onto wooden or plastic cutting boards to remove stains and odors. For stainless steel sinks, sprinkle baking soda on the surface, then scrub with a lemon half. Rinse well for a streak-free shine.
Microwave And Dishwasher Freshener
Place a bowl of water with lemon slices in the microwave and run for 3 minutes. The steam loosens stuck-on food and deodorizes. For the dishwasher, add a few tablespoons of lemon juice to the rinse cycle to remove hard water spots and lingering smells.
17. Oven Cleaner
Baked-on spills inside the oven can turn a quick wipe into a full-on scrubbing session. A dedicated oven cleaner—spray or foam—cuts through that crusty mess without requiring elbow grease. For busy homes, a non-toxic formula is a smart choice, especially if you cook often and want to avoid harsh fumes near your food.
Oven cleaners are formulated to tackle the toughest burnt-on residues. They save you from scrubbing for hours and help maintain your oven's performance. A good cleaner can also prevent smoke and odors from old spills during future cooking.
Why A Dedicated Cleaner Works Better
All-purpose sprays often can't handle the high-heat carbonized grime inside an oven. A specialized oven cleaner uses stronger degreasers or alkaline compounds that break down baked-on grease and food particles quickly. This means less scrubbing and better results.
Non-toxic Options For Peace Of Mind
Many conventional oven cleaners contain harsh chemicals like lye or ammonia that require ventilation and gloves. Non-toxic alternatives use plant-based surfactants or natural enzymes that are safer for your family and the environment. They may need a bit more soak time but work well on moderate buildup.
How To Use It Efficiently
For best results, spray or apply the foam evenly on cool surfaces (unless the label says otherwise). Let it sit for the recommended time—usually 15–30 minutes—then wipe away with a damp cloth. Avoid getting cleaner on heating elements or the oven door seal to prevent damage.
18. Garbage Disposal Cleaner (Pods or Tablets)
A stinky garbage disposal can make your whole kitchen smell funky, even if everything else is spotless. You could scrub with a brush and bleach, but who has time for that? Disposal cleaner pods or tablets are the low-effort solution—drop one in, run the water, and let it fizz away grime and odors.
These little tabs are formulated to break down food residue, grease, and bacteria that cause smells. They're much safer than pouring bleach or harsh chemicals down the drain, and they won't damage your disposal blades. Use them monthly to keep things fresh and prevent buildup that can lead to clogs.
How To Use Them Right
It's simple: drop a pod or tablet into the disposal, run warm water, and turn on the disposal for about 30 seconds. The fizzing action scrubs the blades and inner walls. Do this once a month, or more often if you cook a lot of smelly foods like fish or garlic.
What To Look For
Choose pods with natural enzymes or citrus oils for effective cleaning without harsh chemicals. Avoid anything with bleach or ammonia, which can damage rubber seals. Brands like Plink, Glisten, and Affresh are popular and reliable.
Storage And Shelf Life
Keep the container in a cool, dry place—moisture can cause pods to stick together or dissolve prematurely. Most tablets last up to two years, so stock up without worry.
19. Lint-Free Cloths (for Polishing)
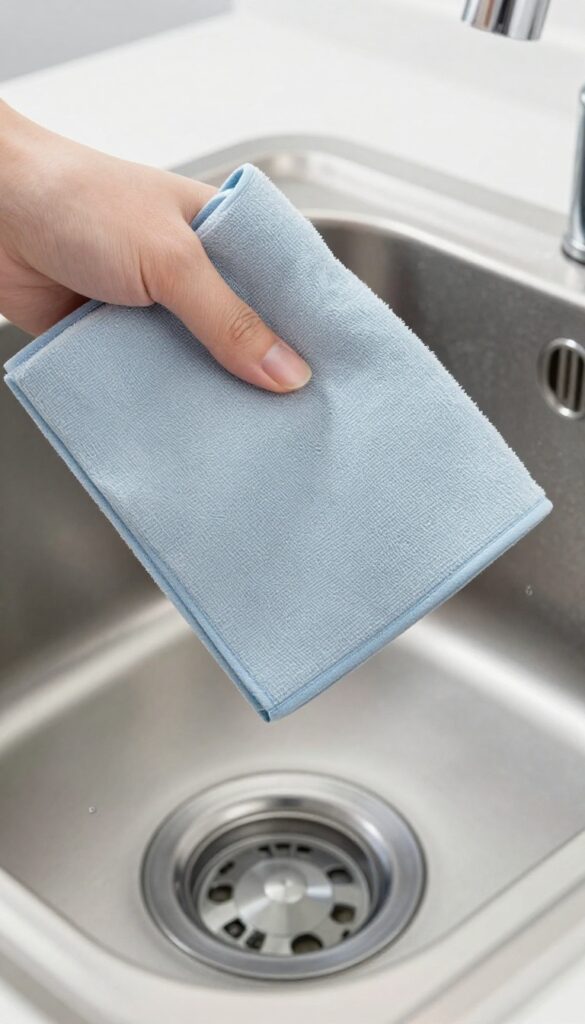
Not all cloths are created equal. When you're drying delicate wine glasses or buffing a stainless steel sink, the last thing you want is a trail of lint or fuzz. Lint-free cloths are the secret to a streak-free, professional-looking finish without the extra effort.
Microfiber is the gold standard here, but look for varieties labeled 'lint-free' or 'non-abrasive. ' They trap dust and moisture without shedding, so your glassware sparkles and your appliances stay smudge-free. Keep a stack dedicated to polishing only—don't use them for greasy messes or they'll lose their effectiveness.
Why Lint-free Matters
Ordinary towels leave behind fibers that cling to wet surfaces. Lint-free cloths are woven tightly to prevent shedding, making them ideal for glass, mirrors, and polished metal. They also dry faster and resist mildew better than cotton rags.
Best Materials To Look For
Microfiber is the most common choice, but you can also find bamboo or specialty non-woven cloths. Opt for a medium-weight weave—too thin and they won't absorb well; too thick and they may leave streaks. Wash them separately from lint-producing fabrics like terry cloth.
How To Keep Them In Top Shape
Wash lint-free cloths in warm water with mild detergent—no fabric softener, which clogs the fibers. Air dry or tumble dry on low. Replace them once they start to feel rough or lose absorbency.
A good set can last months with proper care.
20. Mop and Bucket (Kitchen-Specific)
A kitchen floor takes a beating—spills, crumbs, and sticky splatters happen daily. A dedicated mop and bucket set saves you from dragging the whole-house mop through grease and food debris. Keep one that stays under the sink and only comes out for kitchen duty.
A lightweight mop with a washable, machine-friendly head is ideal for quick wipe-ups. Pair it with a compact bucket that has a built-in wringer to avoid bending and twisting. This setup handles daily messes without the hassle of a full mopping routine.
Why A Kitchen-only Mop Matters
Using the same mop for bathrooms and kitchens spreads germs and grime. A kitchen-specific mop lets you use stronger degreasers without worrying about cross-contamination. It also stays cleaner longer since it's not picking up bathroom residue.
What To Look For
Choose a mop with a microfiber or cotton head that's removable and washable. A bucket with a spin or press wringer saves time and effort. Look for a compact size that fits in a cabinet or closet without taking over.
Quick Maintenance Tips
Rinse the mop head after each use and wash it weekly in hot water. Let it air dry completely to prevent mildew. Replace the head every few months or when it starts to smell or shed fibers.
21. Toothbrush (for Detail Cleaning)
You probably have an old toothbrush in your bathroom drawer right now. Before you toss it, give it a second life in the kitchen. Its small, stiff bristles make it perfect for digging into tight spots that sponges and cloths can't reach.
Detail cleaning doesn't have to be tedious. A dedicated toothbrush—or a few—lets you tackle grime buildup without harsh scrubbing pads that might scratch surfaces. Keep one near the sink for quick touch-ups, and you'll notice how much cleaner your kitchen feels overall.
Faucet Bases And Sink Edges
The area around your faucet base collects soap scum, hard water deposits, and gunk. A toothbrush gets right into the crevices where the faucet meets the countertop. Use a little baking soda paste for extra scrubbing power, then rinse clean.
Stove Knobs And Burner Grates
Stove knobs trap grease and crumbs in their ridges. Remove the knobs if possible, then scrub them with a damp toothbrush and dish soap. For burner grates, the bristles can dislodge burnt-on food from between the metal loops.
Tile Grout And Backsplash
Grout lines between kitchen backsplash tiles can darken over time with grease and moisture. A toothbrush dipped in a mixture of baking soda and hydrogen peroxide works wonders. Scrub in small circles, let it sit for a few minutes, then wipe away.
22. Cleaning Caddy
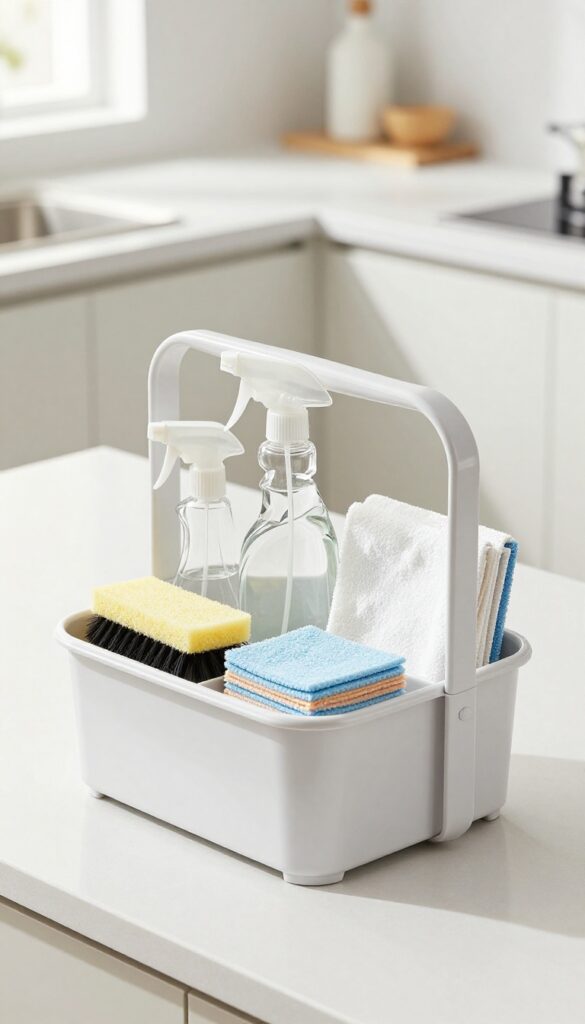
A cleaning caddy is the unsung hero of an efficient kitchen. Instead of running back and forth for different sprays, sponges, and scrub brushes, you can load everything into one portable tote and move from counter to counter. It saves steps, keeps supplies visible, and makes the whole process feel less like a chore.
A good caddy doesn't just hold bottles—it organizes them. Look for one with a sturdy handle, a wide base, and compartments that prevent items from tipping over. Plastic caddies are easy to wipe clean, while metal or mesh options add a touch of style.
The goal is to have a single container that carries your daily essentials: all-purpose cleaner, glass spray, scrub brush, sponge, and maybe a microfiber cloth. When you're done, just stash it under the sink or in a pantry. No more digging through cabinets or losing that one spray bottle.
What To Look For
Focus on durability and portability. A caddy with a comfortable handle and a non-slip base is ideal. Consider the size—too small and it won't hold everything; too big and it's awkward to carry.
Adjustable dividers or removable trays add flexibility for different bottle shapes.
How To Load It
Group supplies by use. Keep daily cleaners in the main compartment, specialty items like oven cleaner in a side pocket, and tools like brushes or gloves in a smaller section. This way, you grab what you need without rummaging.
Refill bottles as they empty so the caddy stays ready.
Why It Works For Busy Homes
A caddy turns cleaning into a grab-and-go task. When you only have a few minutes, you can tackle one area without wasting time gathering supplies. It also prevents clutter—everything has a home, and you'll always know where the scrub brush is.
23. Hydrogen Peroxide
Most people think of hydrogen peroxide as a first-aid staple, but it’s a surprisingly effective kitchen cleaner. It’s a mild disinfectant that kills bacteria on cutting boards and countertops without leaving harsh chemical residues. Plus, it breaks down into water and oxygen, so it’s eco-friendly and safe for food prep areas.
Keep a spray bottle of 3% hydrogen peroxide under your sink for quick sanitizing. It’s especially useful for wooden cutting boards, where it penetrates grooves that sponges can’t reach. Just spray, let it sit for a few minutes, then rinse.
Sanitize Cutting Boards
After chopping raw meat or poultry, spray your cutting board with hydrogen peroxide. Let it fizz for a couple of minutes, then rinse with water. It kills salmonella and E. coli without the strong smell of bleach.
Fight Mold In Grout
Tile grout in kitchens can develop mold over time. Spray hydrogen peroxide directly on the grout, let it sit for 10 minutes, then scrub with a brush. It whitens and disinfects without toxic fumes.
Deodorize Trash Cans
Spray the inside of your kitchen trash can with hydrogen peroxide, let it sit for a few minutes, then wipe clean. It neutralizes odors and kills germs that cause smells.
24. Squeegee
A squeegee isn't just for windows. In a busy kitchen, it's the fastest way to dry down tile backsplashes and glass cooktops after cleaning. One quick pass and you're done—no streaks, no water spots, no waiting for air drying.
Why It Works
Squeegees remove water and cleaning solution in one smooth motion, leaving surfaces spotless. Unlike towels, they don't leave lint or require rinsing. The rubber blade glides over glass and tile without scratching, making it ideal for delicate surfaces like induction cooktops.
Where to Use It
Use it on your kitchen backsplash after wiping down grease and grime. It's also perfect for glass stovetops, oven doors, and even stainless steel sinks. For large windows or shower doors in nearby bathrooms, it's a bonus tool.
Picking The Right One
Look for a squeegee with a stainless steel handle and a replaceable rubber blade. A 6- to 10-inch blade is versatile for kitchen use. Some models come with a hook for easy storage under the sink or on a cabinet door.
25. Odor Absorber (Baking Soda or Charcoal)
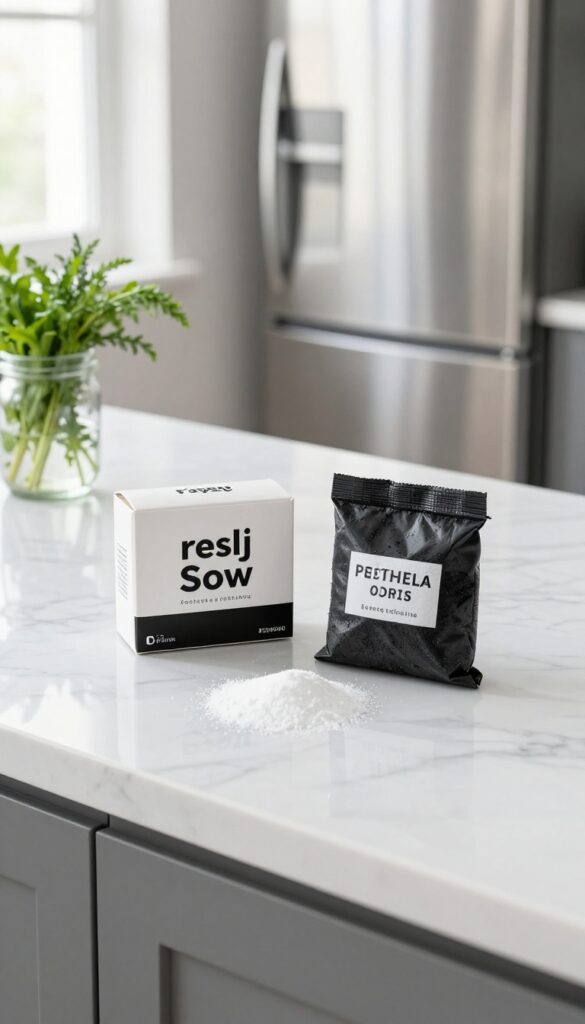
Fridge smells can sneak up on you—leftover fish, forgotten veggies, or that mysterious container in the back. Instead of masking odors with sprays, tackle them at the source with an odor absorber. Baking soda and activated charcoal are the two heavy hitters here.
They trap and neutralize odor molecules, leaving your fridge and pantry smelling fresh without any artificial scents.
An open box of baking soda in the fridge is a classic trick for a reason. It absorbs odors for about three months before needing replacement. Just write the date on the box so you remember to swap it out.
For a more powerful option, try activated charcoal bags. They last up to two years and work in pantries, trash cans, and even closets. Both are cheap, non-toxic, and require zero effort—just place and forget.
Where To Place Them
Put an open box of baking soda on a middle shelf in the fridge, not in the door where temperatures fluctuate. For charcoal bags, hang one in the pantry or tuck it in a corner. You can also toss a small bag into your trash can under the liner to keep that area fresh.
When To Replace
Baking soda needs replacing every three months. Mark your calendar or write the date on the box. Charcoal bags can be recharged by placing them in direct sunlight for a few hours every month.
Most bags last one to two years with proper care.
Beyond The Fridge
Odor absorbers aren't just for the kitchen. Use them in gym bags, shoes, pet areas, or even your car. Keep a small charcoal bag in your lunch bag to prevent lingering smells.
Baking soda also works as a gentle scrub for surfaces when mixed with water.
FAQ
What is the most versatile kitchen cleaning supply?
All-purpose spray cleaner is the most versatile because it works on countertops, stovetops, and most sealed surfaces. Pair it with microfiber cloths for best results.
Can I use vinegar on all kitchen surfaces?
No, avoid vinegar on natural stone (granite, marble) and unsealed grout because the acid can etch or damage them. It's great for glass, stainless steel, and sealed tile.
How often should I replace my kitchen sponges?
Replace sponges every one to two weeks, or sooner if they smell. You can sanitize them in the dishwasher or microwave (damp) to extend their life.
What's the best way to clean a stainless steel sink?
Use a mild abrasive like baking soda with a damp sponge, then rinse and dry. For shine, polish with a little mineral oil or stainless steel cleaner.
Are homemade cleaners as effective as store-bought?
For everyday messes, yes. A mix of vinegar, water, and a drop of dish soap works well. For heavy grease or disinfecting, store-bought may be more reliable.
Conclusion
Stocking your kitchen with these 25 cleaning supplies means you're always ready for whatever mess comes your way. You don't need to buy everything at once—start with the multitaskers like white vinegar, baking soda, and a good microfiber cloth, then add specialized tools as you go.
The real win is having what you need within arm's reach, so cleaning stays quick and painless. A well-prepped kitchen practically cleans itself, saving you time and frustration every single day.