How to Clean Windows Using 15 Streak-Free Techniques
You've just washed your windows, but when the sun hits them, they're covered in streaks. It's frustrating to put in the effort only to end up with a cloudy mess. The good news is that streak-free windows are totally achievable with the right techniques.
Most people grab any spray and a paper towel, but that's a recipe for smears. The secret lies in your tools, your solution, and your motion. Whether you're a DIY enthusiast or just want clean windows without the hassle, these 15 methods will get you there.
From classic vinegar solutions to professional squeegee tricks, each technique tackles streaks at the source. No more wiping and rewiping—just clear, sparkling glass every time.
1. Use a Vinegar and Water Solution
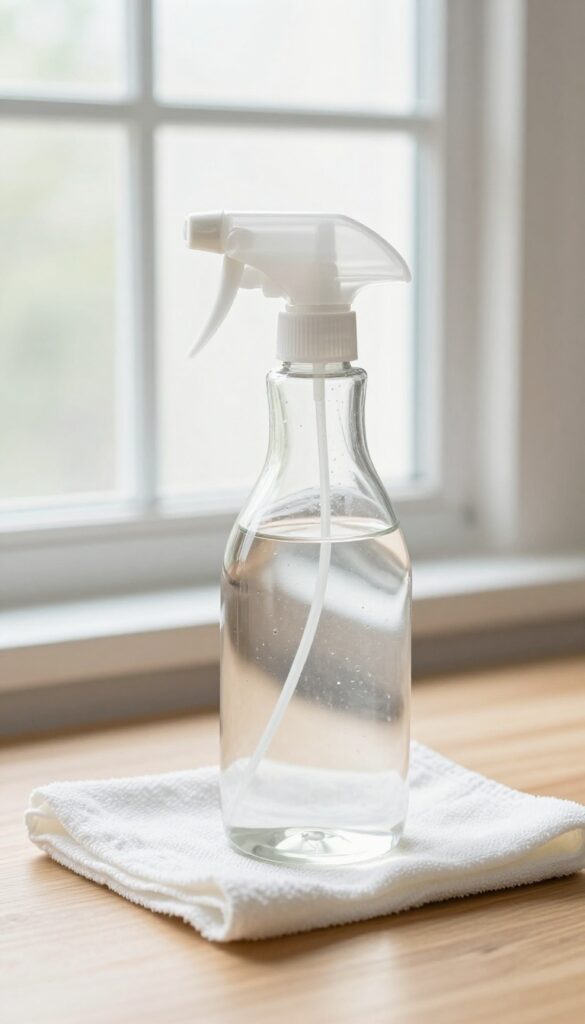
Vinegar is a powerhouse cleaner that tackles grime without harsh chemicals. When mixed with water, it creates a solution that evaporates quickly, leaving no residue behind. This simple, affordable mixture is a favorite among eco-conscious cleaners and professionals alike.
The classic vinegar and water solution is a staple for streak-free windows. Its acidity cuts through dirt and grease, while the water dilutes it enough to avoid damage. For best results, use distilled water to prevent mineral deposits from tap water.
Why It Works
White vinegar contains acetic acid, which breaks down the oils and grime that cause streaks. When you spray it on glass, the solution evaporates evenly, leaving a clean surface. Distilled water ensures no minerals are left behind to create spots.
How To Mix It Right
Combine equal parts white vinegar and distilled water in a spray bottle. Shake gently to mix. Avoid using more vinegar than water—it can be too strong and may damage window frames or seals over time.
Application Tips
Spray the solution onto the window, then wipe with a microfiber cloth or squeegee. Work in a zigzag pattern to avoid streaks. For stubborn spots, let the solution sit for a minute before wiping.
2. Wipe with Microfiber Cloths
The type of cloth you use makes or breaks your window cleaning results. Paper towels leave lint, old rags smear grease, and newspapers can be messy. Microfiber cloths are the unsung heroes of streak-free glass because of how they're engineered.
Microfiber cloths are made of split fibers that create a static charge, attracting dust and dirt like a magnet. They absorb many times their weight in liquid without leaving lint behind. For windows, use a slightly damp microfiber to wash, then follow with a dry one to buff.
This two-step process eliminates moisture residue that causes streaks. Wash your microfiber cloths separately without fabric softener, which clogs the fibers and reduces effectiveness. A clean microfiber is a happy microfiber.
Why Microfiber Works Best
The split fibers in microfiber create thousands of tiny hooks that trap dirt particles. Unlike cotton, which pushes grime around, microfiber lifts and holds it. This means you're not redepositing dirt onto the glass as you wipe.
Wet Vs. Dry: The Perfect Pair
Always use two microfiber cloths: one dampened with your cleaning solution for washing, and one completely dry for buffing. The dry cloth polishes away any remaining moisture and leaves a crystal-clear finish. Swap to a fresh dry cloth if it gets too damp.
Caring For Your Microfiber Cloths
To keep them performing, wash microfiber cloths in warm water with a mild detergent. Never use bleach or fabric softener—softener coats the fibers and ruins their absorbency. Air dry or tumble dry on low heat.
3. Employ the Squeegee Technique
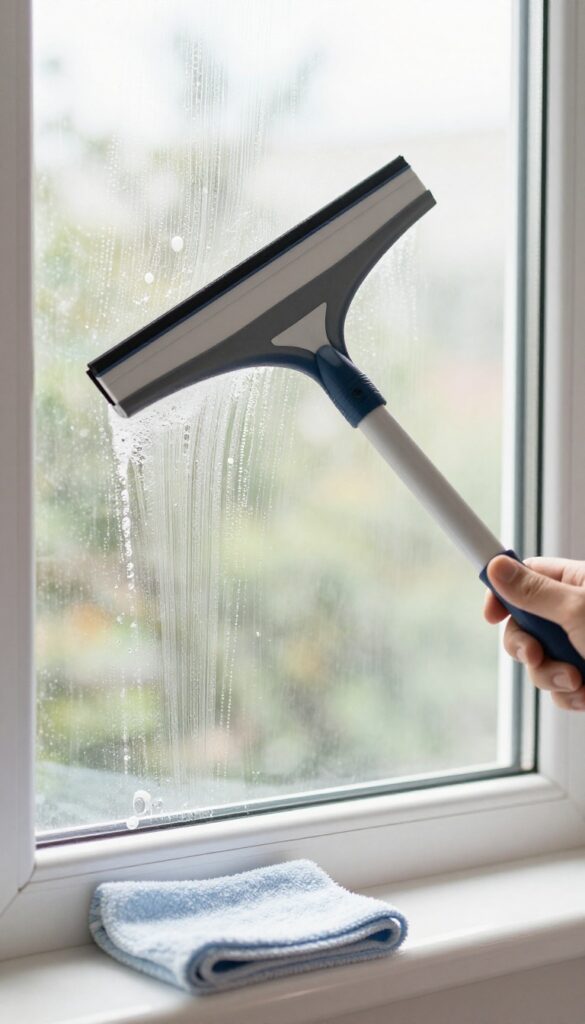
If you've ever watched a professional window cleaner, you've seen the magic of a squeegee. It's not just for pros—anyone can master it with a little practice. The key is using a good-quality squeegee with a rubber blade that's free of nicks.
This tool removes water in one smooth motion, leaving glass streak-free and dry.
Start at the top corner of the window. Pull the squeegee down in a straight, vertical line. After each pass, wipe the blade clean with a lint-free cloth.
Overlap each stroke slightly to avoid missing spots. Work quickly so the solution doesn't dry before you squeegee it off.
Choosing The Right Squeegee
Not all squeegees are created equal. Look for one with a brass or stainless steel channel and a rubber blade that's at least 6 inches wide for standard windows. Replace the blade when it shows signs of wear—usually every few months.
A sharp blade is essential for streak-free results.
Perfecting Your Pull
Angle the squeegee at about 30 degrees to the glass. Use steady, even pressure—too much pressure can cause the blade to skip, too little leaves water behind. Always start at the top and work your way down.
For large windows, use an 'S' pattern to cover the whole pane in fewer strokes.
Drying The Blade Between Passes
This step is often overlooked but crucial. Keep a microfiber cloth in your free hand and wipe the blade after every single pass. Any leftover water on the blade will smear onto the next section.
A dry blade equals a clean window.
4. Try the Newspaper Method
Newspaper might seem like an old-school choice, but it works wonders on glass. The ink and paper fibers create a mild abrasive that polishes away grime without scratching. Plus, newspaper leaves no lint behind—unlike paper towels that often shed tiny fibers.
Grab a stack of old newspapers (black-and-white pages work best) and crumple them into loose balls. Spray your window with a vinegar-and-water solution or a commercial cleaner, then wipe using the newspaper in a circular motion. For a final shine, switch to a dry sheet and buff in straight lines.
The result is a streak-free, mirror-like finish that surprises first-timers.
Why Newspaper Works So Well
Newspaper is highly absorbent, so it soaks up liquid quickly before it can dry into streaks. The ink acts as a mild polishing agent, helping to break down stubborn spots. And because newspaper is lint-free, you won't have to pick tiny fibers off your glass afterward.
Best Practices For The Newspaper Method
Use only black-and-white pages—color sections have different inks that can smudge. Crumple the paper loosely; tight balls lose absorbency. Work in sections, and switch to a fresh sheet once the paper becomes damp.
Avoid using newspaper on tinted windows, as the ink may transfer.
When To Skip This Technique
If you have micro-coated or specialty glass, newspaper might leave a faint ink residue. In those cases, stick with microfiber cloths. Also, if you're cleaning windows in direct sunlight, the solution dries too fast—newspaper works best in cooler, shaded conditions.
5. Add a Drop of Dish Soap
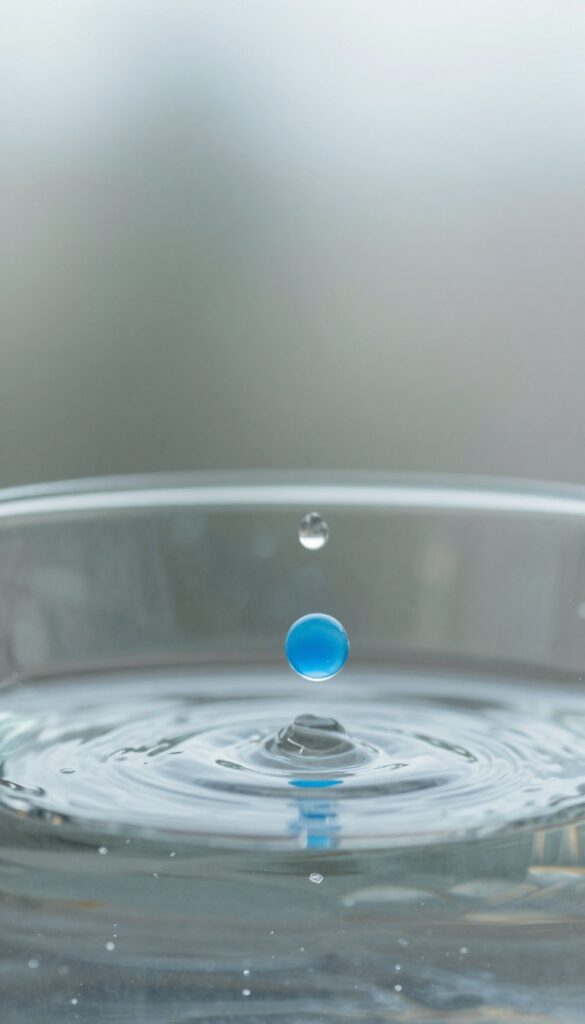
A tiny squirt of liquid dish soap in your water solution breaks down oily fingerprints. Too much causes streaks, so use just a drop per quart. It's a simple trick that makes a big difference.
Why Dish Soap Works
Dish soap is a surfactant, which means it reduces the surface tension of water. This allows the water to spread evenly across the glass instead of beading up. It also helps lift grease and grime from the surface, making it easier to wipe away.
The Right Amount Matters
Using too much dish soap is the most common mistake. Excess soap leaves a film that dries into streaks. Stick to one drop per quart of water.
If you're using a spray bottle, add a single drop to 2 cups of water.
Best Soap To Use
Any clear liquid dish soap works, but avoid those with moisturizers or lotions. Blue Dawn is a favorite because it's concentrated and cuts grease well. If you have hard water, a drop of soap helps prevent mineral spots.
6. Use Distilled Water
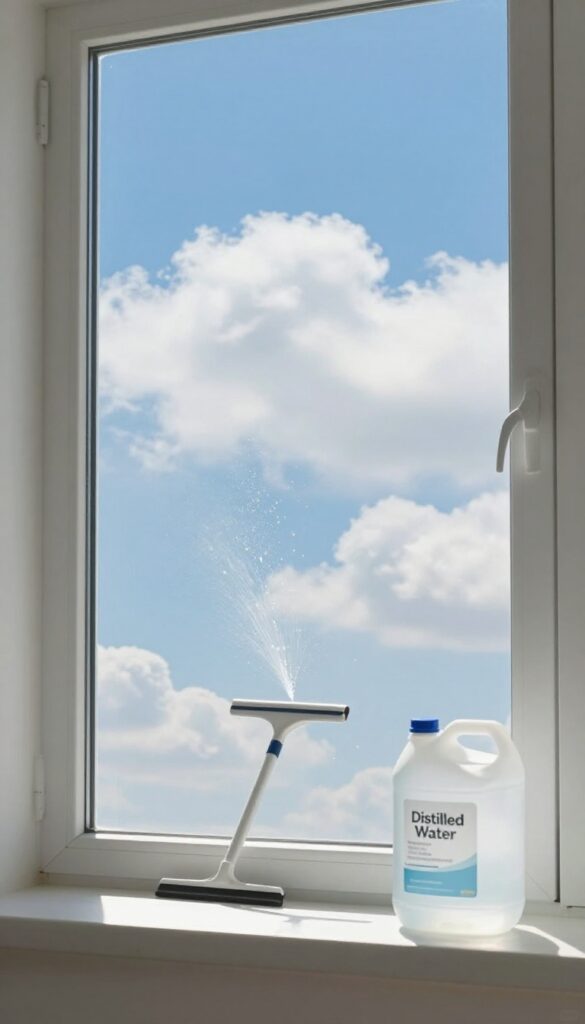
Tap water might seem harmless, but it's often full of minerals like calcium and magnesium. When you clean windows with tap water, those minerals stay behind after the water evaporates, leaving white spots or a hazy film. Distilled water, on the other hand, has been purified so it contains no dissolved solids.
It evaporates completely clean, which means no mineral deposits and no streaks.
Switching to distilled water is one of the simplest upgrades you can make. You can buy it at any grocery store for about a dollar per gallon, or you can distill your own if you're feeling ambitious. The key is to use it in every step—mixing your cleaning solution, rinsing your squeegee or cloth, and doing a final rinse on the glass.
It's especially effective in areas with hard water, where tap water leaves the most noticeable residue.
Why Distilled Water Works
When tap water dries, the minerals are left behind as tiny crystals that scatter light, creating a white, streaky appearance. Distilled water has been boiled and condensed, removing those minerals. Without them, the water evaporates without a trace, leaving the glass perfectly clear.
Where To Get Distilled Water
You can find distilled water in the water or baby section of most supermarkets. It's usually sold in gallon jugs. If you clean windows frequently, consider buying in bulk or even investing in a countertop distiller.
Some people also use deionized water, which works similarly, but distilled is more common and affordable.
Tips For Using Distilled Water
Fill a spray bottle with straight distilled water for a final mist after cleaning. Or mix it with a drop of dish soap for a streak-free solution. Always rinse your tools with distilled water to avoid reintroducing minerals.
And if you're using a squeegee, wet the blade with distilled water before each pass.
7. Clean on a Cloudy Day
Sunlight is the enemy of streak-free windows. When you clean under direct sun, the solution dries before you can wipe it off, leaving behind residue and streaks. Overcast days give you a wider window of time to work, so the liquid stays wet longer and you can buff it away completely.
This simple timing trick makes every other technique more effective. No matter what solution or tool you use, cleaning on a cloudy day reduces the pressure to work fast. It's the easiest way to avoid streaks without changing anything else.
Choosing the right weather is a strategy that costs nothing. Here's how to make the most of overcast conditions and what to do if you have to clean in the sun.
Why Sunlight Causes Streaks
Direct sunlight heats the glass and speeds up evaporation. Your cleaning solution dries into a thin film before you can wipe it off, leaving behind minerals and soap residue. On a cloudy day, the glass stays cooler and the solution stays wet longer, giving you time to wipe and buff thoroughly.
Best Times To Clean
Early morning or late afternoon are good alternatives if overcast isn't available. Avoid midday sun, especially on south-facing windows. Check the forecast: a day with high clouds or light overcast is ideal.
Rain isn't necessary, but humidity helps keep the solution wet.
What If You Can't Wait?
If you must clean in sunlight, work on the shady side of the house first. Use a misting spray bottle to keep the glass damp, and wipe smaller sections at a time. A microfiber cloth with a bit of water can re-wet any area that dries too fast.
8. Apply Rubbing Alcohol for a Polish
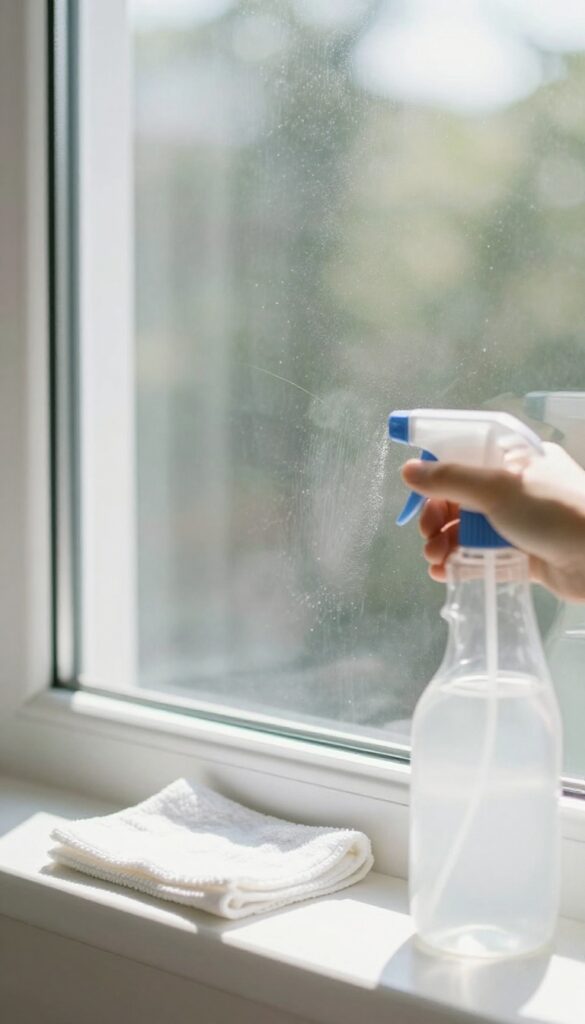
Rubbing alcohol is a secret weapon for tackling stubborn grime and leaving glass crystal clear. Its rapid evaporation means no time for streaks to form, making it ideal for windows that need extra degreasing. Combine it with water and a splash of vinegar, and you have a powerful, streak-free solution.
Why Alcohol Works So Well
Alcohol is a solvent that cuts through grease, fingerprints, and sticky residues that water alone can't handle. It evaporates almost instantly, so there's no chance for drips or streaks to set. This makes it perfect for kitchen windows or sliding doors that get a lot of hand traffic.
The Perfect Diy Mix
Mix 1 cup rubbing alcohol (70% or higher), 1 cup water, and 1 tablespoon white vinegar in a spray bottle. Shake gently to combine. Use distilled water if your tap water is hard, as minerals can leave deposits.
This solution is safe for most glass, but avoid it on tinted windows as alcohol can damage the tint.
Application Tips For Best Results
Spray the solution onto the window, but don't soak it. Work in small sections to prevent the alcohol from evaporating before you wipe. Use a microfiber cloth or a squeegee for a flawless finish.
If using a cloth, wipe in one direction (horizontal or vertical) to avoid cross-contamination. For extra shine, buff with a dry microfiber cloth after cleaning.
9. Use a Coffee Filter
Coffee filters aren't just for your morning brew. They're lint-free and ultra-absorbent, making them perfect for final buffing on windows and mirrors. Unlike paper towels, they won't leave fibers behind, so you get a truly streak-free shine.
Switch to coffee filters for the final wipe. Their tight weave picks up every last bit of moisture and polish without scratching the glass. They're especially handy for small windows, car mirrors, or touch-ups after using a squeegee.
Why Coffee Filters Work
Coffee filters are made from bonded fibers that don't shed lint. They absorb liquid quickly and evenly, so you won't get those annoying tiny streaks from leftover moisture. Plus, they're soft enough to use on delicate glass without worrying about scratches.
Best Way To Use Them
After washing and rinsing your window, grab a clean, dry coffee filter. Wipe in a zigzag or circular motion, overlapping each pass. For mirrors, start at the top and work your way down.
If the filter gets damp, switch to a fresh one for the best results.
Where Coffee Filters Shine
They're ideal for small windows, shower doors, and car windshields. Use them for the final buff after a squeegee to catch any missed spots. They also work great on stainless steel and chrome fixtures for a fingerprint-free finish.
10. Try the 'S' Pattern with a Squeegee
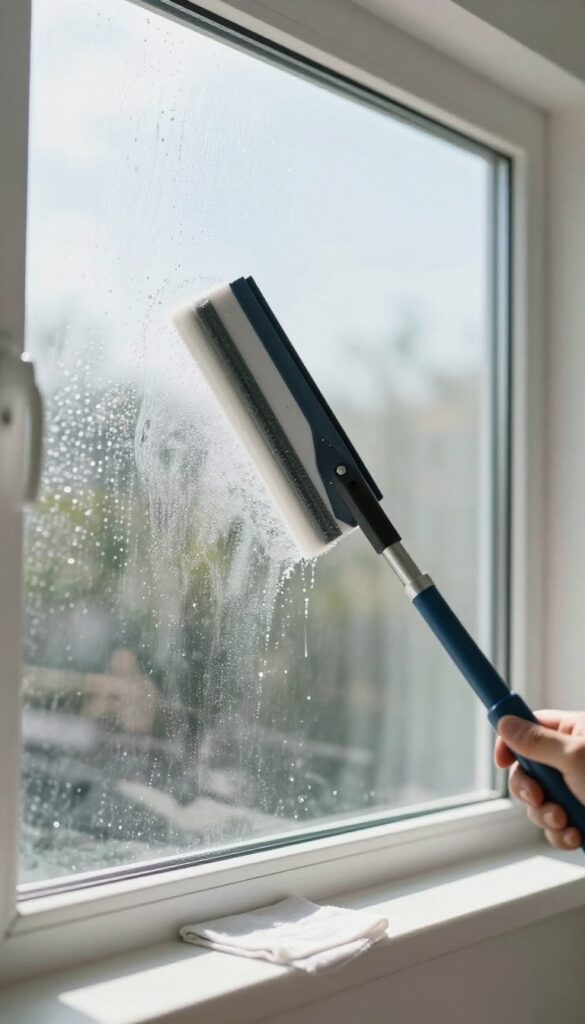
Most people drag a squeegee in straight lines, but that often leaves streaks and missed spots. The 'S' pattern changes the game by ensuring the rubber blade wipes off water in a continuous, overlapping motion. This simple tweak can make a huge difference in achieving that professional, crystal-clear finish.
When you use a straight line, water tends to pool at the ends and drip down, creating streaks. The 'S' pattern keeps the blade in constant contact with the glass, pushing water off in a smooth curve. Start at the top corner, pull the squeegee across in a gentle S shape, and wipe the blade with a lint-free cloth after each pass.
This method works especially well on large windows or sliding glass doors.
Why The 's' Pattern Works
The curved motion keeps the water film continuous, so the blade doesn't skip or leave dry patches. It also guides drips to the edge of the window rather than letting them run down the middle. You'll notice fewer streaks and a more even dry.
How To Execute It Perfectly
Start at the top left, tilt the squeegee at a slight angle, and draw a wide S across the glass. Overlap each pass by about an inch to avoid gaps. After every stroke, wipe the blade with a clean, dry microfiber cloth or a lint-free rag.
This prevents any dirty water from being dragged back onto the glass.
Best Windows For This Technique
The 'S' pattern shines on large, flat panes like picture windows, patio doors, and storefronts. It's less effective on small or divided windows where you can't get a full sweep. For those, stick with straight strokes or use a smaller squeegee.
11. Wipe with a Lint-Free Cloth in One Direction
The direction you wipe matters more than you think. If you scrub in circles or back and forth, you're just moving streaks around. A simple one-direction wipe makes it easy to spot and fix any missed spots.
Grab a dedicated lint-free cloth—microfiber works great. Wipe horizontally on the inside of the window and vertically on the outside. This way, if you see a streak, you'll instantly know which side it's on.
Plus, it prevents you from smearing dirt back onto clean glass.
Why One Direction Works
Wiping in one direction pushes dirt and moisture off the glass instead of redistributing it. It also creates a consistent pattern that highlights streaks, so you can target them immediately.
Choosing The Right Cloth
Not all cloths are created equal. Avoid terry cloth or old t-shirts—they shed lint and leave fuzz. Instead, use a high-quality microfiber cloth designed for glass.
Wash it without fabric softener to keep it absorbent.
The Crosshatch Trick
For extra clarity, use a crosshatch pattern: wipe horizontally on one side, vertically on the other. This makes it easy to identify which side has a streak. If you see a vertical streak, it's on the side you wiped vertically.
12. Use a Commercial Glass Cleaner with Ammonia
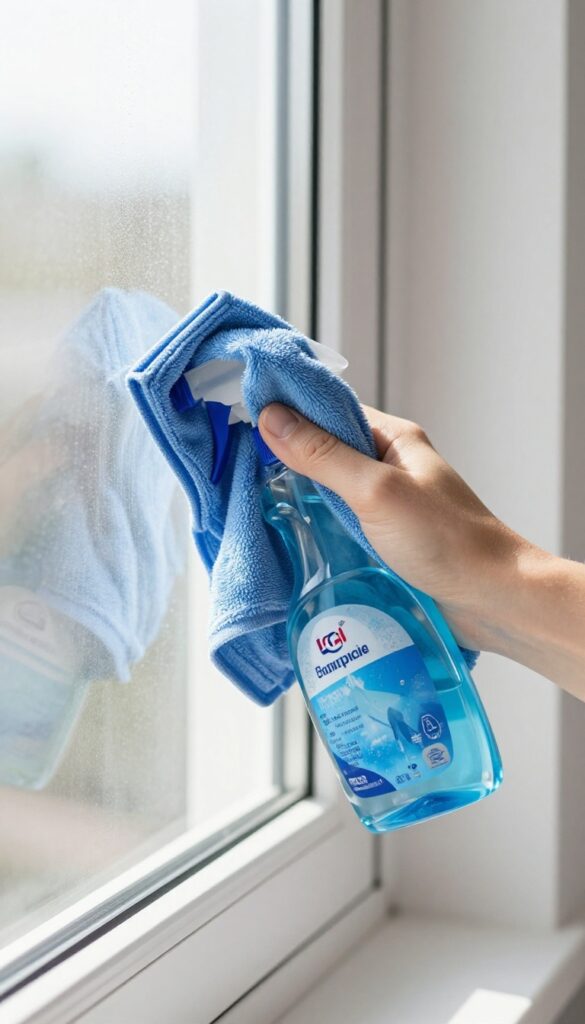
Sometimes the simplest solution is the most effective. Ammonia-based glass cleaners have been a go-to for professionals for decades because they evaporate quickly and leave virtually no residue. The key is not to overspray—a light mist is all you need.
Pair it with a clean microfiber cloth, and you'll get that showroom shine without the elbow grease.
When you're in a pinch or just want something that works out of the bottle, ammonia-based cleaners are hard to beat. They cut through grease and grime fast, and because they evaporate so quickly, there's less chance for streaks to form. Just remember: a little goes a long way.
Over-spraying can lead to drips and smears, so spritz lightly and wipe immediately.
Why Ammonia Works
Ammonia is a powerful degreaser that breaks down oily residues left by fingerprints, smoke, and cooking. Its fast evaporation rate means it doesn't linger on the glass long enough to leave streaks. Plus, it's inexpensive and widely available—just check the label of your favorite blue cleaner.
The Right Cloth Matters
Even the best cleaner can fail with the wrong cloth. Skip paper towels—they leave lint and can actually cause streaks. Instead, grab a high-quality microfiber cloth.
It traps dirt and absorbs the cleaner evenly, leaving a polished finish. Wash your microfiber cloths separately to avoid transferring oils.
Pro Tips For Best Results
Work in sections, especially on large windows. Spray a small area, wipe in one direction (horizontal on one side, vertical on the other to spot streaks), and buff dry with a clean part of the cloth. Avoid cleaning in direct sunlight—the heat makes the cleaner evaporate too fast, leaving streaks behind.
13. Clean the Window Frames First
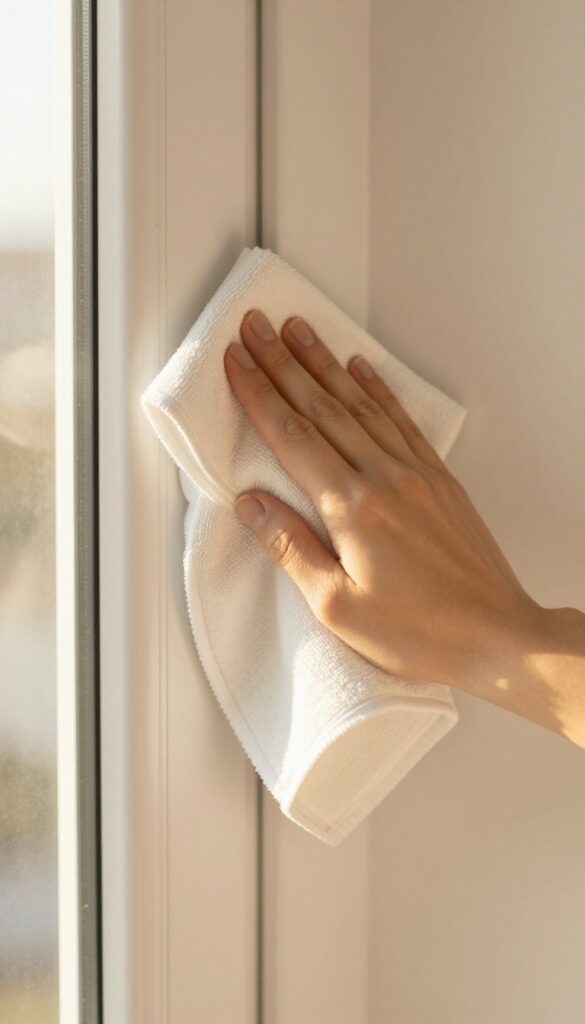
It's easy to focus on the glass and forget about the frames, but that's a big mistake. Dirty frames drip dirty water onto your freshly cleaned glass, leaving streaks and grime. By washing the frames first, you remove that risk and set yourself up for a cleaner finish.
Start by dusting or vacuuming the frames to remove loose dirt and cobwebs. Then, use a sponge or soft cloth dipped in warm, soapy water to scrub the frames thoroughly. Pay extra attention to corners and crevices where grime builds up.
Rinse with a damp cloth and dry completely with a towel before moving on to the glass. This simple step prevents muddy drips from ruining your hard work.
Why Frames Matter
When you spray cleaner on dirty frames, the grime turns into a muddy liquid that runs down onto the glass. As you wipe, you're essentially spreading dirt across the pane. Cleaning frames first eliminates this problem and keeps your cleaning solution effective.
Best Tools For The Job
A microfiber cloth or a soft-bristled brush works well for most frames. For vinyl or aluminum frames, avoid abrasive scrubbers that can scratch the surface. A toothbrush is great for getting into tight corners.
Always use a separate cloth for frames and glass to avoid cross-contamination.
Drying Is Key
After washing, dry the frames thoroughly with a clean towel. Even a small amount of leftover water can drip onto the glass and cause streaks. Take your time here—it's worth the extra minute.
14. Use a Magic Eraser for Stubborn Spots
Dried-on bird droppings, tree sap, or old sticker residue can make your windows look terrible. Regular glass cleaner often won't cut it, and scrubbing too hard can scratch the glass. That's where a magic eraser comes in handy.
These melamine foam sponges are gentle enough for glass but tough on grime.
A magic eraser works like a very fine sandpaper, lifting stuck-on messes without damaging the surface. For best results, dampen the eraser slightly and gently rub the spot in a circular motion. You'll see the gunk disappear almost instantly.
Afterward, clean the window with your usual streak-free method to remove any residue left by the eraser.
When To Reach For A Magic Eraser
Use a magic eraser for tough, dried-on spots that won't budge with regular cleaning. Avoid using it on tinted windows or those with special coatings, as the abrasive action may damage the finish. It's perfect for exterior windows that get hit with sap, bugs, or bird droppings.
How To Avoid Leaving Residue
Magic erasers can leave a fine white dust if not rinsed properly. After spot-treating, wipe the area with a damp microfiber cloth, then follow up with your favorite streak-free glass cleaner. This ensures no leftover particles cause streaks when the window dries.
Pro Tip: Cut The Eraser For Precision
For tiny spots, cut the magic eraser into small pieces. This gives you better control and prevents wasting the sponge. Store leftover pieces in a dry place for future use.
15. Finish with a Dry Buff
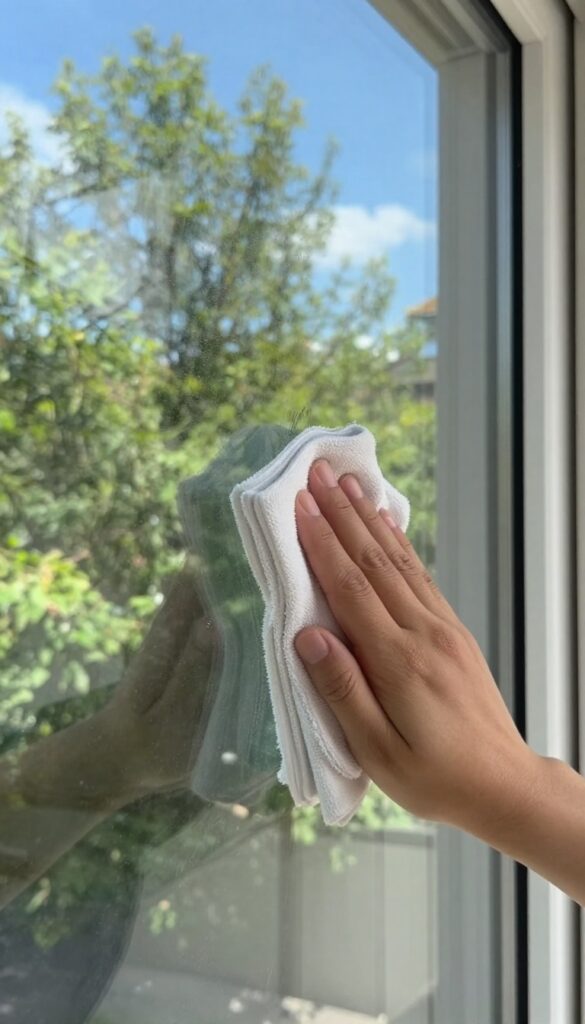
You've cleaned, rinsed, and maybe even squeegeed, but a final dry buff is the secret to that flawless, streak-free finish. This step removes any lingering moisture and polishes the glass to a brilliant shine. It's quick, easy, and makes all the difference.
Why A Dry Buff Works
Even after your best efforts, tiny water droplets can remain on the glass. As they dry, they leave mineral deposits and streaks. A dry microfiber cloth lifts that moisture away before it can dry, ensuring a perfectly clear surface.
The fibers also create a gentle polish effect, enhancing the glass's natural luster.
Choosing The Right Cloth
Not all cloths are equal for buffing. Microfiber is ideal because it's highly absorbent and lint-free. Use a clean, dry microfiber cloth specifically designated for glass—avoid fabric softeners or dryer sheets, as residues can cause streaking.
A waffle-weave microfiber is especially effective for this final step.
The Buffing Technique
Work in a circular motion with light pressure. Start from the top and move downward to catch any drips. For large windows, fold the cloth into quarters and flip to a fresh side as it becomes damp.
If you notice any smudges, a quick spritz of your cleaning solution and another buff will fix it. The goal is a dry, polished finish.
FAQ
What is the best homemade window cleaner for streaks?
A mix of equal parts white vinegar and distilled water with a drop of dish soap works great. It cuts grease and dries clear.
Why do my windows still look streaky after cleaning?
Streaks often come from using too much cleaner, cleaning in direct sunlight, or using a dirty cloth. Try a squeegee or microfiber cloth on a cloudy day.
Can I use paper towels on windows?
Paper towels leave lint and can cause streaks. Opt for microfiber cloths, newspaper, or coffee filters for a lint-free finish.
How often should I clean my windows?
Every 2-3 months is typical, but high-traffic areas or homes with pets may need monthly cleaning to prevent buildup.
Is it better to clean windows with a squeegee or cloth?
A squeegee gives the most streak-free results when used correctly. Cloths are good for small windows or touch-ups, but a squeegee is best for large panes.
Conclusion
Streak-free windows don't require expensive products or professional help—just the right technique and a little patience. Start with the simplest method that fits your schedule, and you'll see immediate results. Once you've mastered these 15 approaches, you can mix and match based on your window type and the weather.
The real secret is consistency: a quick weekly wipe prevents buildup and keeps your glass sparkling. Now enjoy the clear view without the hassle.