25 Floor Cleaning Hacks for Faster Sparkling Results
Scratches from furniture legs, sticky residue from spilled juice, and grimy grout lines—your floors take a beating every day. You don't need an arsenal of expensive cleaners to keep them spotless.
These 25 floor cleaning hacks use everyday items to tackle specific messes, from pet hair to grease, so you can get sparkling results faster. Each tip targets a distinct problem, whether it's a fresh spill or set-in dirt, making your cleaning routine quicker and more effective.
Ready to give your floors the care they deserve without the extra effort?
1. Microfiber Mop for Quick Daily Dusting
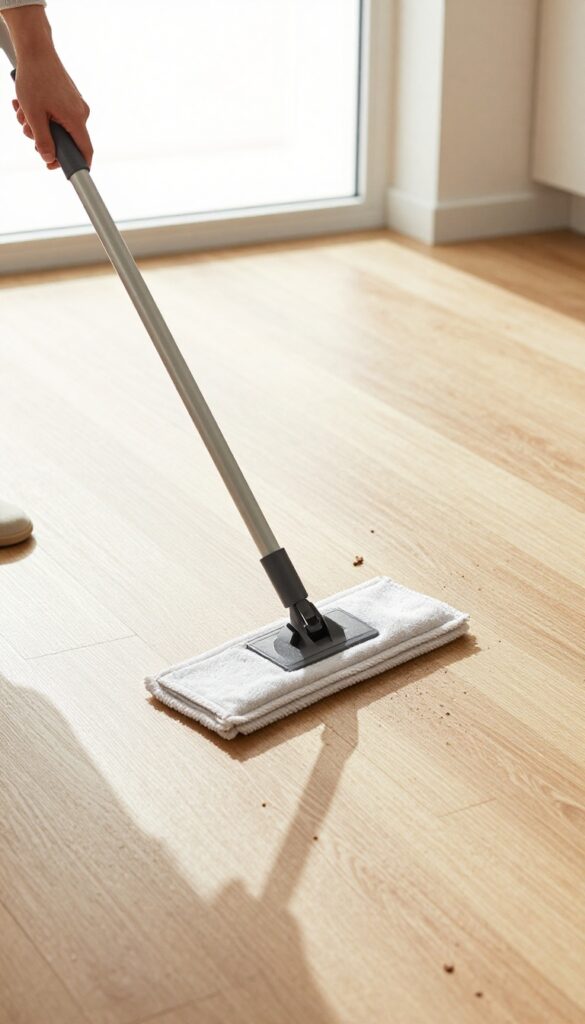
A dry microfiber mop picks up dust, hair, and crumbs without stirring them into the air. Unlike traditional dust mops that just push debris around, the electrostatic charge in microfiber grabs particles and holds them until you rinse the pad. This simple swap cuts your daily floor maintenance time in half and leaves surfaces truly clean.
Why Microfiber Works Better
Microfiber strands are split into tiny wedges that create a static charge, attracting dust like a magnet. The fibers are also absorbent enough to trap fine particles that cotton mops miss. You get a deeper clean with fewer passes, which means less time and effort.
Best Technique For Daily Use
Use a light, sweeping motion rather than pressing down hard. Glide the mop in long, straight lines across the floor, overlapping each pass slightly. For corners and edges, a flat microfiber cloth on a swivel head reaches tight spots without bending or stretching.
Care Tips To Extend Pad Life
Wash microfiber pads separately from cotton fabrics to prevent lint transfer. Avoid fabric softener—it clogs the fibers and reduces static cling. Air-dry or tumble on low heat to keep the strands split and effective for dozens of uses.
2. Vinegar Solution for Streak-Free Shine
Forget those pricey floor cleaners that leave behind a hazy film. A simple mix of equal parts white vinegar and water cuts through grease and grime without any chemical residue. It’s a go-to for tile, vinyl, and laminate—just steer clear of unsealed wood, which vinegar can damage over time.
Why It Works So Well
White vinegar is mildly acidic, which helps dissolve dirt, soap scum, and hard water deposits. Unlike many commercial cleaners, it evaporates quickly and leaves no sticky residue. That means your floors dry crystal clear and streak-free every time.
How To Mix And Apply
In a spray bottle or bucket, combine one part white vinegar with one part warm water. For extra cleaning power, add a few drops of dish soap. Mop or spray lightly—you don’t need to soak the floor.
Then buff dry with a clean microfiber cloth for instant shine.
When To Skip The Vinegar
Avoid vinegar on unsealed hardwood, stone like marble or granite, and waxed floors. The acid can eat through finishes and dull the surface. Stick to pH-neutral cleaners for those delicate materials.
3. Baking Soda Paste for Stubborn Stains
Some stains just won't budge with a quick wipe. That's where a simple baking soda paste comes in. It's gentle enough for delicate surfaces but tough enough to lift set-in grime from grout or linoleum.
All you need are two pantry staples and a little patience.
Mix baking soda with just enough water to form a thick paste. Spread it over the stain and let it sit for 10 minutes. Then scrub with a soft brush or sponge and rinse clean.
For extra stubborn spots, add a splash of white vinegar to the paste—it will fizz and help break down the grime.
Why Baking Soda Works
Baking soda is a mild abrasive, meaning it physically scrubs away dirt without scratching most surfaces. It also neutralizes odors, so it's great for musty grout lines. Plus, it's non-toxic, making it safe around kids and pets.
Best Surfaces To Use It On
This paste works wonders on ceramic tile grout, linoleum, and vinyl floors. Avoid using it on unsealed natural stone like marble or granite, as the abrasiveness can dull the finish. Always test in an inconspicuous area first.
Pro Tip For Stubborn Spots
For really set-in stains, let the paste sit for 20 minutes and cover it with plastic wrap to keep it from drying out. This gives the baking soda more time to penetrate and lift the stain. Then scrub and rinse as usual.
4. Dryer Sheets for Baseboard Dust Repellent
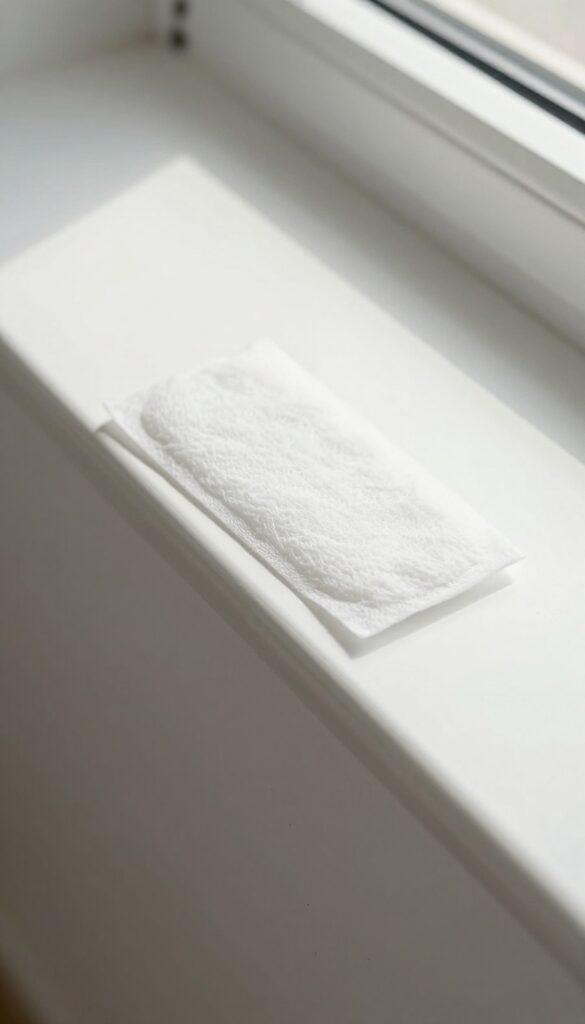
Baseboards are dust magnets, and no matter how often you vacuum, that fine layer of fuzz always seems to come back within days. A used dryer sheet can change that. Wiping down your baseboards with a dryer sheet leaves behind a thin antistatic coating that repels dust, so it stays away longer.
It's a simple trick that cuts down your cleaning frequency without any extra effort.
How It Works
Dryer sheets contain fabric softeners and antistatic agents that neutralize the static charge on surfaces. When you wipe baseboards with a used sheet, these agents transfer to the surface, reducing the static cling that attracts dust. The result: dust particles are less likely to stick, so your baseboards stay cleaner for days or even weeks longer.
Best Technique
Use a sheet that's already been through a dryer cycle—it still has enough residue to work but won't leave a greasy film. Simply slide the sheet along the top edge and face of each baseboard. For stubborn spots, hold the sheet with your fingers and apply a little pressure.
No need to rinse afterward; just let it dry. You'll notice less dust settling almost immediately.
Bonus Uses
This trick works on other dusty surfaces too: window sills, blinds, ceiling fan blades, and even the tops of cabinets. Keep a stash of used dryer sheets in your cleaning caddy so you can quickly dust these areas as you go. It's a zero-cost hack that makes a real difference in how often you need to clean.
5. Rubbing Alcohol for Sticky Residue
Sticky spots from tape, stickers, or spilled soda can be a real pain to remove. You scrub and scrub, but that gummy residue just smears around. Rubbing alcohol cuts through the adhesive quickly without harming most floor finishes.
Reach for a bottle of isopropyl alcohol the next time you find a tacky patch on your floor. It dissolves the glue on contact, making it easy to wipe away. This works on tile, vinyl, laminate, and sealed hardwood—just test on an inconspicuous spot first.
How To Apply It
Dampen a clean cloth or cotton ball with rubbing alcohol. Press it onto the sticky spot for about 10 seconds to let the alcohol penetrate. Then gently rub in a circular motion—the residue should lift off without much effort.
When To Avoid This Method
Skip alcohol on unsealed wood or waxed floors, as it can strip the finish. For delicate surfaces like linoleum, dilute the alcohol with equal parts water. Always spot-test in a hidden area before going all in.
6. Squeegee for Pet Hair Removal
Pet hair can be a stubborn nuisance on carpets and rugs, but a simple rubber squeegee can handle it in seconds. The rubber material creates static electricity that lifts hair from fibers, gathering it into neat piles you can easily sweep or vacuum. This hack works best on low-pile carpets and area rugs, saving you from endless lint roller refills.
A rubber squeegee is a game-changer for pet owners tired of fighting embedded hair. Unlike vacuums that sometimes push hair deeper, the squeegee drags it to the surface. Use short, firm strokes in one direction, then collect the pile with a dustpan or your vacuum's hose attachment.
For best results, work in small sections and overlap each stroke slightly.
Why A Squeegee Works So Well
Rubber has a natural affinity for pet hair because of static electricity. When you drag the squeegee across carpet, the friction charges the rubber, attracting hair like a magnet. This method is especially effective on synthetic fibers, which tend to hold onto hair more tightly than natural ones.
Step-by-step: How To Use It
Start by clearing the floor of any large debris. Hold the squeegee at a 45-degree angle and pull it toward you in long, steady strokes. After a few passes, you'll see hair clumping at the edge.
Sweep or vacuum the piles immediately to prevent them from scattering. Repeat until the carpet looks clean.
Tips For Maximum Efficiency
Use a squeegee with a wide blade (at least 12 inches) to cover more area quickly. If the rubber gets dirty, wipe it with a damp cloth to restore its grip. For high-pile carpets, switch to a softer rubber squeegee to avoid damaging the fibers.
This trick also works on upholstery and car interiors.
7. Hydrogen Peroxide for Grout Whitening
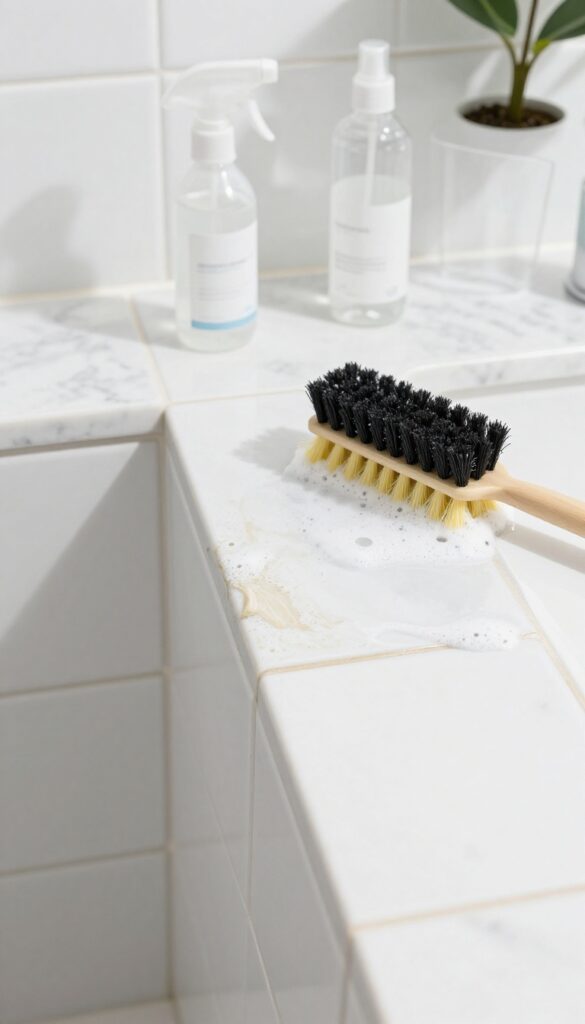
Grout lines can go from bright to dingy in what feels like no time. Dirt, soap scum, and mildew love to settle into those porous gaps, making even the cleanest tile look tired. Hydrogen peroxide offers a simple, bleach-free way to restore that fresh grout look without harsh fumes.
Hydrogen peroxide is a mild oxidizer that breaks down organic stains and kills mold spores on contact. Unlike bleach, it won't yellow over time and is safer for colored grout. The fizzing action helps lift dirt from deep within the grout pores, making scrubbing more effective.
For best results, use 3% hydrogen peroxide straight from the bottle—no dilution needed.
How To Apply
Pour a small amount of hydrogen peroxide directly onto the grout lines, or use a spray bottle for larger areas. Let it sit for about 5 minutes—you'll see it start to fizz as it works. Then scrub with a stiff grout brush or an old toothbrush.
Rinse with water and wipe dry. For stubborn stains, mix hydrogen peroxide with baking soda into a paste, apply, let sit, then scrub.
Safety Tips
Always test on an inconspicuous area first, especially on colored grout, as hydrogen peroxide may lighten some dyes. Wear gloves to protect your skin, and avoid mixing with vinegar or ammonia, which can create toxic fumes. Keep the area ventilated while working.
8. Essential Oils for Natural Scent
Commercial floor cleaners often leave behind a strong chemical smell that lingers long after you've finished mopping. If you prefer a more natural, pleasant fragrance, essential oils are a simple solution. Just a few drops added to your mop water can transform the entire cleaning experience.
Essential oils not only make your home smell great but also offer mild antibacterial and antifungal properties. Lemon oil is a popular choice for its fresh, citrusy scent and its ability to cut through grease. Tea tree oil, on the other hand, is known for its powerful antimicrobial effects, making it ideal for kitchens and bathrooms.
To use, add 5-10 drops of your chosen oil to a bucket of warm water before mopping. For a deeper clean, combine lemon and tea tree oils for a refreshing, disinfecting blend.
Best Oils For Different Floor Types
Not all essential oils are safe for every floor. For hardwood or laminate, stick to gentle oils like lavender or orange, and avoid citrus oils in high concentrations as they can dull the finish. For tile or vinyl, lemon, tea tree, and eucalyptus are excellent choices.
Always test a small, inconspicuous area first to ensure the oil doesn't damage the surface.
Diy Essential Oil Floor Spray
For quick touch-ups, make a simple spray: mix 2 cups of water, 1/4 cup of white vinegar, and 10 drops of your favorite essential oil in a spray bottle. Shake well and spritz on floors, then wipe with a microfiber mop. This is great for high-traffic areas between deep cleans.
Safety Tips For Pets And Kids
If you have pets or young children, choose pet-safe oils like lavender or chamomile, and avoid tea tree and peppermint, which can be toxic to cats and dogs. Keep the area well-ventilated and allow floors to dry completely before letting pets or kids roam freely.
9. Ice Cubes for Carpet Dents
Furniture legs can leave stubborn dents in carpet that make the room look worn out. Instead of steaming or brushing, try a simple ice cube trick. The slow melt rehydrates the fibers, helping them spring back naturally.
Place one or two ice cubes directly on each dent and let them melt completely. This usually takes a few hours. Once melted, fluff the area with a fork or your fingers.
For deeper dents, repeat the process or gently blot excess moisture with a towel. This method works best on nylon and polyester carpets.
Why Ice Works
Carpet fibers are compressed under heavy furniture. The water from the ice penetrates the fibers, causing them to swell and regain their original shape. It's a gentle, chemical-free solution.
Tips For Best Results
Use distilled water to avoid mineral deposits. Don't oversaturate—one or two cubes per dent is enough. If the dent is old or deep, you may need to repeat the process a couple of times.
For wool or delicate carpets, test on a hidden spot first.
When To Skip This Method
Avoid this trick on carpets that are prone to water damage or staining. If the carpet pad underneath is damaged, ice won't fix the dent. In that case, consider replacing the pad.
10. Dish Soap for Greasy Kitchen Floors
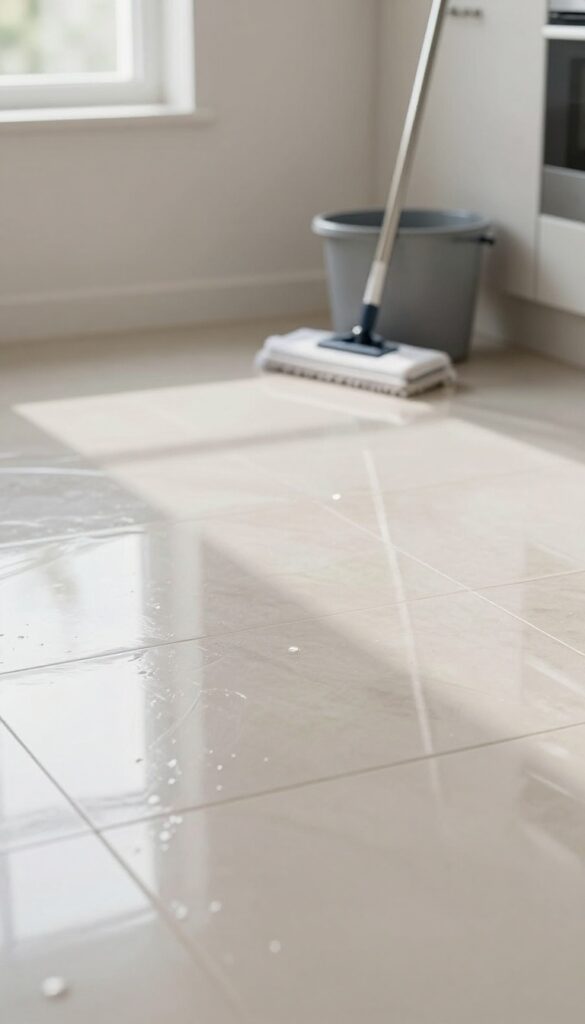
Kitchen floors take the brunt of cooking splatters, oil spills, and sticky food residue. A commercial degreaser might seem necessary, but a simple drop of dish soap in warm water cuts through grease just as effectively. It's gentle enough for daily use yet tough on grime.
Just remember to rinse well to avoid a slippery film.
Why Dish Soap Works
Dish soap is designed to break down fats and oils, making it a natural degreaser. A tiny amount—about a teaspoon per gallon of warm water—creates enough suds to lift grease without leaving a heavy residue. It's also safe for most floor types, including tile, vinyl, and sealed hardwood.
How To Use It Right
Fill a bucket with warm water and add a drop of dish soap. Mop as usual, but avoid soaking the floor. Then go over it with a clean mop dipped in plain water to rinse.
For stubborn grease spots, apply a few drops of undiluted soap directly to the stain, let it sit for a minute, then wipe with a damp cloth.
What To Avoid
Don't use too much soap—excess suds can leave a sticky residue that attracts dirt. Also, avoid dish soaps with moisturizers or antibacterial additives, as they can leave a film. Stick to a basic, clear dish soap for best results.
11. Club Soda for Fresh Spills
A fresh spill can turn into a permanent stain if you don't act fast. Club soda is a surprisingly effective tool for lifting stains from carpets and hard floors without harsh chemicals. The carbonation helps break down the spill, making it easier to blot away.
When a spill happens, grab a bottle of club soda and a clean cloth. Pour a small amount directly onto the stain, then blot—don't rub—with the cloth. Repeat until the stain lifts.
For carpets, follow up with a dry towel to absorb excess moisture. This method works on wine, coffee, juice, and even grease spots.
Why Carbonation Works
The bubbles in club soda help loosen dirt and stains from fibers. The carbonic acid is mild enough to be safe on most floor types but effective at breaking down fresh spills. It's a gentle alternative to chemical stain removers.
Best For Carpet And Hard Floors
Club soda is versatile. On carpets, it lifts stains without damaging fibers. On tile or vinyl, it cleans without leaving residue.
Just avoid using it on unsealed wood or natural stone, as moisture can cause damage.
Blotting Technique Matters
Always blot from the outside of the spill inward to prevent spreading. Use a white cloth to avoid color transfer. For stubborn spots, let the club soda sit for a minute before blotting.
Repeat if needed.
12. Felt Pads to Prevent Scratches
Hardwood and laminate floors look great, but they scratch easily. Every time you slide a chair or move a table, those legs can leave behind ugly marks. The fix is simple: felt pads.
Attach felt pads under furniture legs to create a soft buffer between the hard floor and the furniture. They come in various sizes and shapes, with adhesive backing that sticks firmly. You can find them at any hardware store or online.
Just peel and stick—no tools needed. Replace them every few months or when they look worn to keep your floors scratch-free.
Choosing The Right Pads
Not all felt pads are the same. For heavy furniture like sofas or dining tables, go with thicker, high-density felt. For lighter chairs or side tables, standard pads work fine.
Make sure the pad covers the entire bottom of the leg to distribute weight evenly. Self-adhesive pads are easiest, but you can also get nail-on pads for legs that need a more permanent solution.
Installation Tips
Clean the furniture leg first—wipe off dust and grease so the adhesive sticks. Dry it thoroughly. Peel the backing and press the pad firmly onto the leg.
Hold for a few seconds to ensure a good bond. For uneven legs, use a pad with a felt top and a rubber bottom for extra grip.
When To Replace
Check your pads every three months. If they look flattened, dirty, or are peeling off, swap them out. Worn pads can trap grit that scratches the floor, so don't wait too long.
Keep a spare pack handy so you can replace them as soon as needed.
13. Steam Mop for Sanitizing
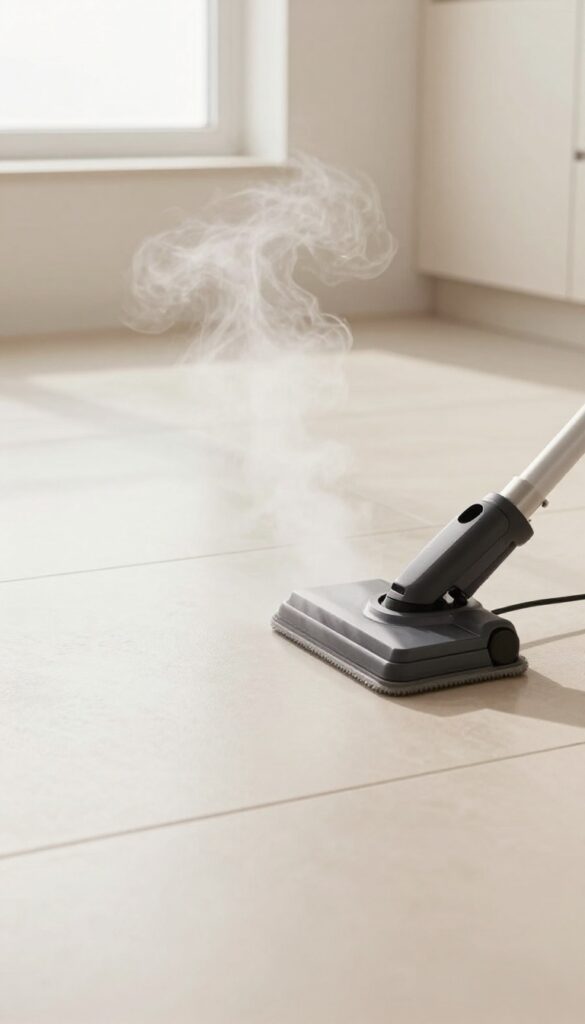
If you want a deep clean without harsh chemicals, a steam mop is your best friend. It uses only water, heated to a high temperature, to kill bacteria and loosen stuck-on grime. This is especially handy in kitchens and bathrooms where you want to sanitize without worrying about residue.
Steam mops work wonders on sealed hard floors like tile, vinyl, and laminate. The heat not only cleans but also sanitizes, making it a great option for homes with kids or pets. Just make sure your floors are sealed—steam can damage unsealed wood or porous surfaces.
Check Your Floor Type First
Before you start, confirm your floors are sealed. Do a simple water test: drip a few drops on the floor. If they bead up, it's sealed.
If they soak in, skip the steam mop. Use it on ceramic tile, luxury vinyl plank, and sealed laminate for best results.
Quick Sanitizing Routine
Fill the steam mop with water, let it heat up, and glide it over the floor in slow, overlapping passes. The steam lifts dirt and kills up to 99. 9% of germs.
No need to pre-clean—just sweep or vacuum loose debris first. It dries fast, so you can walk on it in minutes.
Tackle Grout Lines
Steam mops are excellent for grout. The hot steam penetrates the porous grout, softening dirt and mildew. Use a grout brush attachment if your mop has one, or simply go over the lines a few times.
Wipe away loosened grime with a microfiber cloth.
Maintenance Tips
Empty the water tank after each use to prevent mineral buildup. If you have hard water, use distilled water to extend the mop's life. Clean the mop pads regularly—toss them in the wash with a bit of vinegar to remove odors.
14. Salt and Lemon for Cutting Board Stains
Wooden cutting boards are kitchen workhorses, but they take a beating from knife marks, beet juice, and garlic odors. Commercial cleaners can leave residue, and bleach isn't food-safe. Instead, reach for two pantry staples: salt and lemon.
This dynamic duo lifts stains and neutralizes smells without harsh chemicals.
Sprinkle coarse salt generously over the cutting board. Cut a lemon in half and use the cut side to scrub the salt into the wood. The salt acts as a gentle abrasive, while the lemon's acidity breaks down stains and kills bacteria.
Let the mixture sit for 5 minutes, then rinse with warm water. For stubborn stains, repeat or let the paste sit longer. This method works best on light-colored wood; test on a small area first for dark or porous woods.
Why It Works
Salt's coarse texture scrubs away stuck-on food and discoloration without scratching the wood. Lemon juice contains citric acid, which lifts pigment stains and neutralizes odors like onion or fish. Together, they create a natural, food-safe cleaner that's gentle on wood but tough on messes.
When To Use This Hack
Use it after prepping ingredients that stain (beets, berries, turmeric) or leave strong smells (garlic, onion, fish). It's also great for regular maintenance—once a week keeps your board fresh. Avoid this method on bamboo or very thin boards, as too much moisture can cause warping.
Pro Tips For Best Results
Use coarse kosher or sea salt for better abrasion. Roll the lemon firmly to release more juice before cutting. After rinsing, pat the board dry immediately and stand it on its edge to air dry completely.
For extra sanitation, follow up with a splash of white vinegar.
15. Toothbrush for Tight Corners
You can scrub every inch of your floor with a mop, but there are always spots it can't reach. Corners, edges, and the narrow gaps around floor vents collect dust and grime that get ignored. An old toothbrush is the perfect tool to get into those tight spaces and make your floors truly spotless.
Don't throw away your old toothbrushes—they are ideal for detail cleaning. Their small head and stiff bristles can reach into corners, along baseboards, and around floor vents where dirt builds up. Use a dry toothbrush to loosen dust and debris, then follow up with a damp one for a deeper clean.
For sticky residue, dip the toothbrush in a mixture of warm water and a few drops of dish soap, scrub gently, and wipe away with a cloth.
Why A Toothbrush Works
A mop head is too bulky to get into tight corners or around floor vents. A toothbrush, on the other hand, is small and maneuverable. The bristles are stiff enough to dislodge caked-on dirt but gentle enough not to damage most floor finishes.
Plus, you can angle it easily to reach awkward spots.
Best Uses Around The House
Focus on areas that accumulate hidden grime: the corners of tile floors, along the edges of laminate planks, around floor heating vents, and under the lip of baseboards. Don't forget the tiny gaps between floorboards where dust settles. A quick toothbrush scrub before mopping will prevent those areas from looking dingy.
Pro Tips For Best Results
Keep a designated toothbrush for cleaning so you don't mix it up with your oral care routine. Rinse it after each use and let it air dry. For stubborn grout lines, apply a baking soda paste, scrub with the toothbrush, then rinse.
You'll be surprised how much dirt comes out of those overlooked spots.
16. Rubbing Alcohol and Water for Streaky Windows
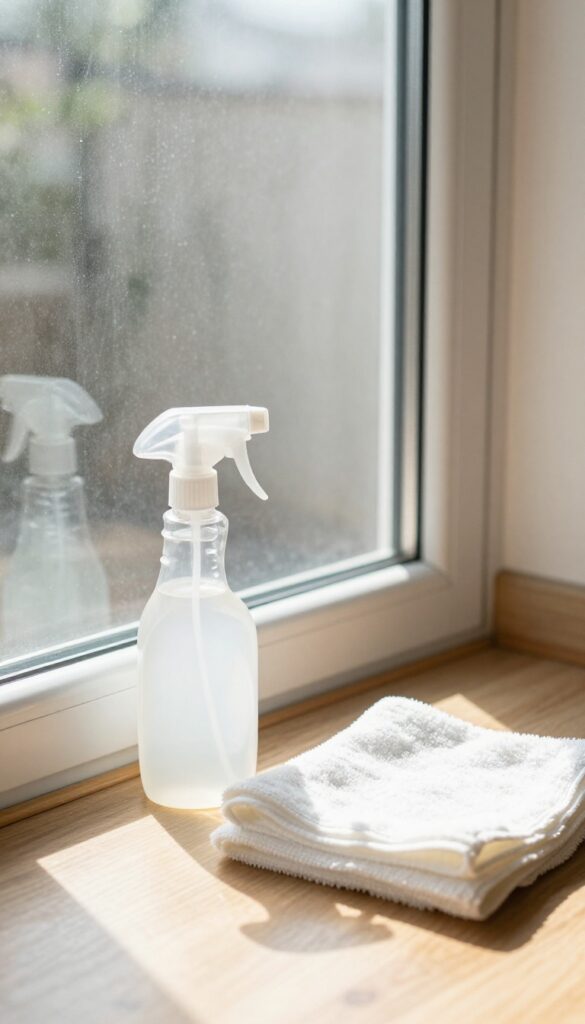
Glass doors and windows near the floor collect dust, smudges, and grime faster than you'd think. A simple 1: 1 mix of rubbing alcohol and water cuts through that buildup and dries completely streak-free.
This solution is cheap, effective, and uses ingredients you probably already have. It's especially useful for sliding glass doors, shower doors, and low windows that get splashed during floor cleaning.
Why It Works
Rubbing alcohol evaporates quickly, leaving no residue behind. Water dilutes the alcohol enough to be safe on glass while still providing the cleaning power. Together, they dissolve oils and grime without the streaks that commercial glass cleaners sometimes leave.
How To Use It
Mix equal parts rubbing alcohol and water in a spray bottle. Spray onto the glass surface, then wipe with a clean microfiber cloth or a squeegee. For best results, work from top to bottom and use a dry cloth to buff away any remaining moisture.
Bonus Tip
Add a few drops of dish soap to the mixture for extra grease-cutting power. This is great for kitchen windows or glass doors near the stove.
17. Vacuum Sealer for Mop Heads
Nobody wants to start mopping only to find the mop head smells musty or has mildew spots. That happens when damp heads sit in a bucket or closet. A vacuum sealer solves that problem by keeping mop heads fresh and dry until you need them.
Vacuum sealing isn't just for food. It removes air and locks in freshness, so your mop heads stay clean and odor-free between uses. This hack is especially useful if you have multiple mop heads or only mop occasionally.
Simply wash and dry the mop head thoroughly, then seal it in a vacuum bag. When you're ready to mop, just open the bag and it's as fresh as the day you washed it.
Why Vacuum Sealing Works
Moisture and stagnant air are the main causes of mildew on mop heads. By removing the air, you eliminate the environment where mold and bacteria thrive. The vacuum seal also keeps dust and dirt away, so your mop head stays pristine.
This is a game-changer for microfiber mop heads, which can hold onto odors if not stored properly.
How To Vacuum Seal A Mop Head
Start by washing the mop head according to the care instructions. Let it air dry completely—any moisture left inside will cause mildew even in a sealed bag. Once dry, place it in a vacuum seal bag and use your machine to remove the air.
For mop heads with a plastic backing, fold them carefully to avoid puncturing the bag. Store the sealed bag in a closet or under the sink.
When To Use This Hack
This method is perfect for households that don't mop daily. If you have multiple mop heads for different surfaces (like hardwood and tile), sealing them separately keeps them organized and ready. It's also great for storing spare mop heads bought in bulk.
Just remember to label the bags with the type of mop head and the date you sealed it.
18. Cornstarch for Grease Spots on Carpet
Grease spots on carpet can feel like a disaster, especially when they're fresh. But before you panic or reach for harsh chemicals, grab a common pantry staple: cornstarch. This fine powder is a natural absorbent that lifts oil right out of carpet fibers without scrubbing or staining.
When a grease spill happens, time is your enemy. The longer oil sits, the deeper it soaks into the carpet backing, making it nearly impossible to remove. Cornstarch works by pulling the grease to the surface, where it can be easily vacuumed away.
It's gentle, non-toxic, and safe for all carpet types. Best of all, you probably already have it in your kitchen.
Why Cornstarch Works So Well
Cornstarch is a fine, powdery starch with a high surface area. When sprinkled on a grease spot, it acts like a sponge, drawing the oil out of the carpet fibers through capillary action. It doesn't react with the stain chemically, so there's no risk of discoloration or damage.
Plus, it's completely odorless and won't leave a residue after vacuuming.
Step-by-step Application
First, blot up any excess grease with a paper towel—don't rub, or you'll push it deeper. Then, generously cover the spot with cornstarch, making sure it's at least 1/4 inch thick. Let it sit for 15 minutes (or longer for stubborn spots).
Finally, vacuum thoroughly using the hose attachment. Repeat if a faint shadow remains.
Pro Tips For Best Results
For set-in grease stains, gently warm the area with a hairdryer on low heat for a few seconds before applying cornstarch—this loosens the oil. If you don't have cornstarch, baking soda or baby powder can work as substitutes, but cornstarch is usually more effective. Always test on an inconspicuous area first, especially on delicate carpets.
19. White Vinegar and Baking Soda for Clogged Mop
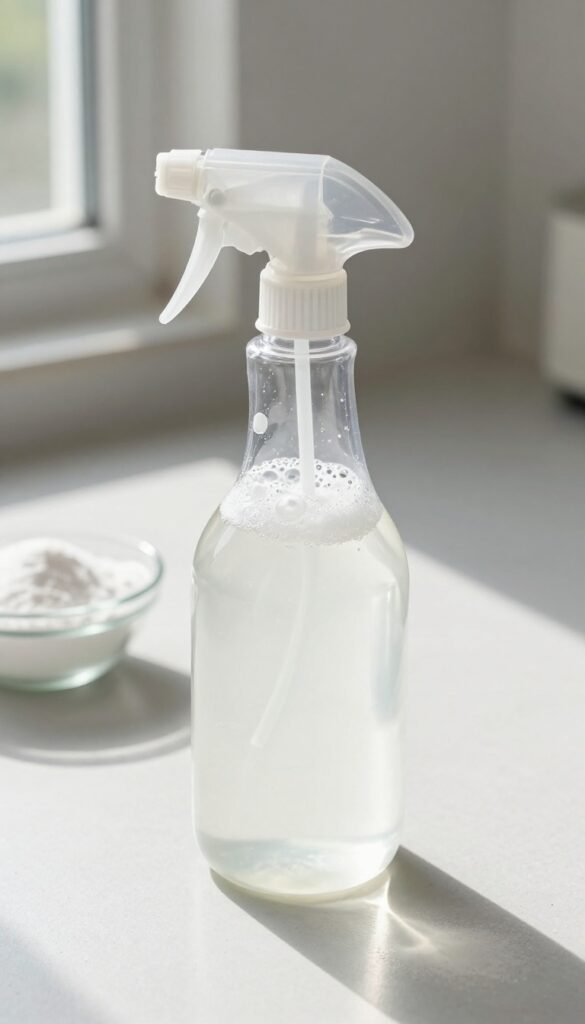
A spray mop is a lifesaver for quick cleanups, but mineral deposits from hard water can clog the nozzle and ruin the spray pattern. Before you toss it or buy a new one, try a simple flush with white vinegar and baking soda. This fizzy duo dissolves buildup and restores your mop's performance in minutes.
Mix equal parts white vinegar and warm water in the mop's reservoir, then add a tablespoon of baking soda. Shake gently (it will fizz), let it sit for 15 minutes, then spray it out through the nozzle until empty. Rinse the reservoir with clean water and run plain water through the sprayer to remove any residue.
Your mop will spray evenly again without the sputtering or weak stream.
Why Vinegar And Baking Soda Work
White vinegar is a mild acid that breaks down calcium and lime deposits. Baking soda is a gentle abrasive that scrubs away gunk without scratching the plastic parts. Together, they create a fizzy reaction that loosens stubborn clogs deep inside the nozzle and tubing.
Step-by-step Flush Process
Empty the mop's reservoir completely. Fill it halfway with white vinegar, then top off with warm water. Add one tablespoon of baking soda and screw the cap on loosely.
Shake the mop gently to mix, then let it sit for 15 minutes. Point the mop into a sink or bucket and spray until the reservoir is empty. Follow with a rinse of plain warm water to clear out any leftover solution.
When To Repeat Or Deep Clean
If the spray is still weak after one flush, repeat the process. For heavily clogged mops, remove the nozzle (if possible) and soak it in undiluted white vinegar overnight. Use a pin or paperclip to gently clear any visible debris from the spray hole before reassembling.
20. Microfiber Cloths for Spot Cleaning
Not every floor mess requires a full mop bucket. A quick spot clean with the right cloth can save time and effort. Microfiber cloths are perfect for this because they trap dust and dirt without scratching even delicate surfaces like hardwood or laminate.
Keep a stack within reach, and you can handle spills and smudges in seconds.
Microfiber cloths are a game-changer for spot cleaning. Their ultra-fine fibers create a static charge that attracts dust and dirt, lifting it away rather than pushing it around. Unlike paper towels that can leave lint or scratch, microfiber is gentle yet effective.
Plus, they're reusable—just wash and dry them for hundreds of uses. For the best results, use a dry cloth for dusting and a slightly damp one for sticky spots or spills.
Why Microfiber Works So Well
Microfiber is made from split fibers that are about 1/100th the thickness of a human hair. This creates tiny hooks that grab onto dirt, grease, and bacteria. The electrostatic charge also pulls in particles, so you're not just moving mess around—you're actually removing it.
It's why a single swipe can pick up more than a dry dust mop.
Best Practices For Spot Cleaning
Keep a basket or drawer of clean microfiber cloths near high-traffic areas like the kitchen or entryway. For dry dusting, fold the cloth into quarters and use each side before grabbing a fresh one. For wet spills, dampen the cloth with water or a mild cleaner—avoid soaking it, as excess liquid can damage floors.
Always wipe in one direction to avoid redepositing dirt.
Caring For Your Microfiber Cloths
To keep them effective, wash microfiber cloths separately from cotton or linty fabrics. Use a mild detergent without fabric softener, which clogs the fibers. Tumble dry on low or air dry.
Over time, they may lose their grip, but a good wash usually restores them. Replace them when they start leaving streaks or lint.
21. DIY All-Purpose Floor Cleaner
Store-bought floor cleaners can get expensive, and many contain harsh chemicals you might not want around your family or pets. A simple homemade solution works just as well on most hard floors—tile, vinyl, and laminate—and costs pennies per batch. This recipe uses ingredients you probably already have in your kitchen, so you can whip up a fresh batch whenever you need it.
Mix 1 gallon of warm water, 1/2 cup of white vinegar, and 1 teaspoon of dish soap in a bucket. Stir gently to combine, then use a well-wrung mop to clean your floors. The vinegar cuts through grease and grime, while the dish soap helps lift stuck-on dirt.
Avoid using this on unsealed wood or stone, as the acidity can damage those surfaces. For best results, use warm water—it helps the solution work faster and evaporates quickly, reducing streaks.
Why This Combo Works
White vinegar is a natural degreaser and disinfectant, while dish soap breaks down surface tension so the solution spreads evenly. Together, they tackle sticky residues and everyday dirt without leaving a film. Plus, the smell of vinegar fades quickly once the floor dries.
Tips For Streak-free Floors
Use a microfiber mop or a well-wrung cotton mop—too much water leaves streaks. Change the solution if it gets dirty, and rinse the mop head frequently. For extra shine on laminate, add a few drops of baby oil to the mix.
Storage And Shelf Life
This cleaner is best used fresh, but you can store leftover solution in a sealed container for up to a week. Shake or stir before each use, as the dish soap may settle. Label the container clearly to avoid confusion.
22. Carpet Rake for High-Traffic Areas
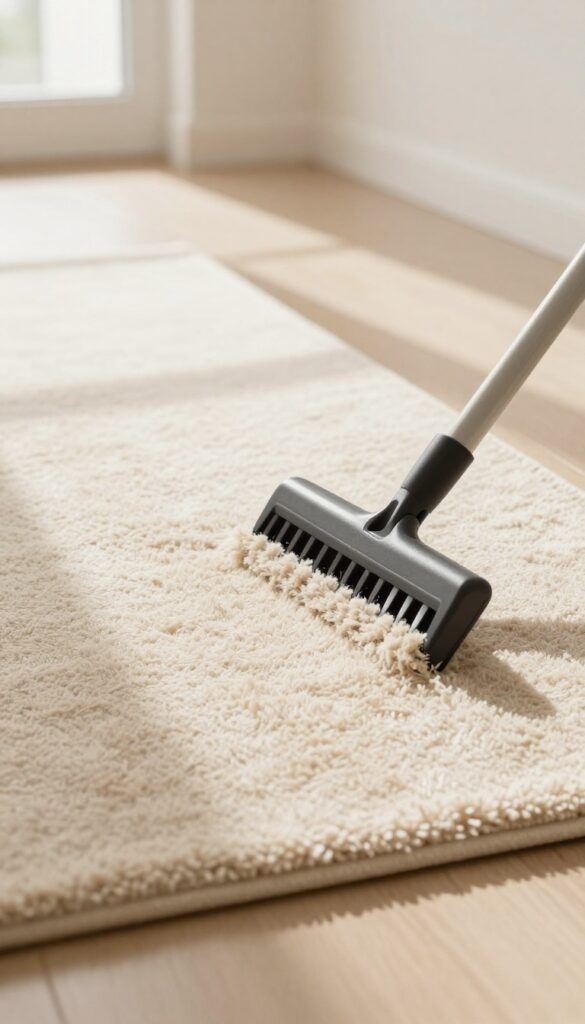
High-traffic areas like hallways and living room paths take the biggest beating. Over time, carpet fibers get crushed, matted, and flattened, making even a clean carpet look dull and worn. A carpet rake is a simple tool that can bring those fibers back to life, restoring fluffiness and making vacuuming far more effective.
Using a carpet rake is straightforward. Gently rake the carpet in one direction to lift the fibers, then vacuum thoroughly. The rake loosens embedded dirt and separates matted strands, allowing the vacuum to pull out debris that was previously trapped.
For best results, rake before vacuuming, and focus on areas where you see visible flattening or traffic patterns. Repeat every few weeks or as needed to maintain a plush appearance.
Why It Works
Carpet fibers are designed to stand upright, but foot traffic presses them down, creating a compacted layer that traps dirt and dust. A carpet rake's tines reach deep into the pile, gently teasing fibers apart and lifting them back into position. This not only improves appearance but also extends carpet life by reducing wear on the fibers.
Best Practices
Always rake in the direction of the carpet's natural nap to avoid damaging fibers. Start at one end and work in overlapping rows. Avoid over-raking, which can stress the fibers.
After raking, vacuum with a beater bar or brush roll to capture the loosened dirt. For stubborn matting, a light mist of water can help fibers bounce back.
When To Skip
Carpet rakes are not suitable for all carpet types. Avoid using them on delicate loop-pile carpets like Berber, as the tines can snag and pull loops. Also skip on very old or fragile carpets that might shed or fray.
Stick to plush, cut-pile, or frieze carpets for best results.
23. Lemon Juice for Hard Water Spots
Hard water spots on tile or glass floors can make even a freshly cleaned surface look dull and streaky. These stubborn mineral deposits build up over time, especially near sinks or in bathrooms. Lemon juice is a natural acid that dissolves those deposits without harsh chemicals.
Squeeze fresh lemon juice directly onto the spots or dip a cloth in bottled lemon juice. Let it sit for a few minutes to break down the minerals. Then wipe clean with a damp microfiber cloth.
For extra stubborn spots, add a little salt to the lemon juice to create a gentle scrub. Rinse with water afterward to prevent any sticky residue.
Why Lemon Juice Works
The citric acid in lemon juice reacts with calcium and lime deposits, breaking them down so they wipe away easily. It's a safe alternative to commercial descalers, especially on ceramic tile, porcelain, and glass. Plus, it leaves a fresh, clean scent.
Best Surfaces To Use It On
Lemon juice is ideal for glazed ceramic tile, porcelain, and glass shower doors. Avoid using it on natural stone like marble or granite, as the acid can etch the surface. Always test a small hidden area first.
Pro Tips For Best Results
For vertical surfaces like glass doors, soak a paper towel in lemon juice and press it against the spots. Let it sit for five minutes, then wipe. For floors, apply the juice with a spray bottle and let it dwell before mopping.
Don't let it dry completely—wipe while still damp.
24. Doormat Strategy to Reduce Dirt
You can scrub floors all you want, but if dirt keeps walking in, you're fighting a losing battle. The smartest hack is to stop the mess before it starts. A simple doormat strategy can cut your cleaning time in half.
Think of doormats as your floor's first line of defense. They trap grit, mud, and moisture before they get ground into your floors. But not all doormats work the same way, and placement matters just as much as material.
Outside Mat: Scrape And Absorb
Place a coarse, scraper-style mat outside each door. Look for materials like coir or rubber that can handle heavy dirt and moisture. This mat's job is to remove large particles and soak up rain or snow before you step inside.
Inside Mat: Trap The Rest
Right inside the door, lay down a soft, absorbent mat made of microfiber or cotton. This catches the fine dust and any remaining moisture that the outside mat missed. It also gives shoes a final wipe as you walk in.
Size And Maintenance Tips
Go bigger than you think. A mat that's at least three steps long ensures both feet get wiped. Shake out or vacuum both mats weekly, and wash the inside mat monthly to keep it effective.
Replace them when they look worn.
25. Weekly Maintenance Routine
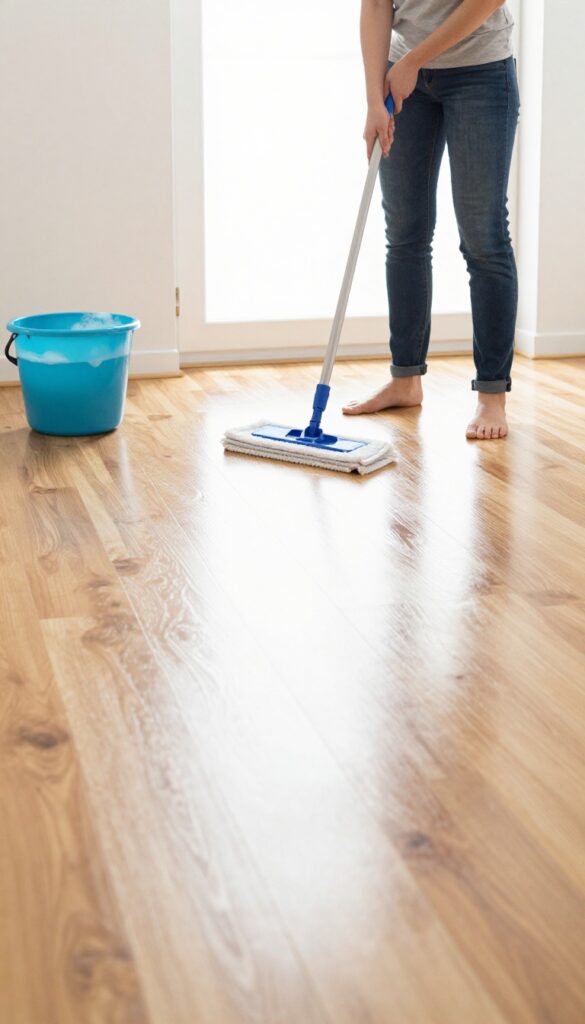
The secret to consistently clean floors isn't a miracle product—it's a simple routine. By spending just 15 minutes a day, you can prevent dirt from building up and avoid those marathon cleaning sessions. This weekly maintenance plan keeps your floors looking great with minimal effort.
Daily Quick Sweep
Focus on high-traffic areas like entryways, kitchen, and hallways. A quick sweep or vacuum removes loose dirt before it gets ground in. This takes only a few minutes and makes a huge difference.
Spot Clean As You Go
Don't let spills or stains sit. Keep a microfiber cloth or spray bottle handy for immediate cleanups. A few seconds now saves you scrubbing later.
Weekly Deep Mop
Once a week, do a full mop with a suitable cleaner for your floor type. This removes any remaining grime and restores shine. Consistency is key—stick to the schedule and your floors will thank you.
FAQ
How often should I mop my floors?
It depends on traffic. High-traffic areas like kitchens and entryways benefit from mopping every 2-3 days. Low-traffic rooms can go weekly.
Can I use vinegar on hardwood floors?
Only on sealed hardwood. Unsealed wood can be damaged by vinegar's acidity. Test in an inconspicuous area first.
What's the best way to remove pet stains from carpet?
Blot immediately, then apply a mixture of white vinegar and water (1: 1). Let it sit for 5 minutes, blot again, and sprinkle baking soda to absorb odor.
How do I prevent streaks on tile floors?
Use a microfiber mop and a vinegar-water solution. Avoid using too much water, and dry the floor with a clean microfiber cloth if streaks appear.
Is steam mopping safe for laminate floors?
Most laminate floors are not designed for steam. Check the manufacturer's guidelines. Excess moisture can warp the boards.
Conclusion
You don't need expensive products or endless scrubbing to get sparkling floors. These 25 hacks prove that everyday items and a few smart techniques can cut your cleaning time in half while delivering better results. Start with the tip that targets your biggest frustration—sticky kitchen floors, dull tile, or dusty hardwood.
Pick two or three to test this week, and you'll quickly see which ones become your go-to moves. A cleaner home with less effort is totally doable.