How to Clean My Room Fast with 11 No-Stress Shortcuts
You walk into your room and see clothes on the chair, papers on the desk, and a random coffee mug from this morning. It doesn't have to be a weekend project to fix. These 11 no-stress shortcuts are designed to get your room clean fast without the overwhelm.
Each step takes just a few minutes and targets the biggest mess-makers first. Start with a trash bag sweep, then move through the laundry shuffle and surface clearing. By the end, you'll have a tidy space with minimal effort.
Ready to transform your room in under 30 minutes? Let's dive into the shortcuts.
1. Grab a Trash Bag and Do a Quick Sweep
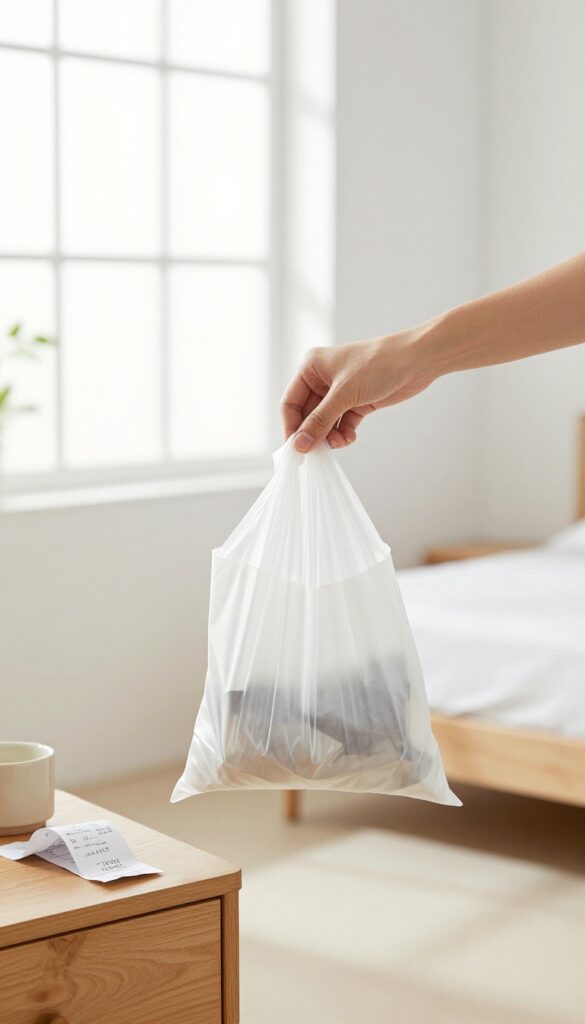
Trash is the fastest thing to eliminate. No sorting, no folding, no decisions—just grab and toss. A quick sweep for obvious garbage instantly clears visual clutter and gives you a psychological win.
You'll see progress before you even break a sweat.
Walk around your room with an open trash bag and scan every surface. Pick up empty water bottles, crumpled receipts, used tissues, old wrappers, and anything that clearly belongs in the bin. Don't overthink it—if it's trash, in it goes.
This step alone can make your room look dramatically cleaner in under five minutes. The key is speed: don't stop to organize or debate. Just toss.
Once the bag is full or the sweep is done, tie it up and set it by the door. That one action removes a surprising amount of visual noise and frees up mental space to tackle the next shortcut.
Work In A Circle
Start at your door and move clockwise around the room. This ensures you don't miss any spots and keeps you from zigzagging aimlessly. Focus on floors, nightstands, desks, and dresser tops.
Stay in motion and keep your eyes scanning ahead.
Don't Touch The Non-trash
If it's not obviously garbage, leave it for later steps. The whole point of this sweep is speed. Resist the urge to sort laundry or stack papers.
That comes next. For now, only grab things that are clearly destined for the trash can.
Empty Small Bins As You Go
If you have a small wastebasket in your room, dump it into your big bag now. No need to bag separately—consolidate everything into one main bag. This prevents having to come back to it later and keeps the momentum going.
2. Use the Laundry Basket Shuffle
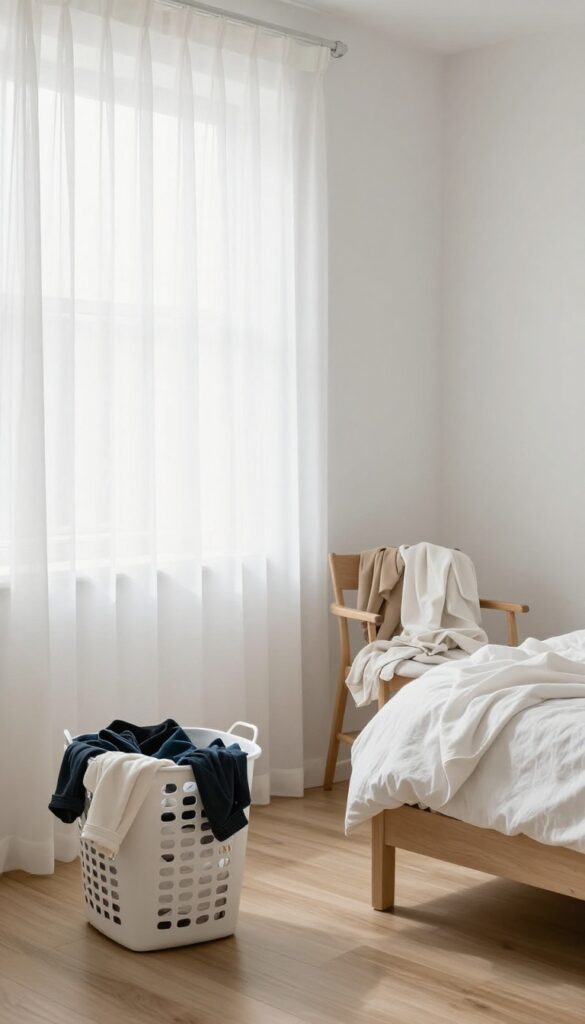
Clothes scattered across the floor, draped over chairs, and piled on the bed make a room look ten times messier than it is. The fastest fix isn't folding or sorting—it's relocation. Grab a laundry basket and do a quick sweep, tossing in anything fabric that doesn't belong where it is.
This one move instantly clears visual clutter and frees up surfaces.
The laundry basket shuffle is all about speed, not perfection. You're not organizing your wardrobe; you're just getting clothes out of sight. Once they're corralled, you can deal with them later—wash, fold, or hang.
For now, the goal is a clean-looking room with minimal effort.
Don't Overthink It
Walk around your room with the basket and grab any clothing that's out of place. Pajamas on the floor? In the basket.
That jacket on the chair? Basket. Socks under the desk?
You get the idea. No sorting, no folding—just toss. This should take less than two minutes.
Use Multiple Baskets If Needed
If you have a lot of laundry, grab a second basket or a trash bag. One for lights, one for darks—or just one big pile. The point is to get everything off the floor and furniture.
You can sort later when you're ready to do laundry.
Keep The Basket Handy
Once you've done the initial sweep, keep the basket in a corner or closet. As you continue cleaning, you'll likely find more stray clothes. Toss them in as you go.
This prevents clothes from creeping back onto surfaces while you work on other areas.
3. Clear All Flat Surfaces with a Single Pass
Flat surfaces like desks, nightstands, and dressers are magnets for clutter. The trick is to not get bogged down sorting every item right now. Grab a tray, a box, or even a laundry basket and do one quick sweep across every surface.
Pile everything in the container, then wipe down each surface with a cloth or spray. Instantly, your room looks cleaner because the visual noise is gone. You can sort the tray later when you have a few extra minutes.
This shortcut works because it separates the act of clearing from the act of organizing. Your brain sees a clean desk and feels a sense of accomplishment, which motivates you to keep going. Plus, having all the displaced items in one container makes it easier to deal with them later—no more hunting for that stray pen or charger.
What You’ll Need
Grab a shallow tray, a small box, or even a clean laundry basket. Keep a microfiber cloth and a multi-surface cleaner handy. That’s it.
No special tools required.
The One-pass Rule
Start at one end of the room and work your way around. Sweep everything off each flat surface into your container. Don’t stop to decide if something belongs elsewhere—just sweep.
Then quickly wipe the surface clean. Move to the next surface without looking back.
What To Do With The Tray
Once all surfaces are clear, set the tray aside. If you have time, sort items into categories: trash, things that belong elsewhere, and things that live on that surface. If not, just stash the tray out of sight until your next cleaning session.
The room already looks infinitely better.
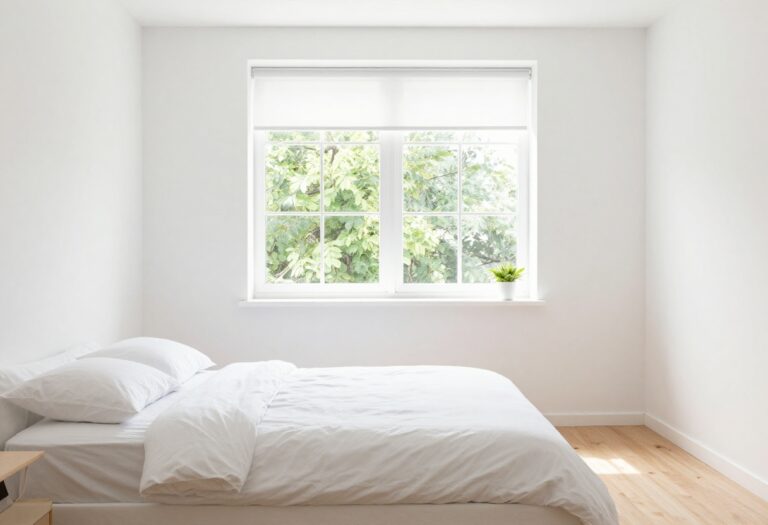
4. Make Your Bed in Under 60 Seconds
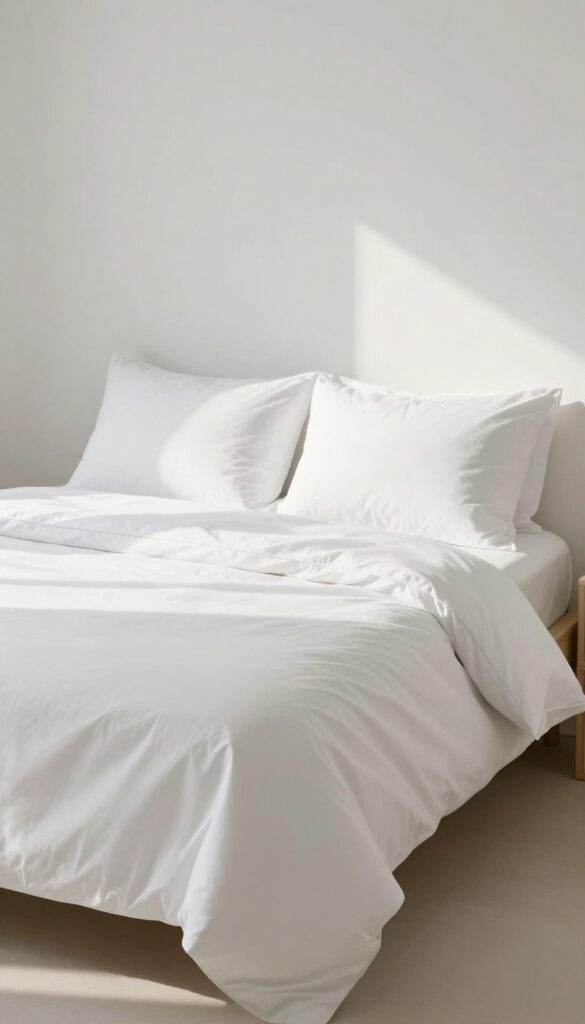
A made bed is the easiest trick to make your whole room look cleaner. Studies show it instantly improves the perceived tidiness of a space by about 50%. You don't need military precision—just pull up the duvet, fluff the pillows, and you're done.
This quick win sets a positive tone for the rest of your cleaning.
Making your bed is the fastest shortcut to a cleaner-looking room. It takes less than a minute and creates a visual anchor that makes everything else feel more organized. Here's how to do it without stress.
The 30-second Duvet Toss
Forget hospital corners. Just grab the duvet or comforter at the top corners, give it a good shake, and let it settle evenly over the bed. Walk to the foot of the bed and smooth out any big wrinkles.
That's it—30 seconds max.
Pillow Fluff & Placement
Fluff each pillow by punching the center a few times, then set them upright against the headboard. If you have decorative pillows, just toss them on top. The goal is symmetry, not perfection.
Two pillows side by side instantly look intentional.
The One-minute Finish
If you have a blanket or throw, fold it neatly at the foot of the bed. Then step back and adjust anything that looks off. The whole process should take under 60 seconds.
You'll be amazed at how much cleaner your room feels.
5. Do a 5-Minute Floor Patrol
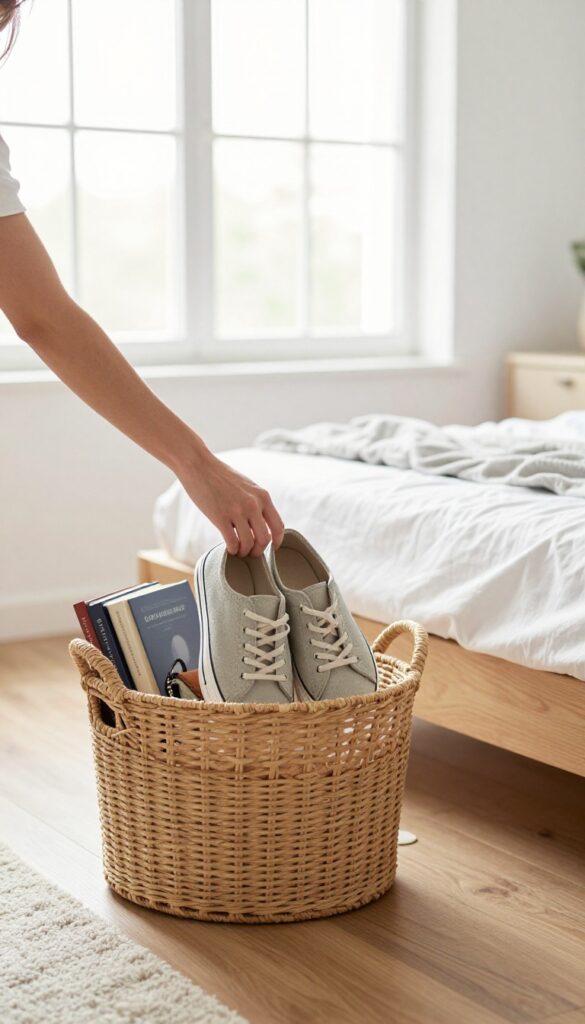
The floor is the largest surface in your room, and when it's covered in stuff, the whole space feels chaotic. But you don't need to spend an hour sorting everything—just five minutes of focused pickup can make a dramatic difference. Grab a basket or a laundry hamper and get ready to clear the decks.
Set a timer for five minutes and pick up anything on the floor that doesn't belong there. Shoes, books, bags—put them in their designated spots or a temporary holding area. The floor is the biggest visual space, so clearing it instantly makes the room look cleaner.
Work In A Circle
Start at one corner and move around the room in a clockwise or counterclockwise direction. This prevents you from zigzagging and missing spots. As you go, toss items into a basket or pile them by the door to deal with later.
Don't stop to organize—just collect.
The One-touch Rule
When you pick something up, decide immediately where it goes. Either place it in its home (like shoes in the closet) or drop it in a designated "relocation" bin. Avoid setting things down again, which just creates more clutter.
This keeps the momentum going.
Don't Forget Under The Bed
Under-bed clutter is easy to ignore, but it often spills out and adds to the mess. Quickly sweep your arm or a broom under the bed to corral any stray items. If you have time, pull out a few things and put them away.
Even a quick pass makes a difference.
6. Use the 'One-Touch' Rule for Small Items
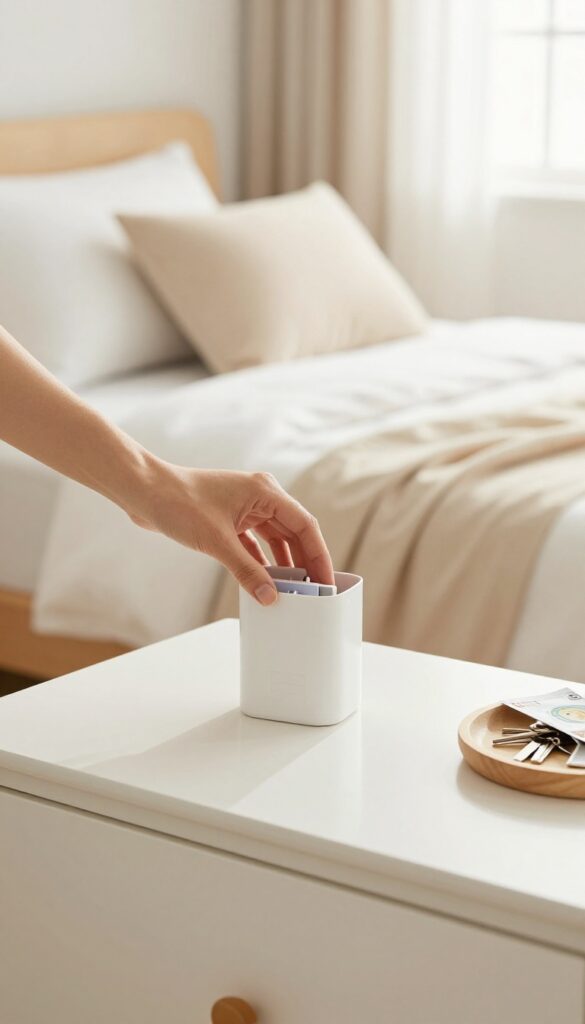
Have you ever picked up a stray sock, carried it halfway to the laundry basket, then set it on your desk because you spotted something else? That's the kind of back-and-forth that eats up your cleaning time. The one-touch rule is a simple mental shift: when you pick up an item, don't put it down until it's in its final home.
It sounds small, but it eliminates dozens of wasted trips across the room.
The one-touch rule works because it forces you to make a decision immediately. Instead of shuffling clutter from one spot to another, you commit to putting each item where it belongs right away. This prevents the dreaded 'clutter migration' where stuff just moves around the room without actually getting organized.
It also builds momentum, because every item you properly put away feels like a small win.
Start With A 'home' For Everything
The one-touch rule only works if you know where each item lives. Before you start, quickly designate a home for the common clutter culprits: a hook for keys, a tray for mail, a bin for chargers. When you pick up a stray item, you already know its destination.
No hesitation, no second-guessing.
Keep A 'maybe' Pile Handy
Some items are hard to place—like that random gadget you might need later. Instead of breaking the one-touch rule by setting it down somewhere random, keep a small basket or bin for 'decide later' items. When you pick up something uncertain, drop it in the basket.
Later, you can sort the basket in one go.
Apply It To Trash And Recycling Too
The one-touch rule isn't just for organizing—it works for trash too. When you see an empty wrapper or a used tissue, pick it up and walk it directly to the bin. Don't set it on the nightstand 'for later. ' That later never comes, and you end up with a pile of trash you have to deal with again.
7. Wipe Down High-Touch Areas with a Dry Cloth
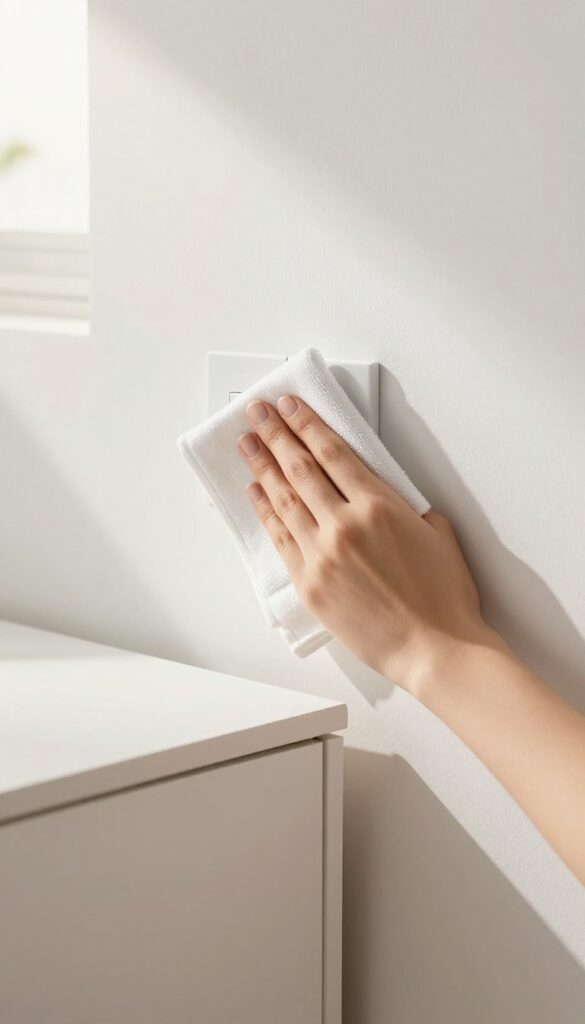
Even after you've cleared surfaces and organized your stuff, your room can still feel grimy. That's because high-touch areas like light switches, door handles, and the top of your dresser collect invisible grime and dust. A quick wipe with a dry microfiber cloth makes these spots look fresh and polished, giving your whole room a cleaner vibe without any heavy scrubbing.
Why High-touch Areas Matter
Think about how often you touch a light switch or door handle every day. Over time, oils from your hands and dust from the air build up. Even if your room is tidy, these small dirty spots can make the whole space feel unkempt.
Cleaning them is a low-effort way to elevate the overall look and feel of your room.
What To Wipe And How
Grab a dry microfiber cloth—no sprays or water needed. Focus on light switches, door handles, drawer pulls, and the top edges of your dresser or nightstand. Use a gentle sweeping motion to collect dust and grime.
For stubborn spots, you can slightly dampen the cloth, but dry dusting is faster and works for most daily buildup.
When To Do This Step
This is a perfect finishing move after you've decluttered and organized. It takes less than two minutes. Do it once a week or whenever you want your room to feel instantly cleaner.
It's also a great habit to build into your regular cleaning routine.
8. Fluff and Arrange Pillows and Throws
Pillows and blankets can make or break the look of a room. When they're flat or crumpled, the whole space feels sloppy. A quick fluff and a simple fold take almost no time and instantly upgrade the vibe.
This is the final touch that turns a clean room into a polished one. It's not about perfection—just a few seconds per pillow and a neat drape of your throw can make your bed or couch look intentional and cozy. You don't need to arrange them like a showroom; a little symmetry or a casual toss works fine.
The key is to break up the flatness and add some texture. Even if you're short on time, this small effort signals that you care about the space.
The One-minute Pillow Fluff
Grab each pillow by the sides and give it a good shake. Then punch the center a few times to redistribute the filling. Set it back in place with the seam facing the back or bottom.
For couch pillows, alternate angles or stack a smaller one in front of a larger one. This takes about 10 seconds per pillow and makes them look plump and inviting.
Fold Throws Like A Pro (without Overthinking)
If your throw is a blanket, fold it into thirds lengthwise, then drape it over the arm of your couch or across the foot of your bed. For a knitted or textured throw, a simple loose fold works best. Don't stress about perfect creases—just make it look neat.
If you have multiple throws, layer them or keep one on the bed and one on a nearby chair.
Bed Pillow Arrangement That Looks Effortless
Start with the pillows you sleep on: stand them up against the headboard or wall. Then add any decorative pillows in front. A common trick is to place two standard pillows side by side, then lean a lumbar pillow in front.
For a king bed, use three pillows across. The goal is to create layers without overcomplicating it. Even just fluffing your sleeping pillows and propping them up makes the bed look made.
9. Use a Lint Roller for Quick Dusting
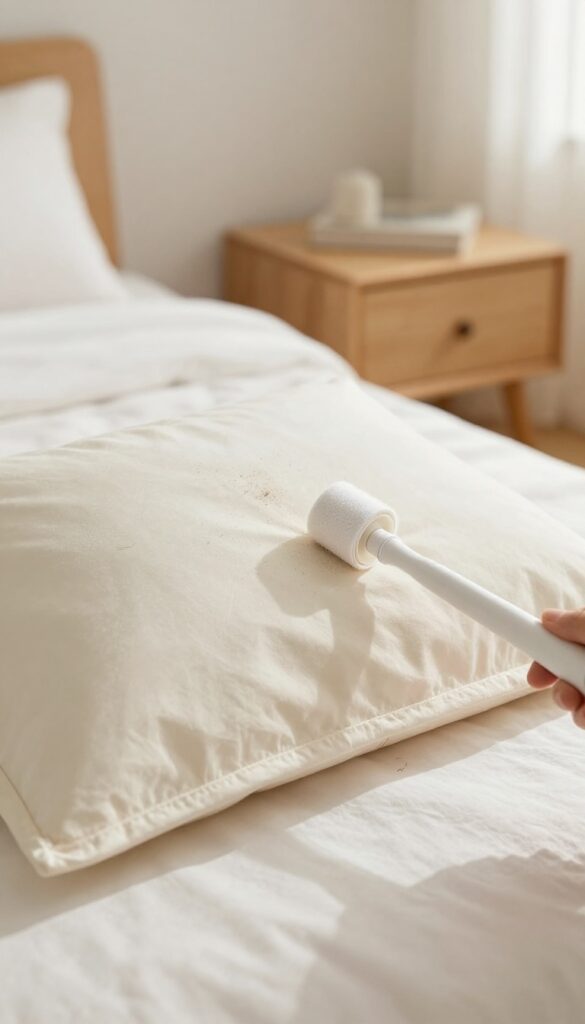
Dusting is often the most tedious part of cleaning, but it doesn't have to be. Grab a lint roller instead of a dust cloth and watch how fast you can refresh your space. This simple swap saves time and catches particles you might miss with a rag.
Lampshades And Light Fixtures
Lampshades attract dust like crazy, especially fabric ones. Instead of wiping them down and pushing dust deeper into the fibers, roll a lint roller over the surface. It lifts dust and pet hair without damaging the shade.
For pleated or textured shades, press the roller firmly into the crevices.
Baseboards And Window Sills
Baseboards collect a surprising amount of dust and debris. A lint roller is perfect for those narrow ledges where a cloth might struggle. Run it along the top edge and down the front of the baseboard.
It also works great on window sills, picking up dust and dead bugs in one pass.
Desk And Electronics
Your desk and electronics are magnets for dust and crumbs. Use a lint roller to quickly clean your keyboard, mouse pad, and monitor bezels. The adhesive grabs dust from between keys without pushing it further in.
For a final touch, roll it over your desk surface to pick up any remaining particles.
10. Create a 'Clutter Corral' for Miscellaneous Items
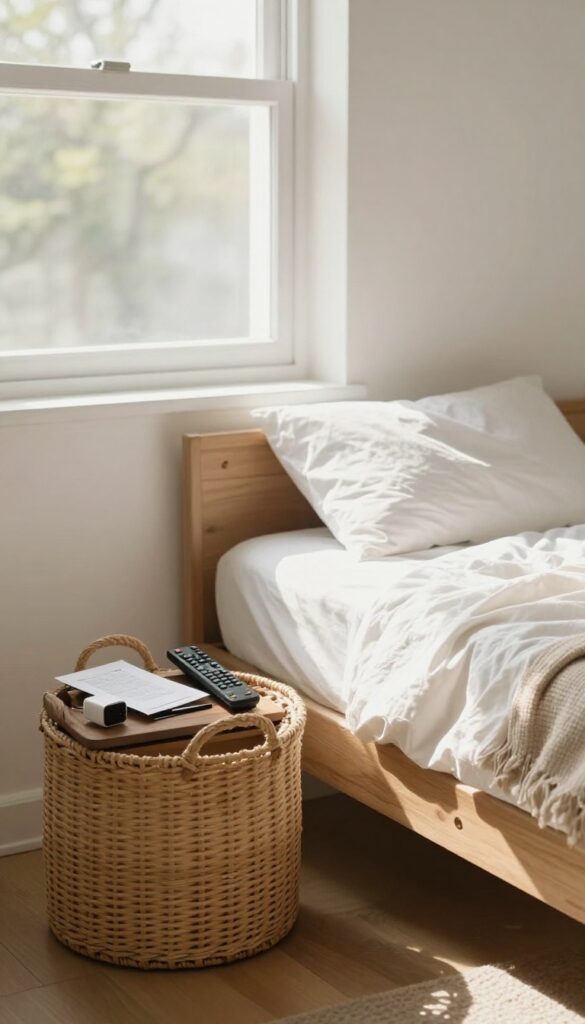
You know those random things that don't have a clear home—like the remote, a stray charger, today's mail, or that pen you just used. They pile up on your desk, nightstand, or dresser, making the room look messy even when everything else is clean. Instead of stressing about where each one belongs, grab a decorative box or a basket and toss them all in.
It's a quick fix that hides the visual chaos instantly.
The clutter corral is your secret weapon for instant tidiness. You don't need to organize every little thing right now. Just gather the orphans and drop them in.
Later, when you have more time, you can sort through the box and find permanent homes. But for now, your surfaces look clear and your room feels calmer.
Pick A Container That Fits Your Style
Choose something that complements your room's decor—a woven basket, a sleek metal bin, or a pretty ceramic bowl. It should be large enough to hold a handful of items but not so big that it becomes a black hole for clutter. Place it in a central spot like your desk or dresser where you naturally drop things.
Make It A Daily Habit
At the end of each day, do a quick sweep of surfaces and toss any misplaced items into the corral. It takes 30 seconds. Over time, you'll train yourself to use it as a catch-all, preventing piles from forming.
Just remember to empty and sort it once a week so it doesn't become a permanent junk drawer.
11. Do a Final 2-Minute Scan and Adjust
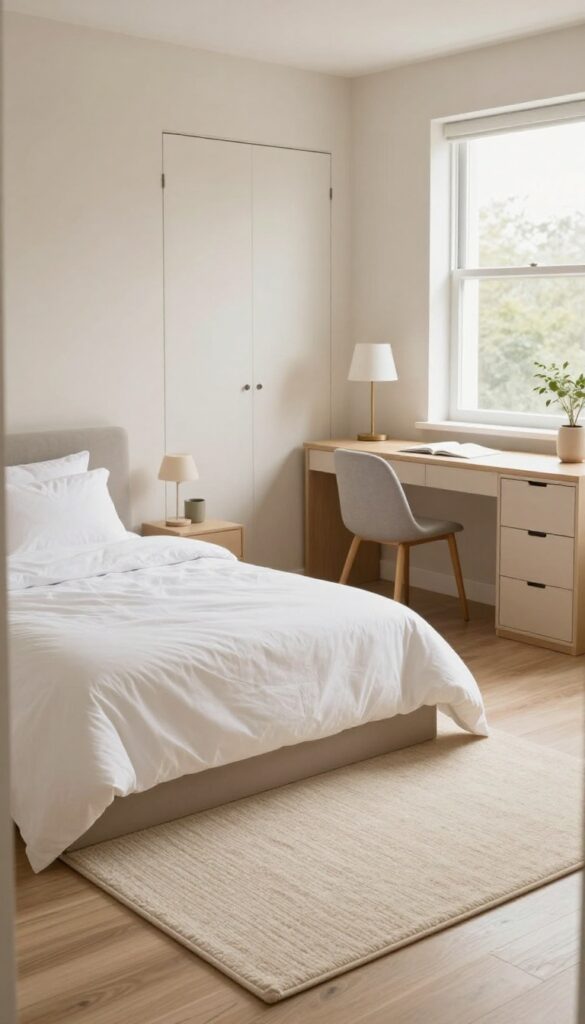
Once you've done the heavy lifting—trash gone, clothes put away, surfaces wiped—there's one last step that makes everything look polished. It's the finishing touch that separates "clean" from "put together. "
Stand at the doorway and take a slow look around. Notice anything that feels off—a crooked rug, a half-open drawer, a chair pushed out of place. Fix those small things.
Straighten the rug, close the drawer fully, nudge the chair back under the desk. This final scan takes less than two minutes but completely changes how the room feels. It's like putting the last puzzle piece in place.
The Doorway Perspective
Your viewpoint matters. When you stand at the entrance, you see the room the way anyone else will—as a whole. From there, small imperfections jump out.
A pillow that's slightly off-center, a lamp that's tilted, a curtain that's bunched up. Fixing these from the doorway gives you a fresh eye.
Quick Adjustments That Make A Difference
Focus on the things that take just a second. Push in all chair legs so they're parallel to the desk. Align the corners of your rug with the furniture.
Make sure closet doors are fully closed. Even a single drawer left ajar can make the room feel messy. These tiny tweaks add up to a clean, intentional look.
FAQ
How long does it take to clean a room using these shortcuts?
Most of these shortcuts take just a few minutes each. Combined, you can have a noticeably cleaner room in 15 to 30 minutes.
Do I need special cleaning products?
No. These shortcuts rely on everyday items like a trash bag, laundry basket, and microfiber cloth. No fancy supplies required.
What if my room is really messy?
Start with the trash bag and laundry basket. Those two steps alone can make a huge difference. Then focus on one surface at a time.
How often should I use these shortcuts?
Use them anytime you need a quick tidy-up, like before guests arrive or at the end of a busy day. They're great for daily maintenance.
Can I use these shortcuts for other rooms?
Absolutely. The same principles apply to any room—living room, kitchen, or office. Adapt the steps to fit the space.
Conclusion
Cleaning your room fast doesn't require a magic wand—just a few smart shortcuts. By focusing on high-impact areas like the floor, bed, and flat surfaces, you can transform a messy room in minutes. The key is to stop aiming for perfection and start taking small, consistent actions.
Next time you're short on time, pick two or three of these shortcuts and see how much you can accomplish. Your room will thank you.