23 Cleaning Wood Floors Tips for Safe Natural Shine
Your hardwood floors work hard every day, but the wrong cleaner can leave them dull or damaged. You don't need harsh chemicals to get that natural shine—just a few simple ingredients and smart habits.
From vinegar rinses to olive oil polishes, these 23 tips target specific issues like scratches, grime, and dullness. Whether you're dealing with sticky spills or just want a streak-free glow, there's a safe, effective method here for you.
Ready to bring back that warm, natural luster without the guesswork?
1. Start with a Soft Broom or Dust Mop
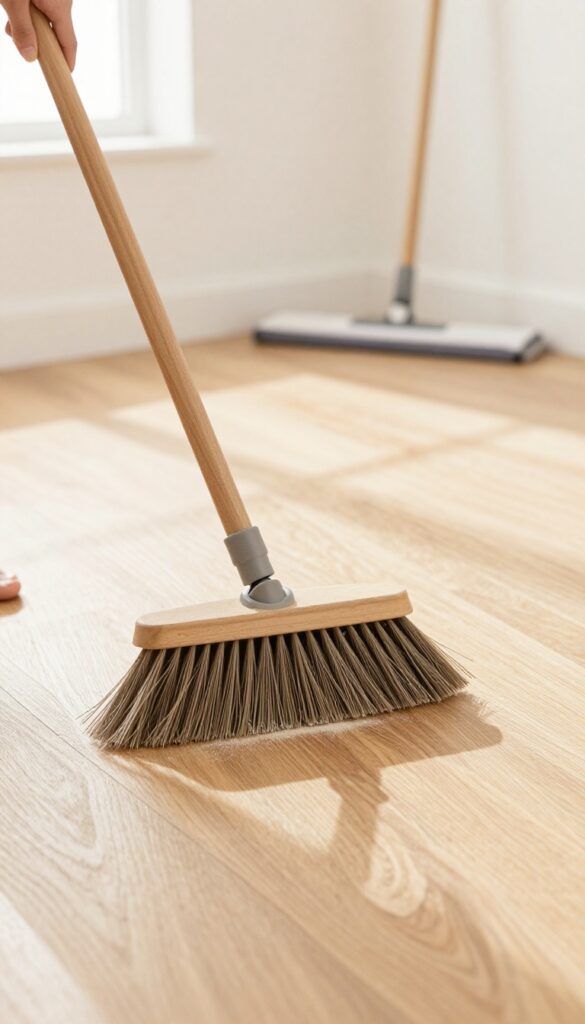
Before any wet cleaning, dry removal of loose dirt is the most important step. Grit and sand act like sandpaper underfoot, scratching the finish with every step. A soft-bristle broom or a microfiber dust mop lifts particles without harming the wood.
Sweeping daily might sound like overkill, but it's the single best habit for preserving your floor's shine. Hard-bristle brushes can leave micro-scratches, so always choose soft bristles or a quality microfiber mop. For best results, use a dust mop with a washable pad that traps dust rather than pushing it around.
Why Dry Cleaning Comes First
Water and wood don't mix. The less moisture you introduce, the better. Dry sweeping removes the abrasive particles that cause dullness, so your floor stays glossy longer.
Think of it as a protective ritual that prevents damage before it starts.
Choosing The Right Tool
Not all brooms are equal. Look for a broom with flagged (split) synthetic bristles that are gentle on wood. Microfiber dust mops are even better—they attract dust via static and can be used dry on all floor types.
Avoid oil-treated mops that leave residue.
Technique Matters
Sweep in the direction of the floorboards to collect debris from the grooves. Use a dustpan with a rubber edge to scoop up everything without scratching. For a quick daily touch-up, a microfiber dust mop on a swivel head makes the job effortless.
2. Use a Microfiber Mop for Damp Cleaning
A microfiber mop picks up dirt without soaking the wood—excess moisture is the enemy of hardwood. Unlike cotton mops that leave puddles, microfiber traps dust and grime while using minimal water. This simple swap can save your floors from warping, cupping, and finish damage.
When you damp mop with a microfiber head, you're not just cleaning—you're protecting your investment. Microfiber's electrostatic charge attracts dust and dirt particles, so you don't have to scrub or use harsh chemicals. Plus, the mop head is machine washable, making it a reusable and eco-friendly choice.
Why Microfiber Wins
Microfiber strands are split into tiny fibers that create a large surface area. This allows them to absorb up to eight times their weight in water and trap particles as small as one micron. For wood floors, that means you can clean effectively with about half the water you'd use with a traditional mop.
How To Damp Mop Correctly
Fill a spray bottle with your preferred wood floor cleaner—like a vinegar-water mix or a pH-neutral solution. Lightly mist the floor in sections, then go over it with a dry microfiber mop. The mop should feel barely damp to the touch; if you can wring out water, it's too wet.
Mop Maintenance Matters
Always use a clean mop head. Dirty microfiber just spreads grime around. Wash used heads in hot water with mild detergent—never fabric softener, which clogs the fibers.
Air dry or tumble dry on low heat. Replace the pad when it starts to look worn or loses its absorbency.
3. Try the Vinegar and Water Solution
Vinegar is a powerhouse when it comes to natural cleaning, and it's gentle enough for hardwood floors when diluted properly. This simple solution cuts through grease and grime without leaving behind a dull residue. It's also budget-friendly and uses ingredients you probably already have in your kitchen.
Mix 1/2 cup of white vinegar per gallon of warm water. Use a spray bottle or a bucket, but never pour directly onto the floor. Lightly mist the solution onto a microfiber mop or cloth, then wipe the floor in the direction of the grain.
Avoid soaking the wood—damp is good, wet is bad. The vinegar smell disappears as it dries, leaving your floors clean and streak-free.
Why Vinegar Works Without Damaging Wood
White vinegar is mildly acidic, which helps dissolve dirt, grease, and soap scum without stripping the finish. It's also a natural disinfectant. The key is the dilution—too much vinegar can dull the finish over time, so stick to the 1/2 cup per gallon ratio.
This keeps the pH balanced enough to clean effectively but safely.
When To Use This Method (and When To Skip It)
Use vinegar water for regular maintenance cleaning when you need to remove sticky spots or light grime. It's ideal for sealed hardwood floors with polyurethane or varnish finishes. Avoid it on unsealed or waxed floors, as the moisture can cause damage.
Also, don't use it if your floors have a manufacturer's warranty that advises against vinegar.
Pro Tips For Best Results
Always test the solution on a small, hidden area first. Use a microfiber mop rather than a cotton one—microfiber absorbs and traps dirt better. Wring the mop until it's just damp, not dripping.
Work in small sections and dry the floor immediately with a clean, dry microfiber cloth to prevent water spots. For extra shine, add a few drops of essential oil like lemon or lavender.
4. Add a Few Drops of Essential Oil for Scent
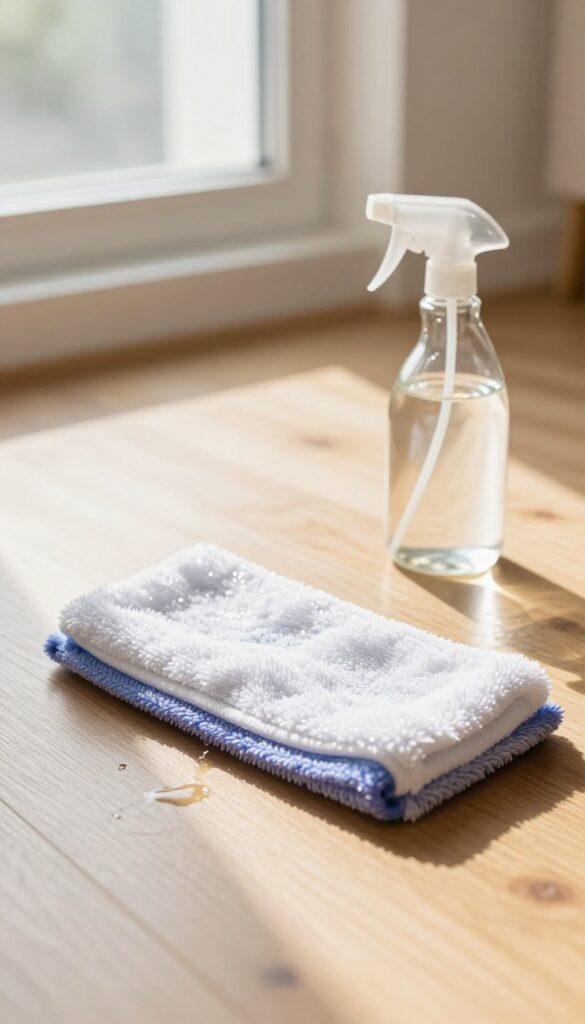
Essential oils like lemon and lavender do more than just make your home smell fresh. They can also boost the cleaning power of your natural floor solutions with mild antibacterial properties. A few drops are all you need to transform a basic vinegar rinse into an aromatic, effective cleaner.
Scent matters when you’re cleaning. A pleasant aroma makes the chore feel less like work and more like self-care. Plus, certain essential oils have natural disinfectant qualities that help keep your floors hygienic without harsh chemicals.
Just remember: a little goes a long way, and oil-based products should be used sparingly on wood to avoid buildup.
Choosing The Right Oil
Lemon oil is a top pick because its fresh scent cuts through grime and leaves a clean, uplifting aroma. Lavender oil offers a calming fragrance and is known for its antibacterial and antifungal properties. Tea tree oil is another strong option for its potent antimicrobial effects, but its scent is stronger, so use fewer drops.
Avoid oils with synthetic fragrances or additives that could leave residue on your floors.
How To Add It To Your Cleaning Mix
For a standard cleaning solution, mix 1/2 cup of white vinegar with 1 gallon of warm water. Add 10 to 15 drops of your chosen essential oil and stir well. Always test the mixture on a small, hidden area first to ensure it doesn’t affect the finish.
For a quick refresh between deep cleans, you can add a few drops of oil to a damp microfiber mop before going over the floor.
Safety Tips For Wood Floors
Essential oils are concentrated, so never pour them directly onto the floor. Dilute them properly in water or vinegar to avoid damaging the wood’s finish. Also, avoid using oils on unfinished or waxed floors, as they can penetrate and cause discoloration.
Stick to high-quality, pure essential oils without added carriers or synthetics for the best results.
5. Wipe Spills Immediately
A spilled drink or dropped food might seem harmless at first, but standing water is one of the fastest ways to ruin a hardwood floor. The wood absorbs moisture, causing it to swell, warp, or develop dark stains. Even a few minutes of contact can damage the finish, leaving you with a permanent mark.
That's why quick action is your best defense.
The moment a spill happens, grab a clean, dry cloth or paper towel and blot—don't rub. Rubbing spreads the liquid and grinds dirt into the grain. Blotting absorbs the moisture without pushing it deeper.
For sticky spills like juice or soda, follow up with a slightly damp cloth, then dry immediately. This simple habit keeps your floors looking pristine and prevents costly repairs down the line.
Why Speed Matters
Water and wood are not friends. Hardwood is porous, so even a small puddle can seep into the seams and cause cupping or buckling. The finish acts as a barrier, but it's not waterproof—prolonged exposure breaks it down.
By wiping spills within seconds, you protect both the wood and the sealant.
The Right Tools For The Job
Keep a stash of microfiber cloths or absorbent towels in an easy-to-reach spot near your kitchen or dining area. Avoid using colored rags that might bleed dye onto the floor. For larger spills, a dry mop with a microfiber head works well to soak up liquid quickly without leaving streaks.
What About Dried Spills?
If a spill has already dried, don't panic. Gently scrape off any residue with a plastic putty knife, then clean the area with a damp cloth and a drop of mild soap. Dry immediately.
For stubborn stains, a mixture of baking soda and water can help lift the mark without damaging the finish.
6. Use a Dry Cloth After Damp Mopping
Even the most careful damp mopping can leave behind tiny water droplets that dry into spots or streaks. That's why the final buffing step matters more than you might think. A quick pass with a dry cloth lifts residual moisture and polishes the surface for a clean, even sheen.
After you've mopped a section, go back over it with a clean, soft, dry cloth—microfiber or cotton works well. This picks up any leftover water and prevents mineral deposits from forming as the floor dries. It also smooths out the finish, giving you that natural glow without extra product.
Why Buffing Matters
Water spots happen when droplets sit on the surface and evaporate slowly, leaving behind minerals or dull rings. Buffing removes those droplets instantly. It also helps distribute any remaining moisture evenly, so you don't get patchy areas that look cloudy or streaky once dry.
Best Cloth For The Job
Microfiber cloths are ideal because they're highly absorbent and lint-free. Cotton terry cloth also works, but make sure it's clean and soft—rough fabrics can scratch the finish. Avoid paper towels, which can leave lint or tiny scratches on some wood surfaces.
When To Buff
Buff right after mopping each small section, while the floor is still damp but not soaking wet. If you wait until the whole room is done, some areas will have already dried unevenly. Work in manageable zones—about 3×3 feet—and buff immediately for best results.
7. Make a DIY Wood Floor Polish with Olive Oil
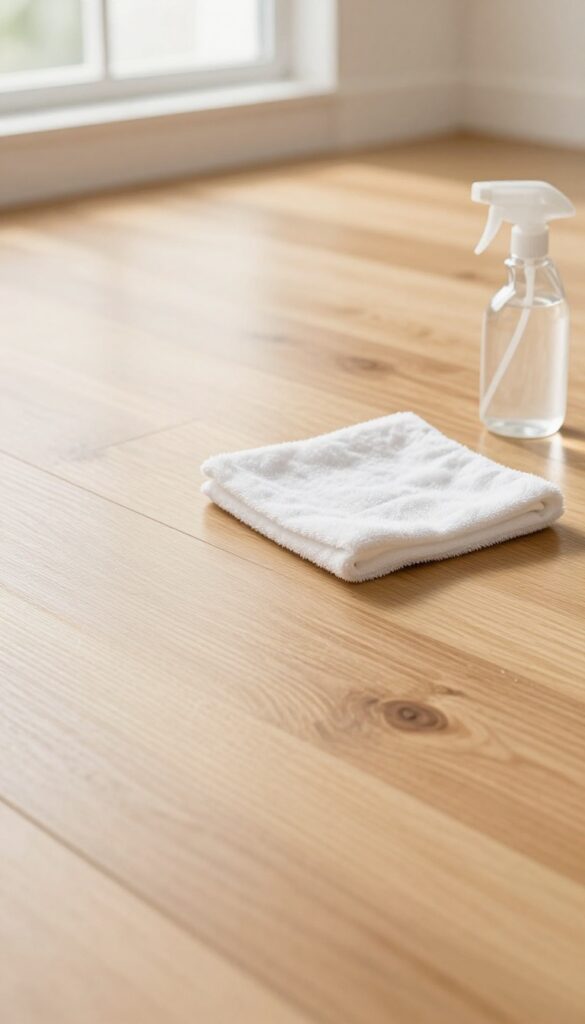
Store-bought polishes often contain waxes and silicones that build up over time, making floors look cloudy. A simple homemade polish with olive oil can restore natural shine without the residue. This gentle formula works best on finished hardwood and leaves a subtle, warm glow.
Combine 1 cup of white vinegar, 1 cup of water, and a few drops of olive oil in a spray bottle. Shake well before each use. Lightly mist the floor and buff with a soft, dry microfiber cloth.
The vinegar cleans while the oil adds a thin protective layer that enhances luster. Use sparingly—too much oil can make floors slippery.
Why Olive Oil Works
Olive oil is a natural conditioner that penetrates tiny pores in the wood's finish, reducing the appearance of fine scratches. It also helps repel dust temporarily. Unlike mineral oil, olive oil is food-safe and non-toxic, making it ideal for homes with kids or pets.
Best Practices For Application
Always test the polish on an inconspicuous area first. Apply in small sections, buffing immediately to avoid streaks. Use only a few drops of oil—more doesn't mean more shine.
For best results, use this polish once a month as a refresh between deeper cleanings.
When To Skip This Polish
Avoid olive oil on unsealed or waxed floors, as it can darken or stain the wood. Also skip it if your floors have a matte finish that you want to preserve, because the oil can add unwanted sheen. Stick to a simple vinegar-water rinse for those situations.
8. Test Cleaners in an Inconspicuous Spot First
You might be excited to try a new DIY cleaner, but skipping the test patch can lead to disaster. Different finishes react differently to acids, oils, and abrasives. A quick test in a hidden corner can save you from a costly refinishing job.
Before you pour that homemade vinegar solution or olive oil polish all over your floor, dab a small amount on a cloth and rub it in an out-of-the-way area—like inside a closet or under a furniture leg. Wait at least 24 hours, then check for discoloration, cloudiness, or a tacky residue. If the spot looks the same as the rest of the floor, you're good to go.
If not, adjust your recipe or pick a different cleaner.
Why Testing Matters
Hardwood finishes vary: polyurethane, wax, shellac, and oil-based seals each have different chemical tolerances. Vinegar, for example, can dull wax finishes, while baking soda may scratch polyurethane. A test patch reveals these reactions before they become permanent.
How To Test Properly
Choose a spot that's not easily visible. Apply the cleaner as you would normally—spray or damp mop—and let it dry completely. Examine the area under different lighting.
If the finish looks hazy, feels sticky, or changes color, skip that cleaner.
What To Do If The Test Fails
If your test patch shows damage, don't panic. For minor cloudiness, a gentle buff with a dry microfiber cloth might help. For more serious issues like discoloration, you may need to consult a professional.
The key is to learn from the test and choose a different cleaner.
9. Avoid Steam Mops on Hardwood
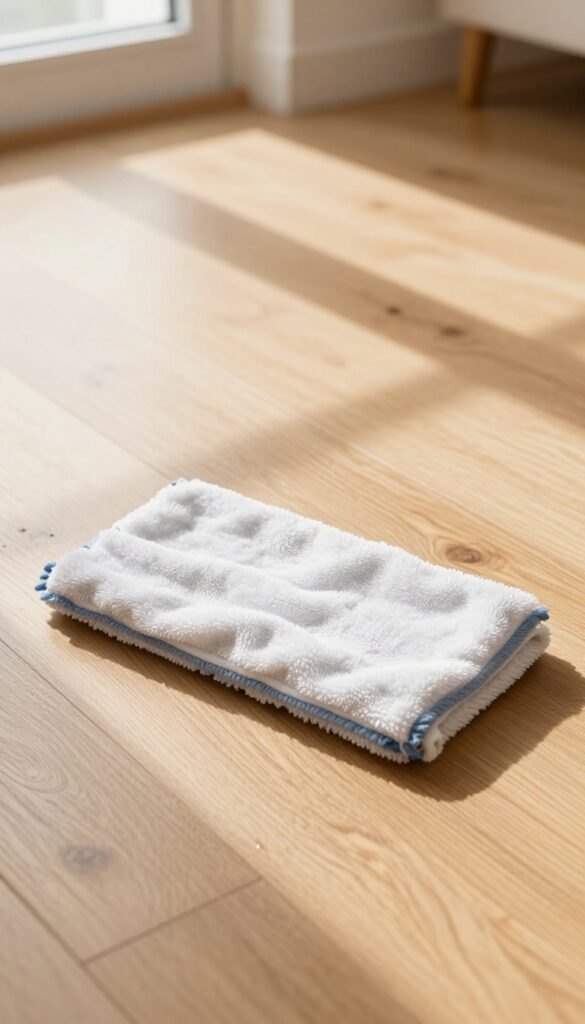
Steam mops promise a deep clean, but on hardwood they can do more harm than good. The high heat and moisture can seep into the wood, causing the finish to peel or the planks to warp. Stick to a damp mop—it's safer and just as effective.
Steam mops are a popular choice for tile and vinyl, but hardwood floors are a different story. The intense heat and steam can penetrate the protective finish, leading to irreversible damage over time. Even if your floors are sealed, moisture can find its way into the seams and cause the wood to swell or cup.
A simple damp mop with a gentle cleaner is all you need for a safe, natural shine.
Why Steam Is Risky
Hardwood is porous, and steam forces moisture into the grain. This can loosen the adhesive, bubble the finish, and create gaps between planks. Repeated use can lead to costly repairs or refinishing.
The Damp Mop Alternative
Use a well-wrung microfiber mop with a pH-neutral hardwood cleaner. Mist the floor lightly, then dry immediately with a clean cloth. This removes dirt without the risk of moisture damage.
When Steam Might Be Okay
If your hardwood is engineered with a thick wear layer and a waterproof core, some manufacturers allow occasional steam cleaning. Always check your floor's warranty first—most void it if steam is used.
10. Use Felt Pads Under Furniture Legs
Furniture legs are silent scrapers. Every time you slide a chair or drag a table, you risk leaving behind ugly scratches and scuffs. Felt pads are a cheap, easy fix that protects your floors without any effort.
These simple adhesive pads stick to the bottom of furniture legs and create a soft buffer between the hard surface and your floor. They come in various sizes and thicknesses, so you can find the right fit for any piece. Once applied, they let you slide furniture smoothly without damaging the wood.
Choose The Right Type
Not all felt pads are equal. Look for thick, dense felt with strong adhesive backing. Thin or cheap pads wear out quickly and may leave sticky residue.
For heavy furniture like sofas or china cabinets, get heavy-duty pads that can handle more weight.
Apply And Maintain Properly
Clean the furniture leg thoroughly before sticking the pad. Make sure the surface is dry and free of dust or grease. Press firmly and let the adhesive set for a few hours.
Check pads every few months—if they get dirty or worn, replace them immediately to avoid scratches.
Don't Forget Other Furniture
It's easy to remember chairs and tables, but other items can also damage floors. Piano legs, bed frames, entertainment centers, and even plant stands should all have felt pads. Also consider felt strips for the bottom of sofas and sectionals that don't have individual legs.
11. Place Rugs at Entryways
Dirt and moisture are your wood floors' worst enemies, and they usually come in from outside. A simple rug at every entrance can stop most of that trouble before it starts. Rugs trap grit, mud, and water before they get ground into the finish.
Over time, that tiny bit of gravel can scratch the surface, and moisture can seep into the seams. A well-placed rug is the easiest way to reduce wear and tear without any extra effort.
Entryway rugs act as the first line of defense for your wood floors. They catch the bulk of outdoor debris, which means less sweeping and mopping for you. Plus, they absorb any rain or snow that might drip off shoes, preventing water damage.
Choose a rug with a sturdy, non-slip backing so it stays put. Natural fiber options like coir or jute are great for scraping dirt, but they can be rough on bare feet. A soft, absorbent cotton rug works well for wet weather.
Just shake it out or vacuum it regularly to keep it effective. Don't forget to place a rug inside every door that leads outside, including the garage entrance. Even a small mat can make a big difference in protecting your floors.
Choose The Right Size
A small doormat might look neat, but it won't catch much dirt. Go for a rug that's at least 3 feet long so people can take a few steps on it. That extra length gives more surface area to trap debris and moisture.
Maintain Your Rugs
Dirty rugs can hold onto grit and eventually transfer it back onto the floor. Shake them out weekly and wash or replace them as needed. A vacuum with a brush attachment works well for removing embedded dirt from natural fiber mats.
Layer Rugs For Extra Protection
In high-traffic entryways, consider using two rugs: a rough outdoor mat for scraping shoes and a softer indoor rug for absorbing moisture. This double layer catches more dirt and keeps your floors even cleaner.
12. Clean with Black Tea for a Rich Shine
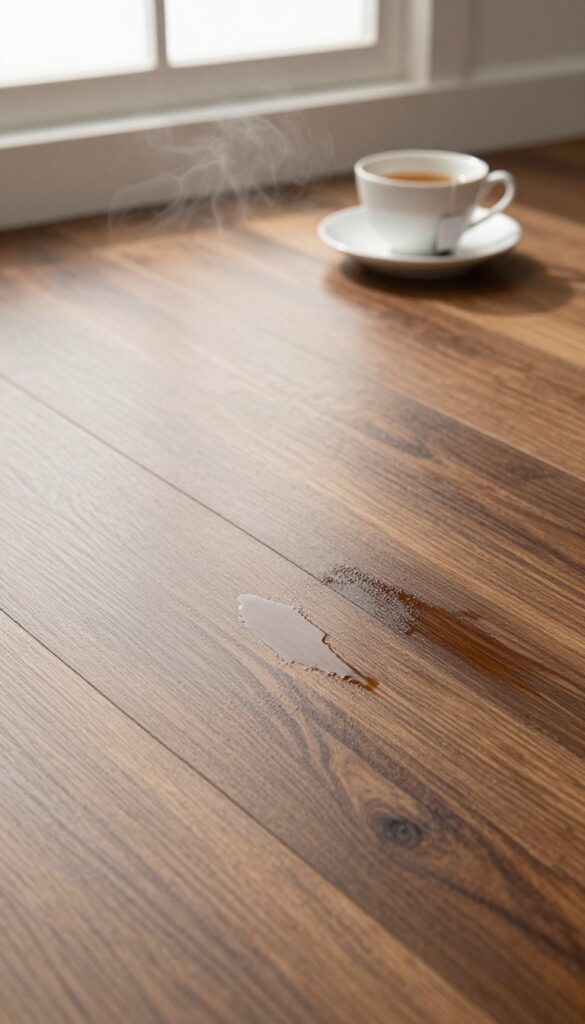
Black tea isn't just for drinking—it can give your hardwood floors a beautiful, natural luster. The tannins in tea react with the wood to enhance its color and add a subtle, warm glow without any harsh chemicals. It's a gentle, affordable method that works especially well on darker wood species.
Brew two black tea bags in a quart of boiling water, then let it cool completely. Mop the floor with the tea using a well-wrung mop, working in sections. The tannins will deposit a thin layer that deepens the wood's natural hue.
For best results, follow up with a dry microfiber cloth to buff away any excess and prevent sticky residue.
Why Tannins Work On Wood
Tannins are natural compounds found in tea that bind to the wood's surface, creating a protective, slightly glossy coating. This is why tea can revive tired-looking floors and even help hide minor scratches. It's a mild polish that builds up over repeated applications.
Best Woods For Tea Cleaning
Tea works wonders on oak, walnut, cherry, and other dark or medium-toned woods. On very light woods like maple or birch, it may cause slight yellowing, so test in an inconspicuous area first. Avoid using tea on unfinished or waxed floors, as the moisture can cause damage.
How Often To Use This Method
Tea cleaning is gentle enough for weekly use if your floors are not heavily soiled. For a deeper clean, alternate with a pH-neutral hardwood cleaner. Over time, the tannin layer can build up, so rinse with plain water every few months to prevent cloudiness.
13. Use a Squeegee to Remove Pet Hair
Pet hair on hardwood floors can be a constant battle. Brooms often flick it around, and vacuums might miss the fine strands. A simple rubber squeegee, the kind you use on windows, is a surprisingly effective tool for gathering pet hair and dust without scratching your floor's finish.
Why A Squeegee Works Better Than A Broom
The rubber blade creates static electricity that attracts pet hair, lifting it from the wood rather than pushing it into corners. Unlike a broom, which can leave a trail of hair behind, a squeegee collects it into neat piles you can easily sweep up. It's also gentle on the finish—no scratches from stiff bristles.
How To Use It Effectively
Start at one end of the room and pull the squeegee toward you in long, overlapping strokes. Work in sections, and use a dustpan to collect the piles as you go. For best results, keep the blade clean between strokes by wiping it with a dry cloth.
This method works on both dry and slightly damp floors.
Bonus Tip For Stubborn Hair
If you have heavy shedding, lightly mist the floor with water before using the squeegee. The moisture helps clump the hair together, making it even easier to gather. Just don't soak the wood—a fine spray is all you need.
14. Polish with Coconut Oil for a Natural Glow
Coconut oil isn't just for cooking or skincare—it can also give your hardwood floors a warm, natural shine. Unlike store-bought polishes that may contain silicones or waxes that build up over time, coconut oil is a gentle, food-grade option that nourishes the wood without leaving a sticky residue. A little goes a long way, and the result is a subtle, healthy-looking luster.
Polishing with coconut oil is one of the simplest ways to revive tired-looking floors. The oil penetrates the wood grain, enhancing its natural color and providing a soft sheen. It's especially effective on unfinished or oil-treated floors, but can also be used sparingly on sealed surfaces.
Just be sure to use it in moderation—too much can leave a greasy film.
Choosing The Right Coconut Oil
Opt for virgin, unrefined coconut oil for the best results. It's free from additives and has a pleasant, mild scent. Refined oils may work, but they lack the natural compounds that give virgin oil its conditioning properties.
If you have sensitive pets, keep in mind that the scent of coconut oil is generally non-irritating, but always test a small area first.
How To Apply It Properly
Start with a clean, dry floor. Scoop a small amount of coconut oil onto a soft cloth—about a teaspoon per section. Rub it into the wood in the direction of the grain, using light pressure.
Let it sit for a few minutes, then buff the area with a clean, dry cloth until the shine appears. For high-traffic areas, you may need to repeat every few months.
Avoiding Common Mistakes
Less is definitely more with coconut oil. Applying too much can attract dust and make floors feel slippery. Also, avoid using coconut oil on laminate or engineered wood with a thick polyurethane finish—it may not absorb and could cause cloudiness.
Stick to solid hardwood or wood that's been treated with natural oils.
15. Avoid Ammonia or Harsh Chemicals
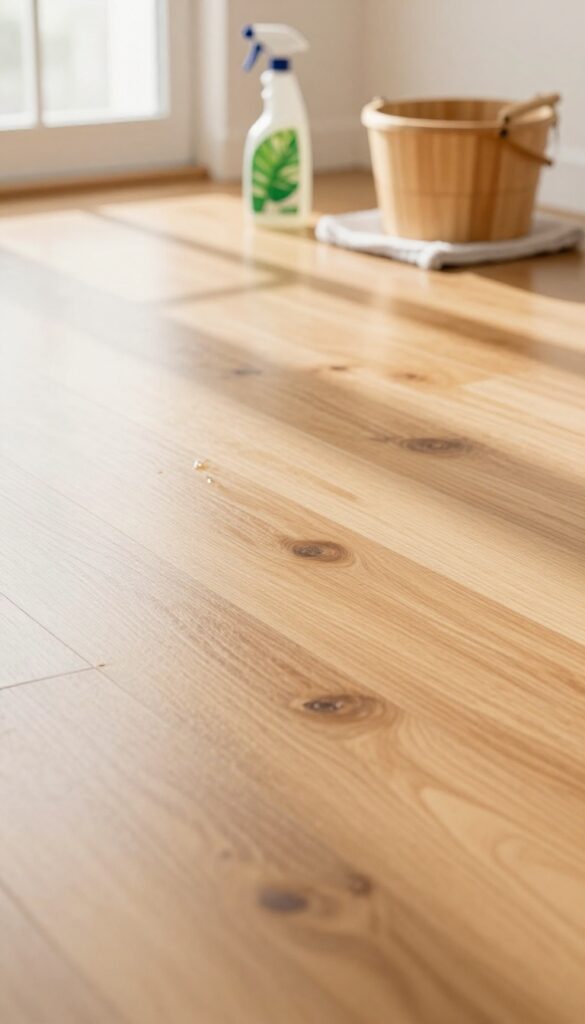
It's tempting to grab a bottle of all-purpose cleaner when the floors look grimy, but many contain ammonia or other harsh ingredients that can do more harm than good. Over time, these chemicals strip the protective finish, leaving wood vulnerable to scratches and dullness. Stick with pH-neutral or natural cleaners to keep that shine safe and long-lasting.
Why Ammonia Is A Problem
Ammonia is alkaline and can react with the finish on hardwood floors, causing it to break down gradually. You might not notice it after one use, but repeated exposure leads to cloudiness, discoloration, and a worn appearance. Even diluted, ammonia-based products are risky—especially for prefinished or oiled floors.
Other Harsh Chemicals To Skip
Bleach, vinegar (in large amounts), and strong degreasers can also damage wood. Vinegar is acidic and can dull the finish if used too often. Bleach is too aggressive and may lighten or stain the wood.
Stick to products labeled specifically for hardwood floors, or make your own gentle solution.
Safe Alternatives That Work
For a simple, safe cleaner, mix a few drops of mild dish soap with warm water. Or use a commercial pH-neutral hardwood cleaner. For a natural option, try a solution of water and a small amount of castile soap.
Always damp-mop, never wet-mop, and dry immediately to avoid moisture damage.
16. Use a Vacuum with a Hardwood Setting
Vacuuming is a quick way to pick up dust and debris, but the wrong technique can leave scratches. Many vacuums come with a hardwood or hard floor setting—use it. That simple switch turns off the beater bar and reduces the risk of marring your floor's finish.
Turn Off The Beater Bar
Beater bars are designed for carpets, not hard surfaces. They can fling debris and scratch the finish. Check your vacuum's settings or manual to disable the brush roll when cleaning wood floors.
If your model doesn't have a switch, lift the vacuum slightly or use the hard floor attachment instead.
Use A Soft Brush Attachment
A soft brush attachment is gentle on wood while still lifting dust from grooves and edges. It's especially useful for baseboards and corners where dust bunnies hide. Attach it before you start, and you'll avoid accidental scuffs from the hard plastic nozzle.
Check For Debris On The Wheels
Wheels can pick up grit from other surfaces and track it across your wood floor. Give them a quick wipe before vacuuming. Also, inspect the vacuum's underside for any stuck debris that could scratch as you push it along.
17. Remove Scuff Marks with Baking Soda Paste
Scuff marks from shoes or furniture can make your floors look tired, but you don't need harsh chemicals to erase them. A simple paste of baking soda and water works like a gentle eraser. It's safe, cheap, and surprisingly effective.
Baking soda is a mild abrasive that lifts scuffs without scratching the finish. Mix three parts baking soda with one part water to form a thick paste. Apply it to the scuff mark with a soft cloth, rubbing gently in the direction of the grain.
Wipe away the residue with a damp cloth, then dry the area. For stubborn marks, let the paste sit for a few minutes before rubbing.
When To Use This Method
This paste works best on finished hardwood floors—sealed with polyurethane, wax, or varnish. Avoid it on unfinished or oiled floors, as the moisture can cause damage. Test on an inconspicuous spot first to ensure no discoloration.
Tips For Best Results
Use a microfiber cloth rather than a paper towel to avoid lint. Work in small circles and check your progress often. If the scuff remains, repeat the process.
For extra stubborn marks, add a drop of dish soap to the paste.
What To Avoid
Never scrub aggressively—this can dull the finish. Also, avoid using baking soda on floors with deep scratches or worn areas, as the abrasive may worsen them. Stick to gentle pressure and let the paste do the work.
18. Apply a Thin Layer of Wax for Extra Protection
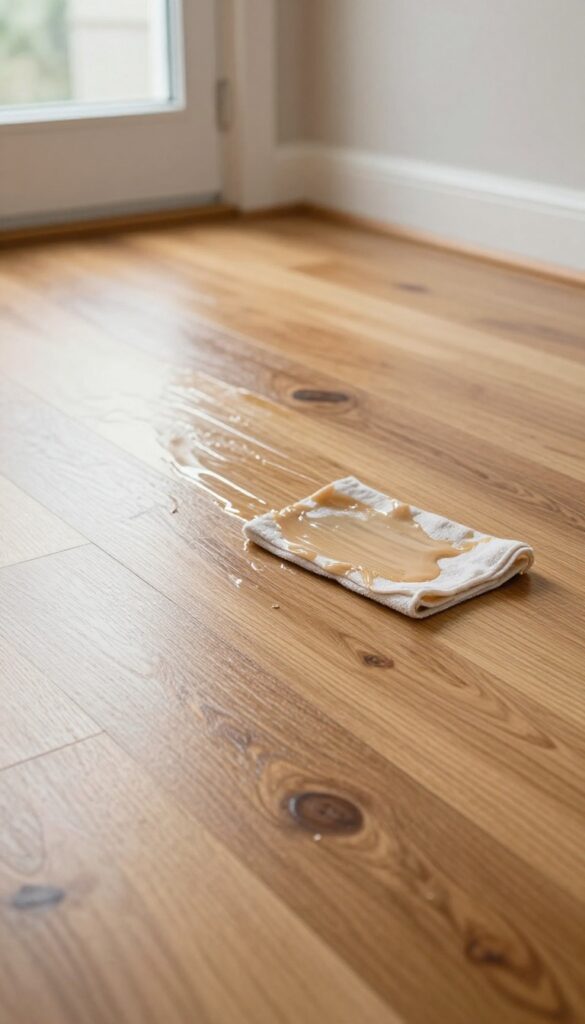
Waxing isn't just for vintage furniture or car finishes—it's a time-tested way to protect hardwood floors and give them a soft, natural sheen. A thin coat of natural wax fills tiny scratches, repels moisture, and makes future cleaning easier. The key is using the right product and applying it sparingly, or you'll end up with a sticky mess.
Choose a natural wax made specifically for hardwood, like carnauba or beeswax blends. Avoid silicone-based products that can cause buildup and make refinishing difficult. Apply a very thin layer with a soft cloth or applicator pad, working in small sections along the grain.
Let it dry completely, then buff with a clean cloth for a low-luster shine. Reapply every few months, or when water no longer beads on the surface.
Picking The Right Wax
Not all waxes are floor-friendly. Look for water-based or solvent-based natural waxes labeled for hardwood. Carnauba wax offers a hard, durable finish, while beeswax gives a softer glow.
Avoid combination products with dyes or acrylics. Test on an inconspicuous spot first to ensure compatibility with your floor's finish.
Application Tips For Best Results
Clean the floor thoroughly before waxing—any dirt will get sealed in. Use a damp mop with a mild cleaner, then let it dry completely. Apply wax in a thin, even layer using circular motions.
Less is more: a little goes a long way. Let it haze for 15–20 minutes, then buff with a clean, dry cloth until smooth.
Maintenance And Reapplication
Waxed floors need gentle care. Use a soft-bristle broom or dust mop daily, and damp-mop only with water or a pH-neutral cleaner. Avoid abrasive pads or steam mops, which can strip the wax.
When the shine fades or water stops beading, it's time to rewax—usually every 3–6 months depending on traffic.
19. Keep Humidity Levels Consistent
Wood is a living material that constantly responds to its environment. When the air gets too dry, floorboards shrink and gaps appear. When humidity spikes, they swell and can buckle.
Keeping your indoor humidity between 30% and 50% prevents these dramatic shifts and protects your floor's finish.
A small investment in a hygrometer helps you monitor moisture levels. In dry winter months, a humidifier adds necessary moisture. During humid summers, a dehumidifier or air conditioner pulls excess dampness out.
Consistent humidity means fewer gaps, less cupping, and a longer life for your wood floors.
Why Humidity Matters
Wood expands across the grain when it absorbs moisture and contracts when it dries out. Over time, these movements can crack planks, lift finishes, and create uneven surfaces. Keeping humidity stable minimizes this stress and preserves the floor's natural beauty.
Tools To Keep It In Check
A digital hygrometer costs little and gives you real-time readings. Pair it with a whole-house humidifier or a portable dehumidifier depending on your climate. In basements or crawl spaces, a vapor barrier can also help regulate moisture from below.
Seasonal Adjustments
In winter, heating systems dry out indoor air, so run a humidifier near your wood floors. In summer, use air conditioning or a dehumidifier to keep humidity below 50%. Check the hygrometer weekly and adjust as needed.
20. Use a Spray Bottle for Spot Cleaning
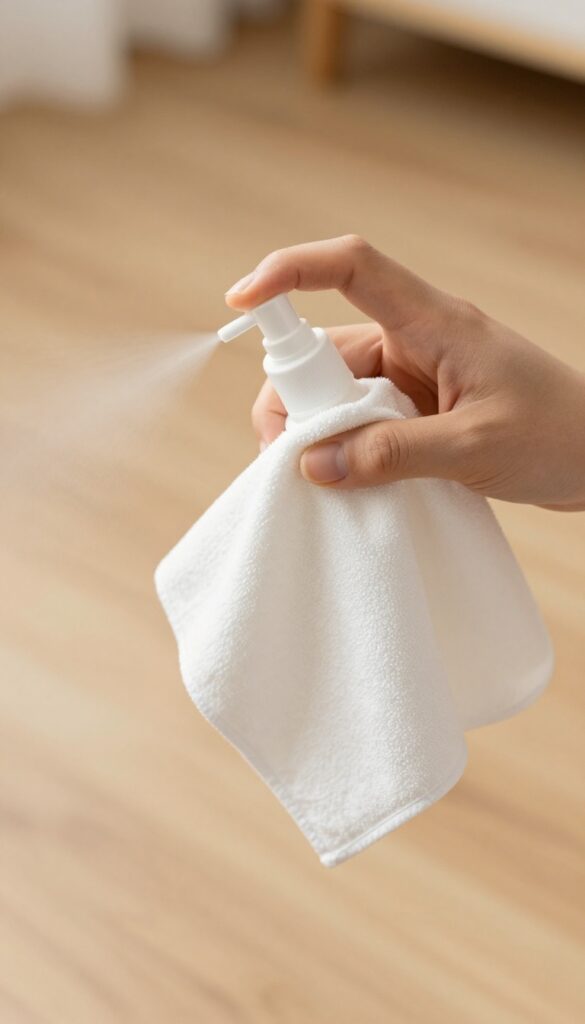
Small spills happen, and when they do, you want to clean them up fast without harming your floors. Reaching for a spray bottle might seem convenient, but how you use it makes all the difference. The key is to spray onto a cloth first, not directly onto the wood.
Directly spraying liquid onto hardwood floors can lead to puddles that seep into the seams, causing swelling, warping, or discoloration over time. Even a small amount of moisture left to sit can damage the finish. By spraying your cleaning solution onto a soft microfiber cloth, you control exactly how much moisture touches the floor.
This method keeps the wood safe while still effectively lifting the mess. For spot cleaning, a simple vinegar solution (1 part white vinegar to 10 parts water) works great. Just mist the cloth lightly, wipe the spot, and dry the area with a clean cloth afterward.
Why Avoid Direct Spraying
Hardwood floors are porous, and any excess moisture can penetrate the finish and cause long-term damage. Direct spraying often creates puddles, especially on uneven surfaces, and the liquid can pool in gaps or cracks. This can lead to cupping, buckling, or a cloudy finish.
Always spray onto your cloth to keep the floor dry and protected.
Best Cloth For Spot Cleaning
Microfiber cloths are ideal because they are highly absorbent and gentle on wood. They trap dirt and dust without scratching the finish. Avoid using paper towels or rough rags, which can leave lint or cause micro-scratches.
A clean, dry microfiber cloth is your best friend for spot cleaning—just spray it lightly and go.
Quick Drying Tip
After spot cleaning, always follow up with a dry cloth to remove any residual moisture. This extra step ensures no water sits on the wood. For stubborn spots, let the vinegar solution sit on the cloth for a few seconds before wiping, but never let the liquid pool on the floor.
A quick dry buff also helps restore shine.
21. Buff with a Soft Cloth for Extra Shine
Once you've cleaned and dried your hardwood floor, there's one more step that can take the finish from clean to gleaming. Buffing with a soft, dry cloth adds a polished look without any extra products. It's a simple technique that makes a noticeable difference, especially on high-traffic areas.
Buffing is essentially a gentle polishing motion that smooths out the surface and enhances the natural luster of the wood. It also picks up any remaining dust or residue that might dull the shine. You can do this as a final step after any cleaning method, or as a quick touch-up between deeper cleans.
Why Buffing Works
When you clean wood floors, the finish can sometimes look a bit hazy or uneven once dry. Buffing with a microfiber cloth creates friction that warms up the finish slightly, helping it settle into a smooth, reflective layer. It's similar to the effect of polishing shoes or waxing a car—just gentler.
Best Cloths To Use
Microfiber cloths are ideal because they're soft, lint-free, and trap dust effectively. Avoid terry cloth or rough fabrics that can leave scratches. For best results, use a clean, dry microfiber mop or a handheld cloth for smaller areas.
Wash cloths regularly to keep them effective.
Technique Tips For A Streak-free Shine
Work in small sections, using circular motions with light to medium pressure. Overlap each pass to ensure even coverage. If you notice streaks, you may be using too much pressure or the cloth might be dirty.
Switch to a fresh cloth and try lighter strokes. For extra gloss, you can follow up with a dry buff after a few minutes.
22. Refresh with a Lemon Juice Rinse
A lemon juice rinse is a simple, natural way to cut through grease and give your hardwood floors a fresh, bright look. The mild acidity helps break down grime without stripping the finish, while the citrus scent leaves a clean, pleasant aroma. This gentle rinse is perfect for a mid-week refresh or after a heavy-traffic day.
Why Lemon Juice Works
Lemon juice contains citric acid, a natural degreaser that dissolves sticky residues and dulling films. Unlike harsh chemical cleaners, it's gentle on wood finishes when diluted properly. The acidity also helps neutralize odors and adds a subtle shine without buildup.
How To Make And Use The Rinse
Mix 1/4 cup of fresh or bottled lemon juice with one gallon of warm water. Dip a well-wrung microfiber mop into the solution and wipe the floor in the direction of the grain. Avoid soaking the wood—damp mop only.
Rinse the mop frequently and change the solution if it gets dirty.
When To Skip This Method
Do not use lemon juice on unsealed or waxed floors, as the acid can damage the raw wood or dull the wax. Also avoid on floors with existing cracks or deep scratches—the liquid can seep in and cause swelling. Always test on a hidden spot first.
23. Schedule a Deep Clean Seasonally
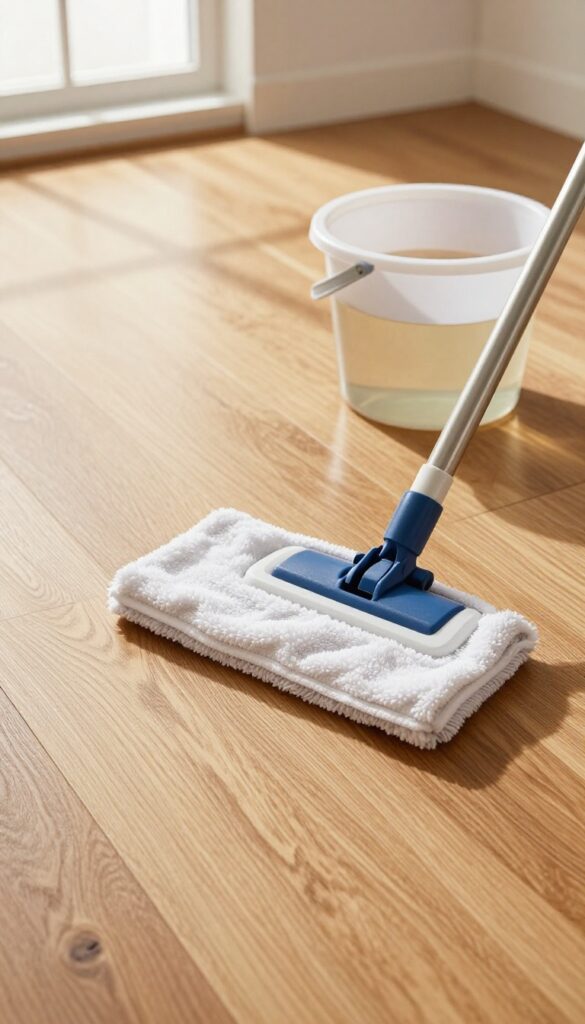
Even with regular sweeping and spot cleaning, your floors accumulate hidden grime over time. A seasonal deep clean resets the finish and removes buildup that daily maintenance misses. Think of it as a reset button for your hardwood—it keeps the natural shine alive without harsh chemicals.
Why Seasonal Matters
Each season brings different debris: pollen in spring, sand in summer, mud in fall, and salt in winter. A quarterly deep clean targets these specific residues before they scratch or dull the finish. It also gives you a chance to inspect for damage like worn spots or gaps between planks.
The Natural Deep Clean Routine
Start by moving all furniture and sweeping thoroughly. Mix a gallon of warm water with 1/2 cup white vinegar and a few drops of liquid castile soap. Damp-mop with the solution, wringing the mop well to avoid excess moisture.
Rinse with plain water and dry immediately with a microfiber cloth. For stubborn spots, use a soft brush dipped in the solution.
When To Consider Light Sanding
If your floors look dull even after cleaning, a light hand-sanding with fine-grit sandpaper (220 grit) can revive the surface. Focus on traffic areas and always sand in the direction of the grain. After sanding, vacuum thoroughly and apply a thin coat of natural wax or oil finish.
This step is only needed once a year at most.
FAQ
Can I use vinegar on all wood floors?
Vinegar is safe for sealed hardwood floors, but avoid it on unsealed or waxed floors as it can damage the finish. Always test in a hidden area first.
How often should I clean my wood floors?
Sweep or dust mop daily to remove grit. Damp mop weekly or as needed. Deep clean seasonally.
What is the best natural cleaner for wood floors?
A mixture of 1/2 cup white vinegar per gallon of warm water is a popular and effective natural cleaner. Add a few drops of essential oil for scent.
Can I use a steam mop on hardwood floors?
It's not recommended. Steam can penetrate the finish and cause warping, cupping, or peeling. Stick to damp mopping with a well-wrung mop.
How do I remove scratches from wood floors?
For light scratches, try rubbing a walnut or using a wood marker. Deeper scratches may require sanding and refinishing. Always test a small area first.
Conclusion
Your wood floors don't need harsh chemicals to look their best. By choosing natural cleaning methods and avoiding common mistakes like excess water, you'll preserve that warm glow for years. Start with the tips that address your biggest floor challenge—whether it's dullness, scratches, or sticky residue.
A little care each week makes a lasting difference. Pick one or two ideas, try them out, and enjoy floors that feel clean and look beautiful without any synthetic shine.