How to Clean Room Checklist: 13 Tasks for Easy Order
A clean room doesn't have to be a weekend project. With this 13-step checklist, you'll work through each task in a logical order—starting with stripping the bed and clearing clutter, then moving through dusting, wiping, and vacuuming.
The result is a space that feels fresh and organized without the overwhelm. Ready to transform your room?
Let's dive into the steps that make it happen.
1. Strip the Bed and Gather Linens
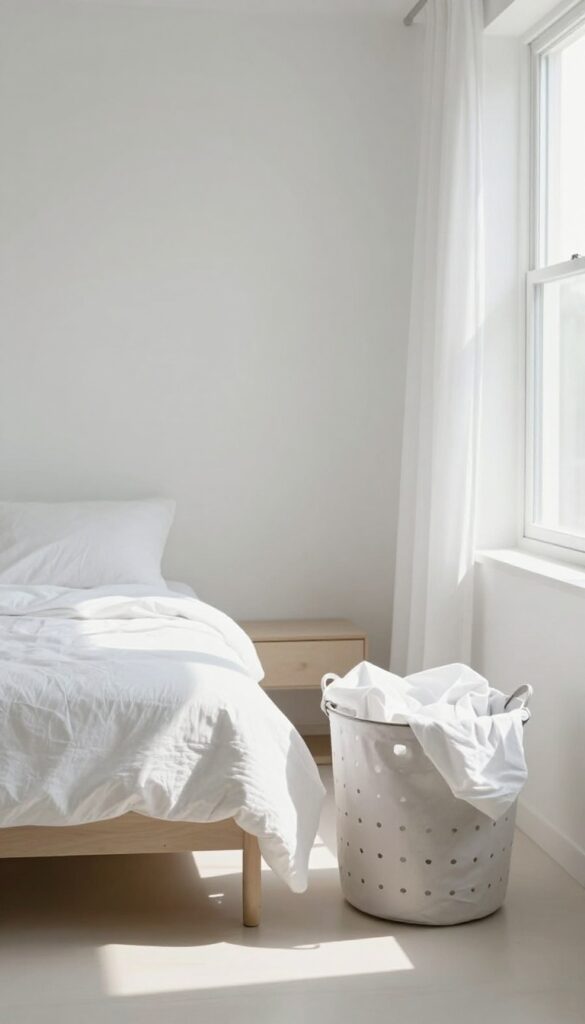
Starting with a bare bed makes everything else easier. When you remove all pillows, sheets, blankets, and mattress protectors, you free up the entire surface for dusting and vacuuming later. Plus, tossing everything into the laundry basket right now means you won't forget to wash them later.
Take everything off the bed—fitted sheet, flat sheet, pillowcases, duvet cover, and any decorative pillows or throws. Shake each item out over the floor to dislodge crumbs or pet hair, then carry them straight to the laundry room. If you have a laundry basket in your room, drop them in there and tie the bag closed so you don't mix dirty linens with clean clothes.
While the bed is bare, check the mattress for stains or spills and spot-clean if needed. This step also gives you a chance to flip or rotate your mattress if you do that seasonally.
Don't Forget The Pillows
Pillows collect dust mites, sweat, and oils over time. While you're stripping the bed, pull off all pillow protectors and pillowcases. If your pillows are machine washable, toss them in with the sheets.
For non-washable pillows, a quick vacuum with the upholstery attachment removes surface dust.
Check For Hidden Items
Before you pile everything into the laundry, shake out each blanket and pillowcase. It's easy to lose a remote, phone charger, or sock between the sheets. You might also find crumbs, pet toys, or other surprises that are better dealt with now than later.
2. Clear Surfaces of Clutter
Flat surfaces have a way of collecting random odds and ends. Before you can dust or wipe anything down, you need to clear the decks. This step is about returning nightstands, dressers, and desks to their intended purpose: holding just the essentials.
Start by scanning every horizontal surface in the room. Remove anything that doesn't belong—empty water glasses, old receipts, stray chargers, and that pile of books you meant to return. For items that live elsewhere, place them in a tray or small basket to carry out in one trip.
Once surfaces are bare, you can dust and wipe them properly without moving things around.
The Tray Method
Grab a tray or shallow basket before you start. As you clear each surface, drop in items that belong in other rooms—keys, mail, a coffee mug. This keeps you from making multiple trips and helps you stay focused.
When the tray is full, take it to its destination and put everything away.
What Stays And What Goes
Be honest about what you actually use. A lamp, a book you're reading, a glass of water, maybe a phone charger. Everything else is visual noise.
Limit surfaces to two or three purposeful objects. This makes cleaning faster and keeps the room looking tidy day to day.
Don't Forget The Floor
Clutter isn't just on surfaces. Shoes, bags, laundry piles, and random boxes often end up on the floor. Clear these too so you can vacuum or sweep later.
Use a laundry hamper and a designated spot for shoes to keep floor clutter from coming back.
3. Return Items to Their Homes
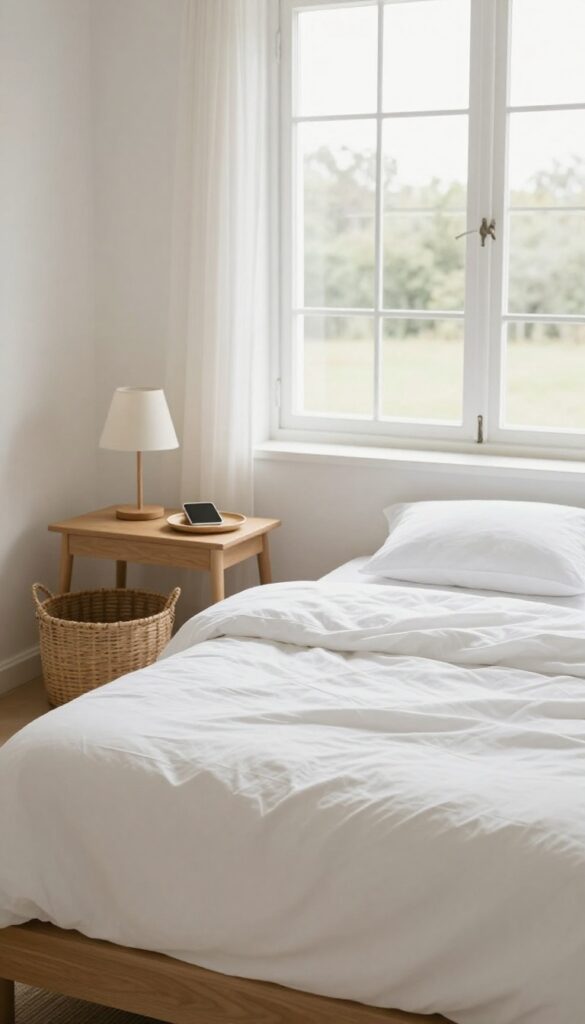
Every surface in your room collects stray objects throughout the day—phone chargers on the nightstand, a jacket draped over a chair, mail piled on the dresser. Before you can truly clean, you need to clear the decks. Taking five minutes to put each item back where it belongs does more than tidy up; it reveals the surfaces you actually need to wipe and makes the whole room feel instantly calmer.
When everything has a designated spot, cleaning becomes faster and less frustrating. You won't have to move piles of stuff just to dust a shelf, and you won't lose small items in the chaos. This step is about resetting the room's baseline order so the rest of your checklist flows smoothly.
Start With The Obvious Out-of-place Items
Walk around the room and grab anything that clearly doesn't belong—empty water glasses, books you've finished, clothes on the floor. Drop each into its proper place or a temporary bin if you're short on time. This quick sweep cuts visual clutter by half in under two minutes.
Tackle Hotspots Like The Nightstand And Desk
These surfaces are magnets for daily debris. Sort through the pile: keep what's needed (lamp, alarm clock, a single book), toss trash, and relocate everything else. A clear nightstand makes the bed area feel restful, and a clean desk invites focus.
Use The 'one-minute Rule' For Small Objects
If putting something away takes less than sixty seconds, do it immediately. Pens back in the cup, remotes on the tray, jewelry in the box. This habit prevents the little stuff from accumulating into a big mess and keeps your cleaning momentum going.
4. Dust from Top to Bottom
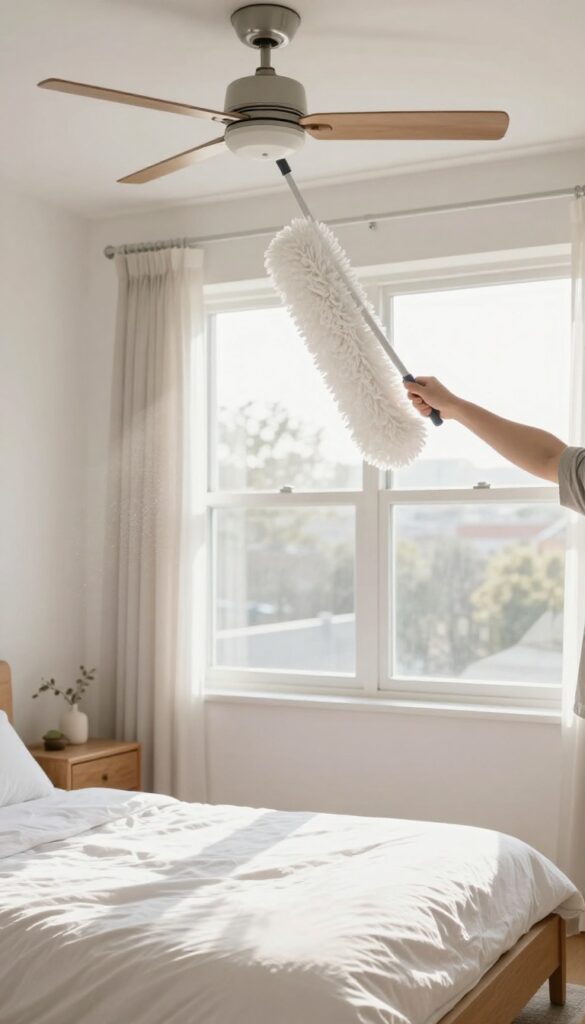
Dusting is one of those tasks that feels endless unless you tackle it the right way. The secret is to start high and work your way down, so you don't have to clean the same spots twice. Ceiling fans, light fixtures, and high shelves collect dust first, and if you start low, you'll just knock it onto already-cleaned surfaces.
Grab a microfiber cloth or an extendable duster and begin with the highest points in the room. Ceiling fan blades are often neglected, but they can fling dust onto your bed and furniture if you don't clean them regularly. Next, move to light fixtures, picture frames, and the tops of tall furniture.
Work your way down to window sills, baseboards, and finally the floor. This top-down approach saves time and keeps dust from resettling where you've already cleaned.
Why Microfiber Works Best
Microfiber cloths trap dust instead of pushing it around. They have a static charge that grabs particles, so you're not just redistributing dust into the air. Avoid feather dusters—they tend to scatter dust rather than capture it.
For hard-to-reach spots, use an extendable duster with a microfiber head.
Don't Forget The Hidden Spots
Dust loves to hide on top of door frames, behind furniture, and on window blinds. Make a habit of checking these areas during your dusting routine. A quick swipe with a cloth or duster every time you clean prevents buildup that can trigger allergies.
The Final Wipe Down
After you've dusted all the high and hidden surfaces, give a quick once-over to any remaining flat surfaces like nightstands and dressers. This ensures that any dust that settled during your cleaning is caught. Then you're ready for the next step—wiping down surfaces with a cleaner.
5. Wipe Down Hard Surfaces
Now that the dust is gone, it's time to tackle the hard surfaces that see daily use. Nightstands, dressers, desks, and shelves all collect fingerprints, spills, and grime. A quick wipe-down with an all-purpose cleaner leaves them clean and streak-free.
Don't overlook door handles and light switches—they're high-touch areas that need regular attention.
Choose The Right Cleaner
An all-purpose spray works for most surfaces, but check labels for wood or laminate furniture. For wood, use a cleaner that's safe for sealed finishes to avoid damage. Microfiber cloths are best—they trap dirt without leaving lint or scratches.
Spray the cloth, not the surface, to control moisture.
Work Top To Bottom
Start with higher surfaces like shelves and work your way down to nightstands and dressers. This way, any dust or drips fall onto areas you haven't cleaned yet. Wipe in straight lines or circles, and flip your cloth often to avoid spreading grime.
Don't Forget High-touch Spots
Door handles, light switches, and remote controls are germ magnets. Give them a quick spray and wipe. For electronics like lamp bases or alarm clocks, lightly dampen the cloth to avoid liquid seeping into crevices.
6. Clean Mirrors and Glass
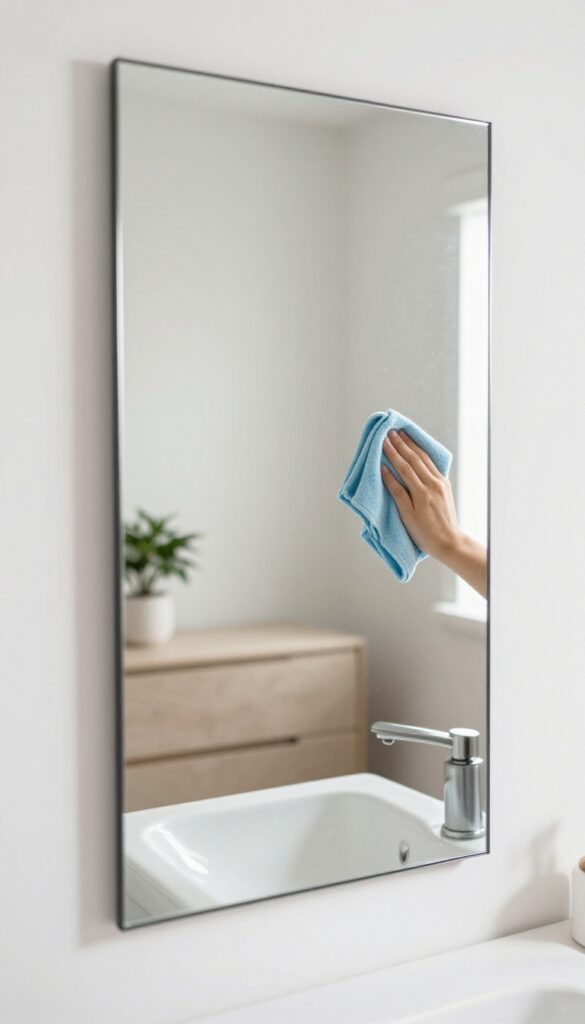
Mirrors and windows can make or break the clean look of a room. Even if everything else is spotless, smudged glass will catch the light and draw your eye. This step is quick but satisfying—you'll see immediate results.
Grab a quality glass cleaner and a lint-free cloth (microfiber works great). Spray the cleaner directly onto the cloth, not the glass, to avoid drips. Wipe in a zigzag or S-pattern to prevent streaks.
For stubborn spots, a little extra elbow grease or a vinegar-water solution can work wonders. Don't forget window sills and frames—they collect dust and grime too.
Choose The Right Cloth
Avoid paper towels—they leave lint and fibers. Microfiber cloths or old cotton t-shirts are ideal. Wash them regularly to keep them effective.
Tackle Tough Spots
For dried-on toothpaste or hairspray, dampen the cloth slightly or use a dedicated glass cleaner with ammonia. Wipe in circular motions, then buff dry.
Finish With Frames And Sills
Dust window sills and mirror frames before cleaning the glass. A quick wipe with a damp cloth removes any remaining dirt. This step ensures a complete, polished look.
7. Vacuum or Sweep the Floor
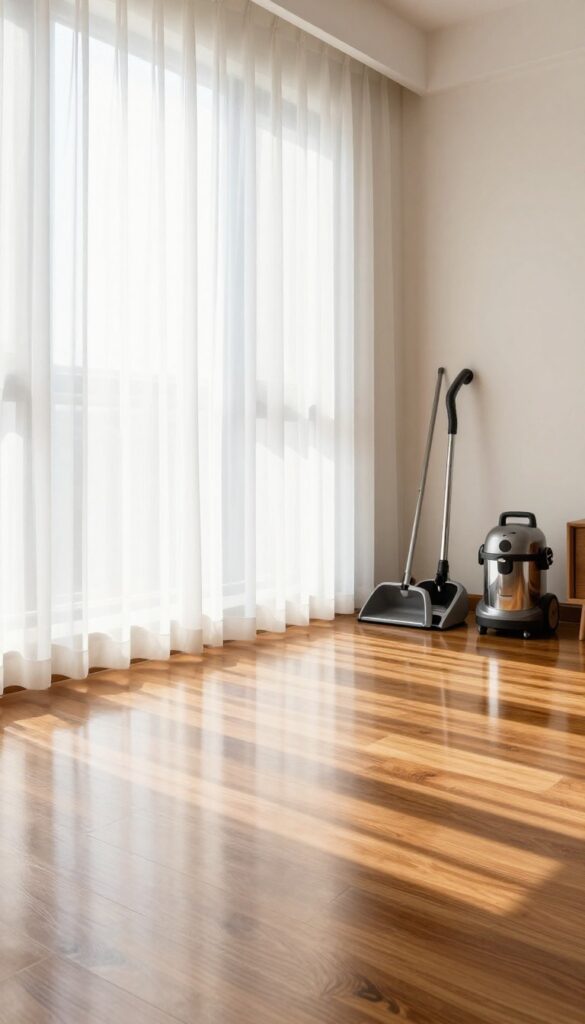
The floor is the final frontier of your cleaning checklist. After you've dusted, wiped, and organized, it's time to tackle what's underfoot. Vacuuming or sweeping not only removes visible dirt but also lifts allergens and dust that settled during earlier steps.
Start by clearing the floor of any remaining items—shoes, bags, or stray clutter. Then, choose your weapon: a vacuum for carpets or a broom for hard floors. Work in sections, starting from the farthest corner and moving toward the door, so you don't walk over clean areas.
Hit The Corners And Edges
Use a crevice tool or a narrow brush attachment to clean along baseboards, corners, and under furniture legs. These spots collect dust bunnies and debris that a standard vacuum head or broom misses. For hard floors, a microfiber mop or dust mop can grab fine particles.
Don't Forget Under Furniture
Slide furniture away from walls if possible, or use a vacuum wand with a flat head to reach under beds, dressers, and desks. For tight spaces, a flexible duster or a long-handled dustpan works well. This step prevents hidden grime from building up.
Use Attachments For A Thorough Clean
Switch to a brush attachment for delicate surfaces like lampshades or window sills, and use the upholstery tool on chairs or the bed frame. If you have a pet, a rubber bristle brush helps lift hair from carpets. Empty the vacuum canister or bag when it's half full to maintain suction.
8. Mop Hard Floors (If Applicable)
If your room has tile, wood, or laminate flooring, mopping is the final touch that brings everything together. A quick pass with a damp mop removes any remaining dust, sticky spots, or grime that vacuuming missed. Letting the floor air dry completely is key—it prevents streaks and keeps the surface looking fresh.
Mopping hard floors is straightforward but requires the right approach to avoid damage. Use a cleaner that matches your floor type—wood needs a gentle pH-neutral solution, while tile can handle something stronger. Always wring the mop well so it's damp, not soaking wet.
Work from the farthest corner toward the door so you don't walk over wet spots. Let the floor dry fully before putting furniture back or walking on it with bare feet.
Choose The Right Cleaner
Not all floor cleaners are created equal. For hardwood, use a product specifically labeled for wood floors or a mild vinegar solution (check manufacturer guidelines first). Laminate floors are sensitive to excess moisture, so a spray mop or a lightly dampened microfiber mop is best.
Tile floors can handle stronger cleaners, but avoid anything abrasive that might scratch the surface.
Mop In The Right Pattern
Start at the far end of the room and mop your way toward the exit. Use a figure-eight motion to avoid leaving streaks, and rinse the mop head frequently in clean water. If you're using a bucket, change the water when it gets dirty—otherwise, you're just spreading grime around.
Let It Air Dry Completely
After mopping, open a window or turn on a fan to speed up drying. Avoid walking on the floor until it's completely dry—usually 20 to 30 minutes. If you notice streaks or residue once it's dry, you may have used too much cleaner or didn't wring the mop enough.
A quick buff with a dry microfiber cloth can fix that.
9. Tackle the Closet Floor
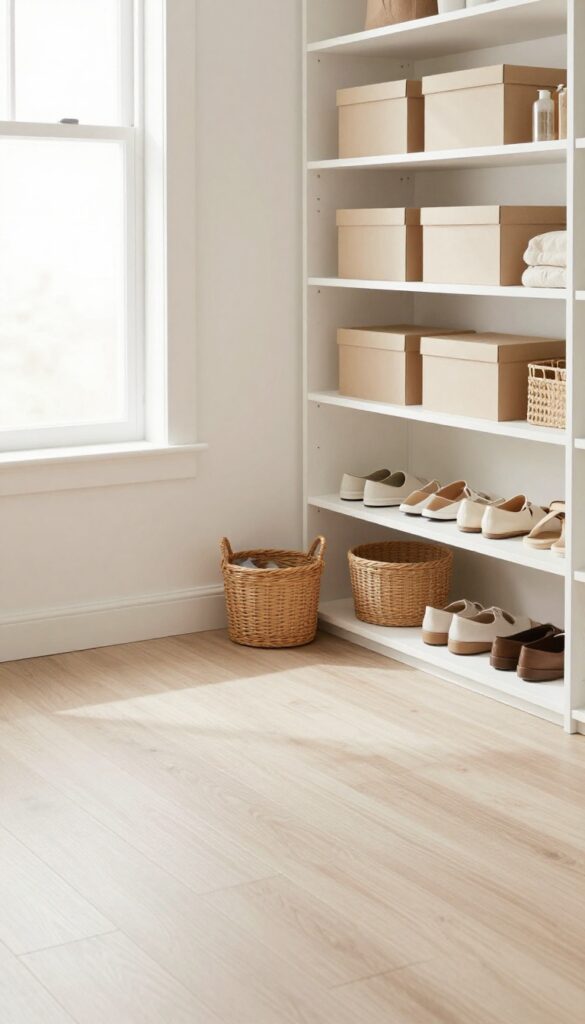
The closet floor is a magnet for shoes, boxes, and random items that didn't make it back to their proper spot. It's easy to close the door and ignore the chaos, but a clean closet floor makes the whole room feel more orderly. Spend a few minutes here to finish off the bedroom refresh.
Clear Everything Out
Pull out all shoes, bags, boxes, and anything else sitting on the closet floor. Sort items into piles: keep, donate, or relocate. This gives you a blank slate and lets you see what actually belongs there.
Sweep Or Vacuum Thoroughly
Once the floor is empty, vacuum or sweep away dust, dirt, and debris. Use a crevice tool to reach corners and along baseboards. If you have carpet, go over it a second time to pick up embedded dirt.
Organize Smartly
Return only the items that belong on the closet floor—like shoes on a rack or a small bin for accessories. Keep the floor as clear as possible; use vertical storage for items you rarely need. A tidy closet floor makes the whole bedroom feel more spacious.
10. Refresh Upholstery and Fabrics
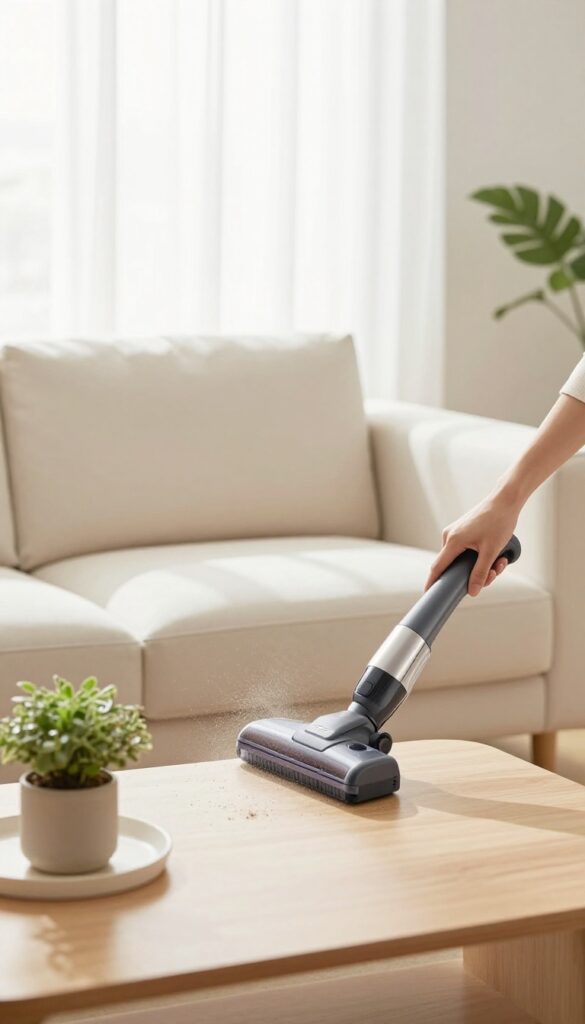
Upholstered furniture and fabric accents collect dust, pet hair, and odors over time. Giving them a quick refresh makes the whole room feel cleaner and more inviting. This step is often overlooked, but it only takes a few minutes and makes a noticeable difference.
Vacuum And Brush Away Dust
Start by vacuuming upholstered surfaces like chairs, sofas, and headboards using the brush attachment. For delicate fabrics, use a soft-bristled brush or a lint roller to lift dust and hair. Pay special attention to crevices where crumbs and debris hide.
Spot Clean Stains
Check for visible stains on fabric surfaces. Mix a small amount of mild detergent with water, dab the stain gently with a clean cloth, and blot until it lifts. Avoid rubbing, as that can spread the stain.
For curtains, check care labels before spot cleaning.
Freshen With Fabric Spray
If your upholstery smells stale, lightly mist it with a fabric refresher spray. You can buy one or make your own with water and a few drops of essential oil. Hold the bottle about 12 inches away and spray evenly, then let it air dry.
11. Organize Nightstand and Desk Drawers
Drawers can quickly become black holes for random receipts, pens, and mystery chargers. Taking ten minutes to sort through them makes a surprising difference in how tidy your room feels. You don't need fancy systems—just a clear-out, a quick wipe, and a simple grouping of like items.
Start by pulling everything out and tossing obvious trash: old gum wrappers, dried-out pens, and expired coupons. Wipe the inside with a damp cloth to remove crumbs and dust. Then group remaining items—charging cables together, writing tools in one spot, and personal items like lip balm or hand cream in another.
Small containers or drawer dividers help keep things from sliding around, but even repurposed takeout containers work fine.
Clear Everything Out First
Empty the drawer completely onto your bed or a clean surface. This forces you to see every item and decide what stays. It also makes wiping the drawer interior quick and thorough.
Sort Into Keep, Toss, And Relocate
As you go through the pile, create three piles: keep, trash, and relocate. Items that belong in another room (like a stray book or a hairbrush) go straight to the relocate pile so they don't end up back in the drawer.
Use Simple Dividers To Maintain Order
Drawer organizers are cheap and effective, but you can also use small boxes, jar lids, or even folded cardboard to create compartments. The goal is to prevent items from mixing together when you open and close the drawer.
12. Make the Bed with Fresh Linens
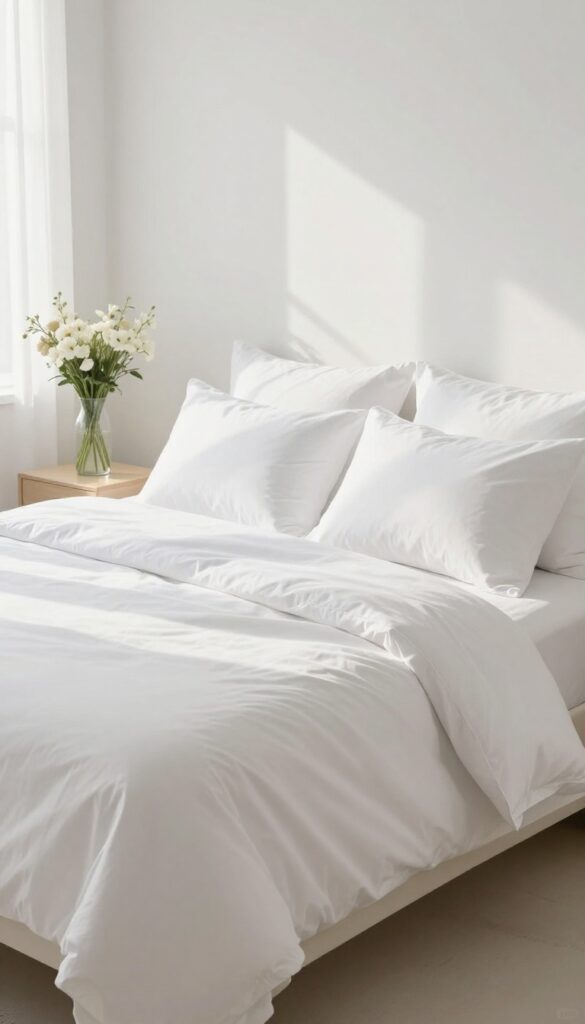
There's something about a freshly made bed that instantly lifts the whole room. It's the centerpiece of your space, so when it's neat and crisp, everything else looks more intentional. Plus, clean sheets feel amazing—it's a small luxury you get to enjoy every night.
Strip the old sheets and toss them in the laundry. While the bed is bare, give your mattress a quick vacuum to remove dust and allergens. Then layer on fresh linens: fitted sheet first, flat sheet if you use one, then your pillowcases and top blanket or comforter.
Smooth out wrinkles and fluff the pillows. A neat bed makes the whole room feel more put-together.
Why Fresh Linens Matter
Clean sheets aren't just about looks—they improve sleep quality and reduce allergens. Changing them weekly keeps your bed hygienic and your room smelling fresh.
The Right Way To Make A Bed
Start with the fitted sheet, ensuring corners are snug. Add the flat sheet with patterned side down, then fold the top edge over the blanket. Tuck in the sides neatly.
Place pillows with cases facing away from the door for a polished look.
Quick Bed-making Habits
Make your bed every morning as soon as you get up. It takes less than two minutes and sets a productive tone for the day. If you're short on time, just smooth the covers and fluff the pillows.
13. Add Final Touches
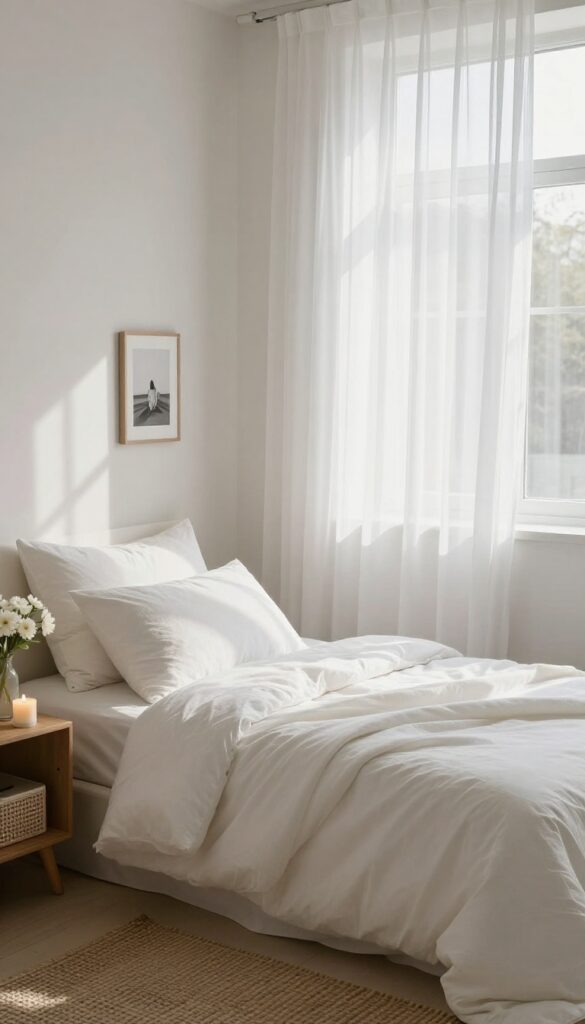
The cleaning is done, but a room can still feel unfinished. Final touches are the little details that turn a clean room into a welcoming sanctuary. Fluffing pillows, adjusting decor, and adding a subtle scent can make all the difference.
Take a moment to enjoy your hard work and let the space feel truly yours.
This is the rewarding part. After all the scrubbing, dusting, and organizing, you get to style your room. These small actions signal to your brain that the task is complete, and they create a sense of calm and order.
Plus, it's a chance to personalize your space.
Fluff And Arrange
Start with your bedding and cushions. Fluff pillows and shake out duvets so they look plump and inviting. Arrange throw pillows in a way that feels balanced—odd numbers often look best.
Smooth out any wrinkles on your bedspread or blanket for a crisp finish.
Adjust Decor And Lighting
Straighten picture frames, align lamps, and make sure your decor items are spaced nicely. Open curtains or blinds to let in natural light—it instantly lifts the mood. If you have a candle or diffuser, now's the time to light it or refresh the reeds.
Enjoy The Moment
Step back and take a deep breath. Notice how the room looks and smells. This is your reward for a job well done.
Enjoy the fresh, clean atmosphere before life gets busy again. You deserve this peaceful space.
FAQ
How often should I do a full room clean?
A full cleaning like this checklist is ideal once a week. Daily tidying helps maintain it.
What's the best order to clean a room?
Start from the top (dusting) and work down to the floor. Do dry tasks before wet ones.
How long does this checklist take?
Most people can complete it in 30-45 minutes, depending on room size and clutter level.
What cleaning supplies do I need?
Microfiber cloths, all-purpose cleaner, glass cleaner, vacuum/mop, and laundry supplies.
How can I keep my room clean longer?
Make your bed daily, put things away immediately, and do a 5-minute nightly tidy.
Conclusion
Once you check off these 13 tasks, your room will feel fresh and orderly without the usual overwhelm. The magic is in the sequence—each step sets you up for the next, so you never waste energy deciding what to do next.
Keep this checklist handy, and you'll breeze through cleaning anytime. A clean room is just a few focused minutes away, every single time.