10 How to Deep Clean Your House Room by Room Efficiently
Deep cleaning the whole house can feel like an overwhelming marathon, especially when you're short on time. But you don't need a whole weekend to get every room sparkling if you work smarter, not harder. The trick is to follow a room-by-room system that tackles the toughest grime first and uses everyday staples you already own.
This guide breaks down efficient methods for each space, from steam-cleaning kitchen grease to refreshing carpets with baking soda. You'll pick up quick wins and deeper techniques that fit into your schedule without burning you out.
No fluff, just practical steps that leave your home feeling genuinely fresh. Ready to check rooms off your list one by one?
1. Declutter and Prep: The 15-Minute Head Start
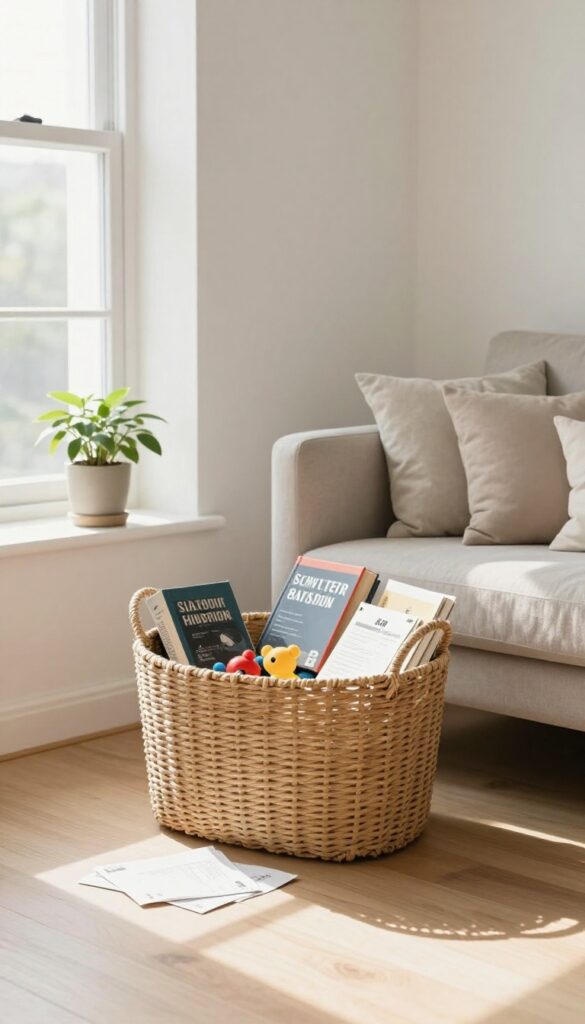
Before you dive into scrubbing, give each room a quick declutter pass. You'd be surprised how much faster cleaning goes when surfaces are clear and items are where they belong. Spend just 15 minutes per room picking up stray objects and putting them away or tossing them in a basket for later.
This simple step clears your workspace and sets you up for a more efficient deep clean.
Start by grabbing a laundry basket or a large bin. Walk through the room and collect anything that doesn't belong there—books, toys, mail, clothes, dishes. As you go, place items that belong in other rooms in the basket, and quickly put away anything that has a designated spot.
Don't get bogged down in organizing; the goal is just to clear surfaces and floors. Once the clutter is gone, you'll have a clean slate to work with, making dusting, vacuuming, and wiping down much easier and more effective.
Why Decluttering First Saves Time
When you skip decluttering, you end up moving items around while cleaning, which wastes time and energy. By clearing surfaces first, you avoid having to lift and shift objects repeatedly. Plus, a clutter-free room makes it easier to see the dirt and grime that needs attention, so you don't miss spots.
The Basket Method
Use a basket or bin to collect items that don't belong in the room. Label it 'Other Rooms' or just keep it simple. Once you've finished the declutter pass, take the basket and quickly distribute items to their proper places.
This keeps you moving and prevents you from getting sidetracked.
Staying On Track With A Timer
Set a timer for 15 minutes per room. This creates a sense of urgency and prevents you from spending too long on one area. If you finish early, great—move on to the next room.
If the timer goes off and you're not done, that's okay; just do a quick sweep of the remaining clutter and start cleaning. You can always come back to it later.
2. Kitchen: Tackle Grease and Grime with Steam and Baking Soda
The kitchen collects more grease, grime, and sticky residue than any other room, but you can cut through it fast with the right approach. Start where the mess is worst—the stove and oven—then work outward to surfaces you touch daily. Steam and baking soda are your best allies here, cutting grease without harsh chemicals.
Begin with the stove top and oven. For burnt-on food, sprinkle baking soda over the surface, spray with vinegar, and let it fizz for 15 minutes. Wipe away with a damp cloth—no elbow grease required.
For the oven interior, use a paste of baking soda and water, spread it on the walls, and leave overnight. In the morning, wipe it clean with a vinegar-soaked cloth.
Degrease The Stove And Oven
Remove burner grates and soak them in hot, soapy water while you work. Use a degreaser or baking soda paste on the stovetop, letting it sit to break down stubborn grease. For the oven, avoid harsh chemicals—baking soda and vinegar work wonders if you give them time.
Wipe Down Cabinets And Appliances
Cabinets collect fingerprints and cooking splatter. Use a microfiber cloth with warm water and a drop of dish soap. For stainless steel appliances, go with a dedicated cleaner or a vinegar-water mix to avoid streaks.
Don't forget the handles and edges where grime hides.
Scrub The Sink And Backsplash
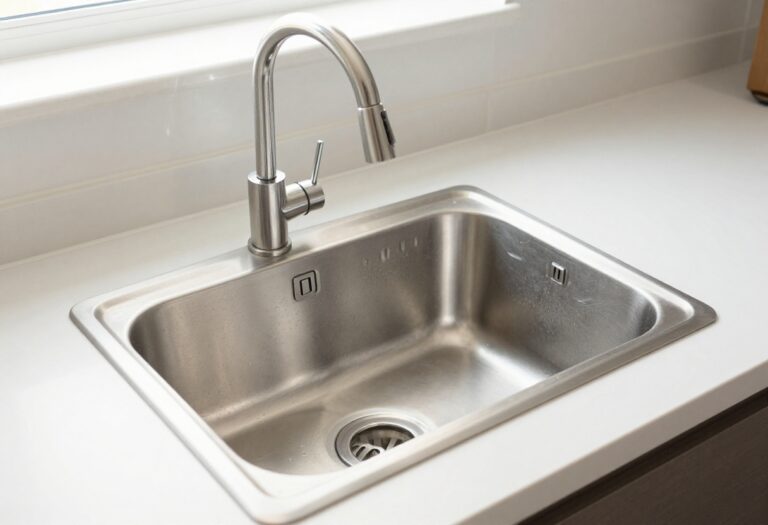
The sink is a germ magnet. Sprinkle baking soda inside, add a little water to make a paste, and scrub with a sponge. Rinse and shine with vinegar.
For the backsplash, spray with a degreaser or vinegar solution and wipe down tiles and grout lines.
Clean The Exhaust Fan And Filter
The exhaust fan collects grease over time, reducing efficiency. Remove the filter and soak it in hot, soapy water or a degreaser. Wipe the fan blades with a damp cloth.
A clean filter works better and keeps your kitchen smelling fresh.
3. Bathroom: Conquer Soap Scum and Mold with Vinegar and Borax
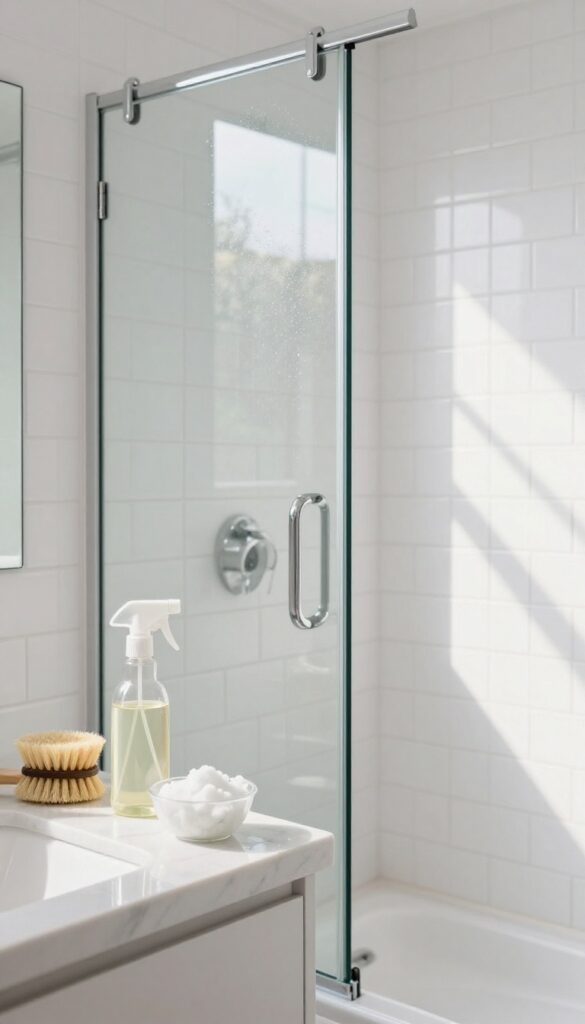
Bathrooms are magnets for moisture, which means soap scum, hard water stains, and mold are always lurking. But you don't need a cabinet full of harsh chemicals to get things sparkling. With a few pantry staples and a little elbow grease, you can tackle the toughest bathroom grime in under an hour.
Start by spraying tiles, fixtures, and glass with vinegar or a commercial cleaner. Let it sit for a few minutes to break down the grime, then scrub with a brush or sponge. For stubborn soap scum, mix borax with just enough water to form a paste and apply it directly to the affected areas.
Let it sit for 10–15 minutes before scrubbing. Finish by cleaning the toilet inside and out, and don't forget to toss the shower curtain or liner in the wash.
Tackle Soap Scum On Tiles And Glass
Soap scum builds up fast on shower walls and glass doors. Spray a 50/50 vinegar and water solution over the surfaces and let it sit for 10 minutes. Then scrub with a non-abrasive sponge or a brush with stiff bristles.
For extra stubborn spots, make a paste with borax and water, apply it, and let it sit before scrubbing. Rinse thoroughly with warm water to reveal a streak-free shine.
Eliminate Mold From Grout And Caulk
Mold loves damp grout and caulk. Mix one part hydrogen peroxide with two parts water in a spray bottle and mist the affected areas. Let it sit for 15 minutes, then scrub with an old toothbrush.
For black mold that's set in, apply a borax paste and let it dry before brushing away. Keep a small fan running or open a window to speed up drying and prevent regrowth.
Deep Clean The Toilet Inside And Out
Don't just swipe the bowl—give the whole toilet a proper scrub. Sprinkle baking soda inside the bowl, then add vinegar and let it fizz for a few minutes. Scrub with a toilet brush, paying attention to under the rim.
For the exterior, wipe down the tank, lid, and base with a disinfecting spray or a vinegar-water mix. Don't forget the floor around the base, where dust and grime tend to collect.
Refresh The Shower Curtain And Liner
Shower curtains and liners harbor soap scum, mold, and mildew. Remove them and toss them in the washing machine with a few towels and a cup of white vinegar. Run a normal cycle with warm water, then hang them back up to air dry.
If your liner is plastic and can't go in the wash, wipe it down with a vinegar solution and rinse in the shower to keep it fresh.
4. Living Room: Refresh Upholstery and Carpets with Baking Soda
The living room is where everyone gathers, so it takes a beating. Between crumbs, pet hair, and everyday dust, your sofa and carpet can start to feel a little tired. The good news?
You can give them a fresh start without harsh chemicals.
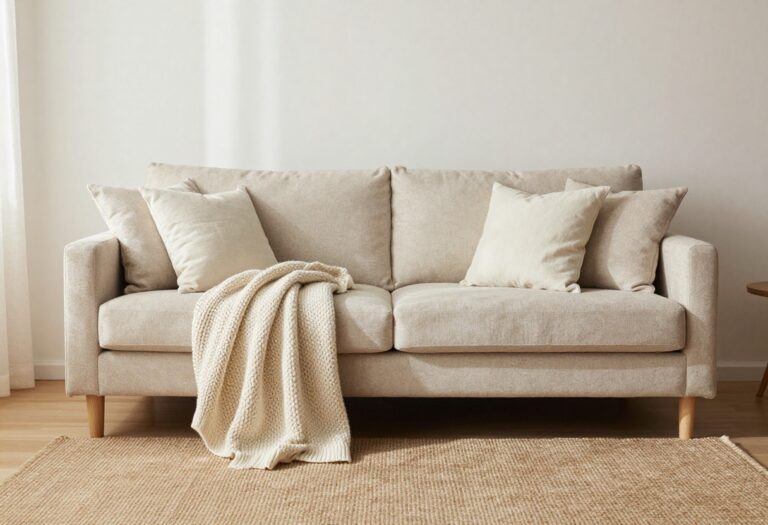
Start by giving your sofa and chairs a thorough vacuuming, using the crevice tool to get into seams and corners. Then, sprinkle a generous layer of baking soda over the upholstery and carpets. Let it sit for 15 minutes to absorb odors and loosen dirt, then vacuum it all up.
For stains, spot-clean with a mild detergent and water, and finish by wiping down electronics and shelves with a microfiber cloth.
Why Baking Soda Works
Baking soda is a natural deodorizer and gentle abrasive. It neutralizes acidic odors and helps lift dirt particles from fabric fibers, making it easier to vacuum away. It’s safe for most fabrics, but always test on an inconspicuous spot first.
Step-by-step Upholstery Refresh
Vacuum the entire surface, including cushions and armrests. Sprinkle baking soda evenly, using a sieve for a light dusting. Let it sit for at least 15 minutes (longer for stronger odors).
Then vacuum thoroughly, using a brush attachment to avoid damaging the fabric. For stains, mix a drop of dish soap with water, dab gently, and blot with a clean cloth.
Carpet Care And Spot Cleaning
For carpets, follow the same baking soda method. For tough spots, make a paste of baking soda and water, apply it, let it dry, then vacuum. For grease or wine, blot with a cloth and use a gentle carpet cleaner.
Always work from the outside of the stain inward to prevent spreading.
Don't Forget The Details
While the baking soda sits, wipe down shelves, electronics, and remote controls with a damp microfiber cloth. Use a soft brush to clean vents and baseboards. Fluff pillows and arrange throws to give the room a polished look.
Finish by opening a window for a few minutes to air out any remaining dust.
5. Bedrooms: Flip the Mattress and Wash Everything in Hot Water
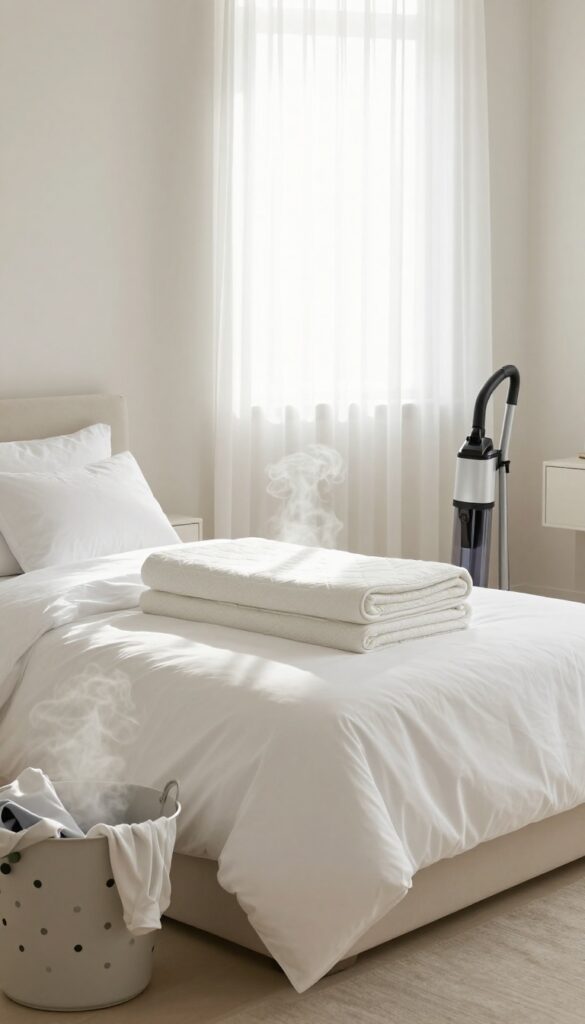
Bedrooms are your sanctuary, but they also collect dust mites, dead skin cells, and allergens that can mess with your sleep. A deep clean here isn't just about looks—it's about creating a healthier space to recharge. The good news?
You can do it efficiently without turning your room upside down.
Start by stripping the bed completely. Wash all bedding, including pillowcases, sheets, and duvet covers, in hot water (check care labels first) to kill dust mites and remove allergens. While the laundry runs, vacuum the mattress with an upholstery attachment, paying attention to seams and corners.
If your mattress is double-sided, flip it now to even out wear. Then, dust every surface—nightstands, headboards, dressers—and wipe down baseboards with a damp cloth. Don't forget to vacuum under the bed; use a crevice tool to reach those dusty corners.
Wash Bedding In Hot Water
Hot water is your best friend here. Set your washer to the hottest setting that's safe for your fabrics. Add a cup of white vinegar to the rinse cycle to naturally deodorize and soften.
If you have pillows that are machine washable, toss them in too. Dry everything on high heat to ensure any lingering dust mites are gone.
Vacuum And Refresh The Mattress
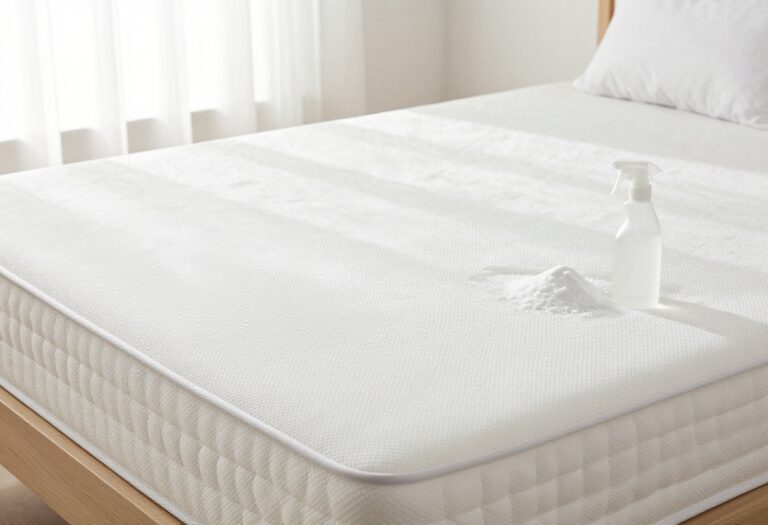
Use a vacuum with a HEPA filter to suck up dust and allergens from the mattress surface. Go slowly over the entire mattress, then sprinkle baking soda over it and let it sit for 15 minutes. Vacuum again to remove the baking soda and any lingering odors.
If you can, flip or rotate the mattress to extend its life.
Dust And Wipe Every Surface
Work from top to bottom. Dust ceiling fans, light fixtures, and window sills first. Then wipe down nightstands, headboards, and dresser tops with a microfiber cloth and a gentle cleaner.
Don't skip baseboards—they collect a surprising amount of dust. Finish by vacuuming the floor, including under the bed and in corners.
6. Hallways and Entryways: Don't Forget the High-Touch Surfaces
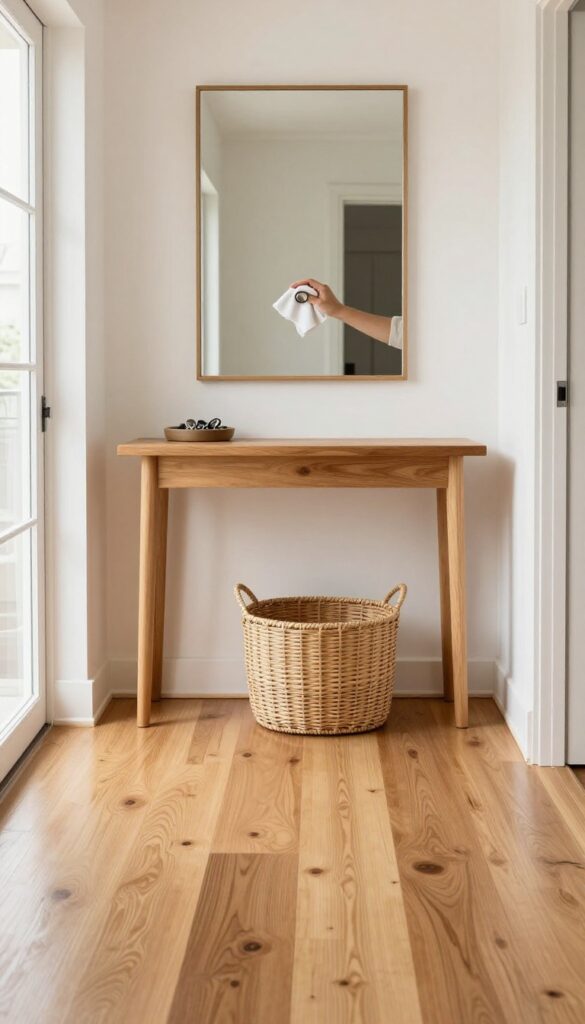
Hallways and entryways are the busiest zones in your home, yet they often get skipped during routine cleaning. These areas see constant foot traffic, hands on doorknobs, and bags brushing against walls, which means they harbor more germs and scuffs than you'd think. A quick but thorough deep clean here not only makes a great first impression but also cuts down on allergens tracked in from outside.
Start by clearing the floor and any furniture or shoes that have piled up. Then, focus on the spots your hands touch most: light switches, doorknobs, handrails, and even the edge of the door frame. A disinfectant wipe or a cloth with a mild cleaner will do the trick.
Next, tackle scuff marks on walls and baseboards with a magic eraser or a dab of baking soda paste. Finally, vacuum or mop the floor, and don't forget to wash any mats or rugs to remove trapped dirt and moisture.
Wipe Down High-touch Spots
Doorknobs, light switches, and handrails are germ magnets. Use a disinfectant spray or wipes and let them air dry for the recommended time. Pay extra attention to the top of the door frame and the back of the door, where dust and grime collect.
If you have a baby gate or pet door, give those a wipe too.
Erase Scuffs And Marks
Scuff marks from shoes, bags, and furniture are common in hallways. A melamine sponge (like a magic eraser) works wonders on walls and baseboards. For tougher marks, make a paste of baking soda and water, apply it gently, and wipe off.
Test on a small area first to avoid damaging paint.
Refresh Floors And Mats
Vacuum or sweep the floor to remove loose dirt, then mop with a suitable cleaner. For hard floors, a damp mop is enough; for carpet, sprinkle baking soda, let it sit for 15 minutes, then vacuum. Wash entry mats and rugs according to their care labels, and let them dry completely before putting them back to prevent mildew.
7. Home Office: Dust Electronics and Organize Cables
Your home office might not see the same cooking splatters or soap scum as other rooms, but it collects its own brand of grime: dust on screens, crumbs in the keyboard, and a spaghetti mess of cables. A deep clean here isn't just about looks—it also helps your gear run cooler and last longer. Plus, a tidy workspace can do wonders for your focus.
Unplug And Dust Electronics
Start by shutting down your computer and unplugging everything. This isn't just for safety—it also makes it easier to reach every nook and cranny. Use a microfiber cloth to wipe down monitors, keyboards, mice, and printers.
For stubborn dust in vents and crevices, a can of compressed air works wonders. Don't forget the back of the tower or laptop's cooling fan area.
Wipe Down Surfaces And Shelves
With the electronics out of the way, give your desk, shelves, and any other hard surfaces a good wipe. A damp microfiber cloth is usually enough, but for sticky spots, a little all-purpose cleaner does the trick. Pay attention to areas that collect dust, like the top of shelves and the back edges of your desk.
While you're at it, toss any trash and recycle old papers.
Tame The Cable Chaos
Cables are the bane of any home office. Untangle them, then group them with cable ties or clips. Label them if you're feeling fancy—it makes future adjustments a breeze.
Use a cable sleeve or a simple binder clip to keep them together along the desk leg. This not only looks better but also prevents dust bunnies from hiding in the mess.
Vacuum And Refresh The Floor
Finally, vacuum the entire floor, especially under the desk and behind the chair. Those are prime spots for crumbs, dust, and stray paper clips. If you have a hard floor, a quick mop with a damp cloth will pick up any remaining dust.
For carpets, a sprinkle of baking soda left for 15 minutes before vacuuming helps neutralize odors and freshens the space.
8. Stairs and Landings: Clean from Top to Bottom
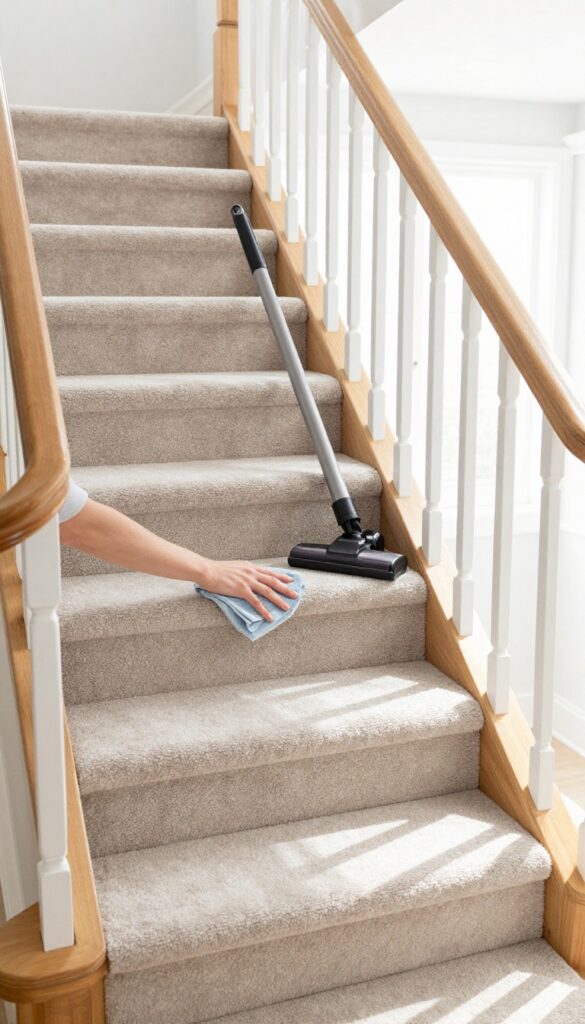
Stairs are a high-traffic zone that often gets neglected because they're awkward to clean. But they collect dust, dirt, and pet hair just like any other surface. The key is to work from the top down so you're not kicking debris onto already-cleaned steps.
With a few simple tools, you can have your stairs looking fresh without breaking a sweat.
Start With A Dry Sweep
Before you bring out any cleaners, give the stairs a thorough dry sweep. Use a broom or vacuum with a brush attachment to remove loose dirt and dust. For carpeted stairs, a stiff brush helps lift embedded debris.
Work from the top step down, so you're not pushing dirt onto lower steps you've already cleaned.
Tackle Banisters And Railings
Banisters and railings are touched constantly, so they accumulate oils and grime. Wipe them down with a microfiber cloth and an all-purpose cleaner. Pay extra attention to the top of the railing and any spindles, where dust tends to settle.
A quick once-over with a damp cloth makes a huge difference.
Spot-clean Stubborn Stains
Stairs are prone to scuffs and stains, especially on carpeted steps. For carpet stains, mix a small amount of dish soap with warm water and blot the area with a clean cloth. For hard surfaces, a gentle scrub with a soft brush and baking soda paste works wonders.
Always test a small area first to avoid damage.
Finish With A Damp Mop Or Steam Clean
Once the stairs are dry and stain-free, give hard surfaces a final damp mop or steam clean. This picks up any remaining residue and leaves a streak-free shine. For carpeted stairs, a steam cleaner can refresh the fibers and eliminate odors.
Let everything dry completely before using the stairs again.
9. Windows and Window Treatments: Let the Light In
Windows are the eyes of your home, but they're also magnets for dust, pollen, and grime. When you deep clean, don't just wipe the glass and call it done—tackle the screens, tracks, and treatments too. This section will have your windows sparkling and your room feeling brighter in no time.
Start With Screens And Tracks
First, remove the window screens. Vacuum them with a brush attachment to get rid of loose dust, then wash them with a mild soapy water solution. Rinse with a hose and let them air dry.
While they're off, use a stiff brush or an old toothbrush to scrub the tracks. Follow up with a vacuum to remove loosened debris, then wipe with a damp cloth. This prevents dirt from building up and keeps your windows sliding smoothly.
Glass That Shines
For the glass, use a squeegee for a streak-free finish. Mix a solution of water and a few drops of dish soap, or use a commercial glass cleaner. Spray the glass, then pull the squeegee from top to bottom, wiping the blade after each pass.
If you don't have a squeegee, a microfiber cloth works well—just use a circular motion and buff out any streaks. Don't forget the window sills and frames; wipe them down with a damp cloth to remove dust and grime.
Blinds And Curtains Care
Dust blinds with a microfiber cloth or a duster that fits between slats. For a deeper clean, wipe each slat with a damp cloth dipped in a mild cleaner. Curtains are often machine washable—check the care label.
If they are, take them down, wash on a gentle cycle, and hang them back up while slightly damp to avoid wrinkles. For curtains that aren't machine washable, vacuum them with a brush attachment or use a fabric freshener spray.
10. Final Touches: Floors, Trash, and Air Out
You've scrubbed, wiped, and decluttered every room. Now comes the satisfying part: making the whole house feel fresh and finished. This final step is about pulling everything together, so you can step back and enjoy the results of your hard work.
Start by giving all floors a final pass. Vacuum carpets and rugs, and mop hard floors, working from the farthest corner of each room toward the door. This way, you won't walk over clean areas.
Then, gather all trash and recycling from every room and take it out. Finally, open windows wide to let in fresh air and give your home that just-cleaned feeling.
Vacuum And Mop With A Plan
Work from the top down and back to front. Vacuum under furniture, along baseboards, and in corners. For hard floors, use a microfiber mop and a cleaner suited to your floor type.
Rinse the mop head frequently to avoid spreading dirt. Let floors air dry completely before putting furniture back.
Take Out The Trash And Recycling
Collect all trash and recycling bins from every room. Tie up bags securely and take them to your outdoor bins. Wipe out the inside of each bin with a disinfecting wipe to prevent odors.
Replace liners so each room is ready for daily use.
Air Out The House
Open windows and doors (if safe) to create cross-ventilation. Even 10 minutes can significantly improve indoor air quality. If you have screens, keep them closed to let fresh air in without letting bugs in.
This step helps remove lingering cleaning product smells and leaves your home smelling naturally fresh.
FAQ
How often should I deep clean my house?
Most experts recommend a deep clean every 3-6 months, depending on your household size, pets, and allergies. High-traffic areas may need more frequent attention.
What's the best order to deep clean a house?
Work from top to bottom and room by room. Start with the least-used rooms, like bedrooms, and finish with the kitchen and bathrooms. Always clean before you vacuum or mop floors.
How can I deep clean efficiently if I have limited time?
Break the task into smaller chunks, like one room per day. Use a timer to stay focused, and gather all your supplies in a caddy so you don't waste time searching for them.
What are some natural deep cleaning solutions?
Baking soda, white vinegar, and lemon juice are excellent natural cleaners. They can tackle grease, soap scum, and odors without harsh chemicals. Always test on a small area first.
Do I need to move furniture to deep clean?
Yes, for a thorough clean, move lightweight furniture to vacuum or mop underneath. For heavy pieces, use a crevice tool to reach the edges and vacuum under them if possible.
Conclusion
Deep cleaning your house room by room doesn't have to be a dreaded marathon. With these 10 efficient strategies, you can work through each space methodically, saving time and energy. Remember to declutter first, use the right products, and work from top to bottom.
By following this plan, you'll enjoy a fresh, spotless home without the burnout. So grab your supplies, put on some music, and get started—you'll be amazed at what you can accomplish.