23 Cleaning Mattress Tips for a Fresher Sleeping Space
That fresh, clean mattress feeling doesn't have to fade after the first week. With the right routine, you can keep your sleeping space crisp and inviting year-round.
These 23 tips tackle everything from weekly washing to deep stain removal, so you can wake up feeling refreshed instead of sneezing. No need for expensive treatments or harsh chemicals—just simple, effective habits that make a real difference.
Ready to turn your bed into a sanctuary of cleanliness? Let's get started.
1. Strip and Wash Bedding Weekly
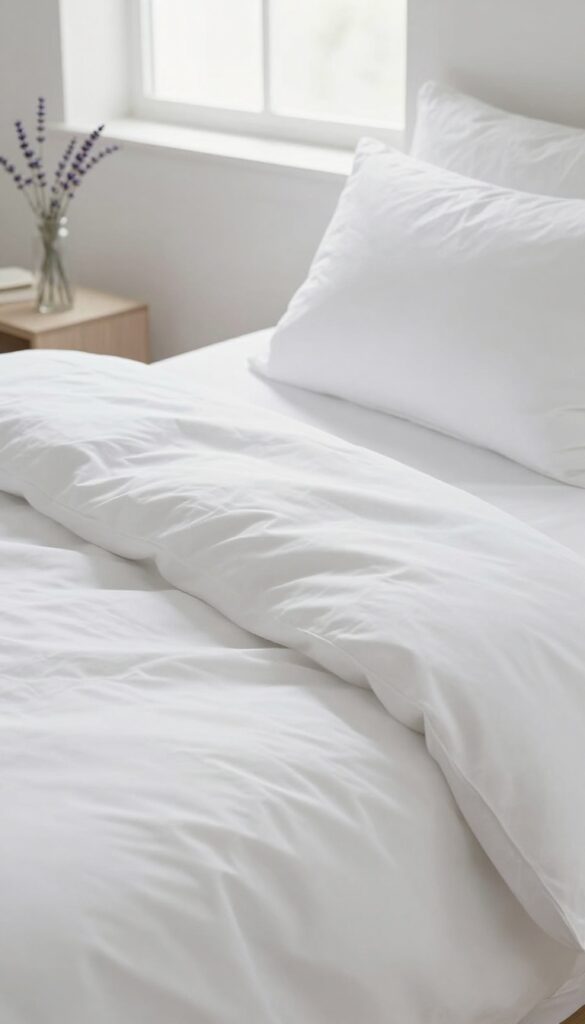
Your sheets and pillowcases are the first line of defense against dust, sweat, and allergens. Washing them weekly in hot water (at least 130°F) kills dust mites and removes buildup that can irritate your skin and sinuses. It's a simple habit that keeps your mattress cleaner longer and makes every bedtime feel like a fresh start.
Why Hot Water Matters
Dust mites thrive in warm, humid environments. Cold or warm water won't kill them—only temperatures above 130°F do the job. Check your bedding's care label; most cotton and synthetic sheets can handle hot water.
If you have delicate fabrics, use a sanitizing cycle or add a laundry sanitizer that works in cooler temps.
Don't Forget The Mattress Protector
Your mattress protector traps dust, sweat, and allergens before they reach the mattress. Wash it every two weeks alongside your sheets. Skip fabric softener—it can reduce the waterproof barrier.
Tumble dry on low heat to keep it in good shape.
Pillowcases Need Extra Love
Pillowcases collect face oils, drool, and dead skin cells faster than flat sheets. Swap them out twice a week if you can. For allergy sufferers, this small change can significantly reduce morning congestion and breakouts.
2. Vacuum Your Mattress Every Month
You probably vacuum your floors regularly, but when was the last time you vacuumed your mattress? It's a simple step that makes a huge difference. Monthly vacuuming removes dust mites, dead skin cells, and other allergens that build up over time.
Plus, it keeps your mattress looking and smelling fresher without any harsh chemicals.
Use the upholstery attachment to vacuum the entire surface, paying extra attention to seams and crevices where dust and debris hide. This quick habit can extend your mattress's life and improve your sleep quality.
Why Monthly Matters
Dust mites thrive in warm, dark places like your mattress. They feed on dead skin cells and can trigger allergies or asthma. Monthly vacuuming reduces their population significantly.
It also prevents dirt from grinding into the fabric, which can wear down the material over time.
The Right Technique
Start by stripping all bedding and washing it. Then, with the upholstery attachment, go over the entire mattress in slow, overlapping strokes. Focus on the edges, tufts, and any visible seams.
For deeper cleaning, sprinkle baking soda over the surface, let it sit for 15 minutes, then vacuum it up. This neutralizes odors without leaving residue.
Don't Forget The Box Spring
If you have a box spring, vacuum that too. It collects dust and debris just like the mattress. Use the same attachment and pay attention to the fabric covering and any crevices.
This extra step ensures a truly clean sleeping environment.
3. Spot Clean Stains Immediately
Accidents happen, and when they do, speed is your best friend. A fresh stain is much easier to lift than one that has had time to set into the mattress fibers. The key is to act fast and use the right technique to avoid spreading or deepening the mark.
Blot, Don’t Rub
Grab a clean, dry cloth or paper towel and gently blot the stain to absorb as much liquid as possible. Press down firmly without rubbing—rubbing pushes the stain deeper into the mattress and can damage the fabric. Repeat with a fresh area of the cloth until no more liquid transfers.
Choose Your Cleaner
For most stains, a mild detergent mixed with cool water works wonders. Dip a cloth into the solution, wring it out so it’s damp not soaking, and blot the stain. For tougher spots like blood or sweat, use an enzymatic cleaner designed to break down proteins.
Always test any cleaner on a hidden area first.
Rinse And Dry Thoroughly
After treating the stain, use a cloth dampened with plain water to remove any soap residue. Then blot with a dry towel to absorb excess moisture. To speed up drying, point a fan at the spot or use a hairdryer on a cool setting.
A dry mattress prevents mold and mildew growth.
4. Deodorize with Baking Soda
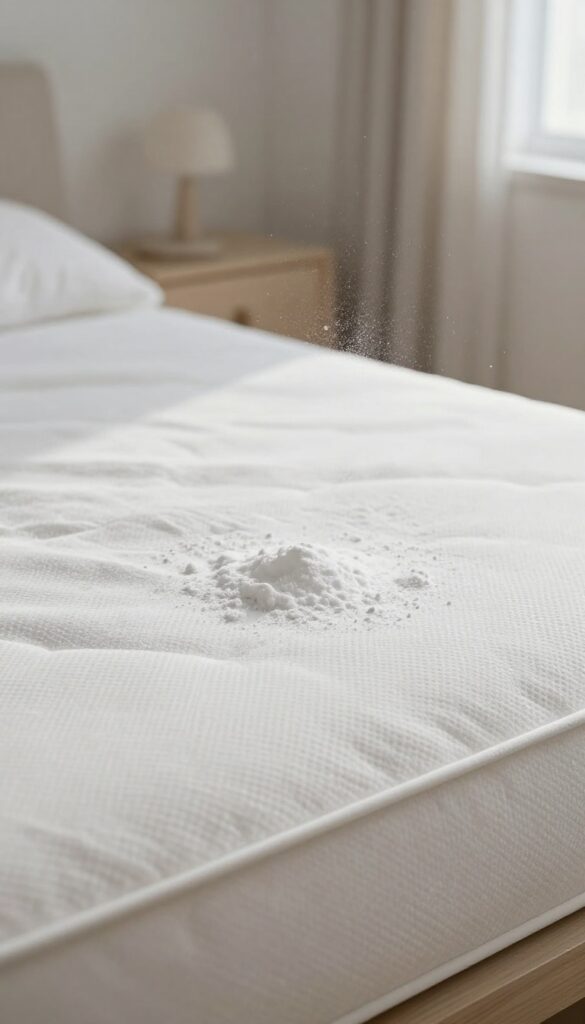
Over time, mattresses absorb all kinds of smells—sweat, body oils, even that lingering scent of last night's popcorn. Baking soda is a natural odor absorber that works wonders without any harsh chemicals. It's cheap, non-toxic, and you probably already have a box in your pantry.
This simple trick can refresh your mattress in just a few hours. The baking soda pulls moisture and odors out of the fabric, leaving it smelling clean and neutral. For best results, make it a monthly habit.
How To Apply It Right
Start by stripping the bed completely. Sprinkle a generous, even layer of baking soda over the entire mattress surface. Don't be shy—use at least one full box for a queen or king size.
Let it sit for several hours, but overnight is even better. The longer it sits, the more odors it absorbs.
Vacuuming Is Key
After the waiting time, vacuum the mattress thoroughly using the upholstery attachment. Go over every inch to remove all the powder. Make sure your vacuum has a clean filter or bag for maximum suction.
You'll be surprised at how much dust and debris comes up along with the baking soda.
Boost With Essential Oils
If you want a subtle scent, mix a few drops of your favorite essential oil (like lavender or tea tree) into the baking soda before sprinkling. Stir well to avoid clumps. This adds a light, natural fragrance without the synthetic chemicals found in commercial sprays.
5. Use a Mattress Protector
Think of a mattress protector as your bed's invisible shield. It sits between you and your mattress, blocking spills, dust mites, and allergens before they become a problem. The best part?
You barely notice it's there, but your mattress stays fresher for years longer.
Why A Protector Matters
A good mattress protector is waterproof yet breathable, so it stops liquids from seeping in without trapping heat. It also creates a barrier against dust mites and pet dander, which is a game-changer for allergy sufferers. Without one, your mattress slowly absorbs sweat, dead skin cells, and spills, turning into a breeding ground for bacteria.
What To Look For
Look for a protector that fits snugly around your mattress like a fitted sheet. Choose one that's machine washable and made from breathable materials like cotton or bamboo. Avoid plastic or vinyl covers that crinkle and make you sweat.
A zippered encasement offers full protection, while a fitted-sheet style is easier to remove and wash.
How To Maintain It
Wash your mattress protector every few months, or more often if you have allergies or pets. Use mild detergent and skip fabric softener, which can clog the waterproof layer. Tumble dry on low or air dry.
A clean protector means a cleaner mattress, and it's way easier to wash a protector than a whole mattress.
6. Rotate Your Mattress Seasonally
Your mattress works hard every night, supporting your body through hours of sleep. Over time, that constant pressure in the same spots can lead to uneven wear, sagging, and a less comfortable surface. The fix is simpler than you think: rotate your mattress head-to-foot every three months to distribute the load evenly and keep it feeling like new.
Rotating your mattress seasonally is one of the easiest ways to extend its life and maintain consistent support. Most modern mattresses are designed to be rotated but not flipped, so check your manufacturer's guidelines first. If your mattress is flippable, you can alternate between rotating and flipping for even more even wear.
Why Rotation Matters
When you sleep in the same spot night after night, the foam and springs in that area compress more than others. This creates indentations and soft spots that can lead to back pain and poor sleep quality. Rotating your mattress redistributes the pressure, so the wear is spread across the entire surface.
How To Rotate Properly
Start by stripping the bed and removing any mattress protector. With a helper, lift the mattress and turn it 180 degrees so the head becomes the foot. If your mattress is flippable, you can also flip it over for a fresh side.
Do this every three months—mark your calendar for the first day of each season as a reminder.
Signs You Need To Rotate Sooner
If you notice sagging, lumps, or a dip in the middle of your mattress, it's time to rotate even if it hasn't been three months. Also, if you sleep with a partner who is heavier, the side they sleep on may wear faster—rotating more frequently can help balance things out.
7. Deep Clean with Steam
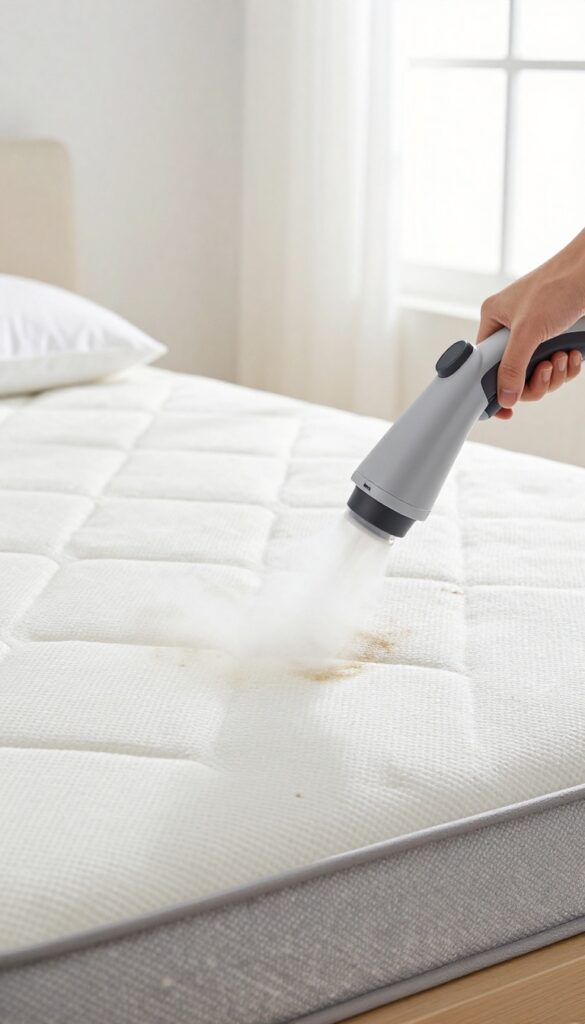
Steam cleaning isn't just for carpets and upholstery—it works wonders on mattresses too. A handheld steam cleaner uses high-temperature vapor to break down grime, kill dust mites, and sanitize the surface without soaking the mattress. It's especially effective for set-in stains that regular spot cleaning can't touch.
To steam clean your mattress, first strip all bedding and vacuum the surface thoroughly. Fill your steam cleaner with distilled water to avoid mineral buildup, then slowly pass the steamer over the mattress in overlapping strokes. Focus on stained areas and high-traffic zones like where your head and hips rest.
The heat will loosen dirt and kill bacteria on contact. After steaming, let the mattress dry completely—this can take several hours depending on humidity. Open windows or use a fan to speed drying.
Never remake the bed while the mattress is still damp, as moisture can lead to mold growth. For best results, steam clean your mattress every six months or after a spill or illness.
Why Steam Works
Steam reaches temperatures above 200°F, hot enough to kill dust mites, bed bugs, and bacteria without chemicals. It also dissolves body oils and sweat that get trapped deep in mattress fibers. Unlike liquid cleaners, steam evaporates quickly, leaving minimal moisture behind.
Step-by-step Process
Start by vacuuming the mattress to remove loose debris. Then fill your steamer with distilled water and let it heat up. Work in small sections, holding the steamer head about an inch above the fabric.
For stubborn stains, hold the steam in place for a few seconds before blotting with a clean cloth.
Drying Tips
After steaming, prop the mattress up against a wall or use a box spring to allow airflow underneath. Place a fan pointing at the mattress and leave it for at least 4 hours. If possible, let it dry in direct sunlight—UV rays add extra sanitizing power.
8. Remove Pet Dander and Hair
If you share your bed with a furry friend, you know the struggle of waking up covered in hair. Pet dander and hair can quickly turn your mattress into an allergen hotspot. The good news?
A few simple tricks can keep your sleeping surface clean and sneeze-free.
Pet hair clings to mattress fibers, and dander—tiny flakes of skin—can trigger allergies even if you don't see it. Regular removal is key to a fresh bed.
The Rubber Glove Trick
Dampen a rubber glove slightly and run your hand over the mattress. The static electricity pulls hair into clumps that are easy to pick up. It works better than a dry cloth and costs nothing.
Lint Roller For Quick Pickups
Keep a lint roller in your nightstand for a fast sweep before making the bed. It grabs hair and dust in seconds, especially along edges and seams where hair tends to gather.
Vacuum With A Hepa Filter
A vacuum equipped with a HEPA filter captures fine dander that standard vacuums recirculate. Use the upholstery attachment and go over the entire mattress surface, paying extra attention to crevices. Do this weekly for best results.
9. Treat Urine Stains with Enzyme Cleaner
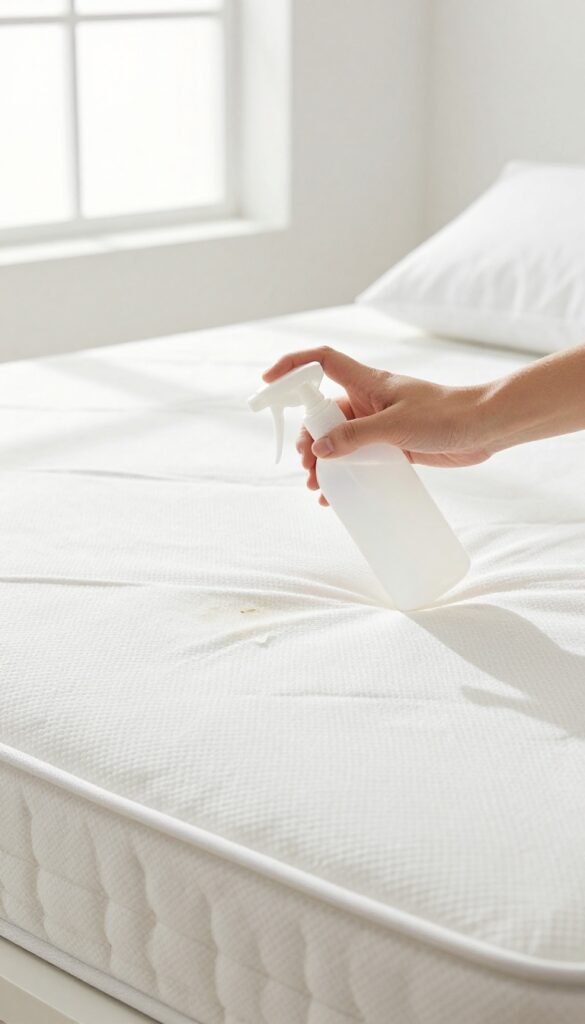
Urine stains are tricky because they don't just sit on the surface—they soak deep into the mattress fibers and foam. Regular cleaners often mask the smell temporarily, but the odor comes back stronger as the stain dries. Enzyme cleaners are the real solution here, breaking down the proteins in urine so both the stain and the smell disappear for good.
When you're dealing with a urine stain, speed matters. The faster you act, the less time the liquid has to penetrate deep into the mattress. Start by blotting up as much moisture as possible with clean, dry towels.
Press firmly, but don't rub—rubbing spreads the stain and pushes it deeper. Once you've blotted until the towel comes up mostly dry, it's time for the enzyme cleaner.
Why Enzyme Cleaners Work
Enzyme cleaners contain specific proteins that target the urea and uric acid in urine. They literally digest the stain at a molecular level, neutralizing both the discoloration and the ammonia-based odor. Unlike bleach or vinegar, enzymes don't just cover up the smell—they eliminate the source.
This makes them especially effective for pet accidents or bedwetting incidents.
How To Apply The Cleaner
Spray or pour the enzyme cleaner directly onto the stain, making sure to saturate the area completely. Let it sit for at least 10-15 minutes—longer for older or larger stains. The enzymes need time to work.
After the wait, blot the area again with a clean towel to lift the dissolved stain. Repeat if necessary. Avoid using heat (like a hair dryer) until the stain is fully gone, as heat can set the stain.
Drying And Final Check
Once the stain is lifted, let the mattress air dry completely. Open windows or use a fan to speed up the process. Check the spot once dry—if any discoloration or smell remains, repeat the treatment.
Enzyme cleaners are safe for most mattress types, but always test on a small hidden area first.
10. Freshen with Essential Oils
Essential oils aren't just for diffusers or DIY cleaning sprays—they can also give your mattress a gentle, natural refresh. A light mist of lavender or tea tree oil not only adds a calming scent but also brings mild antimicrobial benefits. The key is to use them sparingly and properly so you don't end up with a damp or overly fragrant bed.
Mixing a few drops of essential oil with water in a spray bottle is one of the easiest ways to keep your mattress smelling fresh between deep cleans. Lavender promotes relaxation, while tea tree oil helps fight odor-causing bacteria. Always test on a small, hidden area first, and avoid saturating the mattress to prevent mold or mildew growth.
Why Lavender And Tea Tree Work Best
Lavender is widely known for its calming properties, making it ideal for a sleep space. Tea tree oil, on the other hand, is a natural antifungal and antibacterial agent that can help neutralize odors and inhibit microbial growth. Together, they create a fresh, clean scent without the synthetic chemicals found in many commercial fabric sprays.
How To Make Your Own Mattress Mist
Fill a small spray bottle with distilled water—about 4 ounces. Add 10 to 15 drops of your chosen essential oil (or a blend of both). Shake well before each use.
Lightly mist the mattress from about 12 inches away, focusing on areas that tend to hold odors. Let it air dry for 15–20 minutes before making the bed or sleeping on it.
Important Safety And Usage Tips
Always spot-test on an inconspicuous area to ensure the oil doesn't stain or discolor the fabric. Never soak the mattress; a fine mist is plenty. Avoid using citrus oils like lemon or orange, as they can degrade mattress materials over time.
Also, skip this step if you have allergies to essential oils or pets that are sensitive to them.
11. Use Sunlight to Kill Bacteria
Sunlight isn't just good for your mood—it's a powerful, natural disinfectant. On a bright, sunny day, moving your mattress outside for a few hours can work wonders. UV rays penetrate deep into the fabric, killing bacteria, dust mites, and other microscopic pests that thrive in dark, damp environments.
Plus, the fresh air helps dry out any lingering moisture and leaves your mattress smelling clean and neutral.
Pick The Right Day
Check the weather forecast and choose a day with low humidity and plenty of direct sunlight. Avoid windy days that could blow dust or pollen onto your mattress. Ideally, the temperature should be warm but not scorching—around 70–80°F is perfect.
If you live in a humid climate, even a few hours of strong sun can make a big difference.
Prepare Your Mattress
Strip off all bedding and vacuum the mattress thoroughly to remove surface dust and debris. Check for any stains and treat them beforehand if needed—sunlight can set some stains, so it's best to spot-clean first. If your mattress has a removable cover, wash it separately according to the care instructions.
Sunbathing Tips
Place the mattress on a clean, dry surface like a patio, deck, or a large tarp. Prop it up slightly against a wall or chair to allow air to circulate underneath. Leave it in direct sunlight for 3–4 hours, flipping it halfway through so both sides get equal exposure.
Bring it back inside before the evening dew sets in to prevent moisture from re-entering.
Aftercare
Once the mattress is back indoors, let it air out for another 30 minutes before remaking the bed. This allows any residual heat or moisture to dissipate. You'll notice a fresher, lighter smell and a reduction in allergens.
For best results, repeat this process every few months, especially during spring and summer.
12. Clean Blood Stains with Hydrogen Peroxide
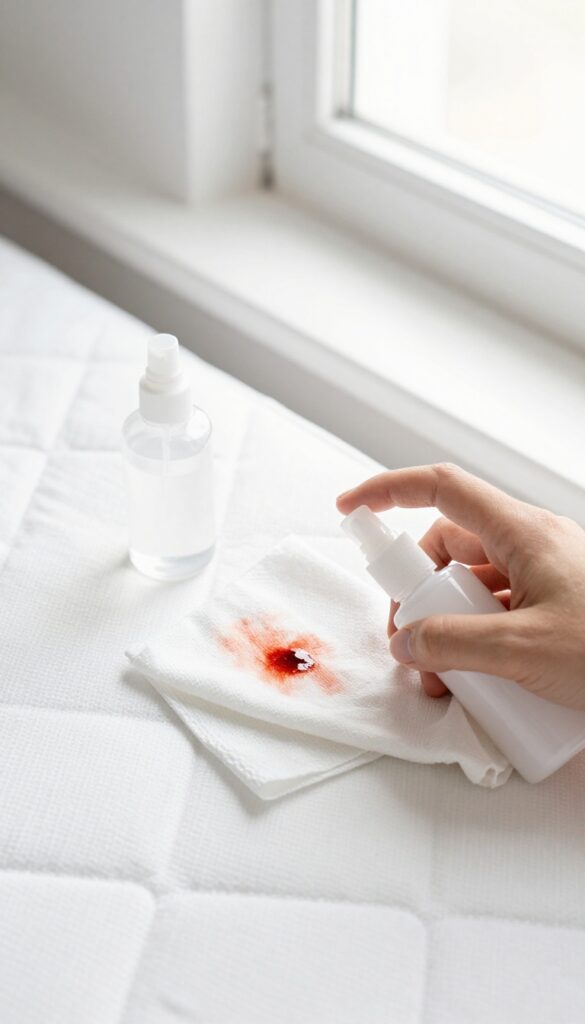
Blood stains on a mattress can be alarming, but they don't have to be permanent. The key is acting fast and using the right technique—hot water is your enemy here. Cold water and hydrogen peroxide work together to lift the stain without setting it.
Start by blotting the stain with a cloth soaked in cold water. Don't rub, just dab to remove as much blood as possible. Then pour a small amount of 3% hydrogen peroxide directly onto the stain.
Let it fizz for a few minutes, then blot with a clean cloth. Repeat until the stain fades. Finish by blotting with cold water to remove any residue, then let the area air dry.
Why Cold Water Matters
Blood contains proteins that coagulate when heated. Hot water makes the stain bind permanently to the fibers. Cold water keeps the proteins loose so they can be lifted away.
Always start with cold water, and never use heat until the stain is completely gone.
Hydrogen Peroxide Tips
Use 3% hydrogen peroxide, which is safe for most mattress fabrics. Test on a hidden spot first. The fizzing action helps break down the stain.
If the stain is old, let the peroxide sit for up to 30 minutes, but don't let it dry completely. Blot periodically to see progress.
For Stubborn Or Dried Stains
Make a paste of baking soda and cold water, apply it to the stain, and let it dry. Scrape off the paste, then treat with hydrogen peroxide. For very old stains, repeat the process a few times.
Patience is key—rushing can damage the mattress.
13. Remove Sweat Stains with Salt and Lemon
Sweat stains are one of the most common mattress annoyances, especially during hot summer nights. They can leave yellow marks and a lingering odor that regular cleaning doesn't always fix. Luckily, a simple kitchen remedy can tackle both the stain and the smell without harsh chemicals.
Salt and lemon work together like a dream team for sweat stains. The salt acts as an absorbent, drawing out moisture and oils, while the lemon juice breaks down proteins and brightens the fabric naturally. This method is gentle enough for most mattresses but effective enough to lift set-in stains.
How To Make The Paste
Mix table salt with fresh lemon juice until you get a thick, spreadable paste. You don't need exact measurements—aim for a consistency similar to toothpaste. Use about two tablespoons of salt and enough lemon juice to bind it.
Application And Wait Time
Spread the paste directly over the sweat stain, making sure it's fully covered. Let it sit for 30 minutes to give the salt time to absorb and the lemon time to work. Don't let it dry completely, or it may become harder to remove.
Wiping And Drying
After 30 minutes, dampen a clean cloth with cool water and gently wipe away the paste. Blot rather than rub to avoid pushing the stain deeper. Let the area air dry completely before putting sheets back on.
Repeat if needed for stubborn stains.
14. Prevent Mold with Proper Ventilation
Mold loves a dark, damp environment—exactly what an unventilated bedroom can become. Without fresh air, moisture from your breath and body gets trapped, creating the perfect breeding ground for mold and mildew. The good news is that a few simple ventilation habits can keep your mattress dry and mold-free.
Let Your Bed Breathe Daily
After you wake up, resist the urge to make your bed immediately. Pull back the sheets and let the mattress air out for at least 30 minutes. This allows trapped moisture to evaporate instead of soaking into the fabric and foam.
Use A Dehumidifier In Humid Climates
If you live in a humid area, a dehumidifier can be a game-changer. Keep indoor humidity between 40-50% to discourage mold growth. Run it during the day, especially after showers or cooking, to keep the air dry.
Lift And Rotate Your Mattress
Every few months, lift your mattress off the box spring or foundation and lean it against a wall for a few hours. This allows air to circulate underneath, preventing moisture buildup on the bottom side. While you're at it, rotate the mattress to ensure even wear.
15. Use a Carpet Cleaner for Deep Stains
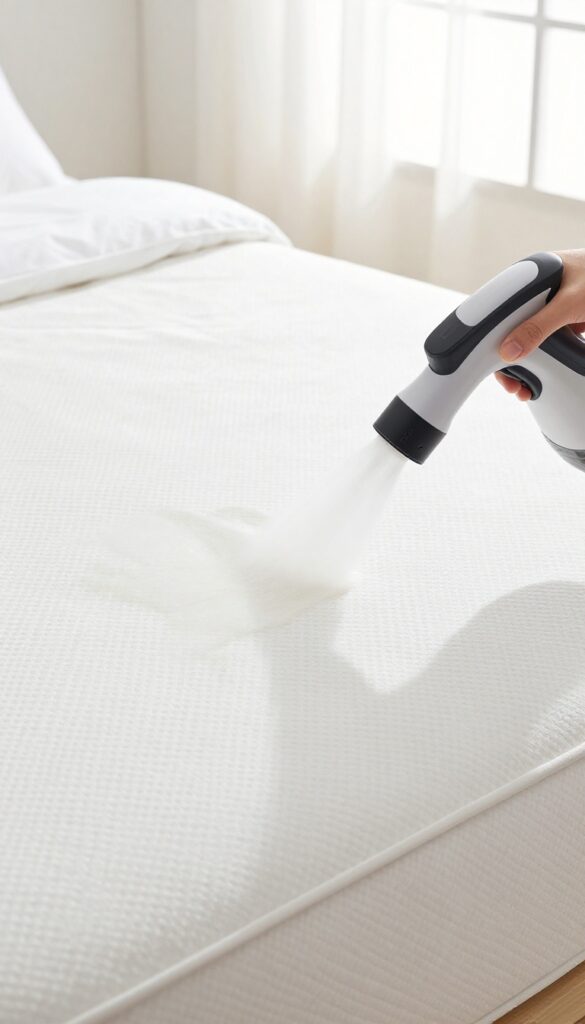
When regular spot cleaning isn't cutting it, a portable carpet cleaner can be a game-changer for your mattress. These machines use water and cleaning solution to extract dirt, sweat, and stains from deep within the fabric. With the right upholstery attachment, you can target problem areas without soaking the whole mattress.
Carpet cleaners are designed to lift embedded grime, making them ideal for mattresses that have accumulated years of body oils and spills. The key is to use a gentle, enzyme-based cleaning solution and avoid over-wetting. Always follow up with thorough drying to prevent mold and mildew.
Choose The Right Machine
Not all carpet cleaners are created equal. Look for a portable model with an upholstery tool and adjustable suction. The Bissell SpotClean or Hoover SmartWash are popular choices.
Avoid full-size carpet cleaners meant for floors—they're too heavy and can oversaturate your mattress.
Prep The Mattress First
Strip all bedding and vacuum the mattress thoroughly to remove loose debris. Pre-treat any visible stains with a spot cleaner or a mixture of hydrogen peroxide and dish soap. Let the pre-treatment sit for 10-15 minutes before using the carpet cleaner.
Work In Small Sections
Fill the machine's tank with warm water and a mild cleaning solution (check the manufacturer's instructions for dilution). Work in small, overlapping passes, applying solution and then extracting it. Avoid saturating the same spot multiple times—you want to remove dirt, not add moisture.
Dry Completely To Prevent Mold
After cleaning, blot any excess moisture with a clean, dry towel. Then, allow the mattress to air dry completely. Use fans, open windows, or a dehumidifier to speed up the process.
Do not put sheets back on until the mattress is bone-dry to the touch.
16. Tackle Yellowing with Baking Soda and Vinegar
Yellowing on a mattress is often caused by sweat, body oils, and age. Instead of harsh bleach, a simple paste of baking soda and white vinegar can lift those stains naturally. This combo works as a gentle oxidizer, breaking down discoloration while neutralizing odors.
Make The Paste
Mix three parts baking soda with one part white vinegar until it forms a spreadable paste. It will fizz at first—that's normal. Let it settle for a minute before applying.
Apply And Let It Dry
Spread the paste over yellowed areas in a thick layer. Leave it on for at least 3–4 hours, or overnight for stubborn stains. As it dries, it pulls discoloration and odors out of the fabric.
Vacuum Thoroughly
Once dry, the paste will be a crusty powder. Vacuum it up using the upholstery attachment. Repeat if needed—this method is gentle enough for regular use.
17. Freshen Pillows and Mattress Toppers
Pillows and mattress toppers are often overlooked during cleaning, yet they absorb just as much sweat, oil, and dust as the mattress itself. Giving them regular attention keeps your entire bed fresh and extends their lifespan.
Wash Pillows The Right Way
Check the care tag first. Most synthetic pillows can go in the washing machine on a gentle cycle with warm water and a mild detergent. Use a second rinse cycle to remove all soap residue.
Dry thoroughly on low heat with dryer balls or clean tennis balls to fluff them back up.
Spot Clean Mattress Toppers
Mattress toppers are too bulky for a machine wash, so spot cleaning is your best bet. Mix a small amount of mild detergent with cool water, dab the stained area with a cloth, then blot with a dry towel. Avoid soaking the topper—moisture can get trapped inside and lead to mold.
Deodorize Between Washes
Sprinkle baking soda over pillows and toppers, let it sit for 15–30 minutes, then vacuum it off with an upholstery attachment. This absorbs odors and refreshes the fabric without a full wash. Do this monthly for best results.
18. Use Rubbing Alcohol for Ink Stains
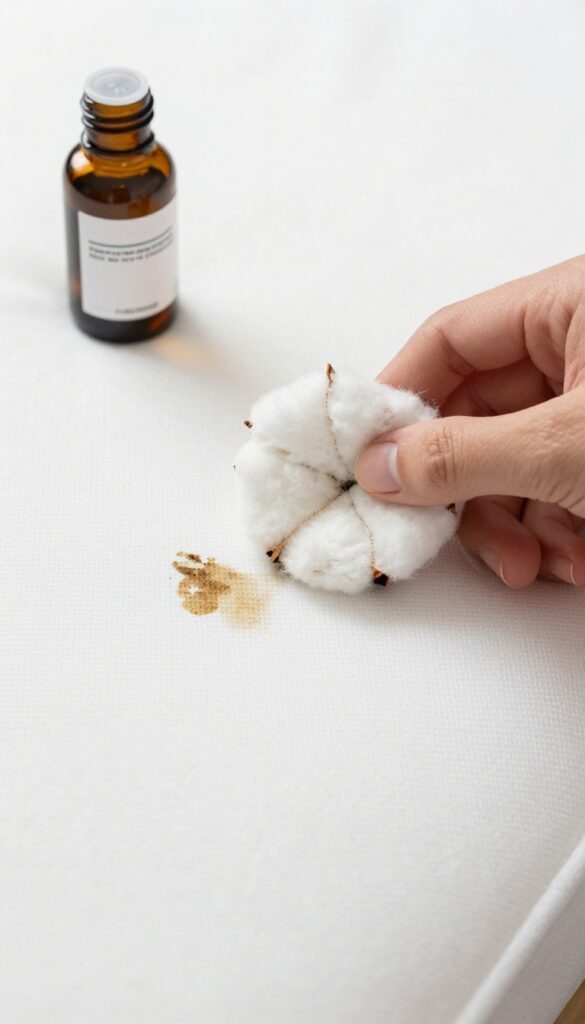
Ink stains on a mattress can seem impossible to remove, but rubbing alcohol makes it surprisingly easy. The alcohol breaks down the ink's pigments, allowing you to lift them away without scrubbing. This method works on ballpoint, gel, and even some permanent markers.
Start by dampening a cotton ball or clean cloth with rubbing alcohol. Dab the stain gently—don't rub, or you'll spread the ink. You'll see the ink transfer to the cotton.
Swap to a fresh cotton ball as needed and repeat until no more ink lifts. Finish by rinsing the area with a cloth dipped in cold water to remove any alcohol residue. Blot dry with a towel.
Why Rubbing Alcohol Works
Ink is designed to bond with fabric fibers, but alcohol is a solvent that dissolves that bond. It breaks the ink into tiny particles that can be absorbed into the cotton. This method is safe for most mattress fabrics, but always test on a hidden spot first.
Avoid These Common Mistakes
Never rub the stain—it forces ink deeper into the mattress. Also, don't use water before alcohol; water can set the stain. Stick to dabbing, and be patient.
Stubborn stains might need a few rounds.
Aftercare For The Treated Area
Once the ink is gone, let the mattress air dry completely before putting sheets back on. You can speed up drying with a fan or hairdryer on cool. If any faint mark remains, repeat the process.
This method leaves no residue, so your mattress stays fresh.
19. Keep Your Mattress Dry at All Times
Moisture is the silent enemy of a fresh mattress. It seeps into the foam or fibers, creating a breeding ground for mold, mildew, and dust mites. Even a little dampness can lead to musty odors and faster wear.
That's why keeping your mattress dry isn't just a nice-to-have—it's essential for longevity and hygiene.
Spills happen, but how you handle them makes all the difference. Blot (don't rub) liquids immediately with a clean cloth, then use a fan or hair dryer on cool to speed drying. Avoid sleeping on a damp mattress at all costs—your body heat and sweat add more moisture, trapping it inside.
After deep cleaning, let the mattress air out completely before remaking the bed. A dehumidifier in the room can help pull residual moisture from the air, especially in humid climates.
Blot, Don't Rub
When a spill occurs, grab a dry cloth and press firmly to absorb as much liquid as possible. Rubbing spreads the stain deeper into the mattress. Repeat with fresh cloths until no more moisture transfers.
Then, sprinkle baking soda over the area to draw out remaining dampness and odors. Let it sit for a few hours before vacuuming.
Speed Drying After Cleaning
After spot cleaning or a full refresh, your mattress needs to dry thoroughly. Open windows, turn on a fan, or use a hair dryer on a cool setting. Avoid direct sunlight if possible—UV rays can degrade some mattress materials.
A dehumidifier is especially helpful in basements or humid rooms. Never put a mattress protector back on until the mattress feels completely dry to the touch.
Prevent Moisture Buildup
Simple habits go a long way: use a breathable mattress protector to shield against sweat and spills, and air out your bedding regularly. If you live in a humid area, consider running a dehumidifier or using moisture-absorbing products like silica gel packs under the mattress. Also, avoid placing your bed against an exterior wall that might trap condensation.
20. Clean Under the Bed Regularly
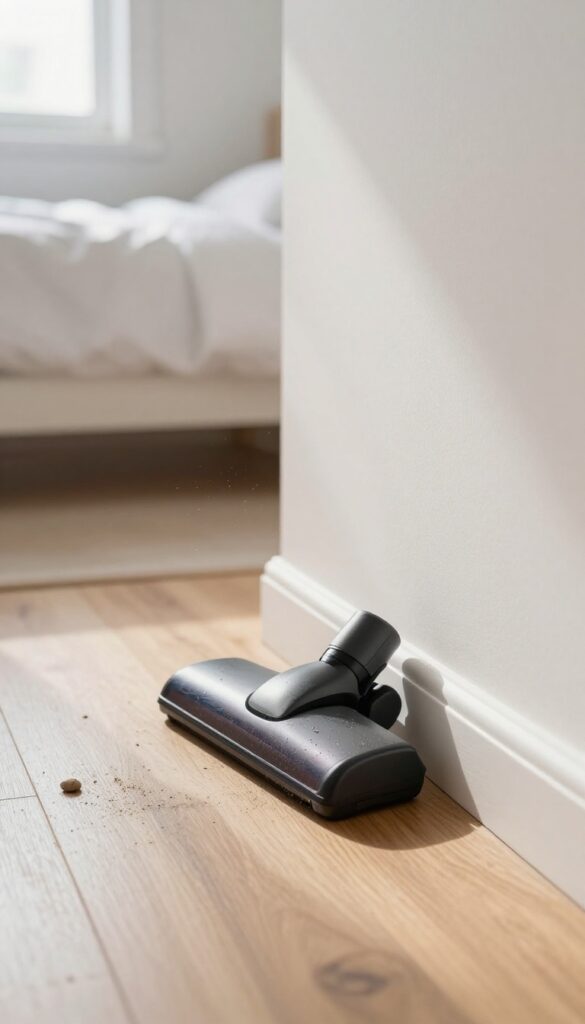
Dust bunnies, stray socks, and forgotten crumbs—the area under your bed is a magnet for mess. And while it might seem out of sight, out of mind, that debris directly affects your mattress. Every time you toss and turn, air currents stir up whatever is lurking below, sending particles right into your sleeping space.
A quick monthly clean keeps that from happening.
Your mattress breathes, and so does the dust under your bed. When you vacuum or sweep that hidden zone, you stop allergens from migrating upward through your box spring or bed frame. It’s one of the simplest ways to extend the freshness of your mattress without any extra effort on the surface.
Why It Matters
Think of the space under your bed as a holding tank for dust, pet dander, and even mold spores. Over time, these particles settle into your mattress fibers through gravity and airflow. Regular cleaning breaks that cycle, keeping your mattress cleaner longer and reducing allergy triggers.
How To Do It Right
Start by pulling everything out from under the bed—storage bins, shoes, whatever. Use a vacuum with a crevice tool to reach corners and along the baseboards. If you have a low bed frame, a microfiber duster on a long handle works wonders.
Aim for once a month, or every two weeks if you have pets.
Bonus Tip: Protect The Floor
If your bed sits on carpet, sprinkle a little baking soda before vacuuming to neutralize odors. For hardwood or tile, a quick damp mop after sweeping prevents dust from resettling. Either way, you’re creating a cleaner foundation for your mattress to rest on.
21. Use a Upholstery Cleaner for Tough Grime
When baking soda and vinegar just aren't cutting it, it's time to bring in the big guns. Upholstery cleaners designed for fabric sofas and chairs work beautifully on mattresses too. They're formulated to break down embedded dirt, oils, and stains without damaging the fabric.
Before you go spraying anything, test the cleaner on a small, hidden spot—like under a corner of the fitted sheet. Wait for it to dry and check for discoloration or texture changes. If all looks good, follow the product's instructions.
Most require you to spray, let it sit for a few minutes, then blot or gently scrub with a soft brush. Avoid soaking the mattress; you want it damp, not wet. Afterward, let it air dry completely before putting sheets back on.
A fan or open window speeds things up. This method is especially effective for stubborn sweat rings, mystery stains, or musty odors that won't budge.
Choosing The Right Cleaner
Look for an upholstery cleaner labeled as safe for delicate fabrics or with a neutral pH. Avoid anything with bleach or harsh solvents, as they can yellow or weaken the mattress fibers. Water-based formulas are generally safest.
Brands like Folex or Bissell's portable cleaner solutions are popular choices.
Step-by-step Application
Start by vacuuming the mattress to remove loose dust and debris. Then spray the upholstery cleaner lightly onto the stained area—don't drench it. Let it sit for the recommended time (usually 5-10 minutes).
Using a clean, damp microfiber cloth, blot the area, working from the outside in to avoid spreading the stain. For tougher grime, use a soft-bristled brush in gentle circular motions. Blot again with a dry cloth to absorb excess moisture.
Drying And Finishing Touches
After cleaning, sprinkle a thin layer of baking soda over the damp area to absorb any remaining moisture and odors. Let it sit for a few hours, then vacuum thoroughly. To speed drying, place a fan nearby or open a window.
Avoid using the mattress until it's completely dry—usually 4-6 hours, depending on humidity.
22. Replace Your Mattress Every 7-10 Years
No matter how diligent you are with cleaning, every mattress has an expiration date. Over time, the materials break down, and the support structure loses its integrity. If you wake up with new aches or notice sagging, your mattress is likely past its prime.
Even with perfect care, mattresses wear out. If you wake up with aches or notice sagging, it's time for a new one. A fresh start for better sleep.
Signs It's Time To Let Go
Your body knows before your eyes do. If you're waking up stiff, sore, or more tired than when you went to bed, your mattress may be the culprit. Visible sagging, lumps, or permanent indentations are clear red flags.
Also, if you sleep better in a hotel bed than your own, that's a strong hint.
The Lifespan Of Different Mattress Types
Not all mattresses age the same. Innerspring mattresses typically last 5-7 years, while memory foam and latex can go 8-10 years with proper care. Hybrid mattresses fall somewhere in between.
Check the manufacturer's warranty—if it's expired, your mattress likely is too.
Making The Switch Smooth
When it's time to replace, don't just dump the old one. Many retailers offer free removal when you buy a new mattress. Consider donating if it's still in decent shape.
And before you set up your new bed, give the frame a good clean—no sense starting fresh on a dusty foundation.
23. Schedule a Professional Cleaning Annually
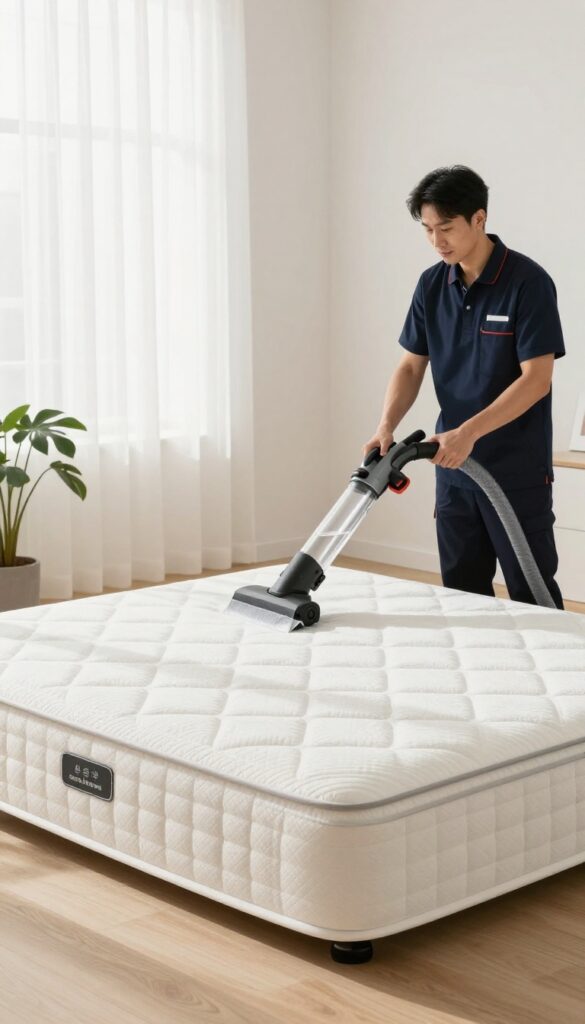
Even the most diligent DIY cleaning routine can miss deep-set allergens and bacteria. Professional mattress cleaners use industrial-grade equipment to extract what vacuums and sprays leave behind. One annual deep clean can significantly extend your mattress's life and improve your sleep environment.
What Pro Cleaning Actually Does
Professional services typically use hot water extraction combined with powerful suction. This method flushes out dust mites, pet dander, sweat residue, and even deep-set stains. The high-temperature water sanitizes without harsh chemicals, leaving your mattress fresh and dry within hours.
When To Call The Pros
Schedule a professional clean every 12 to 18 months, or sooner if you notice musty smells, allergy flare-ups, or visible stains that won't budge. It's also a great idea after an illness, a bed-wetting incident, or if you've recently adopted a pet.
How To Prepare For The Service
Strip all bedding and vacuum the mattress surface to remove loose debris. Clear a path to the bedroom and make sure the technician has access to an electrical outlet. After the service, leave the mattress uncovered for a few hours to fully dry before remaking the bed.
FAQ
How often should I clean my mattress?
Vacuum your mattress monthly and deep clean every 6-12 months. Wash bedding weekly and spot-treat stains as soon as they happen.
Can I use bleach on my mattress?
No, bleach can damage mattress fibers and cause discoloration. Stick to mild detergents, hydrogen peroxide, or enzyme cleaners for stains.
How do I get rid of dust mites in my mattress?
Wash bedding in hot water (130°F+), use a dust-mite-proof cover, vacuum with a HEPA filter, and reduce humidity below 50%.
Is it safe to use a steam cleaner on a memory foam mattress?
Memory foam is sensitive to moisture and heat. Use a steam cleaner sparingly and only on the surface. Ensure the mattress dries completely to prevent mold.
How long does it take for a mattress to dry after cleaning?
Drying time varies from a few hours to 24 hours depending on method and ventilation. Use fans, open windows, or a dehumidifier to speed up the process.
Conclusion
A fresher mattress isn't just about appearance—it directly impacts your sleep quality and health. By rotating these 23 tips into your routine, you'll extend your mattress's life and wake up feeling more rested.
Start with the quick wins like weekly vacuuming and spot cleaning, then layer in deeper care monthly. Your sleeping space will reward you with cleaner air and better rest, night after night.