11 How to Clean Brass Hardware and Restore Its Warm Glow
Brass fixtures add a warm, classic touch to any home—until they dull into a patchy, tarnished mess. You don't need harsh chemicals or expensive replacements to bring back that glow.
With a few pantry staples and a little elbow grease, you can restore your hardware to its former shine. From gentle everyday washes to a clever DIY electrolysis trick, these 11 methods cover everything from quick touch-ups to deep restoration.
Pick the one that fits your piece, and watch the warmth return.
1. Start with a Gentle Soap and Water Wash
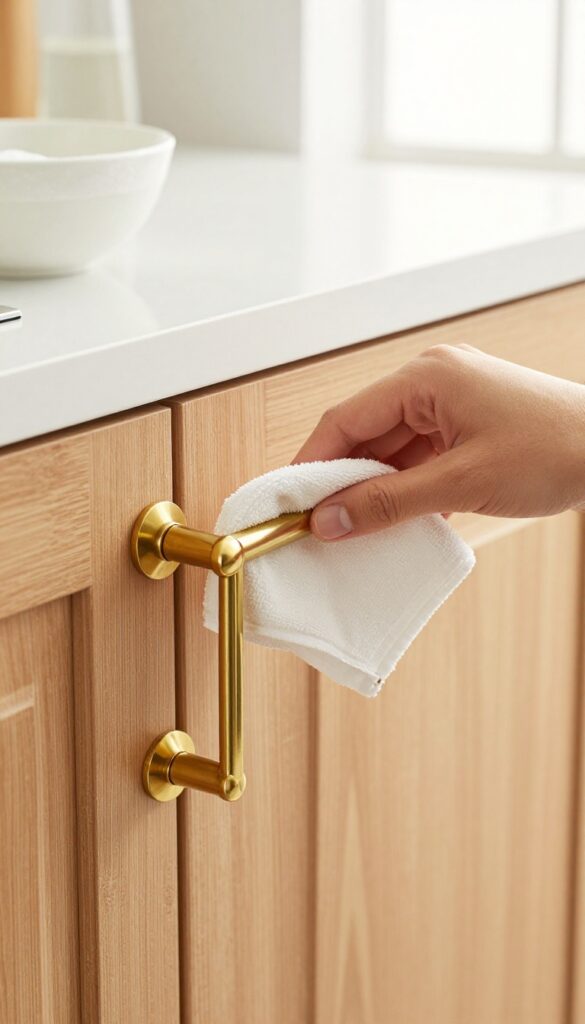
For lightly soiled brass, you don't need anything fancy. A simple mix of mild dish soap and warm water can work wonders. It's the safest first step before trying anything stronger.
Mix a few drops of mild dish soap into a bowl of warm water. Dip a soft cloth into the solution, wring it out well, and gently wipe down the brass surface. Avoid soaking the piece, especially if it's lacquered.
Rinse a separate cloth in clean water and wipe off any soap residue. Dry thoroughly with a soft, dry towel to prevent water spots. This method is perfect for routine cleaning or when you just want to remove dust and fingerprints.
When To Use This Method
Use this gentle wash on brass that isn't heavily tarnished. It's ideal for regularly maintained pieces or for cleaning off grime before applying a polish. If the brass has stubborn spots, move on to other methods.
Why It Works
Dish soap cuts through oils and dirt without scratching the metal. Warm water helps loosen grime, and the soft cloth ensures you don't leave micro-scratches. It's a low-risk approach that preserves the finish.
Drying Is Key
Always dry brass completely after washing. Leftover moisture can lead to water spots or encourage tarnishing. Use a clean, lint-free cloth and give it a final gentle buff for extra shine.
2. Use a Lemon and Baking Soda Paste
When you want a natural, non-toxic way to tackle tarnish, look no further than your kitchen. Lemon juice and baking soda team up to break down grime and brighten brass without harsh fumes. This simple paste is gentle enough for regular use but tough on discoloration.
Mix equal parts lemon juice and baking soda to form a thick paste. Apply it to the brass with a soft cloth or your fingers, covering all tarnished areas. Let it sit for a few minutes—just enough for the acid to start working.
Then buff gently in circular motions and rinse with warm water. Dry thoroughly with a clean cloth to prevent water spots. For stubborn spots, let the paste sit a little longer or give it a second application.
Why This Combo Works
The citric acid in lemon juice dissolves tarnish, while baking soda acts as a mild abrasive to lift away dirt. Together, they create a fizzing reaction that helps lift grime from the surface. It's a safe alternative to commercial polishes, especially for pieces that come in contact with food or are handled often.
How To Apply The Paste
Use a soft cloth or an old toothbrush to spread the paste evenly. Focus on the discolored areas, but don't worry about covering the whole piece if it's just spotty. Let it sit for 5–10 minutes, then buff with a clean, dry cloth.
Rinse well under warm water to remove any residue. Dry immediately with a soft towel to avoid water marks.
When To Skip This Method
If your brass is lacquered, avoid this paste because the acid can damage the protective coating. Also, skip it on antique or valuable pieces that might have an intentional patina. For those, a gentler cleaning method or professional advice is safer.
3. Try Vinegar and Salt for Stubborn Tarnish
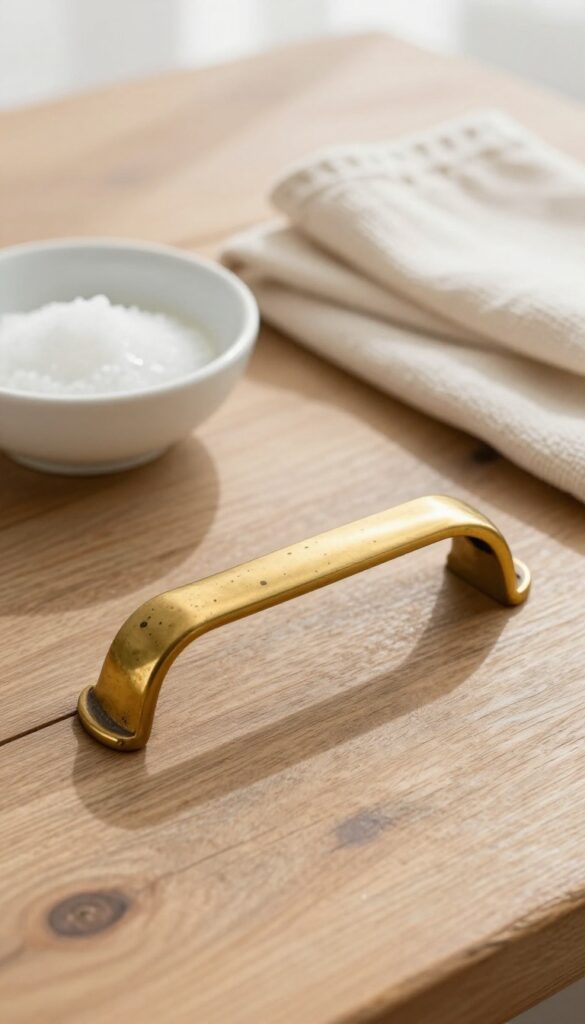
When gentle cleaners aren't enough, this classic kitchen duo steps up. Vinegar's mild acidity breaks down oxidation while salt acts as a gentle abrasive, making it a powerful team for tougher spots. Just remember: this method is best for unlacquered brass, and always test on a hidden area first.
For brass that's seen better days, a simple paste of white vinegar and table salt can work wonders. The combination lifts heavy tarnish without the need for harsh chemicals, and you likely have both ingredients on hand. Here's how to use it effectively and safely.
Make The Paste
Mix equal parts white vinegar and salt in a small bowl until it forms a thick paste. If it's too runny, add more salt; if too thick, a splash of vinegar. The consistency should be spreadable but not dripping.
Apply And Let It Sit
Use a soft cloth or sponge to apply the paste evenly over the tarnished areas. Let it sit for 5 to 10 minutes—longer for heavy tarnish, but don't let it dry completely. You'll see the paste start to turn greenish as it lifts the oxidation.
Scrub Gently And Rinse
After it sits, gently scrub with a soft-bristled brush or cloth, working in small circles. Rinse thoroughly with warm water to remove all residue. Dry immediately with a soft towel to prevent water spots.
Test On Lacquered Brass First
Vinegar and salt can strip lacquer and damage the protective coating. If your piece has a clear lacquer (often found on new hardware), test on an inconspicuous spot first. If the finish bubbles or dulls, stop and use a gentler method instead.
4. Make a Flour, Salt, and Vinegar Polish
This DIY polish is a favorite among antique lovers and DIYers alike. It's gentle, effective, and uses ingredients you probably already have in your kitchen. Plus, it's safe for most brass finishes, making it a versatile option for various pieces.
To make the polish, mix equal parts flour and salt, then add just enough vinegar to form a thick paste. Apply the paste to the brass with a soft cloth or your fingers, covering the entire surface. Let it sit for about 10 minutes or until it dries completely, then buff it off with a clean, dry cloth.
The paste lifts tarnish and grime without scratching, leaving behind a warm, natural shine.
Why This Paste Works
The salt acts as a mild abrasive, gently scrubbing away tarnish. The vinegar's acidity dissolves oxidation, while the flour binds everything into a spreadable paste that clings to the surface. Together, they create a chemical reaction that lifts dirt and dullness without harsh scrubbing.
How To Apply It Right
Start with clean, dry brass. Use a soft cloth or an old toothbrush to spread the paste evenly, working it into crevices and detailed areas. Let it dry completely—this gives the vinegar time to work.
Then, buff with a soft, lint-free cloth in circular motions. For stubborn spots, apply a second coat and let it sit longer.
When To Avoid This Method
Skip this polish on lacquered brass, as the vinegar can damage the protective coating. If you're unsure, test on a small, hidden area first. Also, avoid using it on brass with a clear finish or on pieces that are heavily pitted, as the paste might get stuck in crevices.
For those, stick to gentler cleaning methods.
5. Use a Commercial Brass Cleaner
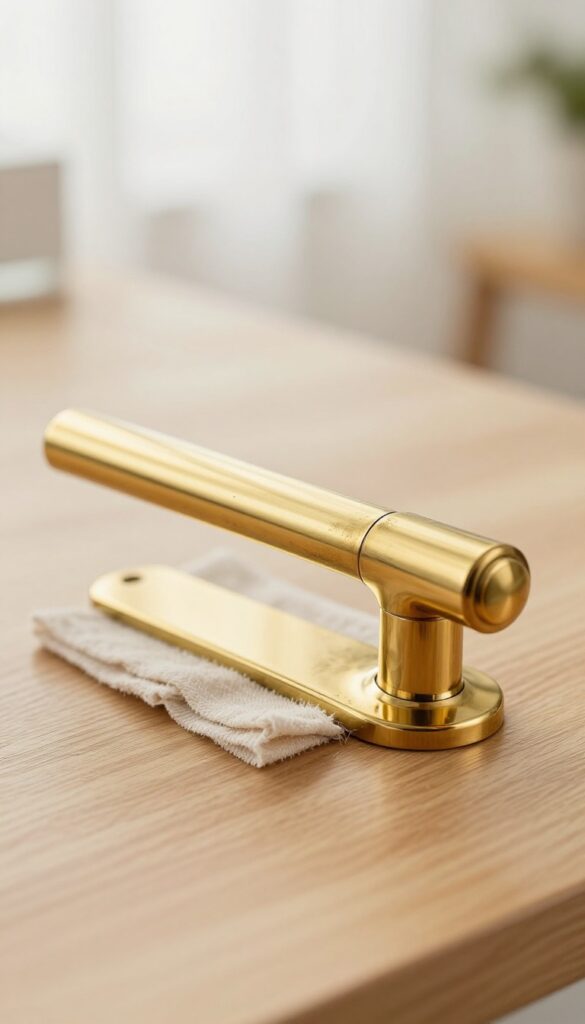
Sometimes DIY just doesn't cut it, especially if the tarnish has had years to dig in. That's when a commercial brass cleaner can be your best friend. These products are formulated to dissolve stubborn oxidation fast, bringing back that warm gleam with minimal effort.
Choosing The Right Cleaner
Look for well-known brands like Brasso or Wright's. They come in liquid, paste, or foam forms, so pick what feels easiest for your project. Paste cleaners are great for deep tarnish, while liquids work well for regular upkeep.
Always read the label to make sure it's safe for your type of brass—lacquered pieces need a gentler touch.
How To Apply It Like A Pro
Start by cleaning the brass with mild soap and water to remove any surface dirt. Then, apply the cleaner with a soft cloth, working in small circles. Let it sit for a minute or two, but don't let it dry completely.
Buff it off with a clean cloth, and you'll see the shine come right back. For intricate details, use a soft toothbrush to reach the nooks.
Test First, Then Shine
Before you go all in, test the cleaner on a hidden spot—like the back of a knob or the underside of a handle. This makes sure it won't damage the finish. If the test area looks good, proceed with confidence.
Remember to work in a well-ventilated space and wear gloves if you have sensitive skin.
6. Apply a Brass Polish with a Soft Cloth
Once the tarnish is gone, a dedicated brass polish can take your hardware to the next level. It not only shines but also adds a protective layer that slows down future dulling. For pieces that need that extra pop, this is the step that makes them look brand new.
Using a commercial brass polish is straightforward, but a few tips make all the difference. Always test on a small, hidden area first. Then, apply with a soft cotton cloth using gentle, circular motions.
Let it dry to a haze, then buff with a clean cloth until the glow appears. This method works wonders on door knobs, drawer pulls, and decorative pieces.
Choosing The Right Polish
Not all brass polishes are the same. Some are formulated for lacquered brass, others for bare metal. Check the label to match your piece.
For most household hardware, a cream or liquid polish works well. Avoid harsh abrasive polishes on delicate or antique items—they can scratch the surface.
The Right Way To Apply
Use a soft, lint-free cotton cloth—old t-shirts work great. Apply a small amount of polish to the cloth, not directly onto the brass. Work in small circles, covering the entire surface evenly.
Don’t press too hard; let the polish do the work. For intricate details, use a cotton swab or soft toothbrush.
Buffing To A Shine
After applying, let the polish dry to a light haze. Then, take a clean, dry cloth and buff in brisk, circular motions. You’ll see the warm glow appear.
For an extra shine, a final pass with a microfiber cloth can remove any remaining residue. This step also helps distribute the protective layer evenly.
7. Try Ketchup for a Quick Fix
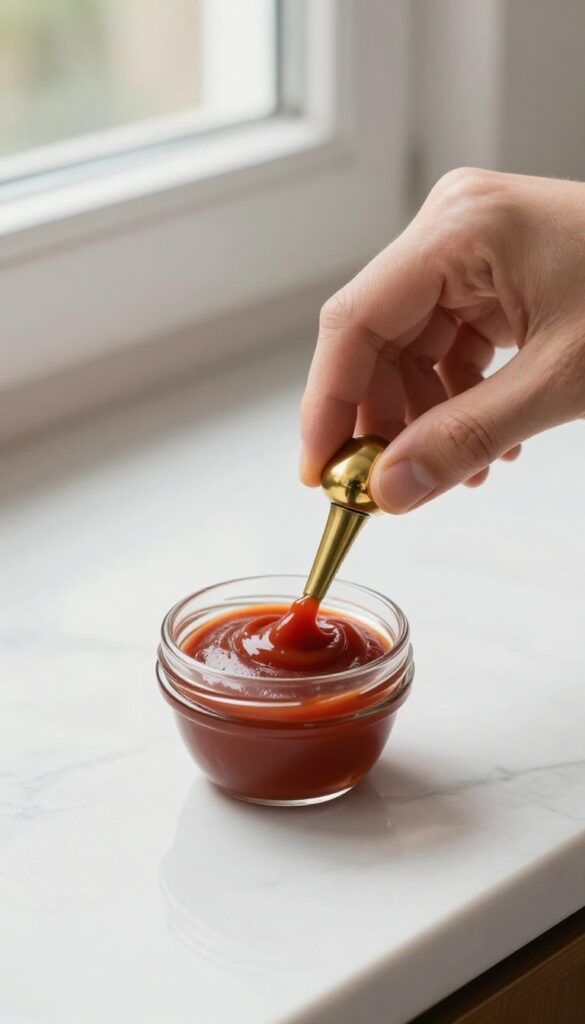
When you're mid-project and realize you're out of commercial brass cleaner, ketchup can save the day. The acidity in tomatoes works to break down tarnish, making it a surprisingly effective DIY option. It's not the fanciest method, but it's cheap, accessible, and often already in your fridge.
Ketchup's magic lies in its mild acid content, which helps dissolve the oxidation that causes brass to look dull. While it's not as strong as some dedicated cleaners, it's perfect for light to moderate tarnish. Plus, it's gentle enough that you don't have to worry about damaging the metal, making it a safe bet for quick touch-ups.
How To Apply It
Start by cleaning the brass piece with warm water and a mild dish soap to remove any dirt or grease. Then, apply a thin, even layer of ketchup over the tarnished areas. Let it sit for 10 to 15 minutes—longer if the tarnish is stubborn, but don't let it dry completely.
You'll see the ketchup start to darken as it lifts the tarnish.
Rinsing And Buffing
After the wait, rinse the ketchup off thoroughly with warm water. You might need to use a soft cloth or a soft-bristled brush to gently work the ketchup into crevices. Once rinsed, dry the piece completely and buff it with a clean, soft cloth to bring out the shine.
For extra stubborn spots, you can repeat the process or add a little salt to the ketchup for extra abrasion.
When To Use This Method
This method works best on small items like doorknobs, drawer pulls, or decorative pieces that don't have heavy, built-up tarnish. It's also a great option if you're looking for a non-toxic, food-safe cleaner—just make sure to rinse thoroughly. If you're dealing with antique or lacquered brass, test a small area first, as the acid could affect the finish.
8. Use a Toothbrush for Detailed Areas
Brass hardware often hides its beauty in the details—engraved patterns, beveled edges, and tiny crevices that a cloth simply can't reach. That's where a humble toothbrush becomes your best friend. It lets you work the cleaner right into those tight spots without scratching the metal.
A soft-bristled toothbrush is perfect for intricate designs or crevices. Dip it into your chosen cleaner—whether that's a commercial polish, a vinegar-and-flour paste, or even a little lemon juice and baking soda—and gently scrub the detailed areas. The bristles get into every nook, lifting tarnish and grime that a rag would miss.
After scrubbing, wipe the area clean with a soft cloth to reveal the bright brass underneath.
Why A Toothbrush Works
Toothbrushes are small, flexible, and gentle enough for delicate metalwork. Their bristles can reach into tight corners and intricate patterns without scratching the surface. Plus, they're easy to maneuver, giving you precise control over how much pressure you apply.
You can even cut the bristles shorter for extra stiffness if you need a bit more scrubbing power.
How To Use It Effectively
Start by dipping the toothbrush into your cleaner, then gently work it over the detailed areas in small circular motions. Let the cleaner sit for a minute or two to break down the tarnish, then scrub again if needed. Rinse the piece with water or wipe it with a damp cloth to remove any residue.
Finish by drying with a soft, lint-free cloth to prevent water spots.
Best Cleaners To Pair With A Toothbrush
A toothbrush works well with most brass cleaners, but a paste made from equal parts flour, salt, and vinegar is a classic choice. You can also use lemon juice and baking soda for a gentle abrasive, or a commercial brass polish if you prefer. Just avoid anything too harsh, like steel wool or abrasive pads, which can scratch the brass.
9. Consider a DIY Electrolysis Setup
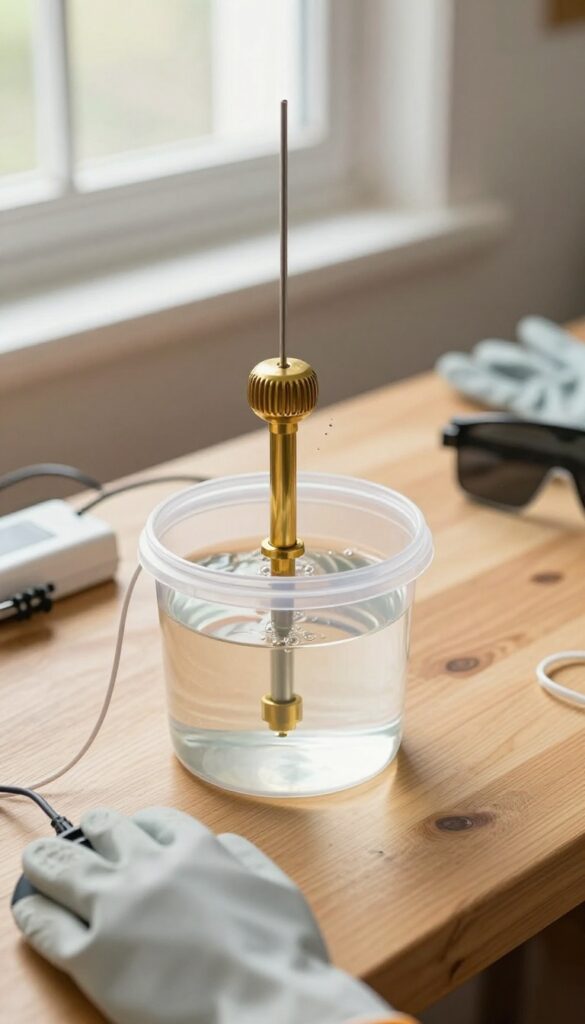
When tarnish has baked on for decades, scrubbing might not cut it. Electrolysis uses a gentle electrical current to lift corrosion off brass without any abrasive action. It's a favorite trick among restorers, but it requires careful setup and a few safety precautions.
Electrolysis works by passing a low-voltage current through a solution, which causes the tarnish to loosen and fall away. You'll need a plastic container, a piece of stainless steel or graphite as the anode, a battery charger, and a solution of washing soda (sodium carbonate) in water. The brass piece becomes the cathode, and the current pulls the corrosion off.
This method is especially effective for intricate details that are hard to clean by hand, but it's not for plated brass—only solid brass should be used.
Safety First: What You Need To Know
Before you start, understand that electrolysis involves electricity and a chemical solution. Always work in a well-ventilated area, wear rubber gloves and safety goggles, and never leave the setup unattended. Use a low-voltage charger (12V or less) and avoid touching the solution while the current is on.
Also, make sure your brass piece is solid brass, not brass-plated, or the plating could peel off.
Step-by-step Setup
Fill your container with water and dissolve a few tablespoons of washing soda (not baking soda). Attach the positive lead of the charger to the anode (stainless steel or graphite) and the negative lead to your brass piece. Submerge both, making sure they don't touch.
Turn on the charger and let it run for 15 to 30 minutes. You'll see bubbles and a brownish foam—that's the tarnish lifting. Afterward, rinse the brass thoroughly and buff it dry.
Aftercare And Finishing Touches
Once the electrolysis is done, the brass will look dull and may have a residue. Clean it with a soft brush and mild soapy water, then dry completely. You can apply a thin layer of brass polish or wax to protect the surface and bring out the shine.
This method is gentle enough to preserve fine details, but always test on a small area first.
10. Protect with a Clear Lacquer After Cleaning
You've just spent time bringing your brass back to life, so the last thing you want is for it to tarnish again in a few weeks. A clear lacquer spray creates a protective barrier that locks out moisture and air, the two culprits behind that dull patina. It's a smart finishing step for high-traffic pieces like doorknobs, handles, and drawer pulls that get touched constantly.
Lacquer works best on brass that's been thoroughly cleaned and dried. Any residue or moisture left behind can get trapped under the coating, leading to blotchy spots later. Once your hardware is polished and buffed to a shine, give it a quick wipe with a lint-free cloth to remove any lingering dust or polish residue, then let it dry completely before spraying.
Why Lacquer Beats Frequent Polishing
Polishing brass is satisfying, but it's also time-consuming. A clear lacquer coating can keep your hardware looking fresh for months or even years, depending on how much wear it gets. It's especially handy for items that are awkward to clean regularly, like ornate handles or fixtures in hard-to-reach spots.
You'll spend less time scrubbing and more time enjoying the warm glow.
How To Apply Lacquer Like A Pro
Before you spray, mask off any surrounding surfaces with painter's tape and newspaper to avoid overspray. Hold the can about 8–10 inches away and apply a thin, even coat—thick coats can drip or look cloudy. Let it dry according to the manufacturer's instructions, then apply a second light coat for extra durability.
Always work in a well-ventilated area and wear a mask if you're sensitive to fumes.
When To Skip The Lacquer
Lacquer isn't right for every brass piece. If you have antique hardware with a valuable patina or if you prefer the look of naturally aged brass, skip the coating. Also, avoid lacquering items that will be exposed to high heat, like fireplace tools or stove handles, as the coating can bubble or discolor.
For those pieces, stick with regular polishing and a good wax.
11. Know When to Call a Professional
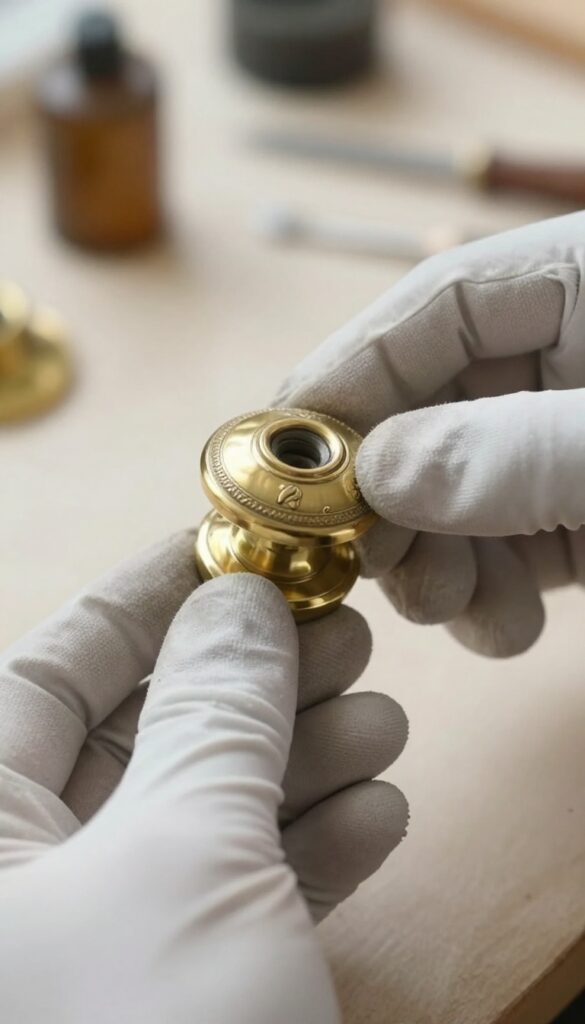
Sometimes, the best way to clean brass is to hand it over to someone who does it for a living. If your piece is an antique, a family heirloom, or has a complex finish, a professional restorer can work wonders without risking damage. It might cost a bit, but the peace of mind—and the flawless result—is often worth it.
Before you reach for the vinegar or start scrubbing, take a hard look at the piece. If it's old, valuable, or has intricate details, a professional can assess the best approach. They have the tools, experience, and knowledge to handle delicate finishes, and they can often reverse years of neglect safely.
Plus, they can identify whether the piece is truly brass or just brass-plated, which changes the cleaning method entirely.
Signs Your Brass Needs A Pro
Some brass pieces are simply too risky for DIY. Look for these red flags: deep pitting, flaking lacquer, or signs of previous harsh cleaning. If the piece has a patina that looks intentional or is part of its value, don't try to strip it.
Also, if the brass is part of a larger item like a musical instrument or a clock, a pro can disassemble and clean it without harming the mechanism.
How To Choose A Restorer
Ask for recommendations from local antique dealers or museums. Check online reviews and ask about their experience with brass specifically. A good restorer will be happy to explain their process and provide a quote upfront.
Don't be afraid to ask for before-and-after photos of similar work. And if the piece has sentimental value, make sure they understand that you want to preserve its character, not just make it shiny.
What To Expect From Professional Cleaning
A professional will likely start by gently removing surface dirt, then use specialized chemicals or electrolysis to remove tarnish without harming the metal. They may also re-lacquer the piece to protect it for years to come. The result is a clean, stable finish that looks great and lasts.
It's a service that can save you from costly mistakes, especially if you're dealing with a one-of-a-kind item.
FAQ
Can I use vinegar to clean brass?
Yes, vinegar mixed with salt or flour can effectively remove tarnish from brass. However, avoid using it on lacquered brass unless you're prepared to reapply lacquer.
How do I clean brass without removing the lacquer?
For lacquered brass, use only mild soap and water, and avoid abrasive cleaners or polishes. If the lacquer is worn, you may need to strip and reapply it.
What is the best homemade brass cleaner?
A paste of lemon juice and baking soda is a popular and effective homemade cleaner. For heavier tarnish, try a mixture of flour, salt, and vinegar.
How often should I clean brass hardware?
It depends on the environment and whether it's lacquered. Unlacquered brass may need cleaning every few months, while lacquered brass can last years with just dusting.
Can I use toothpaste to clean brass?
Toothpaste can work as a mild abrasive for light tarnish, but it may be too harsh for some finishes. Test on a small area first and rinse thoroughly.
Conclusion
Restoring brass hardware doesn't have to be a weekend project. A few simple supplies and the right technique can bring back that warm glow in minutes, whether you're sprucing up a doorknob or a vintage lamp. Start with the gentlest method for your piece, and you'll avoid damage while still getting great results.
Pick the approach that fits your time and tools, then make it a quick habit. Regular light cleaning beats a heavy polish every time, so your brass stays beautiful for years.