15 Master Walk In Shower Ideas for a Spa Like Daily Escape
Stepping into your bathroom should feel like a mini-retreat, not just another stop in your daily routine. A walk-in shower can be the centerpiece of that transformation, turning a functional space into a personal sanctuary.
The right design choices—from the texture underfoot to the flow of water overhead—can make every shower feel like a deliberate act of self-care. Whether you're planning a full remodel or just dreaming about upgrades, these 15 ideas will help you create a spa-like escape that fits your style and practical needs.
Let's explore how to make your daily rinse feel like a five-star experience.
1. Frameless Glass Panels for an Open, Airy Feel
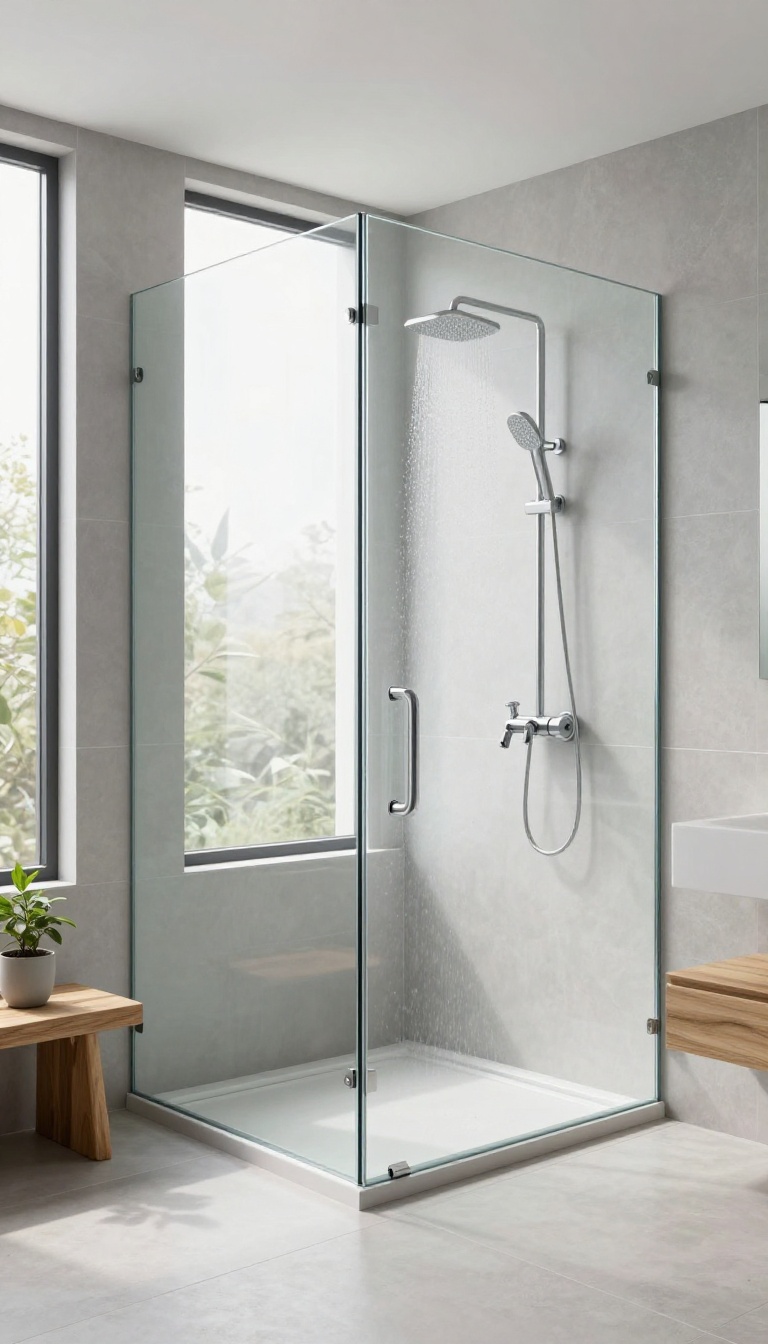
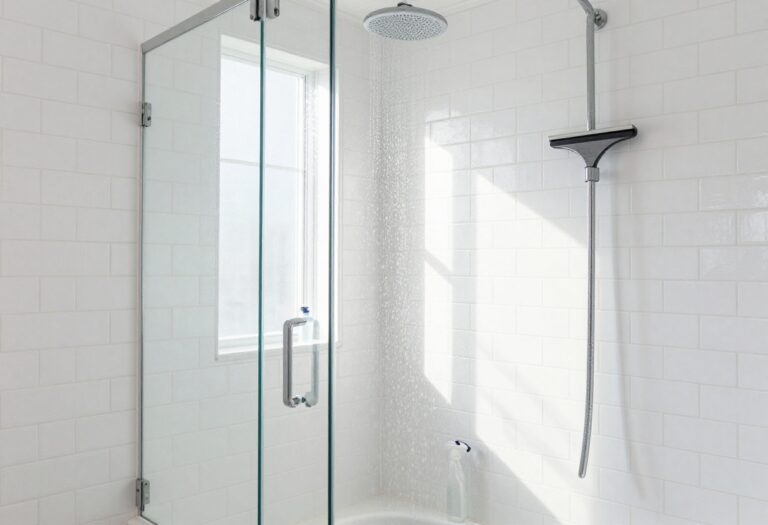
If your bathroom feels a little boxed in, frameless glass panels can work wonders. They erase the visual barrier between you and the rest of the room, making the whole space feel larger and more connected. Plus, they let natural light flood in, so your shower becomes a bright, inviting spot rather than a dark corner.
Frameless glass panels are a favorite in modern bathroom design for good reason. Without bulky metal frames, the glass appears almost invisible, putting all the attention on your tile, fixtures, and the clean lines of the shower. This minimalist look instantly adds a touch of luxury and makes even a compact bathroom feel more open.
The seamless design also means fewer places for soap scum and grime to hide, which makes cleaning a breeze—just a quick wipe and you're done.
Why Frameless Beats Framed
Framed shower doors have their place, but they can feel heavy and dated. Frameless panels use thicker tempered glass and minimal hardware, which gives a sleek, high-end appearance. They also offer better accessibility since there’s no bottom track to trip over or collect dirt.
If you want that airy, spa-like vibe, frameless is the way to go.
Choosing The Right Glass Thickness
Not all glass is created equal. For a frameless setup, you’ll typically need 3/8-inch or 1/2-inch tempered glass. Thicker glass feels more substantial and sturdy, but it also costs more and requires stronger hinges.
Think about your budget and how much use the shower gets. A 3/8-inch panel is usually plenty for a home bathroom, while 1/2-inch adds extra heft if you prefer that solid feel.
Installation Tips To Keep In Mind
Frameless glass needs precise measurements and proper support, so this is one project where hiring a professional is often worth it. The glass must be cut exactly to fit your space, and the hinges need to be anchored into solid framing. A pro will also make sure the door swings correctly and seals well to prevent leaks.
If you’re handy, you can save money by installing a fixed panel instead of a door—that’s a simpler DIY job.
2. Rainfall Showerhead for a Gentle Downpour
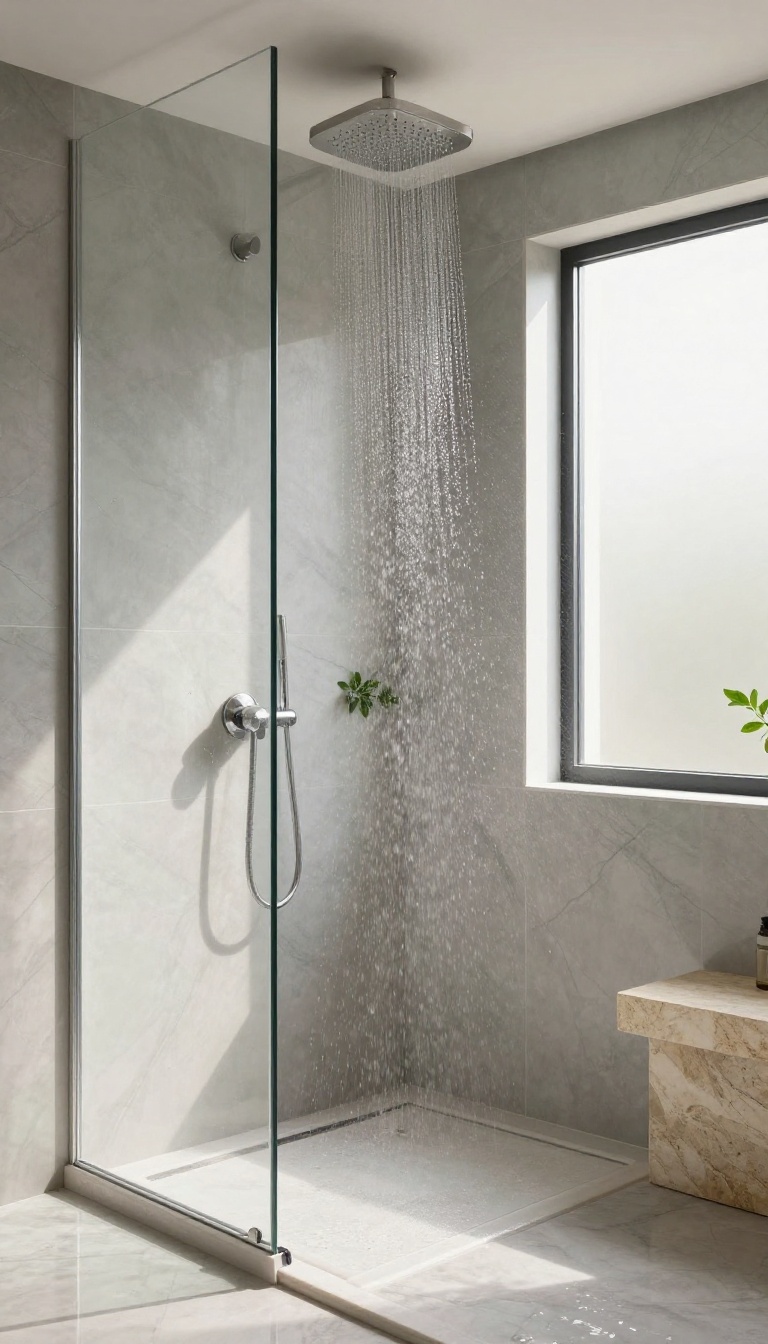
Imagine stepping under a warm, gentle rain that washes away the stress of the day. That’s exactly what a rainfall showerhead delivers. Unlike traditional fixed heads that spray in a narrow stream, these wide, flat heads release water in a soft, even cascade that mimics a natural downpour.
It’s an easy upgrade that instantly makes your walk-in shower feel more luxurious and calming.
The magic of a rainfall showerhead lies in its design. The large surface area allows water to fall evenly, covering your shoulders and back like a warm blanket. This creates a more immersive experience, turning a quick rinse into a mindful ritual.
Whether you’re starting your morning or winding down at night, the steady rhythm of the water can help you relax and clear your head.
Choosing The Right Size And Material
Rainfall showerheads come in various diameters, typically ranging from 8 to 12 inches. A larger head provides broader coverage, but make sure it fits your shower space without causing water to splash outside. Material matters too: stainless steel and brushed nickel resist water spots and corrosion, while matte black adds a modern touch.
Look for models with rubber nozzles that are easy to clean to prevent mineral buildup.
Installation Considerations
You have two main options: ceiling-mounted or wall-mounted. Ceiling-mounted heads offer the most authentic rain feel, but they require enough overhead space and proper plumbing. Wall-mounted versions are easier to install and can be angled for a more direct flow.
If you’re not handy, hiring a professional plumber ensures a leak-free connection and proper water pressure. Also, check your water heater capacity—a high-flow rainfall head can use more hot water, so you might need to adjust your settings.
Enhancing The Experience
To make it even more spa-like, pair your rainfall head with a handheld sprayer for flexibility. Add a thermostatic valve to keep water temperature steady and avoid sudden changes. Consider a shower system with multiple functions, like a mist mode or a pulsating massage, so you can switch things up.
For the full effect, use a water softener to prevent hard water spots and keep your skin feeling silky.
3. Natural Stone Walls and Flooring for an Organic Vibe
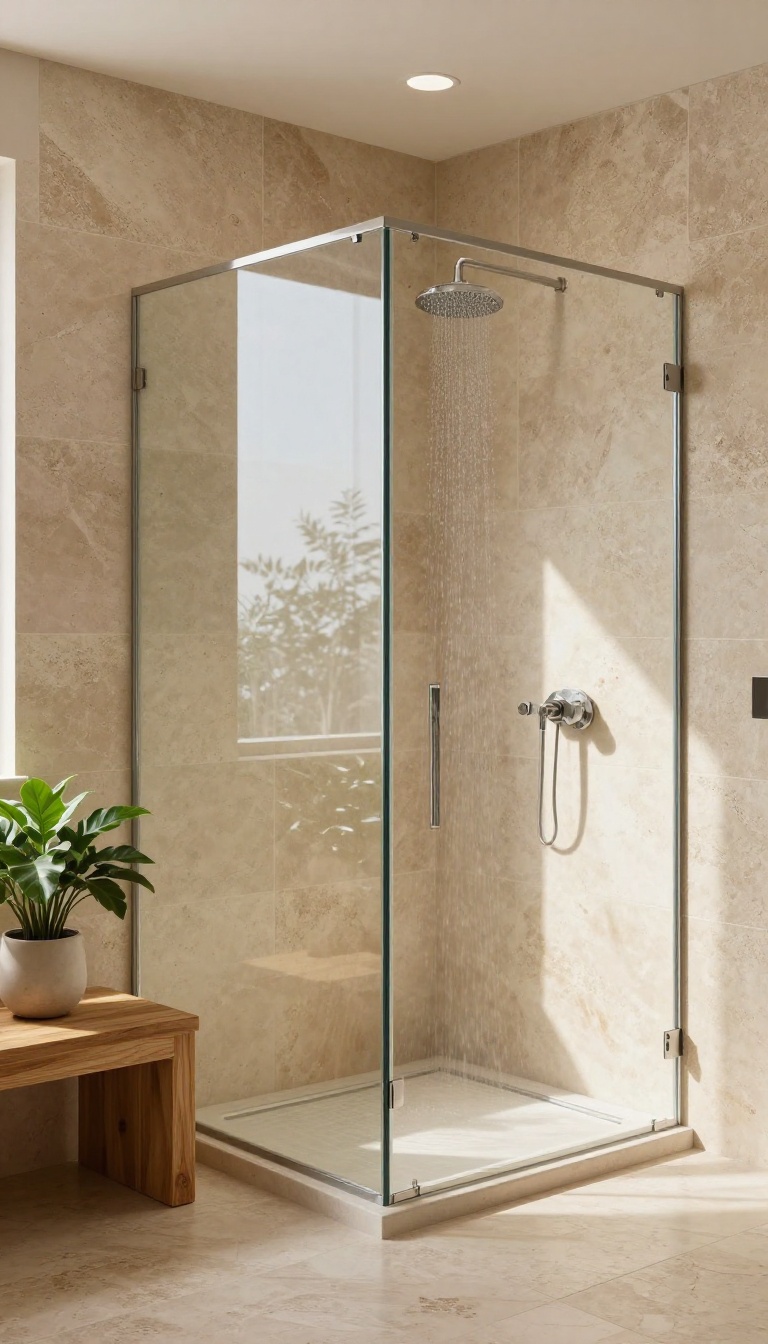
Natural stone has a way of making a shower feel grounded and timeless. Unlike glossy tiles or sleek acrylic, materials like travertine, slate, and limestone bring texture and warmth that instantly soften the space. The subtle variations in color and pattern make every shower unique, as if the earth itself shaped your retreat.
Beyond looks, stone is incredibly durable and handles moisture well when properly sealed. It also pairs beautifully with other natural elements like wood and plants, helping you create a cohesive spa-like atmosphere. If you're ready to trade sterile surfaces for something with more character, natural stone is a solid choice.
Choosing the right stone and installation style can make or break the organic vibe you're after. From large-format slabs to pebble mosaics, each option changes the feel underfoot and on the walls. Let's break down how to get the most out of natural stone in your walk-in shower.
Pick The Right Stone For Your Shower
Travertine is a classic pick for its warm, earthy tones and natural pits that add texture. Slate offers a darker, more dramatic look with a slightly rough surface that's great for slip resistance. Limestone feels smooth and refined, but it's softer and needs more care.
For a truly organic feel, consider large-format stone tiles to minimize grout lines and let the natural veining shine.
Texture Matters: From Smooth To Pebbled
The texture of your stone affects both safety and sensation. Tumbled stone has a soft, matte finish that's gentle on bare feet, while cleft slate has a rugged surface that provides excellent grip. Pebble mosaics on the floor add a massage-like feel underfoot, perfect for a spa-like experience.
Just balance texture with ease of cleaning—rougher surfaces can trap soap scum, so choose wisely.
Sealing And Maintenance Tips
Natural stone is porous, so sealing is non-negotiable. Use a high-quality penetrating sealer and reapply every year or two to protect against moisture and stains. Clean with pH-neutral products only—harsh chemicals can dull the finish.
With a little upkeep, your stone will age beautifully and keep that organic charm for years.
4. Built-In Bench for Seated Comfort and Convenience
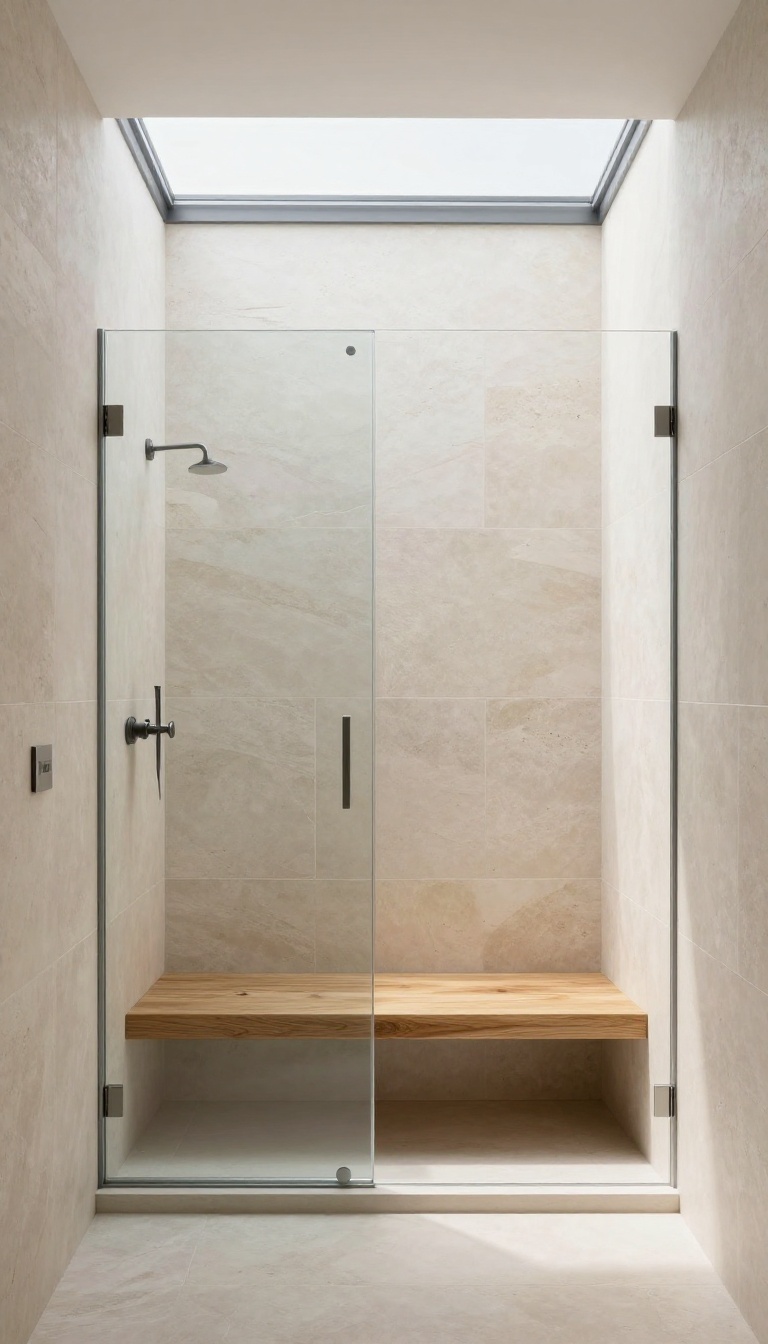
A built-in bench is one of those features you don't realize you need until you have it. It gives you a place to sit, rest, or simply enjoy the steam without standing the whole time. Whether you're recovering from a workout or just want to take a slower morning, a bench changes how you use your shower.
Adding a built-in bench is a smart move for both comfort and practicality. It's not just about having a seat—it's about making your shower a more versatile space. You can sit while shaving your legs, rest a foot on the edge for balance, or just take a moment to breathe.
Plus, a well-placed bench can double as a shelf for toiletries, keeping everything within reach.
Choosing The Right Material
The material you pick for your bench matters as much as its placement. Teak is a classic choice—it's water-resistant, warm underfoot, and adds a natural spa vibe. If you prefer something more seamless, consider a bench made from the same tile or stone as your shower walls.
That creates a clean, integrated look that's easy to clean. Just make sure the surface has some texture or a slight slope so water doesn't pool.
Placement And Size Tips
Think about how you'll actually use the bench. If it's mainly for sitting, place it along a wall opposite the showerhead so you can relax without getting sprayed in the face. For leg shaving, a corner bench or a longer ledge works well.
Aim for a depth of about 15 to 18 inches and a height around 17 to 19 inches—similar to a standard chair. If space is tight, a fold-down teak bench can be a great compromise.
Making It Multi-functional
A bench doesn't have to be just a seat. You can design it with a recessed niche above for shampoo bottles, or add a small shelf underneath for extra storage. Some people even incorporate a small footrest or a built-in soap dish into the bench design.
The more you can combine functions, the more useful your shower becomes—and the less clutter you'll have on the floor.
5. Recessed Niches for Clutter-Free Storage
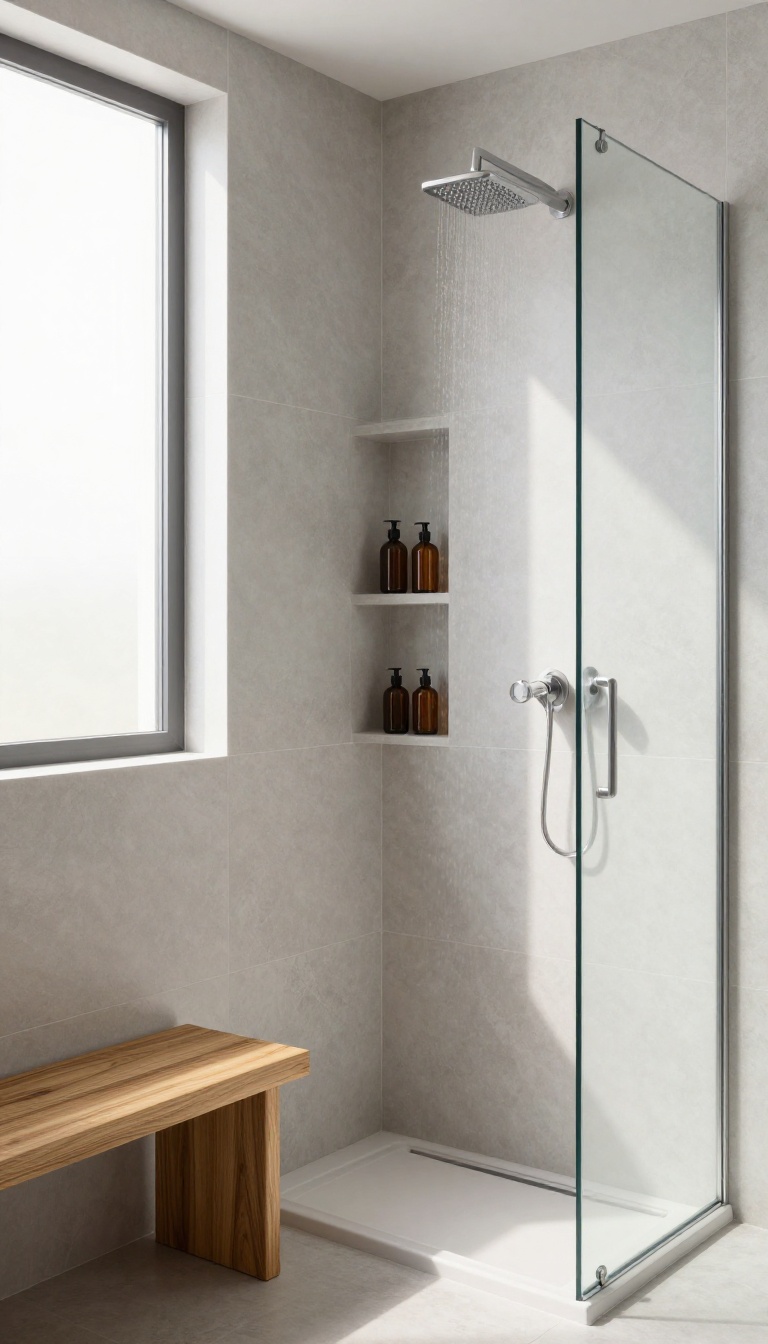
Nothing kills the spa vibe faster than a shower caddy clanking against the wall or a shelf crowded with half-empty bottles. Recessed niches solve this by tucking storage right into the wall, so your essentials are within reach but out of sight. The result is a sleek, seamless look that feels custom and calm—exactly what you want for a daily escape.
Recessed niches are essentially built-in shelves carved into the shower wall. They're typically framed with tile or waterproof materials, creating a smooth, integrated storage spot. Because they sit flush with the wall, they don't interrupt the clean lines of your shower, and they free up floor space that bulky organizers would otherwise take.
Plus, they're surprisingly easy to clean—no nooks and crannies for soap scum to hide in, just wipe and go.
Placement That Works With Your Flow
Think about where you naturally reach for products. Most people want a niche near the showerhead for shampoo and soap, and another lower one for body wash or razors. A common trick is to place one niche at shoulder height for everyday items and a second one lower for less-used products.
You can also add a niche near the bench or entry point for towels or loofahs. The key is to plan the location before the tile goes up—moving a niche later is a headache you don't want.
Sizing And Style Tips
Standard niches are about 12 to 16 inches wide and 6 to 8 inches deep, which fits most bottles. But you can customize the size to match your products—maybe a taller niche for shampoo bottles or a wider one for a stack of towels. For a seamless look, match the niche's interior tile to the surrounding wall, or use a contrasting tile to make it a design feature.
A slight slope on the bottom shelf helps water drain away, preventing puddles and mold.
Built-in Vs. Retrofit Options
If you're doing a full remodel, a built-in niche is the way to go—it's framed and waterproofed during construction. But if you're updating an existing shower, you have options. Surface-mounted shelves or corner caddies can mimic the look without the construction, though they won't be as sleek.
Some companies make prefab niches that can be installed into an existing wall, but that's a bigger project. Weigh the cost and effort against your long-term satisfaction.
6. Linear Drain for a Sleek, Modern Look
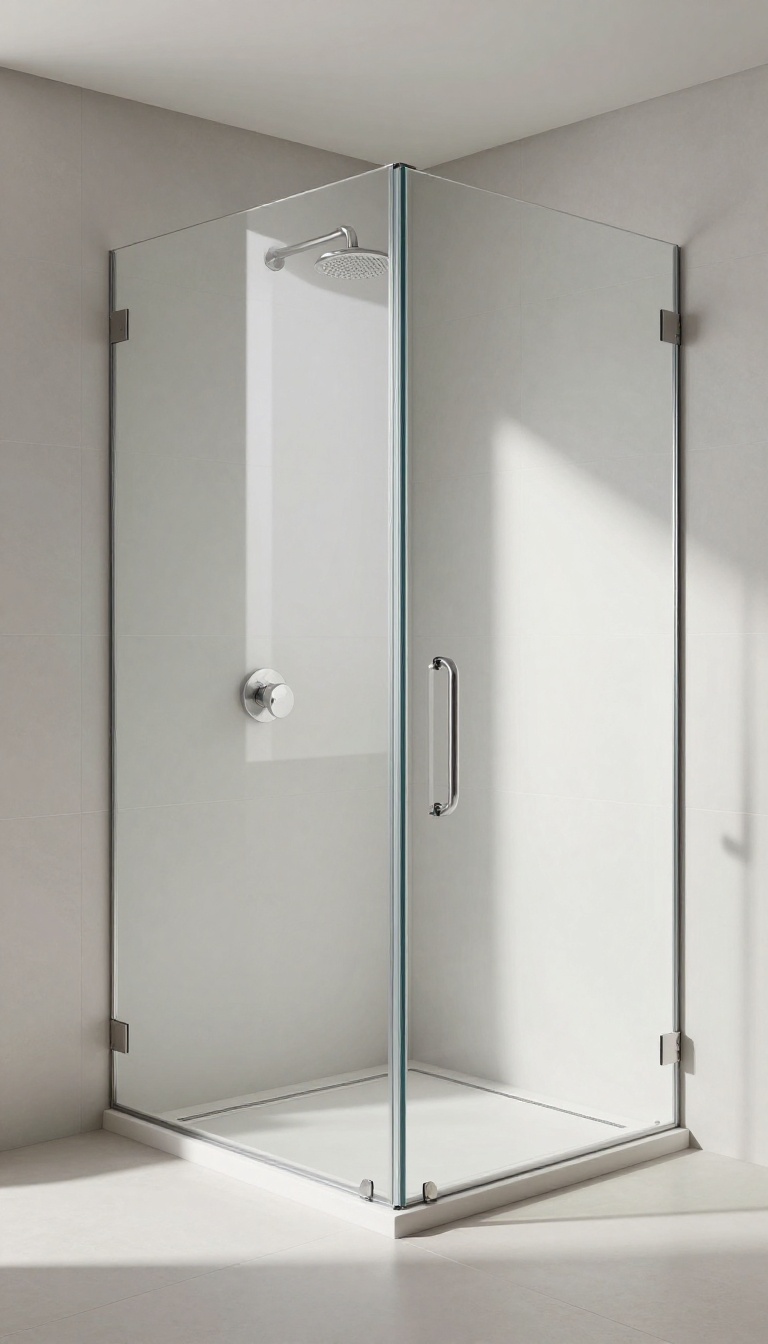
A linear drain is a long, narrow channel that sits flush with the floor, creating a sleek, modern appearance. It allows for a completely level shower floor, which is both stylish and practical. This design choice can instantly elevate the look of your walk-in shower, making it feel more open and contemporary.
Linear drains are a favorite among designers and homeowners who want a minimalist aesthetic. Unlike traditional center drains, they run along one edge or across the middle of the shower floor, allowing for a flat, continuous surface. This not only looks cleaner but also makes the space easier to clean and more accessible.
Why Choose A Linear Drain?
The main appeal of a linear drain is its clean, unobtrusive look. It eliminates the need for a sloped floor in all directions, which can be a trip hazard and visually cluttered. Instead, you get a smooth, level surface that feels more like a wet room.
Plus, the long, narrow shape can be customized with different finishes, like brushed nickel or matte black, to match your fixtures.
Installation And Slope Considerations
Installing a linear drain requires careful planning. The floor still needs a subtle slope, but it can be directed toward one side, which is easier to achieve and less noticeable. It's best to work with a professional to ensure proper drainage and waterproofing.
The drain itself can be cut to fit your shower's dimensions, and the grate can be made of stainless steel, tile, or stone to blend seamlessly with your floor.
Styling Ideas For A Seamless Look
To really make the linear drain disappear, choose a grate that matches your floor material. If you're using large-format tiles, you can have the drain cover made from the same tile, creating a truly continuous surface. For a more industrial vibe, opt for a metal grate in a contrasting finish.
Pair the drain with a glass shower screen and minimal fixtures to keep the focus on the clean lines.
7. Double Showerheads for a Luxurious Experience
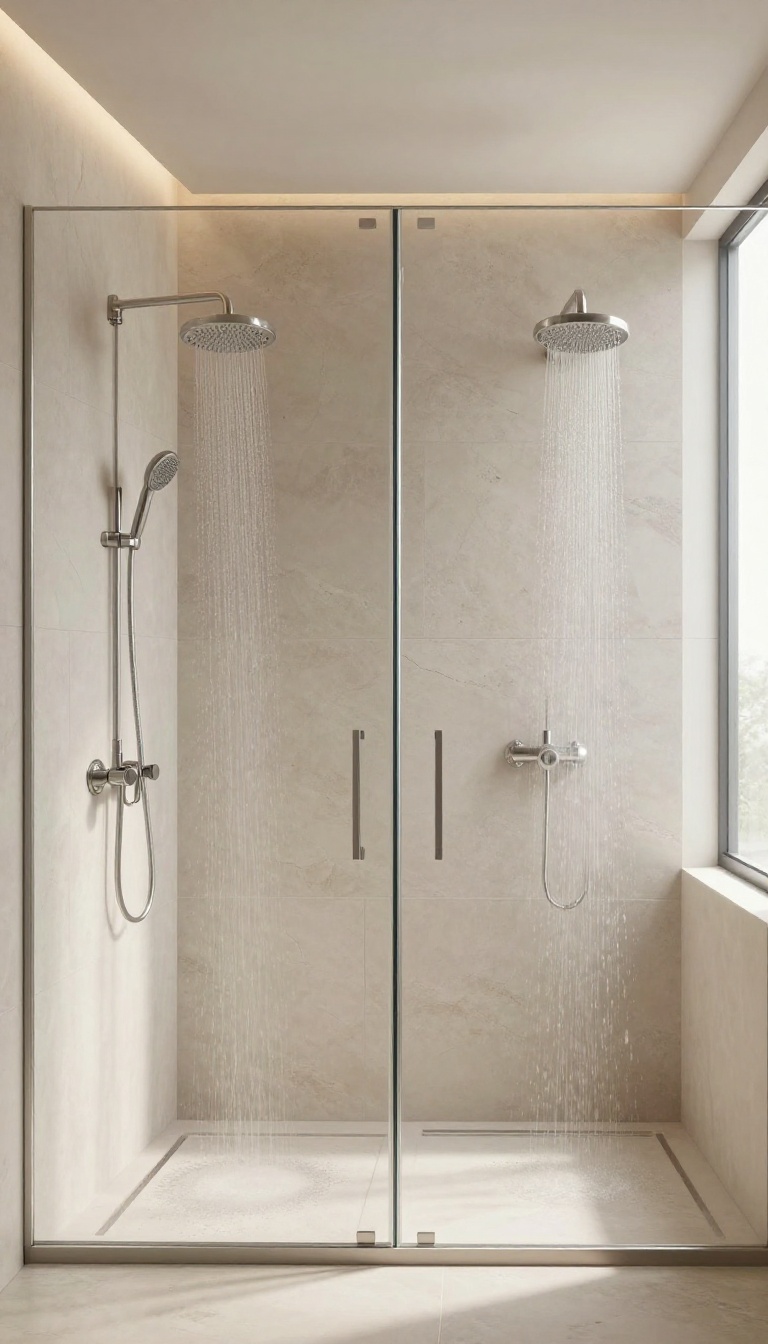
Two showerheads can completely change how a shower feels. Instead of one fixed stream, you get the freedom to choose your own water experience every time you step in. Whether you prefer a gentle rainfall from above or a targeted handheld spray, having both options at your fingertips adds a layer of comfort that feels genuinely indulgent.
Double showerheads aren't just about having more water—they're about control and convenience. You can set one to a steady rain while using the other for rinsing off, or both can work together to create a fuller, more immersive spray. For couples, this means no more waiting your turn; both of you can shower at the same time without getting cold.
It's a simple upgrade that makes the daily routine feel more like a treat.
Rainfall And Handheld Combo
Pairing a ceiling-mounted rainfall head with a handheld sprayer gives you the best of both worlds. The rainfall provides that soothing, full-coverage feel, while the handheld is perfect for targeted cleaning or washing your hair. You can mount the handheld on a slide bar so it's easy to reach, and it's especially handy if you have kids or pets that need a quick rinse.
Two Rainfall Heads For Full Coverage
If you really want to feel like you're standing in a warm tropical downpour, two rainfall heads can do that. Position them at opposite ends of the shower so the water hits you from both sides, creating a cocooning effect. This setup works best in larger walk-in showers where there's enough space to avoid feeling crowded.
Wall-mounted Dual Showerheads
For a more streamlined look, consider two wall-mounted showerheads placed at shoulder height on opposite walls. This setup is great for couples because each person gets their own spray without having to share. You can adjust each head independently, so one can be set to a gentle mist while the other is on a stronger pulse.
8. Steam Shower Feature for a True Spa Experience
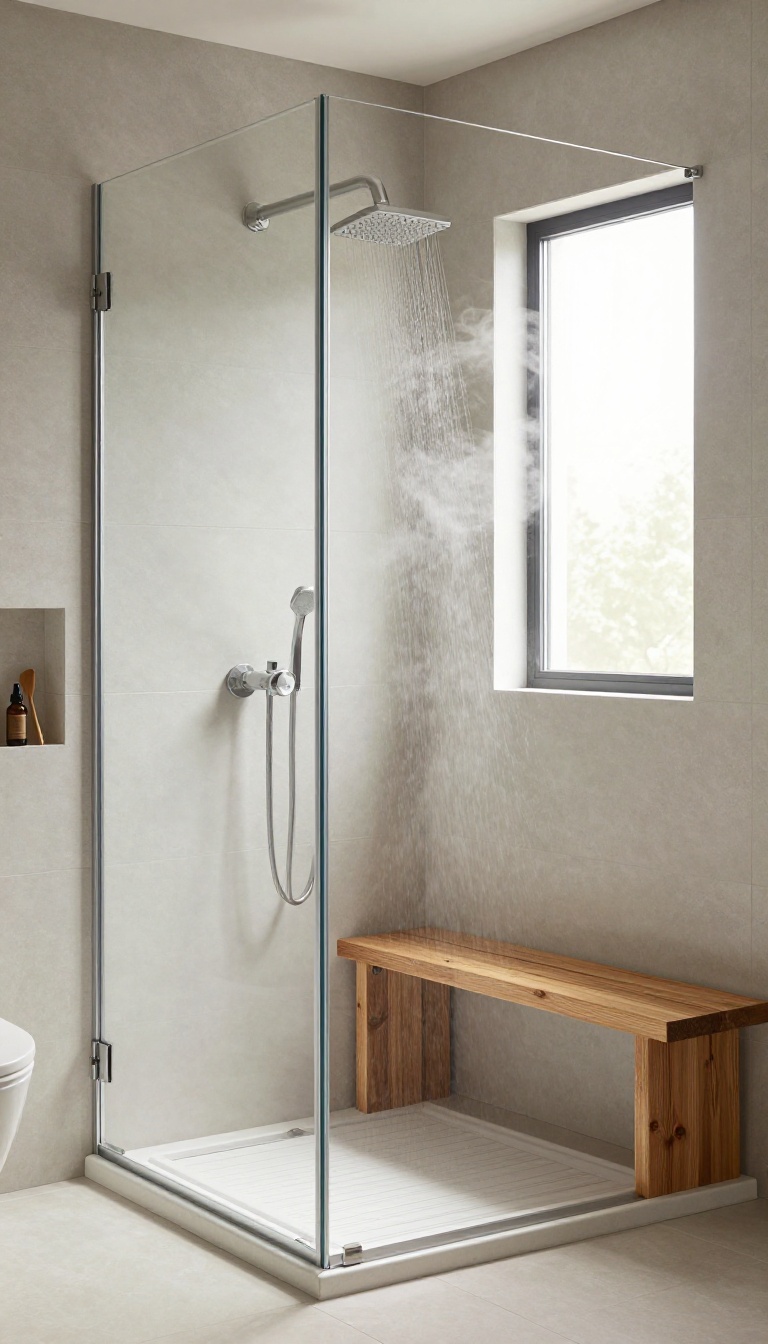
A steam generator can turn your walk-in shower into a personal steam room, offering a daily dose of relaxation without the trip to the spa. The warm, enveloping mist soothes tired muscles, opens up sinuses, and melts away stress. It's a luxury upgrade that pays off in both comfort and home value.
Steam showers are more than just a fancy feature—they're a wellness investment. The moist heat can help with everything from post-workout recovery to seasonal allergies, and it adds a touch of indulgence to your morning or evening routine. Plus, with modern controls, you can set the perfect steam level and duration with a simple touch.
Health Benefits Worth Knowing
Steam isn't just about feeling fancy—it's genuinely good for you. The warm, humid air can help loosen congestion, ease joint stiffness, and promote better circulation. Many people find that a steam session before bed improves sleep quality, too.
It's like having a wellness clinic right in your bathroom.
Installation And Space Needs
You don't need a massive bathroom to enjoy steam. A standard walk-in shower can be converted with a steam generator, proper sealing, and a glass door that closes tightly. The generator can be tucked away in a nearby closet or cabinet, and the controls can be installed inside the shower for easy access.
Just make sure your shower is well-ventilated and has a sloped ceiling to prevent dripping.
Design And Control Options
Modern steam systems come with digital controls that let you set the temperature, timer, and even music or lighting. You can also add aromatherapy scents like eucalyptus or lavender to enhance the experience. Pair your steam feature with a comfortable bench and soft lighting for the ultimate spa vibe.
9. Glass Block Accents for Privacy and Light
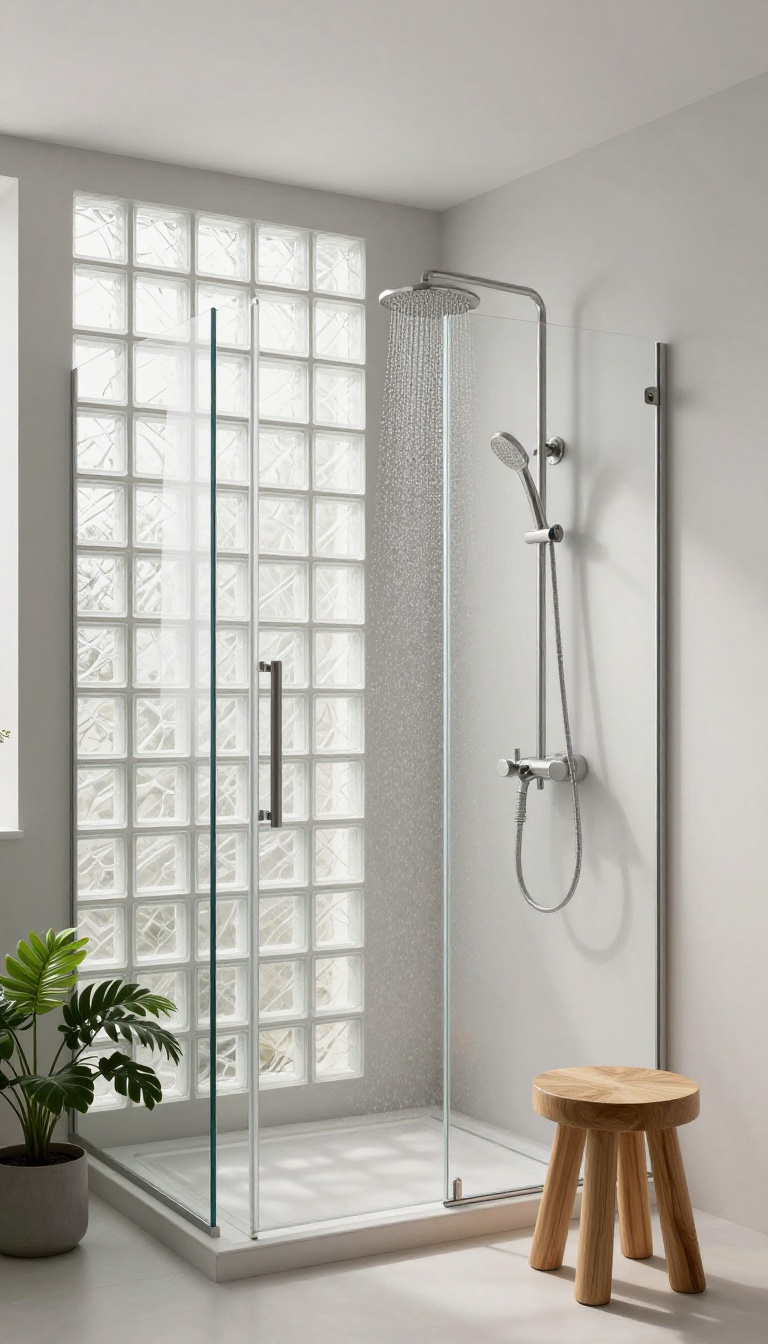
Glass blocks are a clever way to bring in daylight without sacrificing your privacy. They act like little prisms, scattering light and adding a soft, diffused glow to the shower. Plus, they're a distinctive architectural feature that adds character to any bathroom.
Glass blocks are making a comeback, and for good reason. They solve the eternal bathroom dilemma: you want natural light, but you also want to feel enclosed and private. Unlike clear glass, which can leave you feeling exposed, glass blocks obscure the view while still letting light flood in.
They also add a subtle texture that can make the space feel more dynamic and interesting.
Where To Use Glass Blocks
You don't have to cover an entire wall with glass blocks. A single panel near the showerhead can brighten the space, or you can create a full wall for a dramatic effect. They also work well as a partition between the shower and the rest of the bathroom, giving you a defined zone without closing things off completely.
Design Options
Glass blocks come in various sizes, shapes, and patterns. You can choose clear blocks for maximum light or frosted ones for extra privacy. Some have decorative patterns or textures that cast interesting shadows.
You can even mix them with regular tiles or paint to create a custom look that matches your style.
Installation And Maintenance
Installing glass blocks is a job best left to a professional, as it requires proper support and waterproofing. Once in place, they're surprisingly low-maintenance. Just wipe them down with a squeegee after use to prevent water spots, and they'll stay crystal clear for years.
10. Minimalist Fixtures in Matte Black or Brushed Nickel
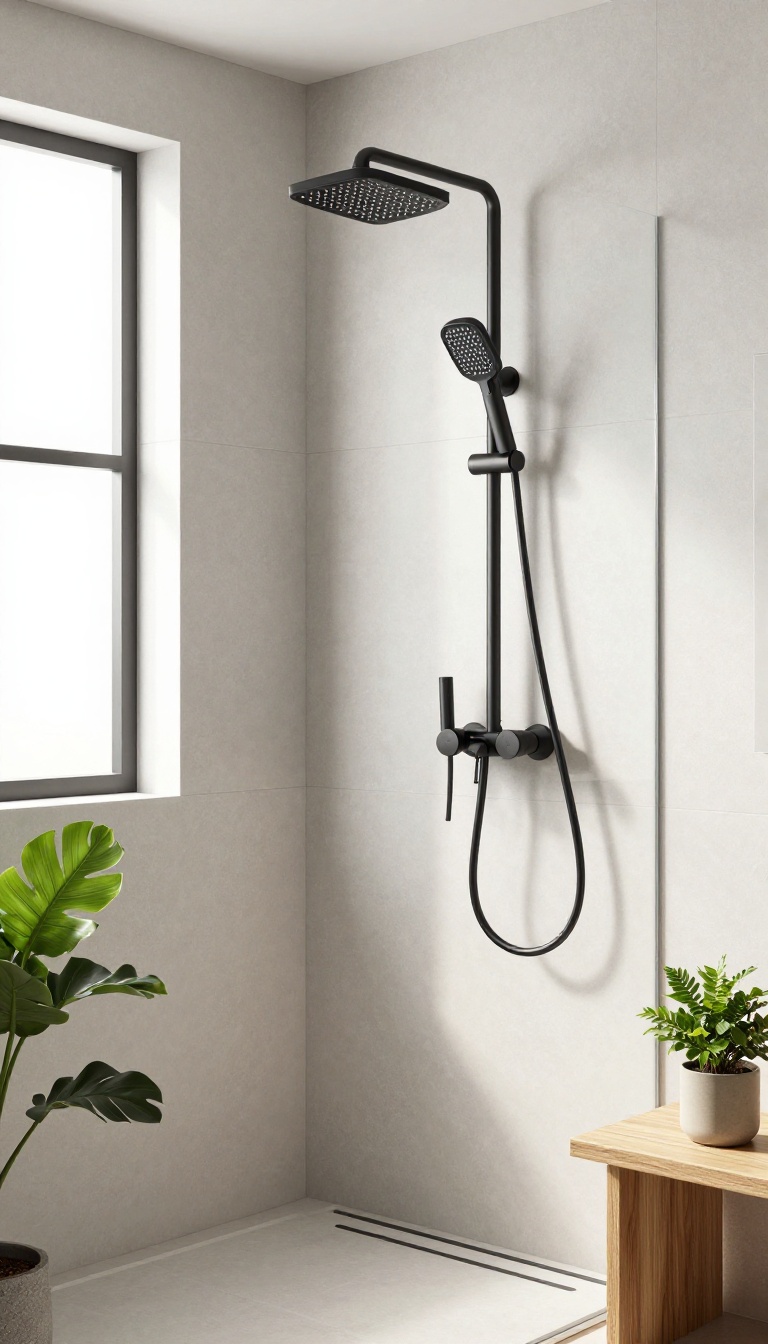
The hardware you choose might seem like a small detail, but it's the jewelry of your shower. Minimalist fixtures in matte black or brushed nickel can instantly elevate the space, adding a touch of modern sophistication without shouting for attention. These finishes are more than just pretty faces—they're built to last and easy to keep clean, making them a smart choice for any bathroom.
When you pick minimalist fixtures, you're making a statement about simplicity and quality. Matte black offers a bold, contemporary look that grounds the space, while brushed nickel brings a softer, warmer glow that feels timeless. Both finishes hide water spots and fingerprints remarkably well, so your shower stays looking pristine with minimal effort.
They also pair beautifully with a range of materials, from natural stone to sleek porcelain tile, giving you flexibility in your design.
Why Matte Black Works
Matte black fixtures create a striking contrast against light tiles, making them the focal point of the shower. This finish feels grounded and modern, especially when paired with wooden accents or greenery. It's also incredibly forgiving—hard water stains and soap scum are far less noticeable on the dark surface.
If you're after a bold, hotel-like vibe, matte black is your go-to.
The Timeless Appeal Of Brushed Nickel
Brushed nickel has a warm, satin-like sheen that fits both traditional and contemporary bathrooms. It doesn't show fingerprints as much as polished chrome, and its subtle glow adds a touch of elegance without being flashy. Brushed nickel also resists corrosion and tarnishing, making it a durable choice for high-moisture areas.
It's a versatile option that complements cool and warm color palettes alike.
Mixing Finishes For A Personal Touch
Who says you have to stick to one finish? Combining matte black and brushed nickel can create a layered, designer look. For example, use matte black for the showerhead and handles, then add brushed nickel for the drain cover and shelf brackets.
The key is to keep the mix intentional—choose one dominant finish and use the other as an accent. This approach adds depth and personality without feeling chaotic.
11. Heated Floor for Warmth Underfoot
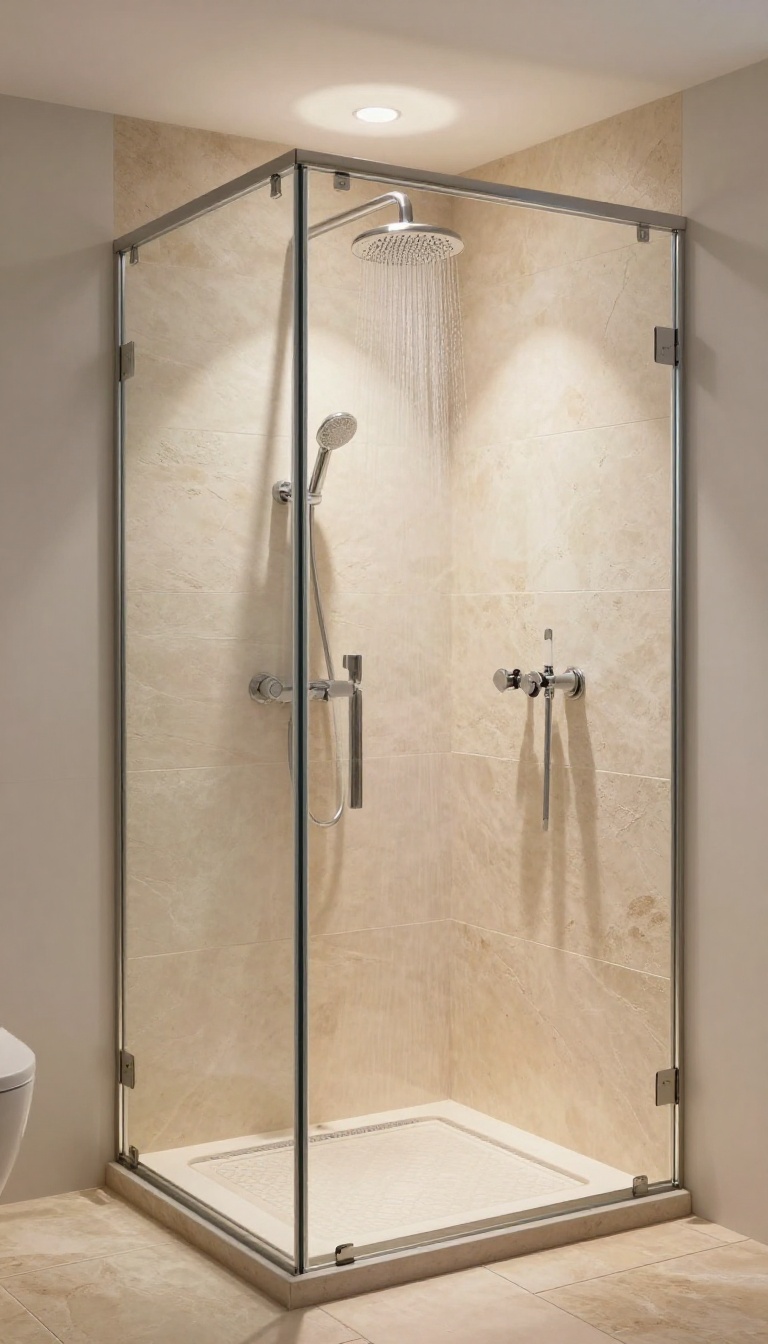
Cold tiles can be a shock to the system, especially on winter mornings. Radiant floor heating changes that completely, wrapping your feet in warmth from the moment you step in. It's a subtle luxury that makes the whole shower experience feel more inviting and spa-like.
Radiant floor heating isn't just about comfort—it also helps dry the floor faster, reducing the chance of slips and keeping your bathroom cleaner. The heat radiates upward, warming not only the floor but also the air near it, so the entire space feels cozier. You'll never dread stepping out of the shower again.
How It Works
Electric radiant systems use cables or mats installed beneath the tile, while hydronic systems circulate warm water through tubing. Electric versions are easier to retrofit and perfect for a single shower area. Both types are controlled by a thermostat, letting you set the perfect temperature and even schedule it to warm up before you wake.
Installation Considerations
Heated floors are best planned during a remodel, as they add height to the floor and require electrical or plumbing work. If you're renovating, it's a relatively simple addition. For existing showers, a retrofit may be possible but requires more effort.
Always hire a professional to ensure safe and efficient installation.
Material Pairings
Stone, porcelain, and ceramic tiles conduct heat well and feel great underfoot. Natural stone like travertine or slate adds a luxurious touch and pairs beautifully with radiant heat. Avoid thick carpet or vinyl, which can insulate and reduce the effect.
Choose a tile with a slightly textured finish for added safety when wet.
Zoning And Controls
You can install separate zones for the shower floor and the rest of the bathroom, so you only heat the areas you use most. Smart thermostats allow you to control the temperature from your phone and set schedules. Some even learn your habits, so the floor is always warm when you need it.
12. Pebble Tile Floor for a Massaging Effect
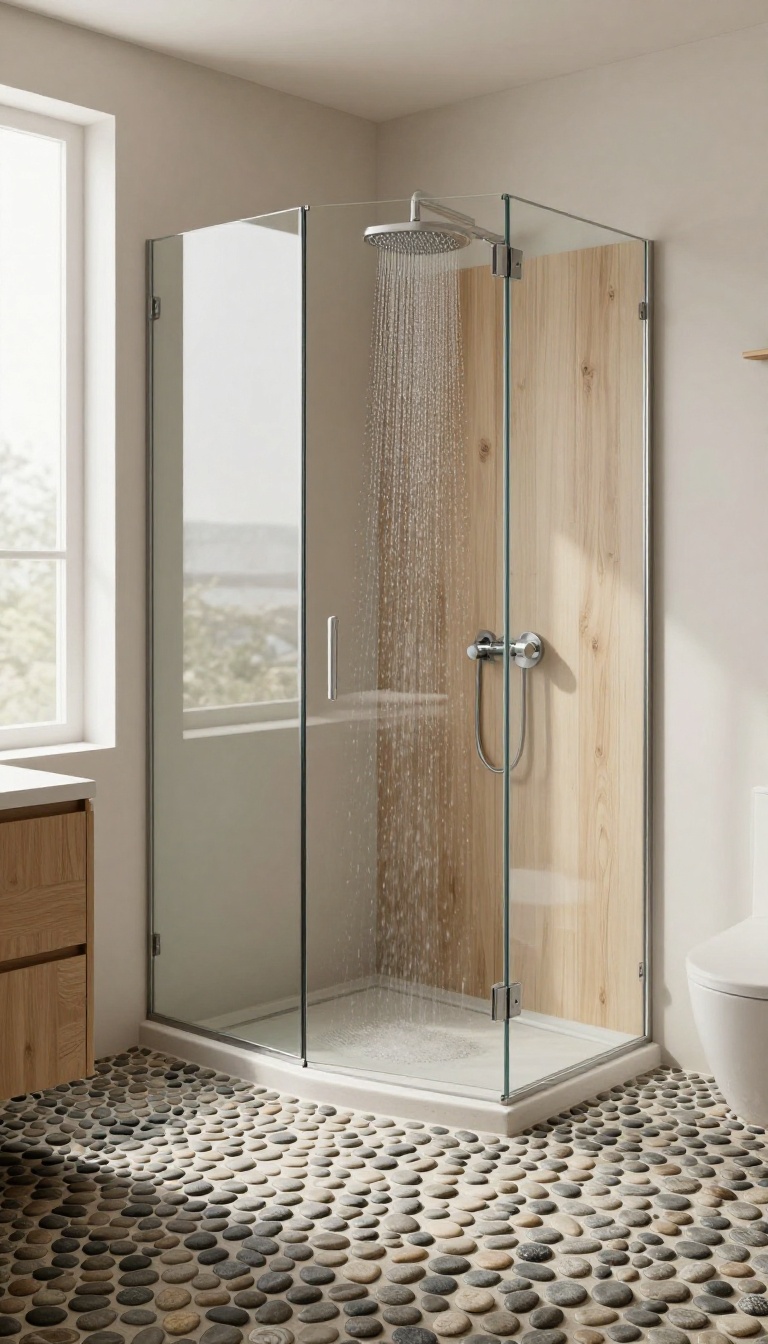
Your feet take a lot of punishment all day, so why not give them a treat when you step into the shower? A pebble tile floor turns every rinse into a mini foot massage, stimulating pressure points as you stand. The uneven surface also provides excellent traction, so you get both comfort and safety in one organic package.
Pebble tiles bring a natural, riverbed aesthetic that instantly makes a bathroom feel more grounded and spa-like. The texture isn't just for looks—it actively works your feet, improving circulation and leaving you feeling refreshed. Plus, the small stones create a slip-resistant surface that's safer than smooth porcelain, especially when soap is involved.
Why Pebble Tiles Feel So Good
The rounded stones press into the soles of your feet, similar to a reflexology mat. That gentle, uneven pressure helps release tension and can even improve balance over time. It's a simple pleasure that makes a big difference in how your shower feels.
Choosing The Right Pebble Style
You can go with natural river stones in earthy grays and browns, or opt for polished pebbles that are smoother underfoot. Some tiles come in mesh-backed sheets for easy installation, while others are individual stones you set one by one. Consider the size—larger pebbles feel bolder, while smaller ones create a denser texture.
Installation And Maintenance Tips
Pebble tiles need a solid, waterproof substrate and a flexible thinset to prevent cracking. Grout lines will be wider, so use a grout that resists mold and staining. Sealing the tiles annually helps keep them looking fresh and prevents water spots.
Daily cleaning is as simple as a quick rinse and occasional scrub with a soft brush.
13. Skylight or High Window for Natural Light
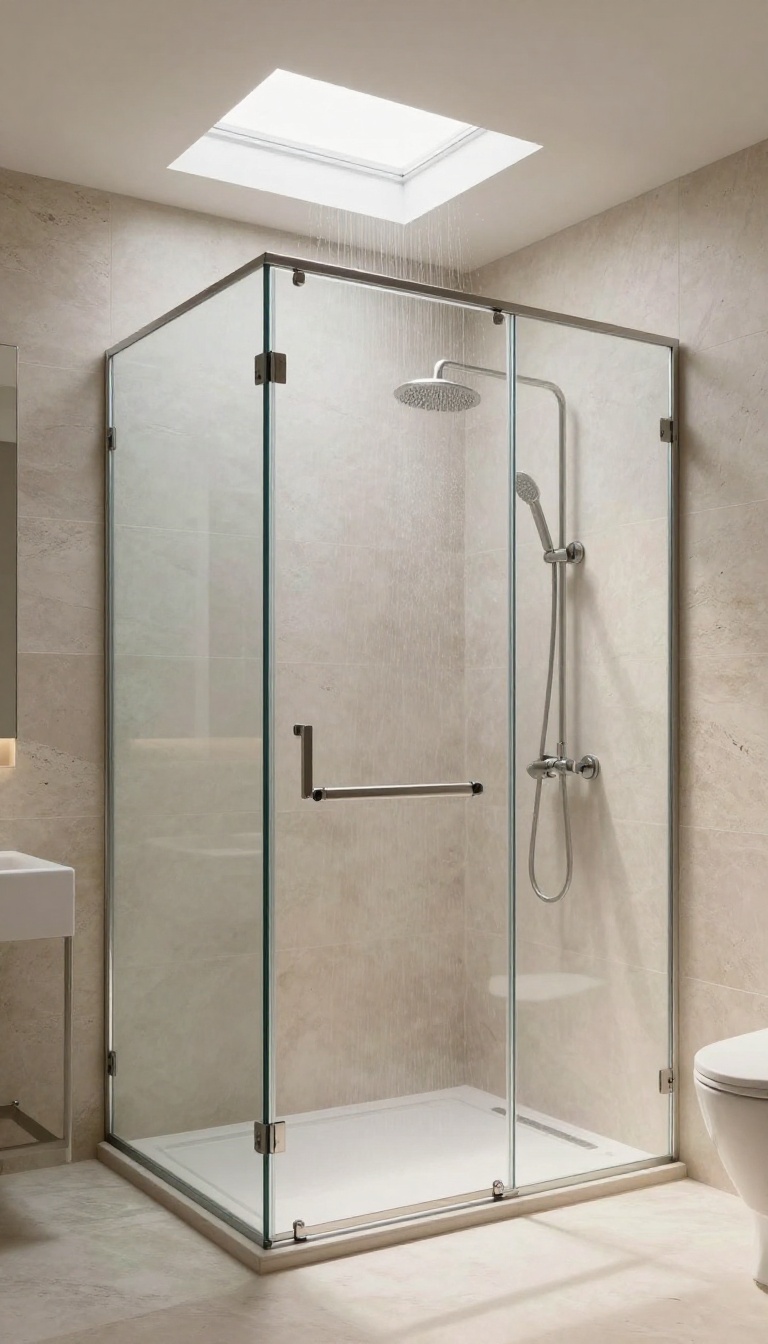
There’s something magical about showering under natural light. A skylight or a high window can flood your walk-in shower with sunshine, making the space feel open and alive. It’s not just about brightness—it’s about creating a connection to the sky and the outdoors, which instantly calms the mind.
Adding a skylight or a high window is a design choice that pays off in both mood and function. Natural light reduces the need for artificial lighting during the day, saving energy while making your shower feel more spacious. Plus, the view of clouds or treetops can turn a routine rinse into a moment of mindfulness.
Choosing The Right Placement
Where you place the skylight or window matters. A skylight directly above the shower provides even, diffused light, while a high window on a side wall offers privacy without sacrificing brightness. Consider the direction—east-facing windows give gentle morning light, while west-facing ones bring warm afternoon glow.
Privacy And Glare Solutions
Privacy is a common concern, but frosted glass, textured film, or strategically placed landscaping can solve it. For skylights, a light-diffusing shade or a prismatic glass option can soften harsh rays. If glare is an issue, install a dimmer or use a skylight with a built-in blind.
Ventilation And Maintenance Tips
Moisture is a fact of life in showers, so choose windows and skylights with proper ventilation to prevent mold and condensation. Operable skylights or windows with a vent function help steam escape. Regular cleaning and checking seals will keep everything watertight and clear.
14. Curbless Entry for a Seamless Transition
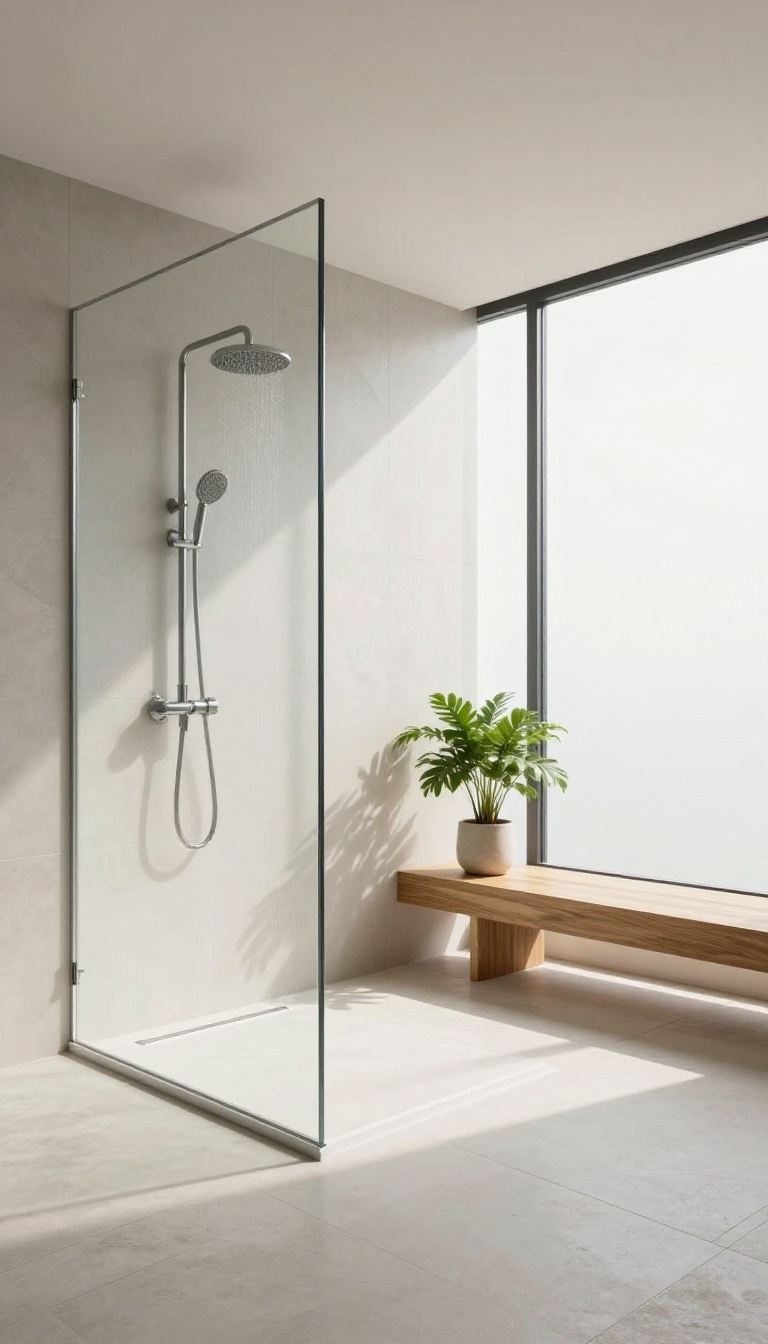
Picture this: you step directly from the bathroom floor onto the shower floor with no lip to trip over. That's the beauty of a curbless entry. It's a design choice that feels modern and open, and it completely changes how the shower integrates with the rest of the space.
Beyond the sleek look, a curbless entry is a practical win. It simplifies cleaning because there's no edge to trap dirt, and it makes the shower accessible to everyone, regardless of mobility. If you're aiming for a spa-like feel, this seamless transition is a game-changer.
A curbless entry, also known as a zero-threshold shower, removes the traditional step-over barrier. This creates a continuous plane from the bathroom floor into the shower, making the space feel larger and more connected. The absence of a curb also opens up the floor area, which is ideal for smaller bathrooms or those aiming for a minimalist aesthetic.
From a practical standpoint, curbless entries are easier to keep clean. There's no ledge to collect soap scum or grime, and you can simply sweep or mop directly into the shower area. For families with young children or older adults, the lack of a step reduces the risk of trips and falls, making it a safer option for everyone.
However, a curbless entry requires careful planning. The shower floor must be sloped properly to ensure water drains toward the drain, and waterproofing is crucial to prevent moisture from seeping into the rest of the bathroom. You'll also need to consider the subfloor height and may need to recess the shower pan or adjust the floor elevation to achieve a truly flush transition.
Slope And Drainage
The key to a successful curbless shower is a precise slope. The floor needs to slope gently toward the drain, typically about 1/4 inch per foot, to ensure water flows away efficiently. This often requires a custom-built shower pan or a linear drain that can be placed at the edge or center.
A linear drain is a popular choice because it allows for a flat, continuous surface without the need for a center drain, which can interfere with the seamless look.
Waterproofing And Materials
Since there's no curb to contain water, waterproofing becomes even more critical. You'll need a reliable waterproof membrane that extends beyond the shower area, covering the entire floor and up the walls. This prevents moisture from seeping into the subfloor and causing structural damage.
Choose materials that are slip-resistant, like textured tiles or natural stone, to ensure safety when the floor is wet.
Accessibility And Safety
A curbless entry is a boon for accessibility. It allows wheelchair users to roll directly into the shower, and it eliminates the need to step over a barrier, which can be challenging for those with balance issues. This design also makes it easier to bring in a shower chair or bench if needed.
When planning, consider adding grab bars and a handheld showerhead to enhance safety and convenience.
15. Accent Lighting for a Calming Ambiance
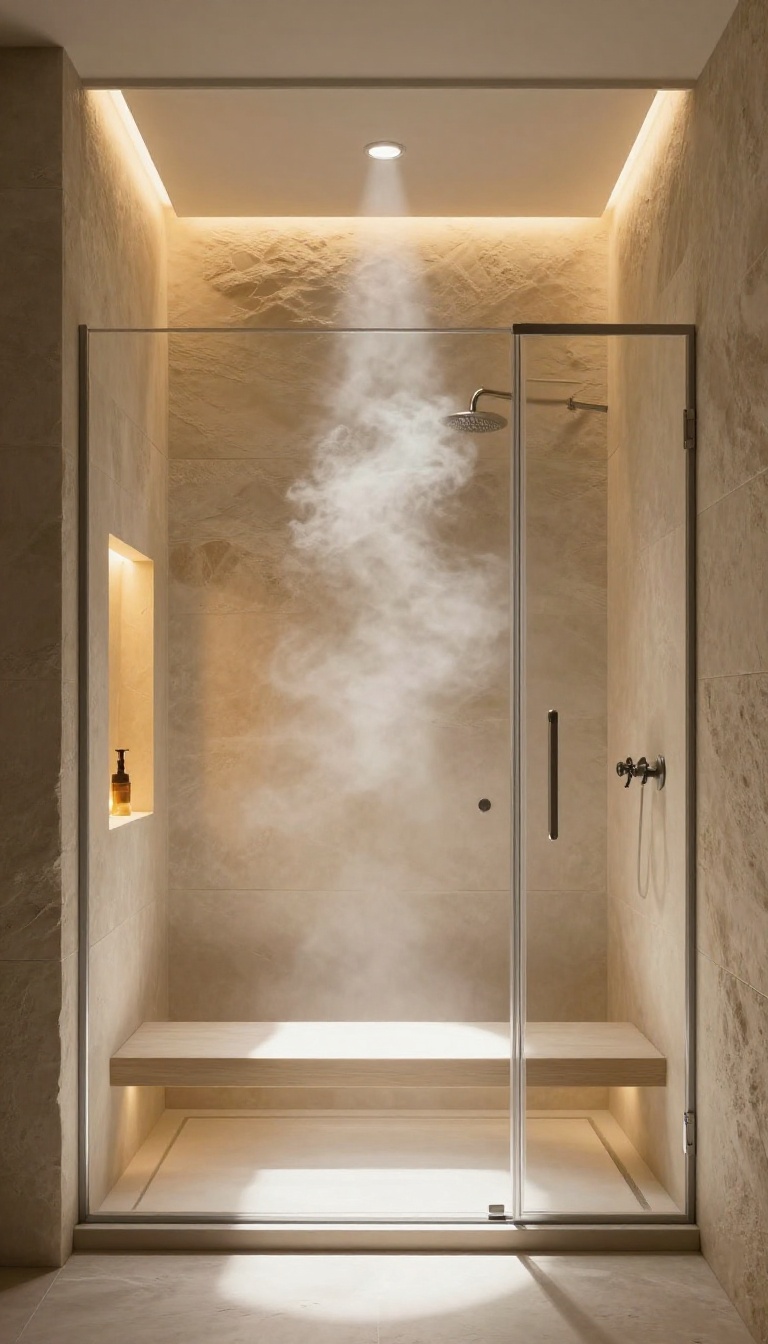
Lighting sets the mood, and in a walk-in shower, it can transform an ordinary rinse into a tranquil ritual. Harsh overhead lights can feel clinical, while soft accent lighting invites relaxation. By strategically placing LED lights, you can create a warm, spa-like glow that soothes the senses and highlights the beauty of your shower's design.
Accent lighting isn't just about visibility; it's about atmosphere. Recessed ceiling lights with a dimmer switch let you adjust the brightness to match your mood, from invigorating morning showers to wind-down evening soaks. Backlit niches, where your shampoo bottles sit, cast a gentle halo that adds depth and warmth.
These subtle light sources can make the entire space feel more inviting and luxurious.
Choose The Right Color Temperature
Warm white LEDs (around 2700K-3000K) create a cozy, amber-like glow that mimics candlelight, perfect for relaxation. Cooler whites can feel harsh and clinical, so stick with warmer tones for a spa-like vibe. Dimmable options give you flexibility, allowing you to brighten things up for shaving or dim down for a meditative soak.
Highlight Architectural Details
Use accent lighting to draw the eye to special features like a textured tile wall, a floating bench, or a frameless glass partition. Recessed linear lights along the ceiling or floor can outline the shower's shape, making it feel more expansive. Backlighting a niche or a decorative panel adds a touch of drama without overwhelming the space.
Safety And Wet-rated Fixtures
When installing lighting in a shower, safety is paramount. Choose fixtures rated for wet or damp locations, and ensure they are properly sealed to prevent moisture damage. LED lights are a great choice because they produce little heat and are energy-efficient.
Consult a professional electrician to handle the wiring and ensure everything meets local codes.
FAQ
What is the average cost of a walk-in shower remodel?
The cost varies widely based on size, materials, and labor. On average, you can expect to pay between $5, 000 and $15, 000, but high-end custom showers can cost more.
Do walk-in showers need a door?
Not necessarily. Many walk-in showers are open or use a partial glass panel to prevent water splashing. A door can help contain heat and steam if you want a steam shower.
How do I prevent water from leaking out of a curbless shower?
Proper slope and drainage are key. The floor should slope toward the linear drain, and the bathroom floor should be slightly lower or have a waterproof membrane to contain water.
What is the best material for walk-in shower walls?
Porcelain or ceramic tile is popular for durability and ease of maintenance. Natural stone like marble or travertine offers a luxurious look but requires more sealing and care.
Can I install a walk-in shower myself?
While some aspects like tiling can be DIY, plumbing and waterproofing are complex and best left to professionals. Incorrect installation can lead to leaks and water damage.
Conclusion
Turning your daily shower into a spa-like ritual doesn't require a full remodel—just a few smart choices. Whether you add a rainfall head, a teak bench, or a niche for your favorite products, each idea brings you closer to that calm, private retreat. Start with the upgrade that excites you most, and let the rest follow.
You'll be surprised how a small change in materials or lighting can shift the whole mood of your morning. Pick one, try it, and enjoy the difference.