15 Cheap Patio Floor Ideas That Still Look Well Finished
A worn concrete slab doesn't have to be the final word for your patio. With a little creativity and some budget-friendly materials, you can give that tired surface a complete transformation that looks intentional and polished.
The trick is choosing the right approach for your space, your skill level, and the look you're after. From painted finishes to clever tile layouts, these 15 ideas prove that a high-end appearance doesn't have to come with a high-end price tag.
Each option is practical, durable, and designed to make your outdoor area feel like a real extension of your home.
1. Paint Concrete for a Clean, Custom Look
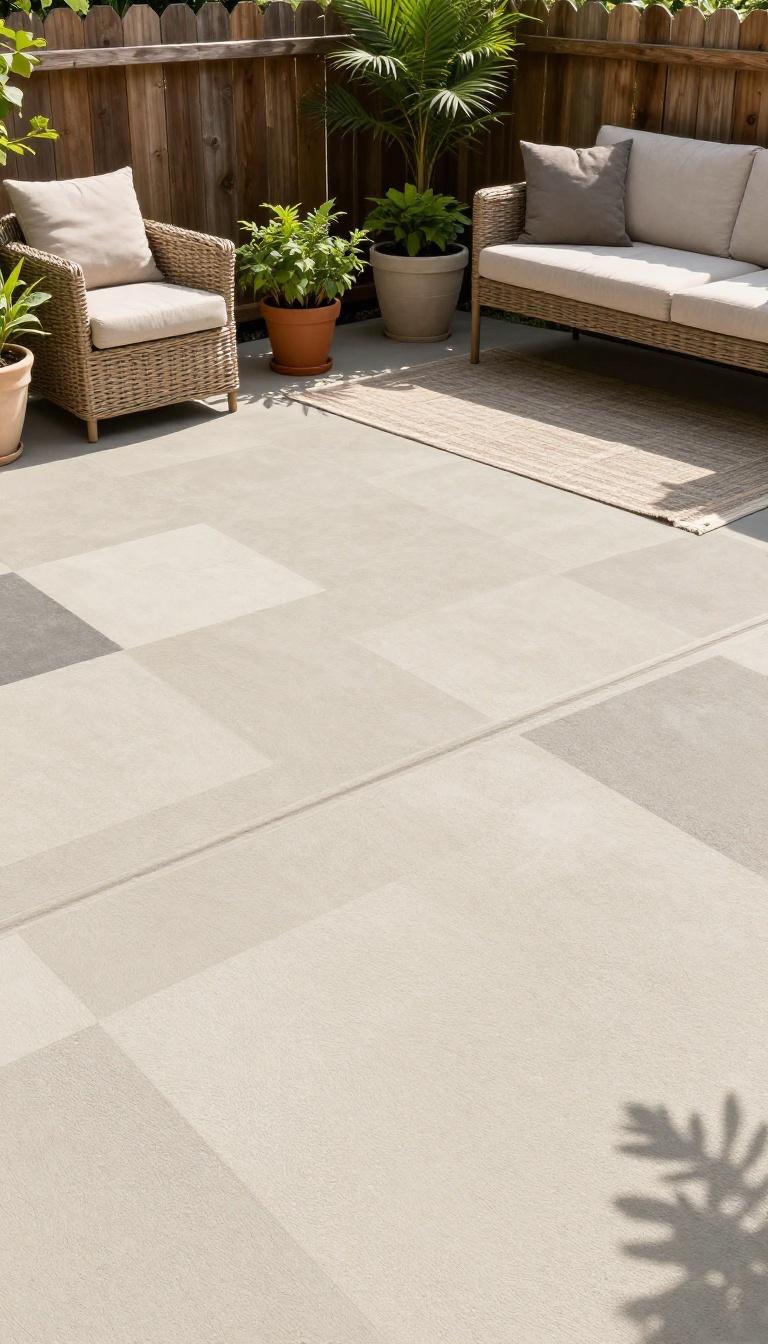
If your patio is plain concrete, paint is the fastest way to give it a facelift. A fresh coat of concrete paint or stain can completely change the vibe, making it look like you installed new flooring. Plus, you can customize it with patterns or colors to match your outdoor style.
Start by cleaning the concrete thoroughly and repairing any cracks. Then, choose a high-quality concrete paint or stain. For a simple solid color, roll it on with a long-handled roller.
If you want something more decorative, use painter's tape to create stripes, checkerboards, or geometric shapes. Seal the surface with a concrete sealer to protect it from weather and foot traffic.
Pick The Right Paint Or Stain
Concrete paint comes in latex or acrylic formulas, both of which are durable and easy to apply. Stains penetrate the surface for a more natural, mottled look. For high-traffic areas, choose a product labeled for exterior use with UV protection.
Test a small area first to see how it dries.
Get Creative With Patterns
Use stencils to add a tile-like pattern, or tape off stripes for a modern look. You can also create a faux rug effect by painting a border or center design. The options are endless, and you can always repaint if you get tired of the design.
Seal For Longevity
Sealing is key to making your painted patio last. Apply a concrete sealer after the paint has fully cured. This will protect against moisture, stains, and fading.
Reapply every couple of years to keep it looking fresh.
2. Lay Peel-and-Stick Floor Tiles for Instant Upgrade
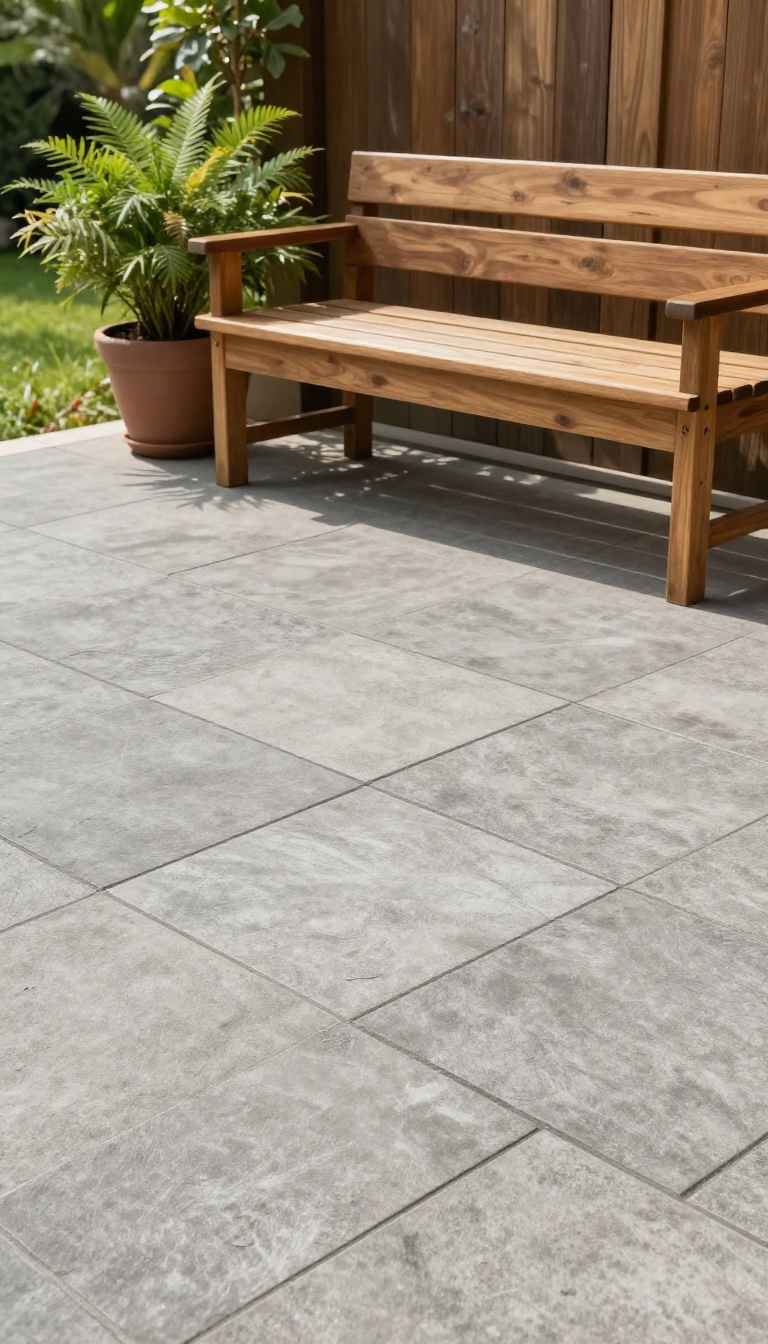
Peel-and-stick floor tiles are a surprisingly quick way to make a patio look intentional without the mess of mortar or grout. They come in wood, stone, and geometric patterns, so you can match almost any style you're going for. And because they're weather-resistant, they hold up well outdoors while still looking sharp.
These tiles are simple to install: just clean the surface, peel off the backing, and press them down. No special tools or skills are needed, which makes them a great weekend project. If one tile gets damaged, you can replace it individually without tearing up the whole floor.
Why They Work On Patios
Peel-and-stick tiles are designed to handle foot traffic and light weather, so they're a practical choice for a patio. They also add a layer of cushioning underfoot, making the area more comfortable to walk on. Plus, they're easy to clean with a hose or a broom.
Choosing The Right Tile
Look for tiles labeled as outdoor-safe or weather-resistant. Stone-look tiles give a natural feel, while wood-look planks bring warmth. Geometric patterns can add a modern twist.
Pick a style that complements your home's exterior and existing outdoor furniture.
Installation Tips
Start by sweeping and cleaning the concrete thoroughly. If there are cracks, fill them first for a smooth surface. Work in small sections, and use a roller or your hands to press out any air bubbles.
Trim tiles with a utility knife to fit edges and corners.
3. Create a Paver Pattern with Concrete Pavers
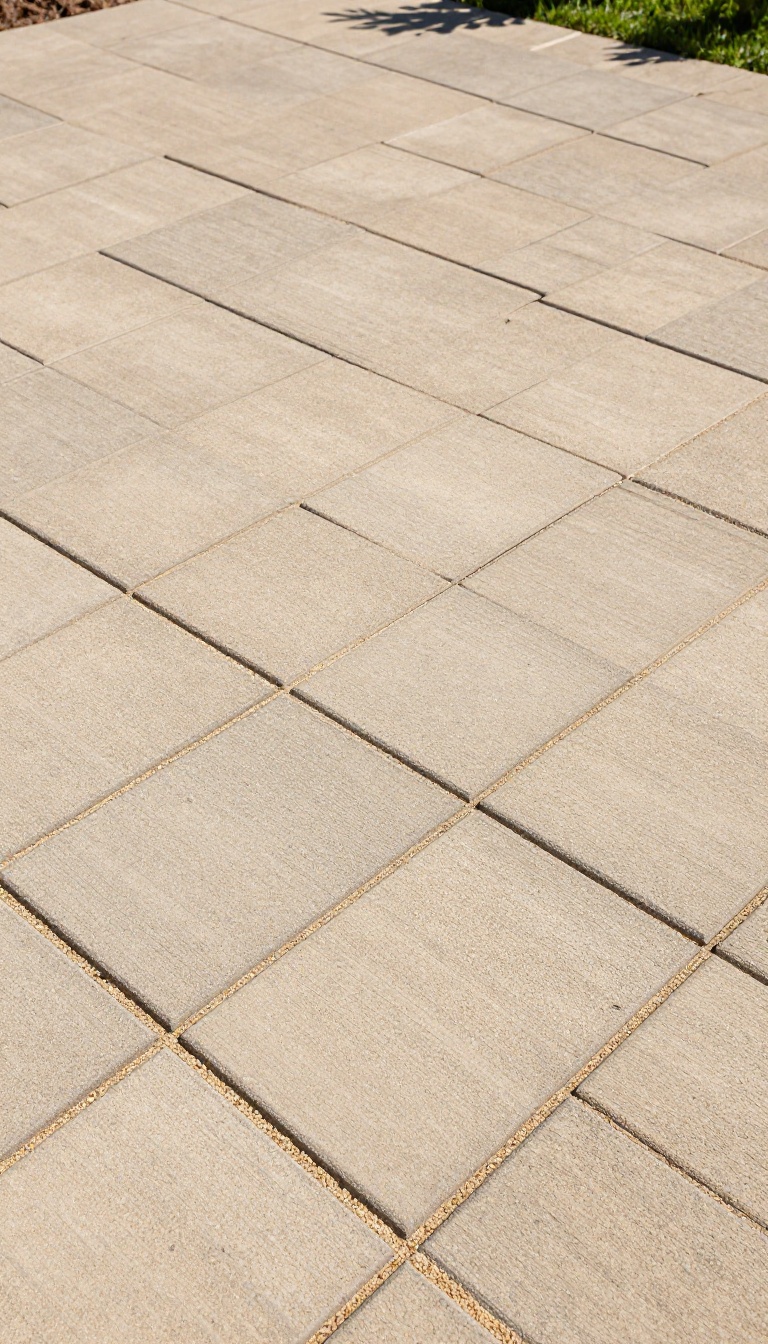
Concrete pavers are one of the most budget-friendly ways to give your patio a custom, high-end look. They come in a variety of shapes, sizes, and colors, and you can lay them in patterns that mimic expensive stone or brick. The best part is that you don't need to be a professional to install them—just some patience and a weekend.
Start by preparing a level base of sand or gravel. Then, lay the pavers in your chosen pattern. Herringbone and basketweave are classic choices that add visual interest without extra cost.
To keep things looking neat, edge the patio with paver restraints or a simple border.
Choosing The Right Paver
When selecting pavers, think about the scale of your patio. Larger pavers make a small space feel bigger, while smaller ones add texture. Look for pavers with a tumbled or weathered finish if you want a more natural, aged look.
Also, consider the color—earth tones blend well with outdoor surroundings.
Laying Patterns That Impress
Herringbone is a classic pattern that adds a dynamic, woven feel. It's surprisingly easy to achieve with rectangular pavers. Basketweave, on the other hand, gives a more traditional, brick-like appearance.
Both patterns are forgiving for DIYers because they don't require perfect alignment—slight imperfections just add charm.
Finishing Touches
Once your pavers are down, sweep fine sand over the surface to fill the joints. This locks everything in place and prevents shifting. Add a border of contrasting pavers or a metal edge to give the patio a crisp, finished look.
Finally, consider sealing the pavers to protect them from stains and weather, making your patio last for years.
4. Use Wood Pallets for a Rustic, Warm Surface
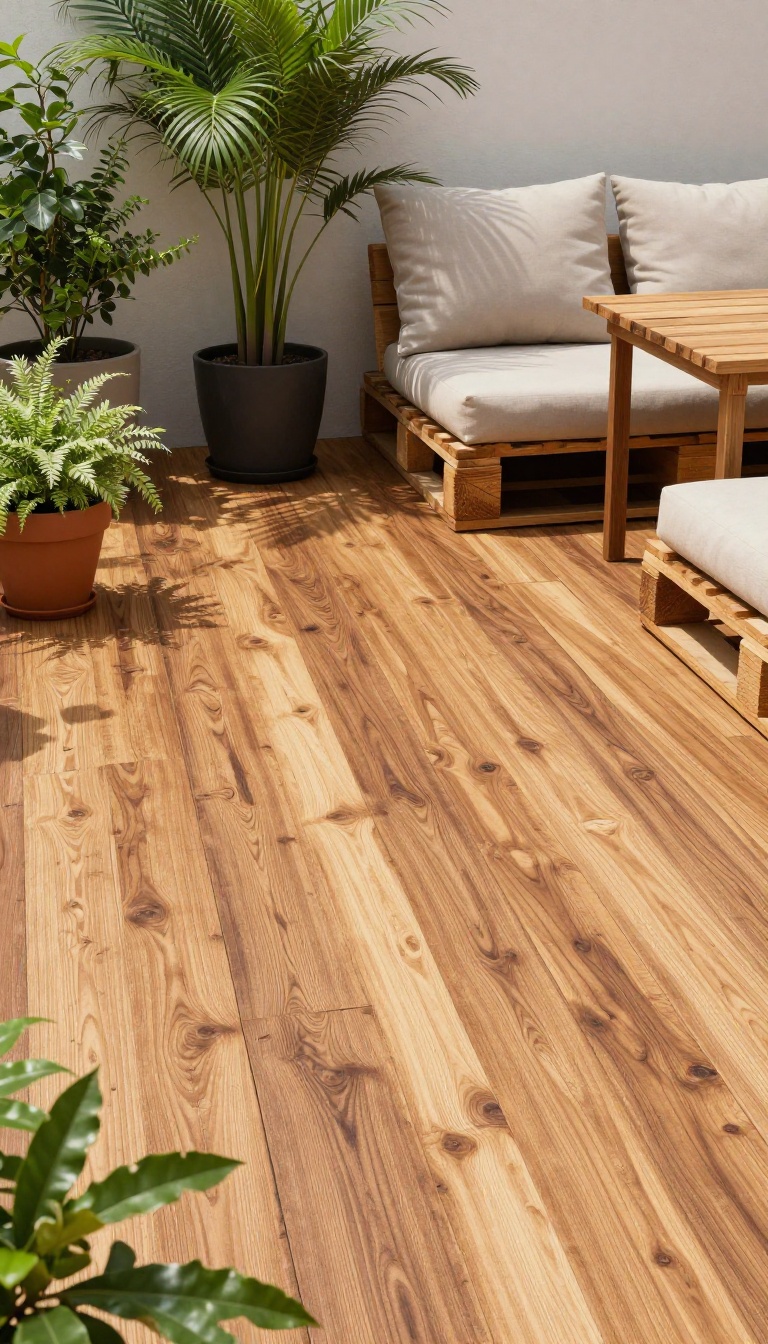
Wood pallets are often overlooked, but they can be transformed into a stunning patio floor. With a bit of sanding, staining, and sealing, you can create a deck-like surface that adds warmth and texture to your outdoor space. This is a rewarding DIY project that doesn't require a big budget, and the result looks far more expensive than it is.
Pallet wood is surprisingly versatile. You can arrange the planks in a traditional deck pattern or get creative with a herringbone design. The key is to choose pallets that are in good condition, free from major damage, and made from hardwood like oak or pine.
Once you've collected your pallets, the real work begins: breaking them down, sanding, and treating the wood. It's a labor of love, but the payoff is a patio that feels warm and inviting.
Sourcing And Preparing Pallets
Start by sourcing pallets from local businesses, warehouses, or recycling centers. Look for ones marked with 'HT' (heat-treated) rather than 'MB' (methyl bromide), as the latter are chemically treated. Once you have them, carefully disassemble the pallets using a pry bar or reciprocating saw.
Remove any nails and sand each plank thoroughly to smooth out rough edges and splinters. This step is crucial for both safety and a polished final look.
Staining And Sealing For Durability
After sanding, apply a wood stain in your preferred shade—whether you want a natural pine hue or a rich walnut tone. Let the stain dry completely before applying a high-quality outdoor sealant. This protects the wood from moisture, UV rays, and wear, ensuring your patio floor lasts for years.
You can also add a coat of polyurethane for extra durability, especially in high-traffic areas.
Laying The Pallets
Before laying the pallets, ensure your patio surface is level and clean. You can lay the pallets directly on concrete or use a gravel base for better drainage. Arrange the pallets in a pattern that suits your space, leaving small gaps between them for expansion.
Secure them with screws or nails to prevent shifting. For a more finished look, you can add a border of trim or edging around the perimeter.
Maintenance And Longevity
To keep your pallet floor looking its best, sweep it regularly and occasionally rinse it with a hose. Reapply sealant every couple of years to maintain the protective layer. If a plank gets damaged, you can easily replace it without redoing the entire floor.
With proper care, your pallet patio will remain a charming feature for many seasons.
5. Go with Gravel and Stepping Stones for Texture
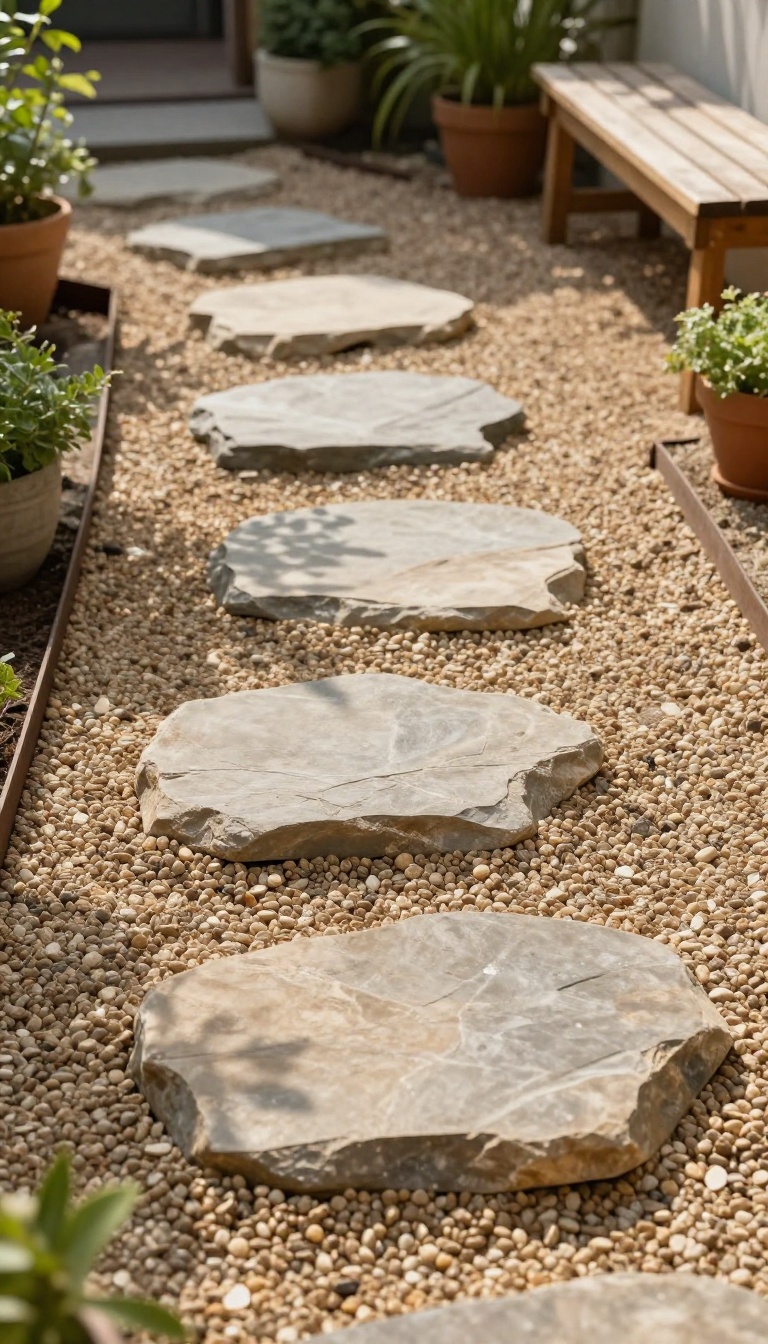
Combining gravel with large stepping stones is a classic way to add depth and natural charm to your patio. The contrast between the soft, loose gravel and the solid, flat stones creates a visually interesting surface that feels both casual and carefully planned. It's a go-to choice for cottage gardens or zen-inspired outdoor spaces, and it's surprisingly easy on the wallet.
This approach works best for areas that get moderate foot traffic, like a side path or a cozy seating nook. The gravel fills in gaps and prevents weeds, while the stepping stones provide a stable, dry path. You can mix stone shapes and sizes for a more organic look, or stick to uniform slabs for a cleaner, modern feel.
Choosing The Right Gravel
Pea gravel is a popular pick because it's smooth underfoot and compacts well. For a more rustic look, crushed stone offers sharper edges that lock together better on slopes. Aim for a layer about two inches deep, and consider adding a weed barrier underneath to keep maintenance minimal.
Laying The Stepping Stones
Set the stones directly into the gravel, leaving a few inches of space between them for a natural stride. Make sure they're level and slightly recessed so they don't wobble. For a more permanent solution, you can bed them in sand or mortar, but simply pressing them into the gravel works fine for most patios.
Adding A Border For A Finished Look
A simple border, like steel edging or a row of bricks, keeps the gravel contained and gives the patio a crisp edge. This also prevents the stones from shifting over time. If you prefer a softer look, you can skip the border and let the gravel blend into surrounding plants, but a border often makes the space feel more intentional.
6. Install Outdoor Carpet Tiles for Softness and Style
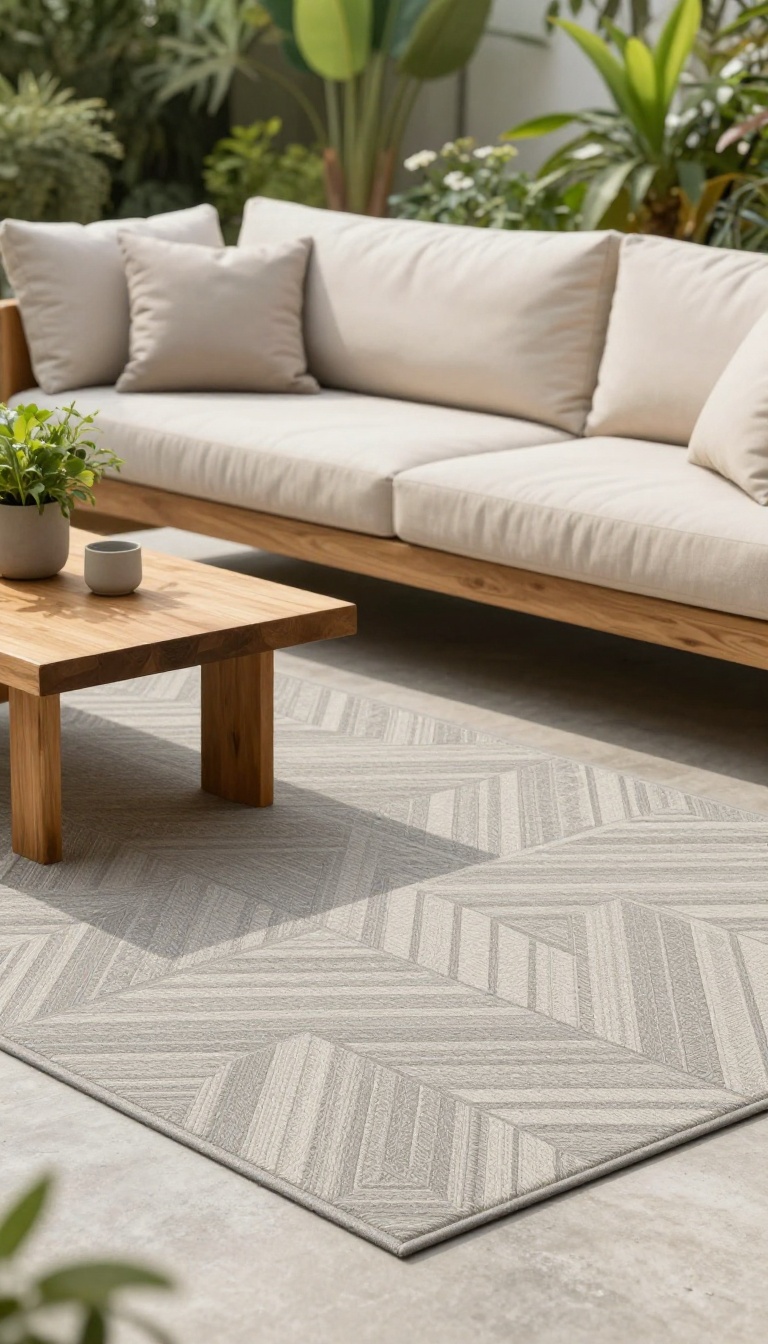
If you want a patio floor that feels as good as it looks, outdoor carpet tiles are a game-changer. These tiles bring a cozy, indoor-like comfort to your outdoor space while standing up to the elements. They're also a breeze to install—no glue or special tools required, just peel and stick or lay them down.
Outdoor carpet tiles are designed to handle moisture, UV rays, and foot traffic, making them a smart choice for patios. They come in a wide range of colors and patterns, so you can easily match your existing decor or create a bold new look. Best of all, they're budget-friendly and can be cut to fit any shape, from simple rectangles to tricky corners.
Why Choose Carpet Tiles?
Unlike traditional outdoor rugs, carpet tiles stay put and won't blow away in the wind. They also provide a soft, cushioned surface that's comfortable for bare feet and safe for kids playing. Plus, if one tile gets stained or damaged, you can replace it individually without redoing the whole floor.
Installation Tips
Start by sweeping your patio clean and making sure it's dry. Lay out the tiles in a dry run to plan your layout, then cut them with a utility knife to fit edges and corners. Peel off the backing and press firmly into place.
For extra adhesion, you can use double-sided tape or outdoor adhesive, but many tiles are designed to stay put on their own.
Maintenance And Durability
These tiles are made from durable materials like polypropylene that resist fading, mold, and mildew. To clean, simply hose them down or use a mild soap and water. They dry quickly and keep their color for years, making them a low-maintenance option that still looks sharp.
7. Try a Stamped Concrete Overlay for a High-End Finish
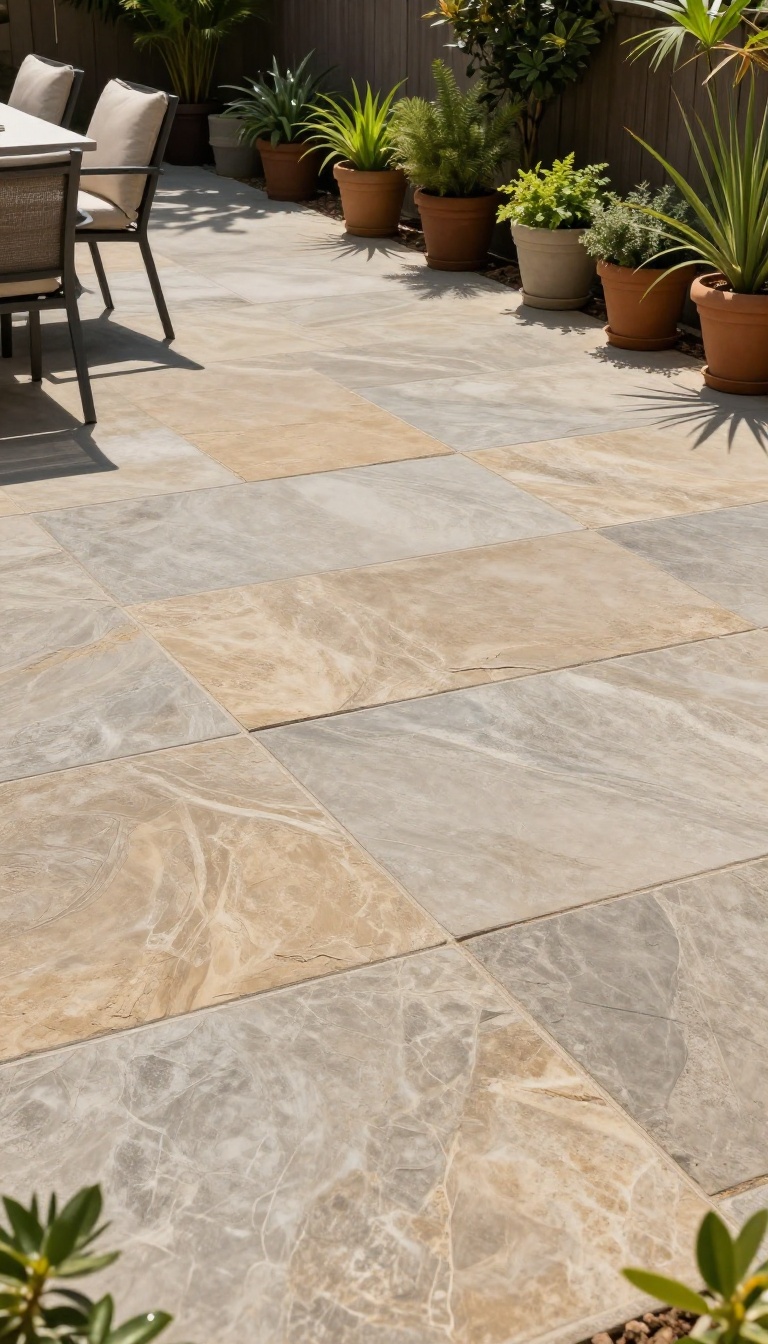
If your existing concrete slab is in decent shape but looks drab, a stamped overlay can give it a complete facelift without the cost of tearing it out. This technique involves applying a thin layer of fresh concrete over the old surface, then pressing patterns into it before it sets. The result mimics the look of brick, stone, or slate at a fraction of the price.
Stamped concrete overlays are a smart way to upgrade a tired patio because they hide imperfections while adding texture and color. The process is straightforward: after cleaning and repairing the slab, a polymer-modified overlay is troweled on, then stamped with flexible mats. Once cured, it’s sealed for durability and weather resistance.
This approach works best on structurally sound concrete, so check for major cracks or settling first. It’s a project you can tackle yourself if you’re handy, but hiring a pro ensures a flawless finish. Either way, you’ll get a premium look that elevates your outdoor space.
Why Choose A Stamped Overlay?
A stamped overlay offers the visual appeal of natural materials without the hefty price tag. It’s also more durable than paint or stain, and it can be customized with a variety of patterns and colors. Plus, it adds a layer of protection to your existing concrete, extending its lifespan.
Patterns And Color Options
You can choose from patterns that mimic cobblestone, flagstone, brick, or even wood planks. Color options range from earthy browns and tans to rich grays and charcoal. You can also add multiple colors or highlights to create depth and realism, making the finished surface look like the real thing.
Diy Vs. Professional Installation
While a DIY stamped overlay is possible, it requires careful timing and technique to achieve good results. If you’re not experienced with concrete work, hiring a professional is often worth the extra cost. Pros have the right tools and know-how to ensure the pattern is even and the finish is smooth, which makes a big difference in the final look.
8. Use Brick Pavers for Classic Charm
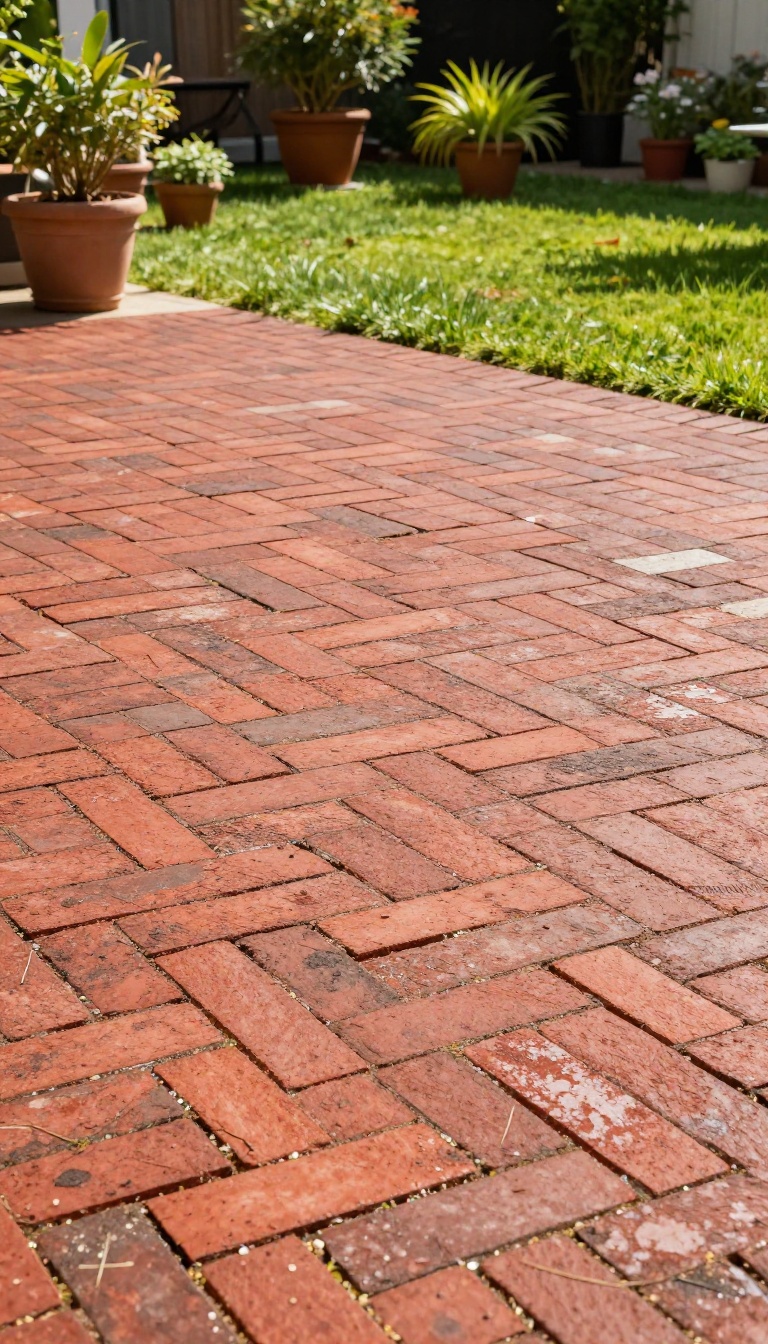
Brick pavers bring a warmth and timelessness that few other materials can match. They instantly make a patio feel established, like it's been part of the house for decades. Best of all, they're surprisingly affordable and forgiving to install, even for a first-timer.
Why Brick Pavers Work So Well
Brick pavers are dense, durable, and naturally resistant to the elements. They handle freeze-thaw cycles without cracking, and their color doesn't fade quickly. Plus, if one does get damaged, you can simply pop it out and replace it—no need to redo the whole patio.
Two Classic Patterns To Try
The running bond pattern is the most straightforward: bricks laid end to end, with each row offset by half a brick. It's clean and easy to install. For a more decorative look, try a basketweave pattern, where pairs of bricks are laid perpendicular to each other.
It adds visual interest without being fussy.
Installation Tips For A Polished Finish
Start with a solid base of compacted gravel and sand to keep the pavers level. Use a rubber mallet to tap each brick into place, and check with a level frequently. Finish by sweeping fine sand into the joints to lock everything together.
A little patience goes a long way toward a professional-looking result.
9. Make a Mosaic with Broken Tiles or Concrete Pieces
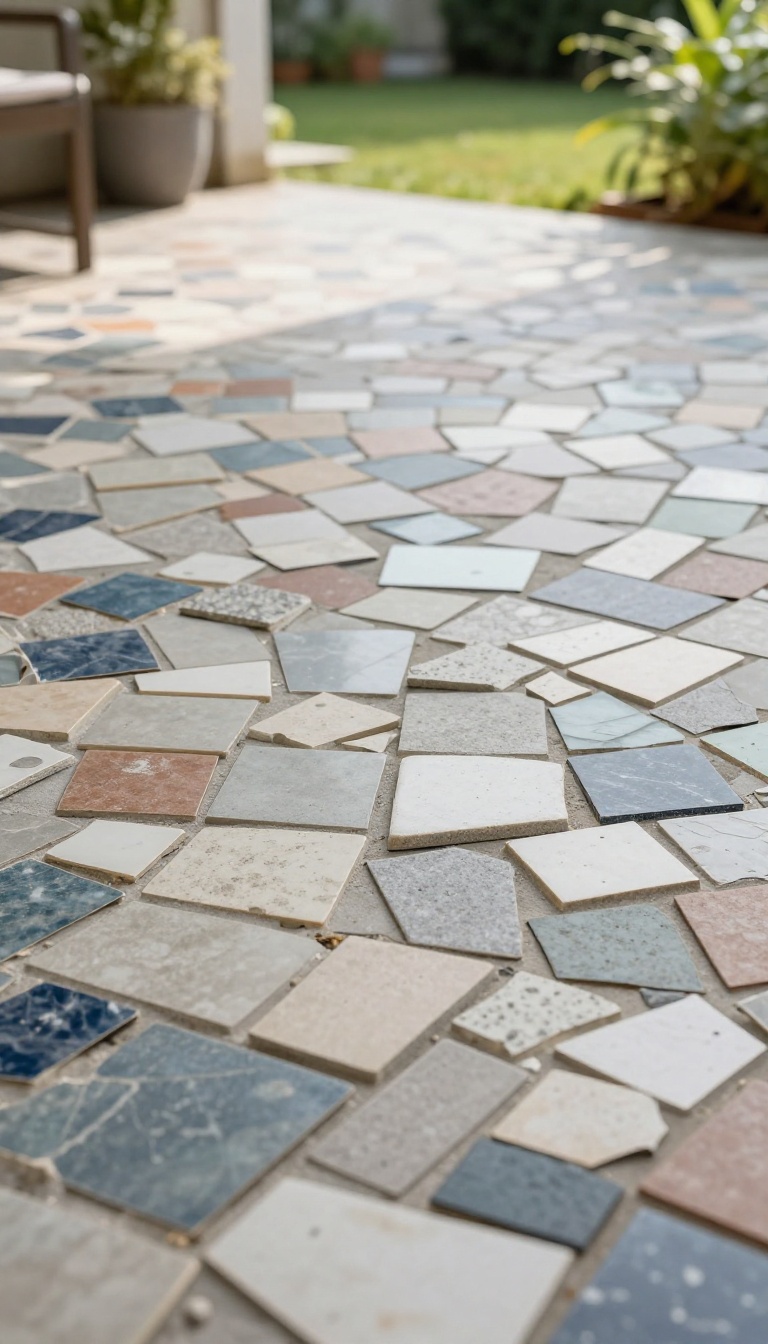
Before you toss those cracked tiles or broken concrete chunks, think mosaic. This DIY approach turns what would be waste into a one-of-a-kind patio floor that's full of color and texture. It's a budget-friendly way to add personality and charm, and it's surprisingly durable when done right.
A mosaic patio floor is all about creativity and patience. You can use leftover ceramic tiles, pieces of broken pavers, or even chunks of old concrete. The key is to arrange them in a pattern that feels intentional, whether that's a random mix or a more structured design.
The result is a floor that looks custom and adds a handmade touch to your outdoor space.
Choosing Your Materials
Start by gathering your broken pieces. Ceramic tiles come in a range of colors and finishes, so they're great for adding pops of color. Broken concrete pieces can give a more rustic, industrial feel.
You can also mix in pebbles or glass for extra texture. Just make sure the pieces are relatively flat and not too thick, so they sit evenly on the ground.
Planning Your Pattern
Before you start sticking things down, lay out your pieces on the patio to get a sense of the design. You can go for a random scatter, a geometric pattern, or even a themed design like a sunburst or a flower. Keep in mind that larger pieces will cover more ground, so you'll need fewer of them.
Smaller pieces give you more flexibility but take longer to place.
Setting The Mosaic
Once you're happy with the layout, it's time to set the pieces. Use a thin-set mortar or a strong outdoor adhesive to attach each piece to the concrete base. Press them firmly and make sure they're level.
After the adhesive dries, fill the gaps with grout or a sand-and-cement mix. Wipe off any excess before it hardens, then let it cure. A sealant will help protect the mosaic from weather and stains.
10. Apply a Concrete Stain for Rich, Translucent Color
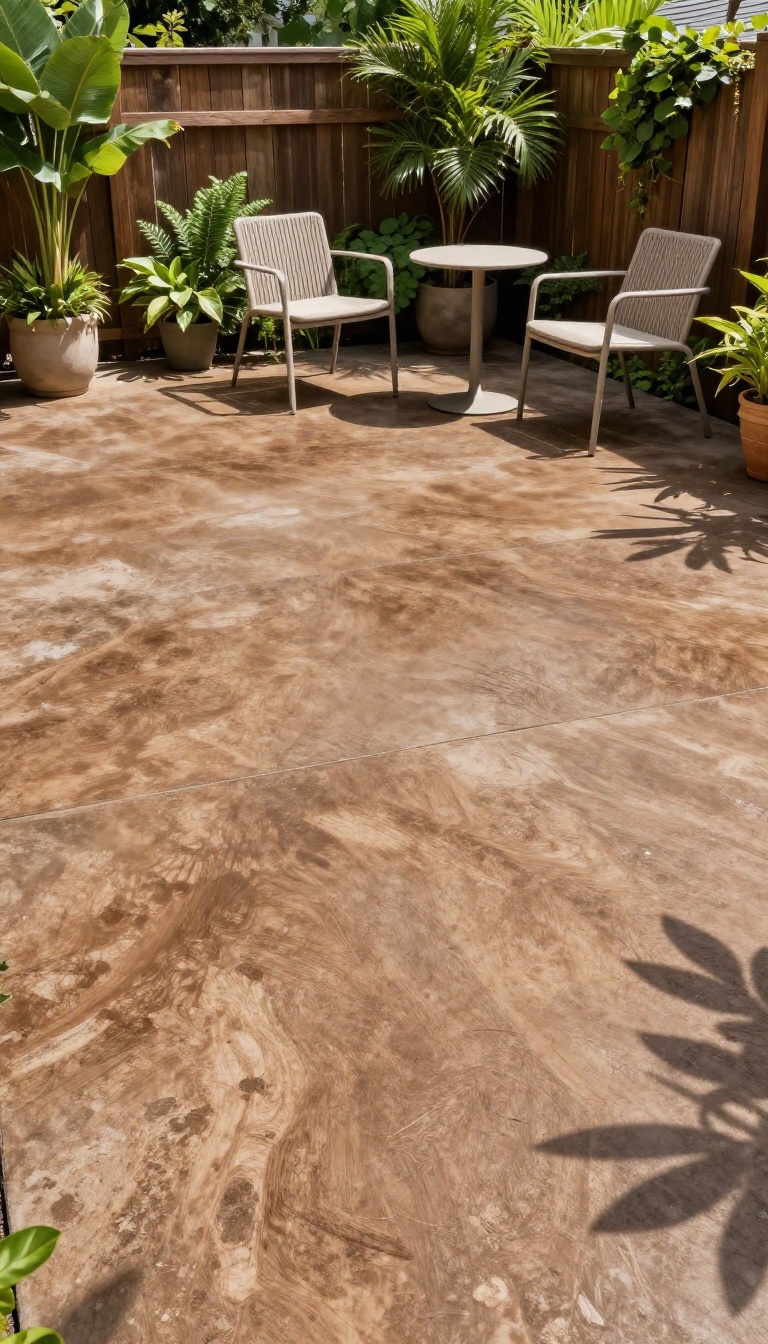
If your patio slab is in good shape but just looks blah, staining is a low-lift way to add serious depth. Unlike paint, which sits on top, stain sinks into the concrete, so you get a mottled, variegated effect that feels natural and rich. It's also forgiving—no perfect brushwork required.
You can go subtle with earthy browns and tans, or make a statement with a deep slate or terra-cotta. And because it's a penetrating finish, it won't peel or flake the way paint can. That makes it a smart pick for outdoor floors that see a lot of foot traffic.
Staining is one of the most budget-friendly ways to upgrade a plain concrete patio. A gallon of quality stain runs about $30 to $50 and can cover 200 to 300 square feet, depending on the porosity of the concrete. You'll also need a few basic tools: a pump sprayer or brush, a roller for even coverage, and a sealer to lock in the color.
The actual application is straightforward—clean the concrete, apply the stain, let it react, then seal. The whole project can wrap up in a weekend, and the result looks like you hired a pro. Plus, because the stain is translucent, the natural variations in your concrete show through, so no two spots look exactly alike.
That's a bonus if your slab has old stains or patched areas—it all just blends into the character.
Choosing The Right Stain
You'll generally find two types: water-based and acid-based. Water-based stains are easier to work with, have lower odor, and come in a wider range of colors. They sit more on the surface, so they're more uniform.
Acid-based stains react with the concrete to create a more variegated, marble-like effect, but they require more prep and safety gear. For most DIYers, water-based is the way to go—it's forgiving and you can always add a second coat to deepen the color.
Prep Is The Secret
Stain won't hide cracks or grease spots, so the surface needs to be clean and dry. Sweep off debris, then use a degreaser or a mild acid wash to remove any oil or dirt. Rinse thoroughly and let it dry completely—at least 24 hours.
If there are small cracks, fill them with a concrete repair compound before staining. The better the prep, the more even the stain will absorb.
Sealing For Longevity
Once the stain is dry, apply a concrete sealer to protect it from moisture, UV rays, and wear. A high-quality acrylic sealer will give your patio a subtle sheen and make it easier to clean. Reapply every couple of years to keep the color looking fresh.
This step is non-negotiable if you want the stain to last through seasons of weather and foot traffic.
11. Use Large Format Porcelain Tiles for a Sleek Look
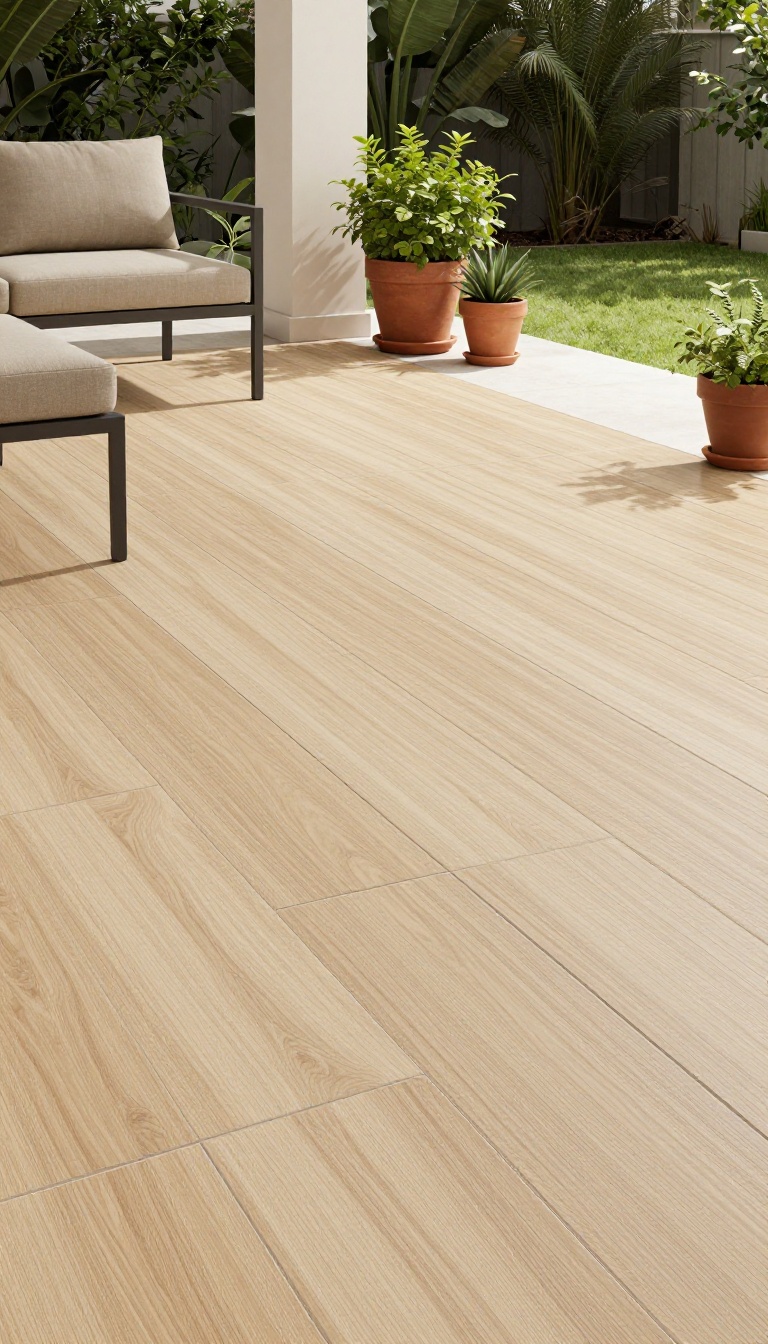
Large format porcelain tiles bring a clean, modern vibe to any patio. They’re thin but surprisingly strong, and they come in finishes that convincingly mimic natural stone. Plus, they’re a breeze to clean and can be laid right over an existing concrete base, saving you the hassle of demolition.
These tiles are a smart choice if you want a seamless, high-end appearance without the maintenance of real stone. Their large size means fewer grout lines, which not only looks sleek but also makes the surface easier to keep clean. And because they’re porcelain, they resist moisture, stains, and temperature swings, making them ideal for outdoor use.
Why Large Format Works Outdoors
Large format tiles, usually 24×24 inches or bigger, create a more expansive look that makes small patios feel larger. They also have fewer joints, so there’s less space for weeds or dirt to accumulate. The thin profile is a bonus—it sits flush with adjacent surfaces, giving a polished, custom feel.
Installation Tips For A Flawless Finish
Start with a clean, level concrete slab. Use a polymer-modified thin-set mortar and a notched trowel to ensure good adhesion. Work in small sections so the mortar doesn’t dry out, and use spacers to keep the gaps even.
After the tiles set, apply a high-quality outdoor grout and seal it to protect against moisture.
Design Ideas To Elevate The Look
Choose a tile with a wood-look or slate finish to add warmth without the upkeep. For a more contemporary feel, go with a large-format concrete-look tile in a soft gray. You can also lay the tiles diagonally to add visual interest, or mix two complementary shades for a subtle checkerboard effect.
12. Build a Deck with Composite Decking Tiles
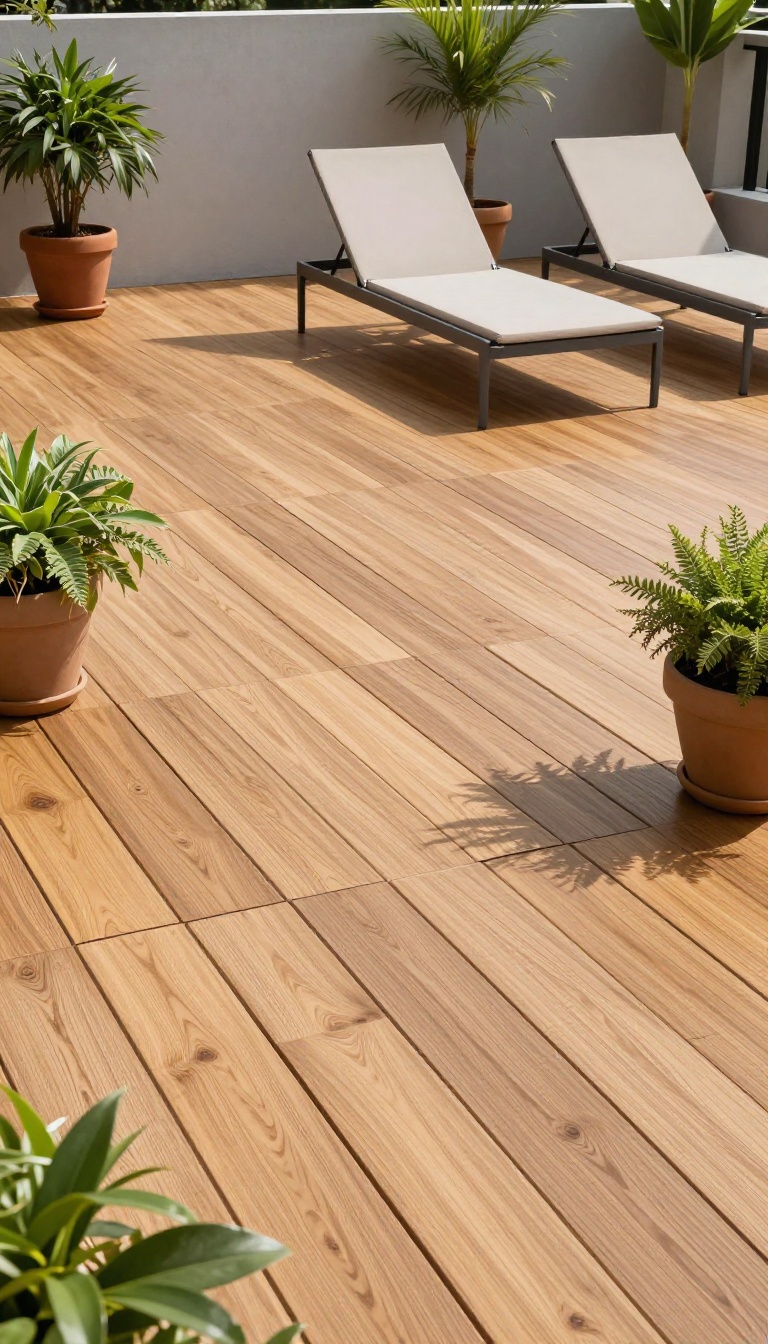
Composite decking tiles are the shortcut to a wood deck look without the hassle of building a frame or sanding anything. These interlocking squares snap together in minutes over any flat, solid surface, turning a plain concrete patio into a warm, inviting deck area. They're weatherproof, slip-resistant, and require zero maintenance—no staining, sealing, or replacing rotten boards.
If you've ever dreamed of a wood deck but cringed at the cost and upkeep, composite tiles are your answer. They come in a range of wood tones and textures, so you get that rich, natural appearance without splinters or warping. Plus, because they're modular, you can easily replace a damaged tile or reconfigure your layout whenever you like.
It's a smart, budget-friendly upgrade that looks anything but cheap.
Why Composite Tiles Beat Real Wood
Real wood decks demand constant care—sanding, staining, sealing—and they're prone to rot and insect damage. Composite tiles skip all that. Made from a blend of wood fibers and recycled plastic, they resist moisture, fading, and staining.
They also stay cooler underfoot than dark wood, making them more comfortable for barefoot summer days. And because they're designed for direct ground contact, you don't need a substructure, saving time and money.
How To Lay Them Right
Start with a clean, level surface. Sweep away debris and fill any large cracks with concrete patcher. Then simply snap the tiles together, working from one corner outward.
Use a rubber mallet to tap edges if needed. For a custom fit around posts or corners, cut tiles with a circular saw or utility knife. Leave a small gap along walls for expansion, and you're done—no adhesive required.
Styling And Maintenance Tips
Mix two or three tile shades in a staggered pattern for a designer look, or lay them in a herringbone for extra flair. Add an outdoor rug and some potted plants to soften the edges. To clean, just sweep or hose them down.
For stubborn spots, a mild soap and water solution works fine. They're built to handle everything from rain to spilled drinks, so you can spend more time enjoying your patio and less time maintaining it.
13. Lay a Simple Concrete Slab with a Broom Finish
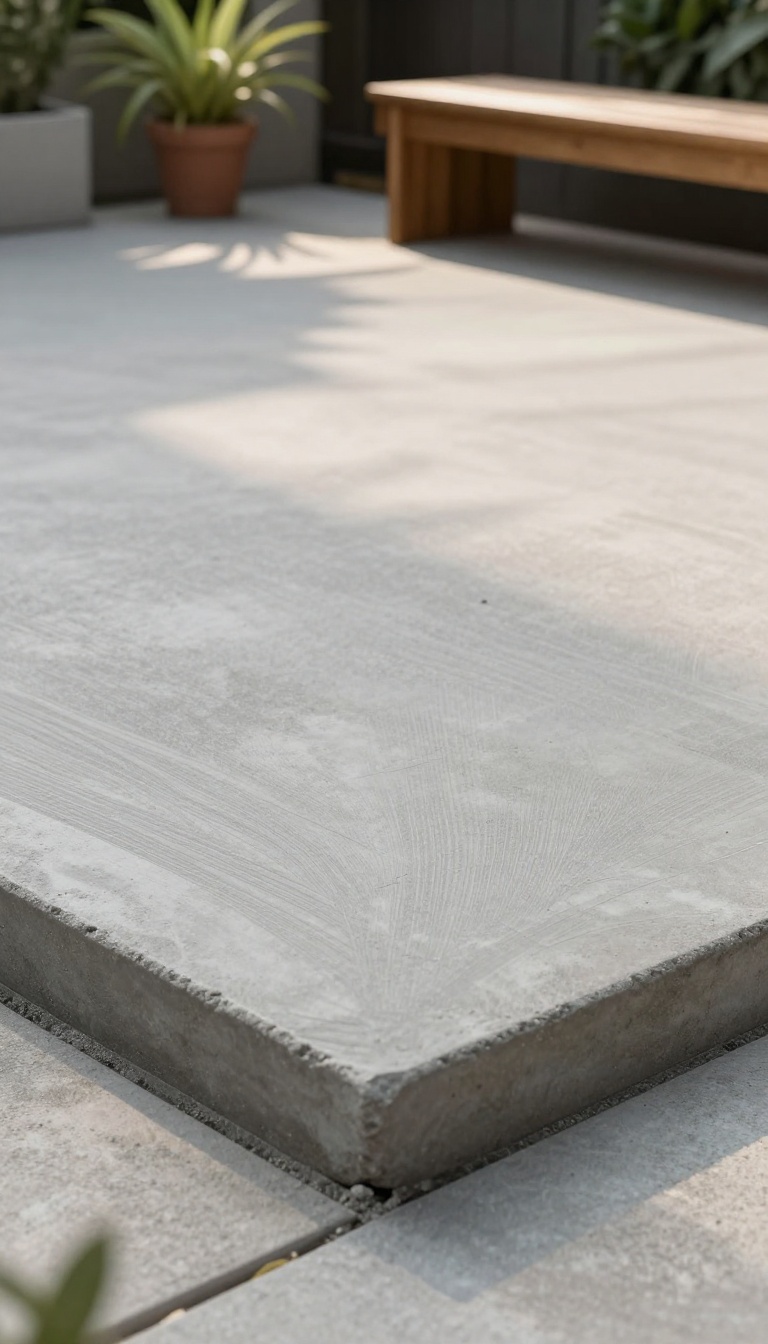
Starting fresh? A broom-finished concrete slab is one of the most budget-friendly patio options out there, and it's surprisingly easy to do yourself. The textured surface gives you slip resistance without looking rough or unfinished.
Plus, you can customize it with color or a border to make it feel anything but basic.
Pouring a concrete slab might sound like a big job, but it's a weekend project for most DIYers. The broom finish not only adds safety but also hides minor imperfections, making it forgiving for first-timers. With a few extra touches, you can turn a plain gray slab into a stylish outdoor living area.
Why Broom Finish Works
The broom finish creates fine ridges that give you traction when the patio gets wet, which is a huge plus for pool areas or rainy climates. It's also low-maintenance—no sealing required as often as smooth concrete. And because the texture is subtle, it looks clean and modern, not like a driveway.
Adding Color And Borders
You can mix integral color into the concrete before pouring, or apply a stain after it cures. A contrasting border—say, a darker shade or a different texture—adds visual interest without much extra cost. Even a simple saw-cut line can make the slab look intentional and designed.
Diy Tips For A Professional Look
Make sure the ground is well-compacted and the forms are level. Use a straight board to screed the concrete, then let it set slightly before running a broom across. Work in consistent strokes, and don't overdo it—one pass is usually enough.
Finish by curing the concrete with a spray or wet burlap for a few days to prevent cracks.
14. Use Rubber Mulch or Playground Tiles for Safety and Color
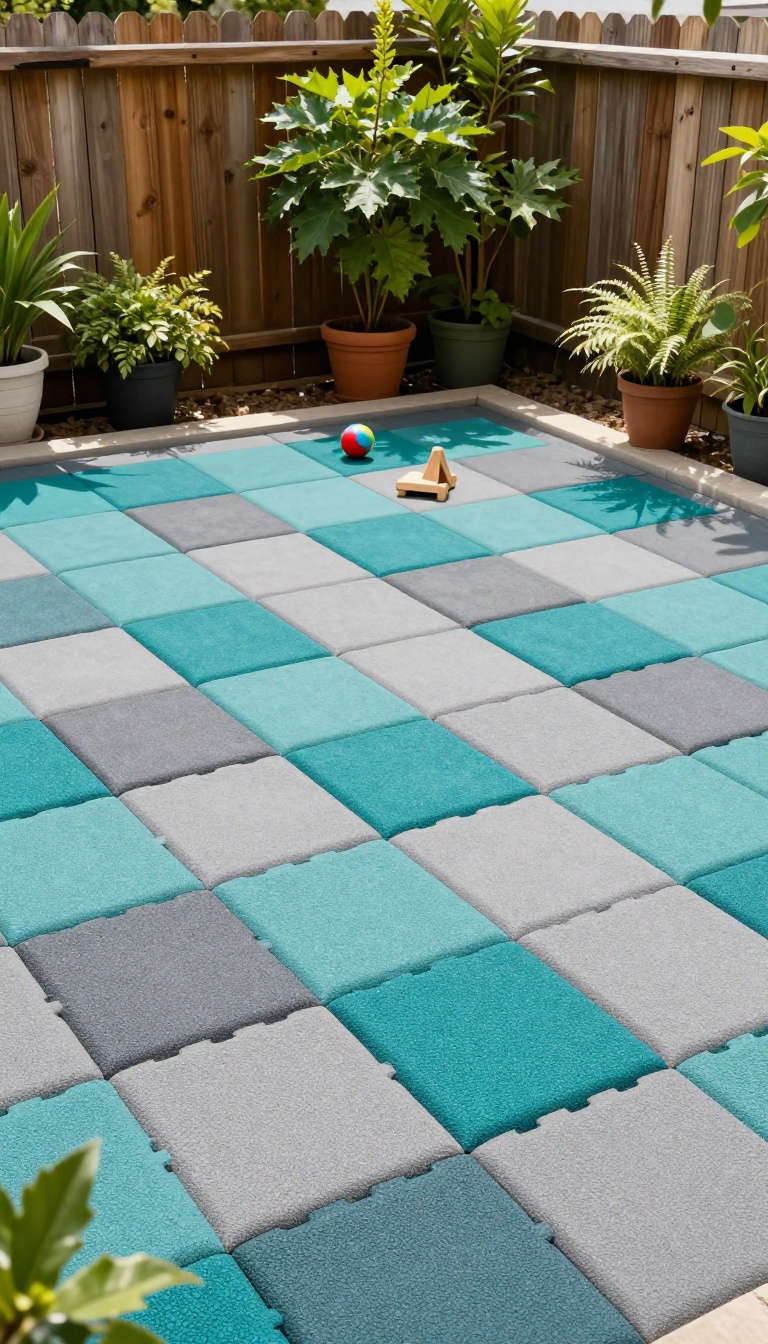
If you have kids or pets, a hard patio surface can be a constant worry. Rubber mulch or playground tiles give you a soft landing without sacrificing style. They come in a rainbow of colors, so you can actually make a design statement while keeping everyone safe.
Rubber mulch is a loose fill that looks like wood mulch but is made from recycled tires. It's springy, doesn't rot, and won't attract pests. Playground tiles are larger interlocking squares that create a seamless, cushioned surface.
Both are easy to install and surprisingly affordable, especially compared to pavers or poured concrete.
Why Rubber Works For Patios
Rubber mulch and tiles are built to handle weather and heavy foot traffic. They drain well, so puddles don't linger after a rainstorm. And because they're soft, they reduce the impact of falls—a huge plus if you have little ones running around.
Plus, the bright colors can make your patio feel playful and inviting.
Installation And Maintenance Tips
For rubber mulch, lay down a weed barrier and spread it evenly to about two inches deep. Tiles are even easier: just snap them together over a flat surface. Both options need minimal upkeep—just an occasional rinse with a hose to keep them looking fresh.
If a tile gets damaged, you can replace it without redoing the whole patio.
Design Ideas To Make It Look Intentional
Don't just dump rubber mulch everywhere. Use it to create defined zones, like a play area or a seating nook. Mix colors to form a pattern or border.
For tiles, choose a checkerboard layout or stick to a single bold shade for a modern look. Add some potted plants and outdoor cushions to tie it all together.
15. Add a Layer of Outdoor Vinyl Flooring for a Seamless Look
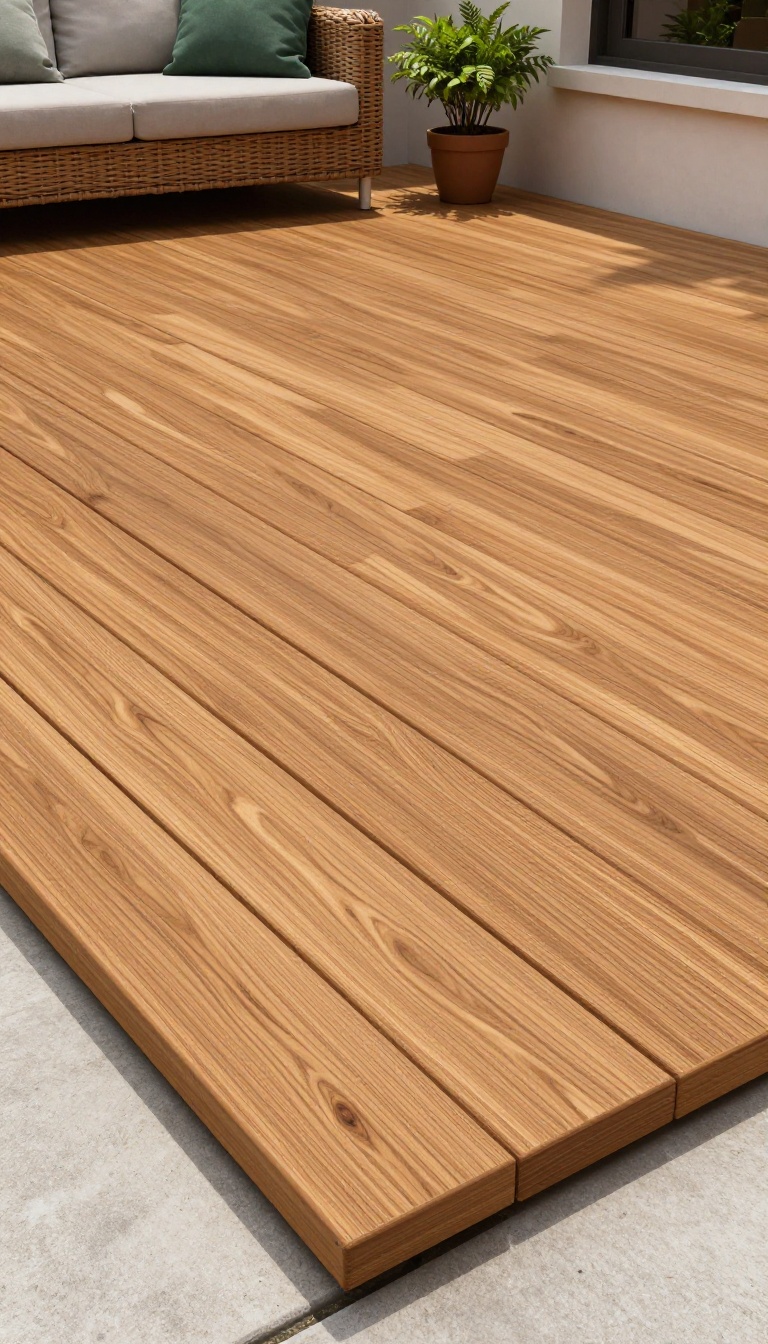
Vinyl flooring isn't just for kitchens and bathrooms anymore. Modern outdoor vinyl planks and sheets are built to handle sun, rain, and heavy foot traffic while keeping that smooth, finished appearance you want. The best part?
You can lay it right over your existing concrete or wood deck without a major renovation. It's a weekend project that instantly upgrades the look and feel of your patio.
Outdoor vinyl flooring is a game-changer for patios that need a quick, durable facelift. It comes in two main forms: peel-and-stick tiles or planks and roll-out sheets. Both are completely waterproof, so you don't have to worry about spills, splashes, or sudden downpours.
The surface is also slip-resistant, which is a huge plus when things get wet. What really sells vinyl is how it mimics natural materials. You can get planks that look just like warm teak or cool gray stone, and most people won't be able to tell the difference from a few feet away.
Plus, it's soft underfoot, so it's more comfortable to walk on than concrete or tile. Installation is straightforward. If you're using peel-and-stick planks, just clean the surface, let it dry, and press them down.
For sheets, you'll need to cut them to size and use adhesive. Either way, you can finish a typical patio in a day or two. And when it comes to maintenance, a broom or a quick hose-down is all it takes to keep it looking fresh.
Why Vinyl Works Outside
Outdoor vinyl is specially formulated with UV inhibitors to resist fading from the sun. It also stays flexible in cold weather, so it won't crack or become brittle. The top layer is wear-resistant, which means it can handle patio furniture, grill carts, and kids' toys without showing scuffs.
Installation Tips For A Flawless Finish
Start with a clean, dry surface. Fill any cracks or holes in the concrete first to ensure a smooth base. If you're using planks, leave a small gap around the edges for expansion.
Use a utility knife for clean cuts, and press firmly to ensure good adhesion. For sheets, use a roller to eliminate air bubbles.
Keeping It Clean And Long-lasting
Sweep regularly to remove dirt and debris. For deeper cleaning, use a mild soap and water solution with a soft mop. Avoid harsh chemicals or abrasive scrubbers.
With proper care, outdoor vinyl can last for years, making it a smart budget-friendly choice.
FAQ
What is the cheapest patio floor option?
Peel-and-stick tiles or paint are often the most budget-friendly, especially if you already have a concrete slab. Both can be done for under $2 per square foot.
Can I lay peel-and-stick tiles directly on concrete?
Yes, as long as the concrete is clean, dry, and free of cracks. Make sure to prime the surface first for better adhesion.
How do I make a painted concrete patio last longer?
Use a high-quality concrete paint or stain and apply a clear sealer. Also, ensure the surface is properly cleaned and etched before painting.
Are wood pallets safe for outdoor use?
Yes, if you choose heat-treated pallets (marked with HT) and seal them with a weatherproof finish. Avoid chemically treated ones.
What is the most durable cheap patio floor?
Concrete pavers are highly durable and affordable. They can withstand heavy foot traffic and weather, and individual pavers can be replaced easily.
Conclusion
Upgrading your patio floor doesn't have to drain your savings. With a little creativity and some weekend effort, you can achieve a polished look that makes your outdoor space feel brand new.
Whether you choose paint, tiles, or gravel, the key is to prepare the surface well and seal it for longevity. So pick an idea that fits your style and budget, and get ready to enjoy your refreshed patio.