How to Clean Baseboards with 10 Quick Dust-Busting Tricks
Baseboards are magnets for dust, pet hair, and grime, yet they're often the last thing we think to clean. A quick swipe with a microfiber cloth can make a surprising difference, but stubborn scuffs and crevice dust require a few more tricks.
These 10 methods use common household items and minimal effort to keep your baseboards spotless.
Whether you're deep-cleaning or just doing a quick touch-up, there's a dust-busting trick here that fits your routine.
1. Dry Dust with a Microfiber Cloth or Duster
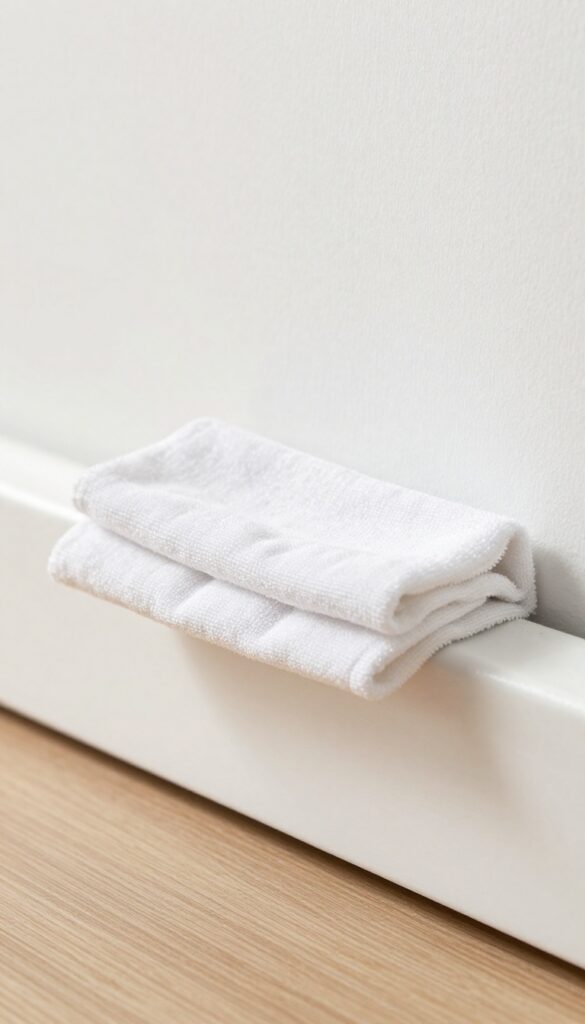
Dry dusting is the MVP of baseboard maintenance. A microfiber cloth or an extendable duster lifts loose dust without scattering it into the air or onto nearby furniture. This method takes just minutes and is perfect for weekly upkeep between deeper cleanings.
Microfiber works because its split fibers trap dust particles, not just push them around. For best results, use a clean, dry cloth and run it along the top edge and face of the baseboard. An extendable duster with a microfiber head reaches floor-level baseboards without bending, making the job faster and easier on your back.
Why Microfiber Beats Feather Dusters
Feather dusters often scatter dust into the air, which then settles back onto surfaces. Microfiber holds onto dust until you rinse or shake it out. It’s also gentle on paint and won’t leave scratches.
Best Technique For Quick Results
Start at one end of a room and work your way around. Use long, sweeping motions along the baseboard’s length. For corners and crevices, fold the cloth to create a pointed edge that reaches into tight spots.
When To Dry Dust Vs. Wet Clean
If you see only loose dust and no scuffs or sticky residue, dry dusting is sufficient. For dirt buildup, follow up with a damp cloth. Dry dusting first prevents turning dust into mud when you wet the surface.
2. Use a Vacuum with a Brush Attachment
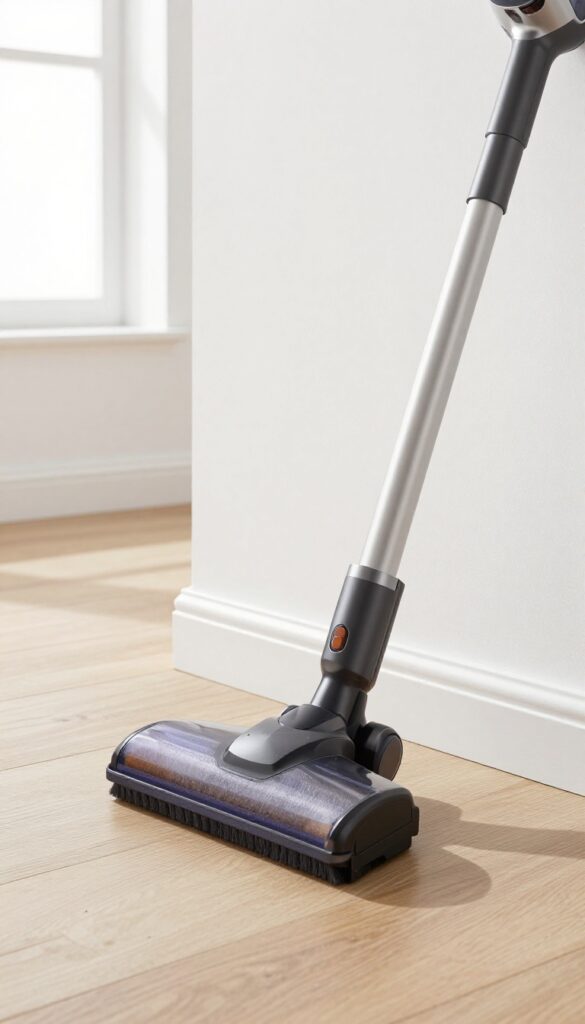
Your vacuum is already a dust-busting powerhouse, so why not let it tackle baseboards too? With a soft brush attachment, you can lift dust, pet hair, and cobwebs from crevices without kicking everything into the air. It’s fast, gentle, and perfect for a weekly once-over that keeps grime from building up.
A vacuum with a brush attachment is one of the simplest ways to keep baseboards dust-free. The soft bristles loosen debris without scratching the paint, while the suction pulls it away. This method is especially handy for textured or detailed baseboards where dust loves to hide.
Use it before damp cleaning to avoid turning dust into mud.
Choosing The Right Brush
Not all brush attachments are the same. Look for a soft, wide brush that covers more surface area. For tight corners, a crevice tool works better.
If your vacuum didn’t come with a brush, most hardware stores sell universal ones that fit standard hoses.
Technique Tips
Work from one end of the room to the other, moving the brush along the baseboard in the direction of the grain. For stubborn spots, go over them twice. To avoid scattering dust, keep the brush flat against the baseboard and move slowly.
Empty the canister or replace the bag regularly to maintain suction.
3. Wipe Down with a Damp Cloth and Mild Soap
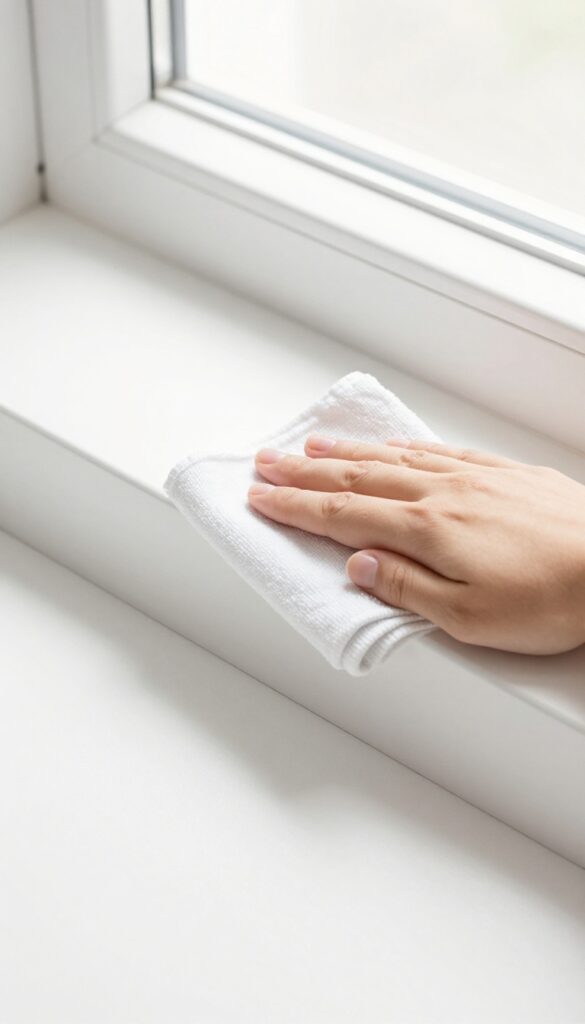
Sometimes dry dusting just doesn't cut it. Sticky fingerprints, scuff marks, and kitchen grease need a little more elbow grease. A damp cloth with a drop of dish soap is the perfect solution—it's gentle enough for painted surfaces but tough on grime.
For monthly deep cleaning or spot-treating high-traffic areas, this method is a game-changer. Just make sure you don't oversaturate the wood or drywall underneath.
Choose The Right Cloth
Microfiber is ideal because it lifts dirt without scratching. Avoid abrasive sponges or paper towels that can leave lint. A soft cotton rag works too.
Soap And Water Ratio
Fill a bucket with warm water and add just a drop of mild dish soap. Too much soap leaves a sticky residue that attracts more dust. Dip your cloth, wring it out until barely damp, then wipe along the baseboard.
Dry Immediately
After wiping, go over the baseboard with a dry microfiber cloth. This prevents moisture from seeping into cracks or causing paint to bubble. It also removes any soap film.
4. Try a Magic Eraser for Scuff Marks
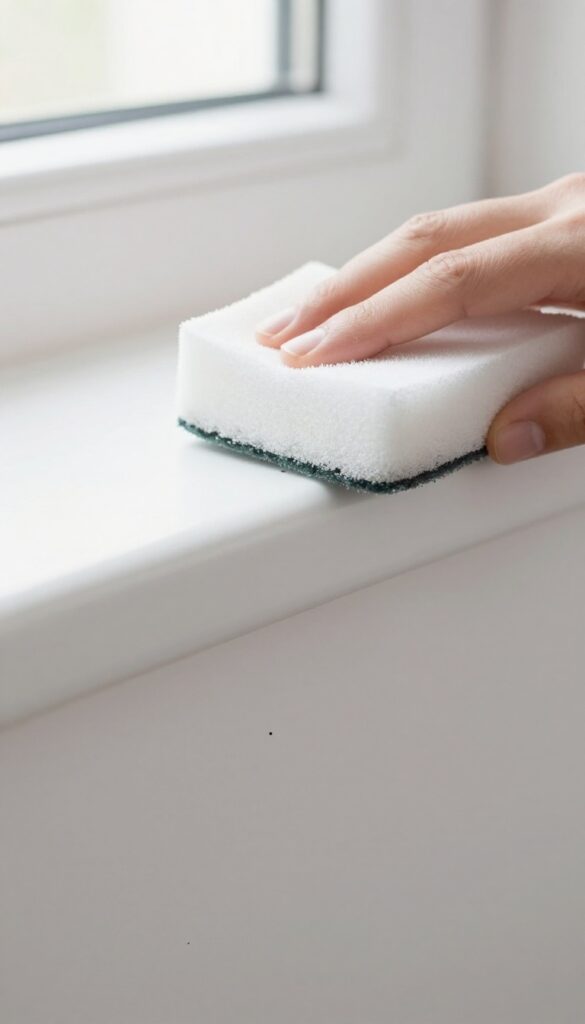
Scuff marks from shoes, furniture, or vacuum cleaners can make clean baseboards look messy. A melamine sponge—often sold as a magic eraser—is a simple fix. Just dampen it slightly and rub the mark gently.
The sponge acts like fine sandpaper, lifting the scuff without needing harsh chemicals. Always test on a hidden spot first to ensure it doesn't damage the paint finish.
How It Works
Melamine foam is micro-porous and abrasive at a microscopic level. When wet, it creates a mild scrubbing action that breaks down scuff marks without scratching most painted surfaces. It's essentially a super-fine eraser for your walls and baseboards.
Best Practices
Use a light touch—let the sponge do the work. Rinse the sponge frequently to avoid spreading dirt. For stubborn marks, apply a bit of pressure, but don't overscrub or you might remove paint.
Always keep the sponge damp, not dripping, to prevent water damage to the baseboard or wall.
When To Avoid
Avoid using magic erasers on glossy or satin finishes if you're unsure about the paint's durability. Test in an inconspicuous area first. Also, don't use them on unsealed wood or delicate surfaces like wallpaper, as they can cause damage.
5. Use a Dryer Sheet to Repel Dust
Once your baseboards are clean, you want them to stay that way as long as possible. A used dryer sheet can help with that. The antistatic properties in the sheet reduce the cling of dust, so it doesn't settle as quickly.
Plus, it leaves a pleasant, fresh scent behind.
After you've cleaned your baseboards, grab a used dryer sheet and lightly rub it along the surface. Focus on the top edge and any flat areas where dust tends to collect. The antistatic agents transfer to the baseboard, creating a barrier that repels dust.
This simple step can extend the time between cleanings significantly. Just remember to use a sheet that's been through the dryer once—new sheets are too waxy and can leave a residue.
Why It Works
Dryer sheets contain cationic surfactants that neutralize static electricity. When you wipe them on baseboards, they leave a thin, invisible layer that prevents dust from clinging. This is the same reason they reduce static cling in laundry.
Best Practices
Use a sheet that's still slightly damp from the dryer for better transfer. Avoid using new sheets, as they can leave a greasy film. If you have pets, choose unscented or hypoallergenic sheets to avoid any irritation.
When To Reapply
The antistatic effect lasts through several dustings, but reapply after each deep clean. If you notice dust starting to cling again, it's time for a fresh swipe.
6. Clean with a Paintbrush for Detailed Areas
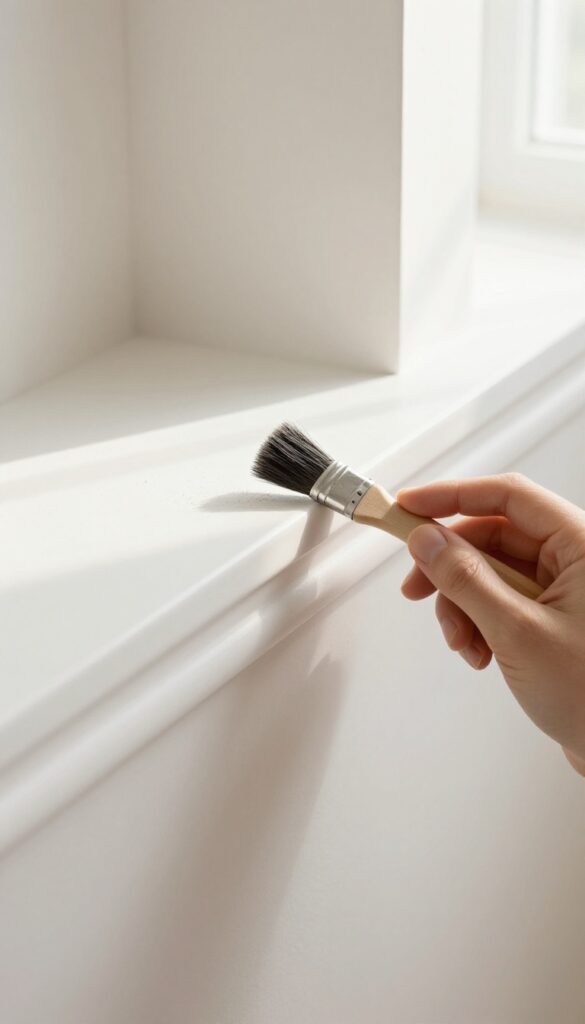
Sometimes the tiniest gaps hold the most dust. That thin crack between the baseboard and the wall or the ornate trim on older homes can be impossible to reach with a rag. A simple paintbrush solves that problem in seconds.
A small paintbrush or artist's brush reaches into corners and along the top edge where dust collects. Use it dry for dusting or slightly damp for grime. It's precise and gentle, so you won't damage paint or wood.
Choose The Right Brush
A 1- to 2-inch angled paintbrush works best for most baseboards. For intricate trim, a small artist's brush with stiff bristles digs into crevices. Avoid foam brushes—they just push dust around.
Dry Dust First
Sweep the brush along the top edge and into corners to loosen dust. Tap the brush against a trash can to release debris. This step prevents smearing when you switch to damp cleaning.
Dampen For Grime
Dip the brush in a mix of warm water and a drop of dish soap. Shake off excess so it's barely damp. Gently scrub stubborn spots, then wipe with a dry cloth.
The bristles get into grooves without soaking the wood.
7. Make a DIY Cleaning Solution with Vinegar and Water
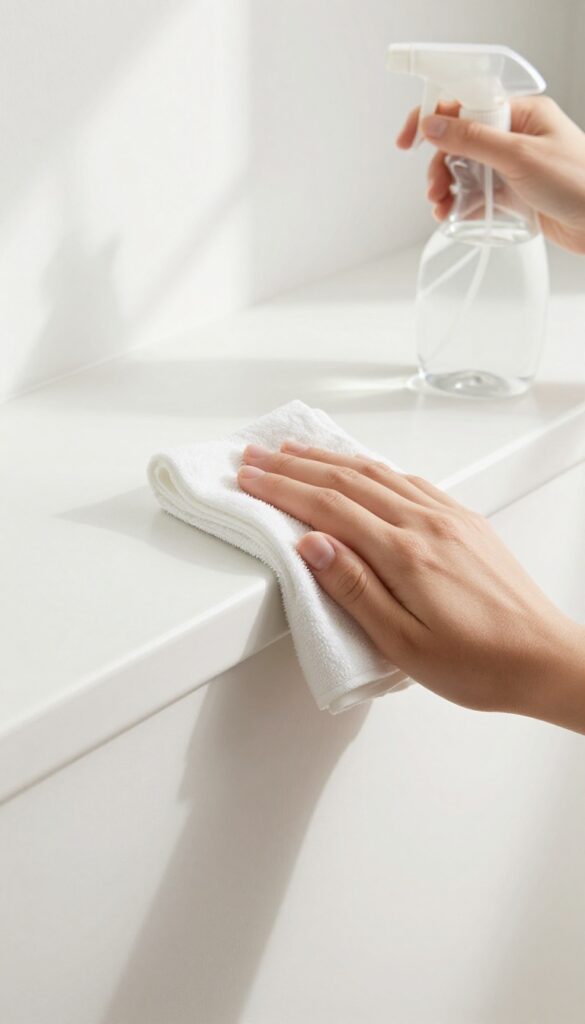
When you need something stronger than water but gentler than chemical cleaners, a simple vinegar solution does the trick. It cuts through grease and grime without leaving a sticky film behind. Plus, it's cheap and you probably already have both ingredients in your kitchen.
Mix equal parts white vinegar and water in a spray bottle. Lightly mist a microfiber cloth (never spray directly onto the baseboard) and wipe down the surface. The vinegar breaks down dirt and grease while evaporating quickly, so there's no residue.
This solution is safe for most painted surfaces, but test on a hidden spot first if you're unsure. The faint vinegar smell disappears as it dries.
Why Vinegar Works So Well
White vinegar is mildly acidic, which helps dissolve the alkaline residue from dust and dirt. It also kills some bacteria and mold spores, making it a great choice for kitchens and bathrooms. Unlike many store-bought cleaners, it won't leave a waxy buildup that attracts more dust over time.
How To Apply It Without Damaging Paint
Always spray the cloth, not the baseboard. This prevents excess liquid from seeping into cracks or behind the trim, which can cause swelling or peeling. Use a slightly damp cloth—not soaking wet—and wipe in long, even strokes.
For stubborn spots, let the solution sit on the cloth for a few seconds before wiping.
When To Skip Vinegar
Avoid vinegar on unsealed wood or waxed surfaces, as the acid can strip the finish. Also, don't use it on natural stone baseboards like marble or travertine—it can etch the surface. For those, stick to a pH-neutral cleaner or just water.
8. Use a Swiffer or Similar Dry Mop for Quick Passes
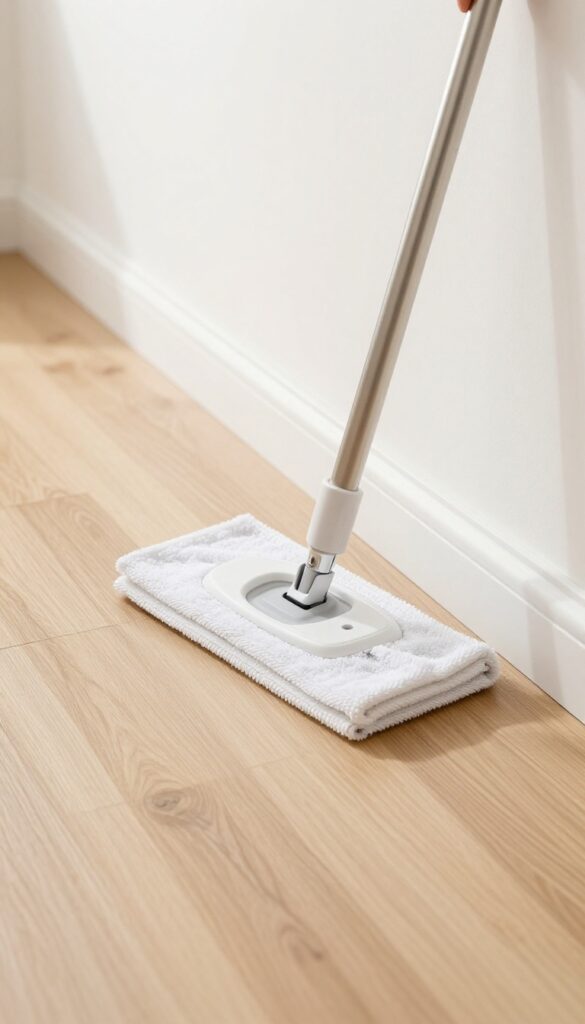
Not every baseboard cleaning session needs to be a full-on workout. Sometimes you just want a quick refresh before guests arrive or during a speed clean. That's where a Swiffer or a flat microfiber mop comes in handy.
You can cover a lot of ground without ever bending down.
A Swiffer dry cloth or a flat microfiber mop can be run along baseboards while standing. This saves bending and is ideal for a fast once-over before guests arrive.
Why It Works So Well
The flat head of these mops slides right along the baseboard, picking up dust and hair in one pass. The dry cloths are designed to trap particles rather than push them around, and the long handle lets you work from a standing position. It's a game-changer if you have a lot of baseboards or mobility issues.
Best Technique For A Streak-free Finish
Start at one end of the room and work your way around. Use long, even strokes and apply light pressure. For corners and tight spots, rotate the mop head or use the edge of the cloth.
Change the cloth when it looks dirty to avoid redepositing dust.
When To Use This Method
This trick is perfect for weekly maintenance or a quick tidy before guests come over. It's not designed for deep cleaning or removing scuffs, but it keeps dust from building up between deeper cleans. Pair it with a damp cloth for a more thorough clean when needed.
9. Tackle Stubborn Stains with Baking Soda Paste
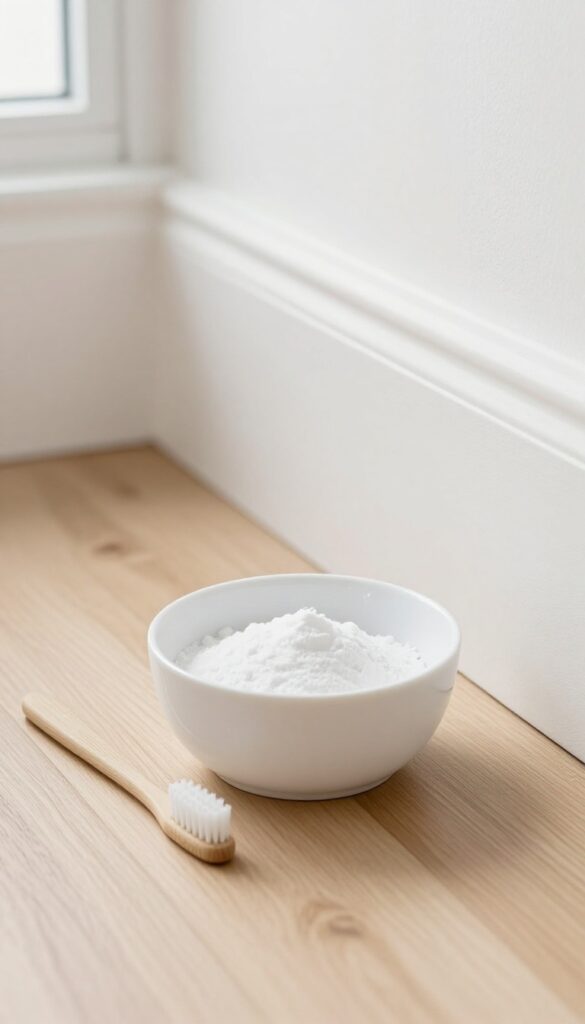
Some stains just won't budge with a simple wipe. Whether it's a dark scuff mark from a shoe or a mysterious sticky spot, baking soda comes to the rescue. This gentle abrasive lifts grime without scratching the paint, making it perfect for baseboards.
Make The Paste
Mix three parts baking soda with one part water in a small bowl. Stir until it forms a thick, spreadable paste. Add a drop of dish soap for extra grease-cutting power if needed.
Apply And Let It Sit
Use an old toothbrush or a soft cloth to dab the paste onto the stain. Let it sit for 5-10 minutes so the baking soda can break down the grime. Don't let it dry completely, or it may become harder to wipe off.
Scrub And Rinse
Gently scrub the area with a soft brush or sponge in circular motions. Rinse with a damp microfiber cloth to remove all residue. Wipe dry with a clean cloth to prevent moisture damage.
10. Prevent Dust Buildup with Regular Maintenance
The best way to tackle baseboard dust is to stop it from piling up in the first place. A few minutes of consistent upkeep can save you from scrubbing sessions later. Think of it as a small habit that pays off big in cleanliness.
Making baseboard dusting a regular part of your cleaning routine is simpler than you might think. You don't need special tools or extra time—just a quick pass with the right equipment. Here's how to stay ahead of the dust.
Weekly Quick Dust
Grab a microfiber duster or a vacuum with a brush attachment once a week. Run it along the top edge and front face of each baseboard. This takes about 30 seconds per room and prevents dust from settling into crevices.
Spot Clean As You Go
If you notice a scuff or smudge while walking by, wipe it off immediately with a dry cloth or a slightly damp microfiber pad. Addressing spots right away keeps them from becoming stubborn stains.
Set A Reminder
It's easy to forget baseboards until they look dusty. Set a weekly reminder on your phone or tie the task to another routine, like vacuuming. Consistency turns it into a no-brainer habit.
FAQ
How often should I clean my baseboards?
For most homes, a quick dry dusting once a week and a deeper clean with a damp cloth every month is sufficient. High-traffic areas or homes with pets may need more frequent attention.
Can I use bleach on baseboards?
Bleach is too harsh for most painted baseboards and can cause discoloration or damage. Stick to mild soap and water or a vinegar solution for safe cleaning.
What's the best tool for cleaning baseboards without bending?
An extendable duster or a Swiffer with a microfiber cloth works well. You can also attach a microfiber cloth to a long-handled mop for easy reach.
How do I clean baseboards without leaving streaks?
Use a damp—not wet—cloth and dry immediately with a clean, dry cloth. Avoid using too much cleaning solution, and wipe in long, even strokes.
Can I use a steam cleaner on baseboards?
Steam cleaners can damage paint and wood over time. It's safer to stick with gentle cleaning methods like a damp cloth or mild soap.
Conclusion
Keeping baseboards clean doesn't have to be a big production. With these 10 dust-busting tricks, you can tackle grime quickly using tools you already own. Start with the gentlest method—like a microfiber cloth or vacuum attachment—and save the heavy-duty solutions for stubborn buildup.
The real secret is consistency.
A quick weekly dusting prevents that thick layer from forming, making each cleaning session faster and easier. Pick two or three tricks that fit your routine, and your baseboards will stay fresh with minimal effort. Your home will look sharper, and you'll wonder why you didn't start sooner.